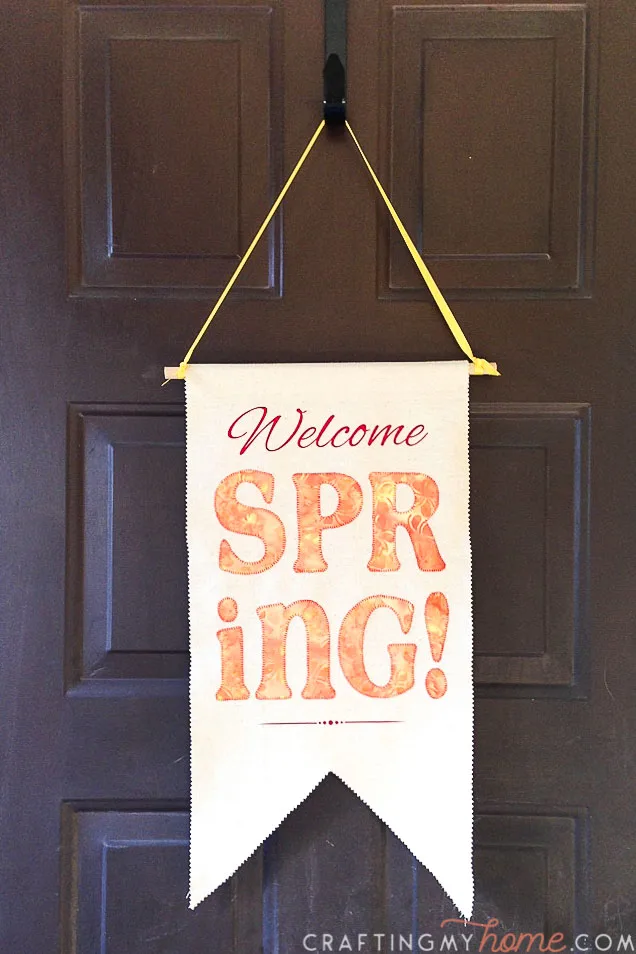
Decorate your door for spring with this unique wreath idea: a door pennant!
Wreaths are my favorite place to start decorating for every season. And I love unique wreaths too!
I couldn’t reuse my spring wreath up from last year because we had a bunch of moths make a home in it. So it was time to make a new one.
And instead of a traditional wreath, I thought this was a great time to use up some left-over fabric and make a cute spring pennant instead.
This post may contain affiliate links. As an Amazon Associate I earn from qualifying purchases. Click here to read my full disclosure policy.

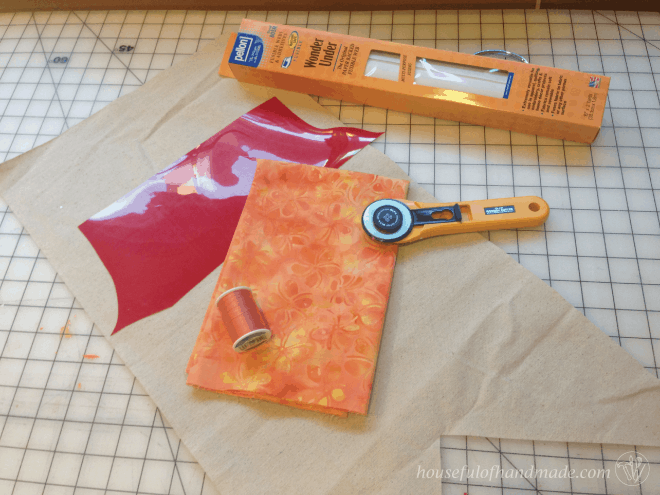
To start, you'll need a thick, canvas fabric. I used some left over drop cloth. Drop cloth is a great inexpensive fabric to use for crafts because it is sturdy and resists staining. I have used it in lots of projects like it), some heat transfer vinyl, cute printed fabric, coordinating thread, and Wonder Under (or other paper backed fusible web).
To start, you'll need a thick, canvas fabric. I used a piece of left over drop cloth. Drop cloth is a great inexpensive fabric to use for crafts because it is a strong canvas and resistant to staining.
I have used drop cloth in many projects such as this hanging shoe storage, drop cloth pillow covers, beautiful handmade purse, personalized Christmas stockings and so much more. Plus one drop cloth is large for you to use for many fun projects!
How to Make a Door Pennant
Supplies needed:
- Drop cloth (or other sturdy canvas fabric)
- Heat transfer vinyl
- Printed fabric
- Coordinating thread
- Wonder Under (or other paper backed fusible web)
- 1/2" dowel
- Ribbon
- Optional: Electronic cutting machine like a Silhouette Cameo or Cricut Maker
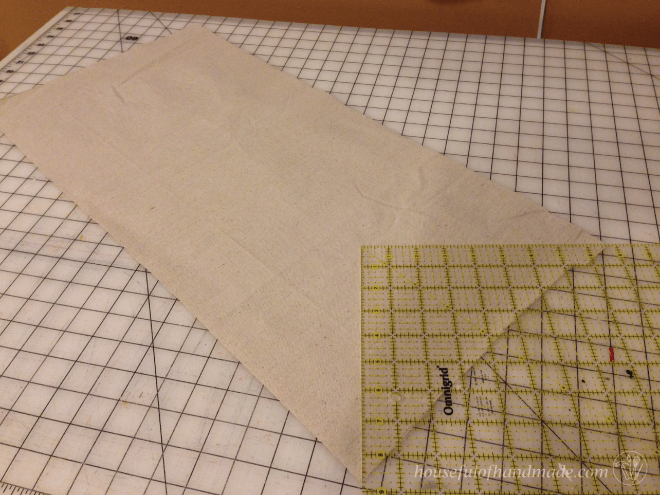
Cut the pennant piece out of the drop cloth. I cut my piece 12 inches wide by 24 inches long.
Using a square quilting ruler (or other square item), place it on the bottom to get the shape of the pennant. Then cut out the decorative bottom.
I measured how much room was in the area I wanted the wording and then went to my computer to design it to cut out with my Silhouette cutting machine.
You can do it without a cutting machine, you will just have to hand cut out the fabric letters then use fabric paint or a Sharpie instead of the heat transfer vinyl.
Designing the Wording
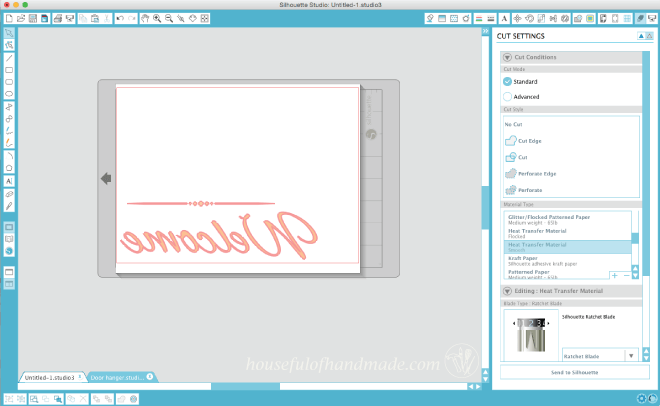
When designing in my cutting program, I always change my design board to the total size of my craft, even though it is bigger than my cutting area. Don't worry, I'll show you how I cut it out in a minute.
The fonts I used are Alex Brush for Welcome and Cafe Rojo for Spring. I designed it so that I would cut the chunky letters out of fabric and use heat transfer vinyl for the thinner ones.

Cutting out the Design
Once you have your design how you want it, copy and paste the parts to be cut out of heat transfer vinyl to a new file sized to the cut area. I used the cutting mat for my vinyl since I am using up a scrap piece.
When you cut heat transfer vinyl you have to mirror your image because it cuts from the back. Then get ready to cut. I used the standard heat transfer material setting in the Silhouette program.
Now it's time to cut the fabric.
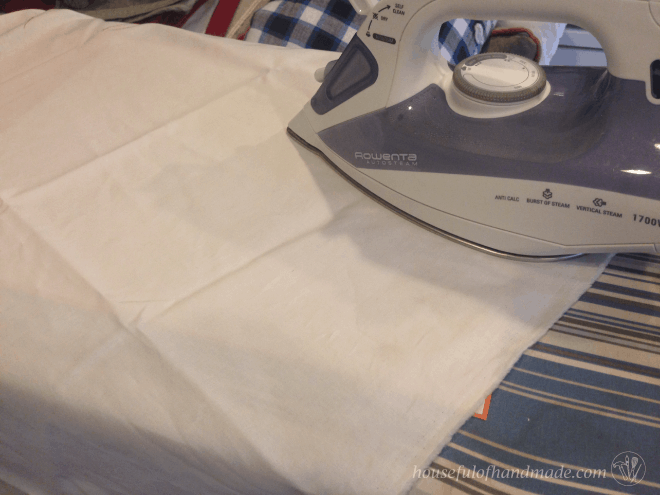
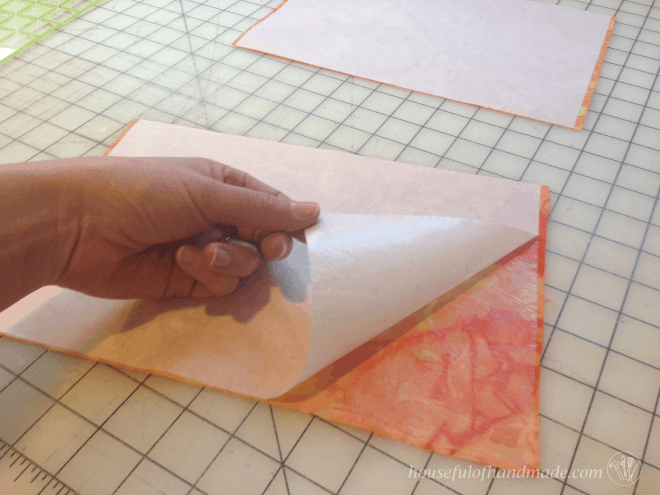
You need to prepare your fabric for cutting, cut out 2 pieces of fabric and 2 pieces of Wonder Under 7" x 11". Place the fusible side of the Wonder Under on the back side of your fabric and iron it with a hot, dry iron (no steam).
EXPERT TIP: When ironing anything fusible, use a pressing cloth. It protects your iron from accidentally getting fusible things stuck to it. Pressing cloths don't have to be fancy, I have a piece of scrap muslin that I use for my pressing cloth.
Peel the paper backing off the Wonder Under and discard. You will have a film stuck to the back of your fabric.
Don't let this get hot, cause it will fuse to whatever it is touching if it does!
Press the fusible side of your fabric onto your cutting mat and then prepare your file for cutting.
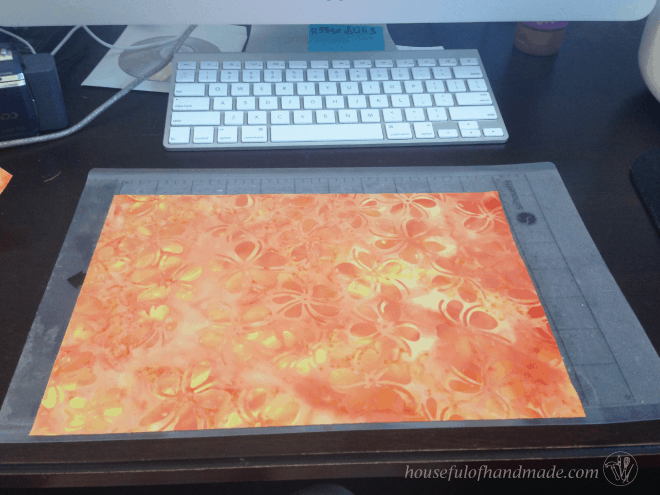
I copy and pasted half of the Spring since that is all that would fit on my cut area.
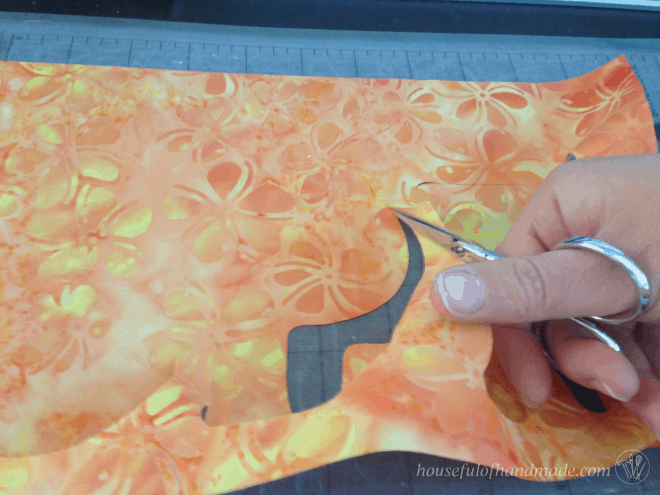
I cut out my fabric using the thin cotton Fabric setting in the Silhouette software. But I did change the blade setting to 4 instead of 3. Then watch it cut!

EXPERT TIP: Use a pair of snips when removing the fabric from the cutting mat. Occasionally there will be a fiber of the fabric that is missed by the blade and you will just need to snip it.
Remove the fabric from the cutting mat. Slowly remove the fabric so you can catch any little fibers that need cutting without accidentally pulling it and fraying your beautifully cut fabric.
Repeat with the rest of the fabric letters.
Assembling the Pennant
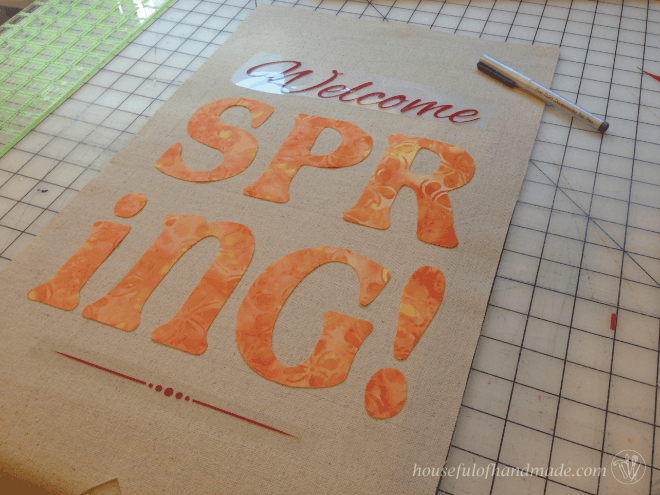
Now that everything is cut out, you can lay it out on your pennant.
I used a disappearing fabric pen to draw some guidelines on the pennant to ensure everything is centered and lined up straight! Don't worry, it will disappear in less than a day.
Go back to your iron, with your pressing cloth of course, and using the same hot, dry iron, give everything a good pressing. Let it cool down a little and then you can remove the plastic from the top of your heat transfer vinyl.
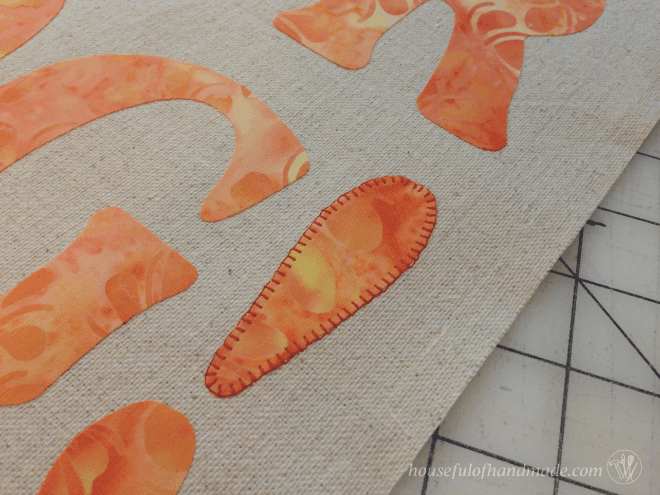
You can leave the fabric as is, or go ahead and stitch around each letter with a blanket stitch like I did. I used red thread to tie in the red of the vinyl.
EXPERT TIP: The only way to get a clean blanket stitch around small pieces is to GO VERY SLOW!
My machine has a feature where I can chose to have my needle always stop in the down position which is helpful and then I slowly turn around the curves.
Slowly sew 1-2 stitches, then turn, 1-2 stitches, then turn. It takes a little time, but is definitely quicker than hand stitching it.
When all my letters were stitched around, I used my pinking shears to trim the edges of my pennant. This will prevent it from fraying.

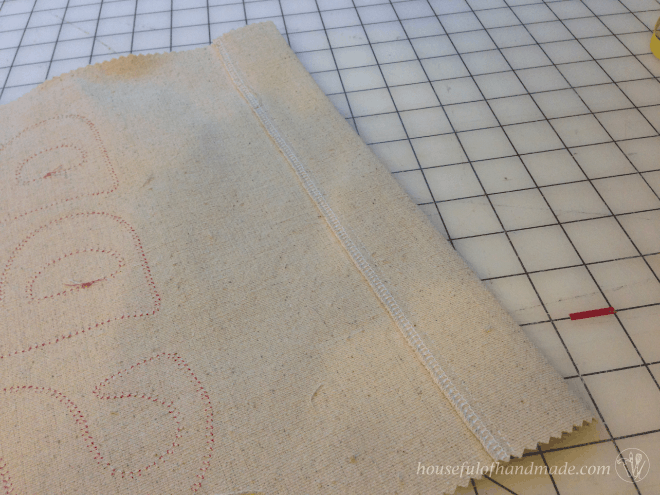
Then sew a 2 inch pocket on the top of the pennant, leaving the sides open.
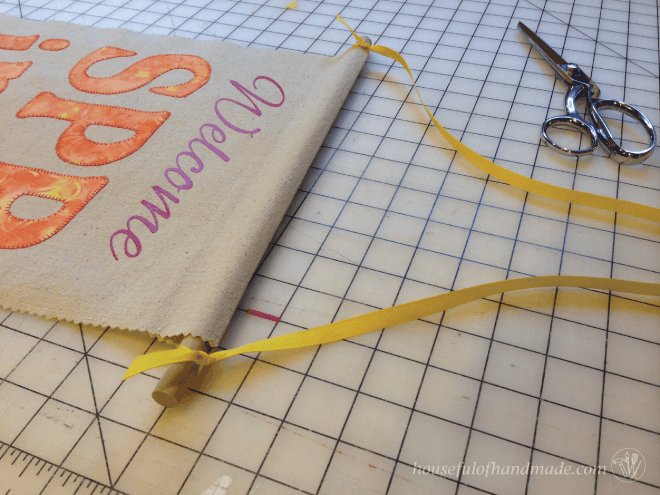
Cut a 1/2 inch dowel so that it was 2 inches larger than the pennant (1 inch of overhang on each side) and inserted it into the pocket.
Finished it off by tying a ribbon on each end. And now you are ready to hang it!
Now that I have my cute pennant hanging on my door, I see that my door needs a fresh paint color!
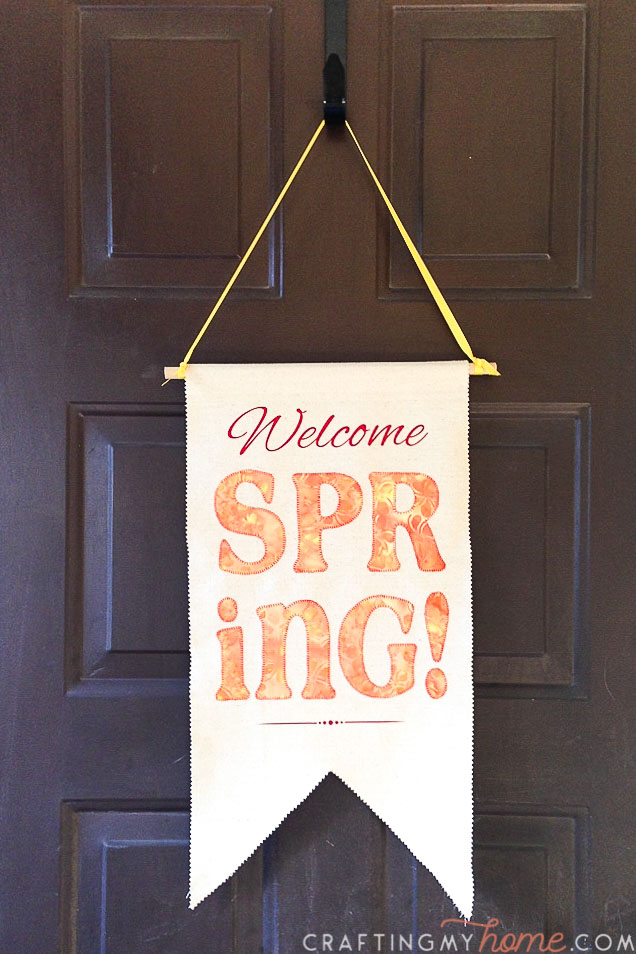
So I went to the hardware store today and grabbed a quart in a beautiful bright green. Another project for the sunny weekend ahead!
Yeah spring 🙂
Heather
Wednesday 24th of February 2016
Super cute! I love DIY anything lol. Love it, pinned it, sharing it!
Kati Farrer
Friday 26th of February 2016
Nice to meet a fellow DIY addict :) Thanks for sharing!
Ashley ~ 3 Little Greenwoods
Saturday 20th of February 2016
I've got a little bitty flag holder that would be perfect for a sweet little flag like this! Thanks so much for the tutorial and the inspiration.
Kati Farrer
Sunday 21st of February 2016
This would be perfect for a little flag holder Ashley!
Betsy @ Happily Ever After, Etc.
Friday 19th of February 2016
This is so cute! My mom loves getting new pendants for her little flag holder in the garden... I bet I could make her a few custom flags with this idea! Thanks for linking up at Welcome Home Wednesdays... I loved your post so much I'm sharing it tomorrow in my Fantastic Finds Round-Up! I can't wait to see what you share with us next week!
Kati Farrer
Sunday 21st of February 2016
Thank you Betsy! It would look so cute on a garden flag holder! I've considered making one for my front garden ;)
Melissa
Friday 19th of February 2016
Hey Congrats just dropping by to tell you that this awesome post was picked as a feature on the #HomeMattersParty Linky Party. You can find it at http://adventuresfrugalmom.com/home-matters-party-74/. While you are there make sure to grab the I was featured button. And once again Congrats and hope to see you link up again.
Kati Farrer
Sunday 21st of February 2016
Thanks so much Melissa!
Jessica
Thursday 18th of February 2016
This is SO cute! Good job. Might have to make one of those!
Kati Farrer
Thursday 18th of February 2016
Thanks Jessica! I would love to see pictures if you make it :)