Build new cabinet doors to update your old cabinets on the cheap!
Using a few simple woodworking techniques, you can update your old cabinet doors without spending a fortune. These DIY cabinet doors are easy to build and look amazing.
Have you wanted to update your old cabinets, but don’t have lots of money? With just a few tools and some know how, you can build cabinet doors very easily and inexpensively.
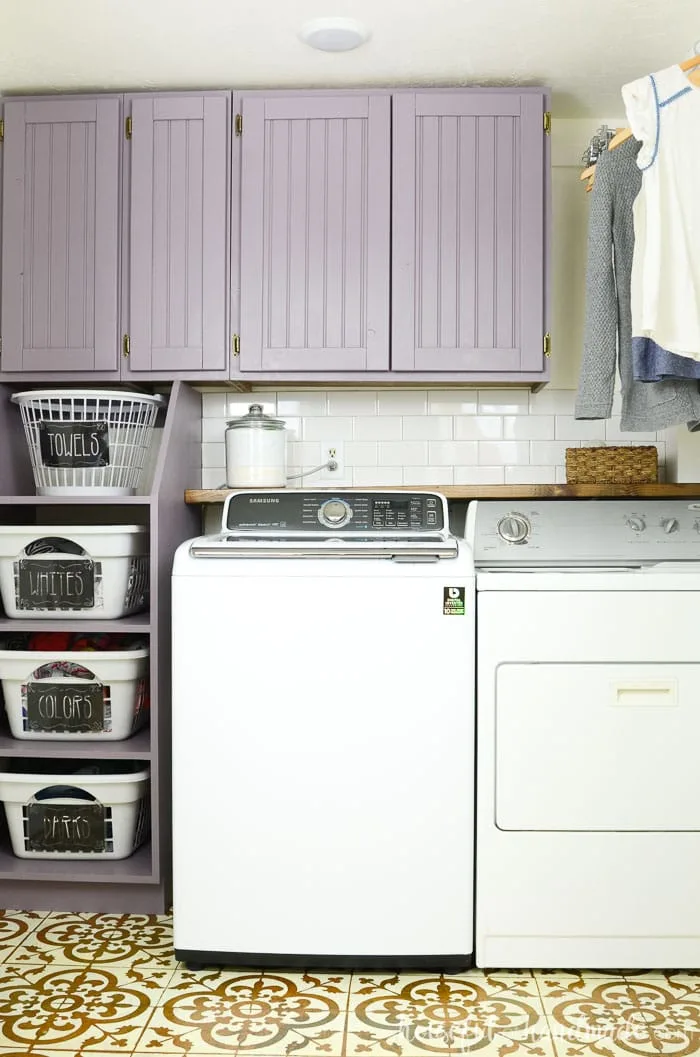
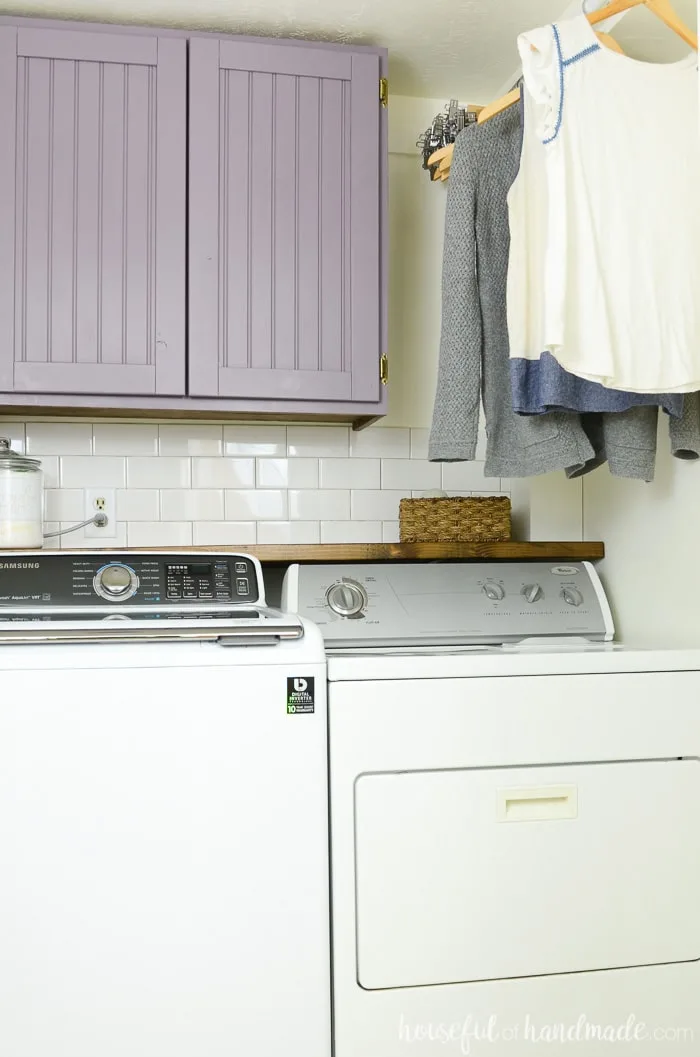
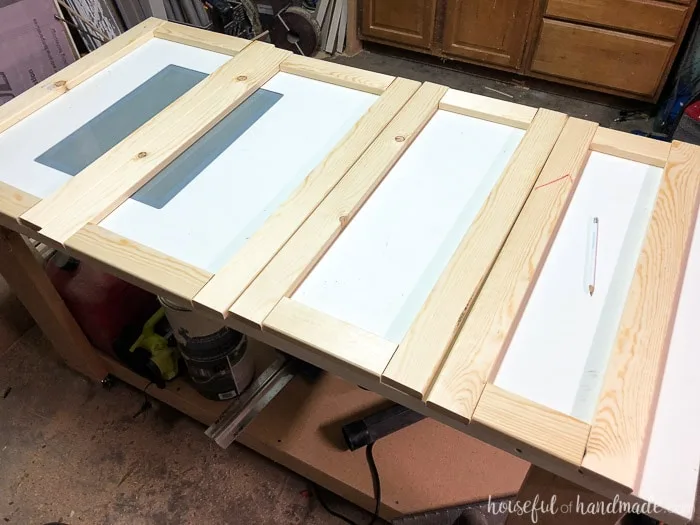
These 4 shaker style cabinet doors were built for the laundry room for only $8 and some left over beadboard. Follow along as I share all the details to help you update those old cabinets too.
This post may contain affiliate links. As an Amazon Associate I earn from qualifying purchases. Click here to read my full disclosure policy.
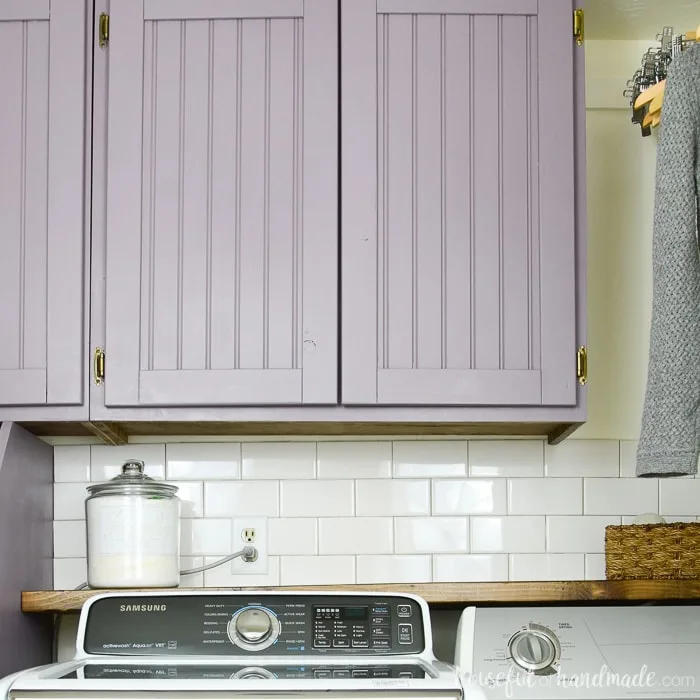
Table of contents
If you’ve been following along, you know last month I updated our awful basement laundry room for only $100 as part of the $100 Room Challenge. This challenge always tests my creativity. You can see the colorful farmhouse laundry room reveal here.
A budget of only $100 means you do not have a lot of money for each project. I wanted to accomplish a lot in this room (new flooring, new paint, stackable laundry basket storage, new cabinet doors, shelving, tile and more) so I had to get creative.
I found a way to build cabinet doors for only $2 a piece by using inexpensive wood and beadboard I had leftover from our closet sliding barn doors. And would you believe it was easily done with just a few tools?
What Tools Do You Need for Easy DIY Cabinet Doors?
To build our DIY shaker cabinet doors, I used some of my favorite beginner woodworking tools:
- Miter saw
- Router
- Circular saw with Kreg AccuCut guide track
- Kreg Jig
This may seem like a lot, but if you want to get into woodworking, these would be the tools I would recommend starting with. And I share all my tips for how to build a woodshop on a budget so you can get started without breaking the bank.
What Wood Do You Need to Build Cheap Cabinet Doors?
Because I was on a tight budget, I used 1×3 furring strips to make my cabinet doors. They would not be my first choice for a room that was being used more often (like a kitchen). However, they were perfect for my laundry room.
If you have a little more room in your budget for your new cabinet doors, you can also use 1×3 whitewood or common board. Check out the beginners guide to buying lumber for all the tips and tricks to buying the best wood for your project.
These boards are usually straighter and have square corners (unlike the furring strips). They are still a softer wood so they could more easily dent and ding.
For budget hardwood cabinet doors, you can use poplar or knotty alder. I used poplar to build the cabinets and doors in my DIY kitchen remodel and they are holding up great. And for our mission style open shelf bathroom vanity I used knotty alder.
Also, poplar and knotty alder are soft enough to be easy to work with for a beginner woodworker. Harder woods can be more challenging.
The most important thing, is to make sure the wood you used is super straight! Furring strips are known for lots of twisting, curving and warping. Twisted or warped boards will cause you to have twisted or warped cabinet doors.
But how do you know if a board is straight? I teach you how to select straight boards in the beginners guide to buying lumber (with pictures).
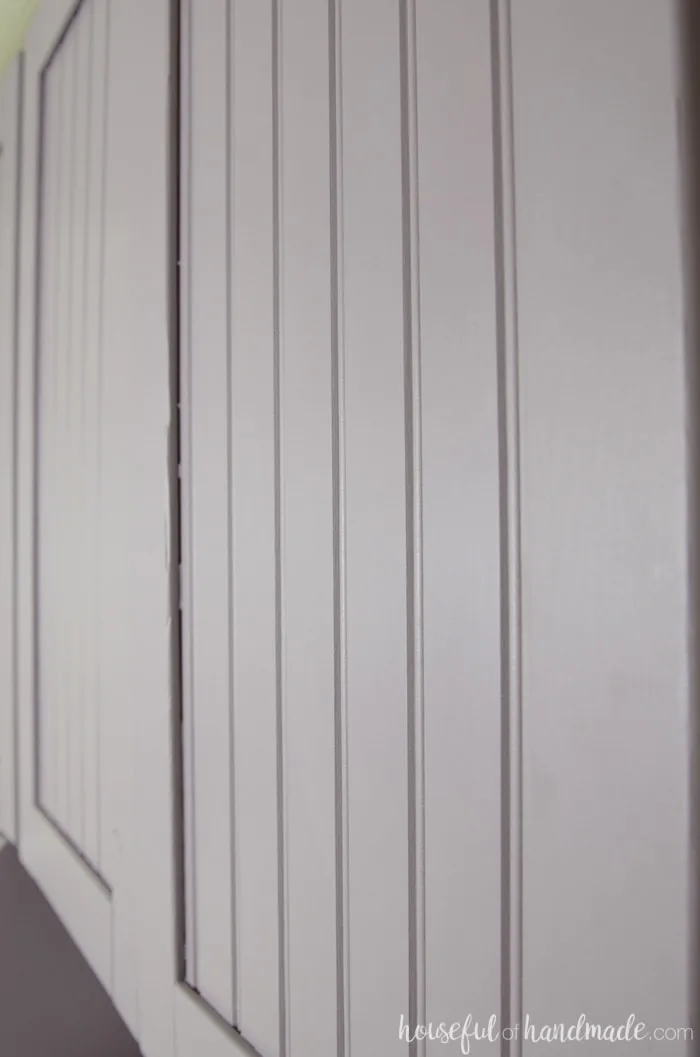
For the center panel, I used leftover beadboard. This is a great way to use up leftover lumber. But if you do not have leftover, beadboard can cost up to 3 time more than using 1/4″ MDF (medium density fiberboard).
MDF center panels are great for cabinet doors that will be painted since they are super smooth and accept paint well. But if you want stained cabinet doors, you will need to use 1/4″ plywood for the center panel.
Printable PDF Plans
These inexpensive cabinet doors were built the same way my easy shaker cabinet doors, but with cheap materials.
You can get Printable PDF build plans for the easy shaker cabinet doors here.
Also, if you do not have a router, check out the PDF plans for building cabinet doors without a router here.
Or better yet, save 60% and get the 3 cabinet door plan bundle so you will be prepared to make beautiful cabinet doors for every project.
How to Easily Build Cabinet Doors
Tools & Materials
Recommended Tools:
- Miter saw (you could also use a circular saw to make these cuts)
- Circular saw with guide (I love the AccuCut guide track)
- Router
- Kreg Jig
- Drill
- Measuring tape
- Sander
Supplies:
- 1×3 boards
- 1/4″ MDF, plywood, or beadboard for the inside panel
- 1 1/4″ pocket hole screws
- Wood glue
The most important part of building your own cabinet doors is to make sure you are working with straight lumber. Even with expensive hardwood boards, you need to look through the stock and check each board for straightness.
If you do not know how to pick out straight boards, check out the beginners guide to buying lumber for all the details.
Determine the size of the cabinet doors you need, I go into detail on how to measure for cabinet doors here. If you are replacing current cabinets with new doors, and using the same hinges, you can just measure the old doors.
STEP 1- Cut the Rails & Stiles
Cut the 1×3 boards according to the sizes you need with the following formula:
- For each door:
- Cut 2 stiles the height of the cabinet doors
- Cut 2 rails the width of the cabinet doors minus 2x the width of the boards (1×3 boards are typically 2 1/2″ but it is always a good idea to double check).
STEP 2- Router the Groove for the Center Panel
Next you will use the router to create a groove around the perimeter of the inside of the cabinet doors for the panel to sit inside. Use a router with a 1/4″ straight bit set at 1/4″ depth.
Easy DIY Router Table from Scraps
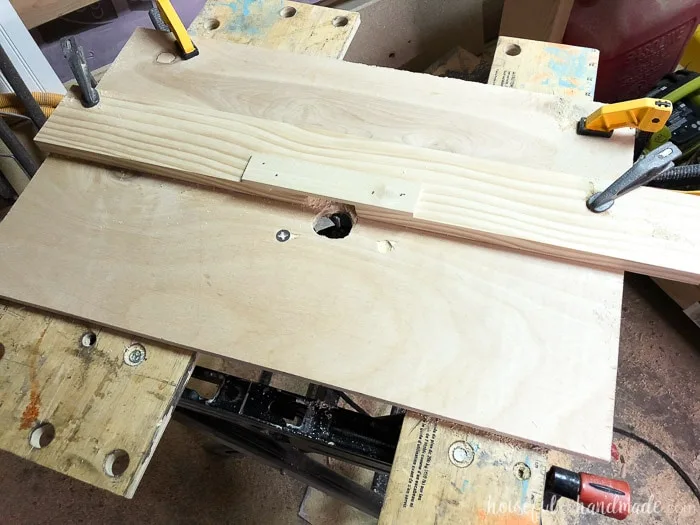
I made my own router table with a scrap piece of 1/2″ plywood cut with an opening for my router bit to come through. Then mounted it on a portable workstation with clamps. And I use a scrap of 1/3 cut with a notch for my router guide.
This is not the most high-end router table, but with some strong clamps holding everything in place, it has served me well for the last year (hopefully this year a router table will be in my budget).
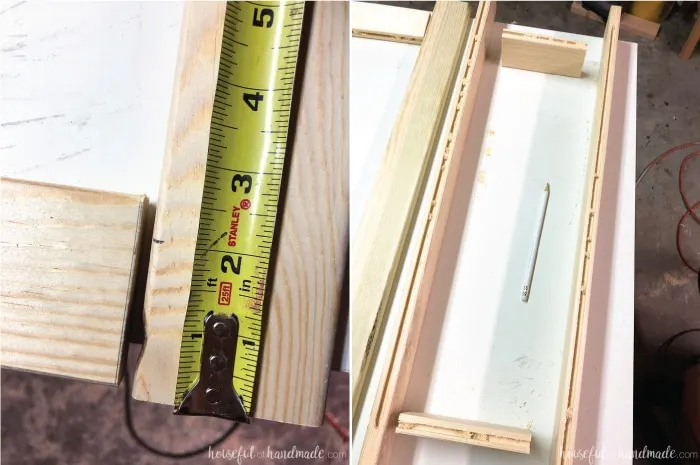
Measure 2″ in from the top and bottom of the stiles. You will need to start and stop your router groove at these marks so that the Kreg jig will still be able to get a good solid joint. Also, it will prevent the groove from being seen when the door is assembled.
For the rails, you will add the groove the entire length of the board. I made my grooves slightly toward the back of the board (not exactly centered). To make sure the groove was at the correct spacing on each board, I double checked the front before routering.
STEP 3- Cut the Center Panel
Cut your panel pieces (from 1/4″ beadboard, MDF or plywood).
To cut sheet goods, I place a 2″ piece of rigid foam on top of my worktable, then place the sheet on top of it. Then use a circular saw with a guide track (I cannot say enough good things about the Kreg AccuCut, my table saw is getting a lot less use these days).
You can also use a straight piece of wood and clamps, but it takes a bit more measuring. Each panel should be cut to the following formula:
- For each door:
- Cut 1 panel so the height is equal to the height of the stiles minus 2x the board width plus 3/8″ and the width is equal to the length of the rails plus 3/8″
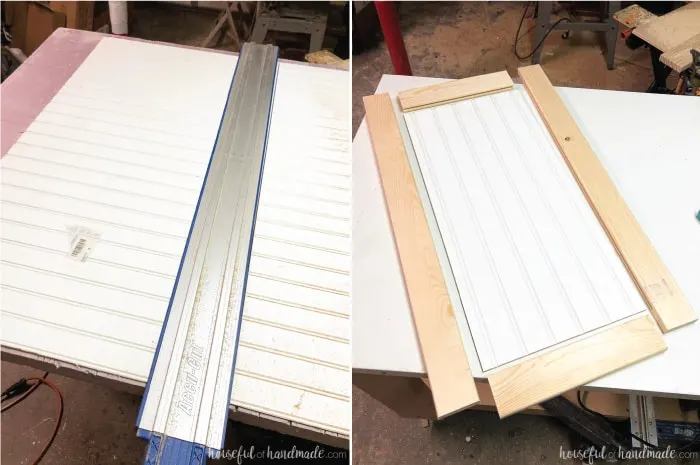
You may be tempted to add 1/2″ to the panel to accommodate (2) 1/4″ deep grooves, but I find giving myself 1/8″ give on the measurement makes everything fit together much better.
STEP 4- Assemble the Cabinet Door
Now it is time to assemble the cabinet doors!
Add 2 pocket holes set for 3/4″ thick material with a pocket hole jig to each side of the rails on the back of the boards.
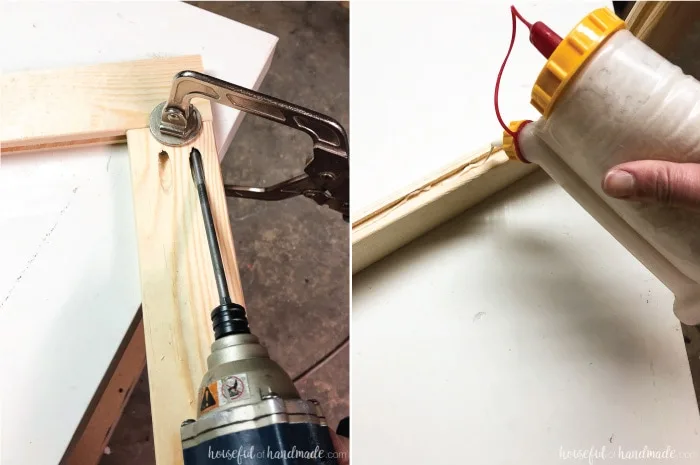
Add a bit of wood glue to the edge of the rail, then secure it to the edge of the stiles. Makes sure your panel grooves line up and the rails are flush to the edge of the stiles. Secure with 2 pocket hole screws.
Repeat on the other side so you have two rails secured to the top and bottom of one of the stiles. Fill the groove with a bit of wood glue.
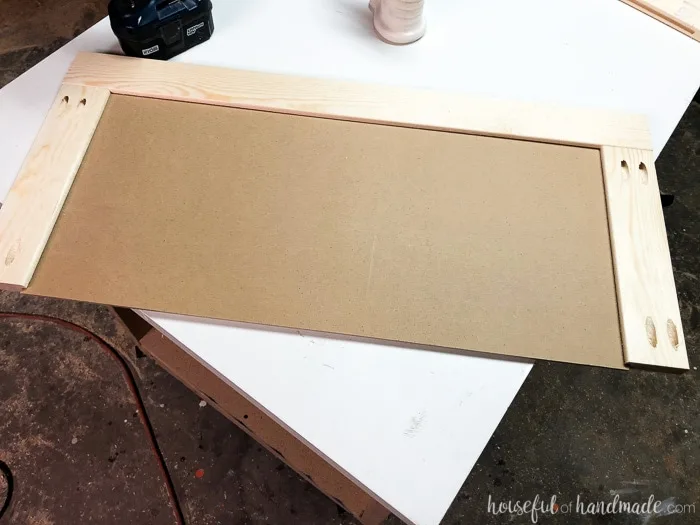
Now slide your panel into the grooves. Make sure to pay attention to the front of the door and panel so they are inserted correctly.
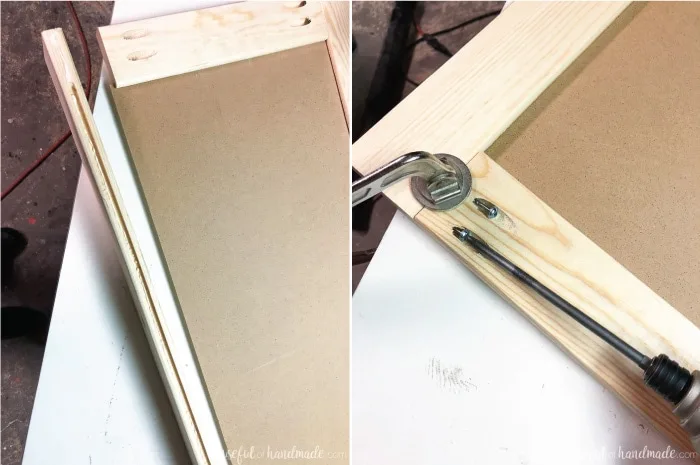
To attach the other side of the cabinet door, add wood glue to the groove and a little on the ends where you will connect it to the rails.
Clamp and secure with 2 pocket holes screws. Make sure the grooves line up and the top and bottom are flush.
Also check for square by measuring from corner to corner. If you get the same measurement then you are square, if not, you can adjust to square with a large clamp and then let the glue dry before releasing.
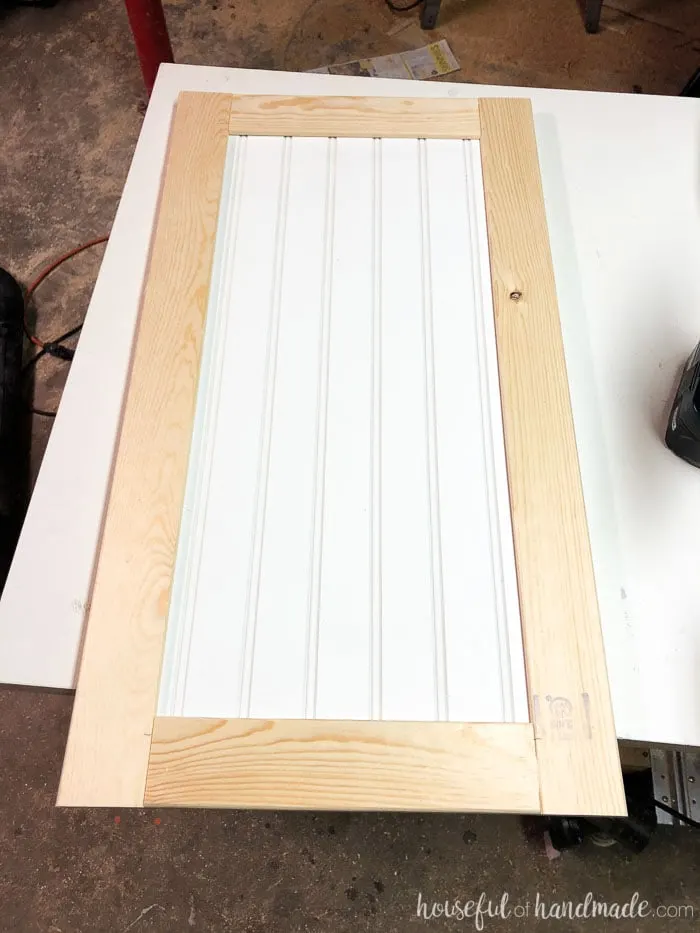
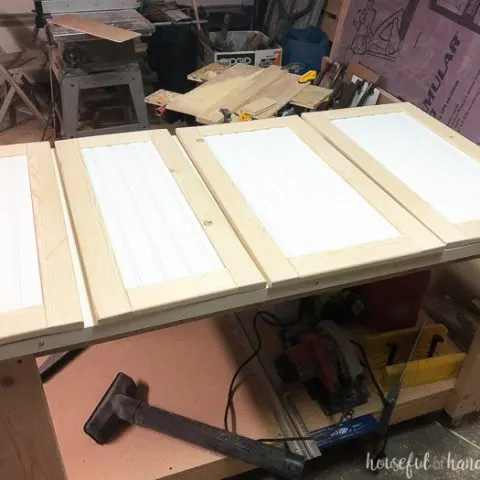
Now you just need to repeat to build cabinet doors for the rest of your cabinets. It took me less than 2 hours to build these 4 cabinet doors and sand them so they were ready to paint.
If you are making multiple cabinet doors, create an assembly line:
- Cut all the stiles & rails,
- Add the routed grooves,
- Cut panels,
- Drill pocket holes,
- Assemble.
It goes by quickly this way and you will have all your doors built in no time.
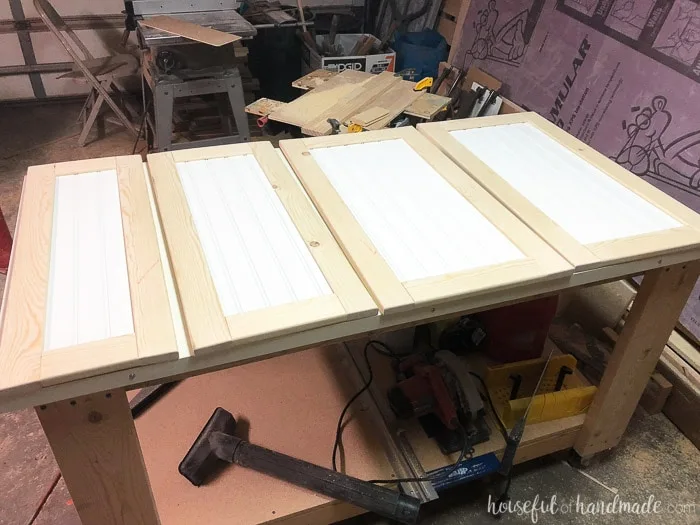
STEP 5- Finish and Hang your New Doors
If you want to finish off the inside of the cabinet doors, fill the pocket holes with plugs or wood filler.
To finish off my cabinet doors, I painted them Classy Plum by Behr to match the laundry basket storage shelves. I used a paint brush to get in all the grooves of the doors and beadboard and then a foam roller to get a smooth surface.
Then I gave them a coat of Minwax Paste Finishing Wax to give the cabinets and doors some extra protection. So far they have held up well to installation and all the other banging around I did to get the rest of the laundry room ready in only 1 month.
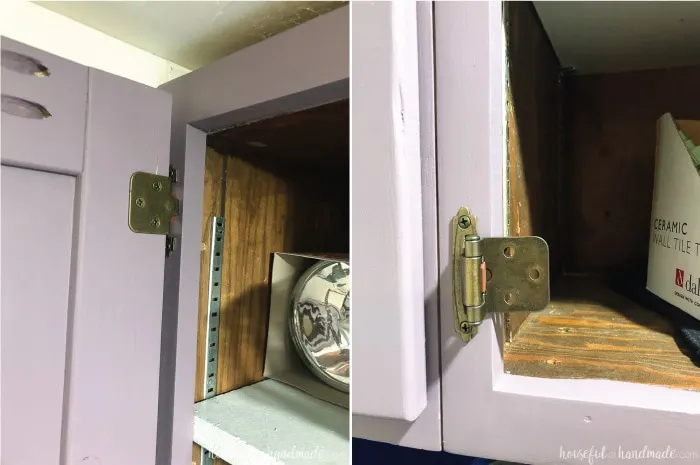
And because I know I will get asked, how did I hang the cabinet doors? Because I was working with face frame cabinets and didn’t have budget for fancy hidden hinges, I used these basic self closing hinges.
I like the decorative antique brass exposed hinges. They add a little style to the laundry room. Now I just need to find the perfect antique brass cabinet pulls to match.
Don’t forget to grab the printable PDF plans here!
Premium plans include:
- Recommended Tools
- Materials list
- Lumber recommendations/tips
- How to figure cabinet door sizes
- How to figure cut list for any size door
- Step-by-step instructions with 3D renderings
- Door building tips & techniques
- Helpful resources
- BONUS: 3D SketchUp file
I truly love our new laundry room and am still amazed we were able to build cabinet doors so cheap!
Now I am ready to tackle cabinet doors in all the rooms…
How to Build Inexpensive Cabinet Doors
Update cabinet doors in your kitchen, bath, laundry or built-ins with new DIY cabinet doors. These inexpensive cabinet doors are easy to build and look amazing!
Materials
- 1x3 boards
- 1/4" MDF, plywood, or beadboard for the inside panel
- 1 1/4" pocket hole screws
- Wood glue
Tools
- Circular saw with guide
- Miter saw (you could also use a circular saw to make these cuts)
- Router with router table (see post for easy DIY router table)
- Pocket hole jig
- Drill
- Measuring tape
- Clamps
- Sander
Instructions
Select Your Wood
- For the rails & stiles select straight 1x3 boards. Furring strips are the cheapest but you will have to pick through the boards to find straight ones. White wood or common board are cheap alternatives that tend to be straighter. For inexpensive hardwood options, use poplar or knotty alder.
- For the center panel 1/4" MDF is the cheapest and great for painted cabinets. For added style, use beadboard. If you want to stain your cabinet doors, use 1/4" plywood.
Cut the Boards
- Cut the 1x3 boards according to the sizes you need with the following formula. For each door cut:
- (2) stiles the height of the cabinet doors
- (2) rails the width of the cabinet doors minus 2x the width of the boards (1x3 boards are typically 2 1/2" but it is always a good idea to double check) - Cut your center panel piece from the 1/4" beadboard, MDF or plywood. For each door cut:
- (1) panel so the height is equal to the height of the stiles minus 2x the board width plus 3/8" and the width is equal to the length of the rails plus 3/8"
Assemble the Cabinet Doors
- Router a 1/4" deep by 1/4" wide groove in the stiles. Start and stop the groove 2" in from the ends of the stiles.
- Router a 1/4" deep by 1/4" wide groove in the rails. Router the groove the entire length of the rails.
- Drill pocket holes set for 3/4" thick material (the thickness of the 1x3 board) in both ends of the rail boards.
- Add wood glue to the edge of one rail, then secure it to the edge of one of the stiles. Makes sure your panel grooves line up and the rails are flush to the edge of the stiles. Secure with 2 pocket hole screws.
- Repeat with the other rail on the other side of the same stile.
- Slide the panel into the groove of the partially assembled cabinet door. Use wood glue to secure if desired (it is not necessary).
- Attach the second stile to open ends of the rails with wood glue and pocket hole screws. Make sure to line them up properly and check your cabinet door for square.
- If desired, fill the pocket holes with plugs or wood filler.
- Sand your new cabinet door smooth and paint or stain.



Steve
Saturday 14th of January 2023
Thanks. I'd like to do this but don't want to build a router table. Can I simply use my hand held router (with straight bit) to make an indentation on the back side of the rails and styles, and insert and glue the bead board into those indentations?
Kati Farrer
Monday 16th of January 2023
That is possible! I did it for this project - https://housefulofhandmade.com/modern-display-cabinet-build-plans/
Bek
Friday 26th of August 2022
Your probably the first website I have seen that actually shows a cheap way to build something. I love furring strips, built soooo many things from them. We are farmers and still do a lot of things the old way lol. I have been using curtains as cabinets doors for years. But we just adopted a baby and I know the little bugger is gonna be digging stuff out soon. Was looking for door ideas. Thanks
Doug
Thursday 9th of June 2022
Why did you spend so much on wood? Seriously, I am remodeling my kitchen and I found a lot of ugly furniture made from oak. I bought a large coffee table at Value Village for $4.95. It was old and I was amazed someone would buy this oak to make this ugly table.
Anyway, there is a lot of cheap hardwood out there that has some great and straight wood
Kati Farrer
Saturday 11th of June 2022
I am all for taking advantage of local opportunities. If you can source your materials at a better price, awesome! I find most people want the process to have as few steps as possible and may not have the time or the places available to hunt for bargains.
Annie
Saturday 23rd of January 2021
Hello. I already have shaker doors. Can I just add a piece of beadboard to the recessed area of the door? Or would that make the door too heavy over time? Thanks.
Kati
Thursday 11th of February 2021
You should be fine adding a bead board inside. You might also want to caulk around the edges of the bead board to make it look more connected to the outside of the cabinet doors.
Jayne
Saturday 31st of October 2020
Okay I am going to be making cabinet doors soon. When you made the cuts with the router did you slide the 1x3 through? I have never used a router and need guidance. From how I understand it the router would go down into the hole and I push the wood through and it makes the cut. Wrong?
Kati
Wednesday 16th of December 2020
Yes, you will need your router in a table. Then the bit comes up through the hole. Set your fence (the straight line behind the router bit) so the bit will go through the center of the edge of your 1x3. Then you can run the wood over the bit. You will want to take multiple passes, increasing the depth of the cut as you go. And be aware that you only want to move the wood over the router in one direction (based on the way the router bit rotates). On my table I move the wood from the right to the left.