
Learn how to get a smooth paint finish to give your DIY projects a professional look.
Building a new piece of furniture is just one part of the process. You also have to finish your piece. For painted furniture, follow these steps to get a smooth paint finish on your project.
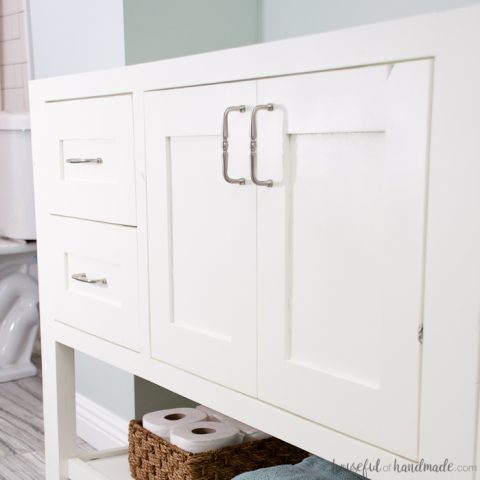
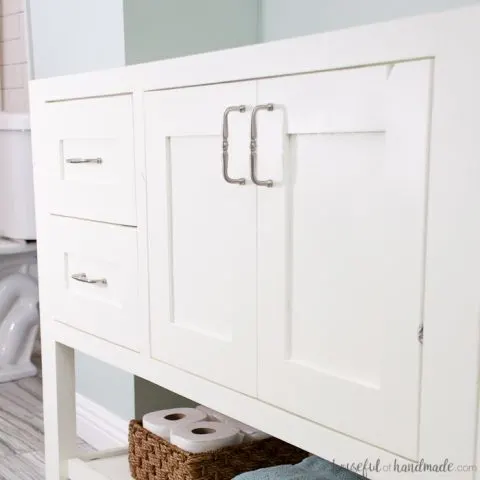
I used these furniture painting steps on the DIY double vanity in our master bathroom. The paint finish turned out amazing! It took the project from DIY to professional.
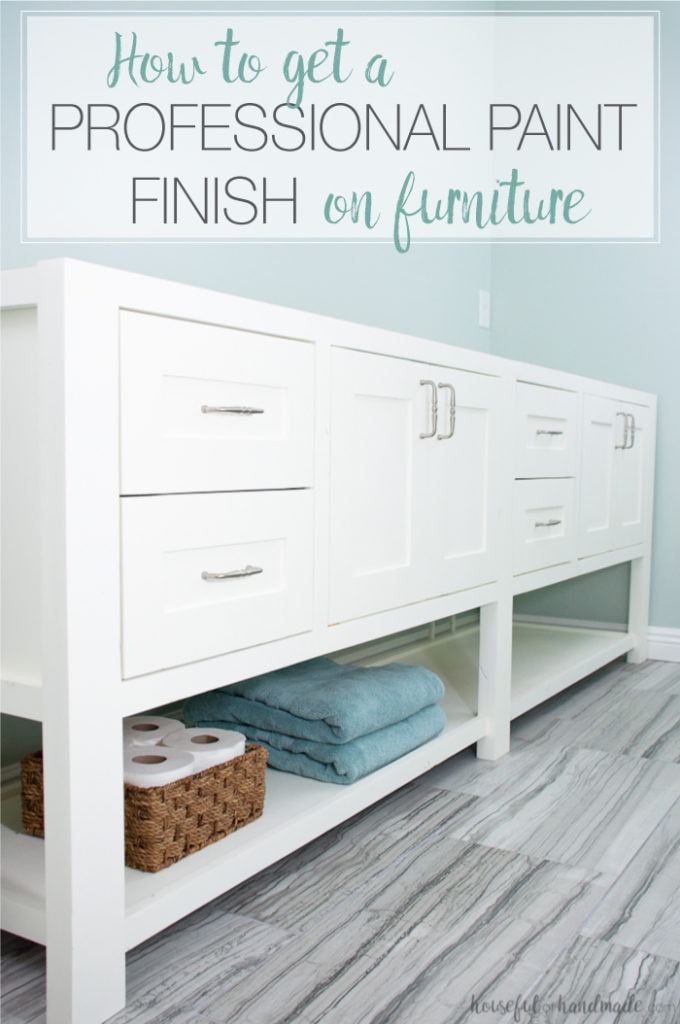

We have had the vanity in our master bathroom for a couple weeks now, and everyone that comes to visit must go check it out. It has been really awesome to see their reactions. I have heard “You really built this?” and “It looks professional not homemade.”
This post may contain affiliate links. As an Amazon Associate I earn from qualifying purchases. Click here to read my full disclosure policy.
As much as I want to believe the comments are all about my skills with power tools, I know that the finish on the vanity is what is making people really impressed.
I hate to admit that some of my early building projects didn’t turn out as high-end looking as the bathroom vanity. Even my coffee bar table (which I still absolutely adore) is not as professional as the vanity.
But I have been learning a lot by trial and error over the last few years and I want to share this knowledge with you so you know how to get a smooth professional paint finish on furniture you build too.
Pick the Best Materials for Your Project
Before we get into how to paint the furniture for a smooth finish, I want to take a minute to talk about things that need to be done in the building process to make the painting step much easier!
I hate sanding and I hate painting! But I do it because no one will do it for me and I want to actually be able to use the pieces I build.
So I always take a little extra time in the building to cut down on time spent finishing a piece, starting with the wood I choose. I know it is tempting to make pieces of furniture out of cheap 1x2s and 1x4s, and they definitely have a place in my wood shop.
In the beginning, I used them frequently so it didn’t cost a lot when I messed up. I built a toddler bed for less than $25 and this nautical picnic table for less than $50 because I used these inexpensive building materials.
But these woods are soft and will not hold up over time. So when I build with them I know that they will be pieces that are used for just a few years.
However, using a harder wood will give you a more solid piece that will last for many, many year and the hardwood is much easier to achieve a smooth professional finish on.


Budget Friendly Hardwoods to Build With
Using hardwood can get expensive, but there are more budget friendly options like knotty alder and poplar.
Alder and Knotty Alder
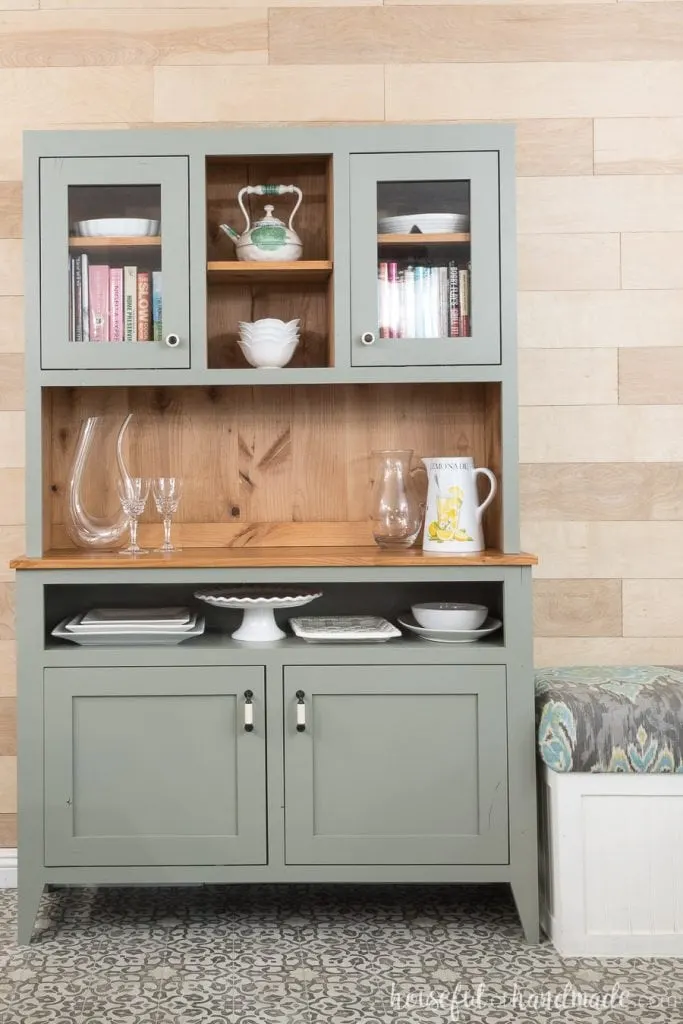
I used knotty alder to make these rustic railings, this dining room hutch, and the double bathroom vanity (and all the supplies for our 8′ double vanity cost less than $350).
It is really easy to work with, but be warned, there are quite a few knots in it. I personally love the knots because my house is full of rustic charm.
If you do not want the knots, use regular alder (which is a bit more expensive but not as expensive as other hardwoods). Or you can fill the knots with epoxy or wood filler before painting.

Poplar
Poplar is a great option for painted furniture. It can have some uneven or greenish tones so if you are not painting, make sure to carefully pick out your boards to match.
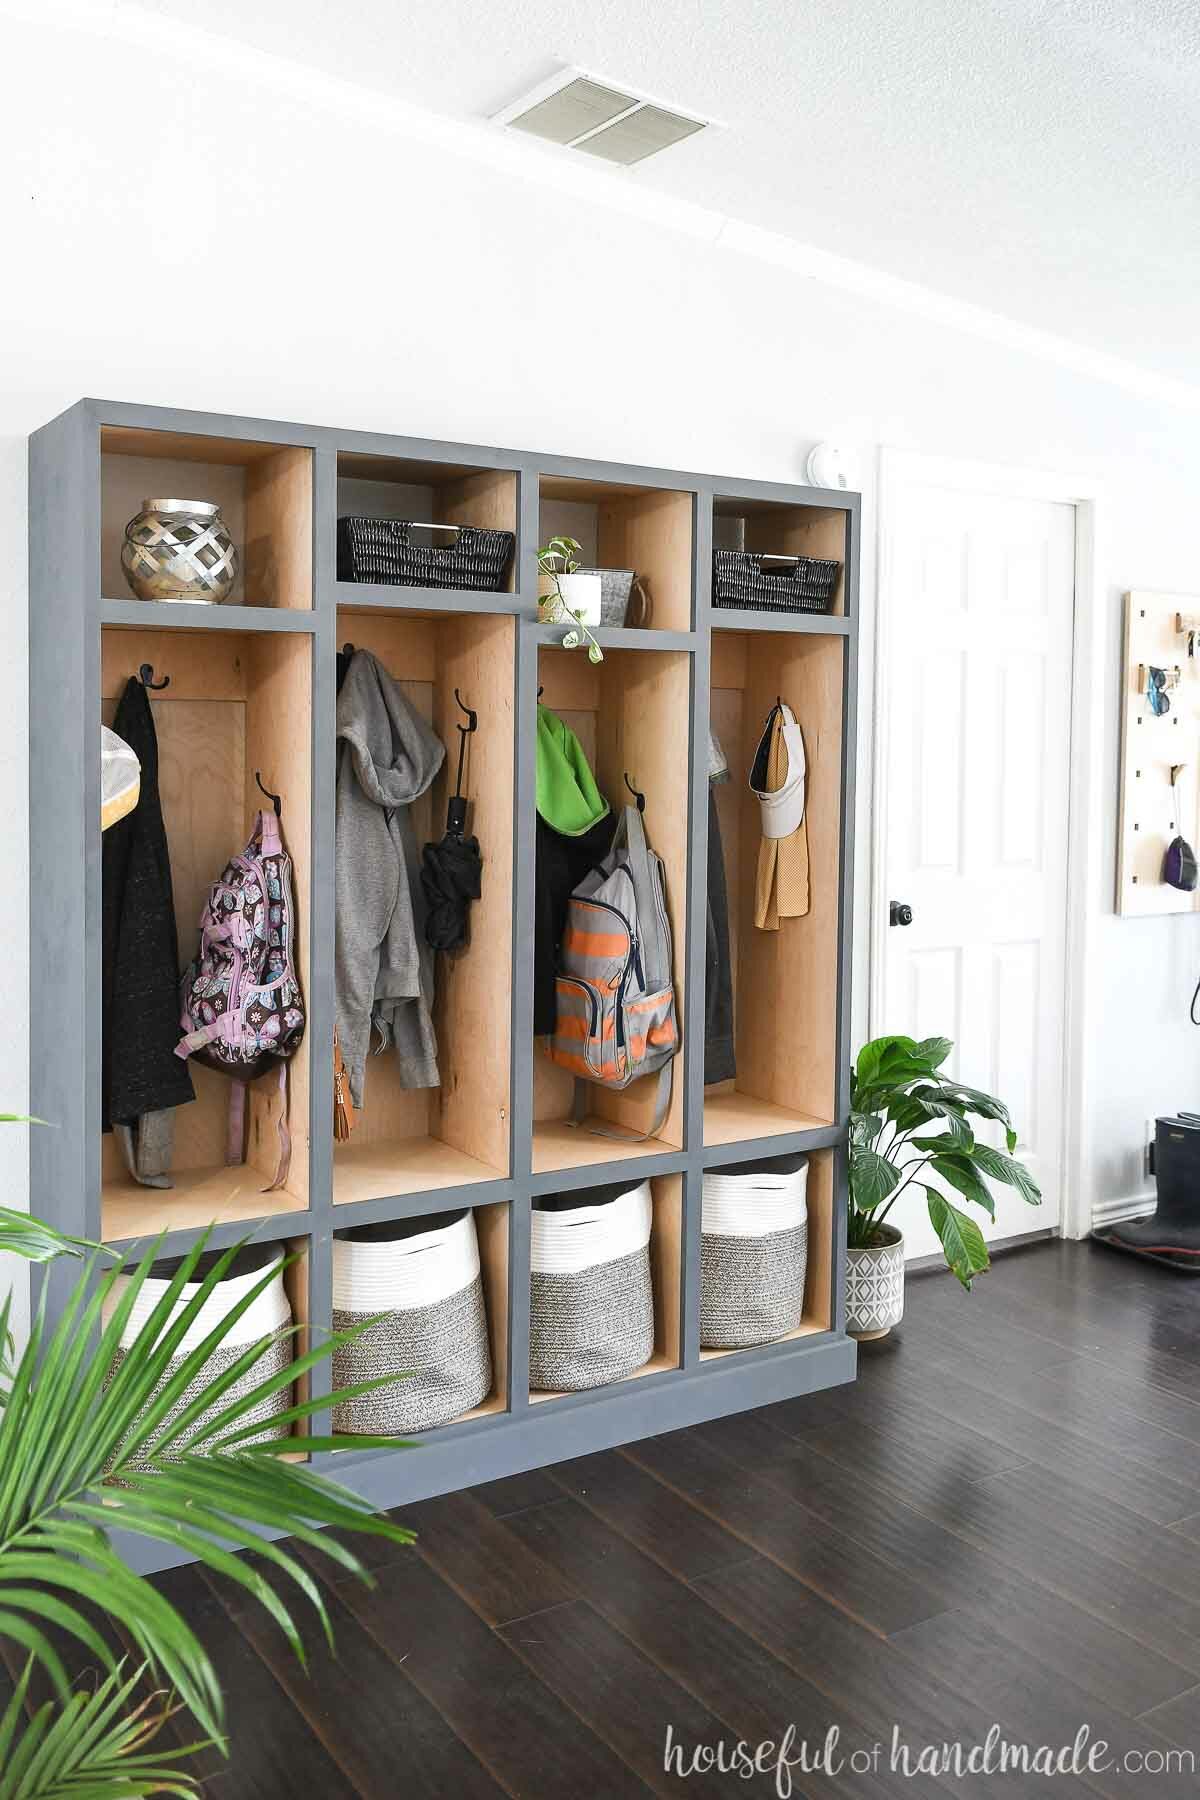
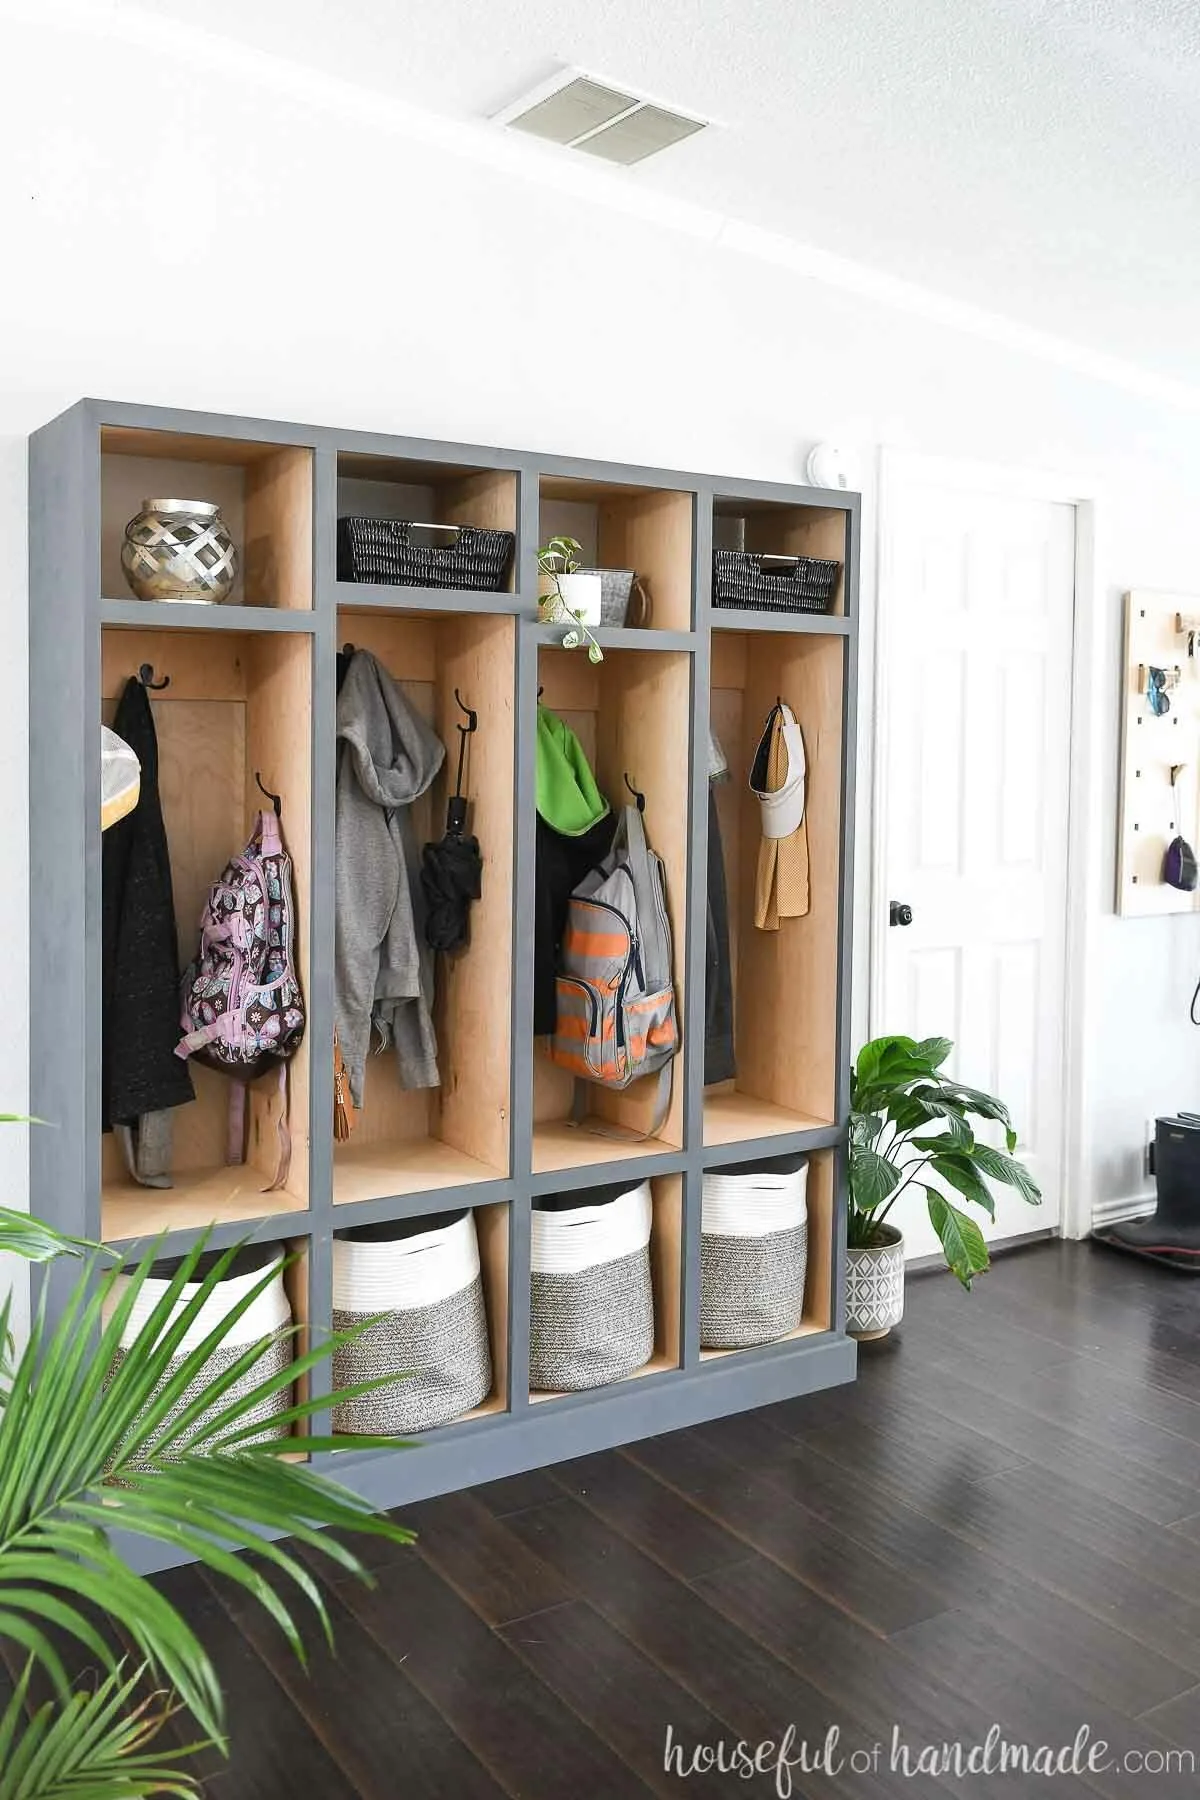
I used poplar for all the cabinet doors and face frames in our kitchen remodel and for this mudroom storage locker. I also for this stained TV stand.
Poplar is easy to work with and has no knots.
Select Pine
Another option for a great painted wood on a budget is select pine. It is more expensive than construction lumber or whitewood, but not as expensive as hardwood.
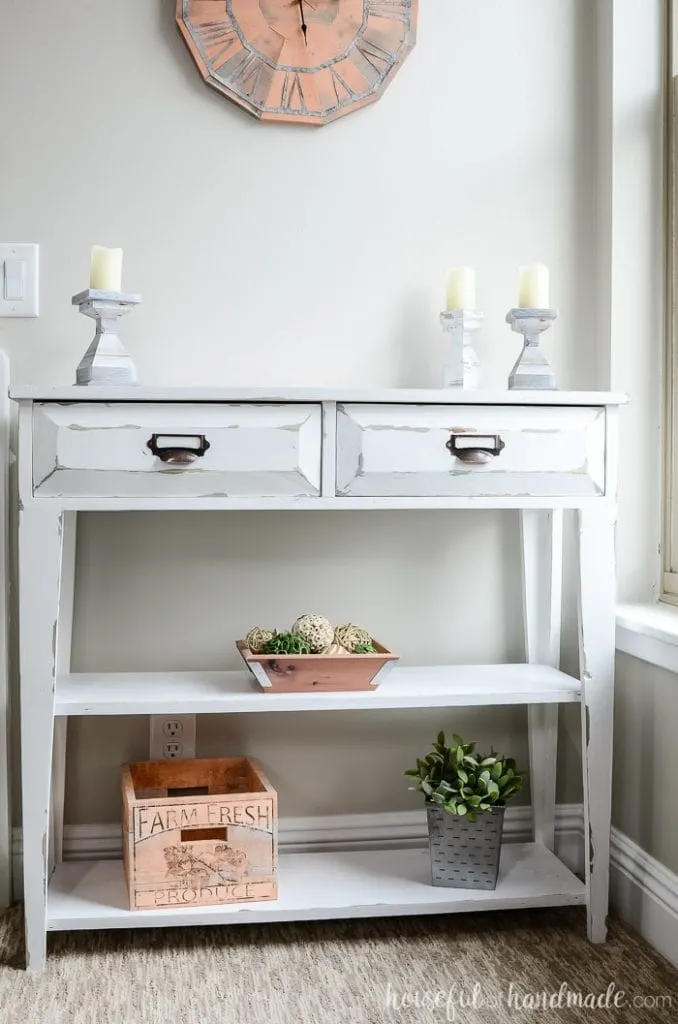
The pine lumber is easy to work with and takes paint beautifully. I used it to for these small console table build plans.
The finish on this console was made to look chippy by adding petroleum jelly to the edges before applying the paint. After the paint dried, the paint wiped off the areas with the jelly to create a farmhouse effect.

Next time you go the hardware store, feel the difference between the hardwoods and inexpensive lumber. You will notice how much smoother the surface is. And the boards also tend to be much straighter.
All these things will ensure a high-end finish in your building project.
Now on to the painting and finishing!
How to Get a Smooth Paint Finish on Wood
Tools & Materials
Recommended Tools:
- Paint sprayer
- A paint sprayer will give you the smoothest finish. I like the budget friendly HomeRight Finish Max sprayer. You can still achieve a great paint finish without a paint sprayer. Make sure to use a high quality paint brush and do not over brush the paint.
- Sander (I love this orbital sander)
- Vacuum
Supplies:
- Sandpaper, multiple grits from medium to ultra fine
- Paint
- I don’t believe there is one paint that is the end-all-be-all for the best results. Use what you love. I use the Behr Interior Paint & Primer in One most often and am very happy with the results. For the bathroom vanity I used the Behr Pot of Cream in Eggshell.
- I have used the newer water based Cabinet Enamel paints for painted cabinets recently. They offer a hard, enamel-like coating for durability. Use the same process as below to get a smooth finish with it.
- Tack cloth
- Fine grit sanding sponges
- Polyacrylic or Sealing wax protective finish
STEP 1- Prepare for Paint
Proper preparation is the key step to getting a smooth professional paint finish on anything!
Start by sanding your piece very well. All the paint in the world cannot cover up rough wood. This is one of the main reasons I love using quality lumber, it makes sanding so much easier.
If you are starting with rougher lumber, start with a lower grit sandpaper (like 60 or 80 grit). Then step down to a medium grit (100), then a fine grit (150-180) and always end with an extra fine grit (220 grit).
Always sand in the direction of the grain. Pay extra attention to the places where boards connect.


Once the entire piece is sanded down, vacuum it to remove dust, debris, and sawdust. Before I had a shop vacuum I use my household vacuum. If you have a dusting attachment, use it to help brush anything on the surface of the wood.
After the surface of the wood is vacuumed and appears clean. Use a tack cloth to pick up the fine dust particles from the wood.
This is the first time I used a tack cloth and it is a game changer. It’s super easy to rub all over the furniture piece and it’s amazing how much dust you will get off what looked like a clean surface.
This also helps you see if there are any spots that need additional sanding because the tack cloth will snag on a rough spot.
STEP 2- Paint the First Coat
Now you are finally ready to apply paint.
I used the HomeRight FinishMax sprayer. Painting the vanity with the sprayer took a fraction of the time it would have taken with a paint brush. Also, it dried quickly so I could complete the project faster.
To use this paint sprayer you need to thin the paint (their new Super FinishMax sprayer does not require it). You can determine if your paints needs to be thinned by using a very simple drip test. The paint must pass through the specific container in 25-40 seconds to be ready to use in the sprayer.
For my first coat, since it would ultimately be my primer (my paint had primer included in it), I only thinned it to 40 seconds so it was the thickest it could be for more solid coverage.
If you are using a water based paint, you can thin it with just water (yay!). If you are using an oil based paint you will need to use an oil-based medium that is recommended by the paint you are using.
Completely cover the entire surface of your piece in paint. Be aware that it will be spotty/streaky as the paint will soak into the wood a bit. Do not apply a thicker coat for the first layer to try to achieve a smooth finish or you may get drips.
Multiple coats are necessary and will result in a better final finish.


When to Paint Furniture
It’s worth noting that I painted my vanity in the summer, and it was HOT and DRY! We had temperatures in the 90s that week.
Typically, it is not recommended that you paint in extreme hot or cold temperatures. The paint will dry extremely fast in these high temperatures.
If you are using a paint brush to paint in the heat, it will leave brush strokes and the paint will dry in your brush making a mess of the brush and leaving clumps of paint or brush strokes on your furniture. This will not result in the smooth professional paint finish you are hoping for.
The paint sprayer did not have any issues in the heat though. And it was dry almost immediately after painting so that was an added bonus.
STEP 3- Sand Between Coats of Paint
After the first coat has dried, use a fine grit sandpaper and sand the entire surface by hand.
I use these sanding sponges for this step and love them. They make it easier to get into corners because the sanding surface is on 4 sides of the sponge.


Give it a good sanding to remove any bumps or texture in the paint. Be careful around edges because it is easy to sand them too much and end up with a worn look (or go heavy on the edges if you want the worn look).
To make sure the piece is sanded enough, I run the palm of my hand over it to see if it feels smooth to the touch.
Once everything is sanded, pull out the vacuum again. Vacuum the entire piece of furniture as you did above. Then grab the tack cloth and remove any additional dust from the surface.


STEP 4- Paint the Remaining Coats
Now it is time for a second coat of paint.
For the second (and third) coats of paint, I thinned the paint to a thinner consistency. For the drip test, it only took 25 seconds for my paint to pass through the container.
The thinner paint made for a smoother coverage from the paint sprayer. Coat the entire piece of furniture with a second coat of paint. There should be very little to no streaks/spottiness when you finish this coat.
After the second coat has dried, continue sanding between coats of paint, vacuuming and cleaning with tack cloth before adding the next coats.
Now it is time for a third coat. Thin the paint the same as you did for the second coat and cover the entire piece. After this coat the surface should look smooth and uniform.
I stopped at 3 coats for my bathroom vanity, but sometimes a fourth coat is needed or desired. Paint, paint color, and wood can all affect if you need more coats.
Add more coats as necessary. Make sure to sand between each coat of paint. Then vacuum and tack cloth the surface before adding paint.


STEP 5- Add the Protective Finish
Once you are happy with your paint. Give it a very light hand sanding with the ultra fine sanding sponge. Then it is time to protect it.
This step is optional, but will create a protective finish on your piece of furniture.
If using a water-based paint, you want to use a water-based polyacrylic finish. If using an oil-based paint, use and oil-based finish.
Polyurethane finishes will yellow over time and are not recommended for use on painted finishes.
A wax finish will add a matte or low-sheen finish to the paint.
Typically the higher the gloss to a finish, the easier it will be to clean. I usually use a satin/semigloss finish for walls and furniture in the kitchen and bath.
If you are using a sealing wax, buff it on the surface with a brush or rag. Then buff off the extra. Repeat if needed, but typically 1 coat is sufficient for waxes.
If you are using a poly coating, using a high quality paint brush or paint sprayer to apply a coat to the entire piece of furniture. Let it dry.
If a second coat is needed (and I usually advise at least 2 coats for normal furniture and 3 coats for high traffic or areas around water), you will need to sand between coats, then vacuum and tack cloth the piece before adding the polyacrylic.
This will ensure a super smooth finish. However, you do not want to sand the final coat or you will end up with a cloudy finish.


Now you can stand back and admire your beautifully painted piece of furniture that no one will be able to tell was homemade!
A proper paint finish will make all your pieces stand the test of time, and isn’t that what you want from a piece you spend the time to build yourself? I know I do. Maybe I’ll even be able to pass them down as family heirlooms someday.
It may seem like a lot of work for a perfect paint job, but it really is mostly waiting for things to dry. And if you want to take the time to build something you will want to finish it properly too.
How to Get a Smooth Paint Finish on Wood
Finish your wood projects with a smooth, professional paint finish. This simple process takes time, but will give you a smooth paint finish on wood that will stand the test of time.
Materials
- Sandpaper (multiple grits from medium to ultra fine)
- Paint (use a Paint & Primer in one to eliminate an additional primer step)
- Tack cloth
- Ultra fine sanding sponge
- Polyacrylic or Sealing wax protective finish
Tools
- Sander
- Paint sprayer
- Vacuum
Instructions
- Sand your furniture piece smooth. Start with a lower grit if needed. Step down your grits and finish with an ultra-fine grit. Sand with the grain of the wood.
- Vacuum all the dust from the furniture piece. Use a bristled attachment to help loosen the dust as you vacuum.
- Wipe off any remaining dust with a tack cloth.
- Fill your paint sprayer with paint. Thin the paint if needed.
- Spray the first coat on your furniture. Use a light coat to avoid drips. You may have some spottiness after the first coat.
- After the first coat is dry, lightly sand the entire surface with an ultra fine grit sanding block.
- Vacuum the dust off and clean the surface with a tack cloth.
- Paint the second coat of paint on the piece the same as the first.
- Repeat by sanding between coats of paint. Then vacuum and tack cloth before applying the paint.
- Paint a third coat, then fourth coat if needed.
- Sand, vacuum and clean the piece again.
- Apply a protective finish of polyacrylic or wax.
- If using wax, no need to sand between coats if you want a second coat.
- If using a poly finish, sand, vacuum, and tack cloth between coats. Apply 2-3 coats as desired.
Now I’m off to cross something else off my crazy long to-do list.


Marty
Friday 21st of October 2022
This tutorial is exactly what I needed to help guide me through the finishing process on a kids bookcase I built. The shelf looks great and I feel confident the finish will hold up after the 3 coats of polycrylic I applied. That said, after letting the final coat of poly dry for a little over a week, it doesn't feel as smooth as I was hoping for. Do you have any recommendations for polishing or rubbing out the surface after the poly coat, to achieve a smooth-to-the-touch feel?
Kati Farrer
Monday 24th of October 2022
Did you sand and finish between each application? That is key to get the smooth finish. I would sand it one more time, make sure to wipe all the dust off and apply another coat of poly.
Gloria Swanson-Byrd
Wednesday 7th of September 2022
New to your site and you have great advice as I’m new to woodworking. But what grit sandpaper do you use in between your paint?
Kati Farrer
Thursday 8th of September 2022
I put a link in the section to the sponges I use. It doesn't have a specific grit, it just says "fine grit"
Natalie Novak
Sunday 12th of June 2022
Can I ask what type of finishing wax you used and would it be ok to use on dining room chairs that have been painted white?
Kati Farrer
Monday 13th of June 2022
I use Minwax furniture wax and its fine to use on dinning room chairs.
Judy
Tuesday 15th of February 2022
Thanks for the great tips, I'm getting to work on an old barrister case. Do you know if the wax finish needs to be resealed periodically, similar to a sealer on grout?
Kati
Monday 21st of February 2022
If you clean your waxed furniture with cleaners it can strip it off over time. I prefer to just wipe them with a damp microfiber towel. I may need to reapply in about 10 years, but definitely not more frequently like grout sealer.
Jennifer
Wednesday 11th of August 2021
Any update on how the finishing wax has held up? Debating on using it on my project
Kati Farrer
Thursday 12th of August 2021
It has held up perfectly. The bathroom vanity has been heavily used and still looks fantastic.