As the weather get cooler, my dinner menu tends to have lots of soup in it! I love soup, vegetables soups, noodle soups, brothy soups, creamy soups, tomato soups, lentil soups, the list goes on. I just love it all!
On a cold snowy day, nothing beats a bowl of hot soup for dinner. But in order to make all these delicious soups, I need a large supply of chicken stock. I have discovered the best way to make chicken stock for practically nothing.
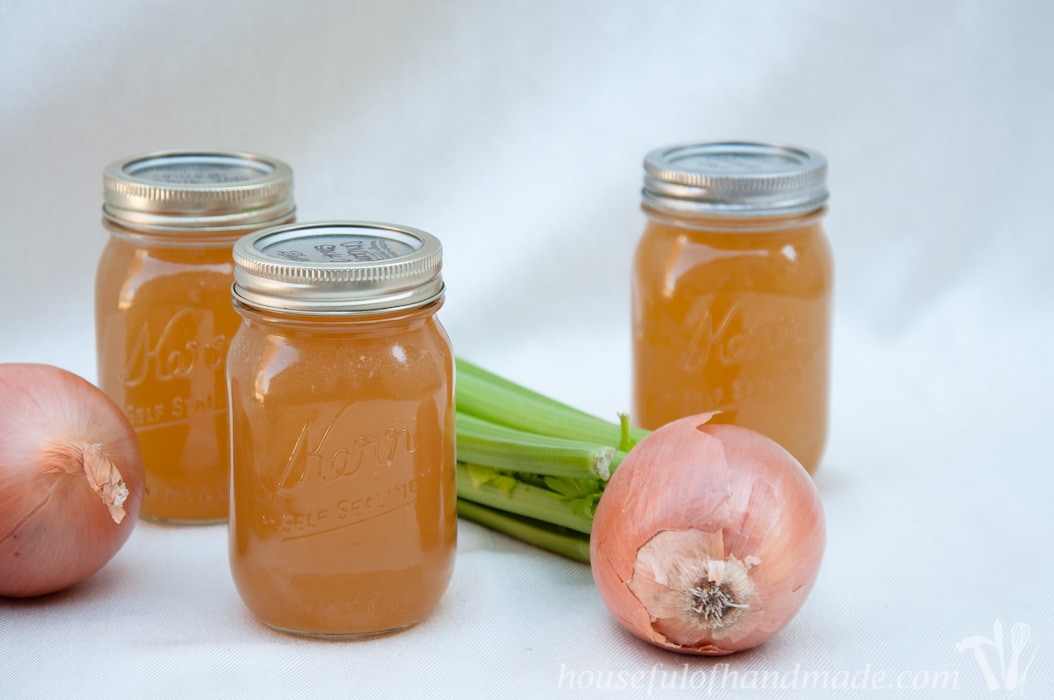
And it’s so easy to make and preserve chicken stock for all your soup needs this winter.
This post may contain affiliate links. As an Amazon Associate I earn from qualifying purchases. Click here to read my full disclosure policy.

So I say it costs only pennies to make chicken stock, and I’m not joking. You can make a large pot out of mostly scraps.
Seriously, throughout the year as my family eats any chicken with bones, I set aside the bones and any bits of meat that weren’t eaten (usually the dark bits that the kids shy away from). I put them in a freezer bag and toss them into the freezer.
After I have a couple gallon freezer bags full of bones, it’s time to make stock.
I usually avoid making and preserving stock in the summer, there is a lot of steaming and boiling going on so it can really heat up the kitchen. I try to limit any activities that add additional heat to my house in the summer.
And since I usually don’t eat as much soup in the summer, I spend the hot months collecting bones from BBQs and rotisserie chickens so I can make stock in the fall when the weather turns cool.
Then on the first cold and rainy day of the season, I pull out my large stock pot and warm up the house with the smells of comfort food simmering all day.
If you want to really make cheap stock, you can also be good about collecting scraps from onions, carrots and celery and stash them in the freezer too. I am usually not so good at remembering to not toss out vegetable scraps.
So I do use 1 onion, a few celery stalks, and a couple carrots in my large pot of stock. But when you consider how much stock you can make, it really is practically nothing per jar.
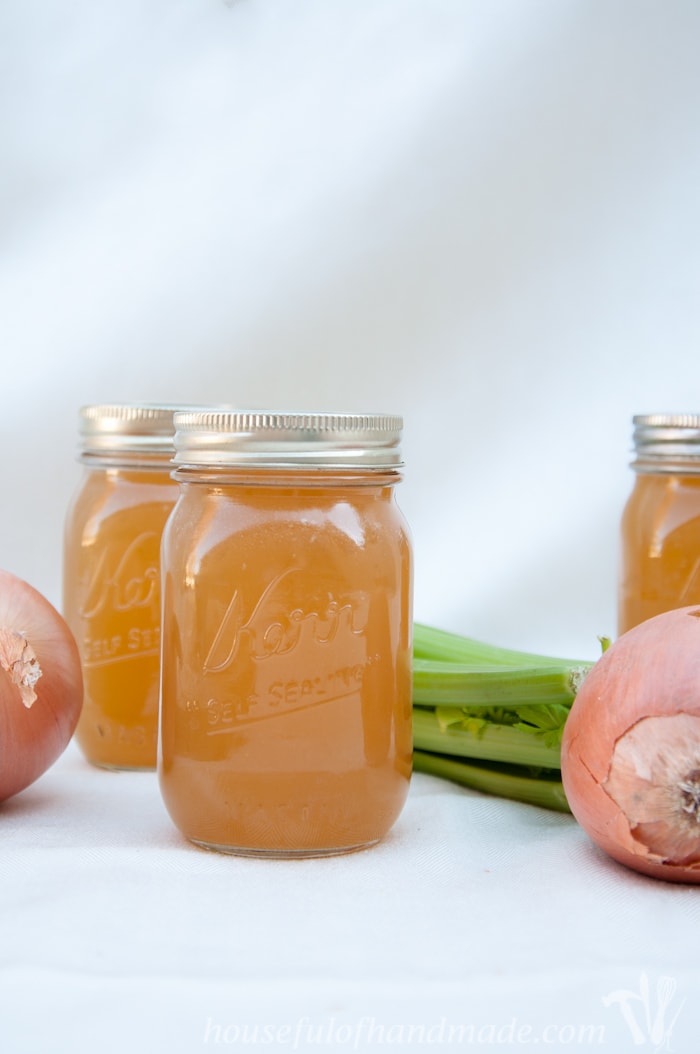
I have a 3 gallon stock pot that I fill to the top and I got 4 quart jars and 14 pint jars out of my last batch of stock. If you paid $5 for the vegetables that you put into the stock, which is a high estimation, it would cost about $0.10 a cup! See only pennies.
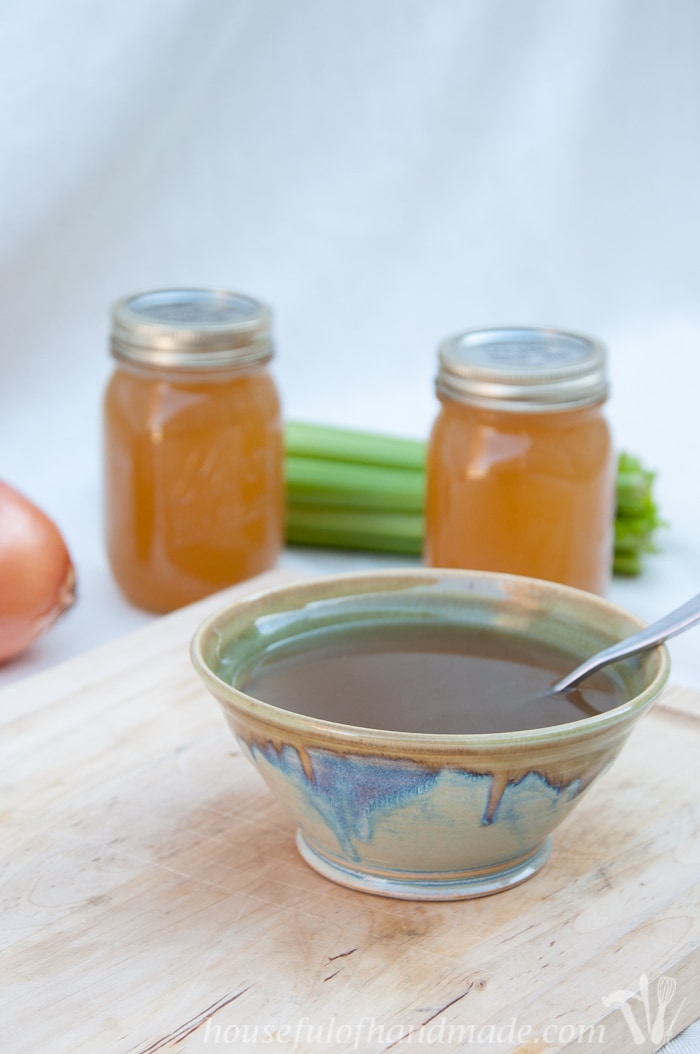
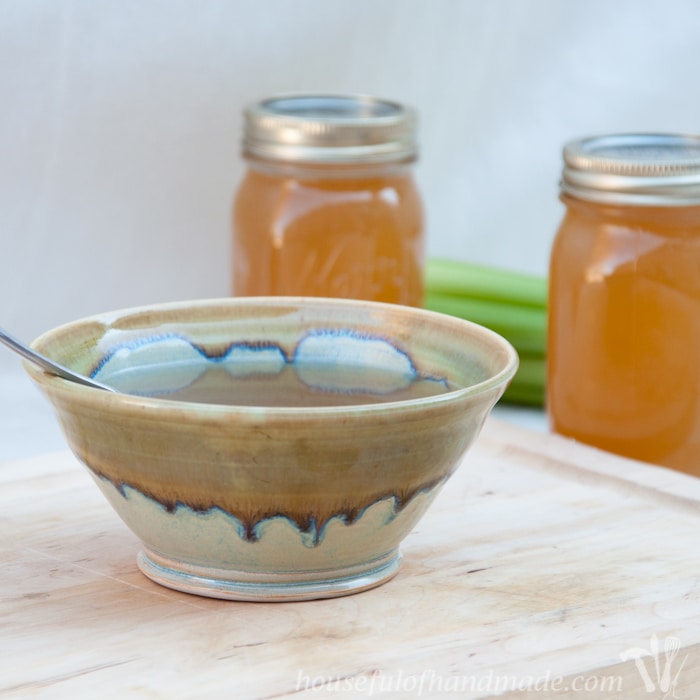
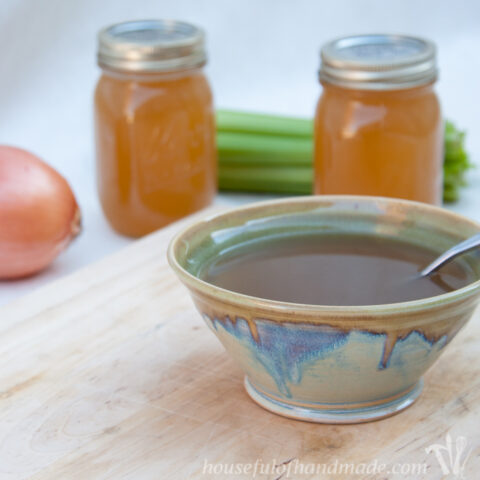
If I haven’t convinced you to make your own stock yet, let’s talk about how much better it tastes. This is not a chicken broth, which is made from simmer just the chicken meat. This is a chicken stock that has the gelatin from the bone and lots of depth of flavor.
It has a smooth, slightly thick texture. It makes the best soups, especially when you aren’t feeling well. The additional nutrients you get from stock instead of a broth are just perfect when you are under the weather.
So now onto how to make it. Super easy, dump the chicken bones and scraps from about 2 gallon sized freezer bags into a 3 gallon stock pot.
Roughly chop 1 onion, 4-5 stalks of celery and 3-4 carrots. Toss these into the pot with your chicken scraps, add 4-5 bay leaves and then fill it to the top with water. Put it on the stove to simmer.

Cover it and simmer for a few hours. It doesn’t have to be to exact, just simmer it until you have time to pressure can it. I like to put it on the stove after breakfast, then I preserve it after dinner.
The house will smell amazing all day as it simmers. And if you want soup for dinner, you can scoop out a few cups of hot delicious broth to make dinner.
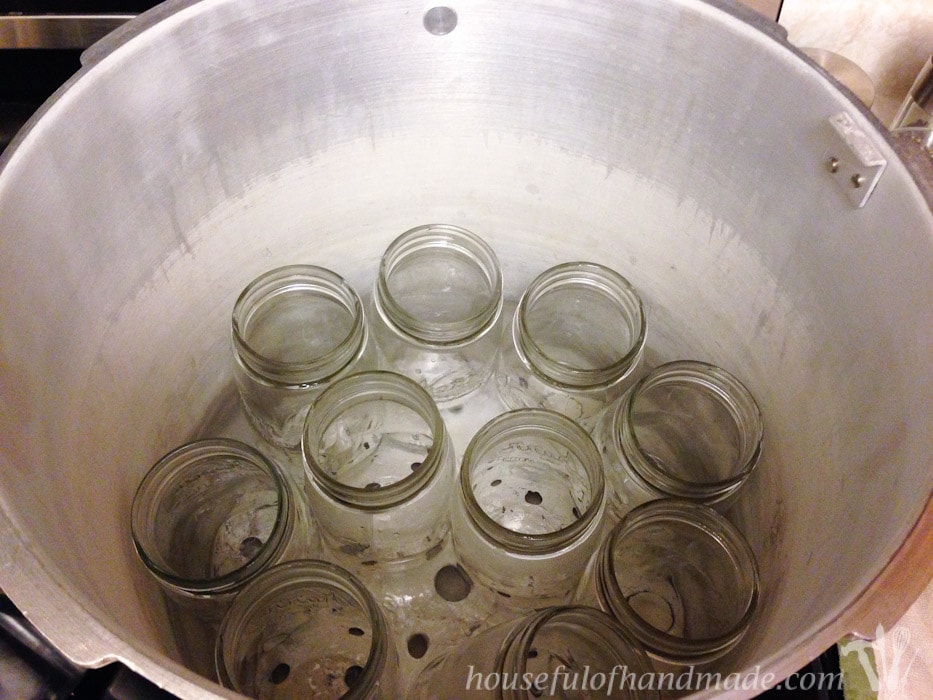
When you are ready to preserve it, the first step is setting up your canning station. I shared all my tips and trick for successful canning in this post. I set up my station the same way I did to water bath can except instead of filling the canner so the water is 1 inch over the jars, you only need to fill it up with a few quarts (mine calls for 3 quarts) of water.
Check your owners manual of your specific canner to make sure you use the right amount. I use this Presto 01781 23-Quart Pressure Canner and Cooker and it can hold 20 pint jars when pressure canning. Perfect for a big batch of stock to get my pantry ready for the winter.
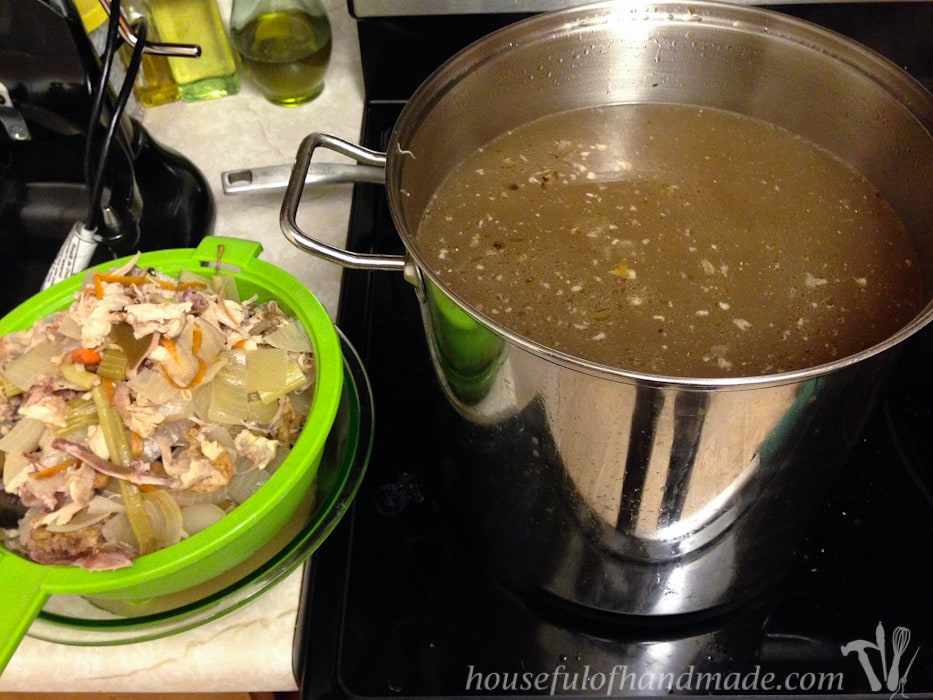
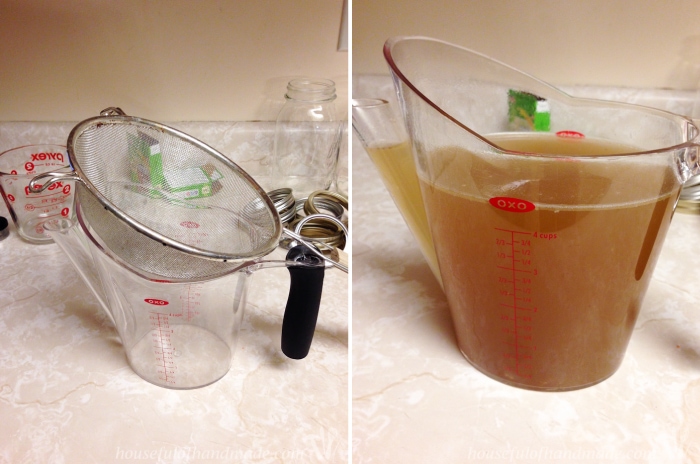
Now that your stock is full of flavor, you need to get rid of all the bits and bones. To do this, I use a slotted spoon and scoop everything into a colander over a bowl.
This allows me to catch the stock that drips off all the bits, I don’t like to waste any of this delicious stuff!
Then I place a fine mesh strainer over my OXO Good Grips 4-Cup Fat Separator. The fine mesh stainer catches any more bits and pieces in the stock that were too small to be scooped out with the slotted spoon.
And the fat separator allows me to strain off any fat in the broth. You don’t have to do this, but it leaves a clean, low fat broth to can. Let the broth sit a minute for the fat to rise to the top.
Follow these basics steps for successful canning:
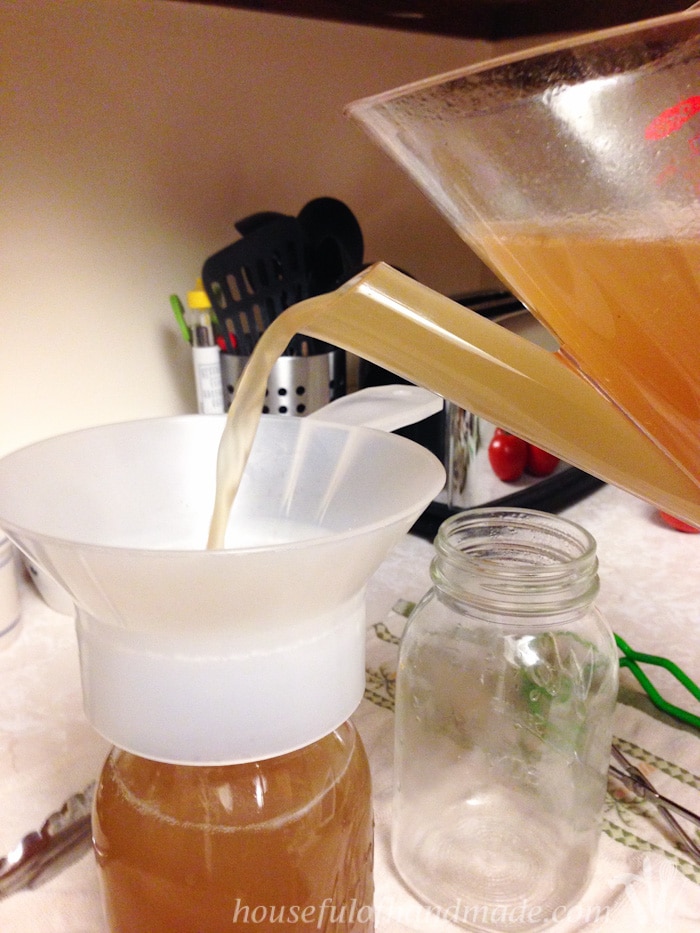
- Grab a hot jar out of the canner of boiling water.
- Using the canning funnel, pour the hot broth from the fat separator into the jar.
- Grab a lid from the bowl of simmering water and place it on a clean jar rim.
- Finger tighten the screw band on top of it.
- Place the jar back in the pressure canner, grab another jar and repeat until all jars are filled.
Add the lid to your pressure canner. Do not place the pressure regulator on the lid just yet. You need to bring the water back to a boil, then wait for a steady stream to come from the vent pipe. Let it steam for 10 minutes, adjusting the temperature to maintain a steady stream.
I usually have to lower the temperature when it is steaming good so it doesn’t go too crazy. You may notice the air vent pop up while it’s steaming, that is okay. It will start to build up a little pressure inside while steaming and the air vent is also a lock to prevent you from opening the lid when there is pressure inside.
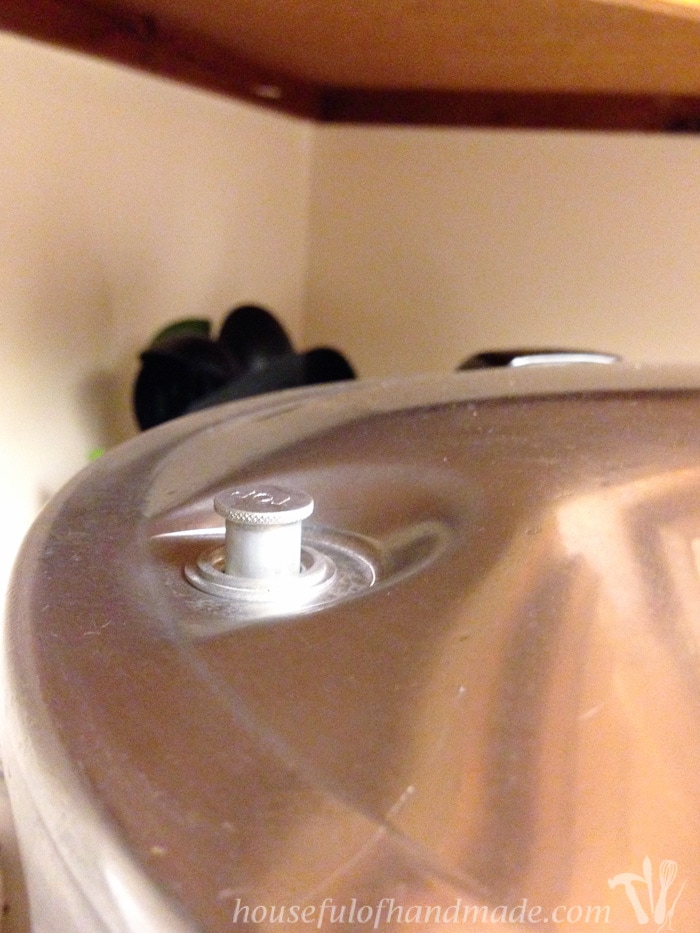
After the 10 minute steaming period, place the pressure regulator on top of the air vent and get ready to watch the pressure rise. The pressure you need to process it at depends on a few things. There is a pressure needed based on the recipe, which in this case is 10 psi.
Then you have to adjust it for altitude, and you should have your pressure gauge checked regularly to make sure it is accurate. When mine was checked last, they told me I needed to process at 13 psi for our altitude and add 0.5 psi because my gauge was registering a little low. So I need to bring my pressure to 13.5 psi before I start my timer.
Then you need to try to maintain the temperature as close to that pressure with out dropping it below it during the timer. I start lowering the heat on my burner when the pressure gets to 10 psi so that it starts slowly adding pressure until it gets to the right pressure, then I watch it carefully to make sure it doesn’t get too high and lower the temperature on my stove as needed to keep it there.
It can be a little boring watching a pressure gauge, so I tend to entertain myself by watching Netflix on my iPad next to the stove. Whatever works to make things less boring!
After the processing time at the right pressure (20 minutes for pints and 25 minutes for quarts), it is time to remove the pressure canner from the stove. I usually take it to a hot pad right next to the stove because the other burner is usually full of more stuff to can. Now you have to wait some more, but this time there is way less watching.
You just need to wait for all the pressure to go down. Do not remove the pressure regulator. Doing so can make the pressure drop to fast, which can cause poor seals or, even worse, the jars to break. It usually takes around half an hour for the pressure to drop for me. Do not rely only on the pressure gauge to ensure 0 pressure, you need to make sure the air vent has dropped to ensure there is no pressure and to unlock the lid.
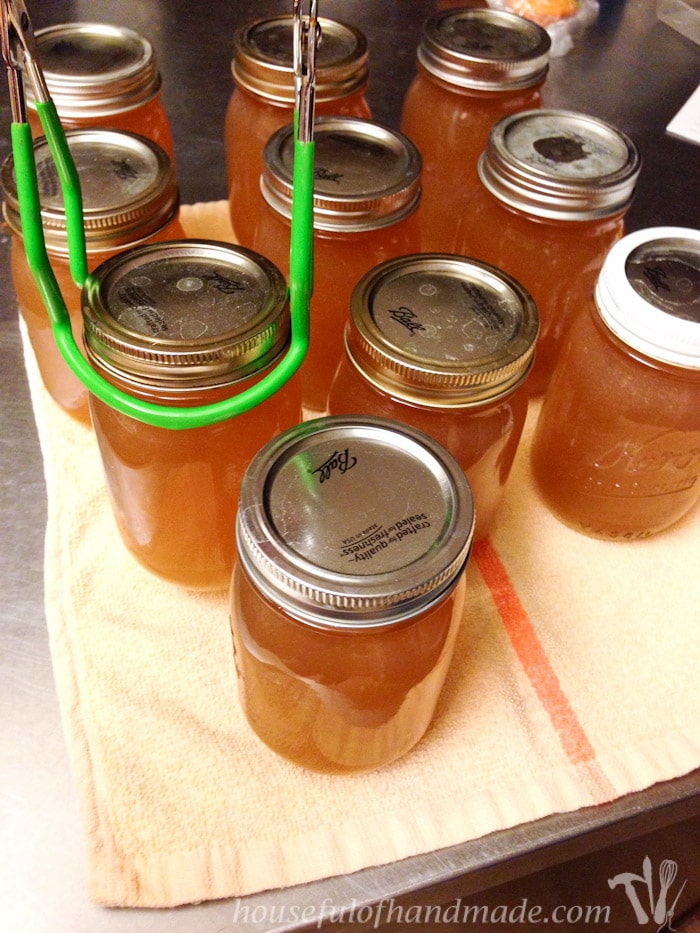
After you remove the lid, you can remove all the jars from the canner to a kitchen towel to cool. Check the seals after 24 hours. If the top of the lid is concave, it has sealed and you can store it in your pantry until your next soup craving hits!
See it was pretty easy to make and you now have tons of amazing, homemade chicken stock to use in all your winter cooking. And you don’t have to limit this to just chicken, you can do it with beef bones for stock for stews or beef & barley soup. Yum!
I also take all the scraps from our Thanksgiving turkey and make a huge batch of turkey stock. I love using homemade turkey stock to make turkey gravy with during the year, or pot pies, or turkey soup. The possibilities are endless.
And if you aren’t blown away by the money savings, or the delicious flavor, hopefully you will at least have a sense of accomplishment. Learning how to can your own food is pretty awesome.

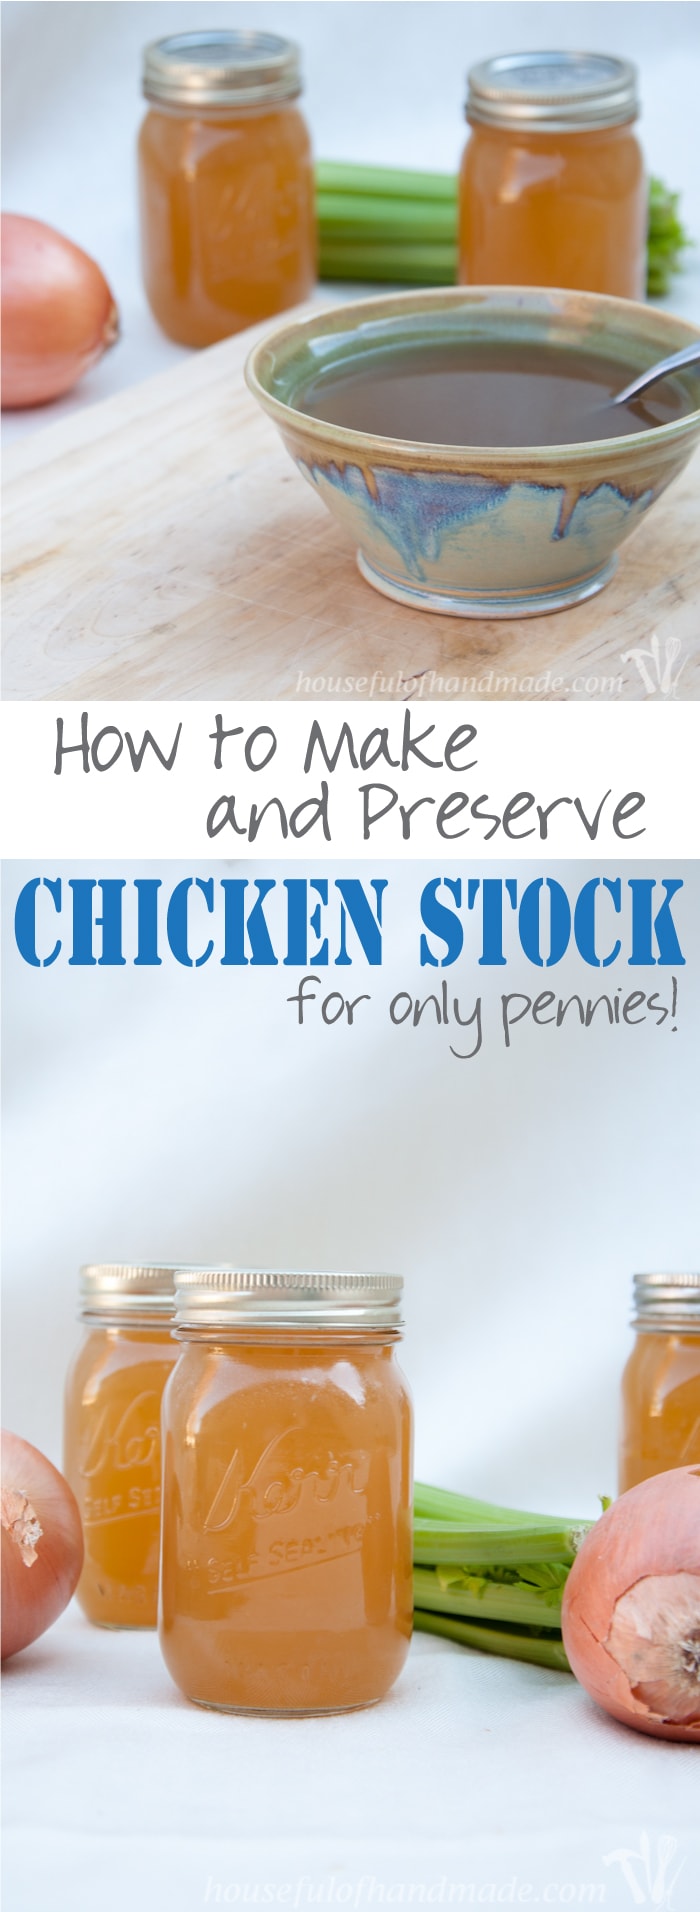
How to Make and Preserve Chicken Stock for Only Pennies
Learn how to make and preserve chicken stock for only pennies. It takes just scraps to make a large pot of delicious stock for all your soup cravings this winter.
Ingredients
- 2 gallon sized bags full of chicken bones and scraps
- 1 onion
- 4-5 celery stalks
- 3-4 carrots
- 4-5 bay leaves
- water
Instructions
- Place chicken bones and scraps in a 3 gallon (12 quart) stock pot.
- Roughly chop onion, celery, and carrots. Add to pot along with bay leaves.
- Fill stock pot full of water.
- Simmer for 5-6 hours.
- Prepare a pressure canner with 20 pint jars or 7 quart jars.
- Remover all the bones and bits from the stock with a slotted spoon.
- Strain all the broth through a fine mesh strainer into a fat separator. Pour broth from the fat separator into your prepared jars. Add a lid and screw band and finger tighten.
- Place prepared jars into the pressure canner. Add lid and bring to boil until a steady stream of steam comes from vent pipe. Steam for 10 minutes while maintaining a steady stream of steam.
- Put pressure regulator on the lid and bring pressure to 10 psi (adjust for altitude).
- Process for 20 minutes for pint jars and 25 for quart jars. Do not let pressure drop below required psi.
- Remove canner from heat and allow pressure to drop on it's own.
- Remove jars and allow them to cool. Check seals after 24 hours. Store sealed jars in a cool place and use within a year.
- Enjoy!
Kate - The Craft Train
Friday 29th of January 2016
Love this idea! Good quality stock (if you can call it that) from the supermarket is so expensive!
Kati Farrer
Friday 29th of January 2016
Yeah, stock from the grocery store will never be as good as homemade. And homemade is so much cheaper!
Sherry
Thursday 3rd of December 2015
I love home made chicken stock, but I've never tried to can it. I do a lot of waterbath canning, too. I'm going to give your recipe a try. Thanks for sharing with us at Funtastic Friday. Hope to see you again at this week's party.
Kati Farrer
Saturday 5th of December 2015
Pressure canner use to scare me, but it really is easy and I love having my homemade stock in my pantry ready to go whenever I need it.
Kim~madeinaday
Tuesday 1st of December 2015
Freezing would be my way to go! Interesting post! Thanks for linking up to Merry Monday! Sharing on Twitter! Have a great week! Kim
Kati Farrer
Saturday 5th of December 2015
Freezing is a great option for storing homemade chicken stock. Anyway you preserve it, homemade chicken stock is so goof :)
Laurie
Tuesday 24th of November 2015
I have never done this before, but it looks way easier that I thought. Thank you for sharing this with us at Brag About It! Have a wonderful Thanksgiving! Pinning to share! ~Laurie
Kati Farrer
Saturday 28th of November 2015
It is really easy, and if you don't have a canner (or don't want to) you can freezer the stock for later. I use to do that and it works perfectly.