Storage is something that you always need more of in a house. I love watching House Hunters and the home buyers are always looking for lots of storage. When we bought our house 10 years ago we thought we had plenty of storage. Then we had kids…

Two kids later, I felt like I was busting at the seams. The main items clogging up my storage room and closet were children clothing (stuff they had grown out of that was being held onto for the next kid or stuff that was given to me that I was waiting for them to grow into), seasonal items (winter coats, boots, sleds, swimming gear, summer toys, etc.) and seasonal decor (I love me some Christmas trees!!!). I have gone through a decluttering each Spring, but these things I just never seem to be rid of and I needed a place to store them.
I stored most of the seasonal decor and kids clothing in the guest bedroom (you don’t want them to be too comfortable, right?). My family just knew to ignore the piles of boxes lining the one wall, but then we decided it was time to separate our kids so they would each have their own room, and good-bye guest/storage room! So I stacked all the boxes in the corner of the basement family room. I wish I had a picture of how awful it was. Everything felt a little cramped and cluttered and I worried about the kids playing on the boxes and breaking my Christmas decorations!
This post may contain affiliate links. As an Amazon Associate I earn from qualifying purchases. Click here to read my full disclosure policy.
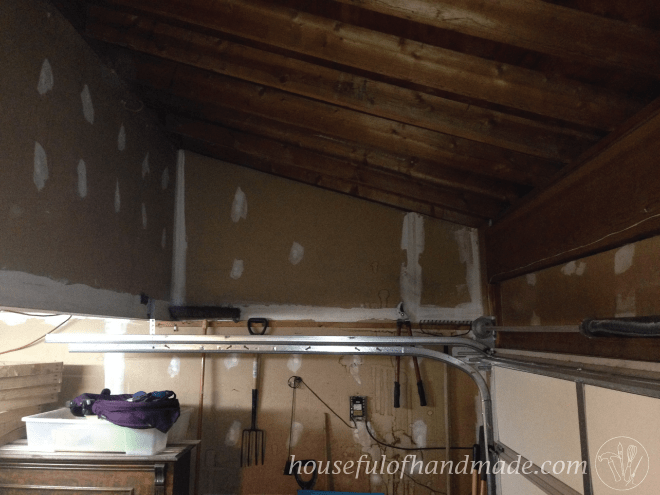
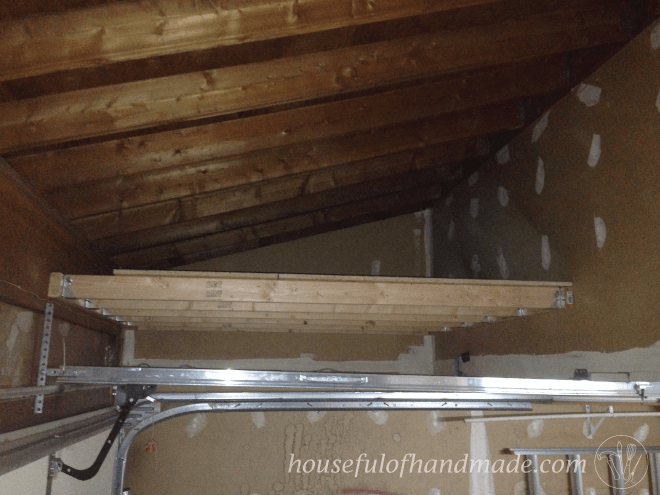
I had always thought I could create more storage in our garage. The roof of our garage is quite low (about 6 1/2 feet tall is all) so we can’t use any of the awesome overhead storage solutions there, but we do have a peak on the front of our garage where the roof line meets the room above it. BINGO! Wasted space!

I told everyone that I wanted to build loft spaces on either side of my garage for storage, but no one really understood my vision. I thought my husband liked the idea, until I found out he really didn’t see my vision either, but fully trusted me and so never questioned me! What a great husband I have 🙂
So I did a lot of measuring and planning and talked to my dad (I love that I can call him with all my hair-brained ideas and he talks through the technical side of things with me). Then we had a plan. Our space was less than 8 feet wide and we didn’t need to support furniture or people so we could use 2x4s for the base. We opted for 2 lofts (one on either side of the garage) each was 6 foot deep.
Our shopping list included:
- 16 2×4 studs
- 20 joist hangers and a box of hex screws that go with them
- 12 bolts
- a box of 3 1/4 inch framing nails
- 3 sheets of subfloor
All in all, we came in under $150 for all the supplies needed (and surprisingly we had to buy everything on the list because I used up all my 2x4s on two other projects that I will share at a later time).
So we found this is a project for a least 2 people. Three would have been great, but we had two and we did it all in about 6 hours total, we did one side one day and the other side another day. The building was pretty straight forward. You will want a large level for this project and an impact driver.
We started by installing the 2×4 on the front wall of our garage above the garage door opener. We nailed it in on one side, used the level to make sure it was all straight, then used 3 of the bolts to secure it firmly into the wall.
Then the tricky part was to use another 2×4 perpendicular to the one that was secured to find out where to put the 2×4 on the back wall. This is where the 3rd person would have been really handy, or if one of us had an extra hand it would have worked too 😉
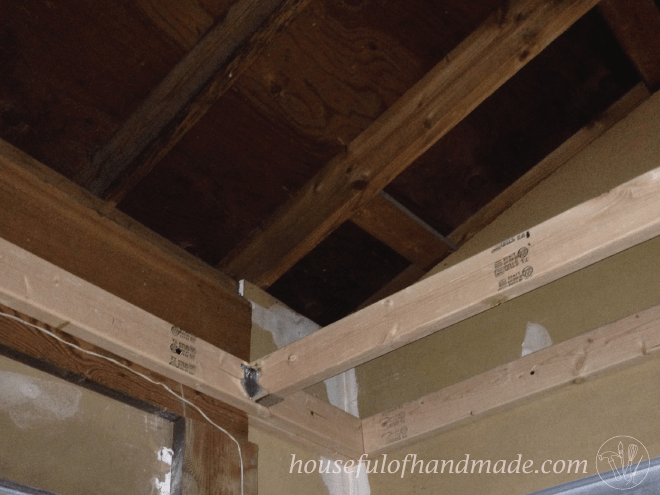
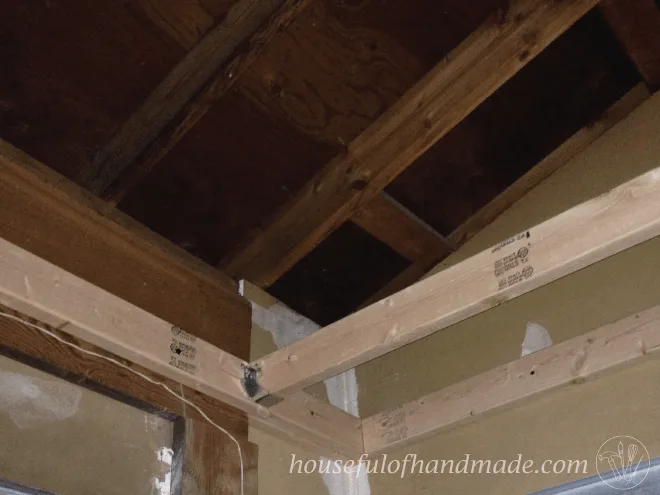
But we managed to make it work with us juggling the 2x4s and the level and we quickly nailed in the other 2×4 then secured it into the studs with 3 bolts. Now that everything was lined up and level, it was pretty easy.
I would definitely recommend that you start at the wall and work your way out when installing the cross beams so that you are not working in the tight space. We ended up spacing them about every 15 inches (since we needed to come out a total of 6 feet).

We worked our way to the very end of the loft. Then you will want to add your subfloor. This was another part that we could have used another hand. Those boards were HEAVY! And we were lifting them over our heads while working on step stools, and giggling cause it was so hard. But again, we managed.
You can see in the above picture that we don’t have flooring running all the way to the wall on one end. This was intentional. I really didn’t want to buy another sheet for 6 inches of storage space and there isn’t much height at this end. We used this space to store long skinny things like snow skis and my mini Christmas trees in boxes. It works perfectly!
And then I got the pleasure of going up in the loft and securing the subfloor. I just used a few screws to make sure nothing shifted around and then I was ready to load it up!
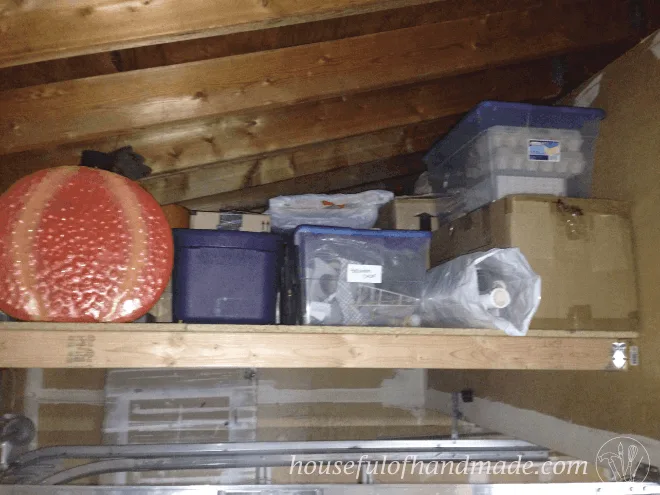
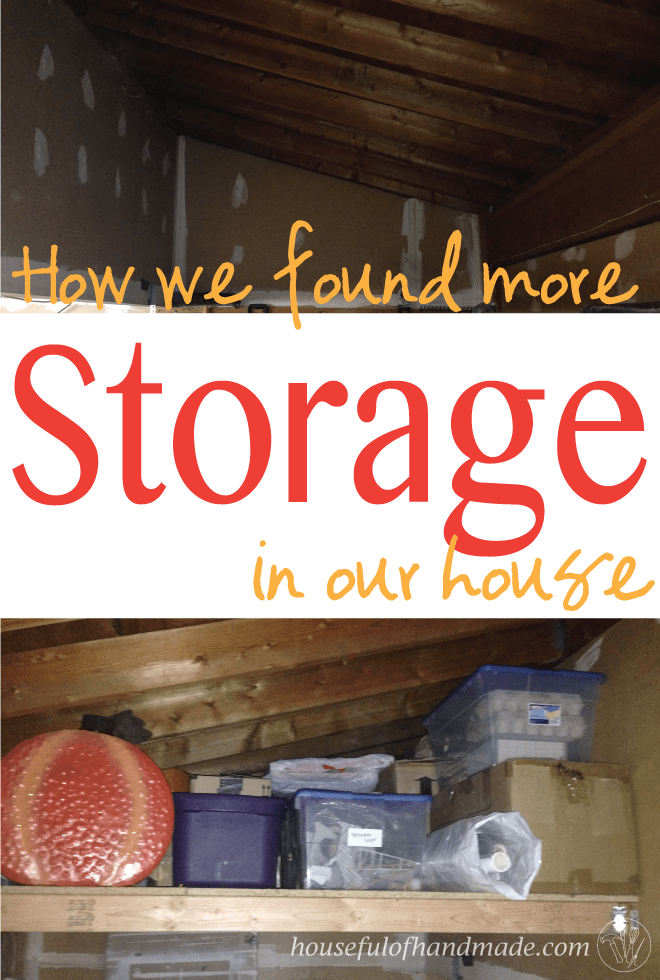
This is definitely my favorite picture, even though it such a bad picture (its a garage with the door closed and there is terrible lighting in there, oh well). All of my seasonal decor fits on one side and you can’t really tell, but I have room for a few more boxes. Yeah, room for more crafts! The other side holds all our camping gear and seasonal gear and we have a lot more room to grow over there!
Who would have thought that I could get so excited about storage, but anything that can clear up the clutter in the corners of my house makes me very happy indeed.

What nooks and crannies do you have in your house that you can find room for storage in?