
Here’s another project from last year, but last year it was a crafting FAIL!. Let me explain. My neighbor was trimming his tree and had these beautiful branches in the front yard ready for the trash pile. So what does a crazy, DIY addict do? Asks if I can have all the branches 🙂 I grabbed a bunch and put them in with my wood stash in the garage. Then when fall hit, I had a brilliant idea to turn them into a wreath!

So I figured out my measurements, cut out my logs, then dry fit them together. I was so excited at this point. It was going to look so good. But then I couldn’t figure out how to connect all the pieces. I obviously wanted to use wood glue, but the angles would not work with my clamps. Then I couldn’t figure out how to pre-drill and secure with screws. And last year I didn’t have a nail gun.
This post may contain affiliate links. As an Amazon Associate I earn from qualifying purchases. Click here to read my full disclosure policy.

So in a moment of brilliance (or so I thought), I used hot glue! I could hold each side together long enough for the glue to dry without any clamping necessary. I was so excited and hurried and glued it together. Then I added a little moss to make it beautiful and hung it over my fireplace. I was so proud that I had figured it out.

Two days later… I was minding my own business working on the computer after everyone was in bed and CRASH!!!! Scared me half-to-death. I turned around to see my beautiful new wreath in pieces on the floor. Apparently hot glue is not suppose to hold heavy things for extended periods of time. At this time I put all the pieces in a bag and stashed it away. Not totally ready to give up on my idea, but not willing to try again anytime soon.
This year I decided to try and pull out the wreath because I am now the proud owner of a nail gun! Thank you hubby, best Mother’s Day present ever.
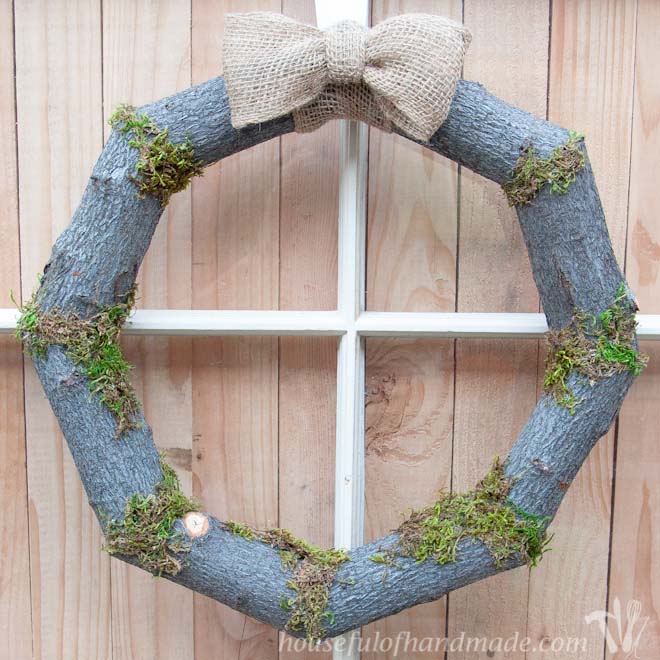
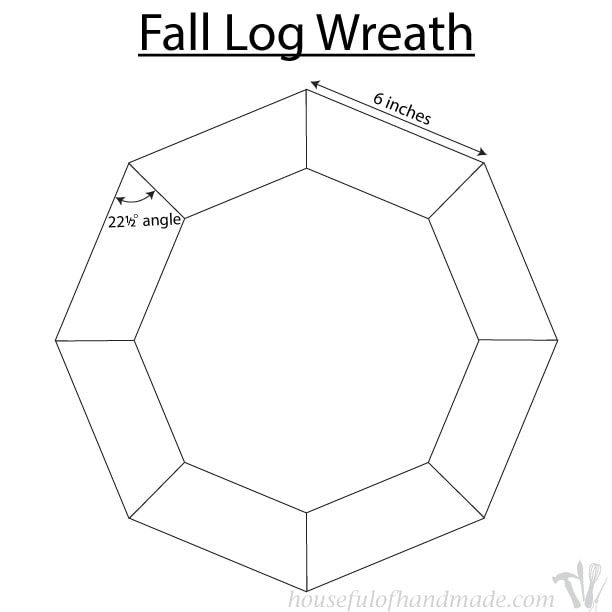
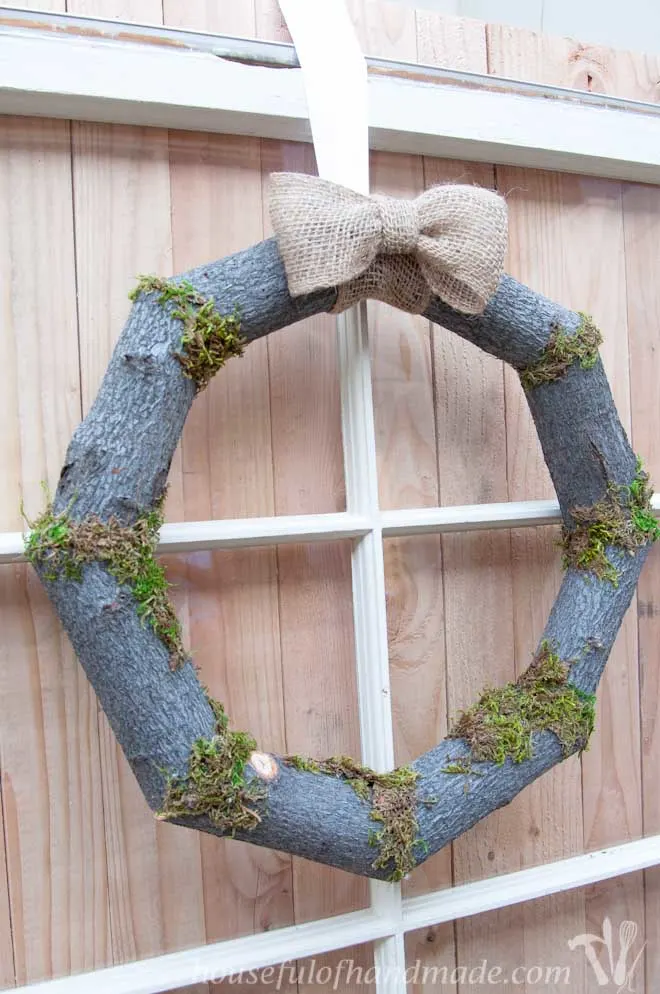
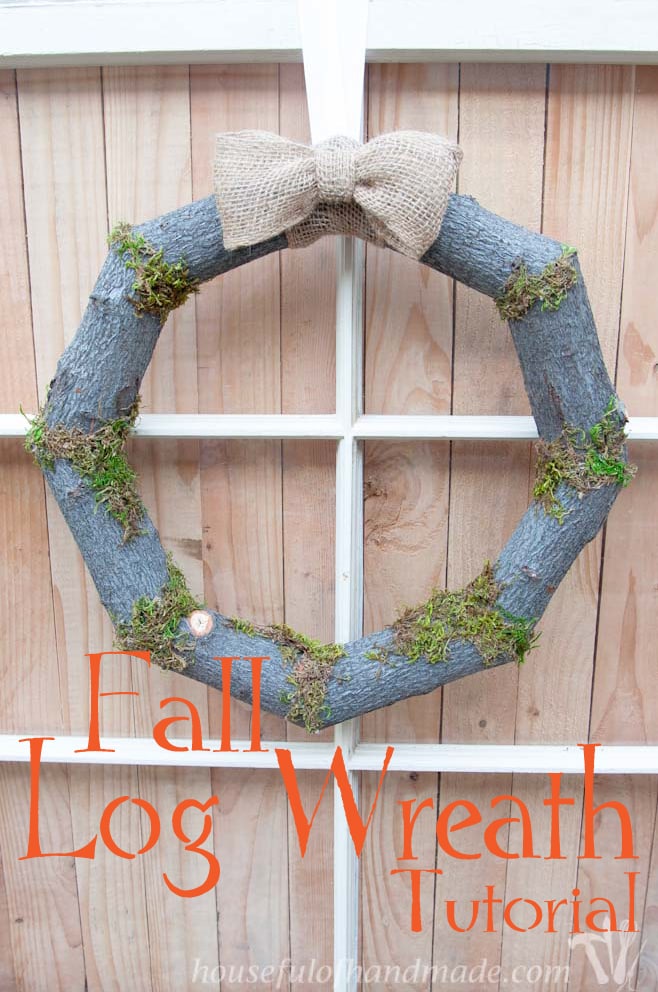
I scraped off the dried hot glue with a razor blade and using wood glue and a large amount of 2″ nails per joint, I made sure that sucker was not going to fall apart again! If you want to make your own log wreath, gather some wood branches about 2 to 2 1/2 inches diameter. Then cut them into 6 inch pieces with a 22 1/2 degree angle on each side angled towards each other. You need 8 of these to make a full circle. Using wood glue and a nail gun, secure those together at each corner into a circle shape.

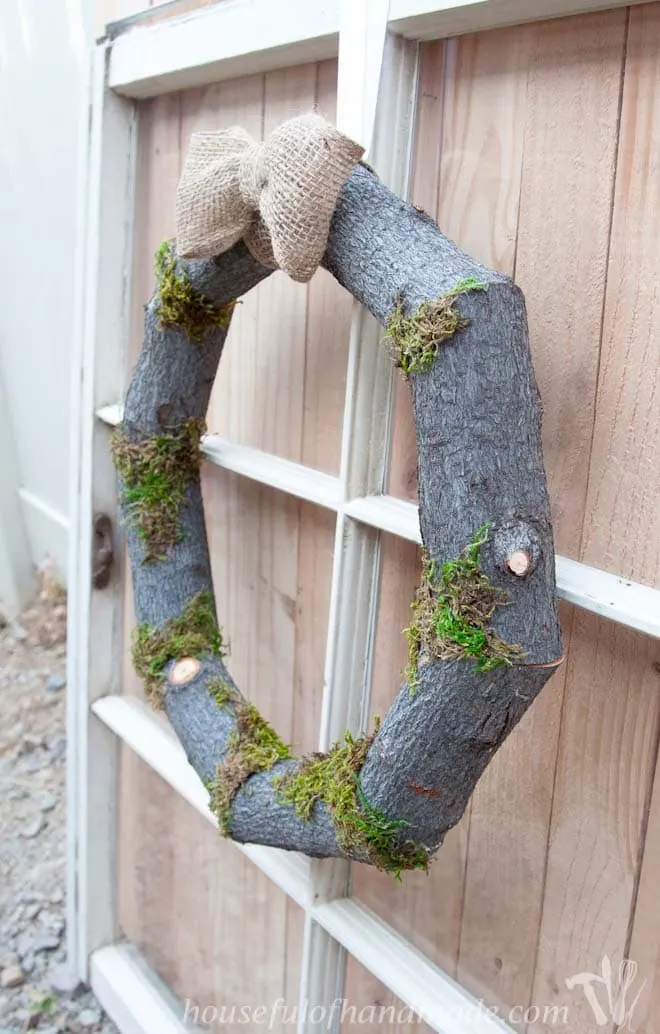
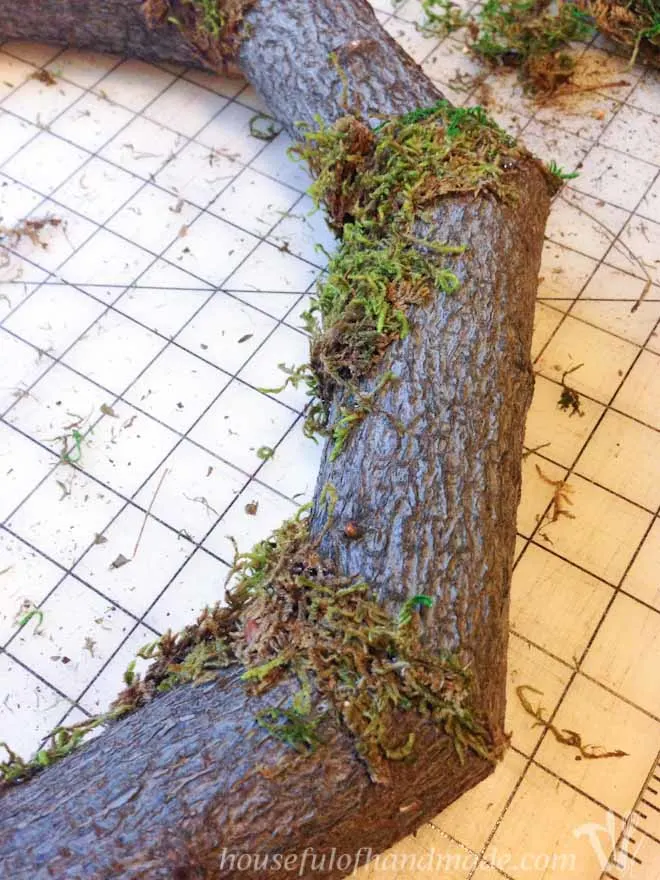
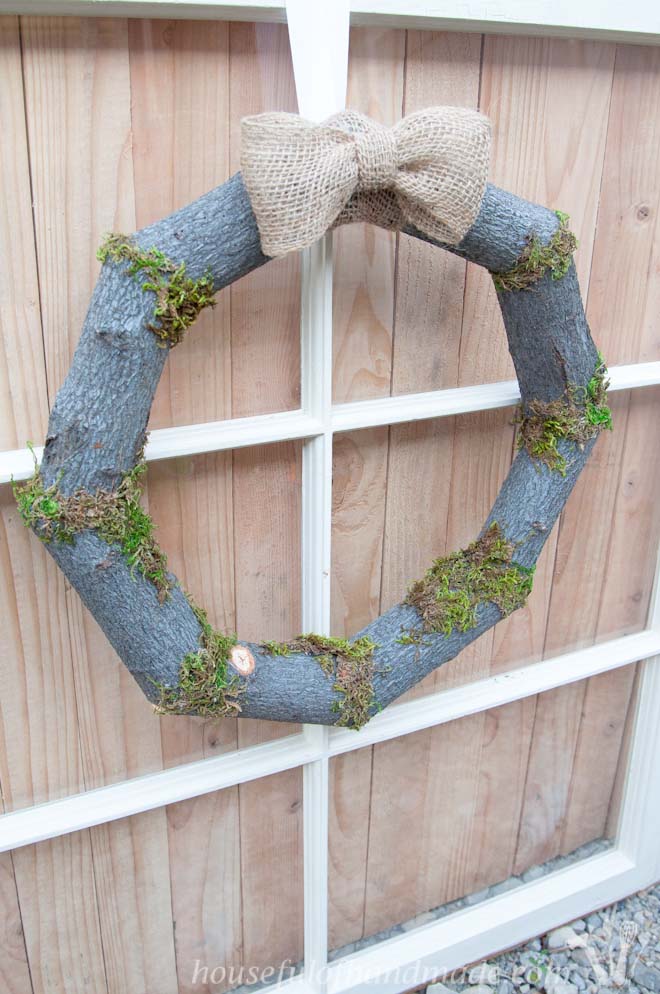
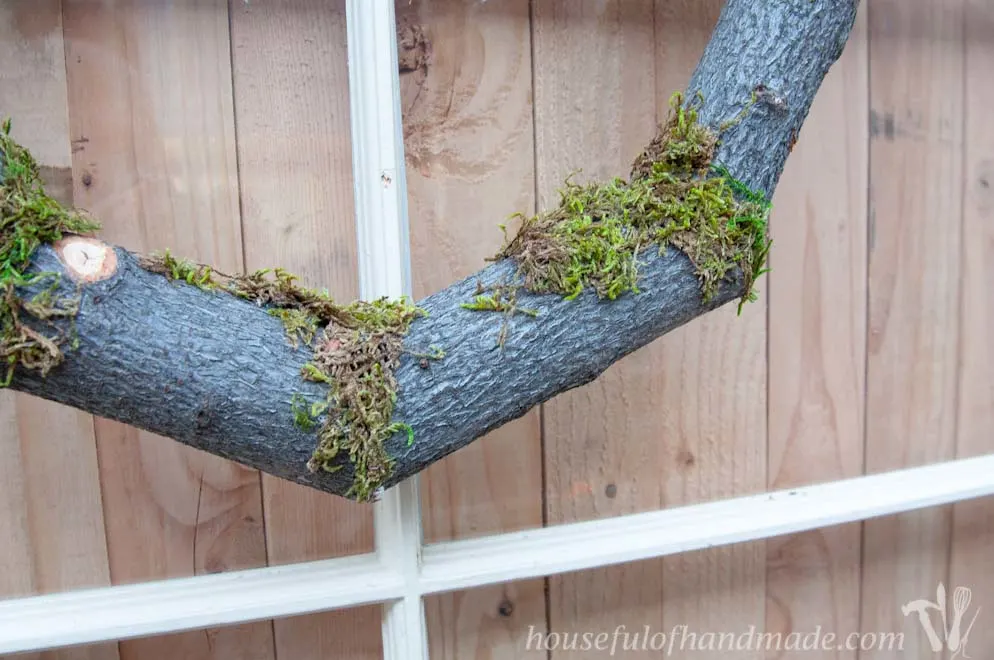
Then add some moss around the joints. You can see here that the logs are not all the exact same size and the angles were tricky because the wood is round so it can rotate slightly when cutting it on the miter saw.
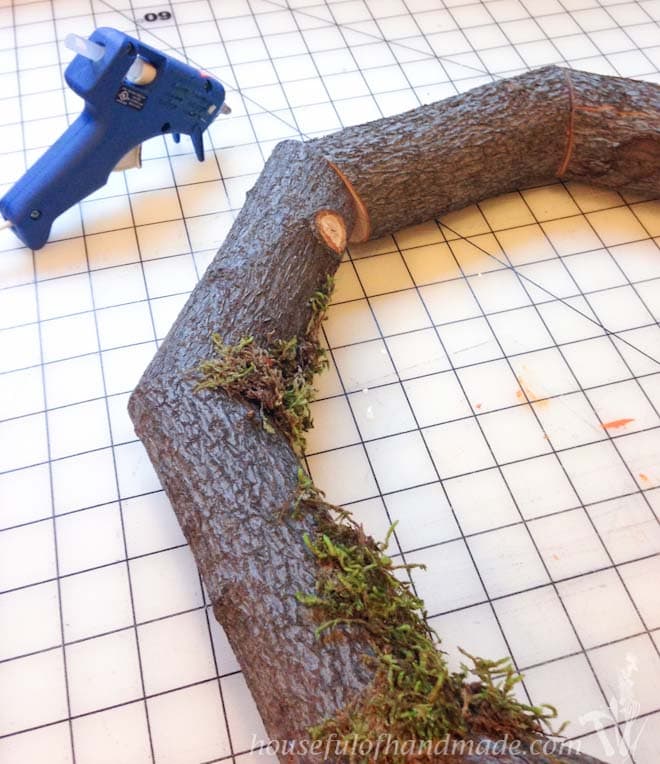

I just kept adding in moss until all the seams were hidden (except the very top one that I was going to hang it from) and I liked the way it looked.

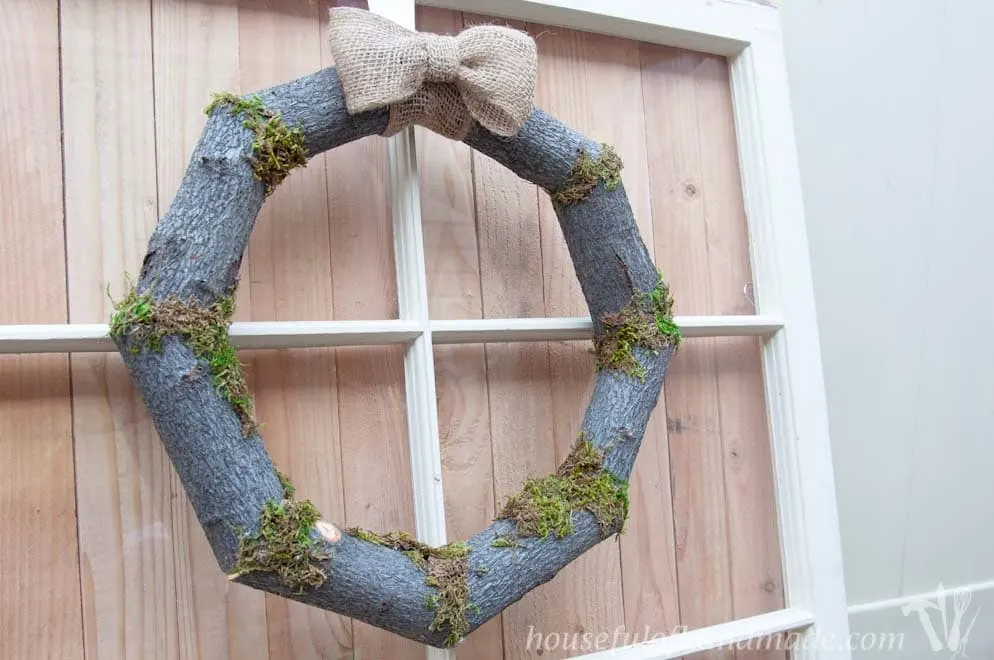
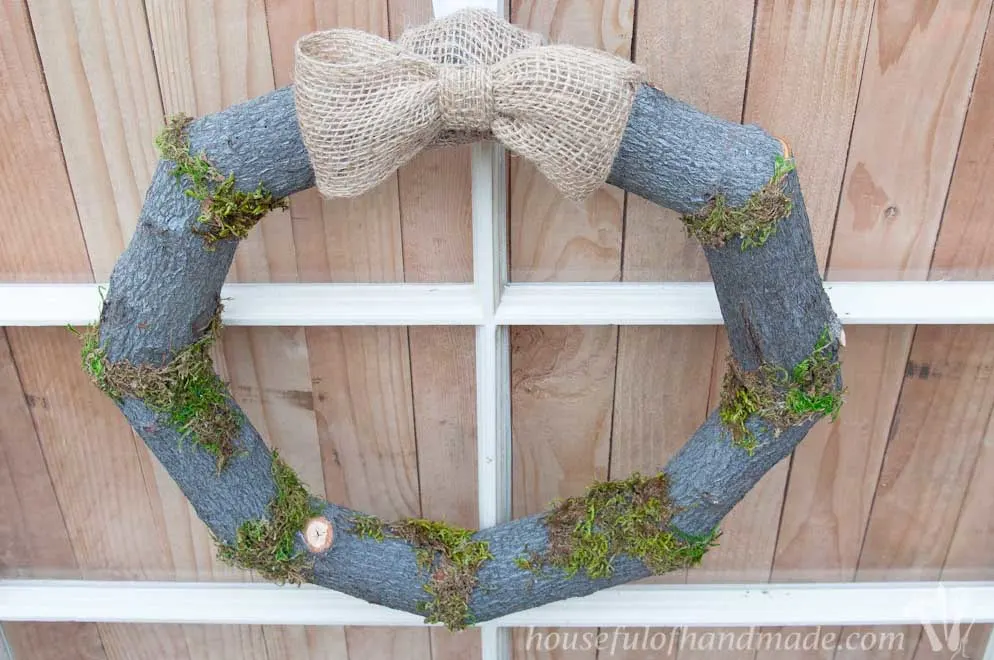
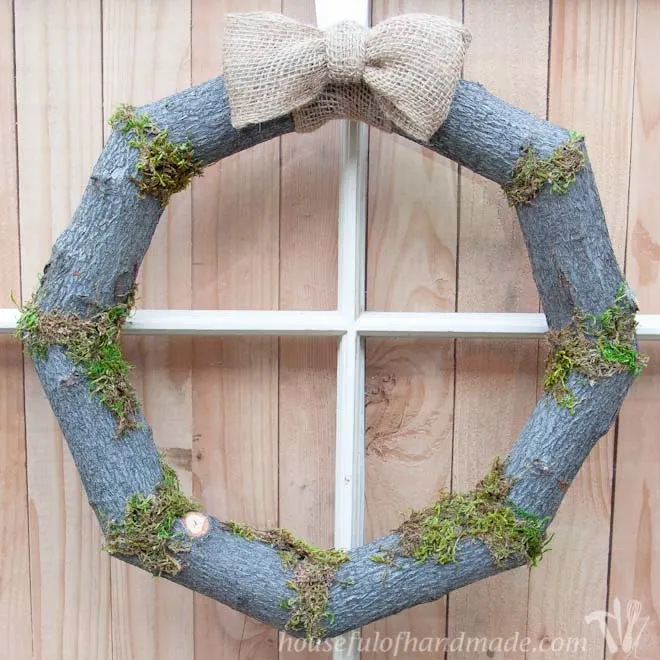
Once it was all pretty, I wrapped the top joint with a piece of burlap ribbon to cover it up. I secured it with some more hot glue.


Then I made a simple bow and glued it to the front.


To hang it up, I stapled some grosgrain ribbon to the back and it was ready to go! No chance of this one falling down 🙂

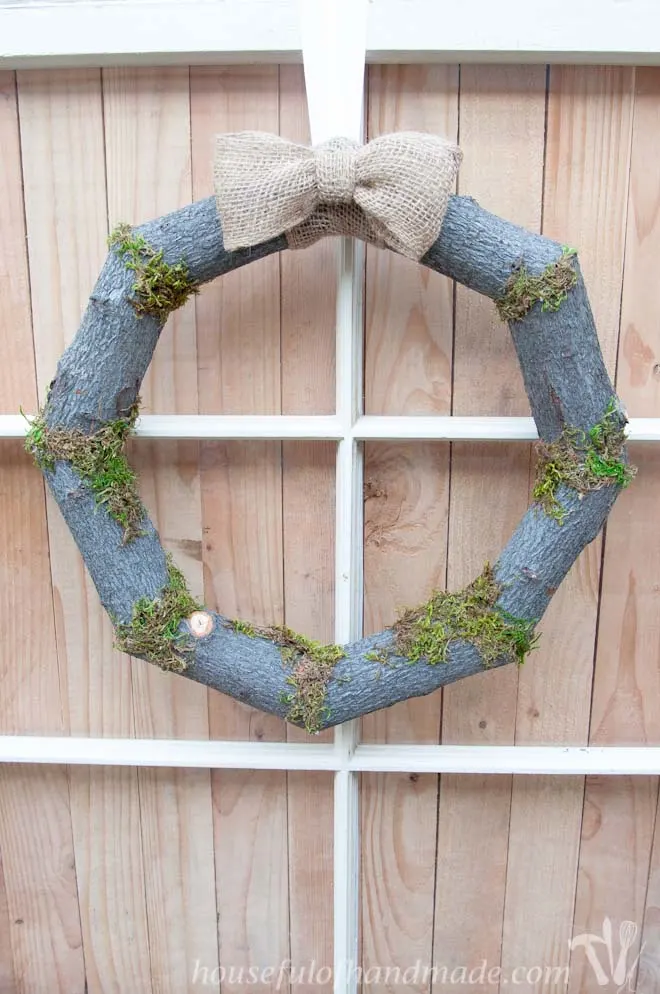
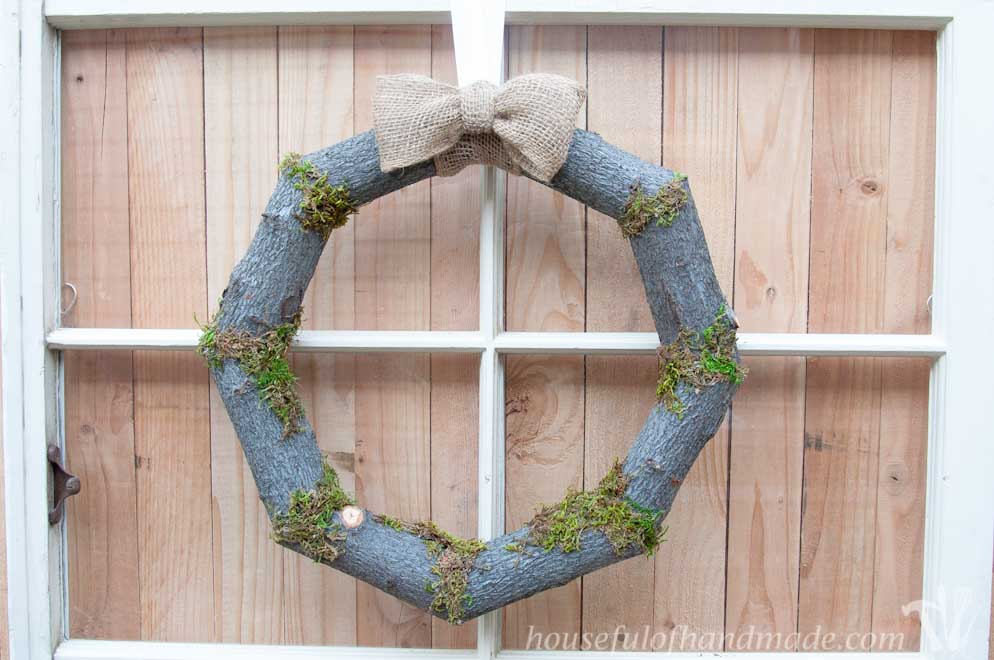
I just love how it looks so woodsy! Perfect for fall.
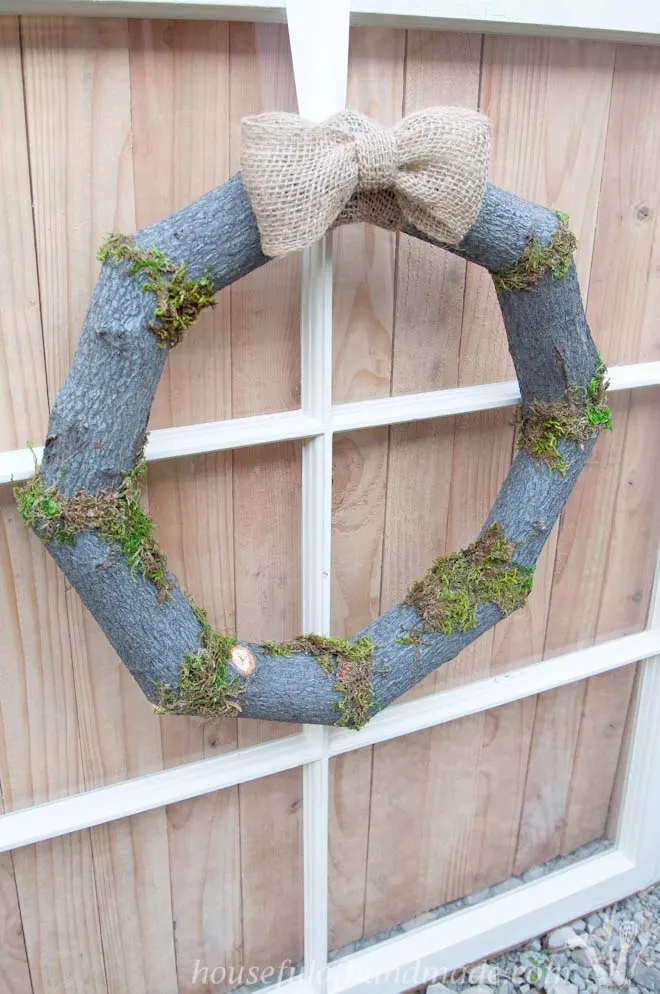
And the moss looks like it was suppose to be there, just growing in the cracks all natural like 🙂

I found this beautiful old window to hang over the mantle with the wreath. I can’t wait to get it all put together.

Now just a few more small details and my fall mantle will be all done. Just in time for school to start and nights to cool down 🙂

Happy fall to you!


Terri Tatroe
Thursday 14th of September 2023
I love your wood wreath! Thanks for sharing! I'm heading out to my wood pile to see what I can find. Happy Fall! Terri
Linda at Mixed Kreations
Tuesday 19th of September 2017
Oh Wow, that is really nice! Very creative! I never would of thought of using branches for making a wreath. Love it! You did a great job!
Kati
Friday 6th of October 2017
Thanks so much Linda! I love that the branches came out of the yard, but look so amazing as a wreath.
Lisa Childers
Wednesday 28th of September 2016
I LOVE IT!!!!!!!! It's completely great! I'm glad you continued on with it,,,,,
Kati
Monday 3rd of October 2016
Thanks Lisa. I'm really glad I kept up with it too, sometimes persistence really pays off.
Catherine
Monday 12th of September 2016
Hi Kati! Oh, my I LOVE this wreath!! So glad you kept going with the idea. We've all had those moments where the idea in our head just would not get to the "completed" phase the first or second try! The moss really adds a pretty touch. Lichen would also look pretty....hmmmmm... the possibilities! Happy Creating, Catherine (newest follower of your blogging adventures!) :)
Kati
Monday 12th of September 2016
Thanks Catherine. I have never used Lichens but they would look so nice on this wreath too.
Amanda @ The Kolb Corner
Sunday 11th of September 2016
I remember this wreath from last year. I have had several projects that have met their demise shortly after making them lol. Glad the nail gun came to the rescue this year!
Thank you for sharing at Merry Monday!
Kati
Monday 12th of September 2016
Thanks so much Amanda! I hate when a project doesn't last, but luckily this one was easily saved.