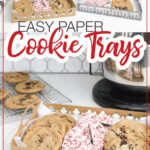
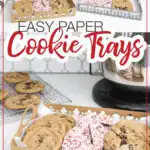

These fast & easy Christmas cookie trays will be your new favorite way to share treats this holiday season.
Christmas doesn’t have to be expensive! I am so excited to start the 7 Days of Paper Christmas series again. Every day for the week leading up to Thanksgiving I will share a new paper Christmas project. These are fun paper projects you can use to decorate and celebrate Christmas this year.
To start, I have a fun new way to package up your holiday treats!
Stop using paper plates to deliver your delicious Christmas goodies, instead make these easy Christmas cookie trays. These DIY paper trays go together so fast, but with an inexpensive foam board bottom have the rigidity to the weight of lots of treats.
This post may contain affiliate links. As an Amazon Associate I earn from qualifying purchases. Click here to read my full disclosure policy.

Ways to Use Christmas Cookie Trays
These decorative paper trays are perfect for holding an assortment of your families favorite Christmas treats. From cookies, to candies, and more!
You can place a piece of parchment paper inside the tray to protect the tray from absorbing and moisture or grease from the treats. Then load it up. The shallow design makes it easy to create a display of cookies and treats.

Plus, once delivered, these adorable Christmas trays are pretty enough to use as a Christmas decoration. Keep them on the table to hold your treats, or use them as a decorative tray once the treats are gone!
How cute would these be as a decoration in the kitchen with a cute wooden sign and figurine on them? Or use it as part of your table’s centerpiece. Or to corral a small collection of decorations on the coffee table.
You could use them anyway you would use any decorative tray!
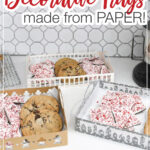
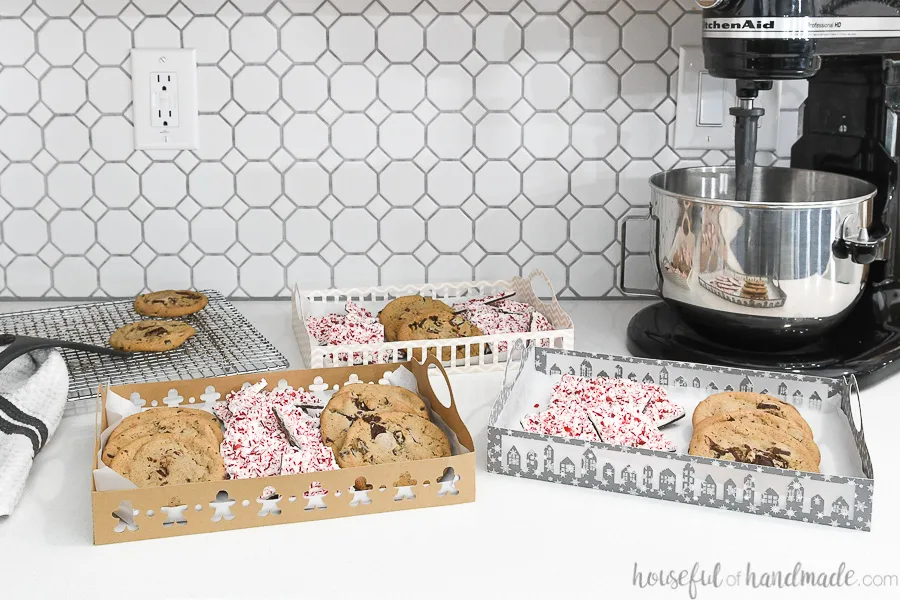
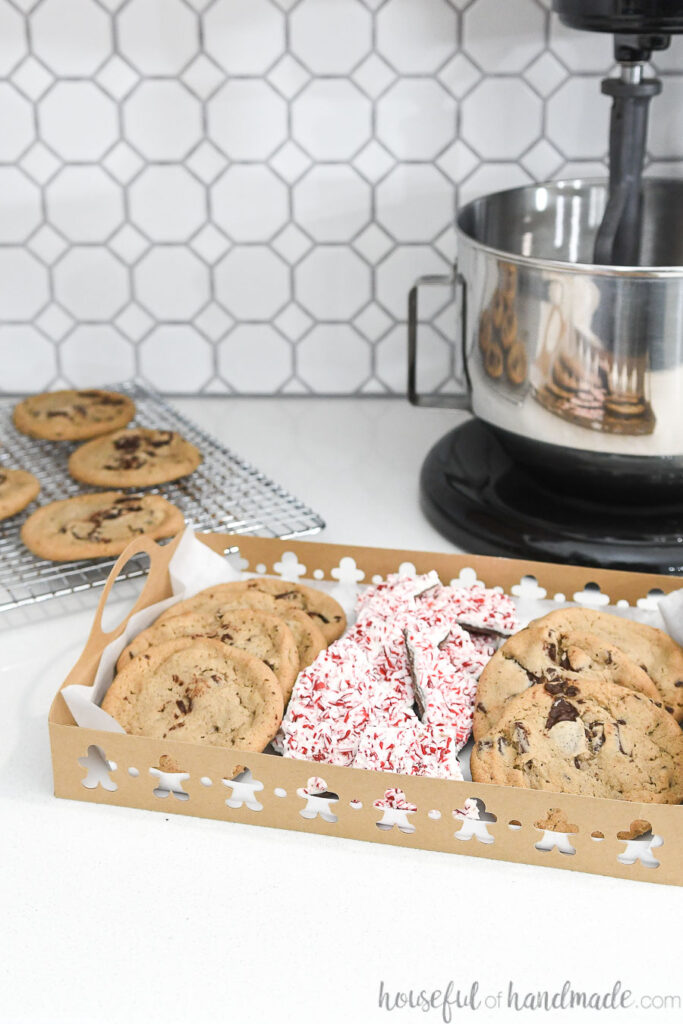
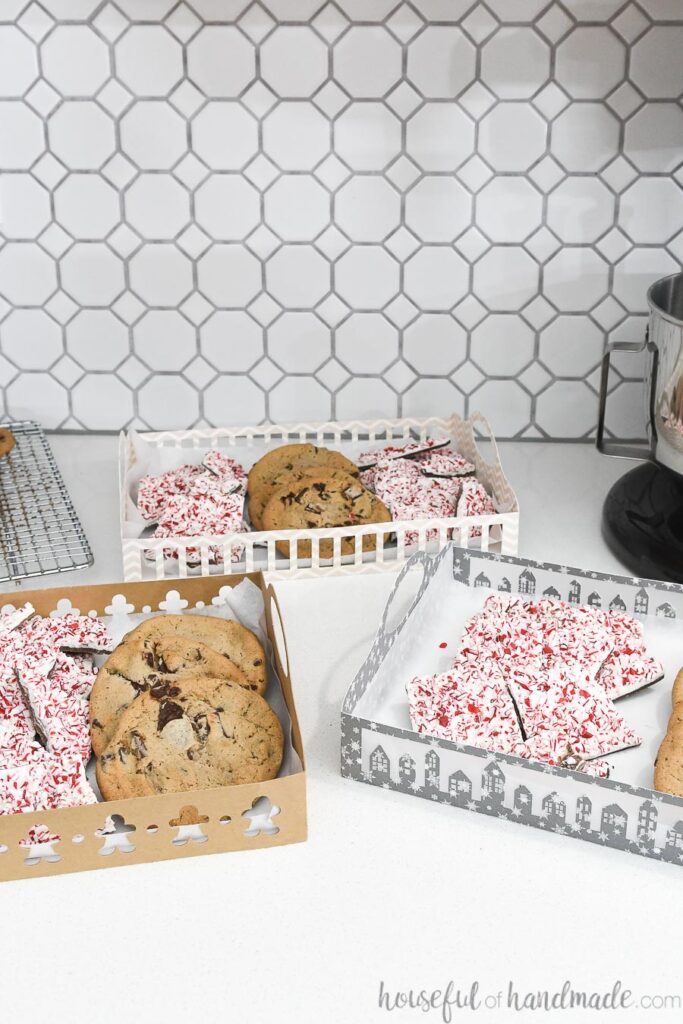
And with 3 different designs to choose from, the possibilities are endless:
- Gingerbread men tray
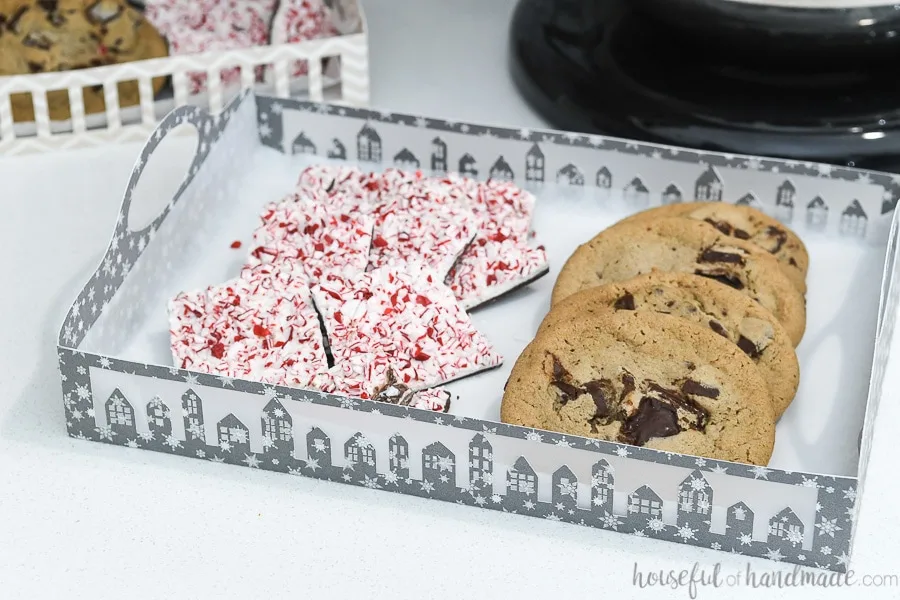
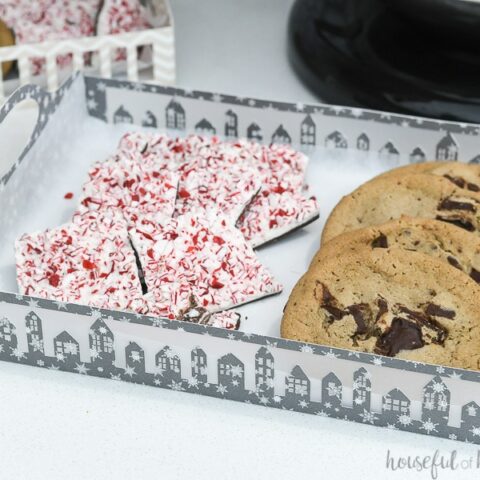
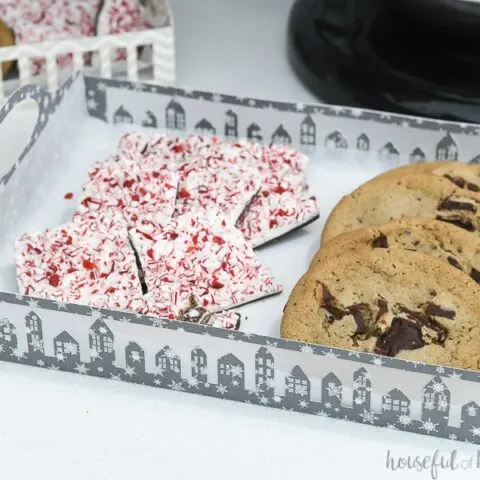
- Christmas village tray
- Simple rectangles tray

But today I am using them for cookies! Because one of my favorite parts of Christmas are the Christmas cookies 😉
How to Make Paper Cookie Trays
Supplies:
- Christmas cookie tray template
- The cut files & PDF for these cookie trays were free to my subscribers until 11/30/2019. Now they are available to purchase in the shop. Make sure to subscribe so you will be notified of new freebies!
- Cardstock
- Use fun decorative cardstock or brown Kraft cardstock. You will need (3) 8 1/2″ x 11″ or (2) 12″ x 12″ per tray.
- Foam board
- I like to buy mine at the dollar store. You can get 6 tray bottoms from (1) 20″x 30″ piece of foam board.
- Spray glue
- Glue gun and glue sticks
- X-acto knife
- Ruler
- Optional: Electronic cutting machine like a Silhouette Cameo or Cricut Maker
- You can cut these out with scissors and and X-acto knife, but it will take more time.
Assemble the Tray Sides
Cut out the pieces for the tray. For each tray you will need 2 handles and 2 sides.
If using 12″ x 12″ paper, arrange the designs so you have 1 side and 1 handle on each sheet. If using 8 1/2″ x 11″ paper, you will cut 1 handle per sheet and both sides on one sheet.
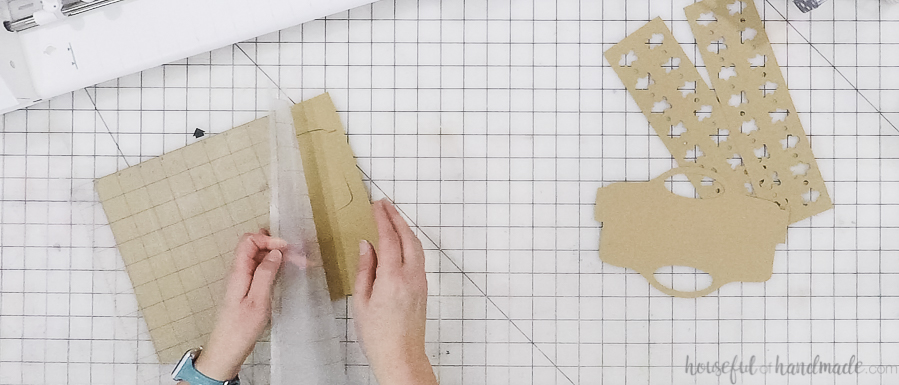
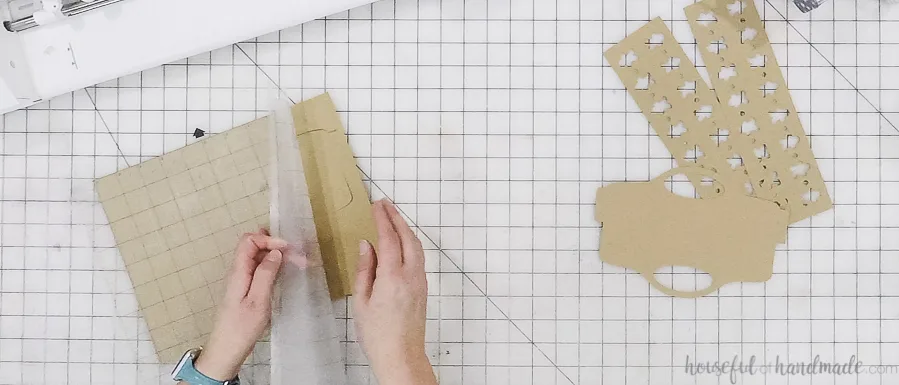
Fold along all the dotted lines. Then open the folds back up and cover the entire inside with spray glue. Make sure to protect your work area from the spray glue because it is hard to get off.

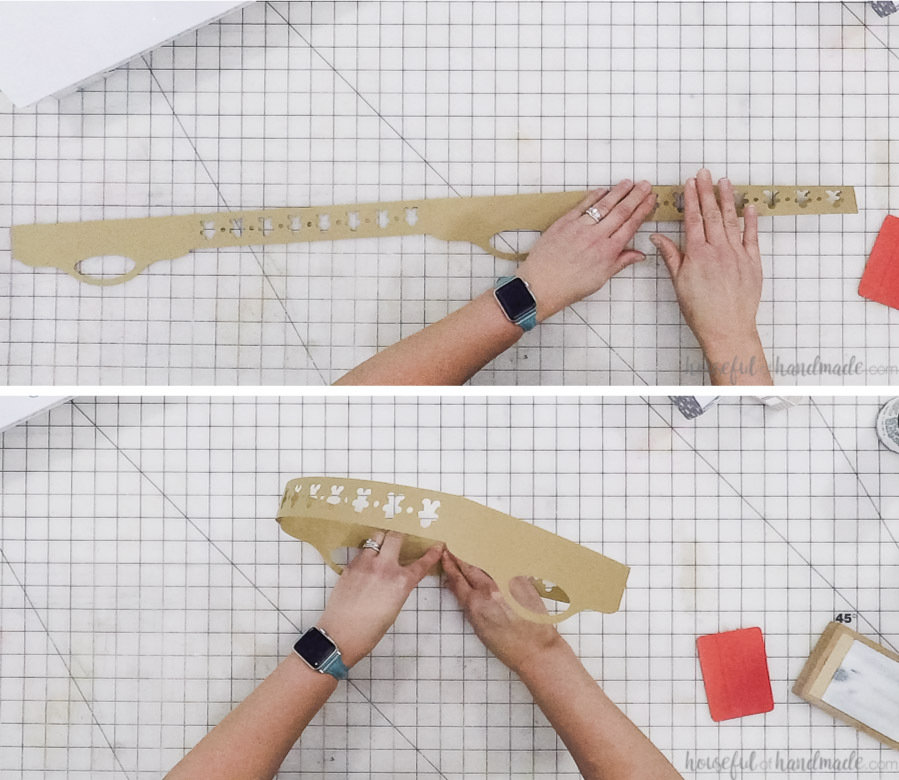
Fold the two handle pieces in half, leaving the tabs hanging out. Press hard to secure. I like to use my vinyl scraper to get good adhesion.
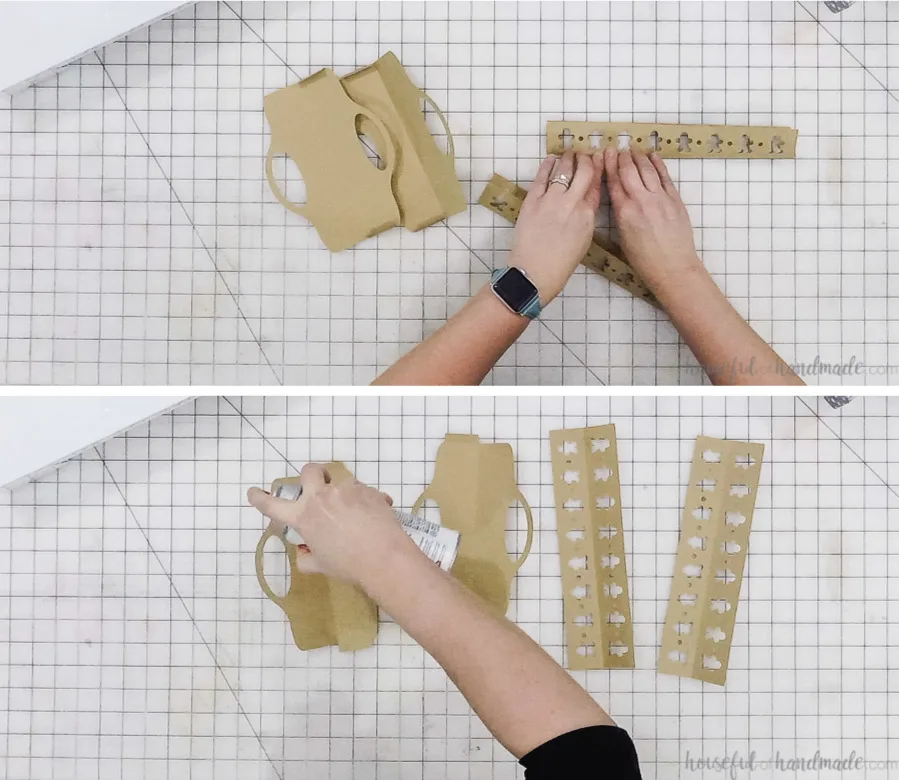
Line one end of the side piece up even with the handle piece, and fold to enclose the tab inside it.

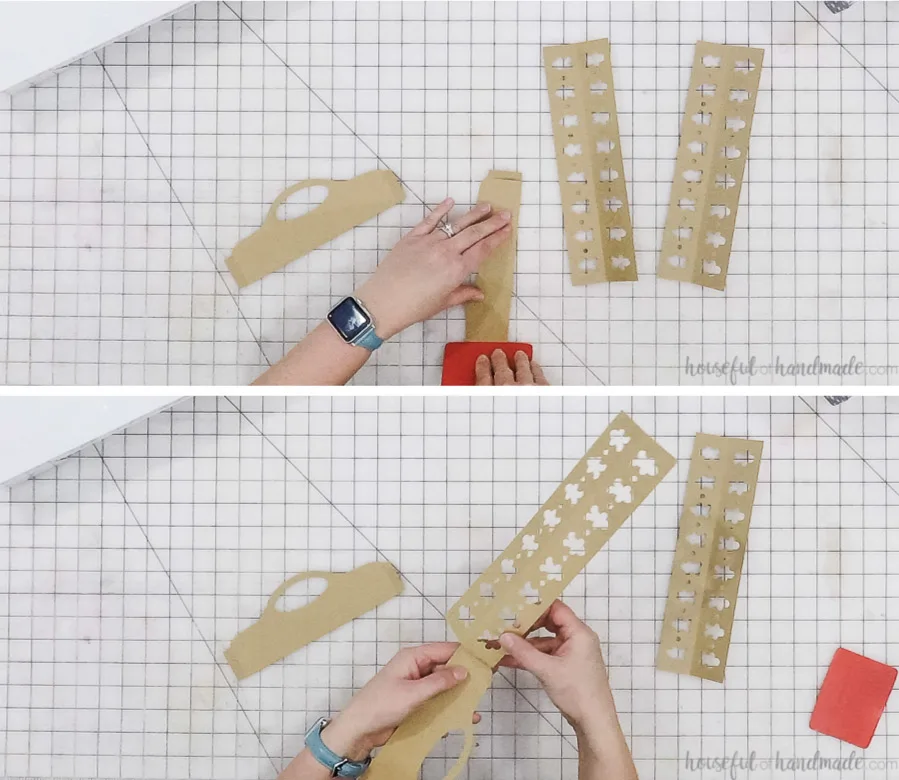
Line the other handle piece up with the other end of the side piece. Fold to enclose the tab inside it. Then press hard on the side to secure.
Repeat with the other side piece, enclosing the other tabs on the handle pieces. You will create an enclosed circle. Crease the corners to create a rectangle.

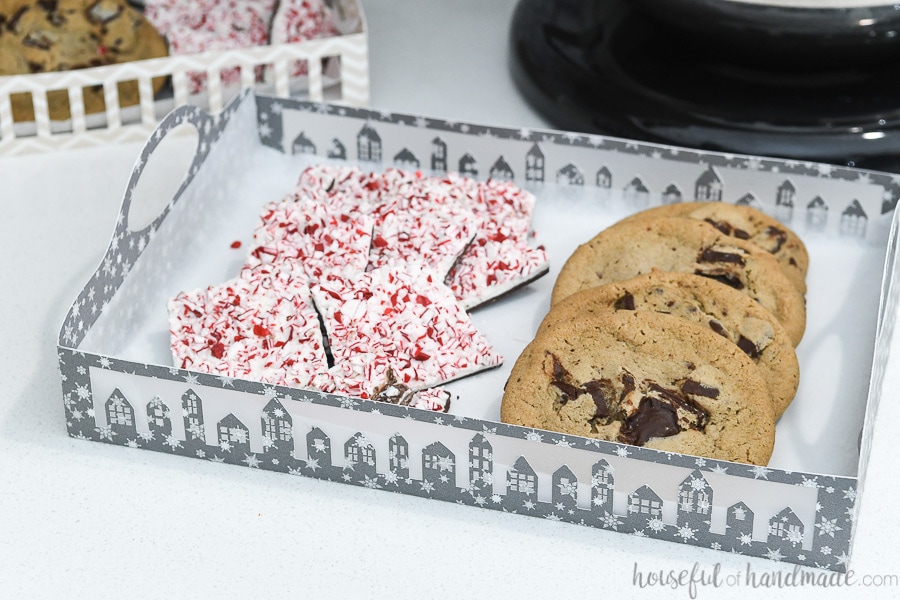
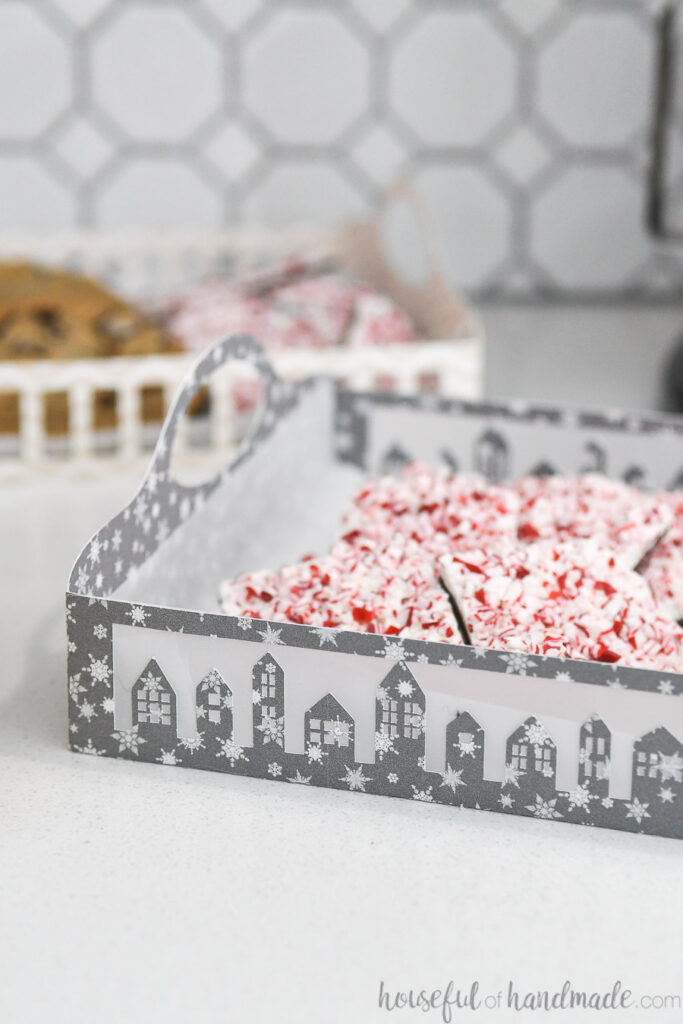
Optional: For my Christmas village tray I added vellum paper in between the side pieces before closing them.
Make sure the vellum does not go the edges of the side piece, you want the top and bottom of the piece to have the glue stick to the glue so that you get a permanent bond. But do not spray the vellum or you will have the sticky glue exposed.
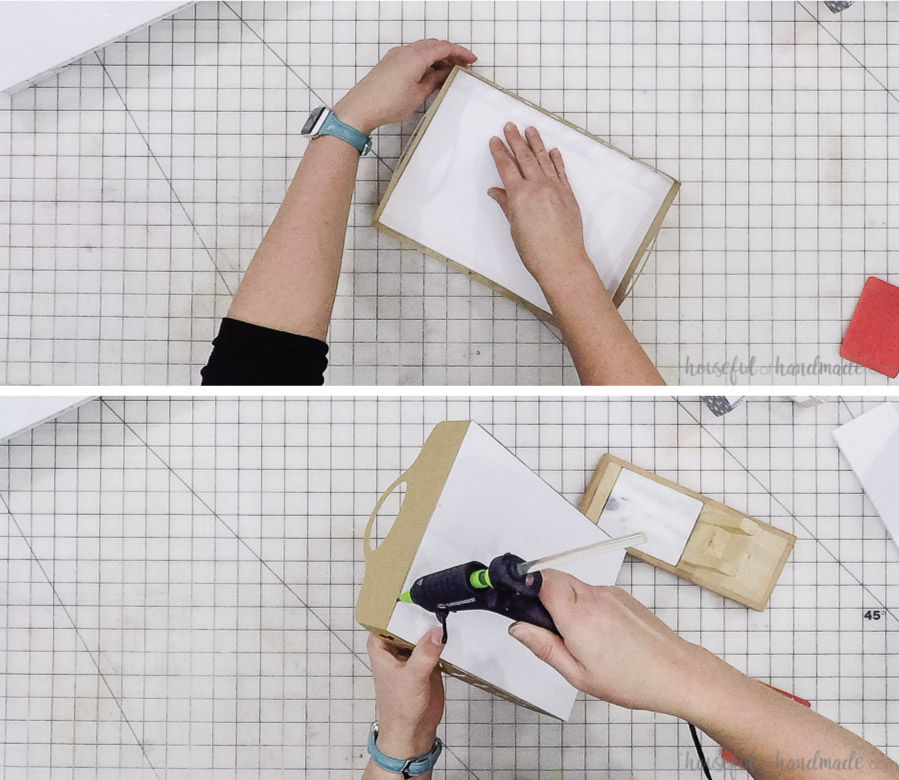
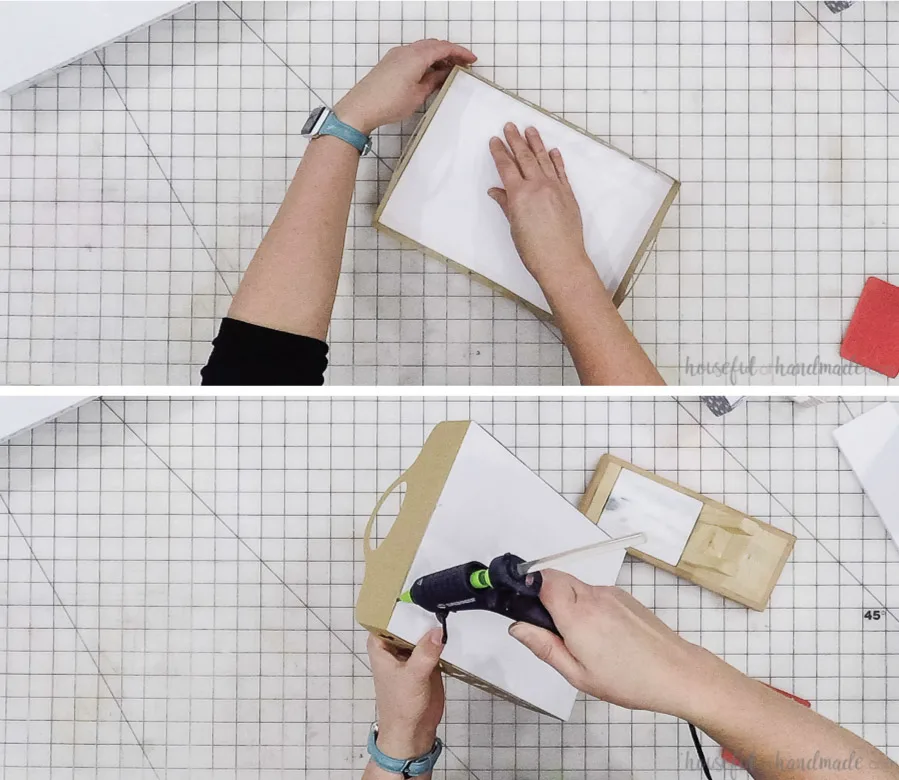
Add the Bottom
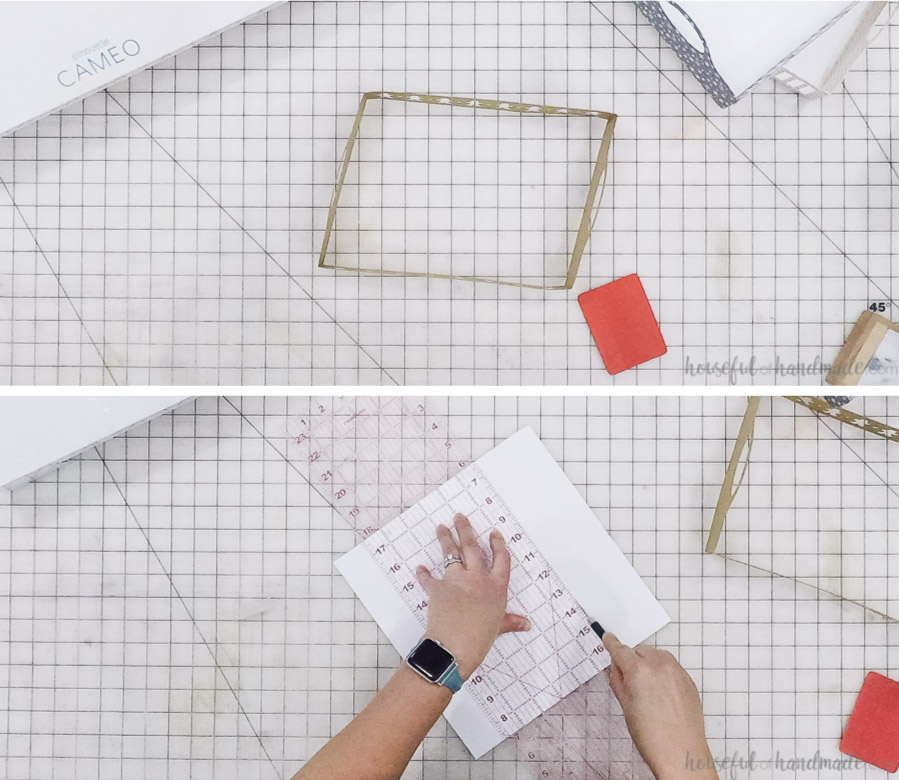
Cut a piece of foam board 7 1/2″ x 10 1/2″. Use a ruler and X-acto knife to get a clean cut on the foam board edges.
Place the bottom inside the assembled sides. Make sure the bottom is flush with the bottom of the cardstock tray frame.

Carefully add hot glue in between the foam board and cardstock.
Do one side at a time and add the glue to the edge of the foam board. Then press the carsick tray sides to it until it cools. Repeat on all 4 sides.
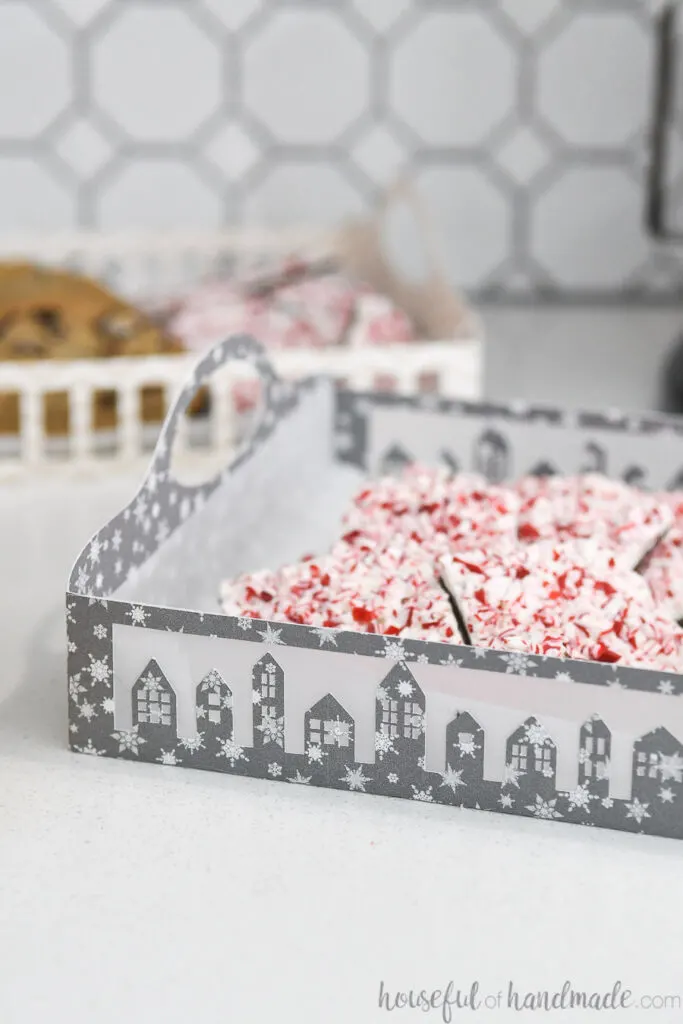
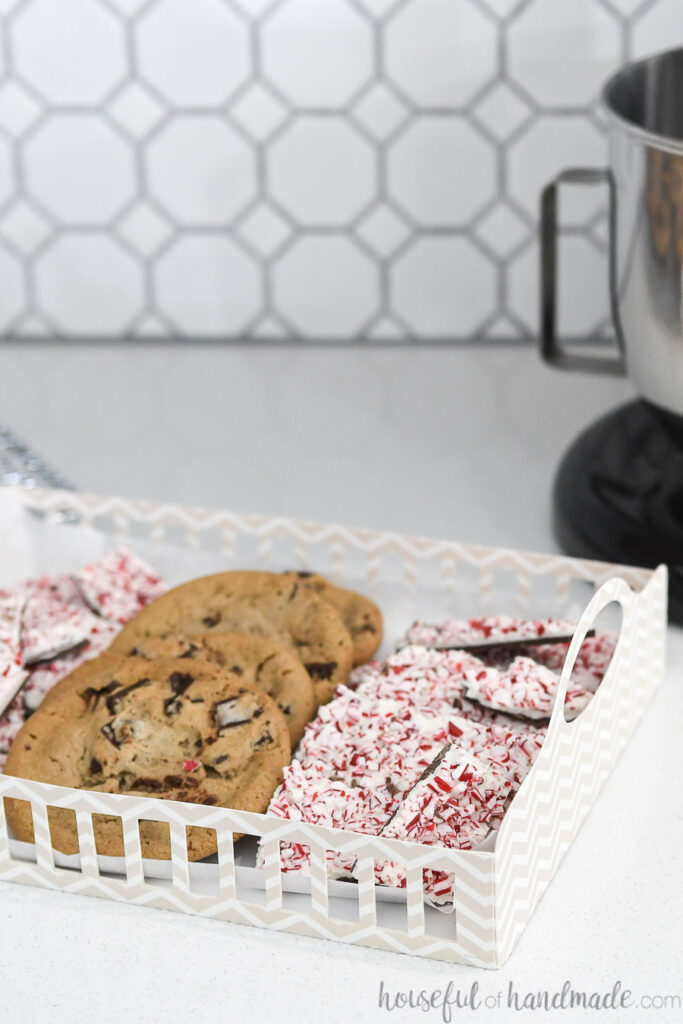
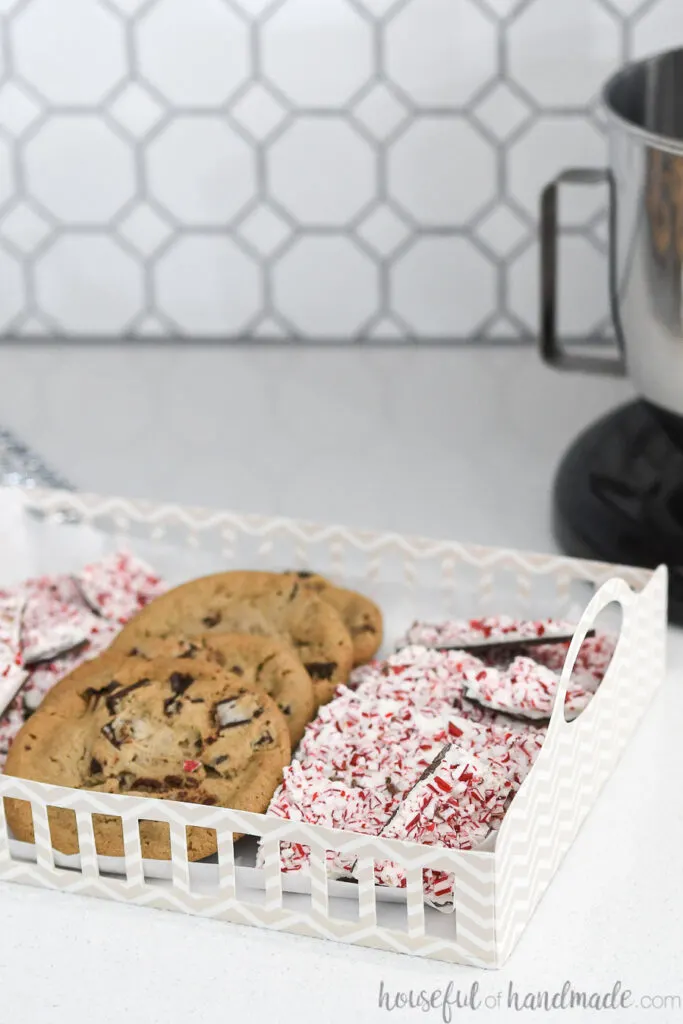
Now your DIY Christmas tray is all done!
I put a piece of parchment paper in the tray before adding my Christmas cookies, but it would also be really cute with some brown craft paper.
However you decide to fill them, I know everyone that receives one will be impressed that you ditched the boring paper plates! And you will be happy they were so easy to make.
Easy Christmas Cookie Trays
Learn how to make Christmas cookie trays for a fun way to share holiday treats this year.
Materials
- Christmas cookie tray template
- Cardstock - (3) 8 1/2″ x 11″ or (2) 12″ x 12″ per tray.
- Foam board
- Spray glue
Tools
- Glue gun and glue sticks
- X-acto knife
- Ruler
Instructions
- *Cut out the pieces for the Christmas Cookie Tray. For each tray you will need 2 handles and 2 sides.
- Fold along the dotted lines.
- Open the folds back up and spray the inside with spray glue.
- Fold the two handle pieces in half, with the tabs hanging out and press hard to secure.
- Line one end of the side piece up even with the handle piece, and fold to enclose the tab inside.
- Line the other handle piece up with the other end of the side piece and fold to enclose the tab inside.
- Press hard on the side to secure.
- Repeat with the other side piece, enclosing the other tabs on the handle pieces.
- Cut a piece of foam board 7 1/2″ x 10 1/2″ with a ruler and x-acto knife to get a clean cut.
- Place the bottom inside the assembled sides.
- Hot glue all 4 sides in between the foam board and cardstock.
Notes
*For 12″ x 12″ paper, arrange the designs so you have 1 side and 1 handle on each sheet. For 8 1/2" x 11" paper, cut 1 handle per sheet and both sides on one sheet.
Recommended Products
As an Amazon Associate and member of other affiliate programs, I earn from qualifying purchases.


- Day 1: Easy Christmas Cookie Trays
- Day 2: Scandinavian Paper Christmas Village
- Day 3: Nordic Cross-Stitch Ornaments
- Day 4: Cross-Stitch Village Printable Art
- Day 5: Nordic Christmas Tree Lanterns
- Day 6: Decorative Paper Christmas Trees
- Day 7: Rocking Horse Paper Ornaments
By the end of the week, you will have everything you need to decorate your home for the holidays without spending all your money!
Happy crafting!