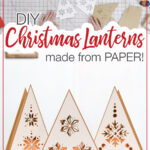


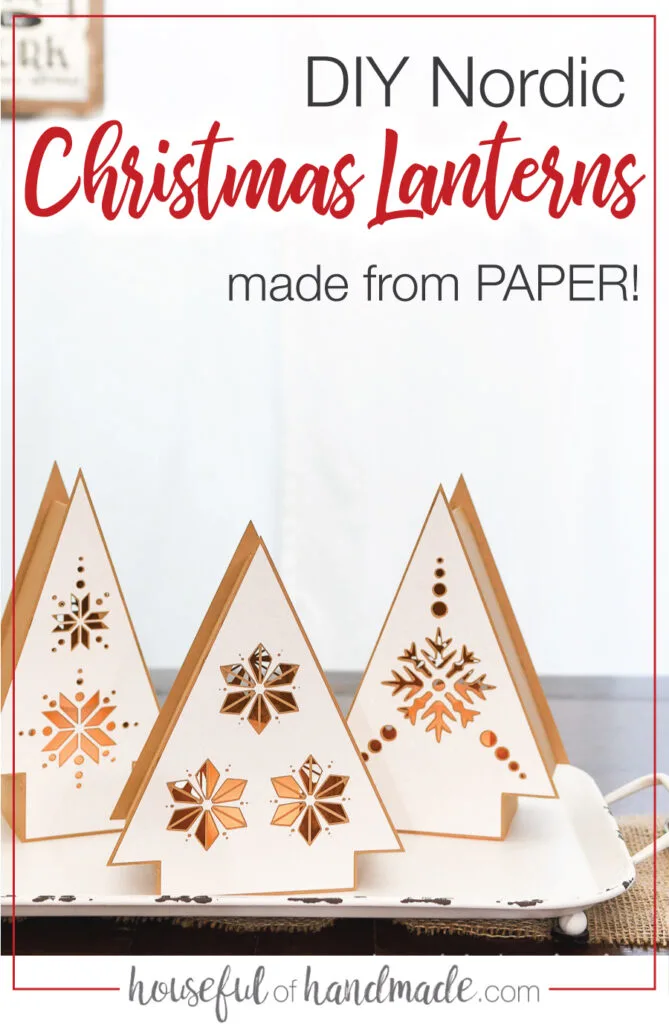
Make these beautiful paper Christmas lanterns with a Nordic flare out of paper!
Are you ready for Day 5 of the 7 Days of Paper Christmas Decor? You probably already know my love of paper lanterns, so I couldn’t let this week go by without making some beautiful Nordic Christmas tree paper lanterns.
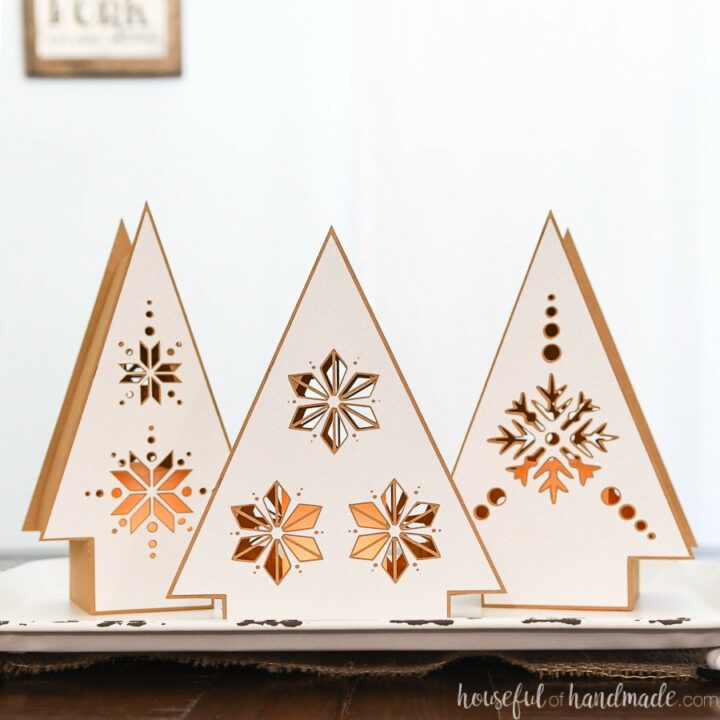
These paper Christmas lanterns use simple Nordic Christmas motifs to create the cutouts for the light to shine through. The snowflake and star designs pair perfect with the natural colored papers.
And there are 3 different designs to make a complete statement all out of paper!
This post may contain affiliate links. As an Amazon Associate I earn from qualifying purchases. Click here to read my full disclosure policy.


I wanted to keep the lanterns neutral so I used brown Kraft cardstock for the base of the lanterns. The brown paper almost give them a wood look.
Then to give them a little Christmas sparkle (and some contrast), I used a soft cream glitter cardstock for the top.


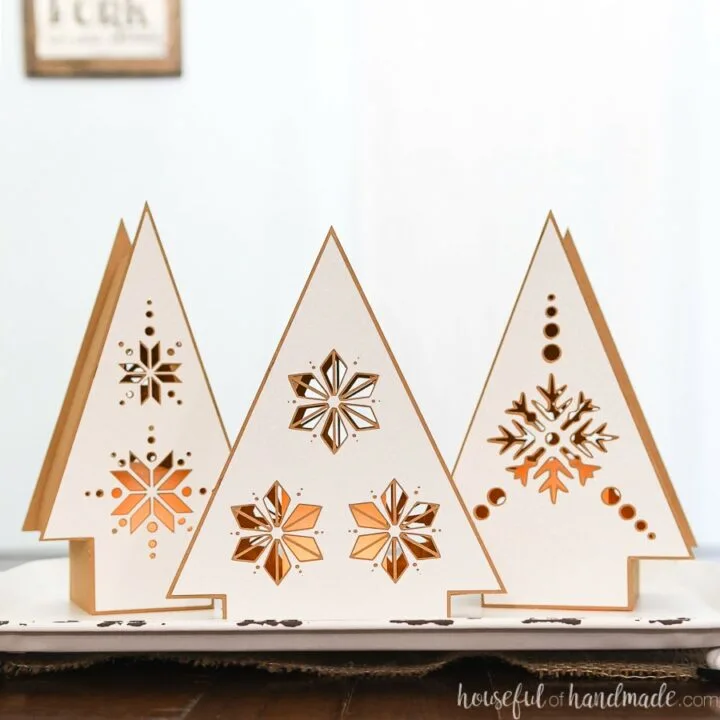
I love that the glitter is subtle so it just gives the paper lanterns some texture and sparkle. But they still have the neutral hygiene feel of simple Nordic decor.
It’s so subtle in fact, that you cannot really see the sparkle. Instead it just looks like slightly glossy sand. It’s the perfect color for giving these DIY Christmas lanterns a bit of Hygge.


Hygge Christmas Decor
Have you heard the word Hygge tossed around by decorators? It’s a Danish or Norwegian word used to describe a mood of coziness and comfort.
Decorating with Hygge is perfect for adding warmth to your home for Christmas.


These Nordic paper Christmas lanterns are an easy way to add Hygge to your Christmas decor. The neutral and warm tones of the lanterns mixed with the warm flickering light add lots of coziness.
You can use these easy to make paper lanterns anywhere you want to add some warmth to your Christmas decor this year!


How to Make Christmas Tree Shaped Lanterns
Supplies:
- Tree lantern templates
- The cut files & PDF for these paper Christmas trees were free to my subscribers until 11/30/2019. Now they are available to purchase in the shop. Make sure to subscribe so you will be notified of new freebies!
- Brown Kraft cardstock
- Cream glitter cardstock
- Precision tip superglue
- Glue gun and glue sticks
- Flameless wax candles
- Optional: Silhouette Cameo or other electronic cutting machine
- You can cut these out with scissors and and X-acto knife, but it will take more time.
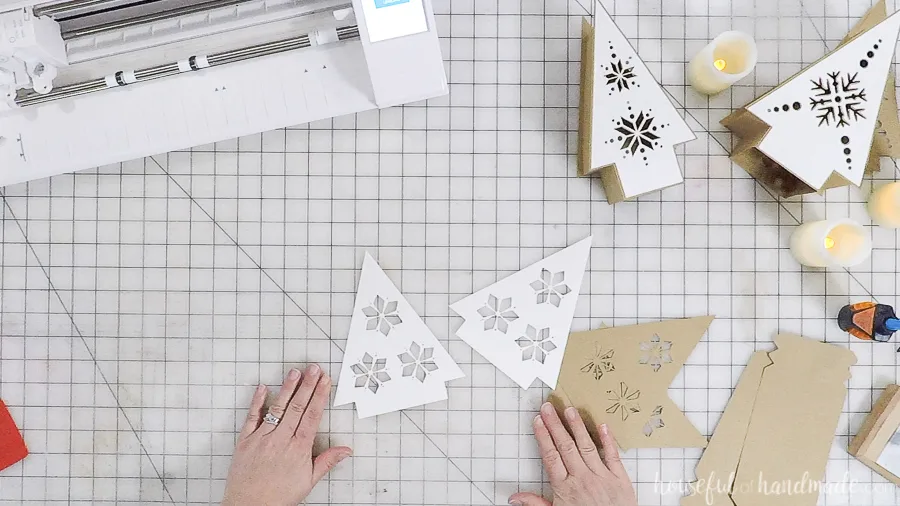
Cut the Lantern Pieces
For each lantern you will need 2 pieces for the layered front and back and 2 pieces for the sides.
The template shows the layered pieces on top of each other. The red line is for the top layer and the black line is for the bottom layer.
Cut the bottom layer and the sides from the brown Kraft cardstock. Cut out the top layer from the glitter cardstock.

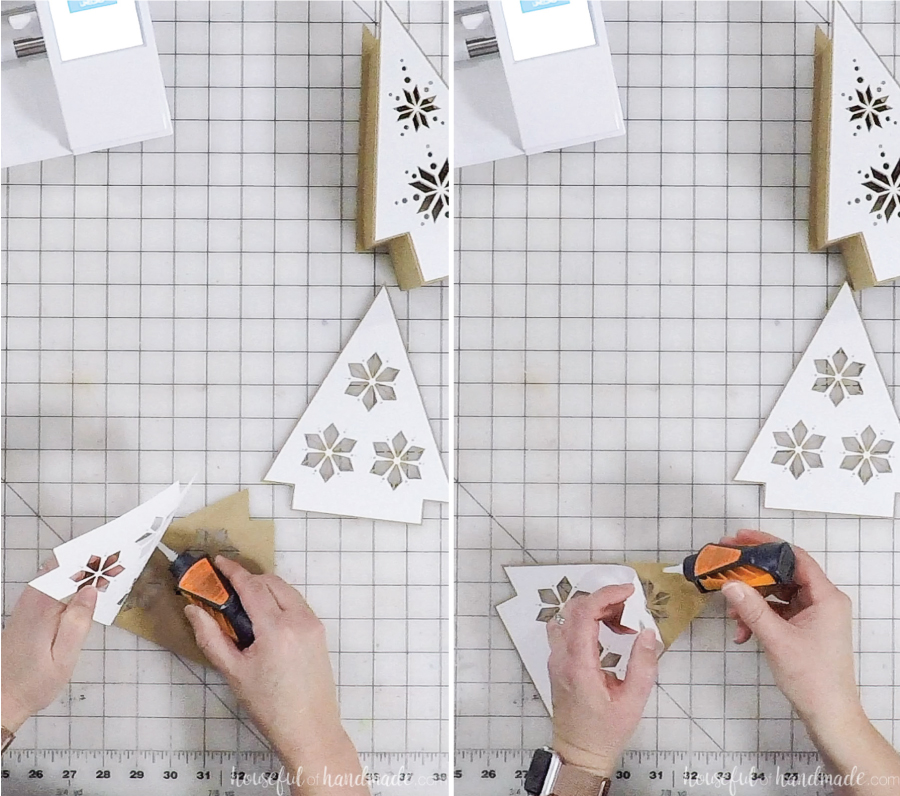
Glue the Lantern Together
Start by glueing the top layer of the front & back to the bottom layer.
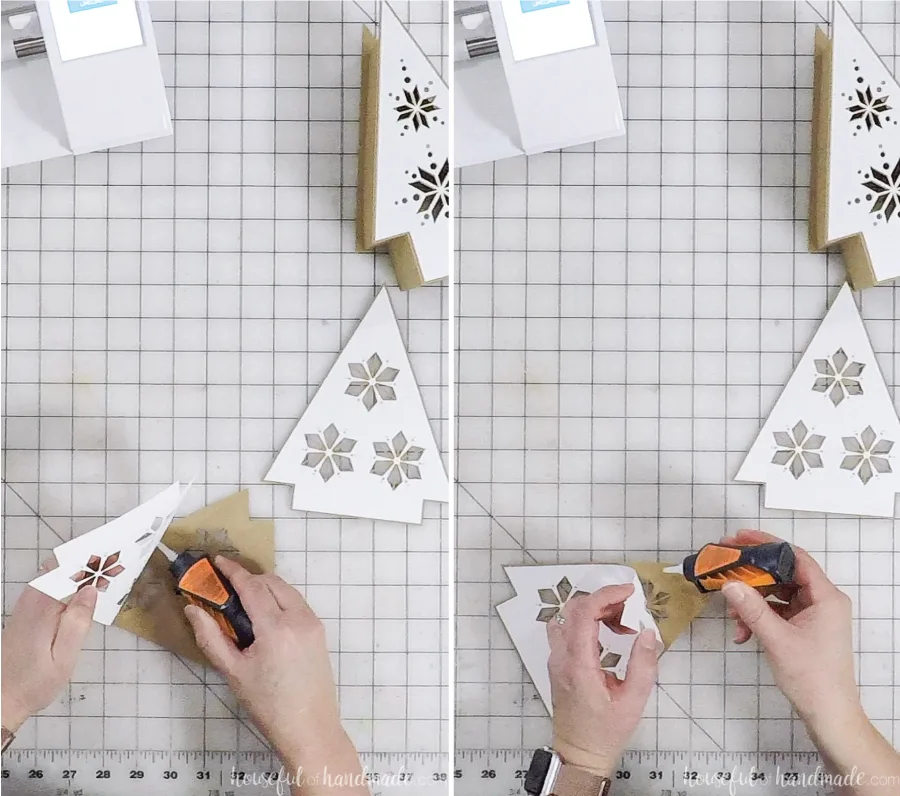
Line the pieces up first, then lift up one side and add a few drops of super glue on the bottom of the top layer. Press it and hold for a few seconds till it’s stuck.
Then lift up the other half and add glue. Make sure only to use a few drops around the tree shape. You don’t need a lot.
If you do not want to use super glue, you can also use hot glue, but it might add a little bit of space between the two layers.
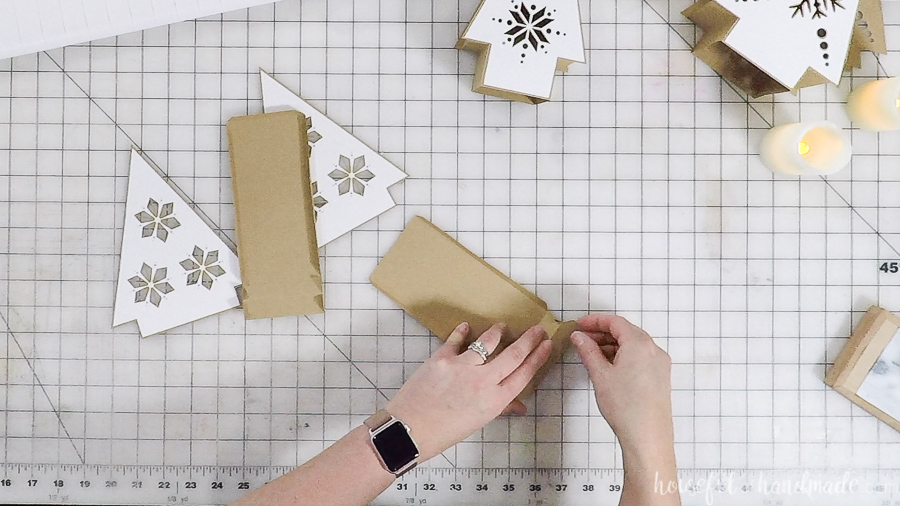
Fold along all the dotted lines on the side pieces.
Glue the two side pieces together by adding hot glue to the top tab and securing it to the top of the other side piece.

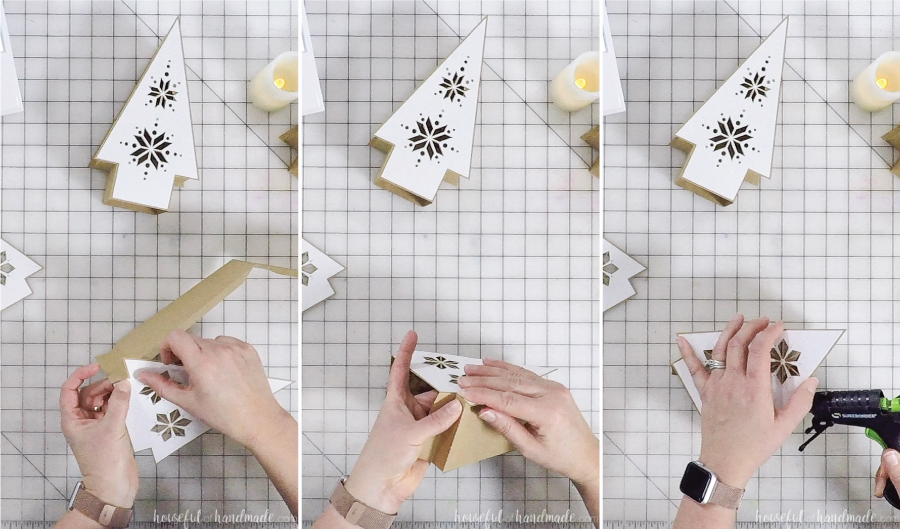
Next attach the side piece to the front. Start at the bottom and attach the side tab level with the side of the truck.
Then add the next tab to the bottom of the tree section. The side will be flush with the trunk but set in 1/4″ on the upper part of the tree.
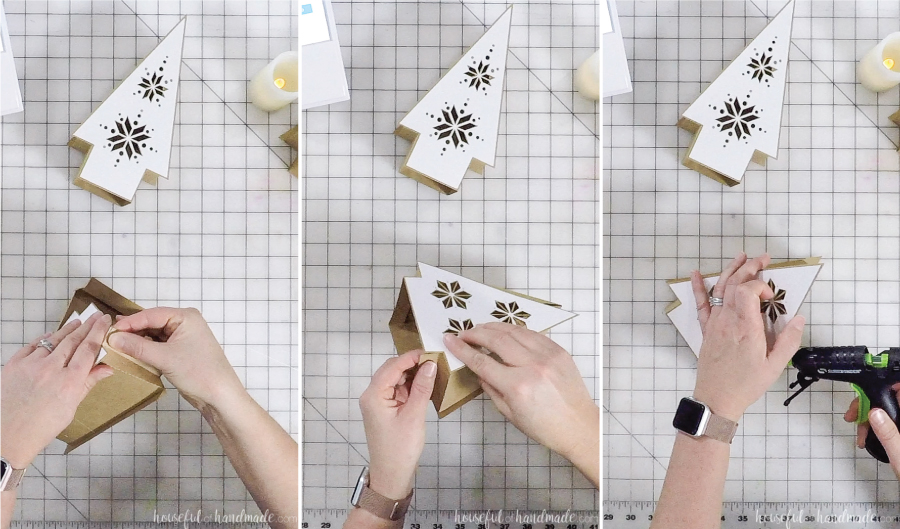
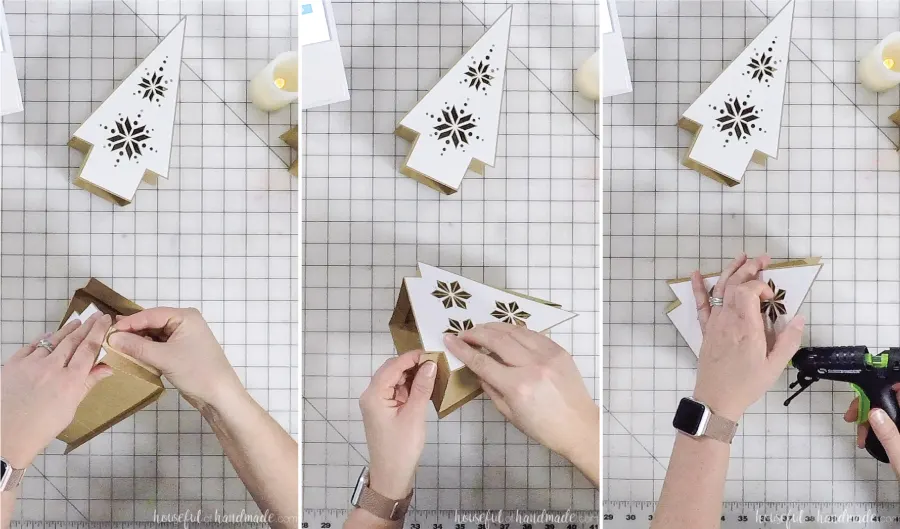
Repeat on the other side of the trunk.
Now the top of the sides should create a perfect triangle. Add hot glue to the tabs and secure to the inside of the front piece.

Repeat for the back of the lantern. Make sure to attach the side in the same order as the front.
And now your lanterns are all done! Super easy!
These are paper lanterns, so please do not use real candles in them. But I love these flameless wax candles. They look just like real candles and even have flickering light to them.


And don’t forget to come back tomorrow for Day 6 of the 7 Days of Paper Christmas Decor. Here is the plan for the week. You won’t want to miss out on anything!
- Day 1: Easy Christmas Cookie Trays
- Day 2: Scandinavian Paper Christmas Village
- Day 3: Nordic Cross-Stitch Ornaments
- Day 4: Cross-Stitch Village Printable Art
- Day 5: Nordic Christmas Tree Lanterns
- Day 6: Decorative Paper Christmas Trees
- Day 7: Rocking Horse Paper Ornaments

By the end of the week, you will have everything you need to decorate your home for the holidays without spending all your money!
How to Make Nordic Christmas Tree Lanterns
These paper Christmas lanterns use simple Nordic Christmas motifs to create the cutouts for the light to shine through.
Materials
- Tree lantern templates
- Brown Kraft cardstock
- Cream glitter cardstock
- Precision tip superglue
- Flameless wax candles
Tools
- Glue gun and glue sticks
- *Silhouette Cameo or other electronic cutting machine
Instructions
- Cut the lantern pieces - 2 pieces for the layered front and back and 2 pieces for the sides.
- Cut the bottom layer and sides from the brown kraft cardstock.
- Cut out the top layer from the glitter cardstock.
- Glue the lantern together.
- Start by gluing the top layer of the front & back to the bottom layer.
- Lift up the other half and add glue.
- Fold along all the dotted lines on the side pieces.
- Glue the two side pieces together by adding hot glue to the top tab and securing it to the top of the other side piece.
- Attach the side piece to the front.
- Add the next tab to the bottom of the tree section.
- Repeat on the other side of the trunk.
- Add hot glue to the tabs and secure to the inside of the front piece.
- Repeat for the back of the lantern
Notes
*You can cut these out with scissors and and X-acto knife, but it will take more time.