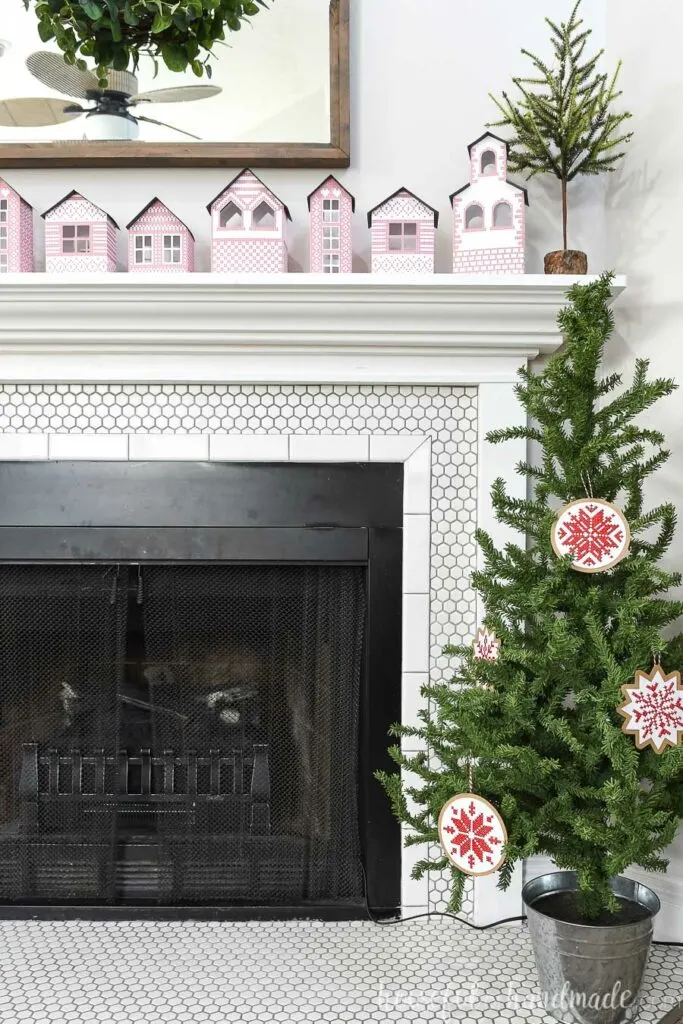
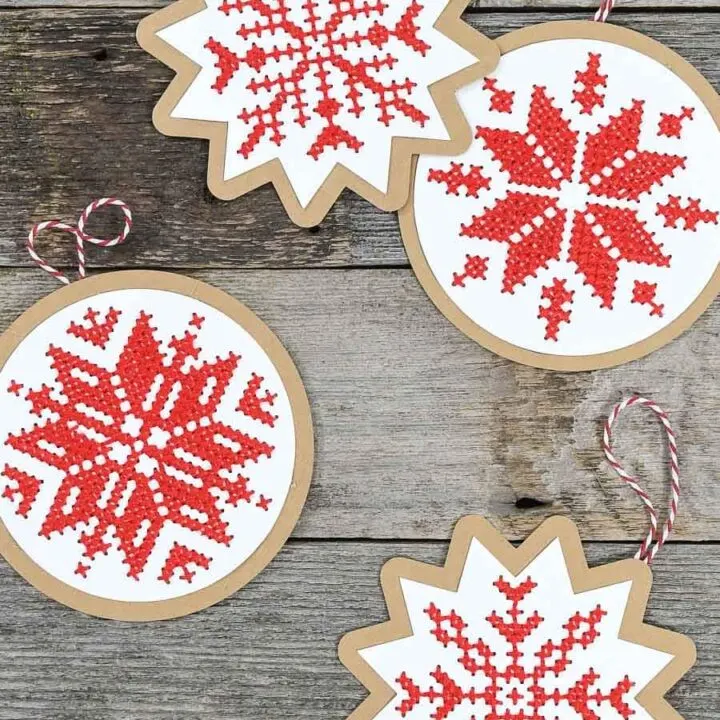
Decorate your Christmas tree with these beautiful DIY Nordic cross-stitch ornaments.
It’s the 3rd Day of Paper Christmas decor and it’s about time we start making some paper Christmas ornaments! This year, we are sticking with the Scandinavian theme. For today’s project, we are combining paper with thread to make texture on these Nordic cross-stitch ornaments.
These paper ornaments are perfect for anyone who has not done cross-stitch before. The patterns are printed and the holes are cut out on the paper. Then all you have to do is follow the pattern revealing the design.
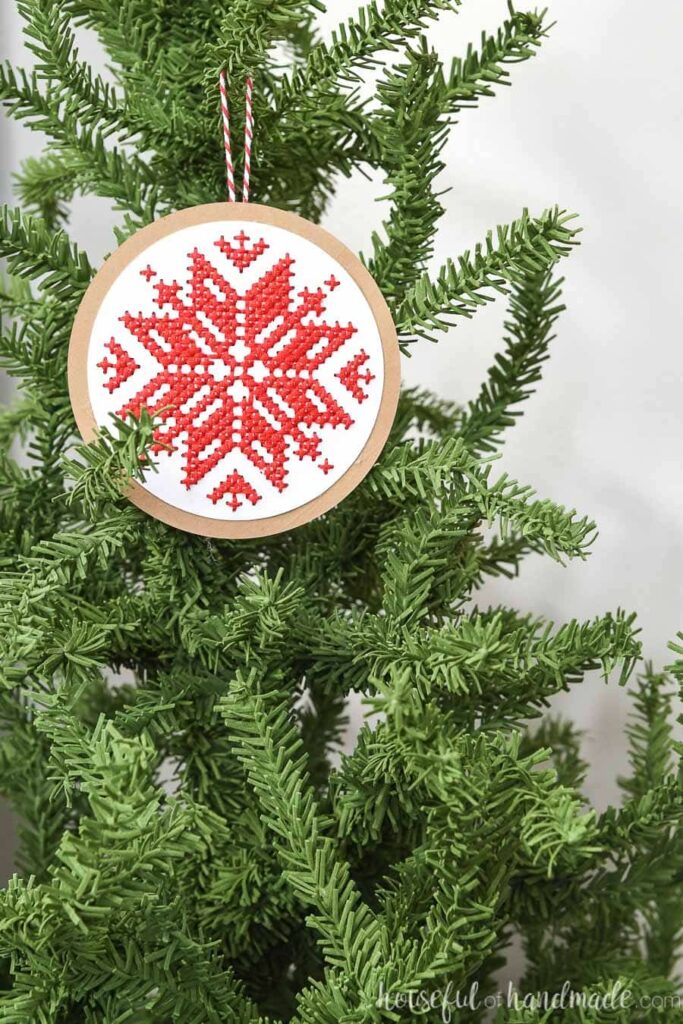

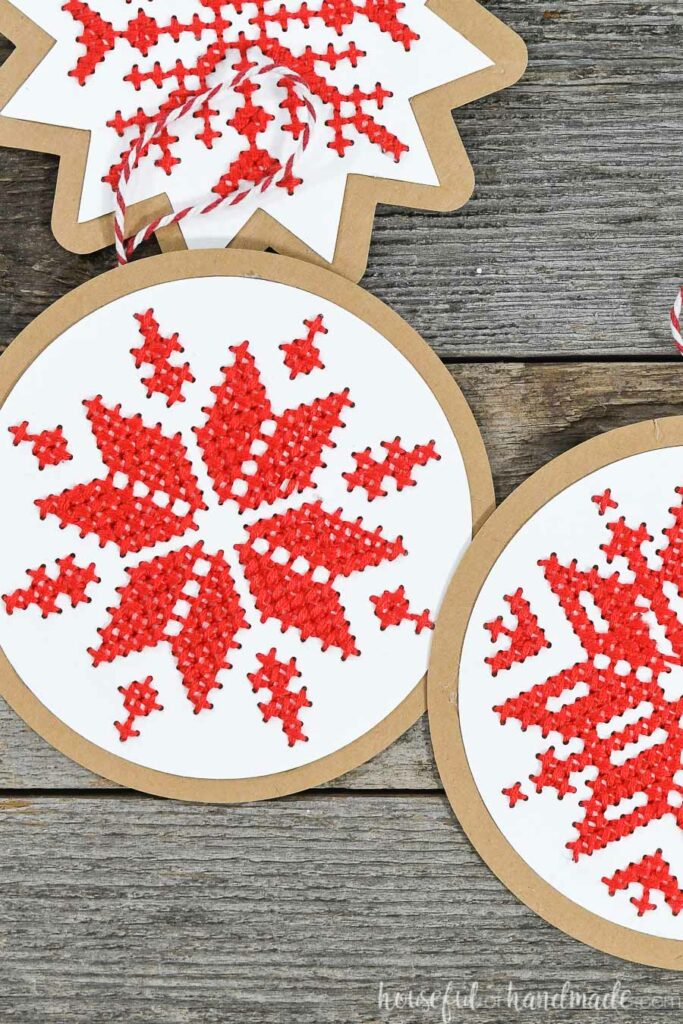
All the stitches are simple X stitches. But the result is a beautiful classic Nordic snowflake design.
This post may contain affiliate links. As an Amazon Associate I earn from qualifying purchases. Click here to read my full disclosure policy.
Or how about 4 different designs! You can cut out 4 ornaments on each sheet of cardstock.
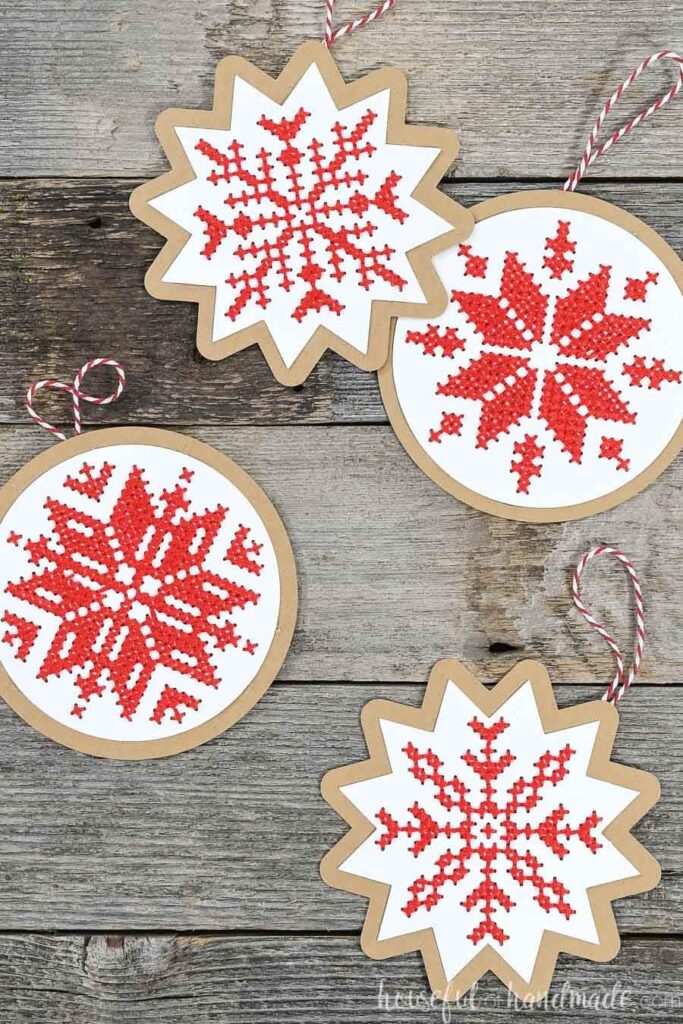

The stitches are made with embroidery thread. I was able to get 4 ornaments stitched from 2 little skeins of embroidery thread.
And the embroidery thread only cost me $0.59 each. If we figure $0.25 per sheet of cardstock, these beautiful handmade ornaments only cost me $0.50 each to make. This truly is a budget friendly project!

Ways to Use Paper Christmas Ornaments
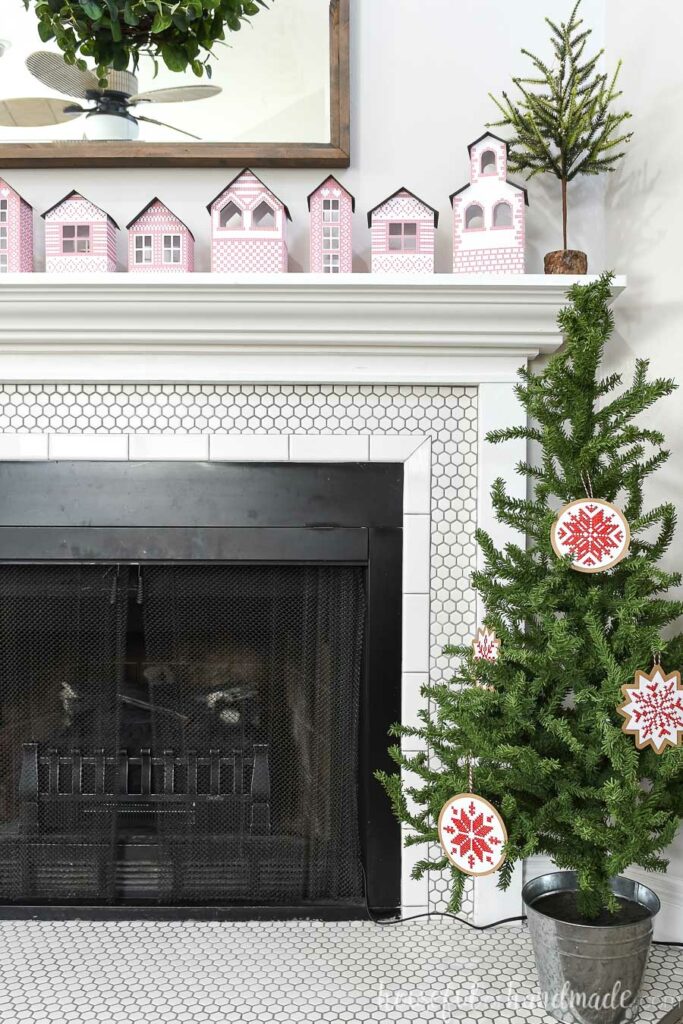
Besides the obvious, there are many other ways you can use these inexpensive handmade ornaments.
- Hang them on garland over a mantel or down the stair rail.
- Use them as gift tags that the recipient can use on their tree next year.
- Hang them from a chandelier.
- Make them larger, and use them as cabinet door wreaths.
- Use them as an advent calendar with the activity written on the back.
How to Make Cross-Stitch Snowflake Ornaments
Supplies:
- Snowflake ornament template
- The cut files & PDF for these paper Christmas ornaments were free to my subscribers until 11/30/2019. Now they are available to purchase in the shop. Make sure to subscribe so you will be notified of new freebies!
- White & Brown Kraft cardstock
- Printer
- Embroidery thread
- I used bright red, but the template is a soft gray so you can use any color you want to match your decor.
- Needle
- Hot glue gun and glue sticks
- Optional: Electronic cutting machine like a Silhouette Cameo or Cricut Maker
- You can cut these out with scissors and use your needle to poke through instead of having cut out holes.
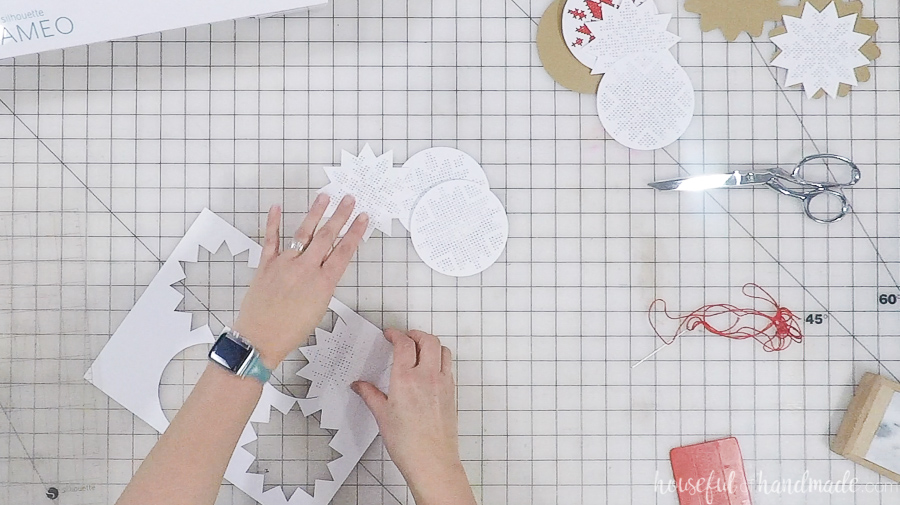
Cut Out the Ornament Template
Use the Print & Cut feature on your cutting machine for the templates. This will give you a soft gray pattern to follow so you can mindlessly cross-stitch while watching Christmas movies.
Cut out the templates. If you do not have a cutting machine, you can print the PDF. Then just use the needle to poke through the dark circles indicating the holes.

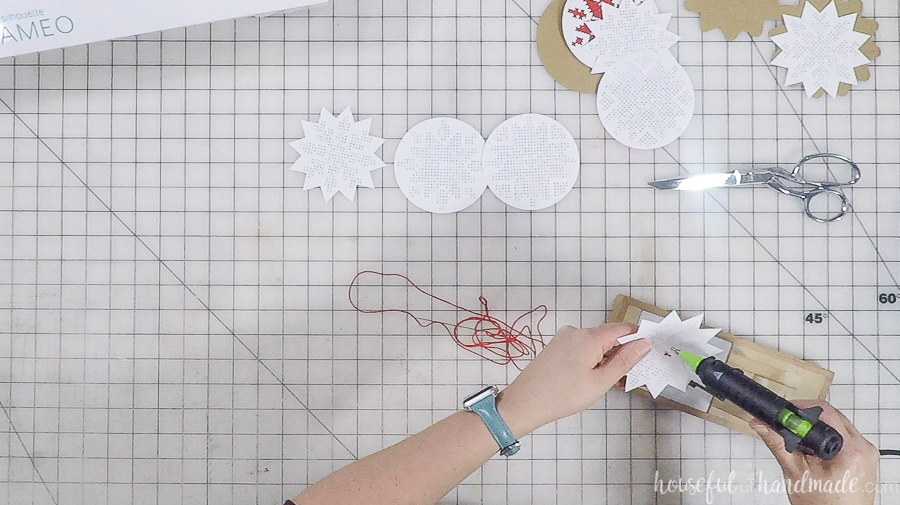
Add the Stitched Design
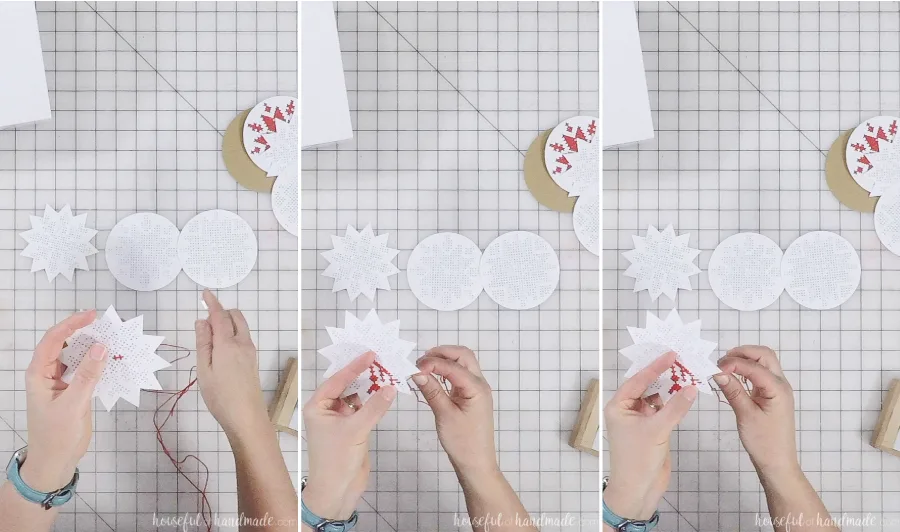
Thread a piece of embroidery thread (all the little threads together) on your needle. Pull it through one of the holes till almost all the wary through. Then use a drop of hot glue to secure it to the back.
Make sure not to get hot glue on the holes for the stitching or it will be harder to sew your design.

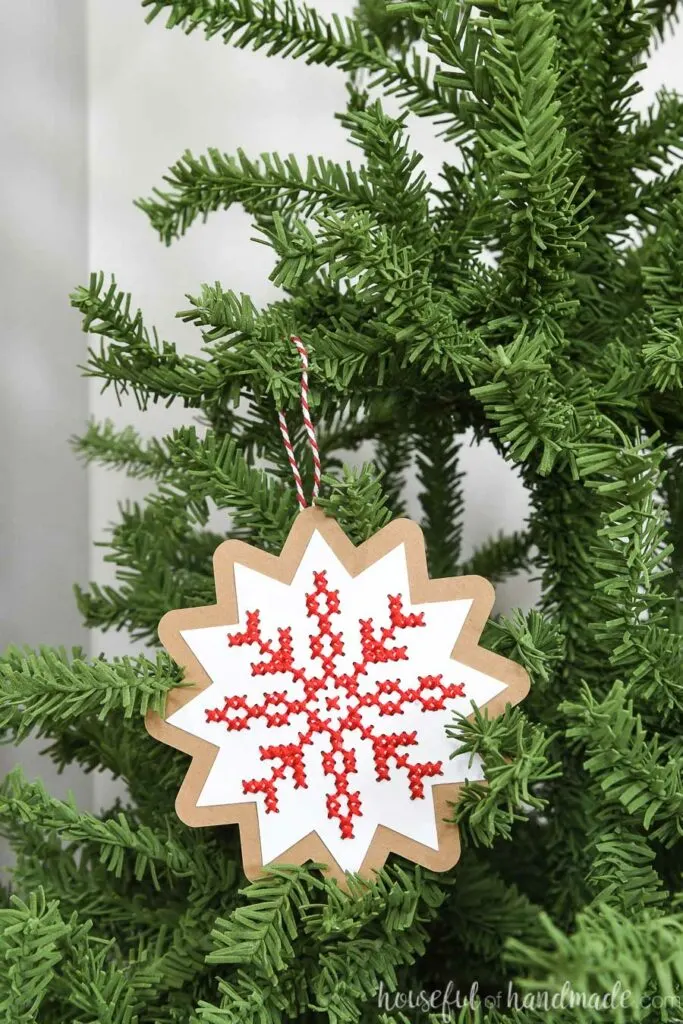
Sew along the pattern, creating Xs from hole to hole. I did find on it easier to go up one side of a line, then down the other. Continuing this repeat all around the design.
Sewing the cross-stitch ornaments (like any cross-stitch) does take a little bit of time. So pop in your favorite Christmas movie, or stitch as you drive to your Thanksgiving dinner next week!
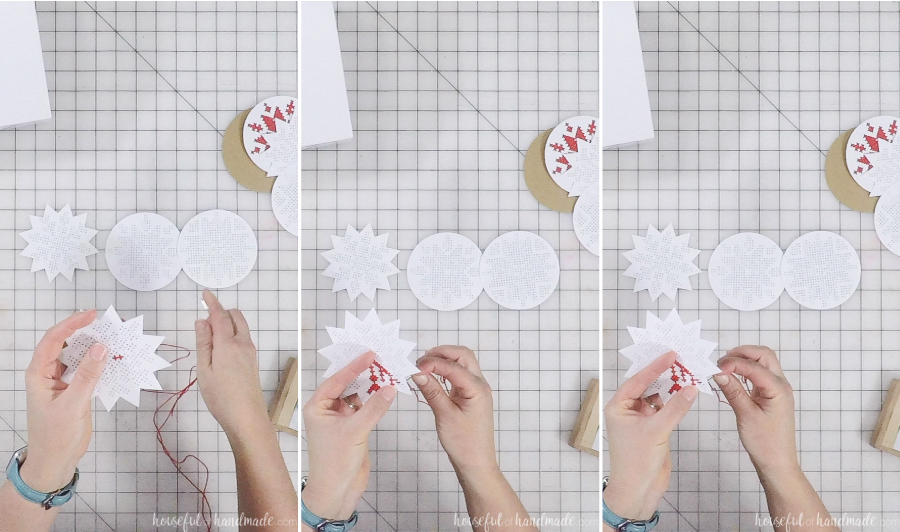
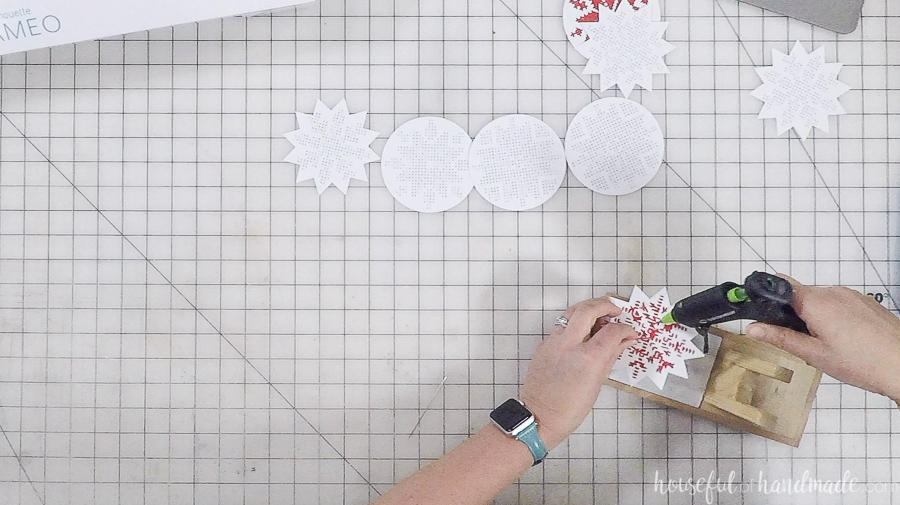
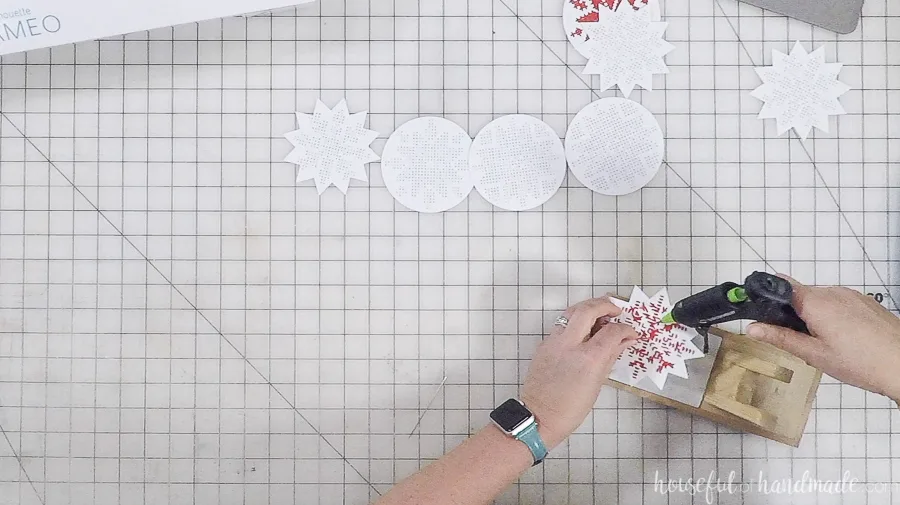
As you run out of thread, use glue to secure the end of the thread and the beginning of a new one.
When you are done stitching, secure the end of the thread with glue and trim off any excess.
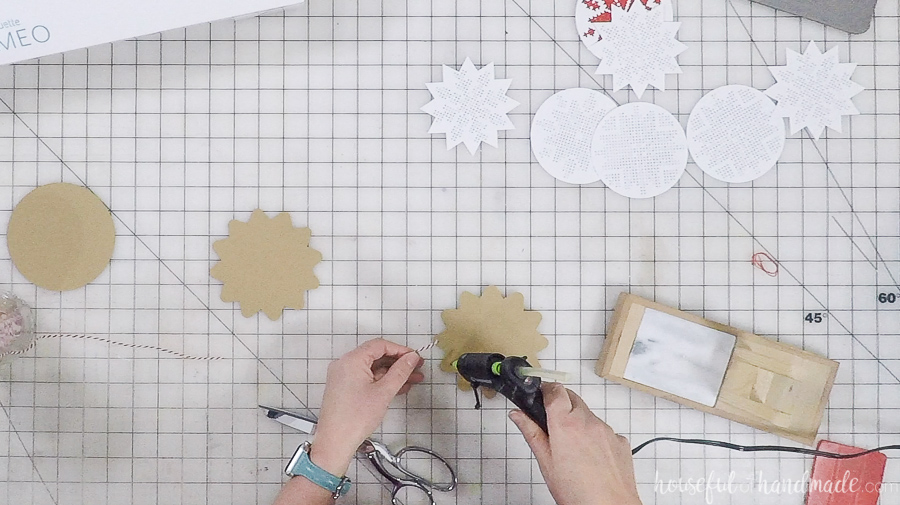
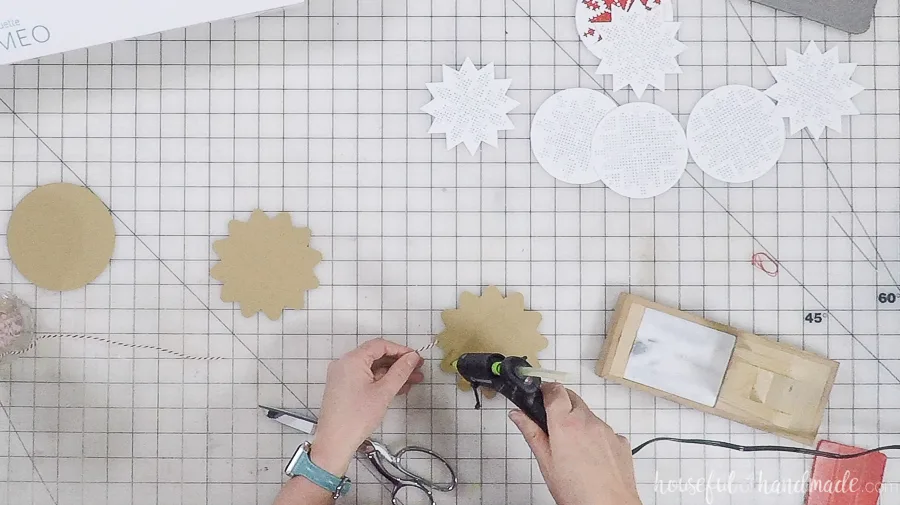
Cover the Back
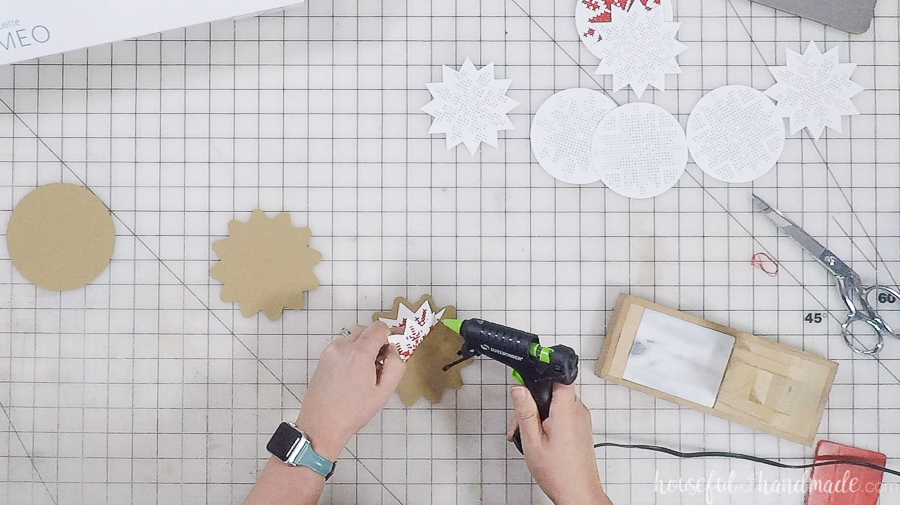
Cut a piece of brown Kraft cardstock (or any color you want to match your own decor) from the larger pieces on the template.
Center the cross-stitched ornament on top of the back. Then lift one side and add hot glue to the ornament to secure to the back. Repeat on the other side to secure it all around.

Flip it over and glue some string to the back to hang your ornaments.
And now you are ready to add your new Nordic Christmas ornaments to your tree or anywhere else you need a little Christmas!
Anyway you use them, they truly are a wonderful handmade ornament. Made a little easier with the paper template!

And my kids are excited to be able to stitch their own ornaments for the tree too.
I think its going to be a sewing while watching a Christmas movie kinda night tonight!


Nordic Cross-Stitch Ornaments
Make beautiful DIY Nordic cross-stitch ornaments using this simple tutorial.
Materials
- Snowflake ornament template
- White & Brown Kraft cardstock
- Embroidery thread
Tools
- Printer
- Optional: Silhouette Cameo or other electronic cutting machine
- Glue gun and glue sticks
- Needle
Instructions
- Cut out the ornament template.
- Thread a piece of embroidery thread on your needle.
- Pull it through one of the holes till almost all the way through.
- Use a drop of hot glue to secure it to the back.
- Sew along the pattern, creating Xs from hole to hole.
- Use glue to secure the end of the thread and the beginning of a new one.
- Secure the end of the thread with glue and trim off any excess.
- Cut a piece of brown Kraft cardstock from the larger pieces on the template.
- Center the cross-stitched ornament on top of the back.
- Lift one side and add hot glue to the ornament to secure to the back.
- Repeat on the other side to secure it.
- Glue some string to the back to hang your ornaments.
And don’t forget to come back tomorrow for Day 4 of the 7 Days of Paper Christmas Decor. Here is the plan for the week. You won’t want to miss out on anything!
- Day 1: Easy Christmas Cookie Trays
- Day 2: Scandinavian Paper Christmas Village
- Day 3: Nordic Cross-Stitch Ornaments
- Day 4: Cross-Stitch Village Printable Art
- Day 5: Nordic Christmas Tree Lanterns
- Day 6: Decorative Paper Christmas Trees
- Day 7: Rocking Horse Paper Ornaments
By the end of the week, you will have everything you need to decorate your home for the holidays without spending all your money!
Happy stitching!