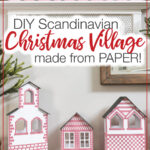


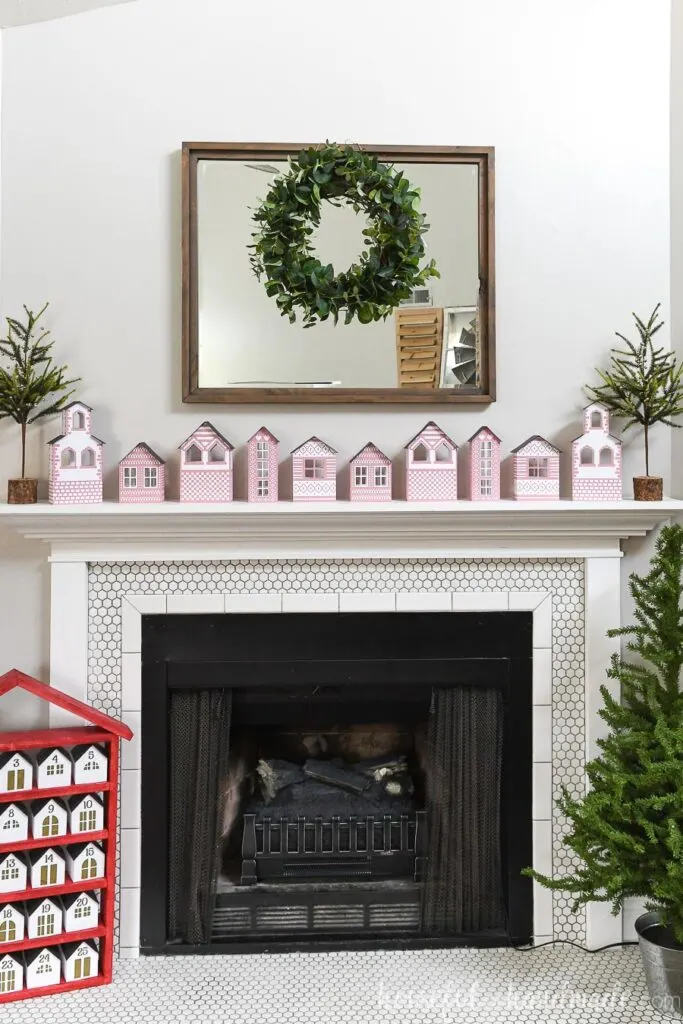
This beautiful Scandinavian inspired paper Christmas village is the easiest way to decorate for Christmas.
It’s Day 2 of the 7 Days of Paper Christmas Decor! Every day until Thanksgiving I will be sharing a new project for Christmas that is made out of paper. So get ready to make your home fun and festive!
Today’s paper Christmas decor project is an adorable Scandinavian inspired paper Christmas village.

I have been super inspired by the simple and classic designs on Scandinavian Christmas decor. The red and white color scheme mixed with the greens of nature is so pretty. Then you can even toss in a little glitz with some metallics to give it some extra Christmas magic.
This post may contain affiliate links. As an Amazon Associate I earn from qualifying purchases. Click here to read my full disclosure policy.
It’s a fairy tale Christmas color scheme. And is my inspiration for all our Christmas decor this year.
Scandinavian Christmas Decor
You can see the beginning of the Scandinavian inspired Christmas decor in the new DIY advent calendar I shared earlier this week. But I was not done with paper houses just yet…
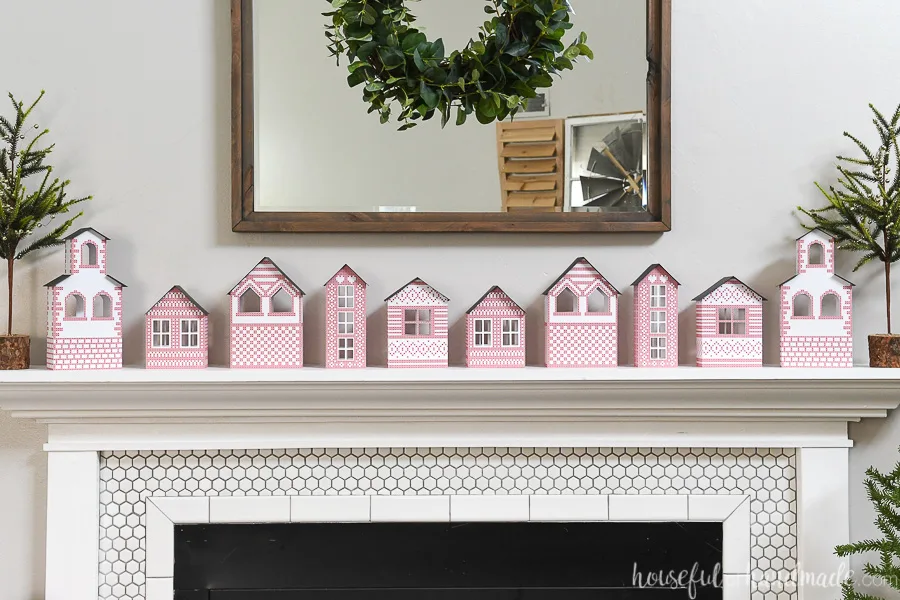
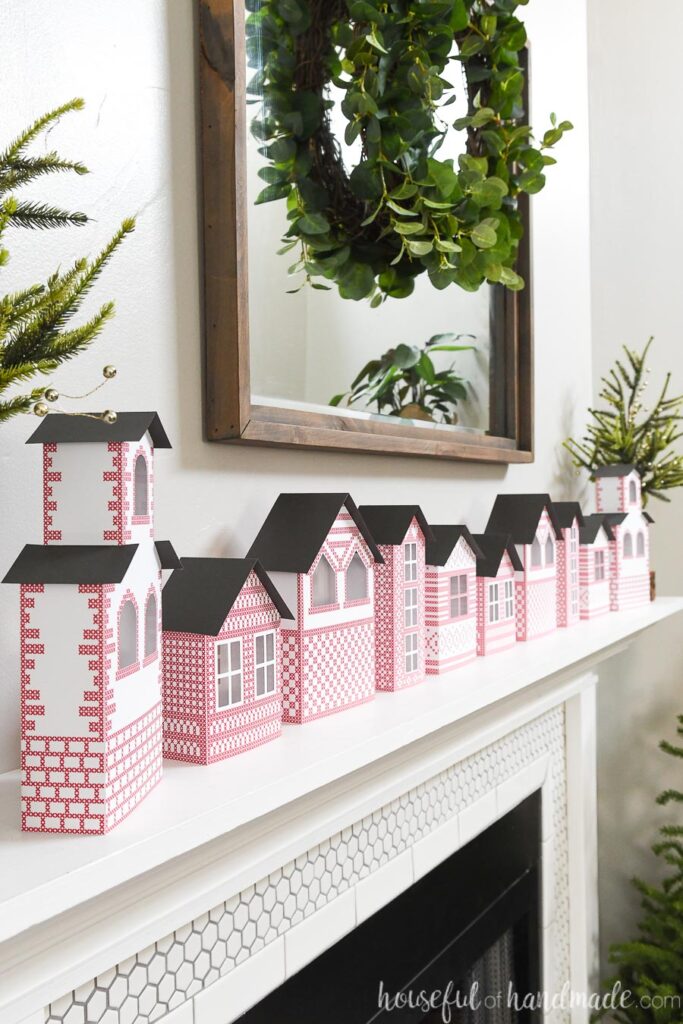
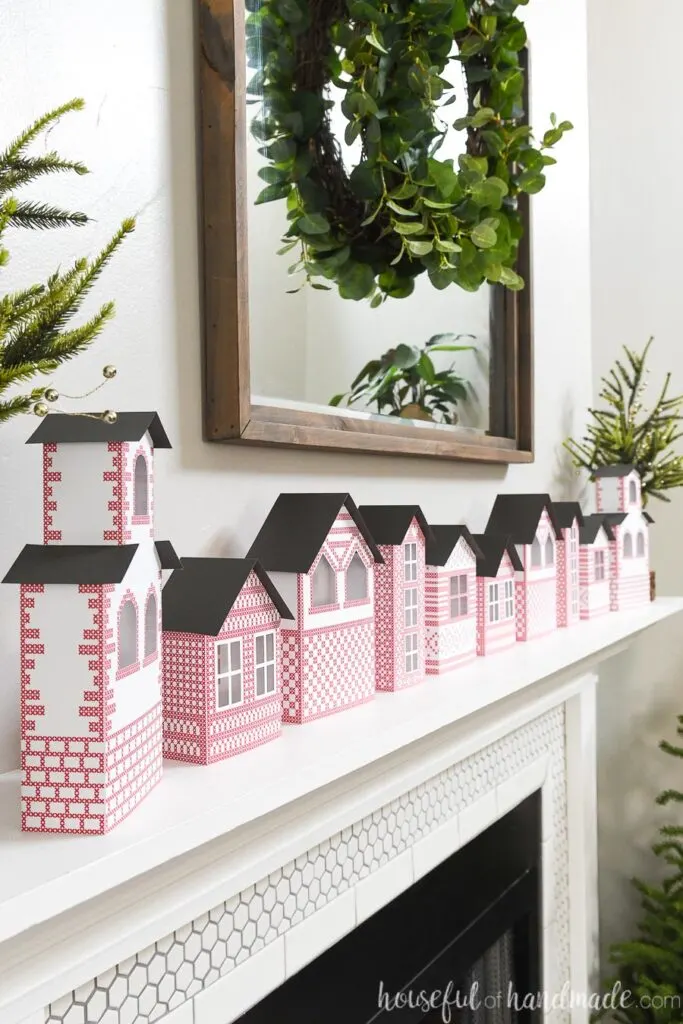
I knew I wanted to create a paper Christmas village this year! So I created one with the red and white theme.

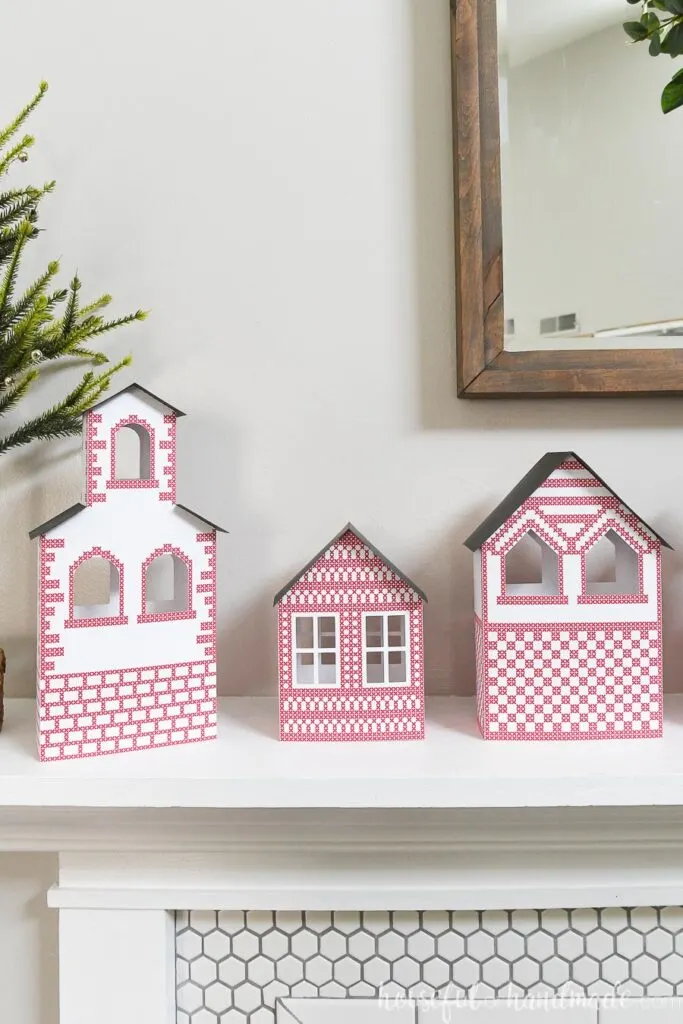
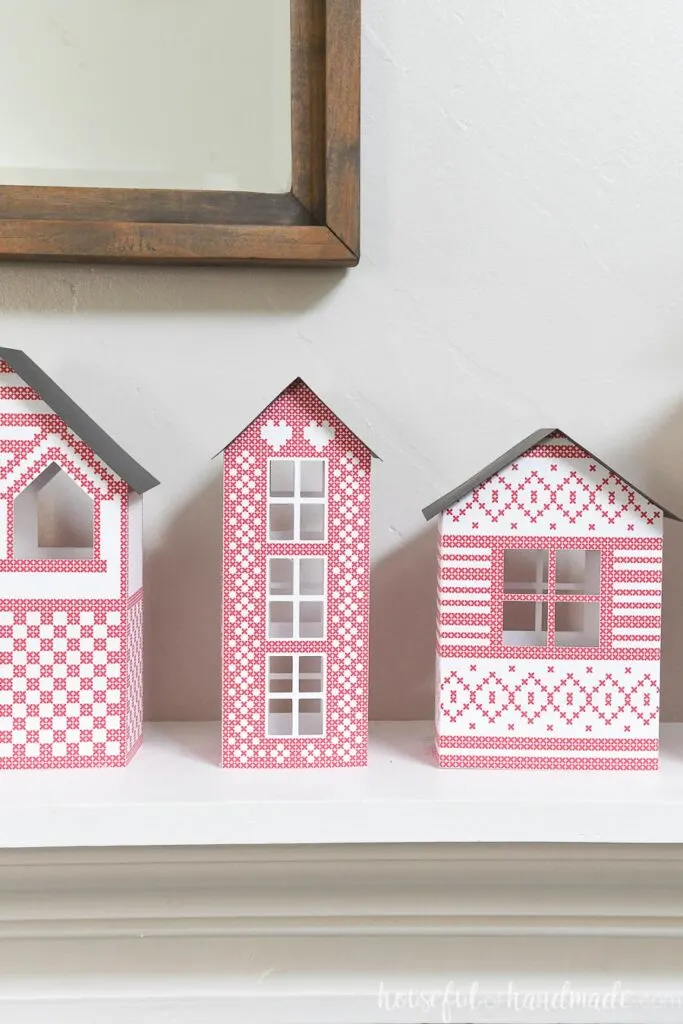
I kept the house shapes simple. It makes them way fast to put together too! But then to give them some personality, I used the Scandinavian inspiration.
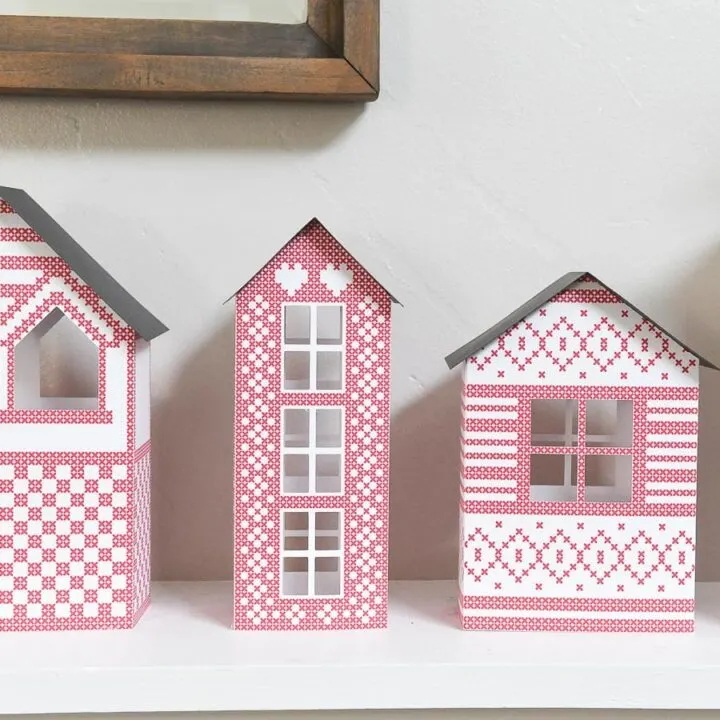
Each little house looks like it has been cross-stitched with red thread. The designs on the outside are made up completely of little Xs. And the patterns are inspired by classic Christmas cross-stitch designs.
I can’t decide which one is my favorite??? I love the simple church steeple with the bric corners…. but that tall building with the hearts above the windows always make me smile… and the classic sweater pattern on the little house.
Let’s just agree that all the paper Christmas house are cute! And together make the perfect easy DIY Christmas village!!!

How to Make a Paper Christmas Houses
Supplies:
- Paper Christmas house templates
- The cut files & PDF for the paper Christmas village were free to my subscribers until 11/30/2019. Now they are available to purchase in the shop. Make sure to subscribe so you will be notified of new freebies!
- White & gray cardstock
- Printer
- Hot glue gun and glue sticks
- Ruler
- Optional: Electronic cutting machine like a Silhouette Cameo or Cricut Maker
- You can cut these out with scissors and and X-acto knife, but it will take more time.
Print & Cut the Paper Houses
Each house is on it’s own page. For the two smaller houses, the entire house is on one page. And for the larger houses, you will need to print the page twice.
I used the Print & Cut feature on my Silhouette Cameo. For some of the larger designs, I had to shrink them slightly to fit inside the Print & Cut border.
If you do this, make sure to resize the roof pieces with the house pieces. Also keep the aspect ratio checked so the house shrinks the same % height and width. That will make sure the houses go together properly when cut.
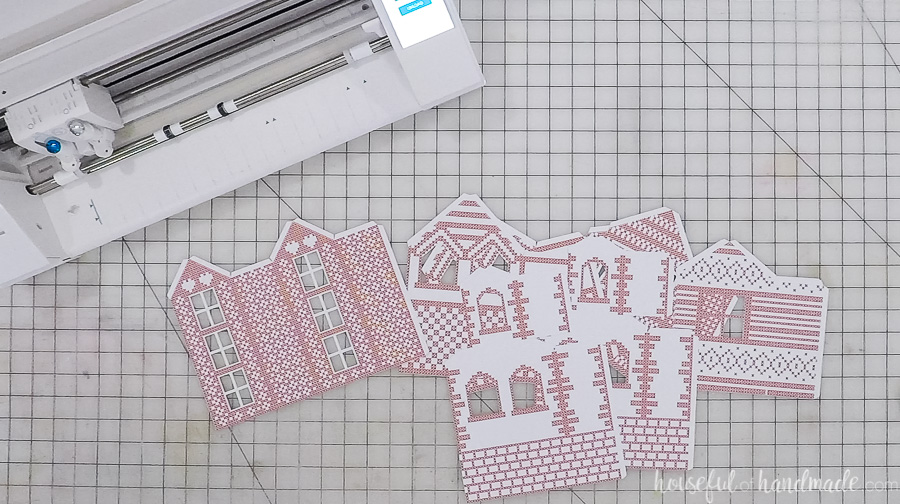
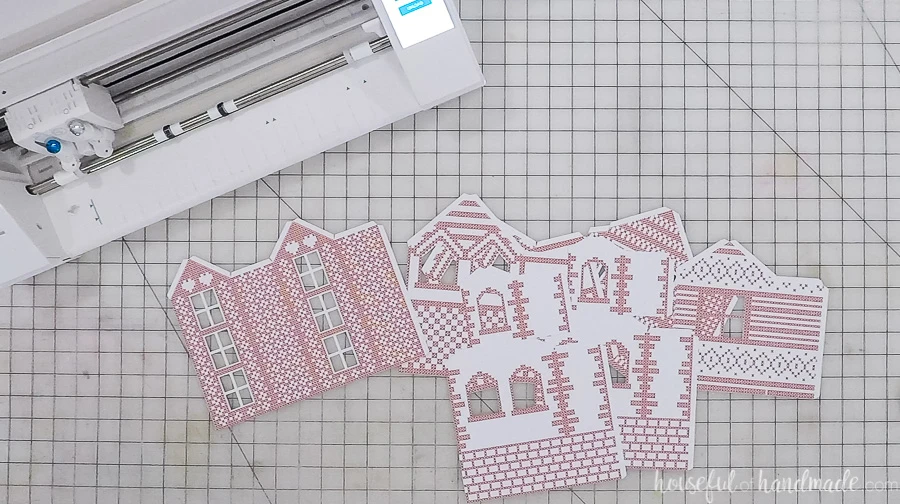
After printing, cut out the designs on the solid lines and the fold along all the dotted lines.
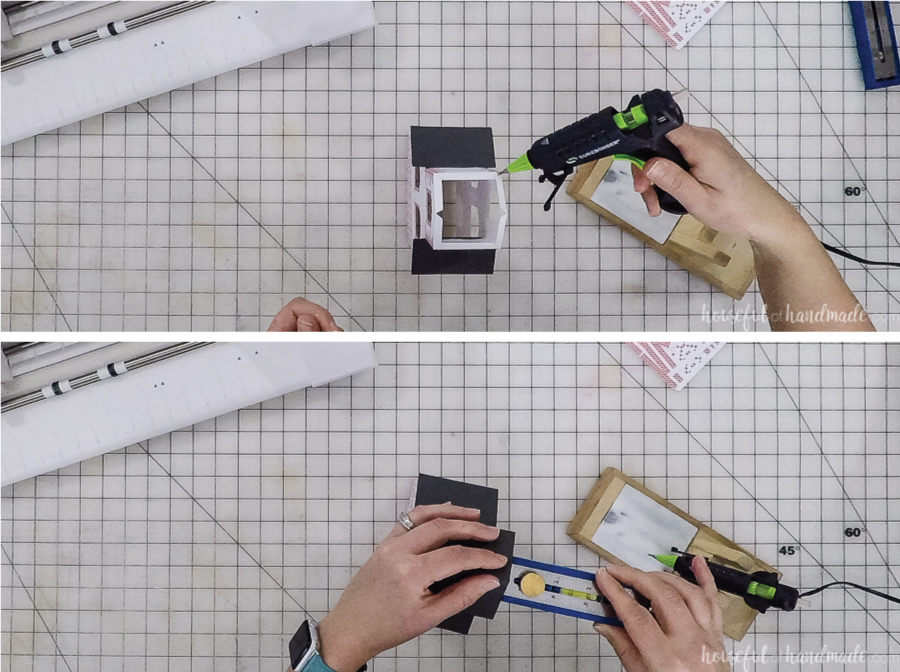
For the roof pieces, I just cut them out of regular gray cardstock (they are not printed on).
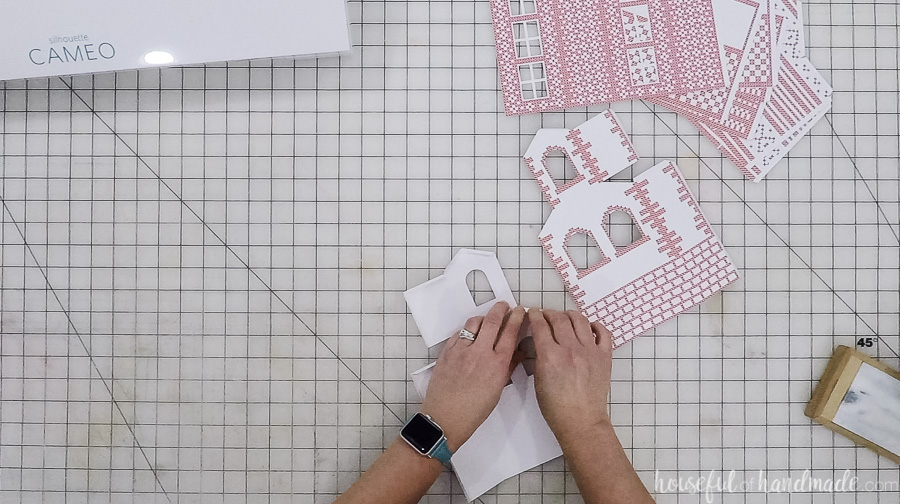

Assemble the Houses
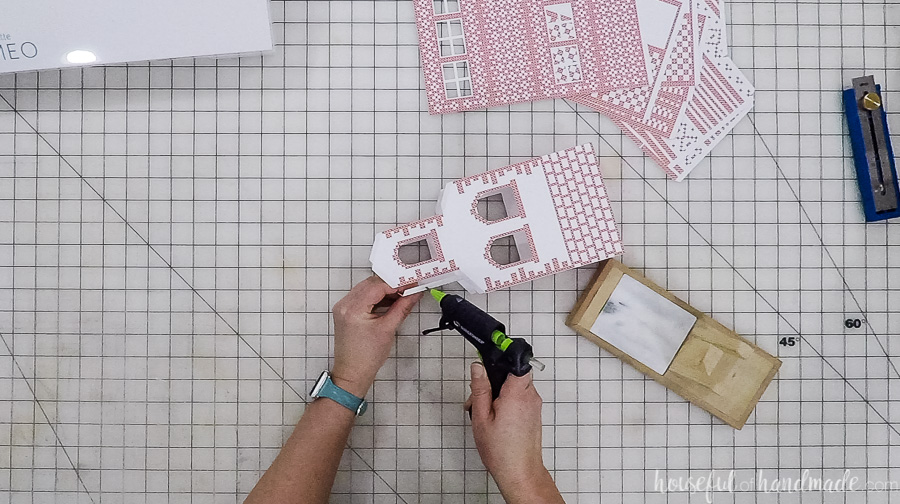
Add glue to the tabs on the side of the house and secure to the other back/front piece.
Repeat (if needed) on the other side to create a square.

For the church, do the same for the steeple.
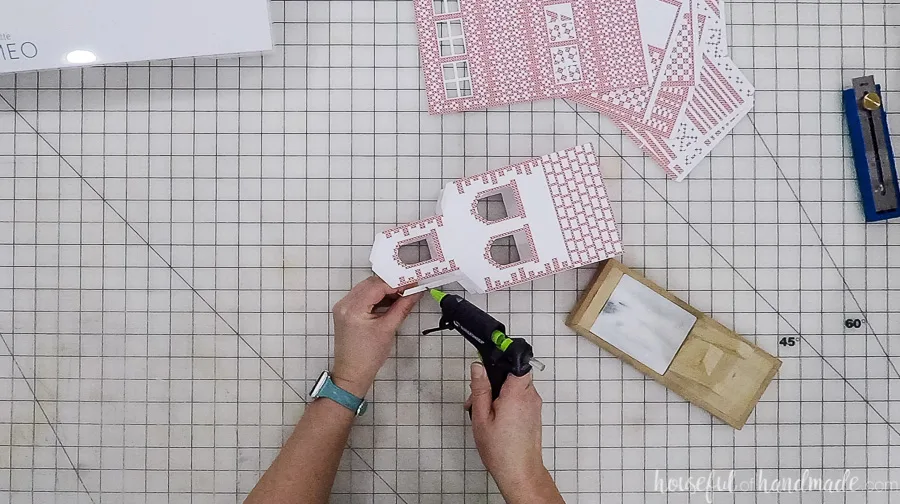
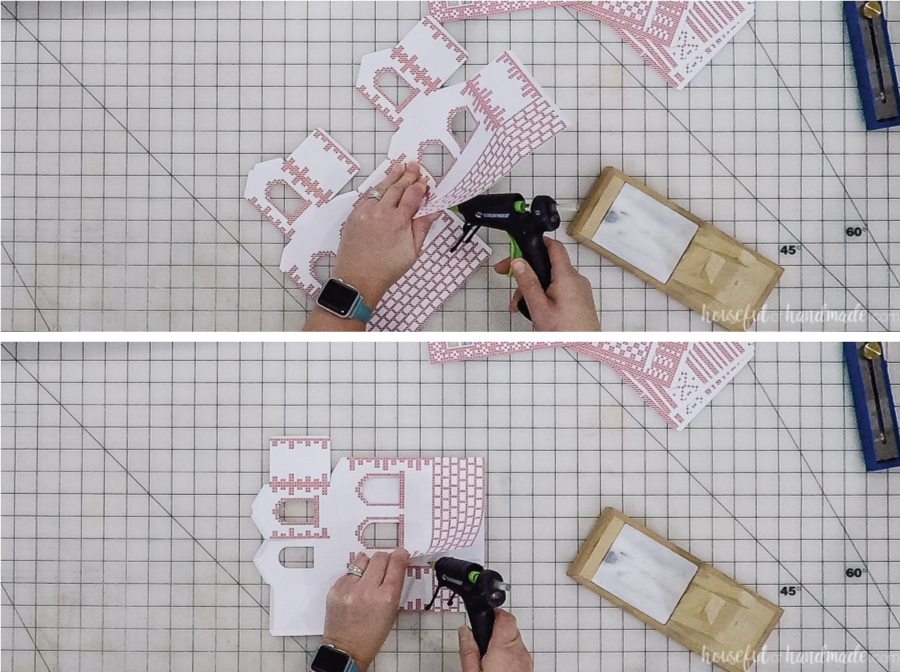
Make sure all the roof tabs are at a 90 degree angle to the house. Then add glue to them.
Place the roof on top and use your ruler (or I love this Kreg Multi-mark for this) to make sure the roof is even and centered.

For the church, add glue to the top of the tab on the side roof pieces and slide them under the steeple. Press to secure.
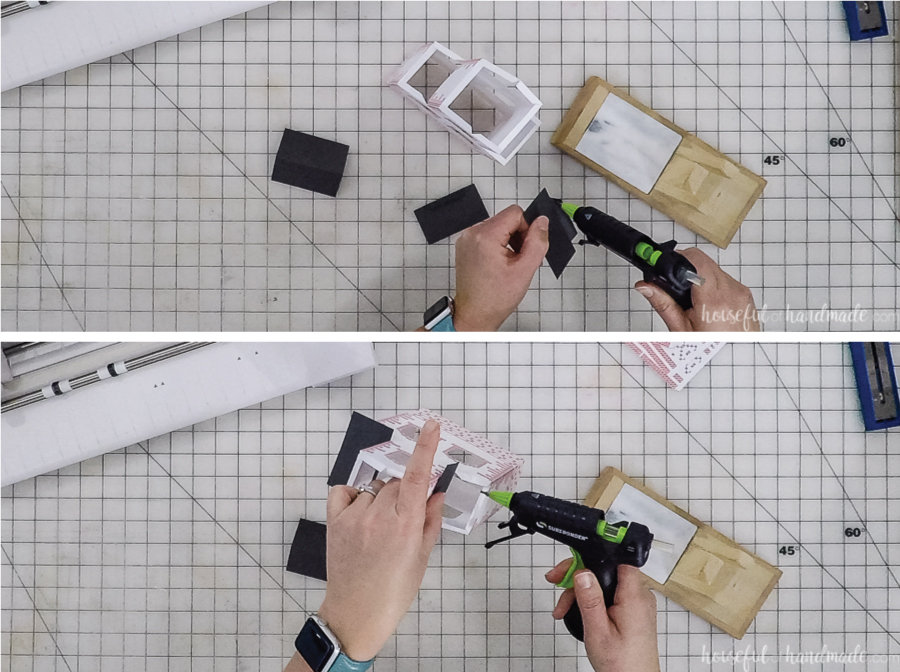

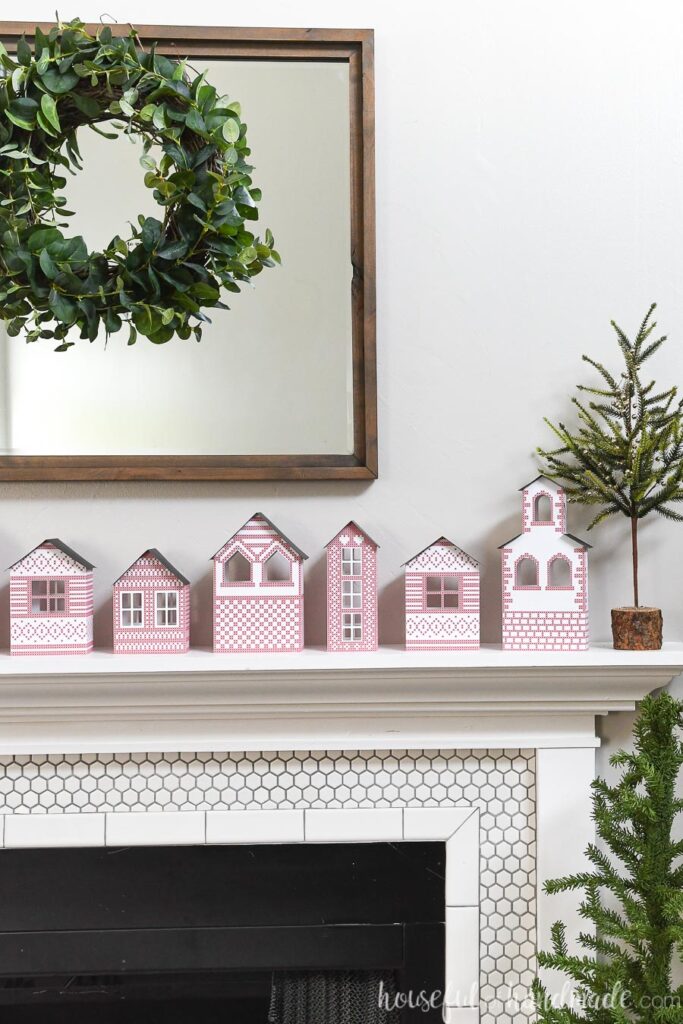
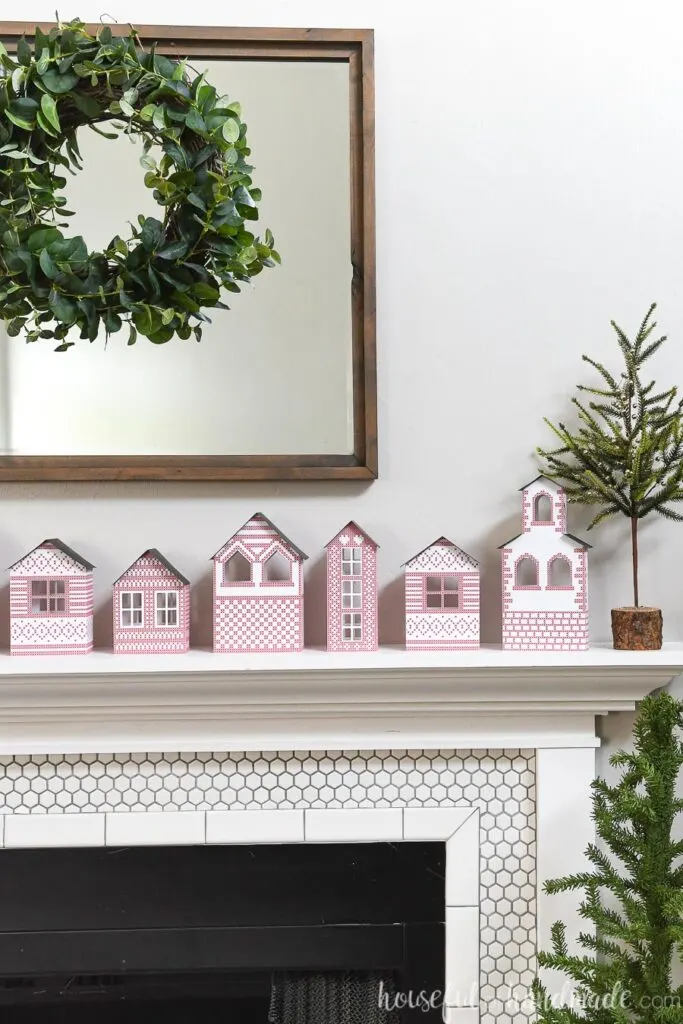
Repeat for all the paper Christmas houses until you have a full village! I made 2 of each house to create the festive village on top of our 6′ mantel.
But you can use your new Scandinavian Christmas village anywhere you want to add some Christmas cheer! Here are some ideas for instant Christmas decor:
- Put the village on a shelf in a bookcase
- Display them as a centerpiece on your table (they are double sided!)
- Put them on a tray on your coffee table
- Make a vignette on a side board or console table
- Display them under your Christmas tree (until it full of presents)

However you decide to use them, I hope you enjoy your cute Christmas village as much as I do!
And don’t forget to come back tomorrow for Day 3 of the 7 Days of Paper Christmas Decor. Here is the plan for the week. You won’t want to miss out on anything!
- Day 1: Easy Christmas Cookie Trays
- Day 2: Scandinavian Paper Christmas Village
- Day 3: Nordic Cross-Stitch Ornaments
- Day 4: Cross-Stitch Village Printable Art
- Day 5: Nordic Christmas Tree Lanterns
- Day 6: Decorative Paper Christmas Trees
- Day 7: Rocking Horse Paper Ornaments
By the end of the week, you will have everything you need to decorate your home for the holidays without spending all your money!

How to Make a Scandinavian Paper Christmas Village
Make an adorable Scandinavian inspired paper Christmas village with this easy to follow tutorial.
Materials
- Paper Christmas house templates
- White & gray cardstock
Tools
- *Silhouette Cameo or other electronic cutting machine
- Printer
- Glue gun and glue sticks
- Ruler
Instructions
- Print and cut the paper houses.
- I used the Print & Cut feature on my Silhouette Cameo.
- After printing, cut out the designs on the solid lines and fold along the dotted lines.
- For the roof pieces, cut them out of regular gray cardstock.
- Add glue to the tabs on the side of the house and secure to the other back/front piece.
- Repeat on the other side.
- Place the roof on top and use your ruler (or this Kreg Multi-mark) to ensure it's even.
- Repeat for as many houses as you want.
Notes
*You can cut these out with scissors and and X-acto knife, but it will take more time.