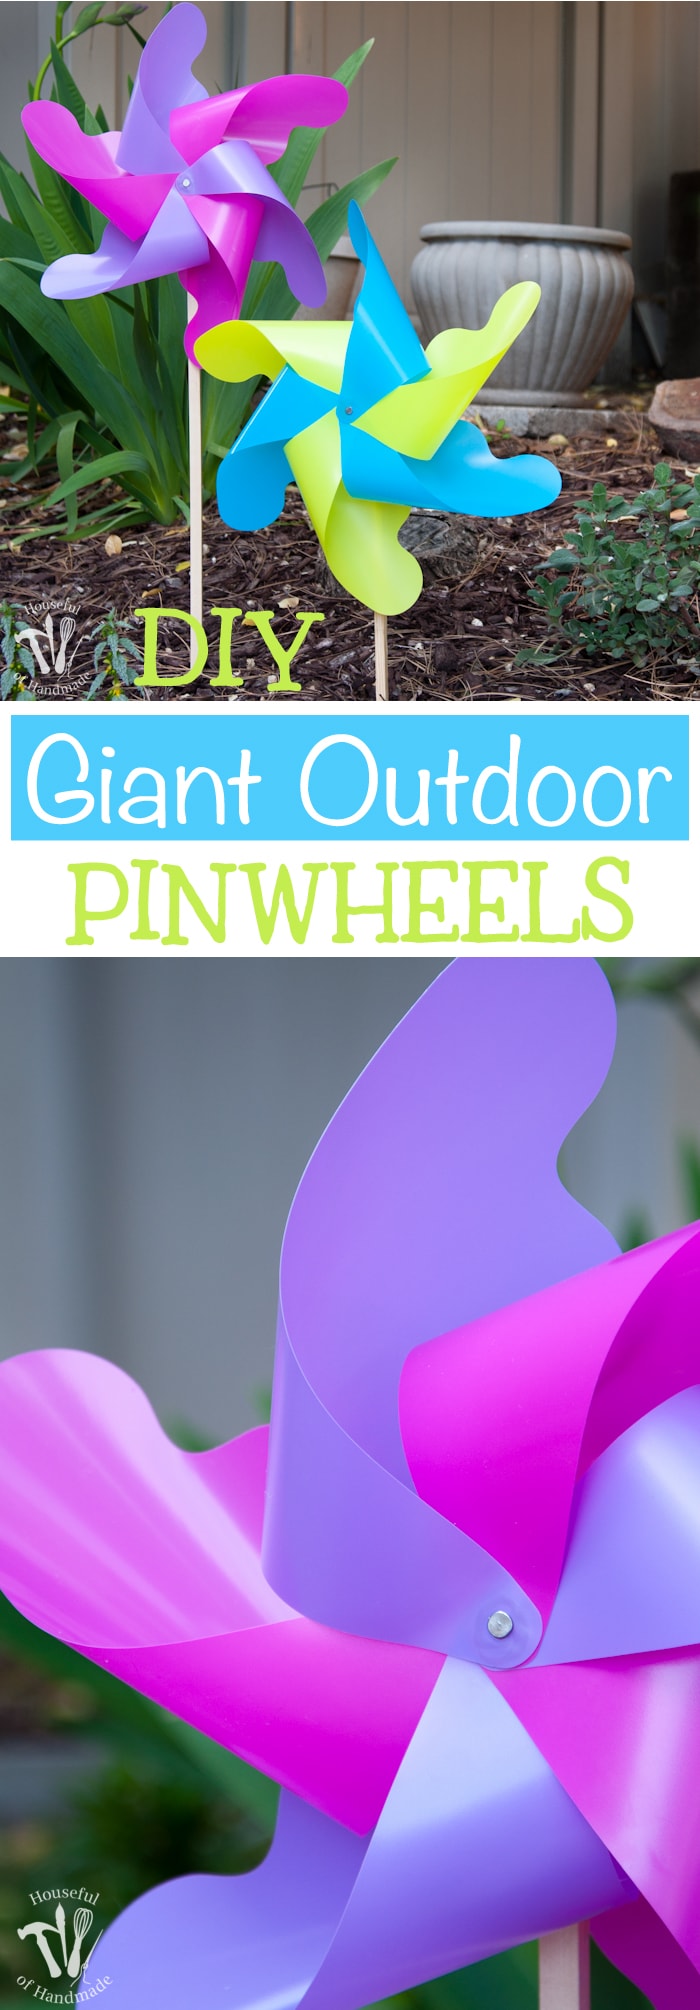
Decorate your garden with DIY giant outdoor pinwheels you can make yourself!
For some reason, spring has me so excited to add bright colors and new decor outside. Every store I go to I have to wander the isles of outdoor decor and this year I am seeing these giant outdoor pinwheels everywhere.
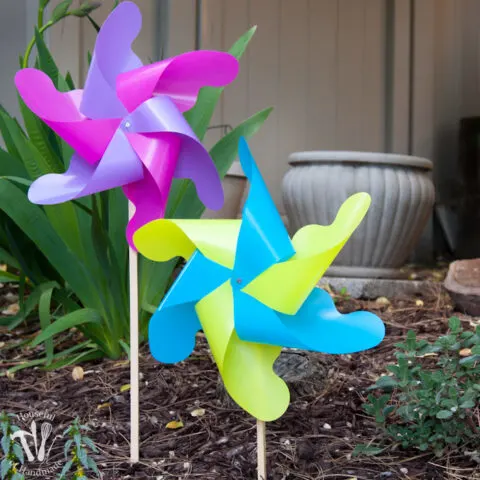
I love them, they are the perfect way to add a little color to my flower garden until all the blossoms bloom. But I knew I could make my own DIY giant outdoor pinwheels for way less than the $20 price tag.
So I took a good look at the way they were put together and set out to create my own DIY Giant Outdoor Pinwheels.
This post may contain affiliate links. As an Amazon Associate I earn from qualifying purchases. Click here to read my full disclosure policy.

Weatherproof Pinwheels
Obviously you could make these pinwheels with paper, but they would not stand up to the weather (however, I am considering making some for inside too now).
But I needed a solution to make my pinwheels work for my flower garden. I found some brightly colored plastic binder dividers on clearance at Target for $1.48.
Each pack had 8 dividers (2 each of 4 colors). Perfect!


I created a template for the vanes (I have no clue what to call them so I’m going with this, if anyone knows what they are called, I am super curious to know) of the pinwheel as big as I could get it on one sheet of paper since my plastic dividers were the size of a sheet of paper.

I had previously cut out plastic binder dividers on my Silhouette so I knew I could cut out my pinwheel vanes really quick.
I seriously love my Silhouette Cameo and use it ALL THE TIME! It makes great Mother’s Day or Christmas gifts for the crafting addicts in your life 🙂 But you can always go the old fashion way of cutting with scissors.

For each pinwheel I cut 6 vanes. Then it was time to assemble my giant pinwheels. For some reason I originally thought I could just put all the vanes on a nail and they would make a beautiful pinwheel.
I guess I was a little delusional that day! I realized I needed to glue the vanes together at the points I needed them to come together. So I grabbed some gorilla glue (I wanted them to withstand everything).
But that did not set up. I let it sit for 24 hours and when I checked, it all just fell apart!

So what is a crazy DIY’er going to do when a project is getting the best of them… take a break!
Seriously, I put the pinwheel project on hold for almost 2 weeks while working on some DIY projects for my other website.
After my mental break, I decided to tackle the pinwheels again… This time I won!

When I need something to stick and fast, I always turn to my hot glue gun! It is one of the greatest crafting inventions of all time. I am a little worried the hot glue will have issues in the hot weather, so I made sure to use a high heat glue gun, hopefully that helps, only time will tell.
But for now, they look awesome, and if they have issues I will keep looking for something that can hold them together like I want!
How to Make Giant Outdoor Pinwheels
Supplies:
- Pinwheel vanes template
- I am sharing the cut files for the giant outdoor pinwheels in my subscriber library. Click here to subscribe to my newsletter and gain access to all the freebies. If you already have your password, click here to download them.
- Colored plastic binder dividers
- Hot glue gun and glue sticks
- 3″ Nails
- Smoothie Straws
- Square Dowels
- Optional: Electronic cutting machine like a Silhouette Cameo or Cricut Maker
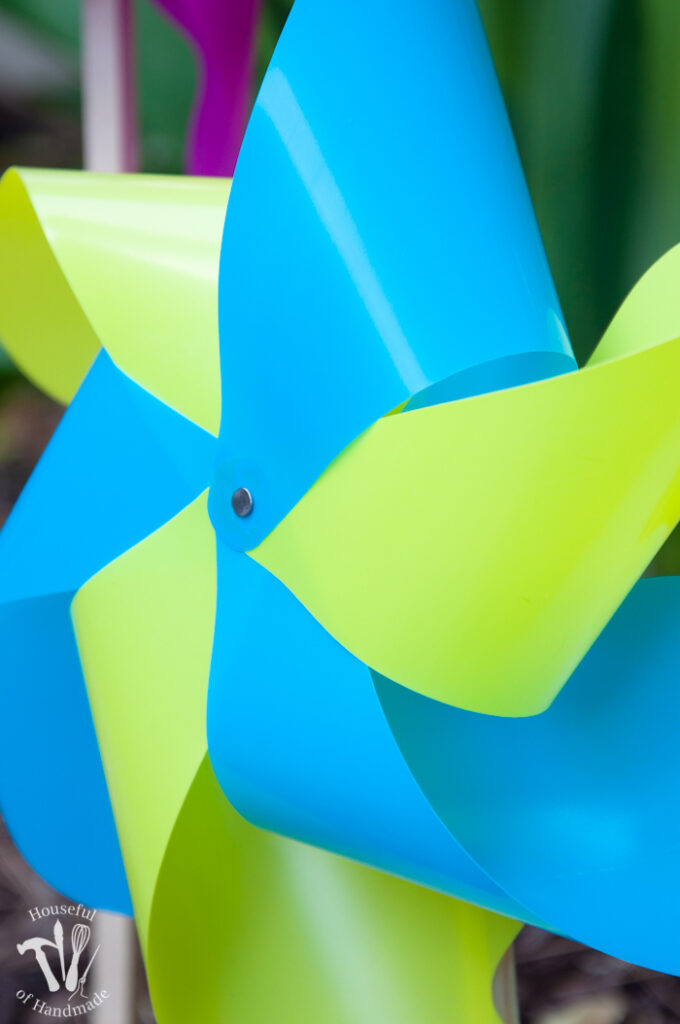
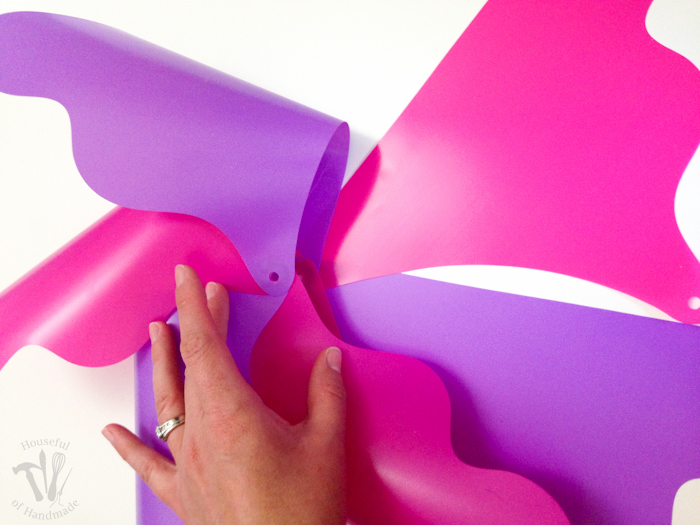
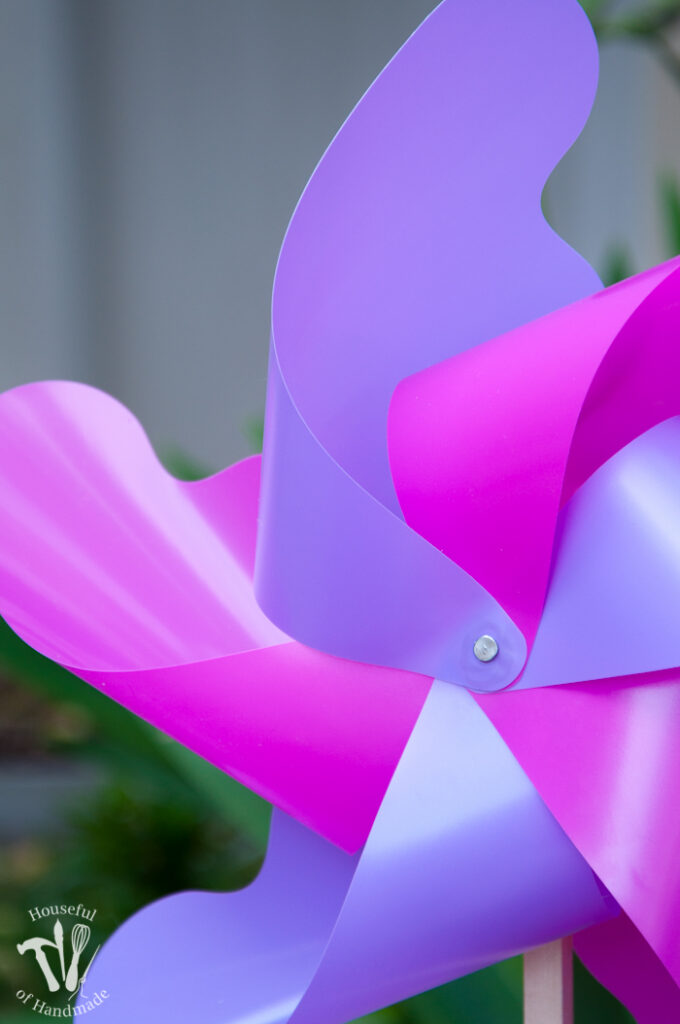
To assemble the pinwheels (once I finally found my glue solution), it only took me a few minutes. I started by laying out the 6 vanes so that they were evenly spaced, lining up the front center hole.
Then I hot glued them together by putting a ring of glue around the hole and pressing the next vane on top. Continue until all 6 are glued together at the front.


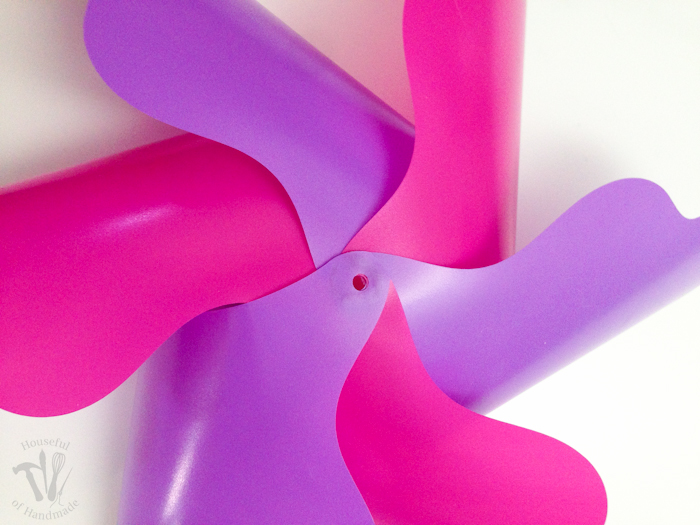
Then it’s time to glue the backs together. I found it was best to place them over the top of the front center hole so that they lined up perfectly. I went around the circle and glued the backs together at the center hole just like I did the front.

Now things were starting to look right, and they were sticking together perfectly. Yeah!

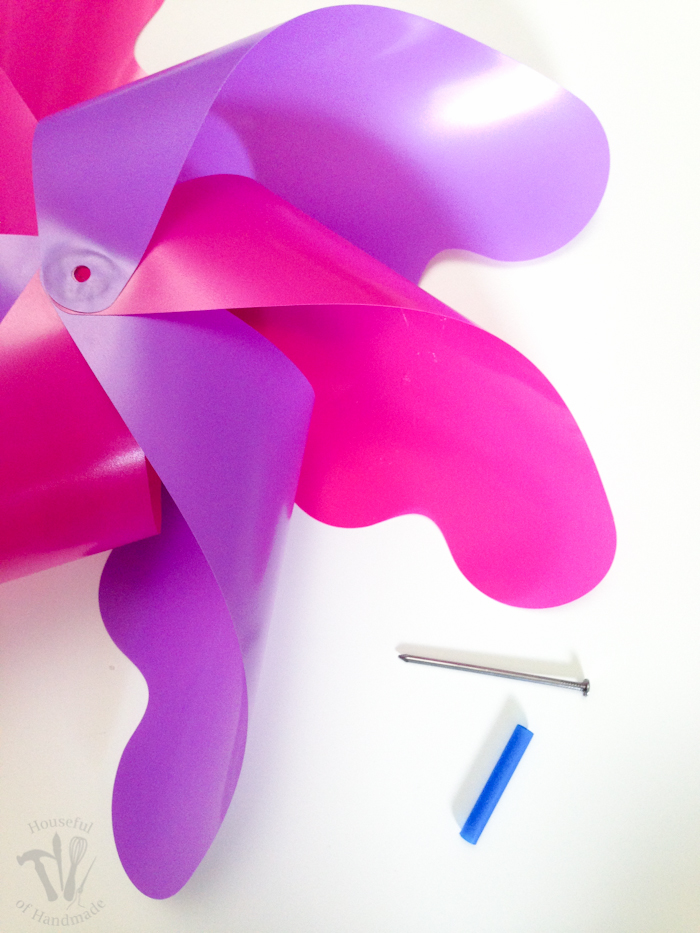
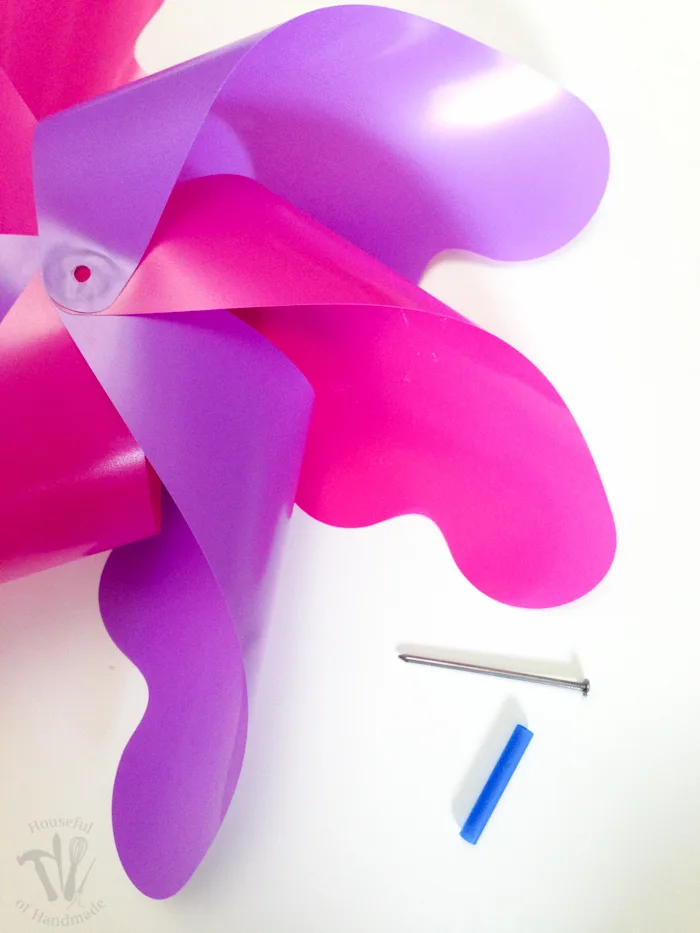
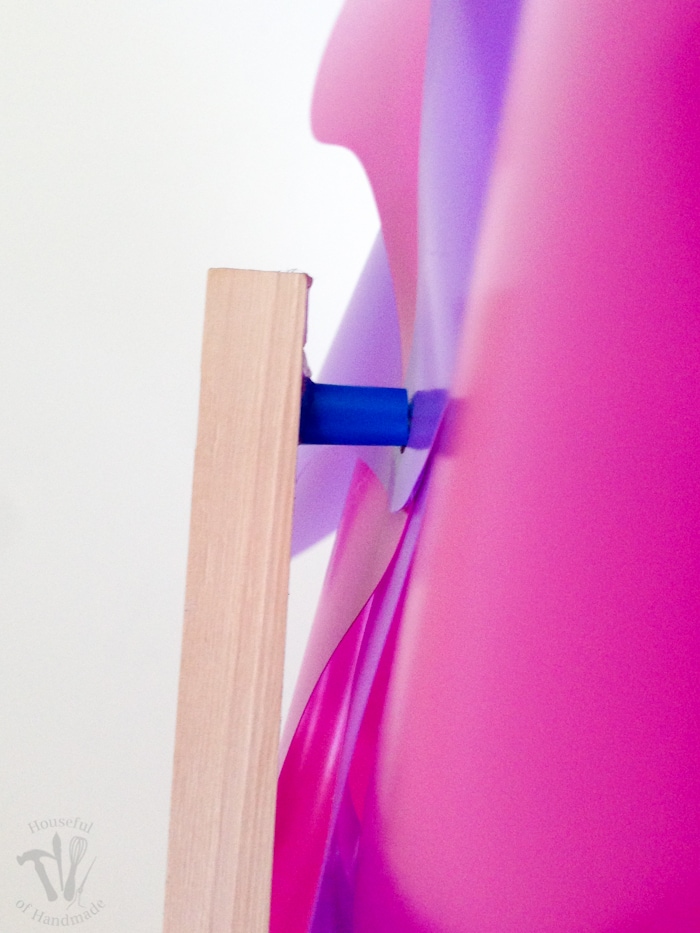
So it was time to add the center support. I decided to use a nail and a straw. I know it’s weird but it worked perfectly! I used a 3 inch nail, the kind you use when framing a house.
And a smoothy straw (the smaller inexpensive straws were too tight on the nail). Stick the nail through the front center hole, then feed a 2 inch piece of straw on in, then feed it through the back center hole, and finish it off with a 1/2 inch piece of straw.
Then I needed a post to attach the finished pinwheels to. I had 2 square dowels left over from other projects, one was a 1/2 inch dowel and the other was 3/8 inch, they both worked perfectly! I tried to just hammer the nail into the dowel at first, but it split.
So I grabbed my drill and put a little hole into the dowel, just smaller than the nail. Then for good measure I filled it with hot glue and tapped the end of the nail into it. Make sure not to squeeze the pieces of straw or it will not spin.
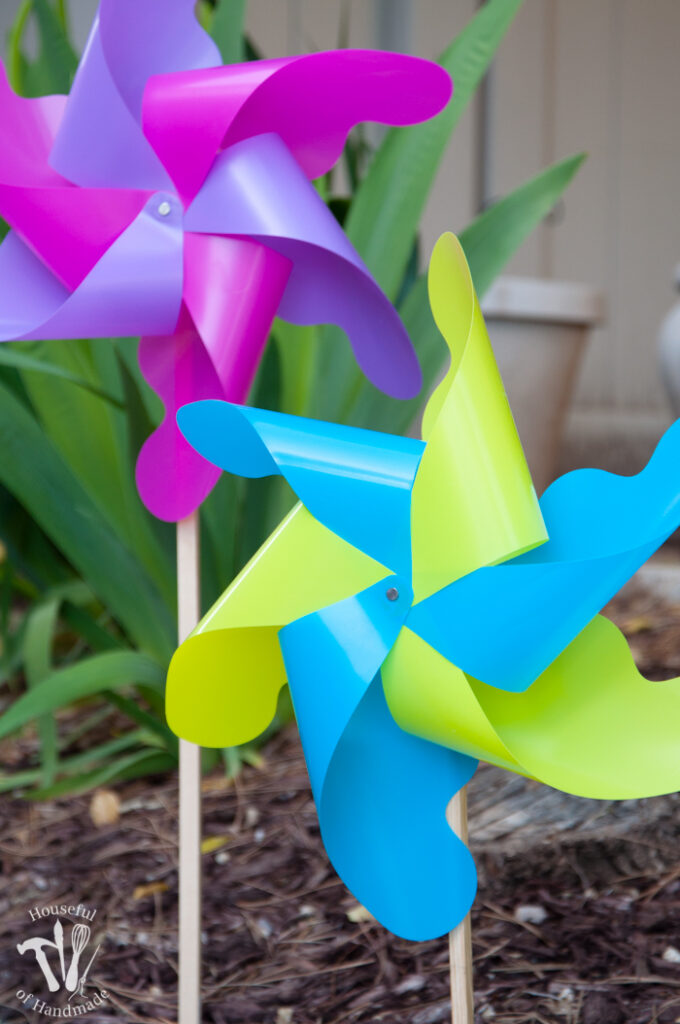
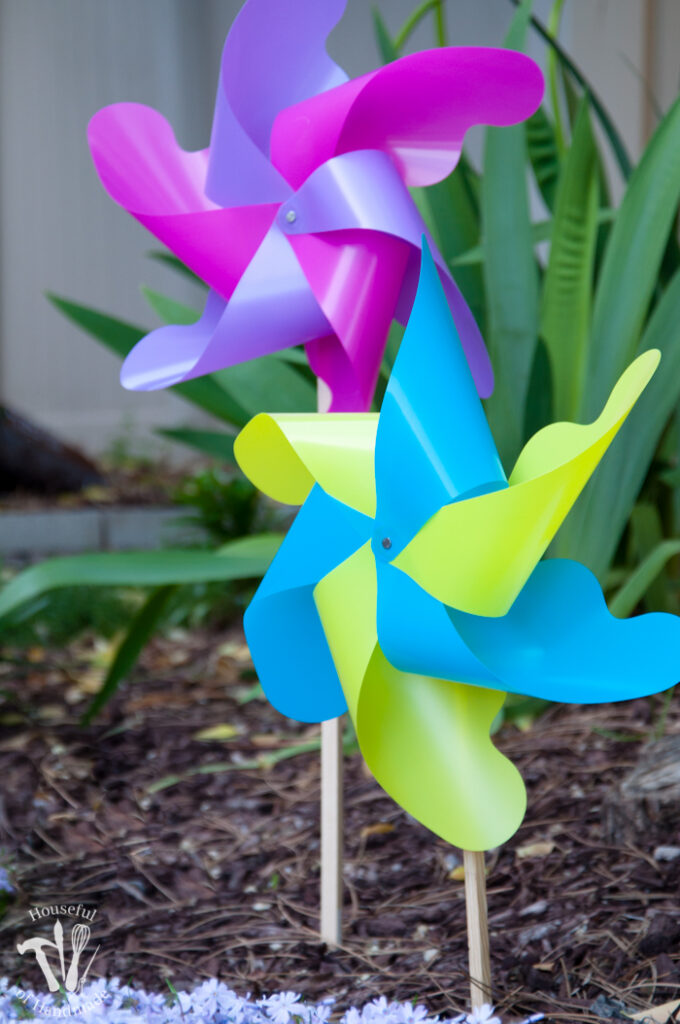
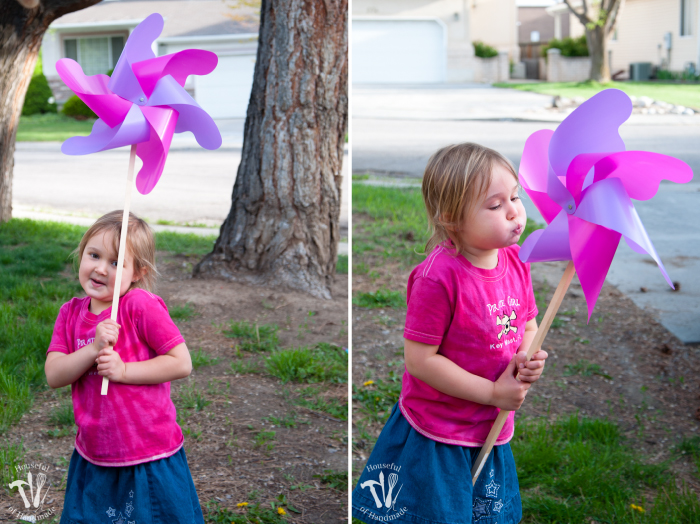
And it’s all done! I did cut the bottom of the dowel at a 45 degree angle so it was easier to stick in the dirt. Then we went outside to play. The kids are in love with the new pinwheels and I’ve never seen them so excited for wind.
They would see the pinwheels spinning and run screaming over to get a closer look.


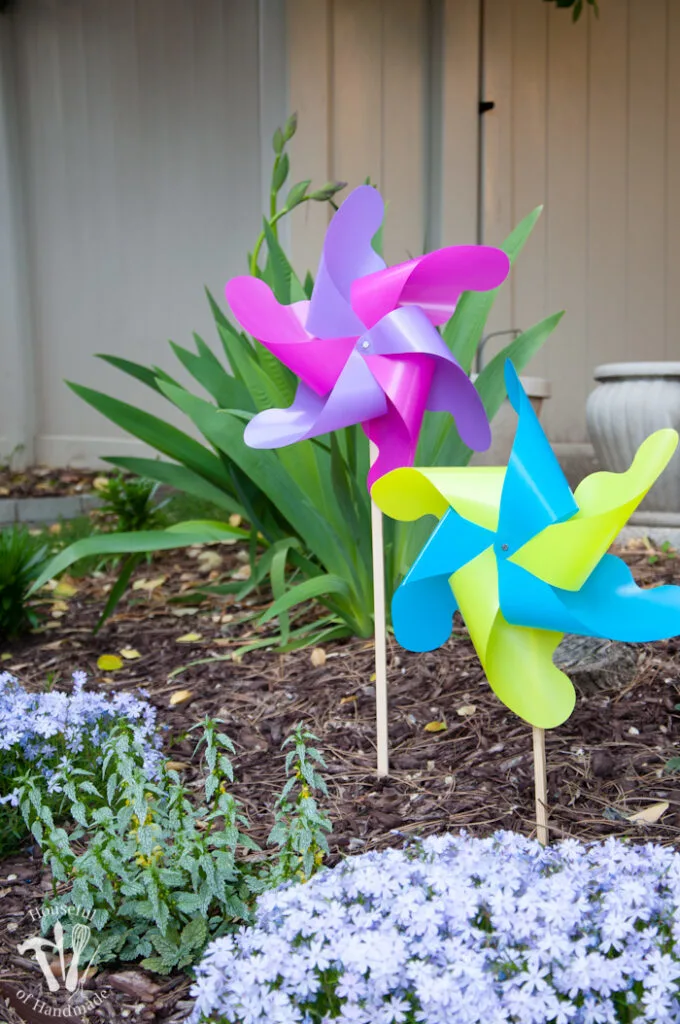
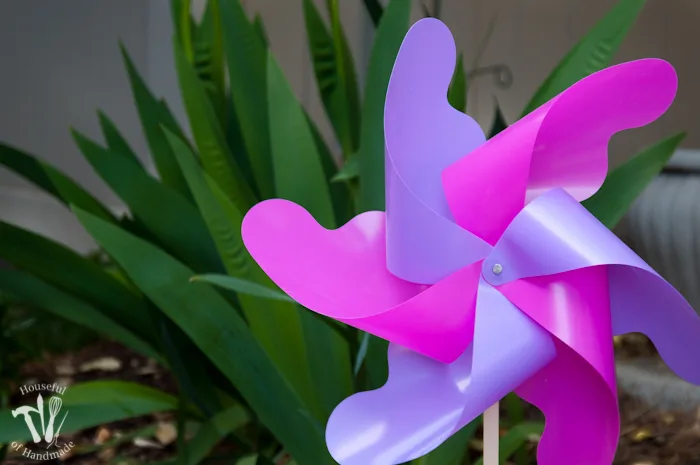
And they look so great in the garden. A pop of vibrant color for spring!


How to Make Giant Outdoor Pinwheels
Learn how to make these adorable DIY giant outdoor pinwheels that you can make quickly and easily!
Materials
- Colored plastic binder dividers
- Template for the vanes (included in post)
- 3" Nails
- Smoothie Straws
- Square Dowels
Tools
- Hot Glue Gun
- Drill
- Optional: Electronic cutting machine like a Silhouette Cameo or Cricut Maker
Instructions
- Cut out plastic binder dividers on the Silhouette using the included template.
- For each pinwheel I cut 6 vanes.
- Use a high heat glue gun to assemble the pinwheels together.
- Lay out the 6 vanes so that they are evenly spaced, lining up the front center hole.
- Hot glue them together by putting a ring of glue around the hole and pressing the next vane on top. Continue until all 6 are glued together at the front.
- Then it’s time to glue the backs together. I found it was best to place them over the top of the front center hole so that they lined up perfectly. I went around the circle and glued the backs together at the center hole just like I did the front.
- Add the center support using a nail and a straw.
- Stick the nail through the front center hole, then feed a 2 inch piece of straw on in, then feed it through the back center hole, and finish it off with a 1/2 inch piece of straw.
- Attach the finished pinwheels to the 2 square dowels, one measures 1/2 inch and the other was 3/8 inch.
Sue
Tuesday 10th of August 2021
This is a great idea and project. Since it's years old, I'm wondering if the hot glue held up over time. I know you said Gorilla Glue didn't work, but many on a crafting site swear by E6000 for almost everything that needs a strong hold. Thanks for sharing!
Leslie Atcheson
Wednesday 16th of June 2021
how did they hold up over time?
Amanda O'Driscoll
Friday 30th of April 2021
This is so cute, I wonder though would it be easier to cut the two colours into two trifolate pieces?
Kati
Friday 4th of June 2021
Hi Amanda, I am not exactly sure what you mean by 2 trifolate pieces. If you alter it, I'd love to see.
Kris Bear
Tuesday 19th of May 2020
Did anyone try making them with plastic folders instead? I have an abundance of them and figured that they would work.
So cute!
Kati
Monday 22nd of June 2020
I haven't tried them, but I would love to hear how they work if you do!
Laurie
Thursday 9th of April 2020
I'm not able to find the template for the pinwheels. I can find the article, but can't find anything but the article in the Subscriber Library. Sorry to be such a pain, but can you point me to it?? I REALLY need some giant pinwheels in my life right now! :)
Kati
Monday 20th of April 2020
Hi Laurie, the link to the PDF and SVG files are right under the picture in the library. When you click the link, it will download a .ZIP file to your computer or phone. You will need to have a program to unzip it (they are free, or included on your device). Look for the download in your downloads folder to unzip it! And I agree, everyone needs some pinwheels in their life, especially right now!