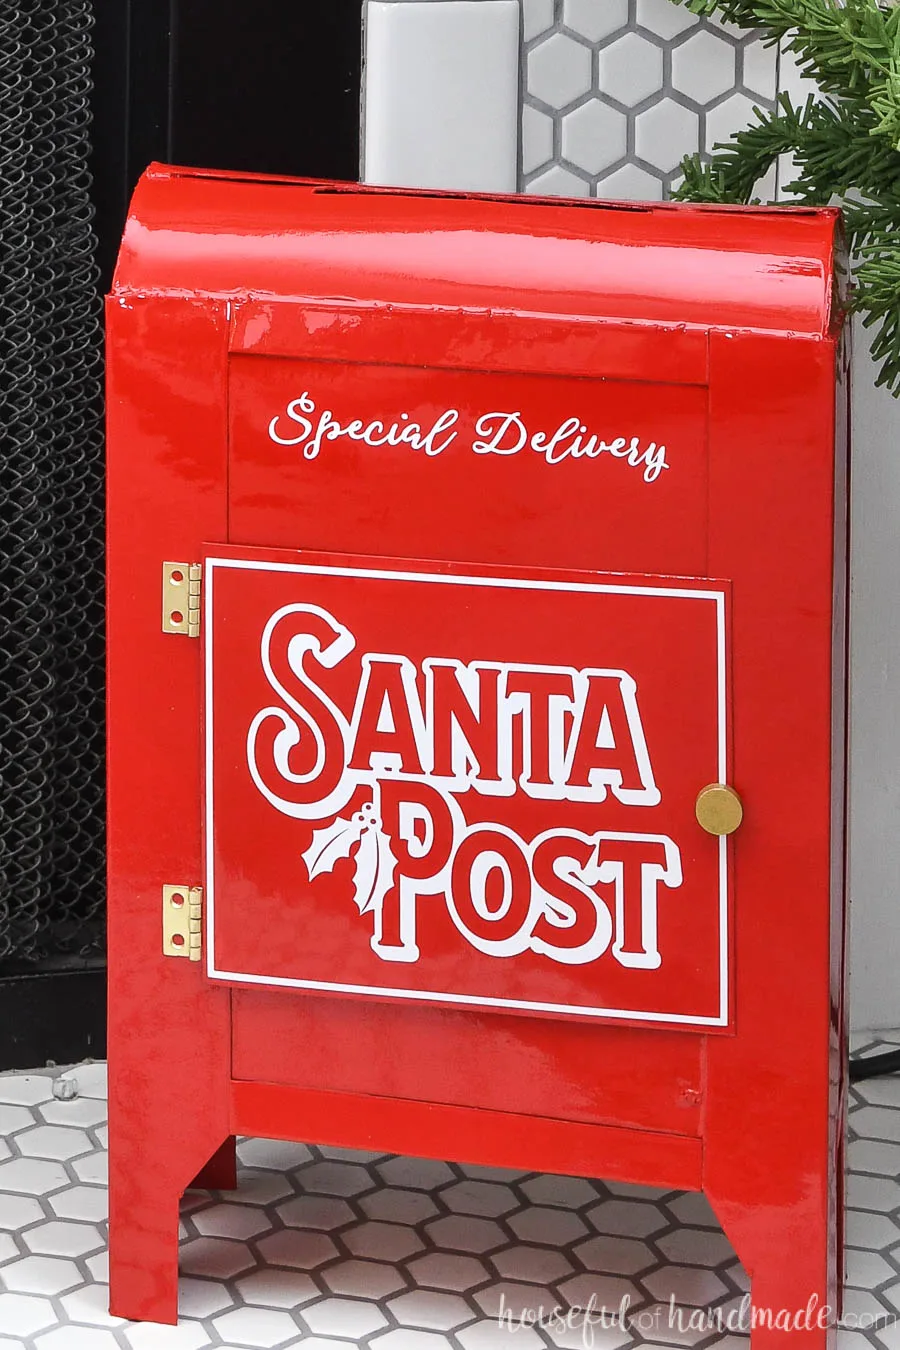
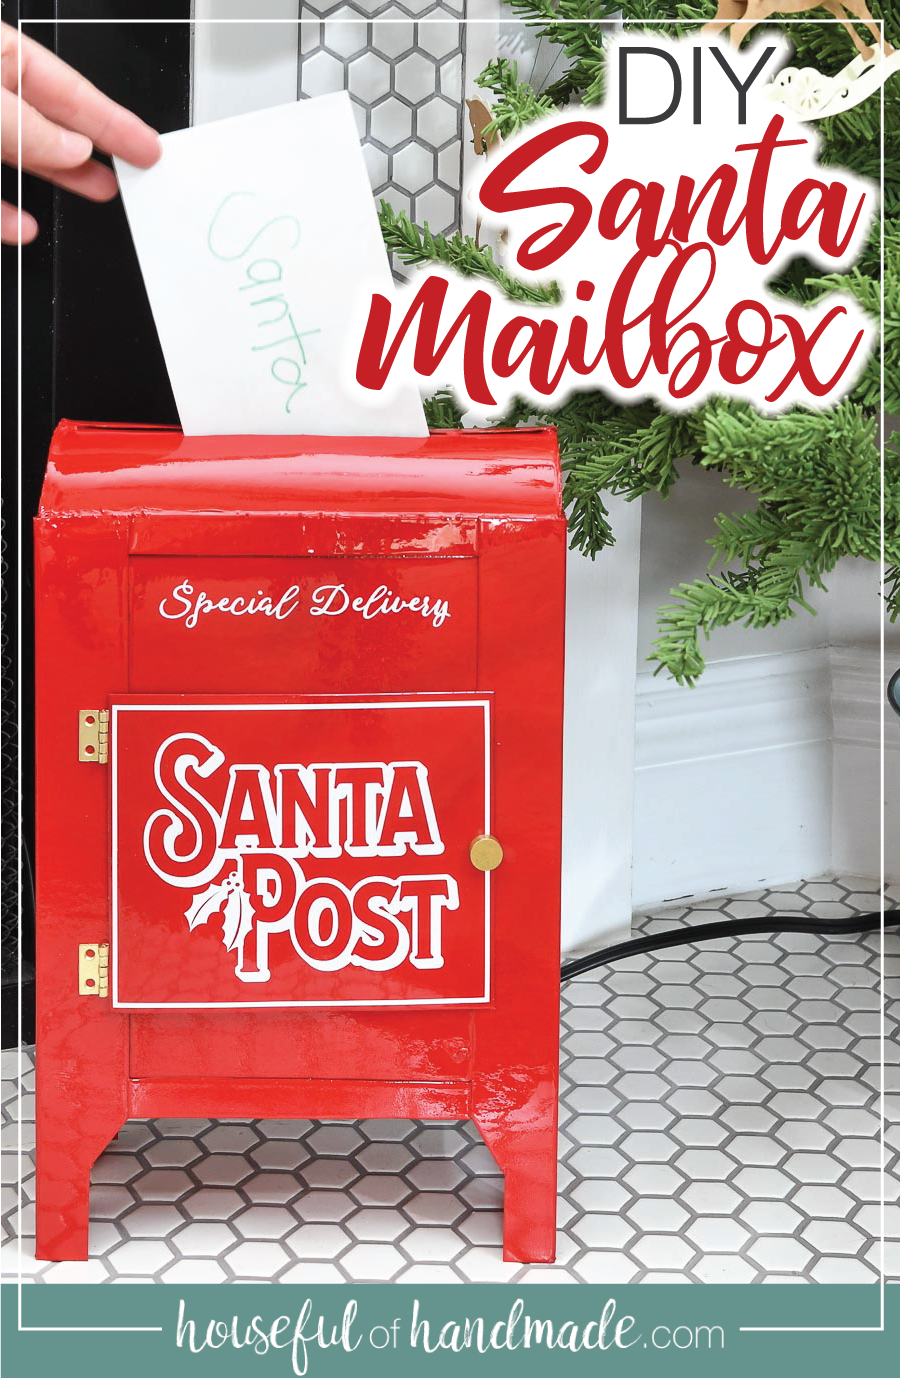
Make a beautiful Santa mailbox for your letters to Santa with this easy tutorial.
I love decorating for Christmas! But I love it even more when I can do it without spending all my money. And this DIY Santa mailbox is perfect for a budget Christmas.
Why is it so budget friendly? It looks amazing…
But it is made out of 2 empty cereal boxes! Yep, a bit of glue, paint and 2 cereal boxes will create the most amazing mailbox for all your letters to Santa.
This post may contain affiliate links. As an Amazon Associate I earn from qualifying purchases. Click here to read my full disclosure policy.

Why Use Cereal Boxes?
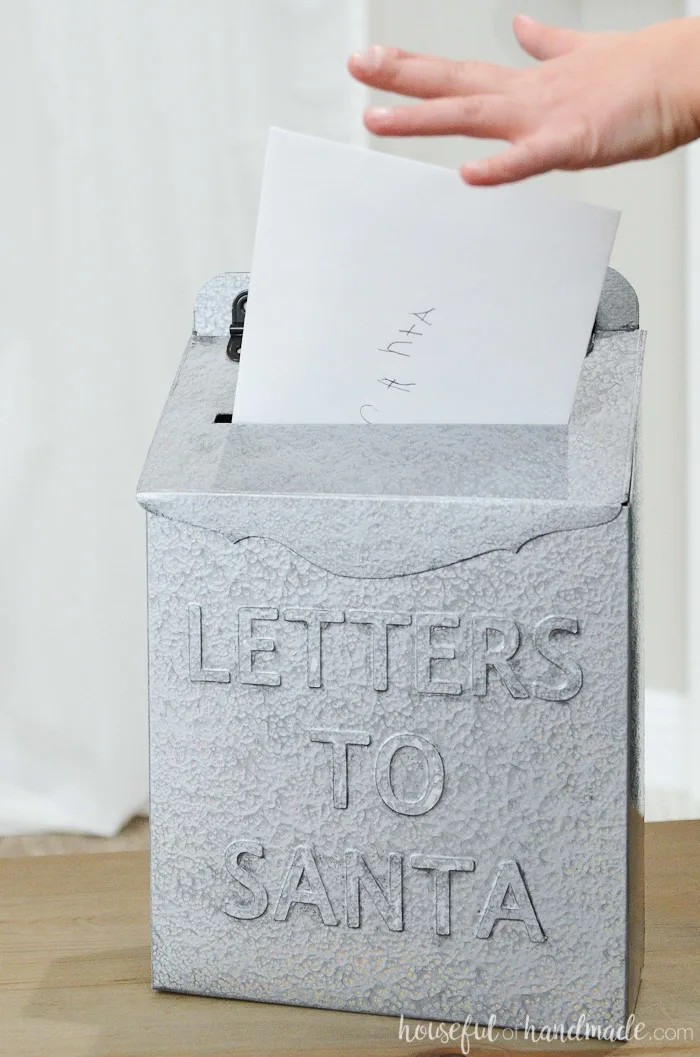
If you saw my DIY Letters to Santa Mailbox from a couple years ago, you probably are noticing a theme. I like to use empty cereal boxes to make these simple Santa mailboxes.
Cereal Boxes are made out of chipboard. It is a pressed cardboard like material, but without the corrugation of normal shipping boxes.

The chipboard give the boxes structure, but is easy to cut. Plus, since my kids love cereal for breakfast, I tend to have a good supply of these empty boxes.
Instead of recycling them, why not upcycle them? And I am happy to report that my letters to Santa mailbox from a couple years ago still looks like new!
So eat some cereal and let’s get to crafting!

Making Chipboard Look Like Metal
The secret to upcyling cereal boxes (made from chipboard) is to make them look like metal. No one wants a cardboard Santa mailbox.
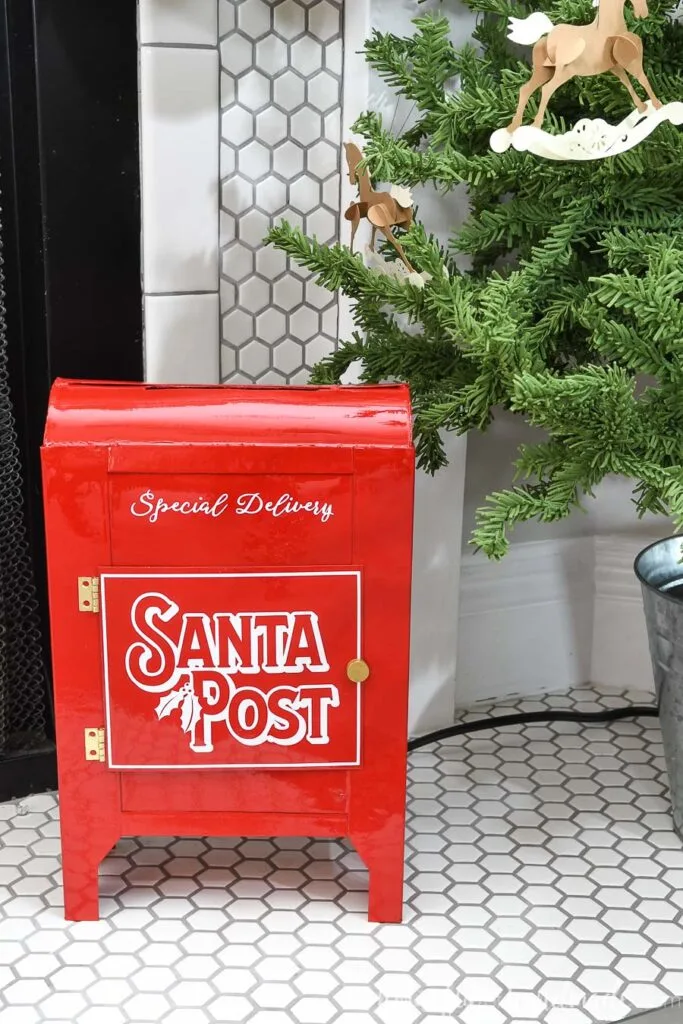
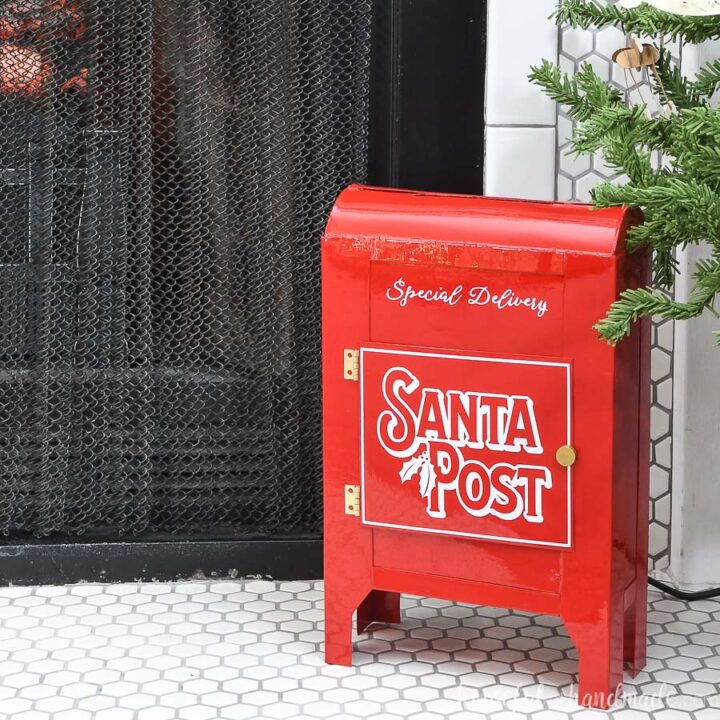
This red DIY Santa mailbox looks just like a shiny red mailbox because of it’s paint job. A few coats of bright red, high gloss spray paint and it transforms it!

The high gloss paint give the entire mailbox a sheen that makes it look like powder-coated metal.
No one will ever guess it was made from a couple old cereal boxes.

How to Make a Santa Mailbox
Supplies:
- 2 empty cereal boxes
- Scissors
- X-acto knife
- Hot glue gun and glue sticks
- Gloss spray paint
- I used Apple Red from Rustoleum
- Silhouette Cameo
- White vinyl
- Transfere paper
- Gorilla precision tip super glue
- Small hinges
- I used 3/4″ brass hinges.
- 2 round magnets
- Brass acrylic paint
Shaping the Mailbox Frame
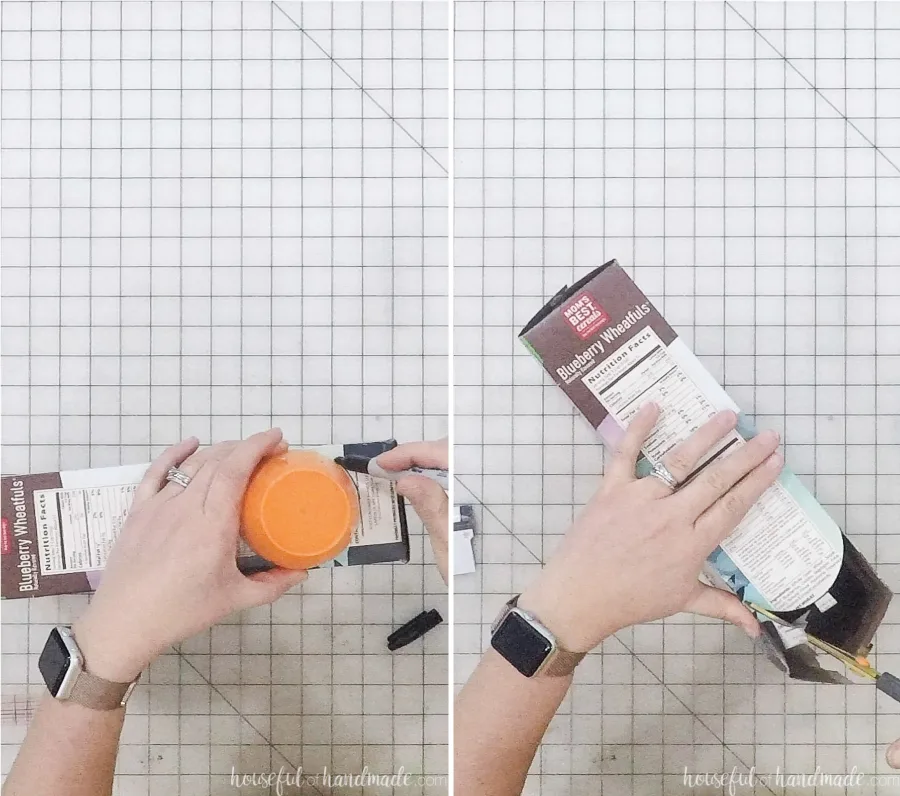
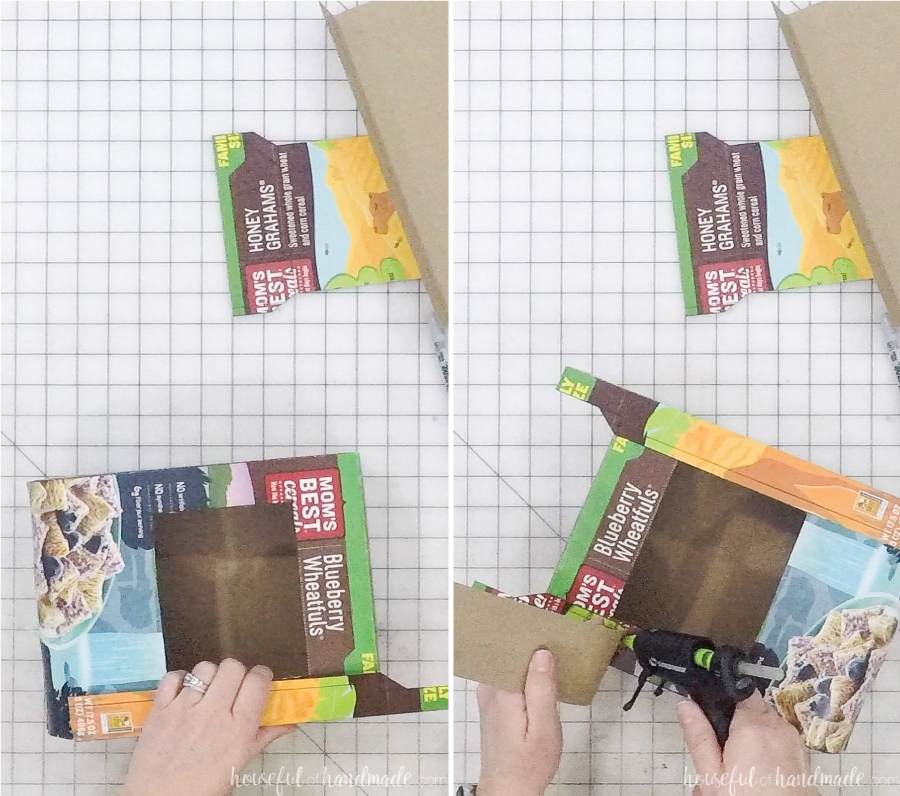
Start shaping your cereal boxes by cutting an arch in the sides. My cereal box was just over 3″ wide. I found a kids cup that was similar width and traced it for an arc.
Make sure to leave at least 1″ above the arc so that the front and back can cover the curve with a little overlap.
Also, leave little tab at the top of the arc for securing the front/back. Cut the shape out and remove the flaps on the top of the cereal box.

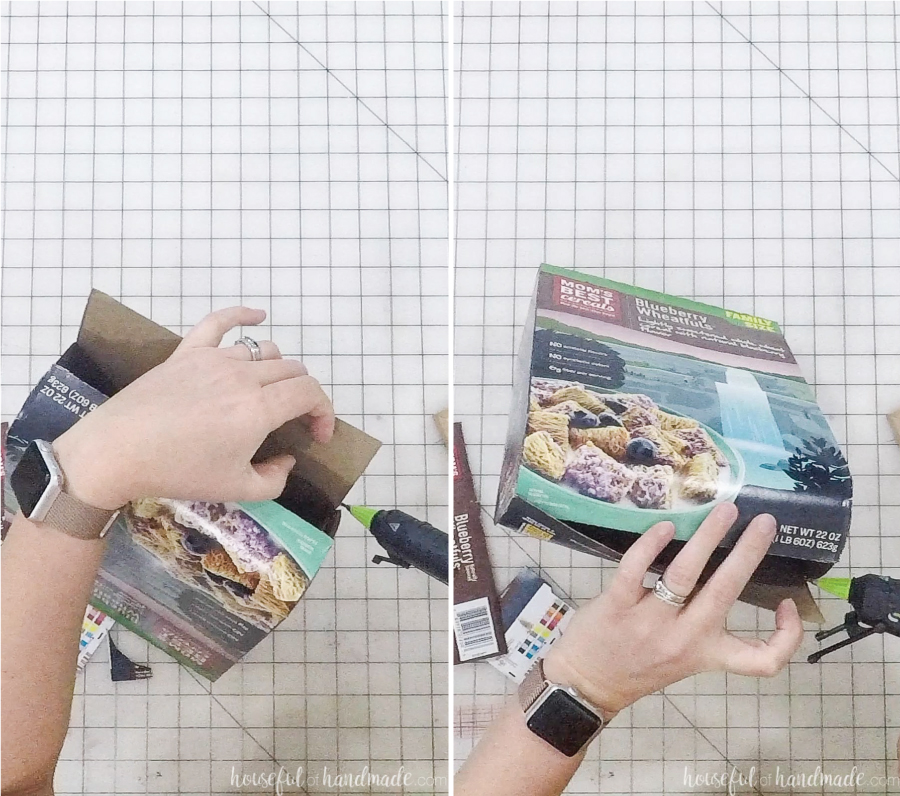
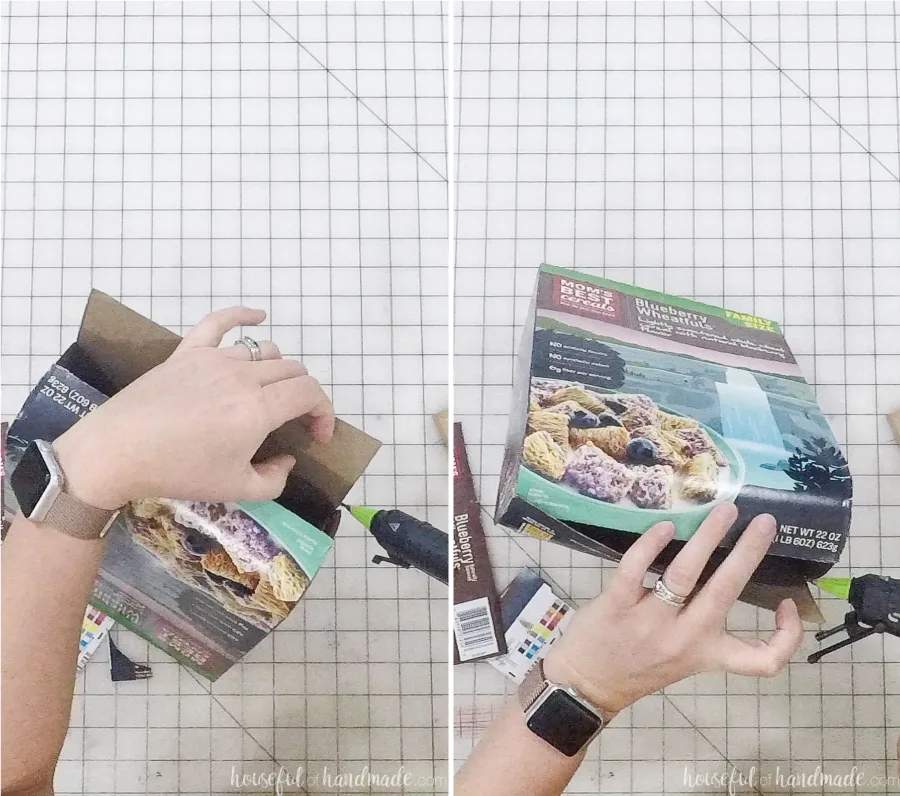
Add hot glue to the underside of the front piece and glue it down to the side of the arc and to the tab on top. Repeat on the other side.
Then o the same for the back piece. Finish off by glueing the back piece onto of the front completing the arc.
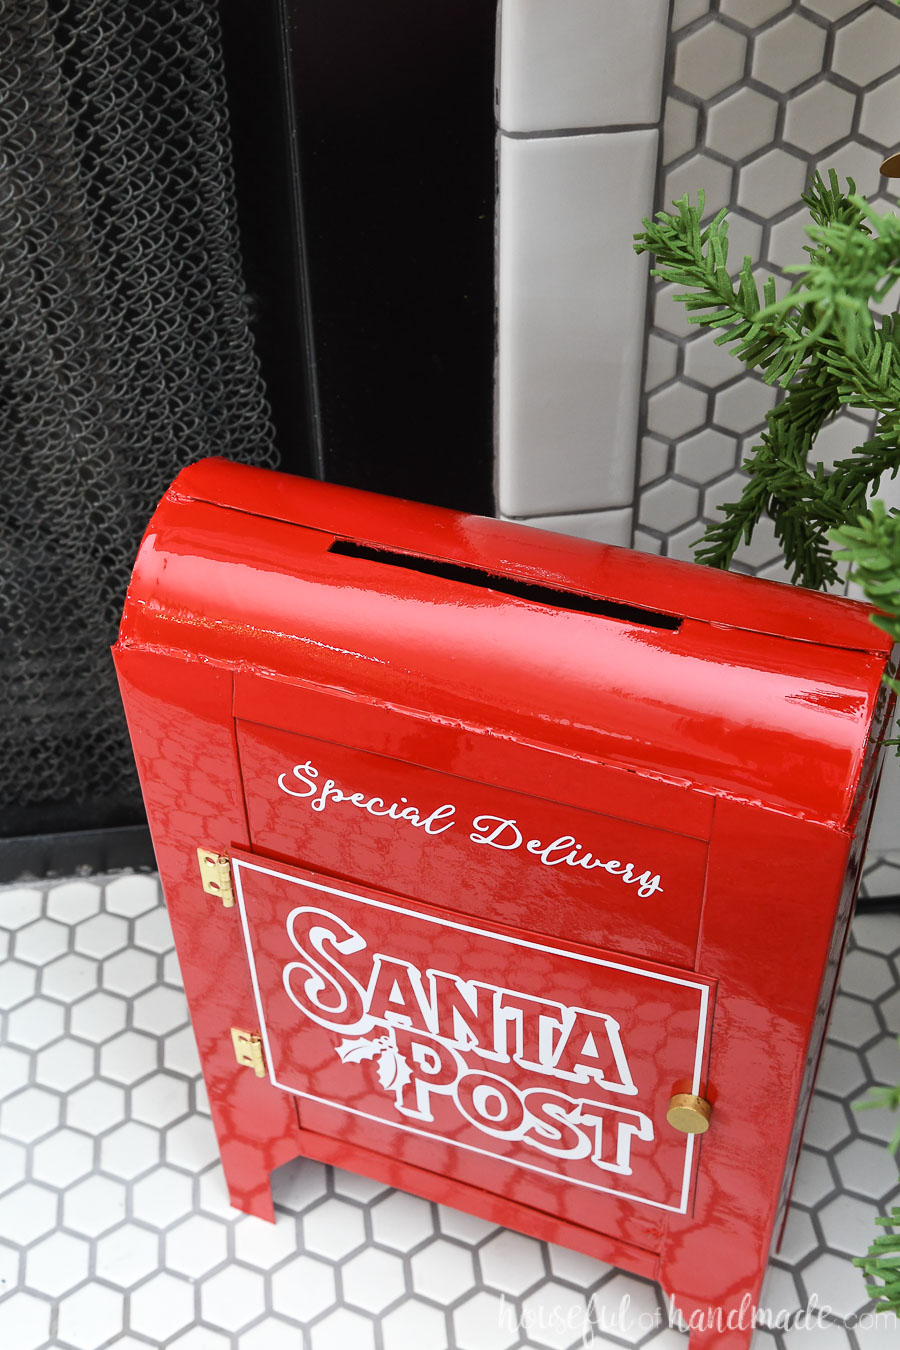
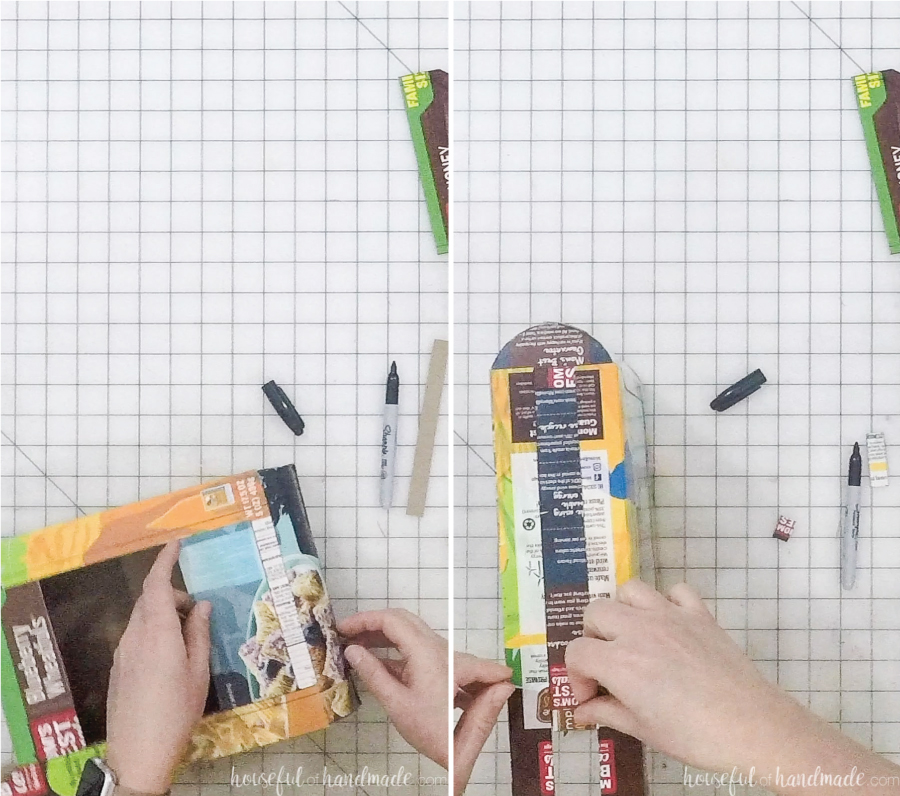
Use the x-acto knife to cut a mailbox slot in the top. Make sure it’s big enough for an envelope to fit into.
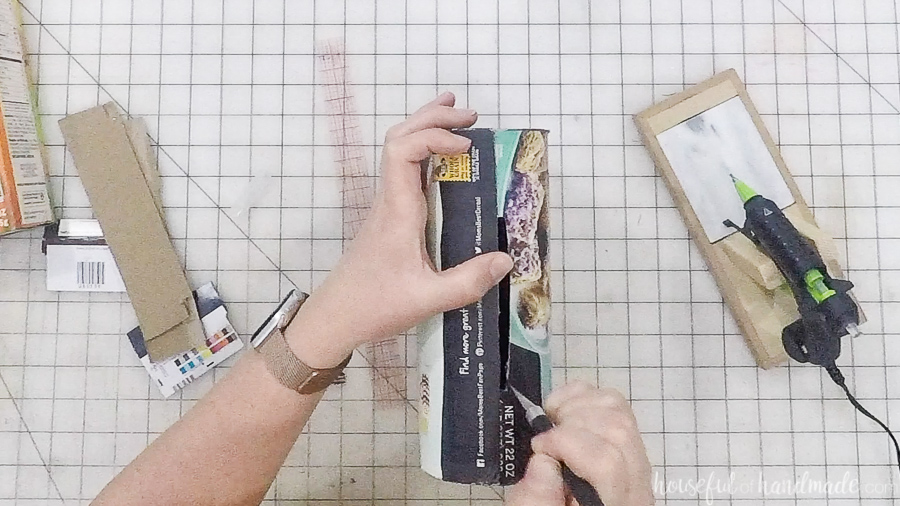

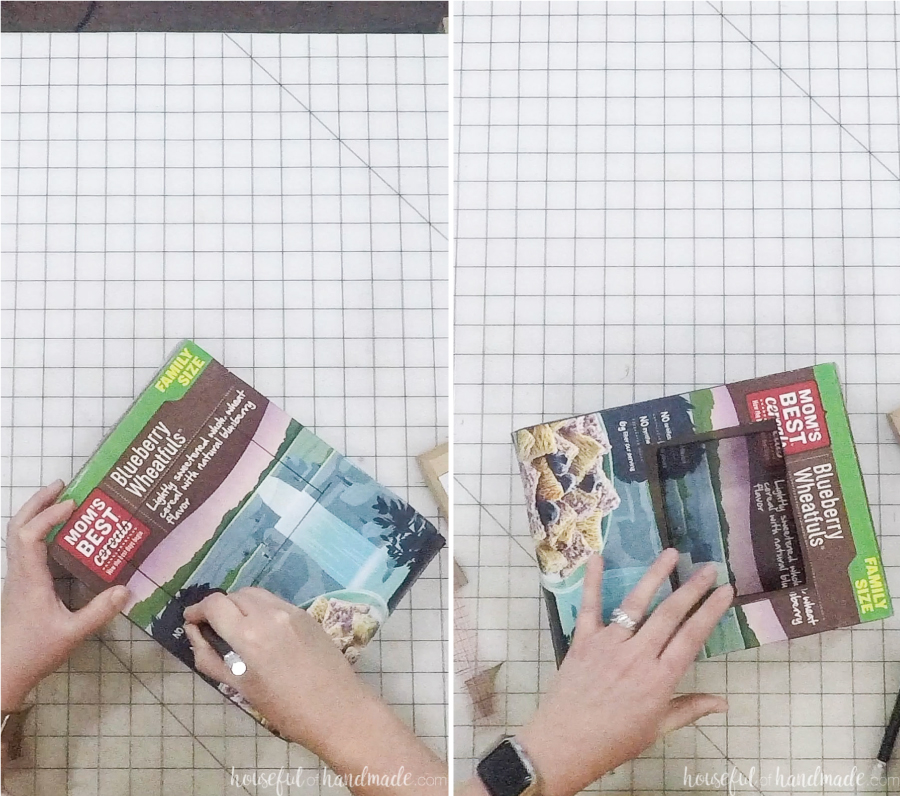
To allow a way to remove the letters, cut a hole out of the middle front of the mailbox.
I measured in 1 1/4″ from each side (this measurement will be used later to make the details so make sure to remember what measurement you use).
I also left a couple inches on the bottom and a couple inches on the top under the arc.
Use an x-acto knife to cut the hole out.
I used the bottom of my box for the top since there was some smooshed spots. So I also had to hot glue down the tabs on the bottom.

Adding Details to the Mailbox
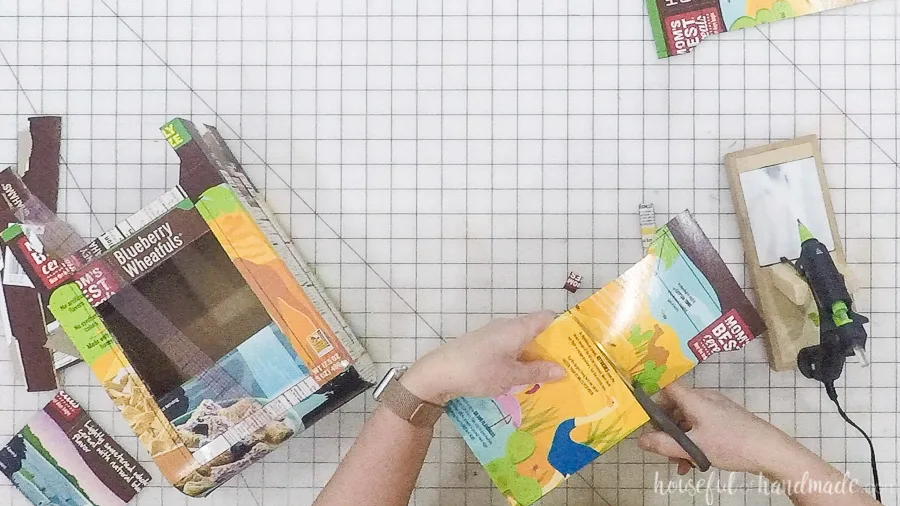
Use a second cereal box to add legs, a door, and details to the Santa mailbox.
The second cereal box doesn’t need to be the exact same size, just close. Remove the flaps on the top and bottom of the box.
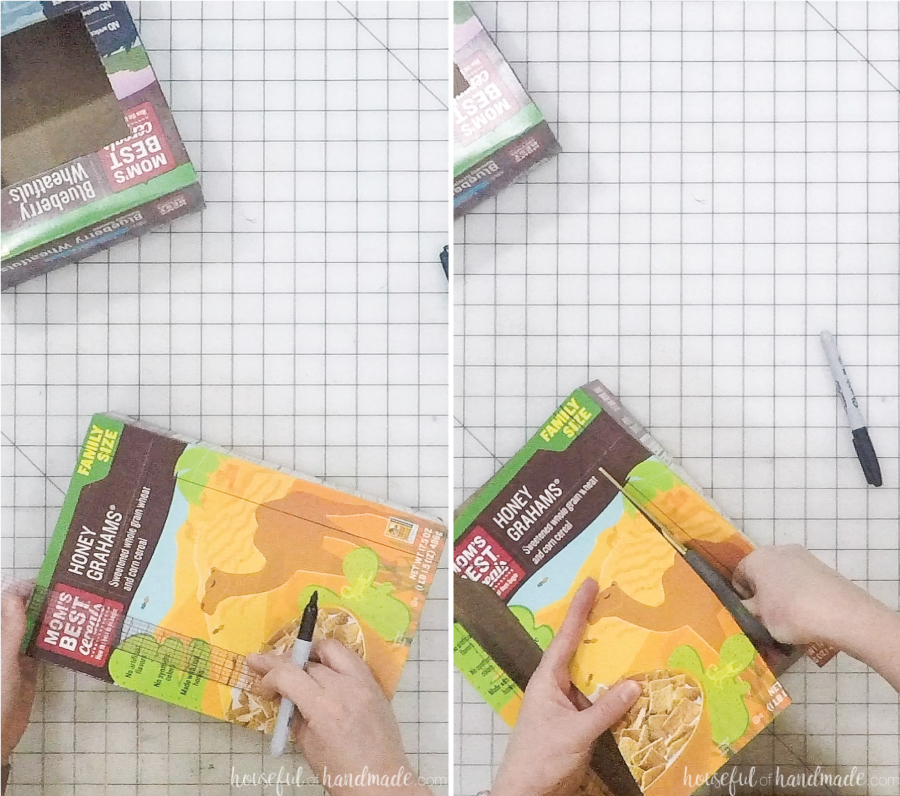
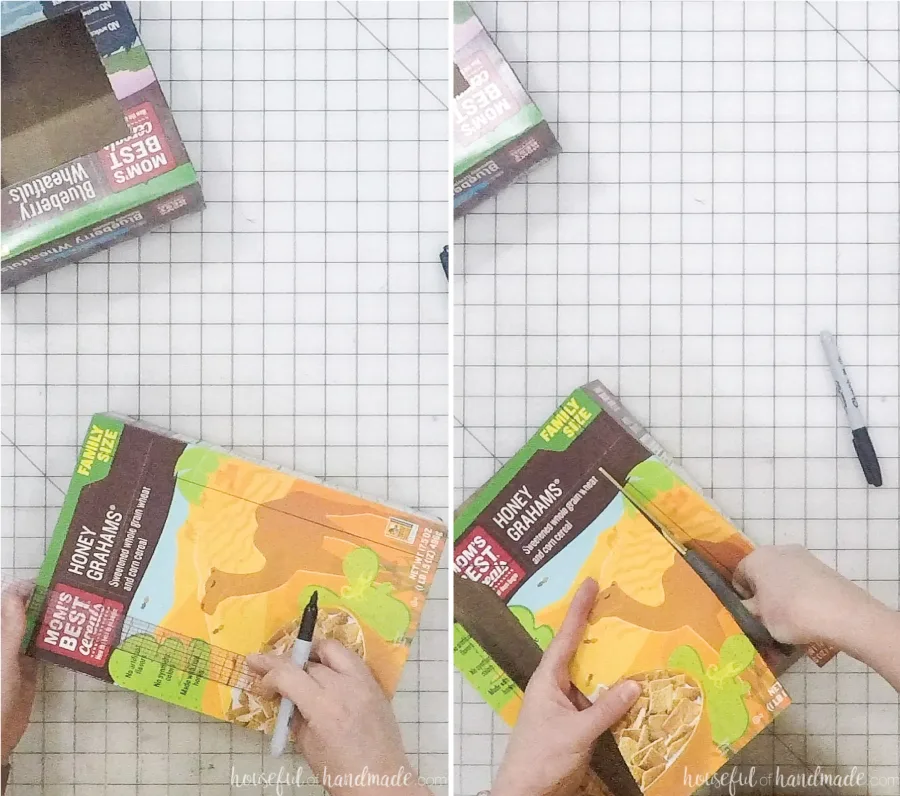
For the legs, measure 1 1/4″ in from the edge (or whatever measurement you used to cut the hole in the mailbox earlier).
Then shape the bottom of the legs by drawing a line 3/4″ in from the edge on the lower 2″. Draw a diagonal line from the 1 1/4″ line to the 3/4″ line.
Also, measure 1″ front the edge on the side of the box. Cut the legs out so you have the corner piece.
Repeat for all 4 corners of the 2nd cereal box. Line the legs up with the body of the mailbox.
The point where the leg starts being 1 1/4″ wide should be flush to the bottom of the mailbox body. The top should be just where the arc starts. Cut the top if it is too tall.
Glue the legs down on the corners of the Santa mailbox.

Use the scraps of the 2nd cereal box to add trim between the legs on the front/back and sides.
I made my trim pieces 1/2″ wide and measured and cut each to the wide so they filled the space between the legs.

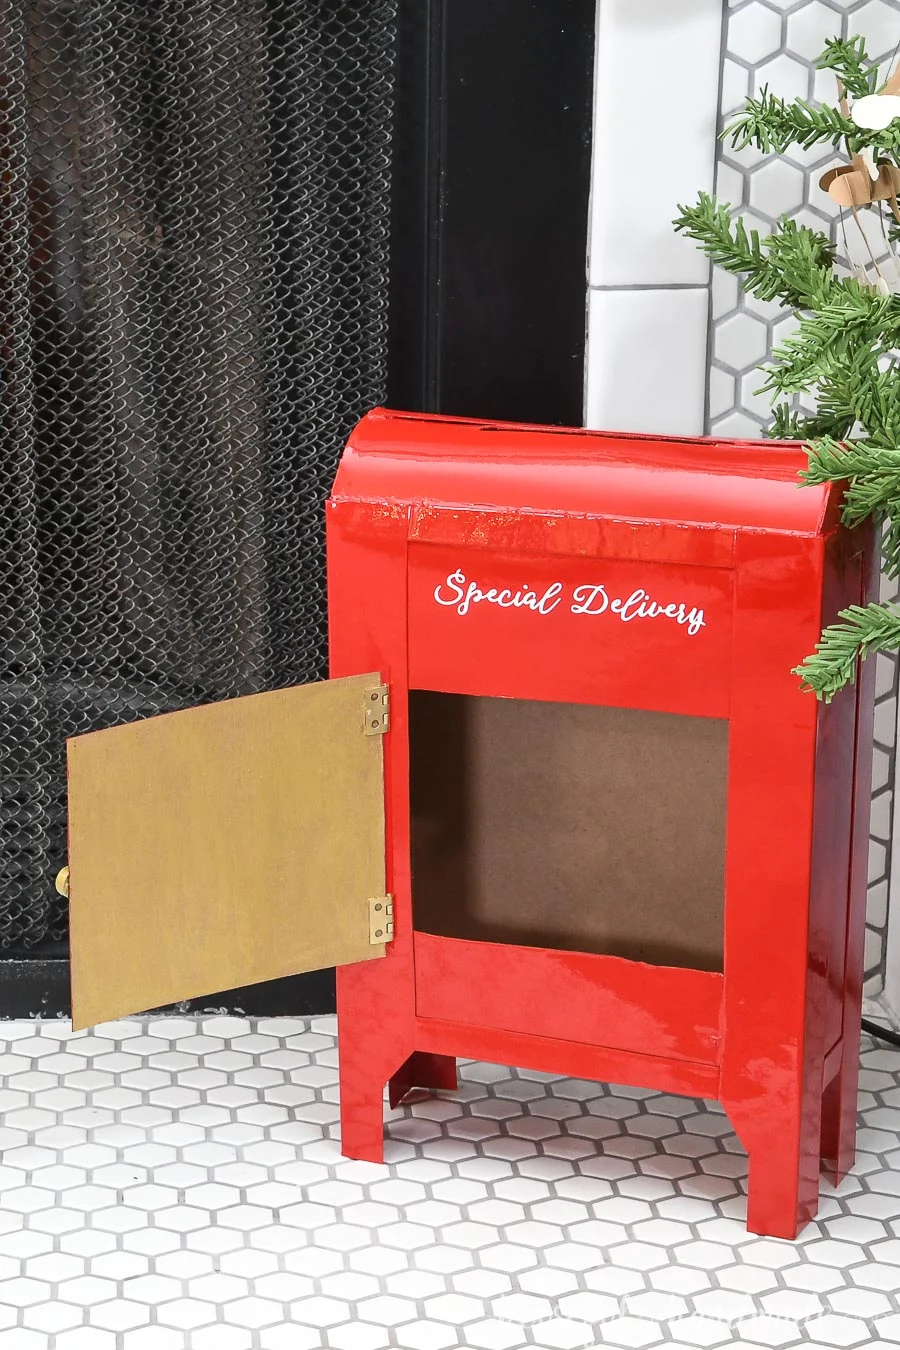
From the rest of the scraps, cut a door for the front of the mailbox. Make sure it overlaps the hole at least 1/4″ on every side.

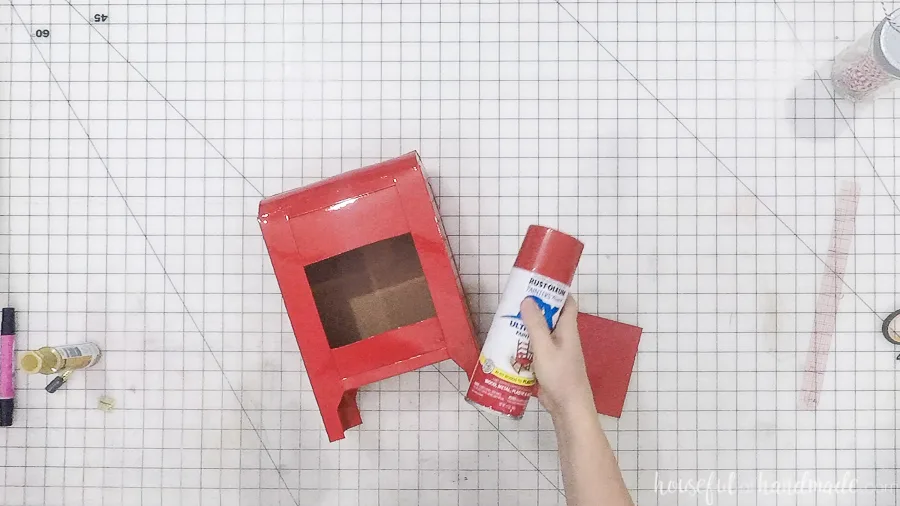
Finishing the DIY Santa Mailbox
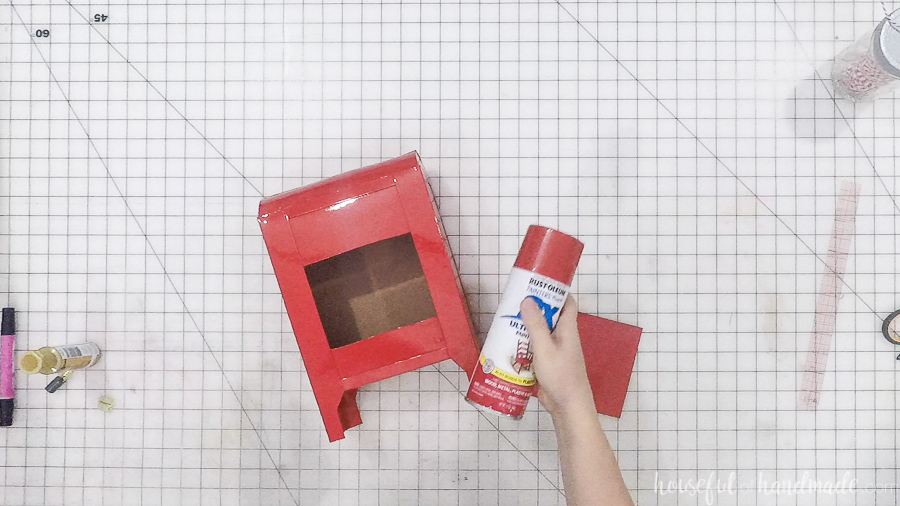
Now the mailbox is ready for paint. I learned that the red spray paint does not cover well. It took 5 coats of paint to hide the design of the cereal box.
So I would suggest using black or white paint for the first coat to cover the words & pictures. Then adding 2-3 coats of red on top of it.
You want a nice thick coating of paint to give your mailbox the powder-coated look. But use multiple layers of thinner coats to avoid drips.
Also, I covered the inside of the hole so that I didn’t have any overspray inside the mailbox.
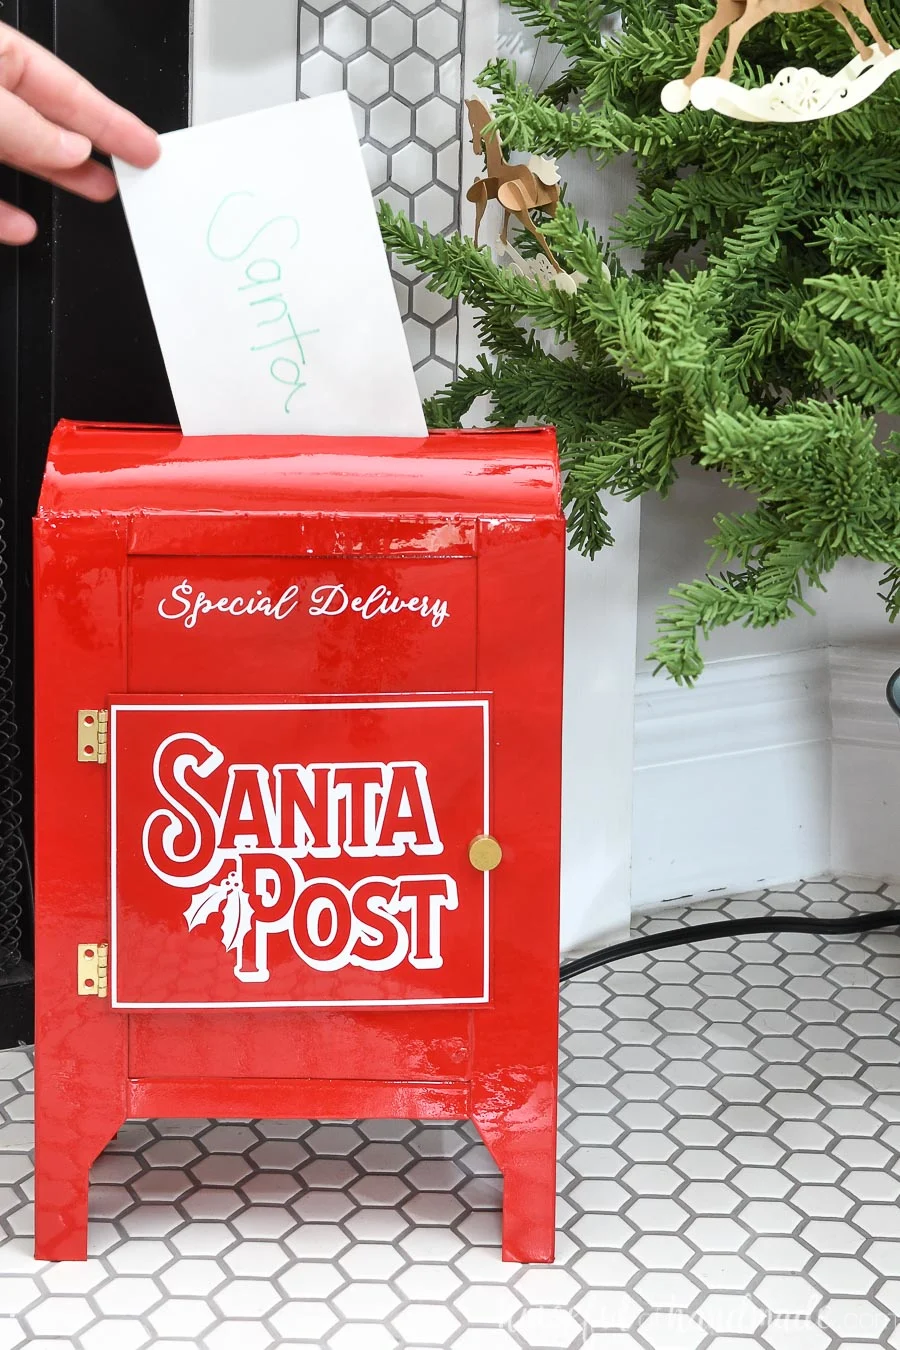
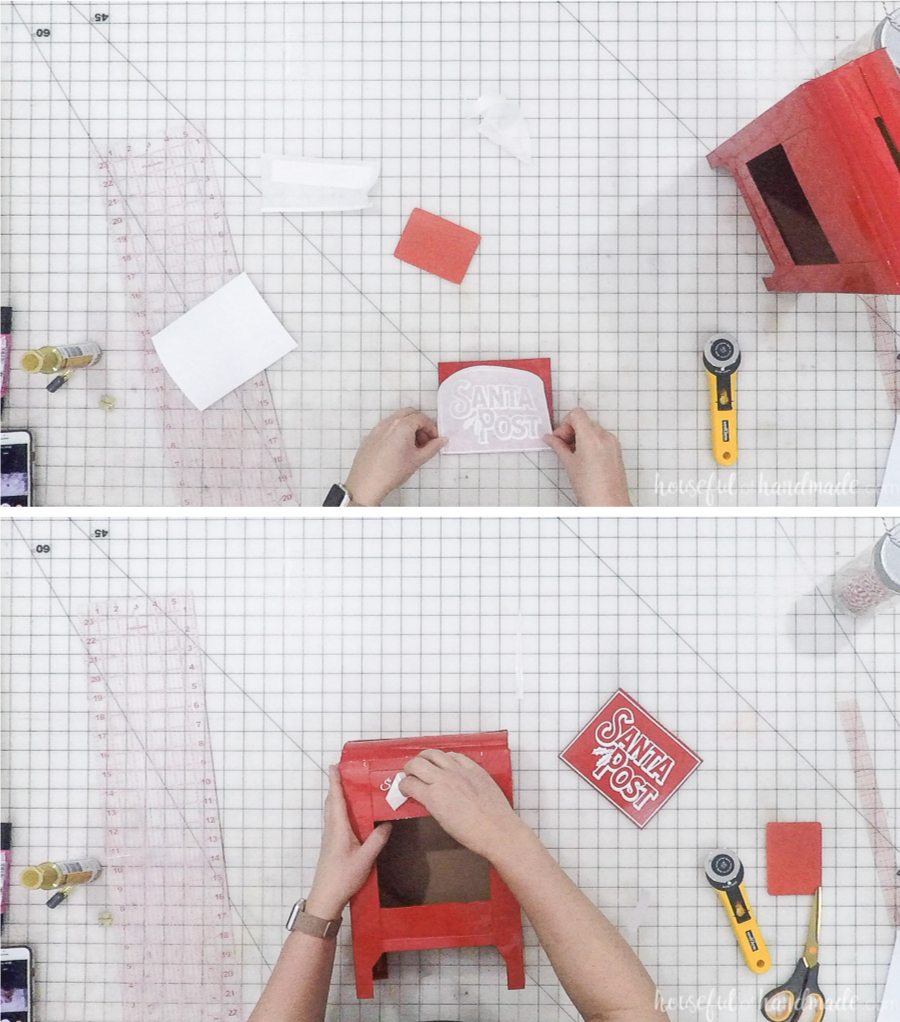
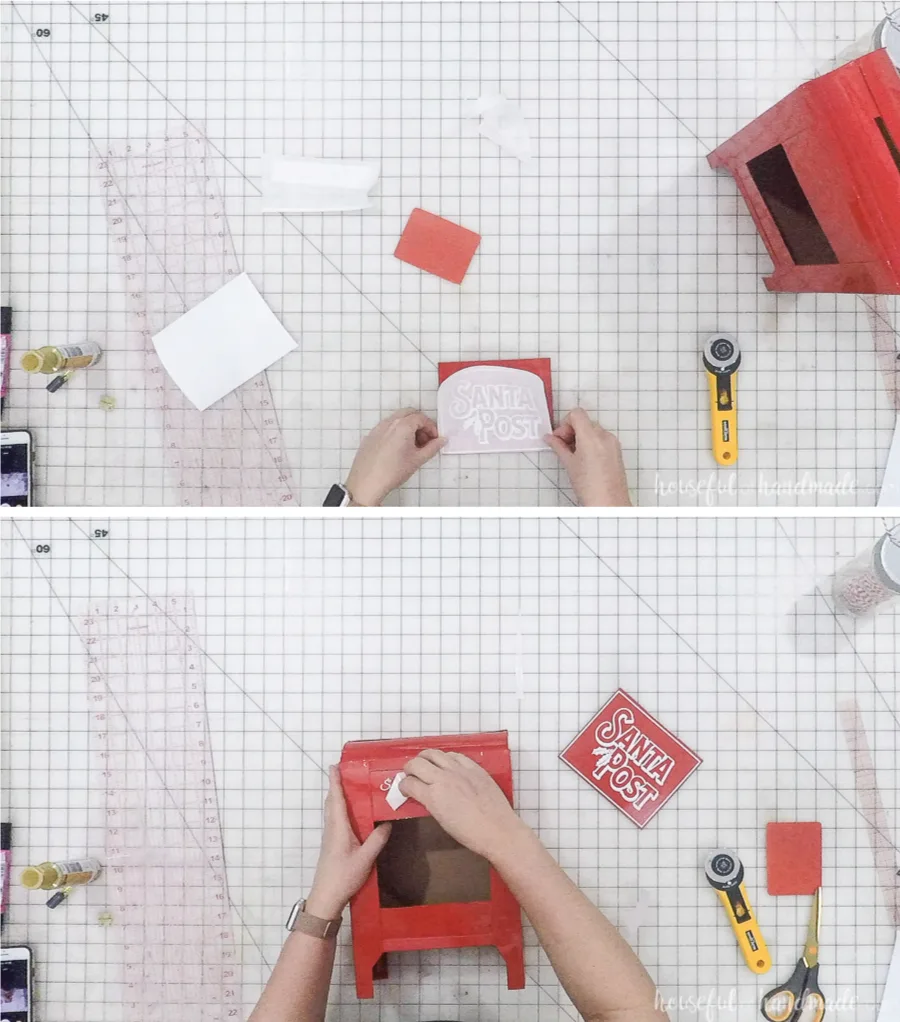
To add the “Santa Post” and “Special Delivery” design to the mailbox, I used white vinyl cut out with my Silhouette Cameo.
If you do not have an electronic cutting machine, you could also hand paint a design on your Santa Mailbox.
Glue one of the magnets on the inside of the mailbox opening with the super glue. This will be one side of the door catch.
For the second magnet, paint it (if desired) with brass acrylic paint so it looks like a little pull and matches the hinges.
Make note of which side is the right side to stick to the magnet already glued to the inside of the mailbox. Only paint the top and sides.
Remember magnets have poles and one side will attract and the other will push it away, you want the two magnets to attract when the mailbox door is closed.
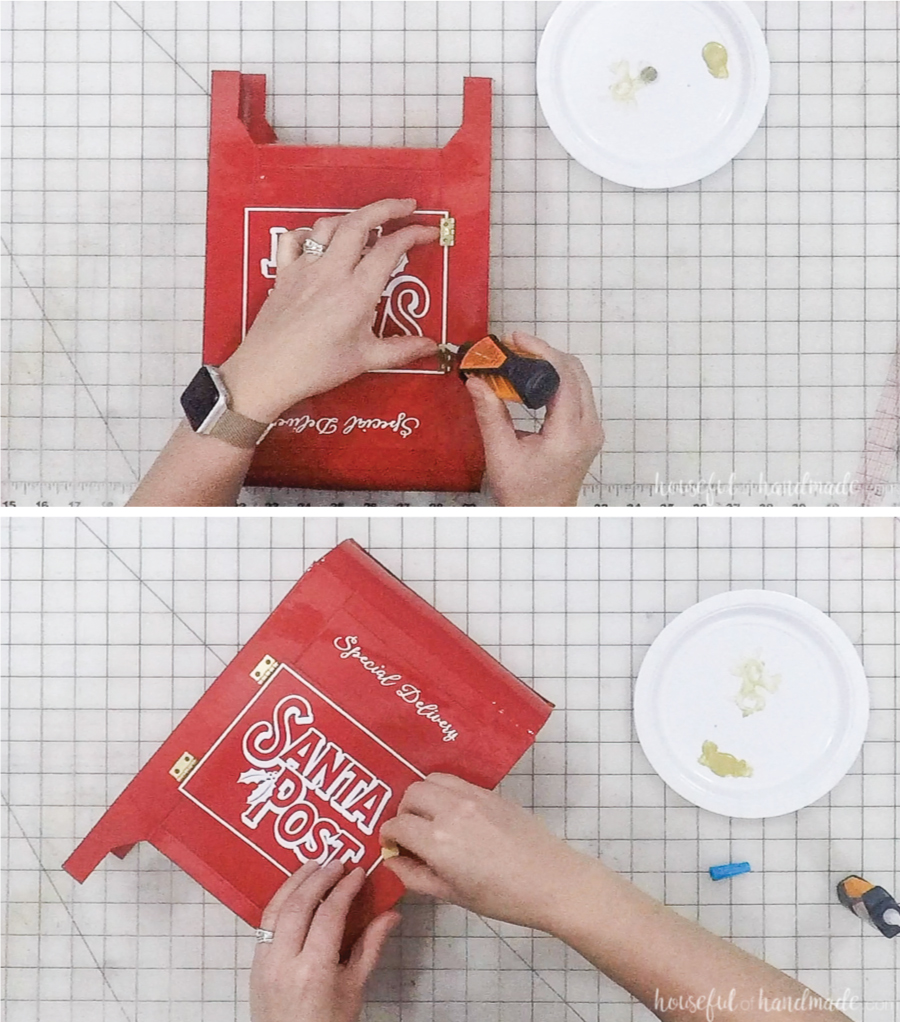

Glue the hinges to the side of the Santa mailbox door with the super glue.
I do not recommend using hot glue for the hinges and magnets since it does not stick permanently to the metal or gloss spray paint. But the super glue will!

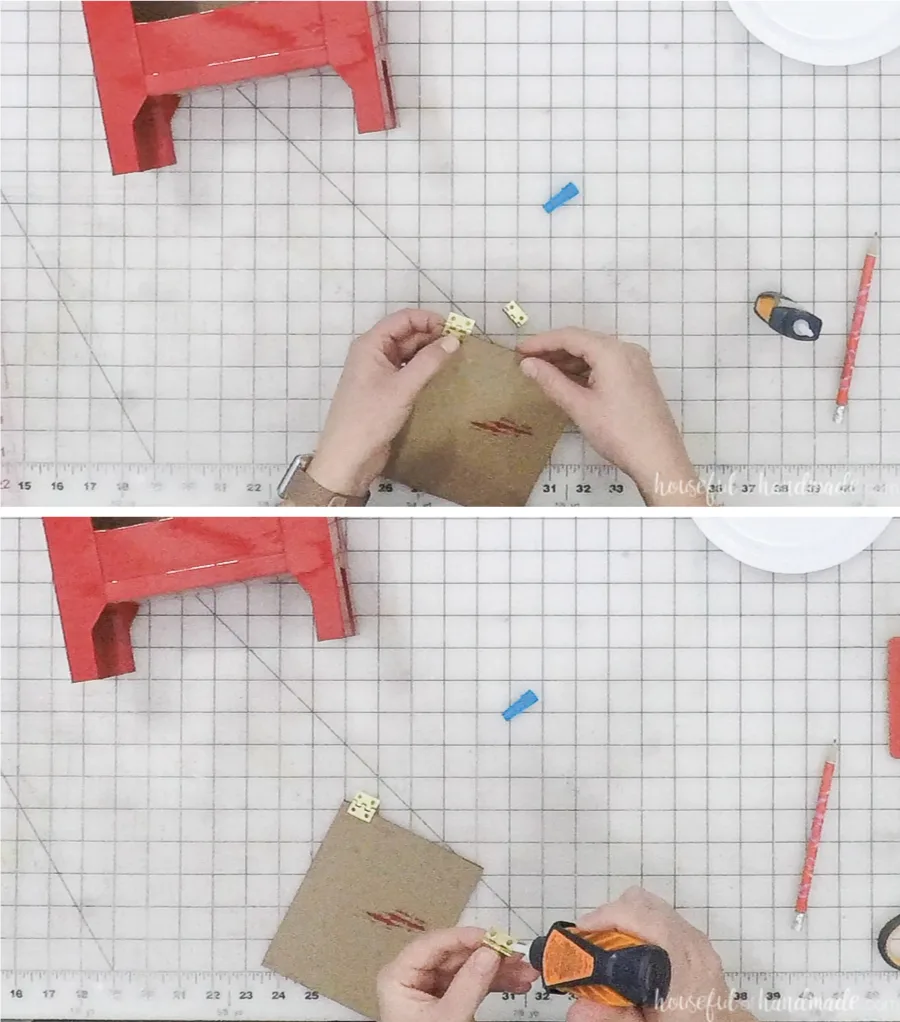
Then line the door up on the opening, make sure opening is covered evenly all around.
Glue the other side of the hinges to the outside of the mailbox with the super glue. Only use a small dot so it doesn’t leak out the sides of the hinges.
Lastly, attach the painted magnet to the top of the door over the other magnet.
It was easy to let the magnets clasp together showing me where to attach it. But make sure to open the door while the glue dries in case there is any squeeze out or you will glue your door closed.
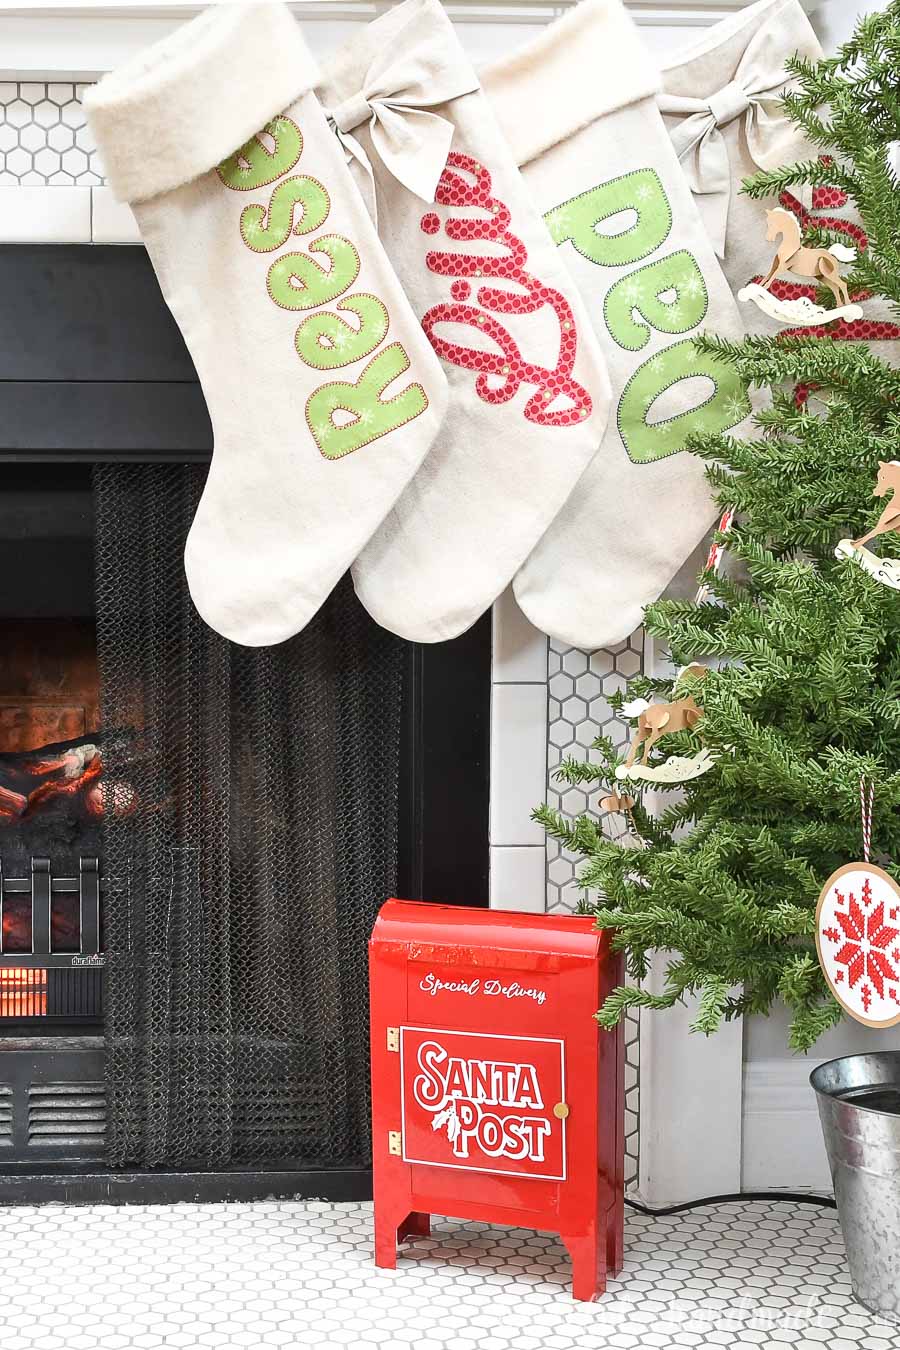
And now you can display your beautiful new DIY Santa mailbox! No one but you will ever guess it was made from 2 old cereal boxes!!!!
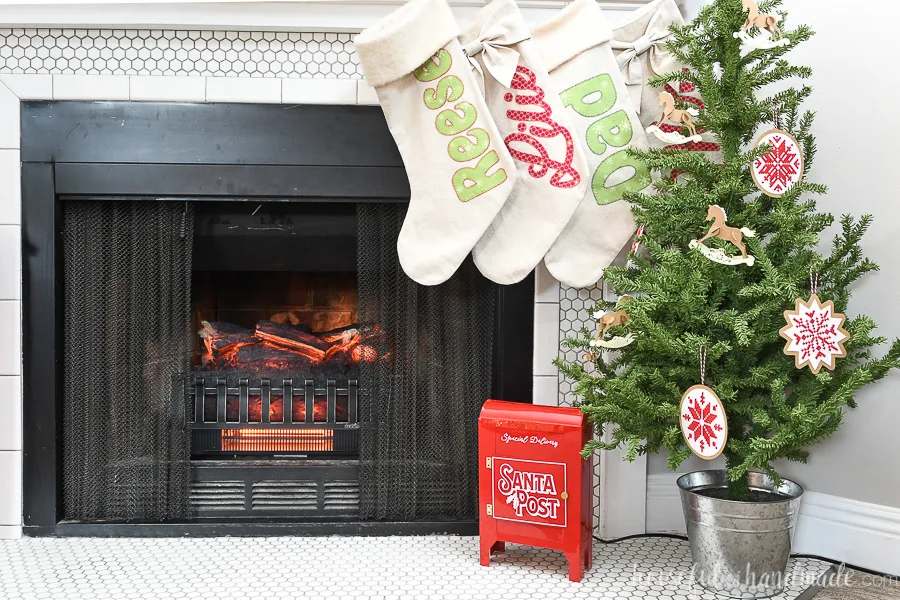
My kids love putting their letters to Santa in the mailbox. Then at night Santa’s elves come to remove the letters and deliver them to Santa 😉

And I love how the classic red Santa’s mailbox fits in with the red & white Scandinavian themed Christmas decor this year. It looks amazing on our mantel.

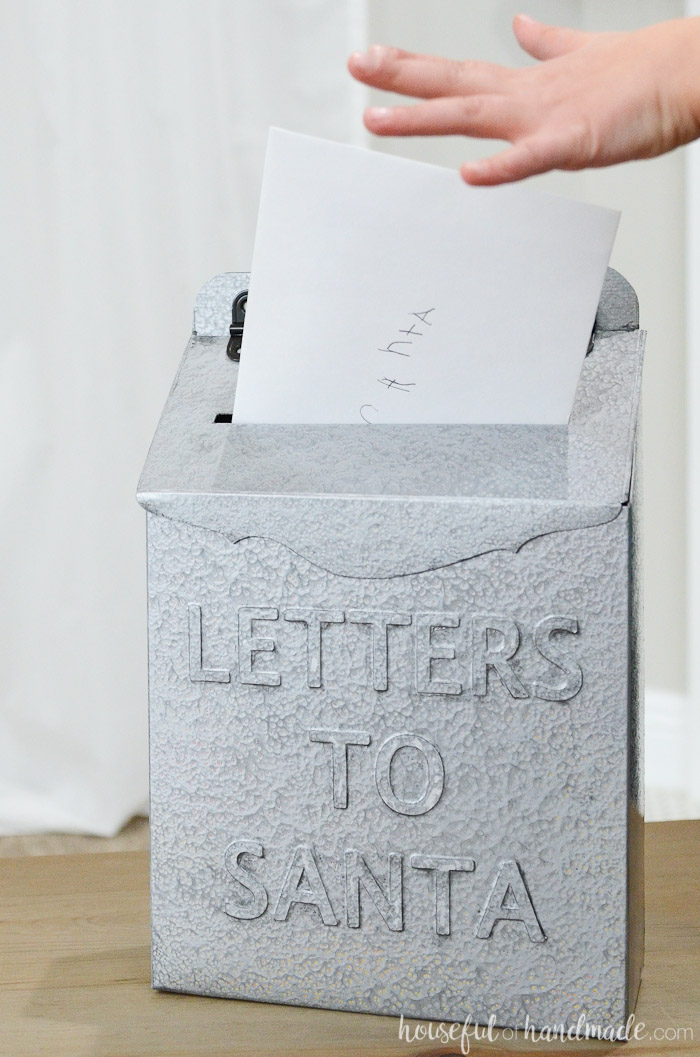
Plus, check out this easy DIY Letters to Santa mailbox also made from a cereal box!
And if you need more Scandinavian inspired Christmas decor, make sure to check out all my DIY Christmas decor here.

DIY Santa Mailbox from Cereal Boxes
Materials
- 2 empty cereal boxes
- Red gloss spray paint
- White vinyl
- Transfer paper
- Small brass hinges - 3/4"
- 2 round magnets
- Brass acrylic paint
Tools
- X-acto knife
- Scissors
- Silhouette Cameo
- Gorilla precision tip super glue
- Hot glue gun and glue sticks
Instructions
- Shape your cereal boxes by cutting an arch in the sides.
- Leave 1″ above the arc so the front and back can cover the curve with a little overlap.
- Include a little tab at the top of the arc for securing the front and back.
- Cut the shape out and remove the flaps on the top of the cereal box.
- Add hot glue to the underside of the front piece and glue it down the side of the arc to the tab on top.
- Repeat on the other side and the back piece.
- Finish off by glueing the back piece to the front to complete the arc.
- Use the x-acto knife to cut a mailbox slot in the top.
- Cut a hole out of the middle front of the mailbox to remove letters.
- Use the second cereal box to add legs, a door, and details.
- For the legs, measure 1 1/4″ in from the edge.
- Shape the bottom of the legs by drawing a line 3/4″ in from the edge on the lower 2″.
- Draw a diagonal line from the 1 1/4″ line to the 3/4″ line.
- Measure 1″ from the edge on the side of the box.
- Cut the legs out so you have the corner piece.
- Repeat for all 4 corners of the 2nd cereal box.
- Line the legs up with the body of the mailbox.
- Glue the legs down on the corners of the Santa mailbox.
- Use the scraps to add trim between the legs on the front/back and sides.
- Cut a door for the front of the mailbox.
- Paint the box with a coat of black or white paint.
- Then add 2-3 coats of red over it.
- Add a "Santa Post” or “Special Delivery” design to the mailbox using white vinyl, or hand paint a design.
- Glue a magnet on the inside of the mailbox opening with super glue.
- Add the second magnet, paint it (if desired) with brass acrylic paint to match the hinges.
- Glue the hinges to the side of the Santa mailbox door with the super glue.
- Line the door up on the opening.
- Glue the other side of the hinges to the outside of the mailbox with the super glue.
- Attach the painted magnet to the top of the door over the other magnet.
Recommended Products
As an Amazon Associate and member of other affiliate programs, I earn from qualifying purchases.


Caroline
Monday 21st of November 2022
beautiful, where can we get the SVG files for the letter box?