

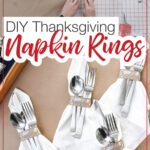

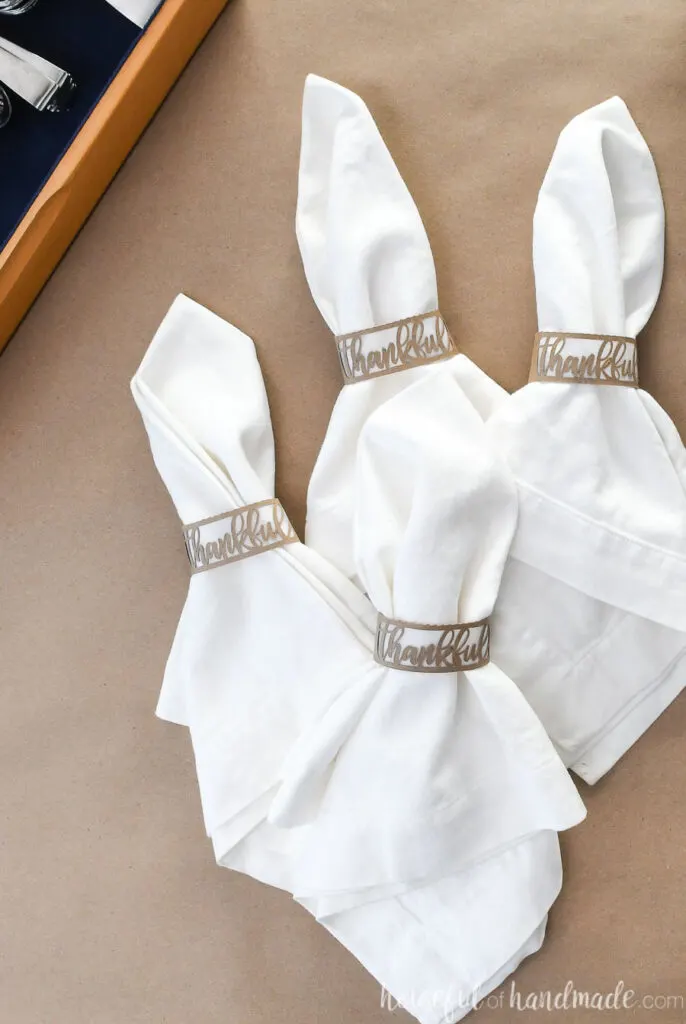
Add gratitude to your Thanksgiving table with these easy upcyled Thankful napkin rings.
Do you like the set a formal table of Thanksgiving? Or go with a more casual buffet style? Either way, these easy to make Thanksgiving napkin rings will give your table some extra style.
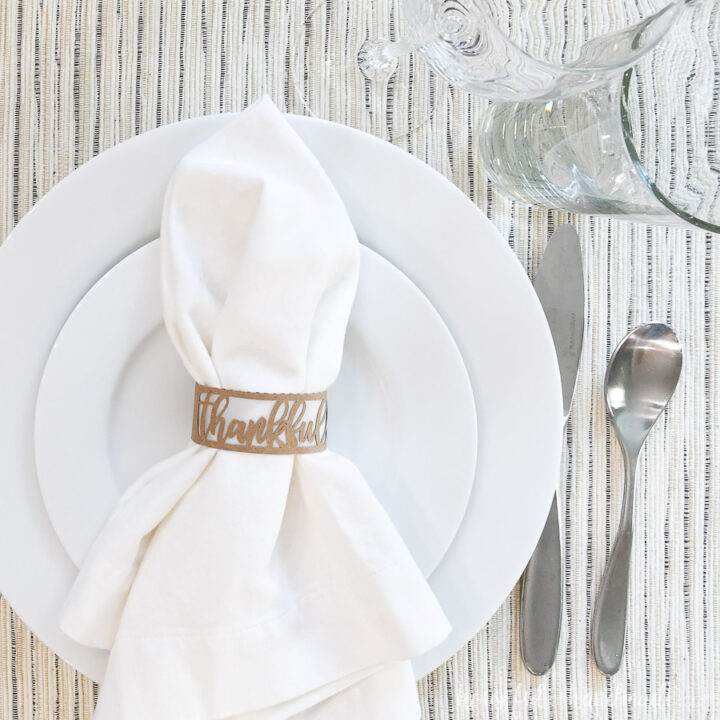
The beautiful napkin rings are made out of none other than a paper grocery bag! After you bring home your groceries for dinner, Upcycle your bag into some rust napkin rings.
The rings are cut out to show the word Thankful inside the napkin ring. You can quickly cut the intricate cursive design with an electronic cutting machine. I used my Silhouette Cameo to make mine.
This post may contain affiliate links. As an Amazon Associate I earn from qualifying purchases. Click here to read my full disclosure policy.
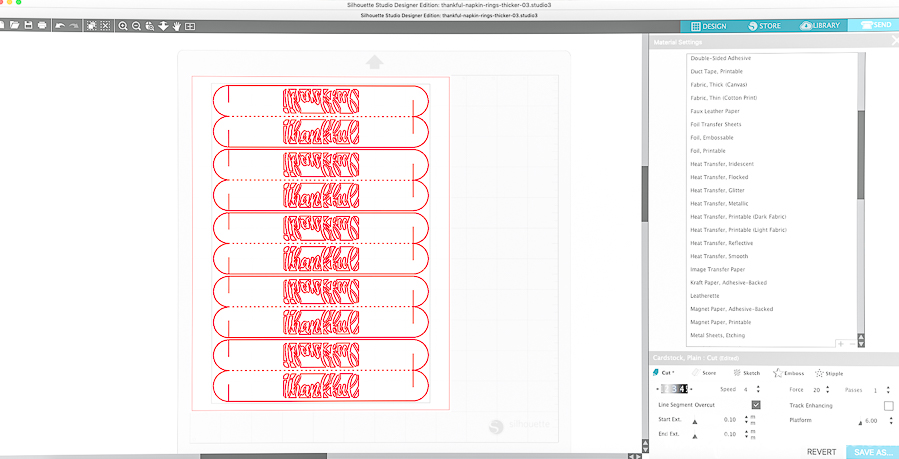
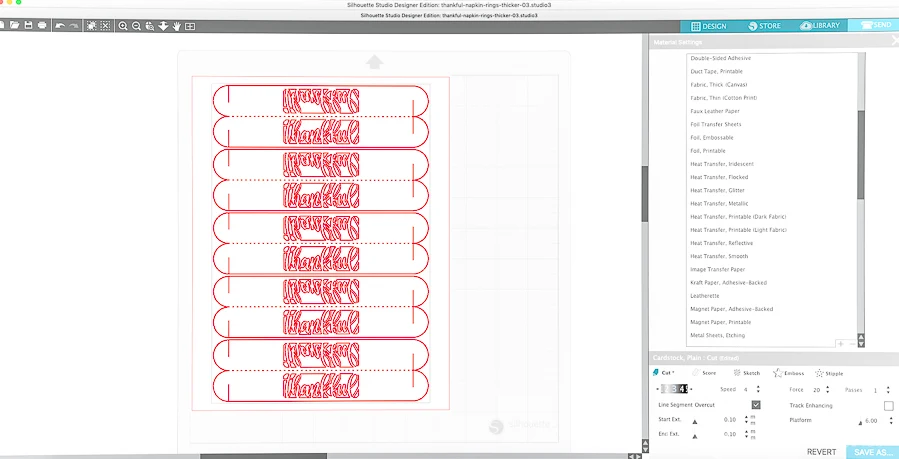
Cutting Intricate Designs with the Silhouette Cameo
Cutting out the detailed design did give me a few problems. I almost gave up. But finally on the 3rd try, I learned the tricks needed to get a clean cut on this inexpensive material.
- Start with a sharp blade. Dull blades may snag on the paper and cause cutting issues.
- Don’t use an old mat. Older mats tend to have lots of nicks and debris on them which can cause the blade to skip and snag.
- Make sure the paper is stuck tightly to the mat. II like to use my vinyl scrapper to give secure the paper to the mat. But only if the mat is not brand new (or else you will never get the paper off).
- Use the Line Segment Overcut option under cut settings. This makes the blade go over the end of the line just a tiny bit and then lifts the blade instead of pivoting. Pivoting on paper can cause snagging and skipping in the cuts.
If you apply these tips, you too can cut perfect intricate cursive letters. And the cut out cursive Thankful is what really makes these beautiful Thanksgiving napkin rings.
How to Make Upcycled Thanksgiving Napkin Rings
Supplies:
- Thankful napkin rings cut file
- I am sharing the cut files & PDF for these Thanksgiving napkin rings in my subscriber library until 11/15/2019, then they will move to the shop. Click here to subscribe to my newsletter and gain access to all the freebies. If you already have your password, click here to download them.
- Paper grocery bag
- Scissors
- Vellum
- Spray glue
- Silhouette Cameo
- If you do not have an electronic cutting machine, you can cut out the design with scissors and an X-acto knife.
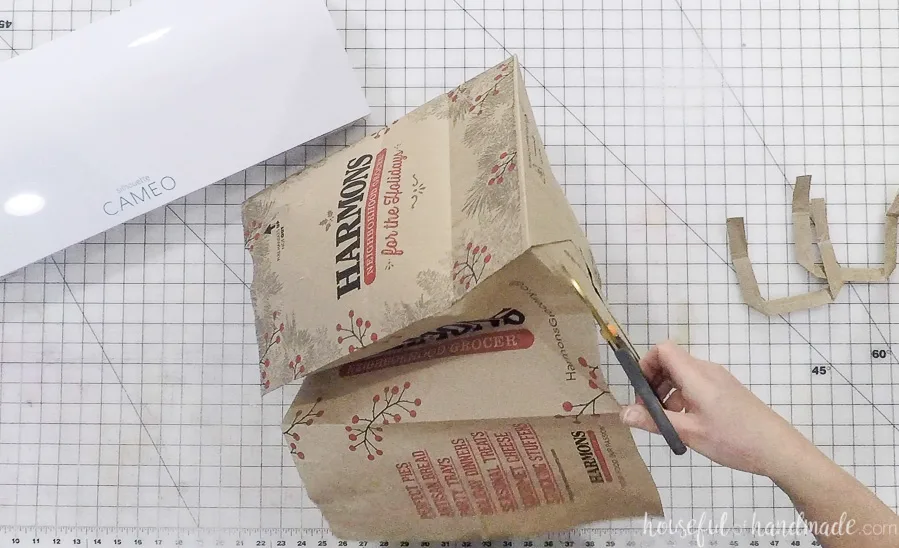
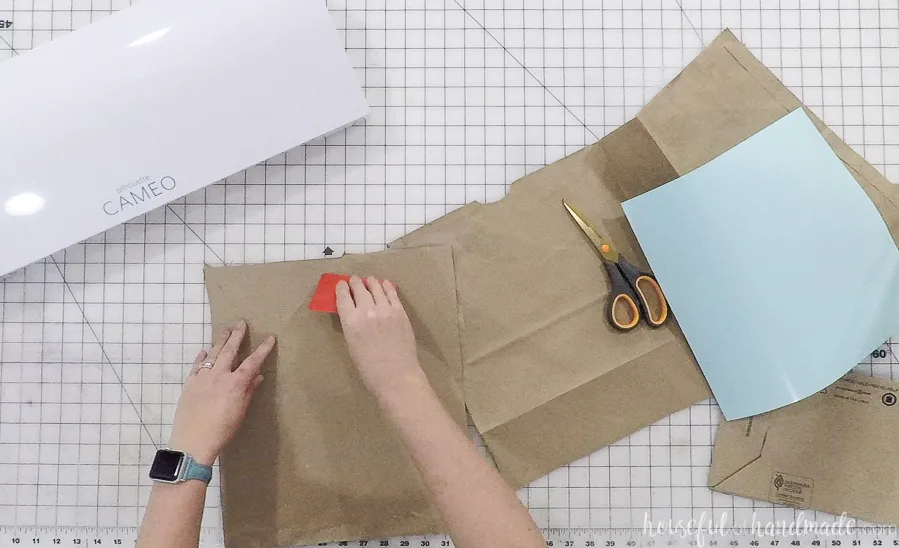
Remove the handles from the grocery bag. Then cut off the the bottom to open it up flat. Cut a flat section of bag at least 8 1/2 x 11 inches.

Place the grocery bag printed-side-down on the cutting mat. Smooth out the fold lines.
Cut the napkin ring design out with the machine software. Make sure to select the Line Segment Overcut (see more tips above) tool to get a clean cut on the intricate design.

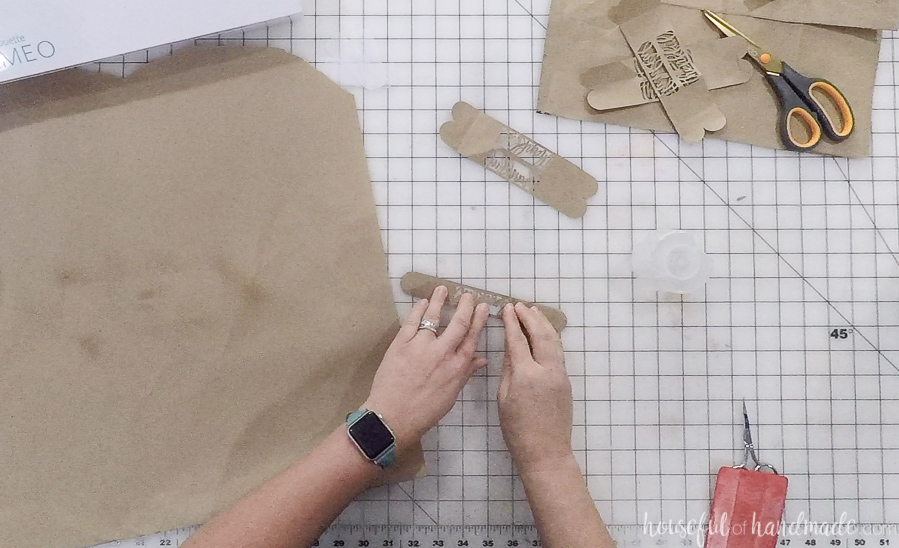
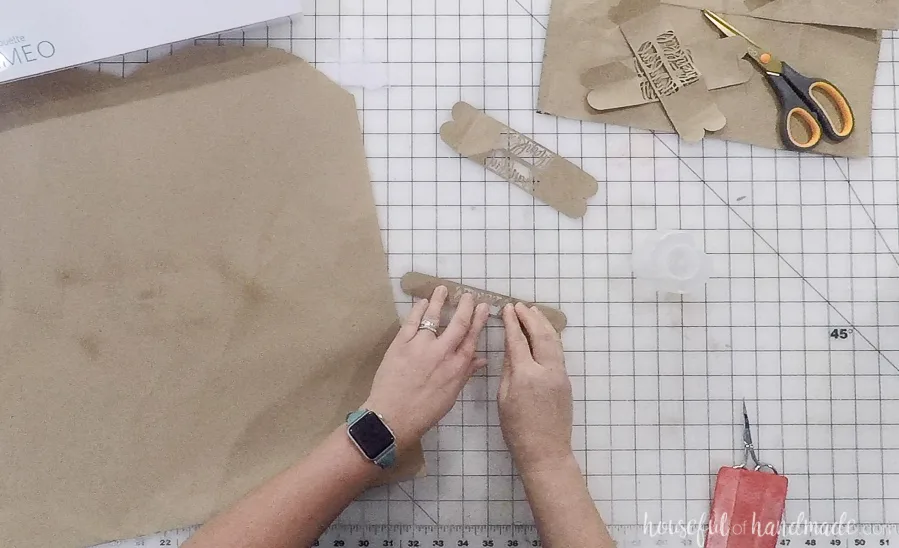
After the cutting is complete, remove the mat from the machine. Carefully pull the cut out paper off the mat.
The think lines of the Thankful design can be tricky to remove if you mat is new and extra sticky. I used a sharp point to help loosed the edges of the small detailed pieces while removing it.
Place the vellum on the cutting mat and cut the inner pieces out.
Fold the napkin ring along the dotted line. Make sure the printed side of the paper bag is on the inside.
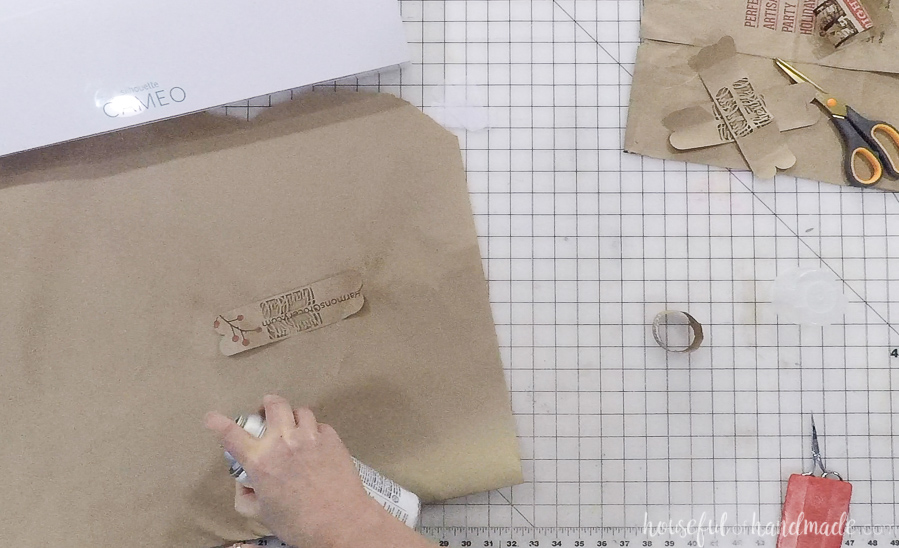
Open it back up and cover the inside of both sides with the spray glue. Make sure to use some paper below the spray glue to protect your workspace from being permanently sticky.

Place a piece of vellum over one side of the thankful design on the napkin ring. Then fold the napkin ring in half so the pieces some together, hiding the printing and vellum on the inside.
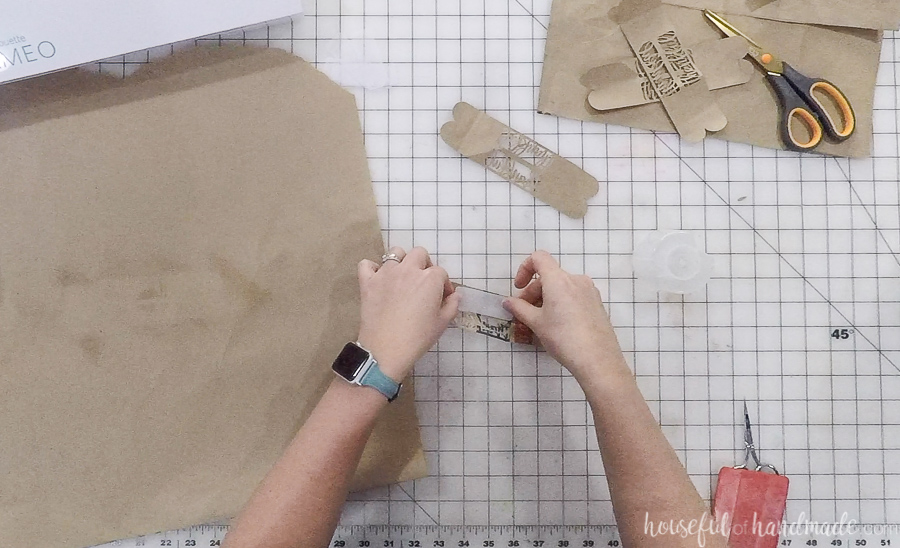
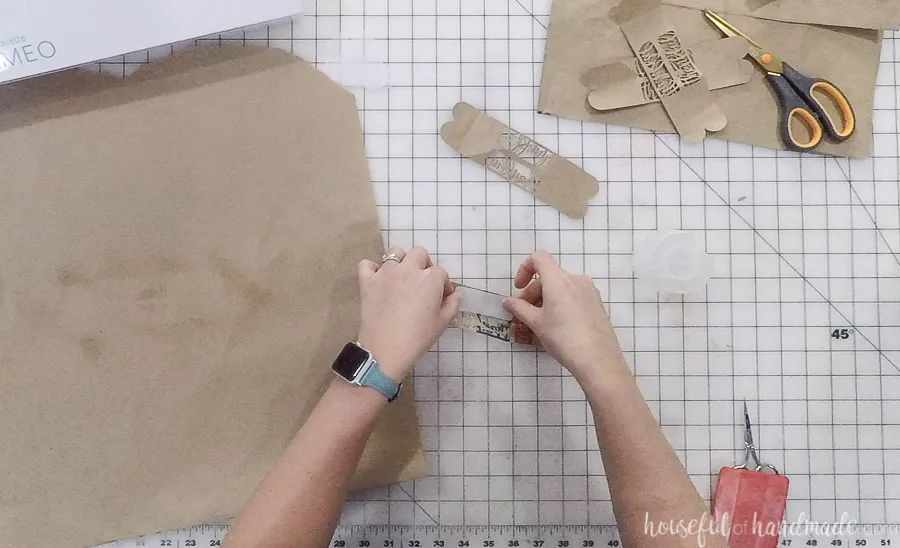
Press firmly to secure. The spray glue should hold everything together nicely.
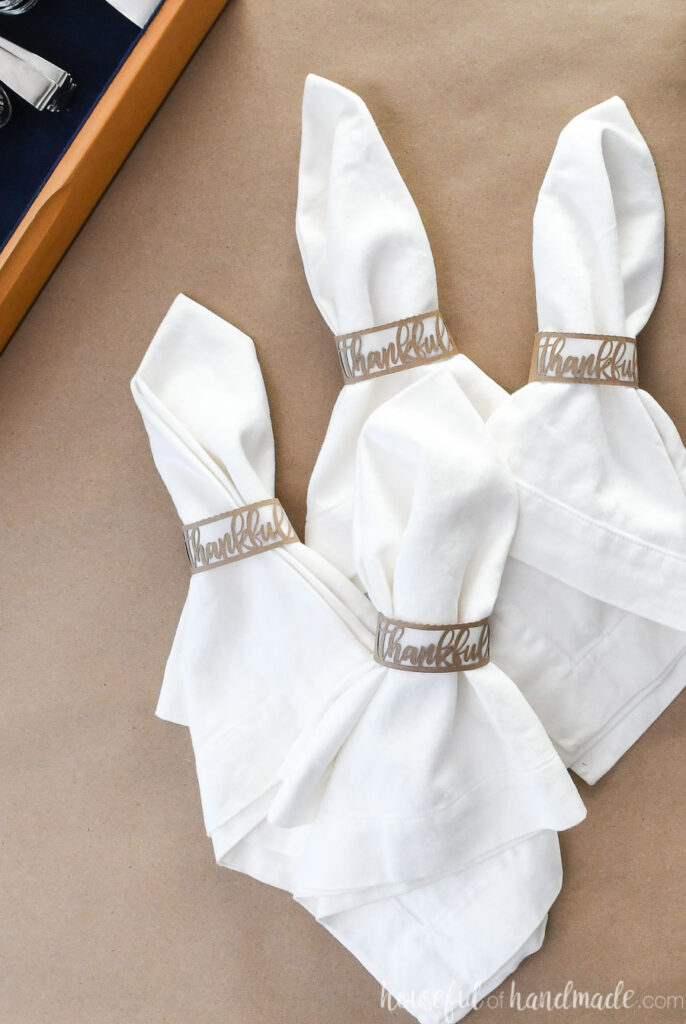
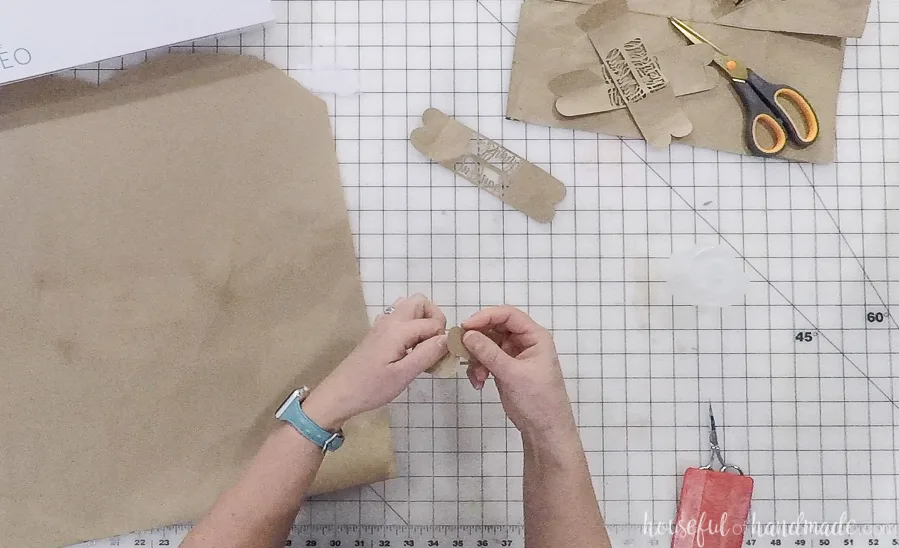
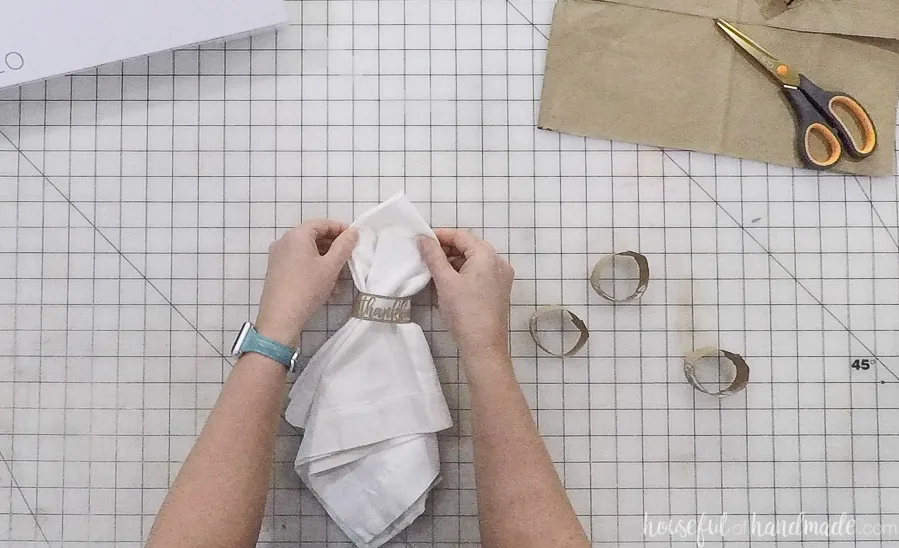
To create a ring to hold the napkin, curve the design and secure the back with the notches.
Repeat for as many napkin rings as you need! You can make a whole bunch with just 1 regular sized grocery bag.

Ways to Use the Thankful Napkin Rings
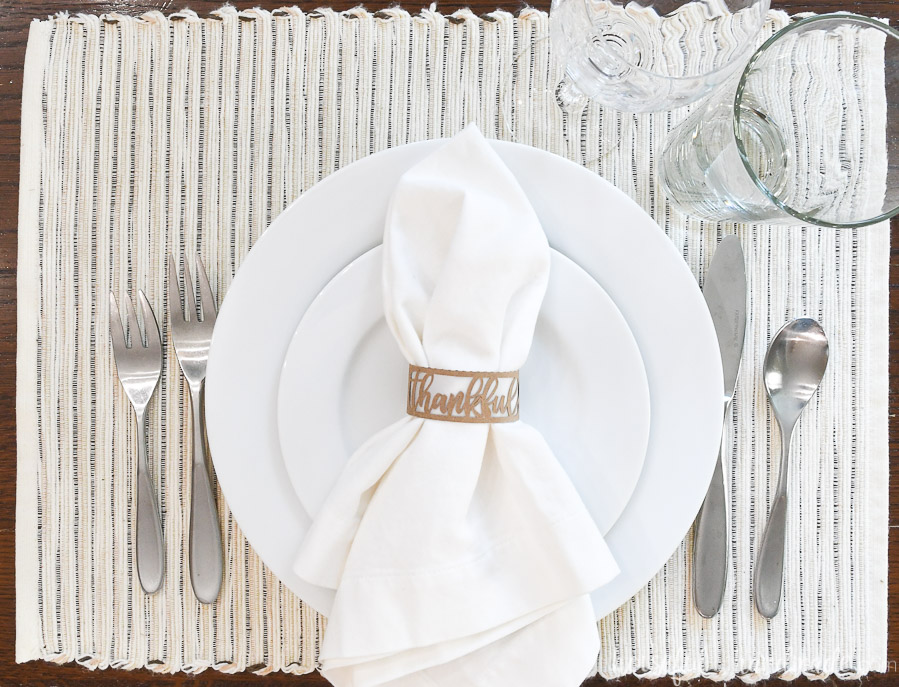
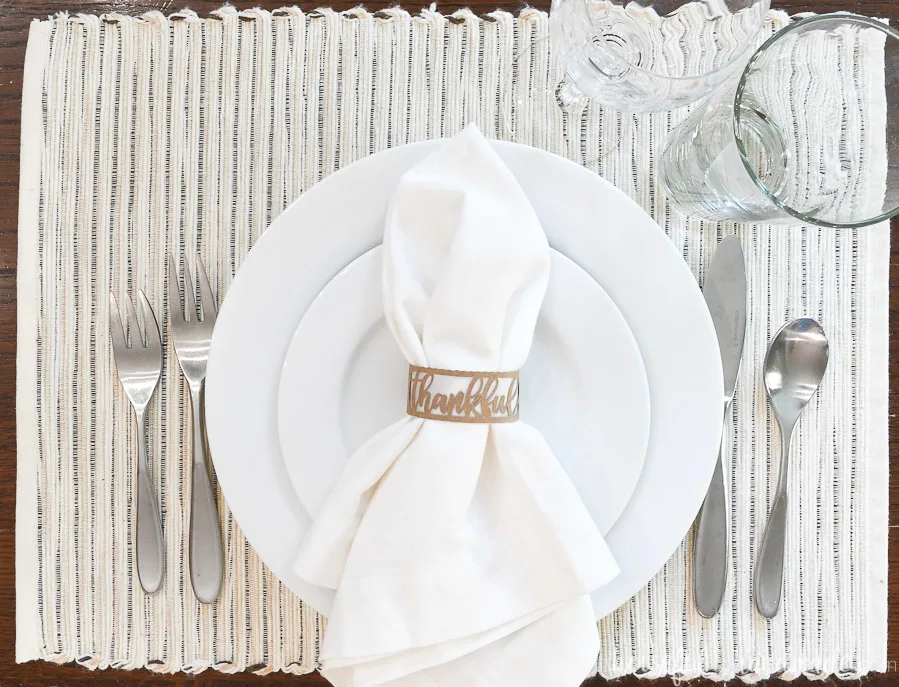
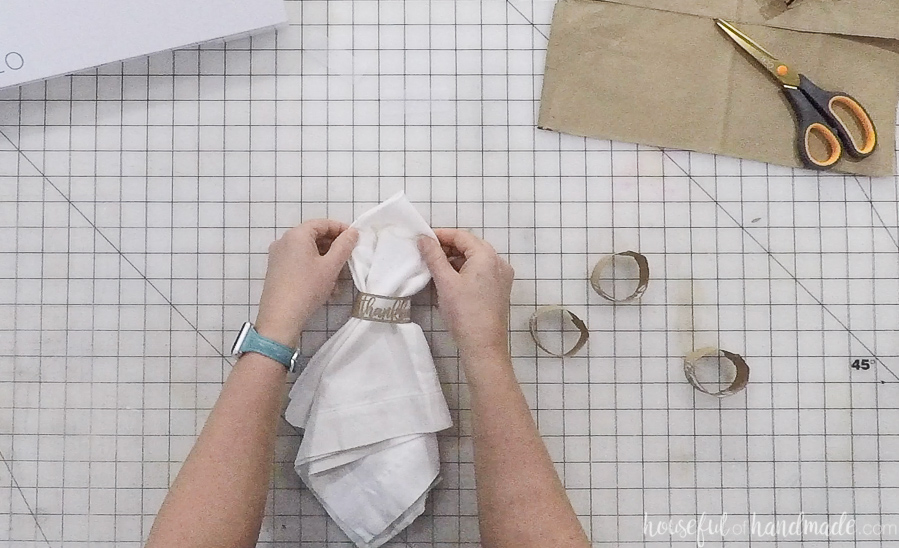
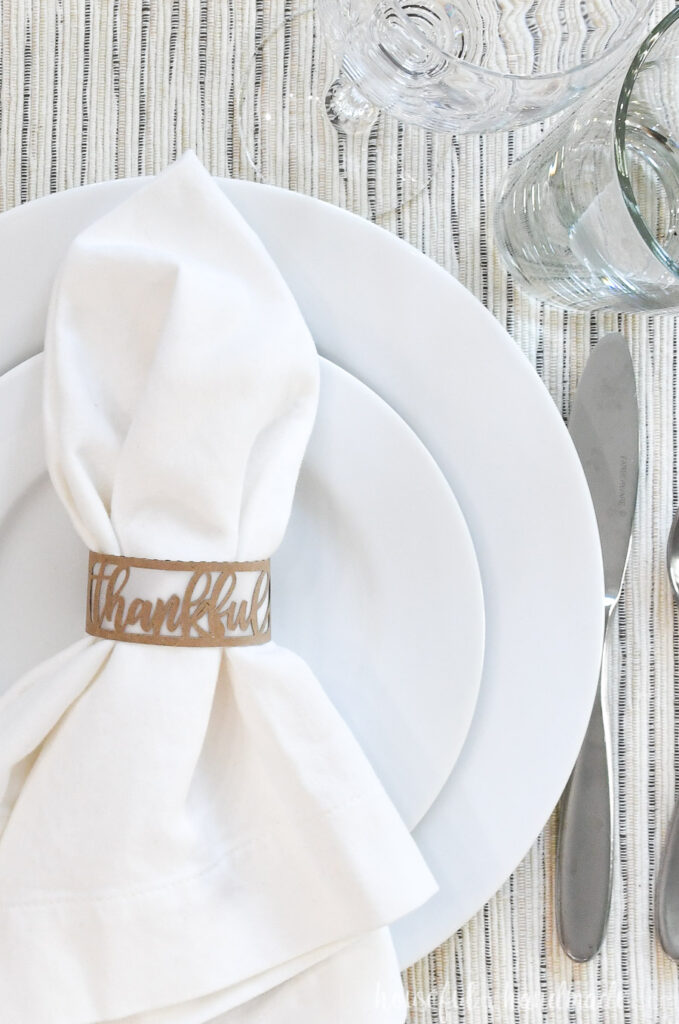
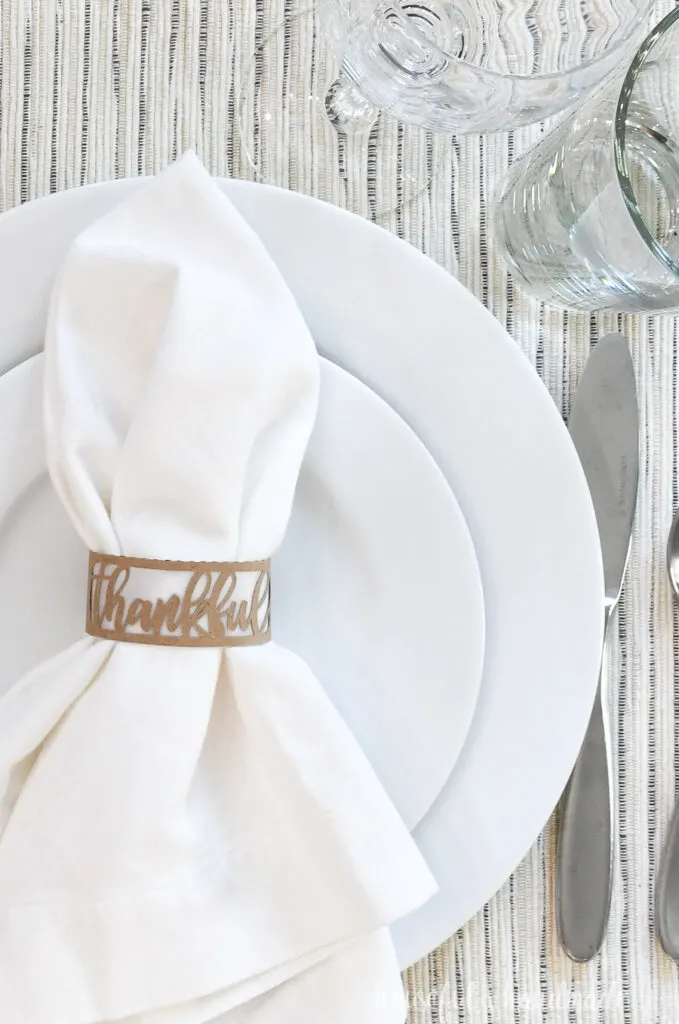
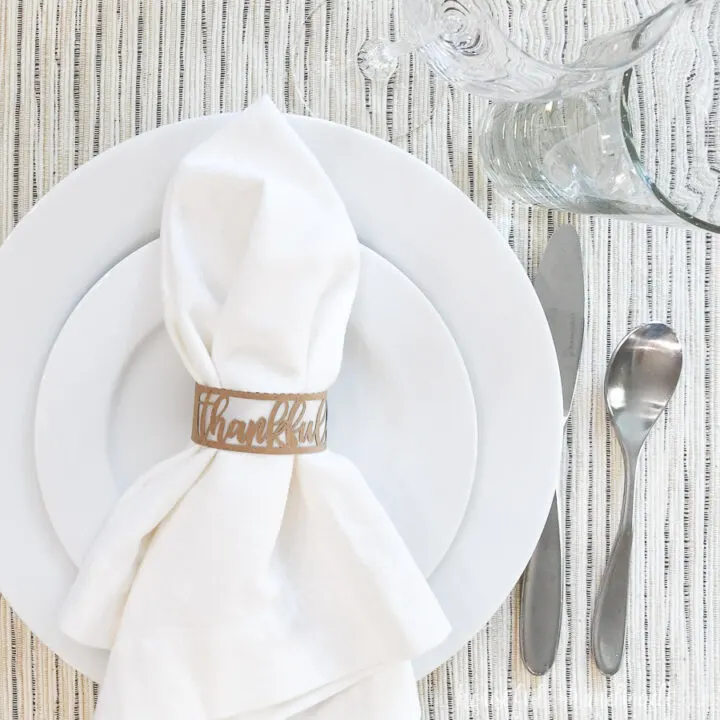
Now you can slide your napkins in the rings and you are ready to set your Thanksgiving table. I love the simple design, but with a note of gratitude to help remind us of the reason for the holiday.
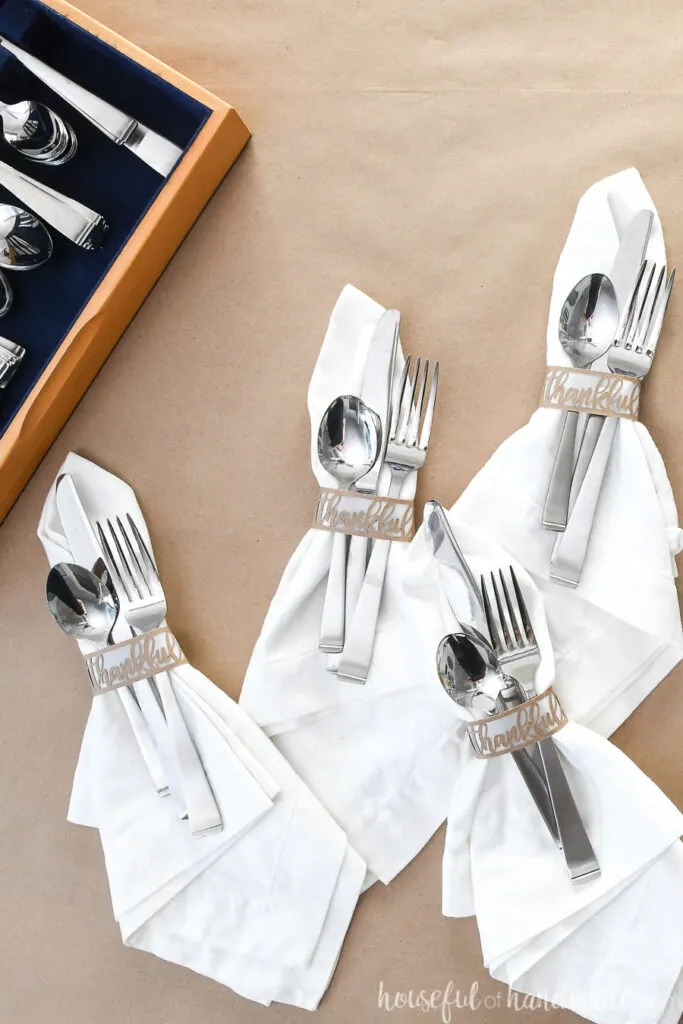
The Thankful napkin rings can also be used to hold the silverware on your table. Just slide them inside the rings with the napkin.
And if you are doing your dinner buffet style, wrap the silverware inside the napkin and secure with the Thanksgiving napkin ring. Then you can stack them up and your guests can easily grab every they need to enjoy the feast!

But the best part is, you can toss the paper napkin rings during clean-up. Because they are easy to make again next year!
Don’t you just love things that make the holidays easy?
Easy DIY Thanksgiving Napkin Rings
These easy to make DIY paper Thanksgiving napkin rings will give your table a unique and stylish look and are budget-friendly too!
Materials
- Thankful napkin rings cut file
- Paper grocery bag
- Vellum
- Spray glue
Tools
- Silhouette Cameo
- Scissors
Instructions
- Remove the handles from the grocery bag.
- Cut off the the bottom to open it up flat.
- Cut a flat section of bag at least 8 1/2 x 11 inches.
- Place the grocery bag printed-side-down on the cutting mat. Smooth out the fold lines.
- Cut the napkin ring design out with the machine software.
- Remove the mat from the machine. Pull the cut out paper off the mat.
- Place the vellum on the cutting mat and cut the inner pieces out.
- Fold the napkin ring along the dotted line.
- Open it back up and cover the inside of both sides with the spray glue.
- Place a piece of vellum over one side of the thankful design on the napkin ring.
- Fold the napkin ring in half, hiding the printing and vellum on the inside.
- Press firmly to secure.
- Curve the design and secure the back with the notches.
- Repeat for as many napkin rings as you need.
Recommended Products
As an Amazon Associate and member of other affiliate programs, I earn from qualifying purchases.


Diane
Tuesday 9th of November 2021
Hello Kati, Love your website and tutorials. I have been having trouble downloading some of you files. I have been getting messages that they cannot be downloaded securely. I haven't had too many problems with any of the other files. Am I doing something wrong? Please help. Thanks in advance.
Diane
Kati
Sunday 21st of November 2021
I use a company called AWS to host all my files, but do not pay extra to have them secured. If you click the links on the Library page you they should be okay. Maybe you can adjust your setting to allow them?
Mary Kukla
Thursday 5th of November 2020
very cute site
Meriel Henson
Tuesday 12th of November 2019
thank you for your reply, love you work
Meriel Henson
Sunday 10th of November 2019
Please I want your Thanks Giving napkin rings, and I can't open any thing and I have gotten things from you before
Kati
Monday 11th of November 2019
When you download items from the library, they may be a ZIP file which will require a program to unzip them. SVG files will need a specific program to open them (Illustrator, Silhouette Studio Designer Edition or Cricut Design Space). The PDF files will need a PDF reader like Acrobat Reader. Hope this helps!
Meriel Henson
Sunday 10th of November 2019
No where is a place to open your library Help
Kati
Monday 11th of November 2019
I share the link in the emails I send and in the supply list. But you can also access it here: Subscriber Library.