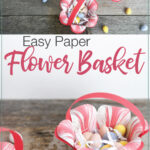


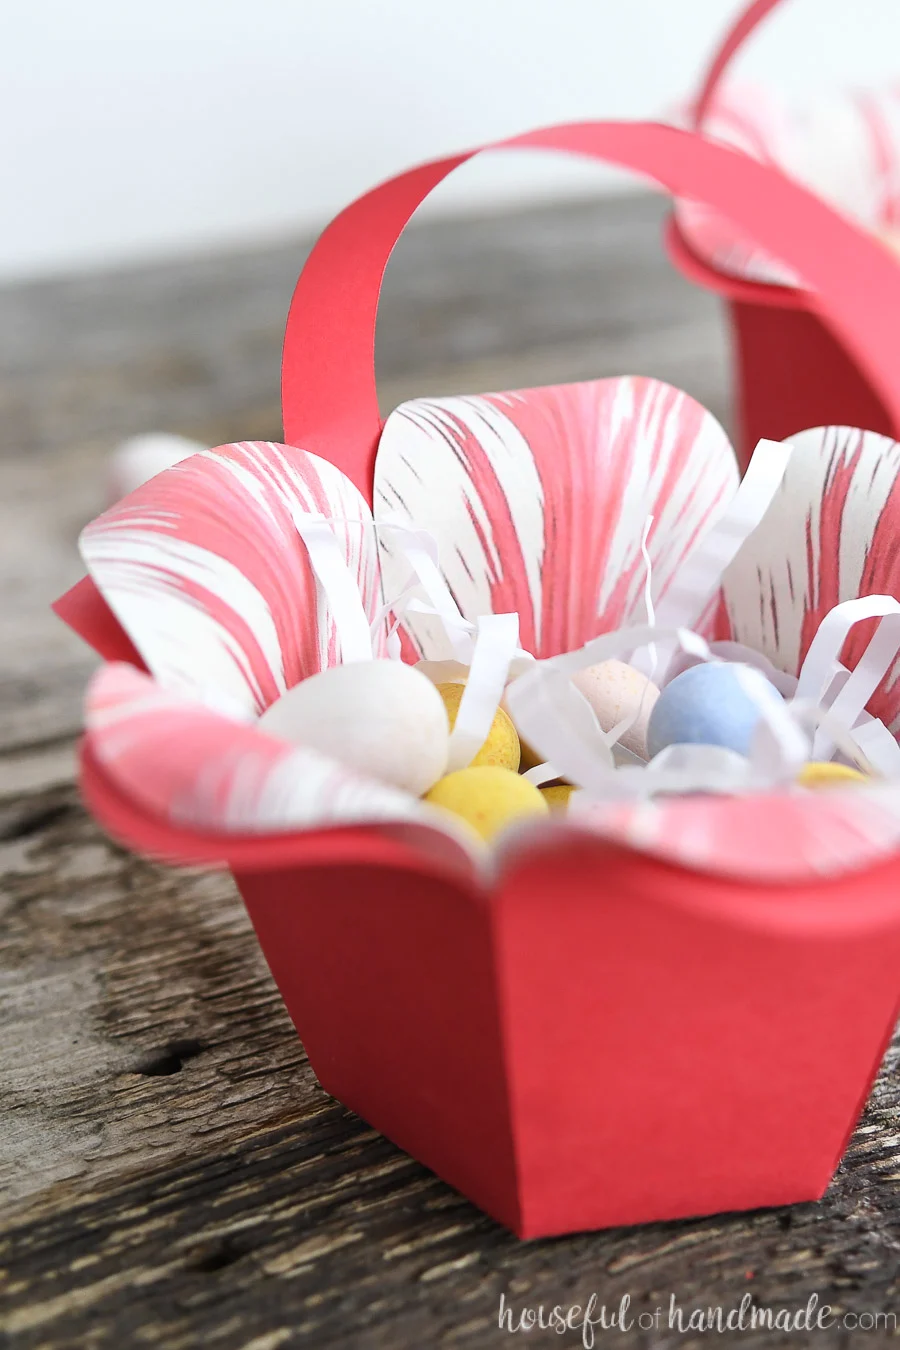
This simple flower basket is perfect for sharing treats this Easter.
It’s Day 2 of the 7 Days of Paper Decor Spring edition! In case you missed day 1, we made chunky farmhouse candlesticks here!
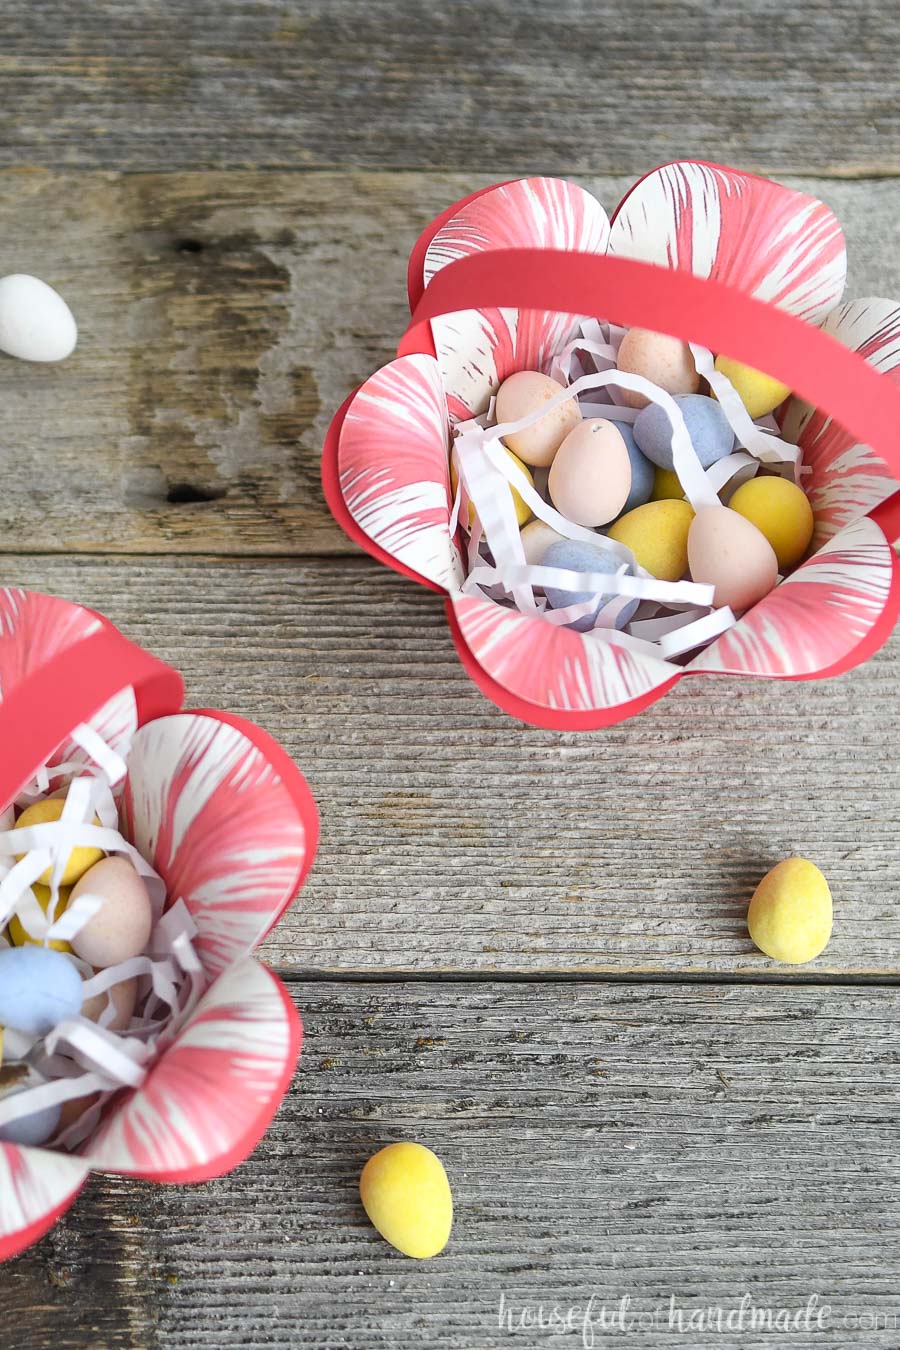
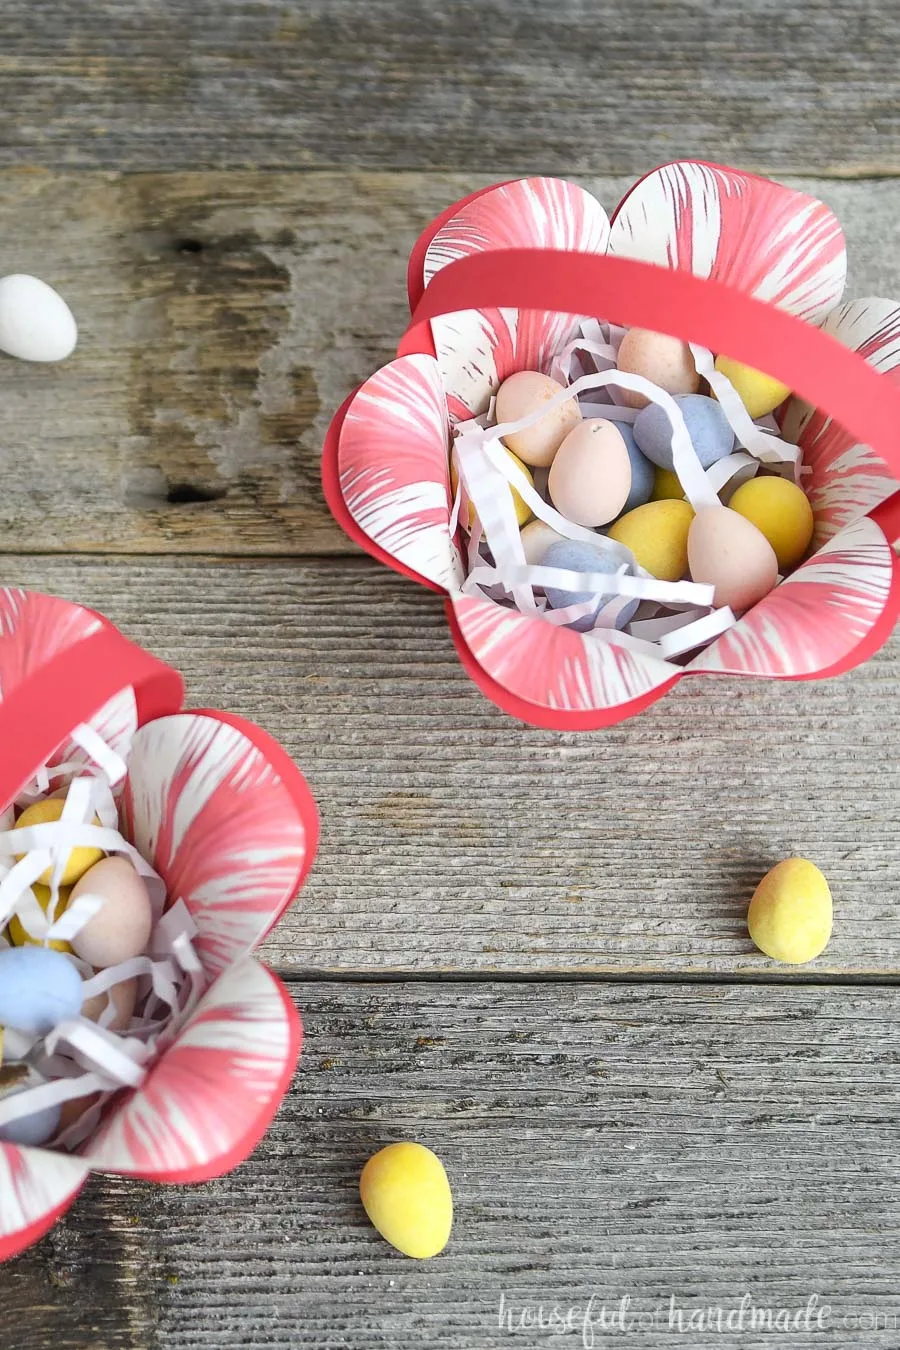
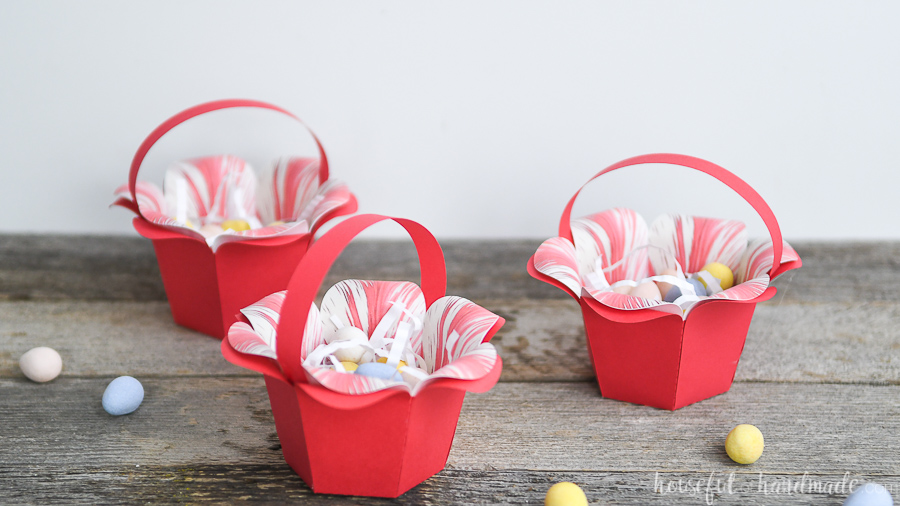
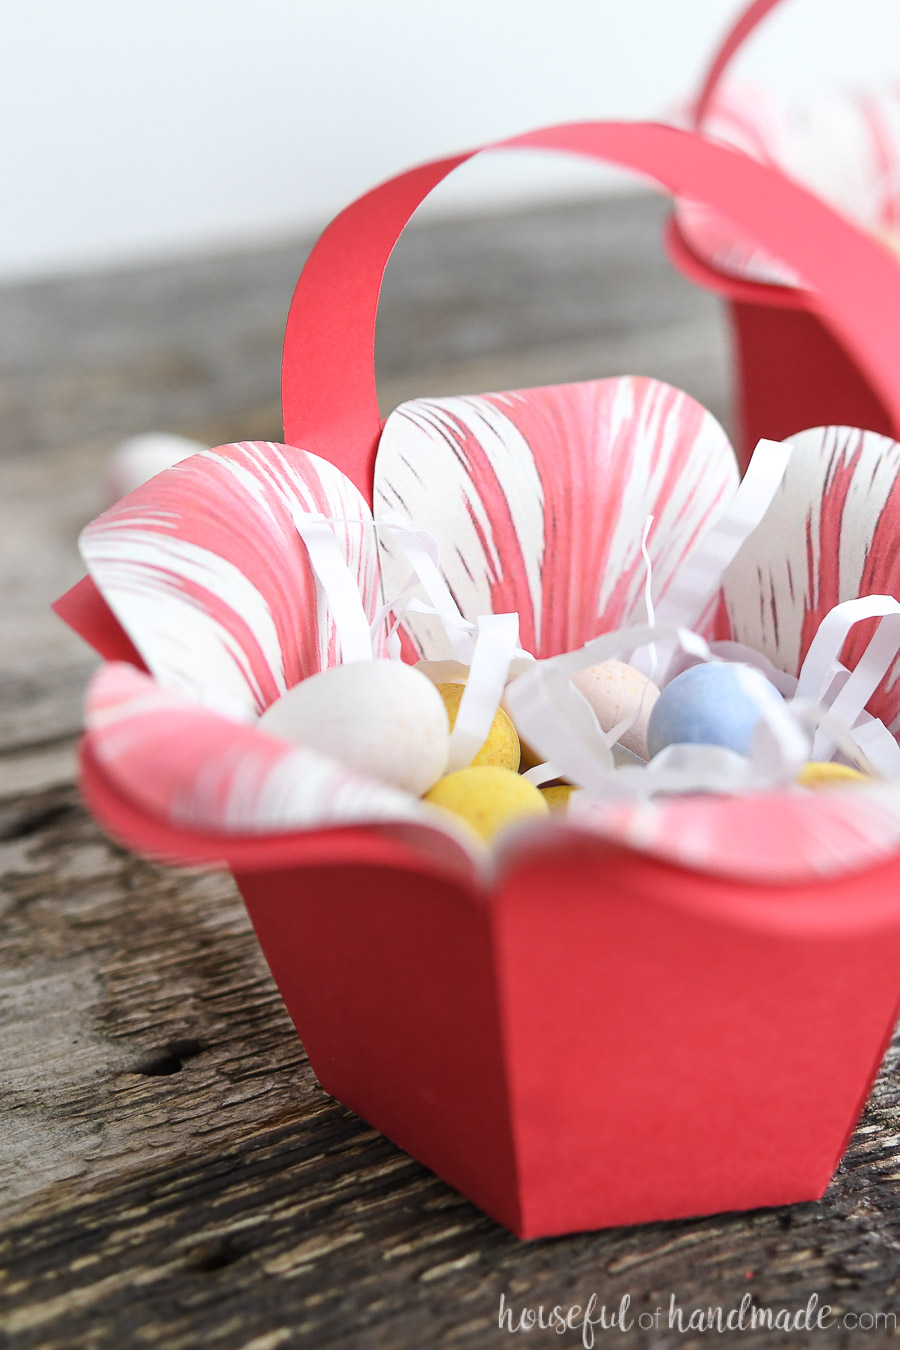
Today we are making a really fun DIY flower Easter basket. It looks like a beautiful spring flower! I love the textured petals.
And this simple flower Easter Basket is perfect for sharing an Easter treat with your loved ones!
This post may contain affiliate links. As an Amazon Associate I earn from qualifying purchases. Click here to read my full disclosure policy.
Paper Easter Baskets
I love making little Easter baskets out of paper. They are perfect for delivering little treats. Or for setting a beautiful Easter table.
These flower shaped baskets are quick and easy to put together so you can whip up a bunch in no time!
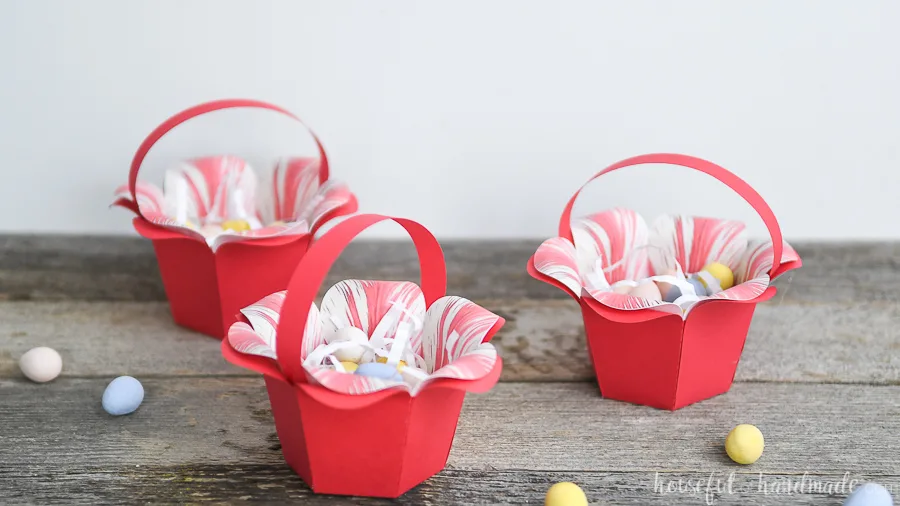
And each basket uses only 2 sheets of paper. One piece of cardstock has the petal decorations printed on it and the outer layer is just a simple piece of colored paper.
So have fun making up loads of little flower baskets for a little pop of spring!

How to Make a Paper Flower Basket
Supplies:
- Flower basket template
- The cut files & PDF for the flower easter basket were free to my subscribers until 03/26/2021. Now they are available to purchase in the shop. Make sure to subscribe so you will be notified of new freebies!
- Cardstock
- Colored paper
- Printer
- Hot glue gun and glue sticks
- I love using hot glue for my paper crafts since it dries fast and holds paper securely.
- Optional: Electronic cutting machine like a Silhouette Cameo or Cricut Maker to quickly cut out paper decor projects, but you can also use scissors.
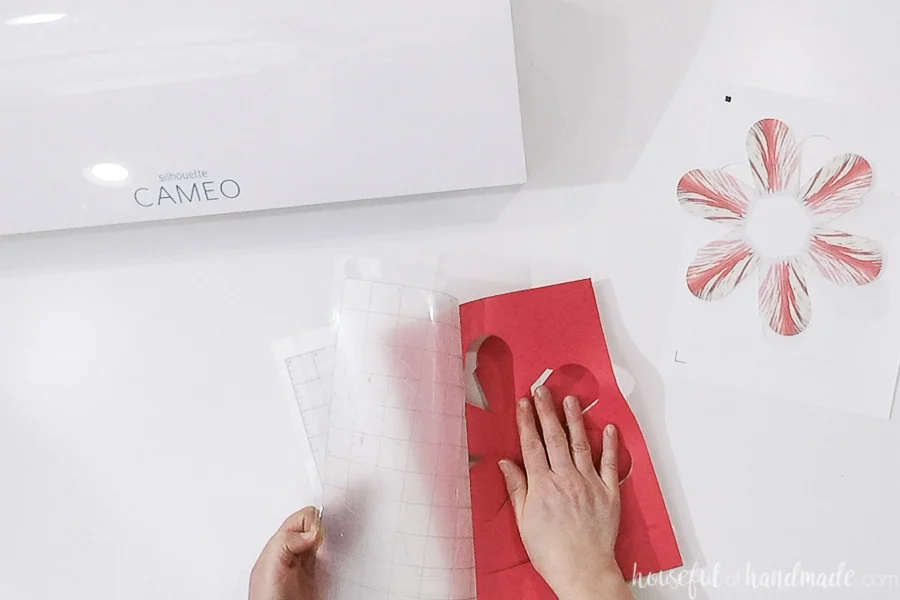
Print and cut out the petal textured piece from a piece of cardstock.
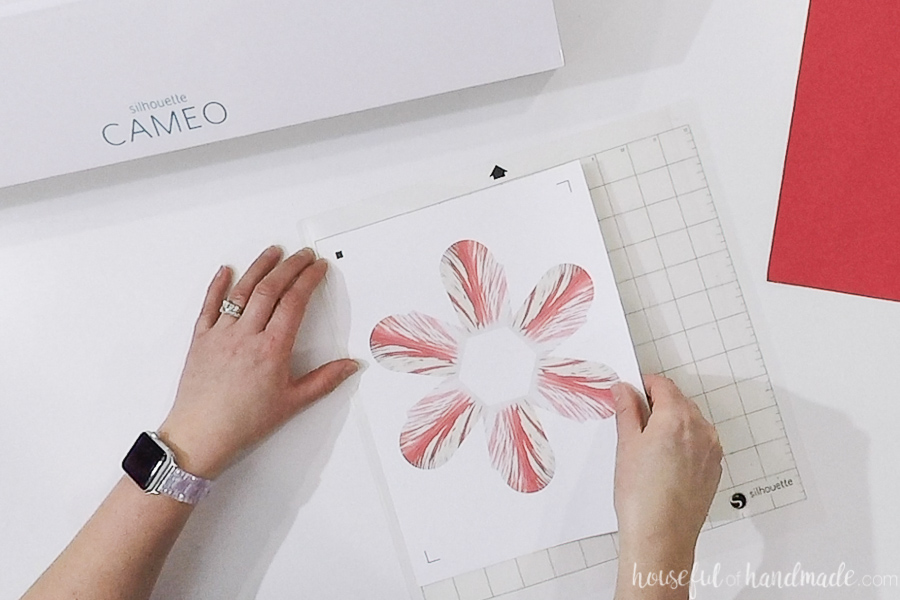

Then cut out a second flower basket piece without the printed design in it from the colored paper. If using an electronic cutting machine, delete the registration marks and just cut it out normally.
When removing the paper from the cutting mat, flip it over and remove the mat from the paper to keep it from curling.

Fold along all the dotted lines.
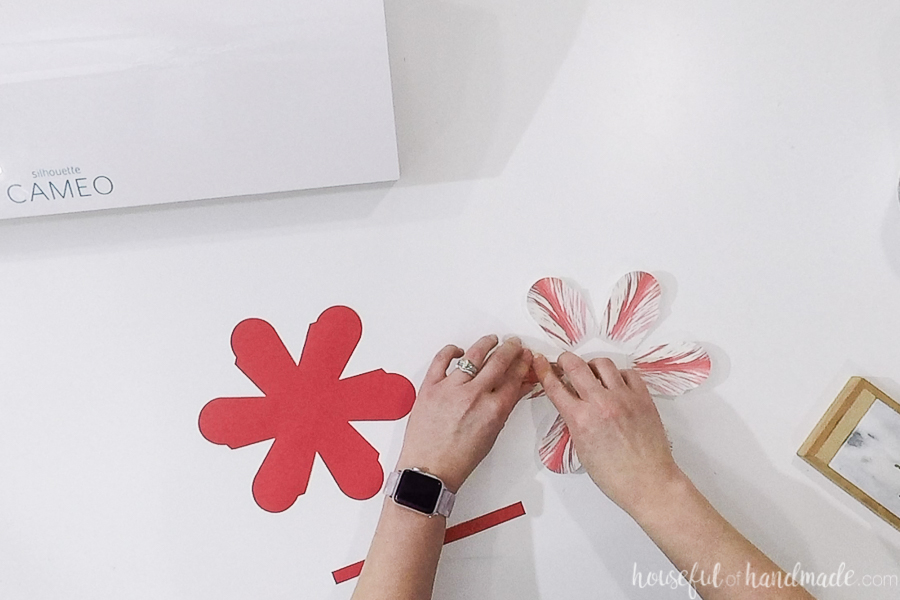

Start glueing the cardstock basket piece. Fold the flaps to the outside of the basket when you glue.

Then glue together the colored paper basket piece. This time, fold the flaps to the inside of the basket.

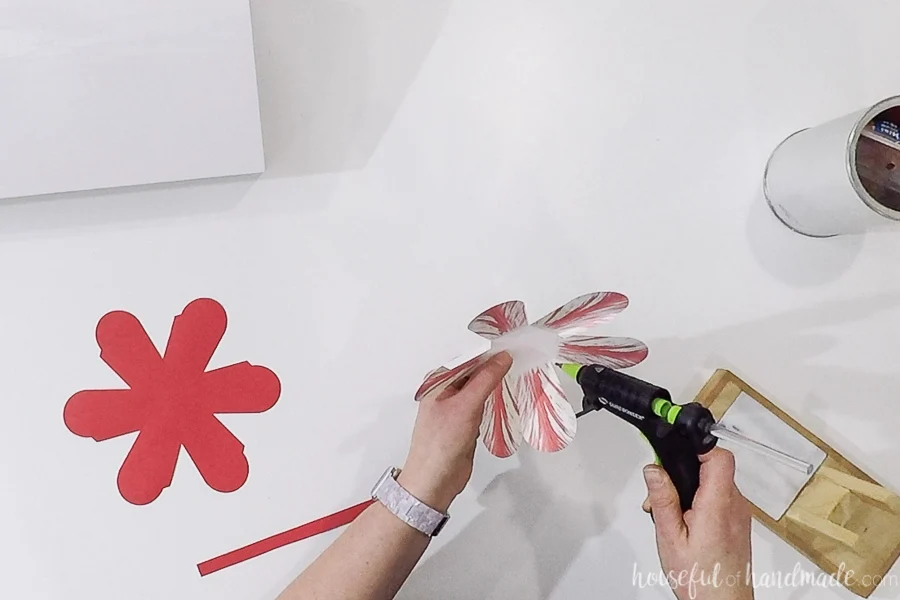
Curl the top of each petal over around a pencil so it opens up the basket and curls it under.
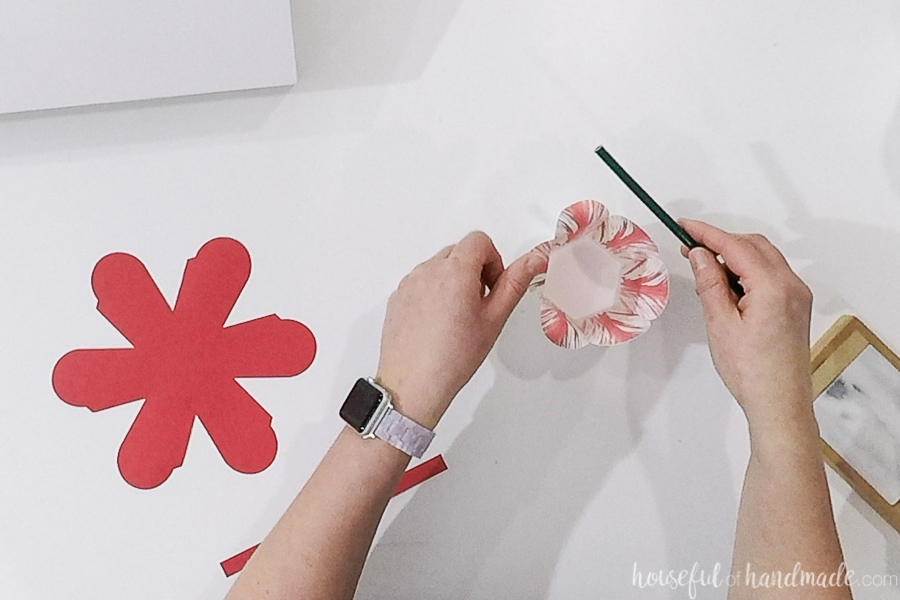

Repeat on the colored basket.

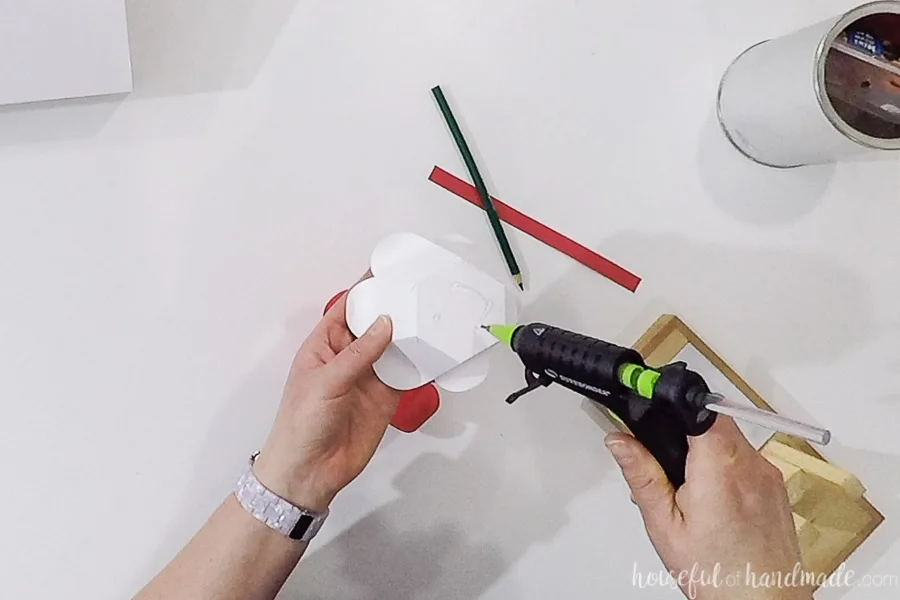
Glue the cardstock basket inside the colored paper basket by placing a few dots of glue on the bottom of the cardstock basket. Then push it into the colored paper basket.

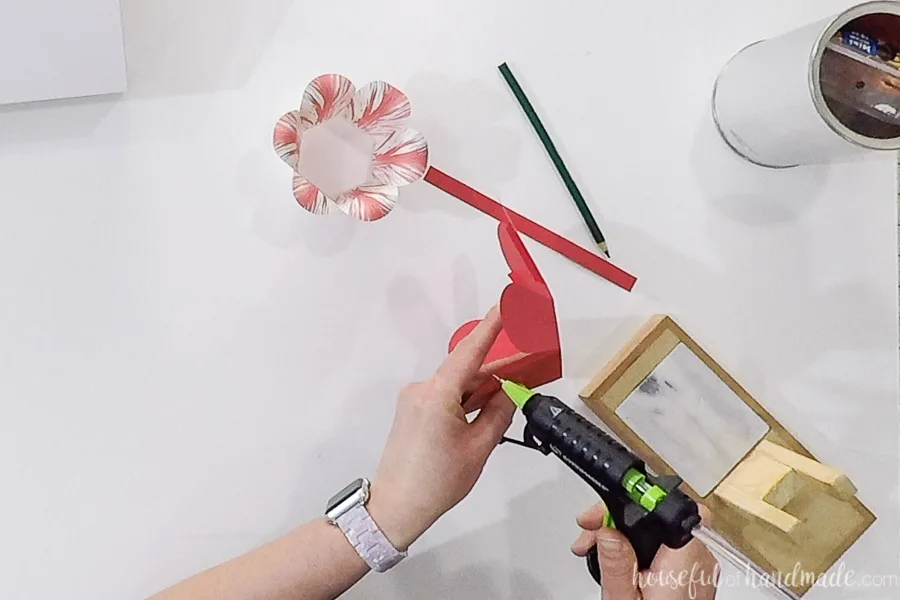
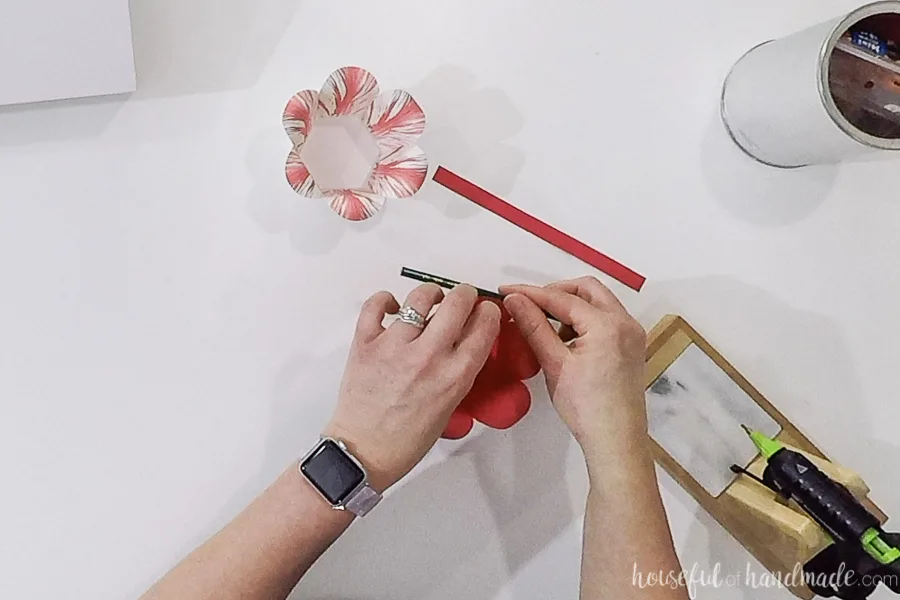
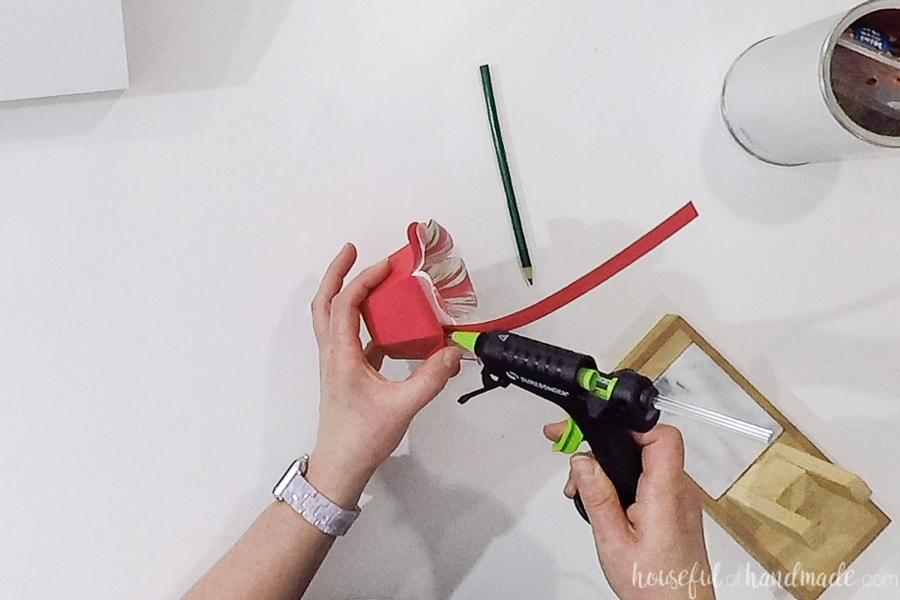
To attach the handle, tuck the handle between the two baskets between two petals. Secure with glue. Then tuck the other side of the handle into the other side of the basket and glue.

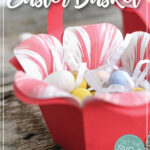
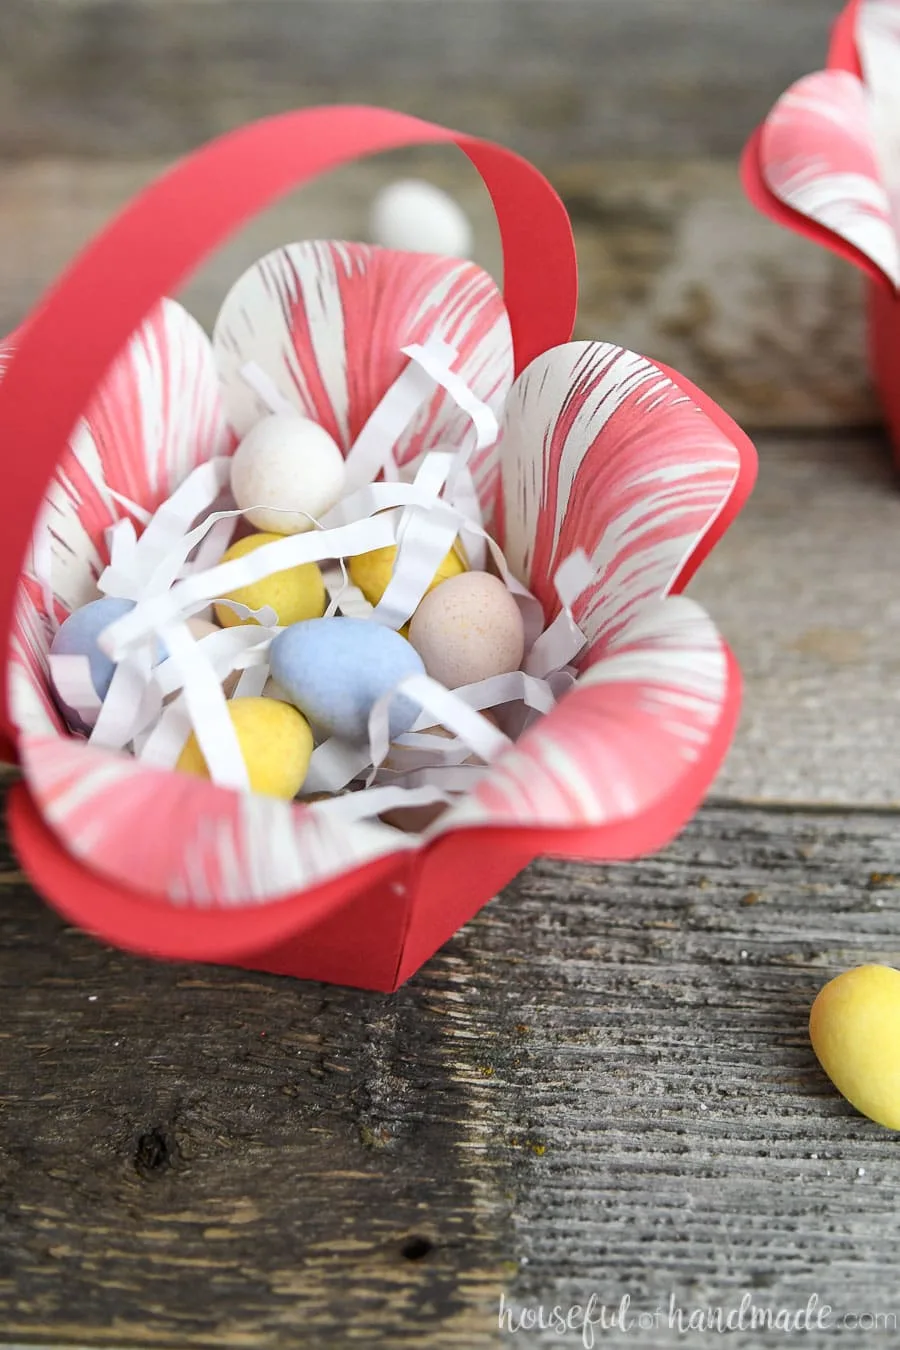
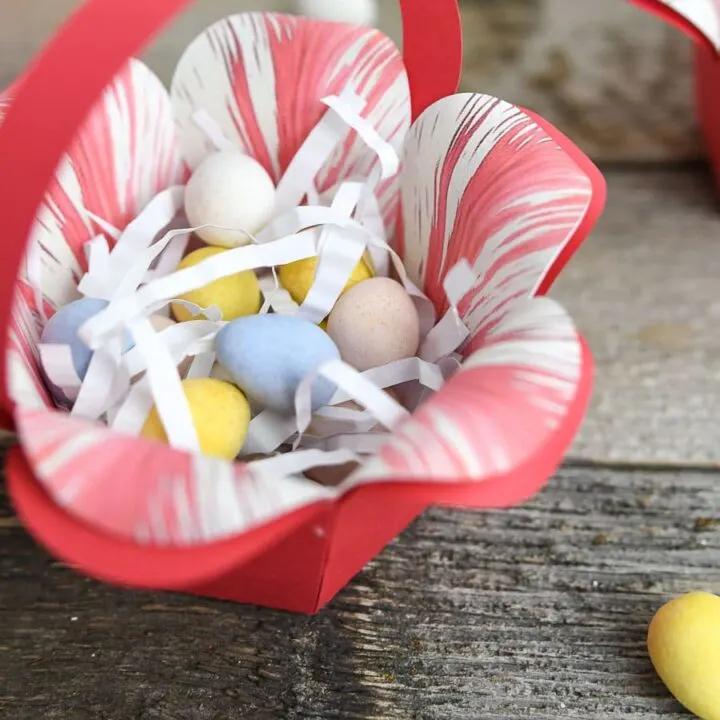
Now you are ready to fill your new paper Easter Basket. I love using crimped shredded paper and lots of candies!
These baskets make the perfect way to deliver any Easter or spring treat. They would even be perfect for holding a muffin or cupcake.
And make sure to check back each day through the end of March to get 6 more paper decor projects to get your home ready for spring!
- Day 1: Faux Wood DIY Candlesticks
- Day 2: Flower Easter Basket
- Day 3: Gingham Bunny Banner
- Day 4: Simple Easter Signs
- Day 5: Bunny Napkin Rings
- Day 6: Farmhouse Flower Pot
- Day 7: Flower Market Sign

How to Make a Flower Easter Basket
This simple flower Easter Basket is perfect for sharing an Easter treat with your loved ones!
Materials
- Candlestick template
- Cardstock
- Colored paper
- Glue
Tools
- Printer
- Printer
- Optional: Electronic cutting machine
- Optional: Electronic cutting machine
- x-acto knife and scissor
Instructions
- Print and cut out the petal textured piece from a piece of cardstock.
- Cut out a second flower basket piece, without the printed design, from colored paper.
- Remove the paper from the cutting mat by flipping it over to keep it from curling.
- Fold along all the dotted lines.
- Glue the cardstock basket piece.
- Fold the flaps to the outside of the basket.
- Glue together the colored paper basket piece.
- Fold the flaps to the inside of the basket.
- Curl the top of each petal around a pencil so it curls it under.
- Repeat on the colored basket.
- Glue the cardstock basket inside the colored paper basket.
- Push it into the colored paper basket.
- Tuck the handle between the two baskets between two petals.
- Secure with glue.
- Tuck the other side of the handle into the other side of the basket and glue.
Recommended Products
As an Amazon Associate and member of other affiliate programs, I earn from qualifying purchases.
-
 Silhouette White Cameo 4 Starter Bundle with 38 Oracal Vinyl Sheets, T-Shirt Vinyl, Transfer Paper, Class, Guides and 24 Sketch Pens
 -
 Mini Size High Temperature Detail Hot Glue Gun
 -
 X-Acto No 1 Precision Knife | Z-Series, Craft Knife, with Safety Cap, #11 Fine Point Blade, Easy-Change Blade System
 -
 Glue Dots Double-Sided Craft Dots, 1/2'', Clear, Roll of 200 (08165E)

Happy Crafting!