These large DIY paper lanterns can be filled with accessories to decorate for Christmas or any time of year.
It’s Day 2 of the 7 Days of Paper Christmas Decor! And today I am excited to share one of my favorite decor pieces to make from paper: LANTERNS!
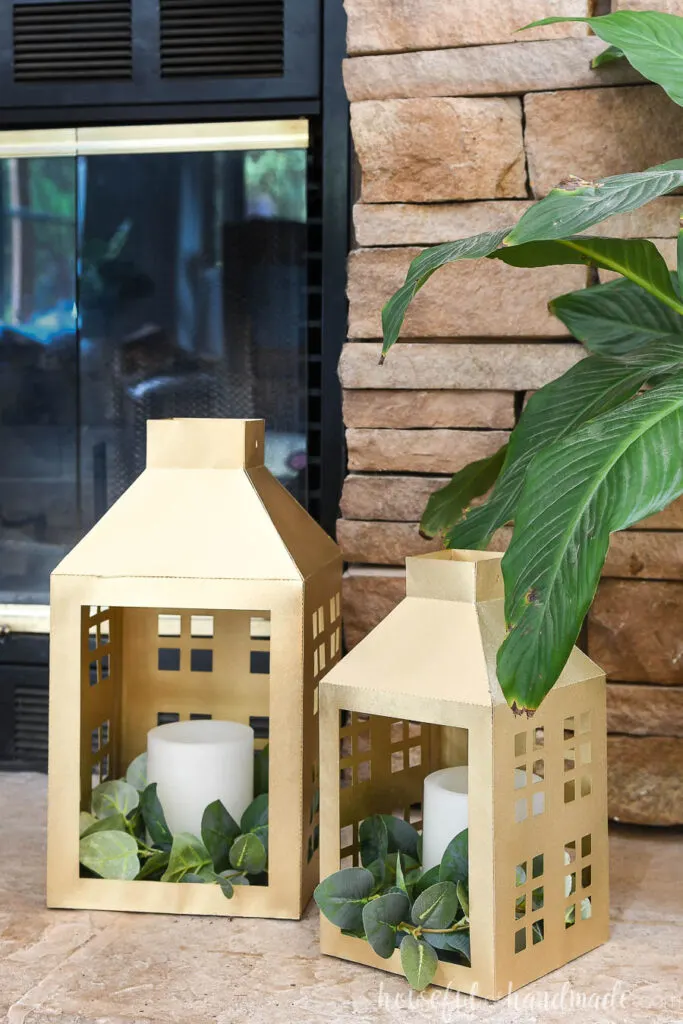
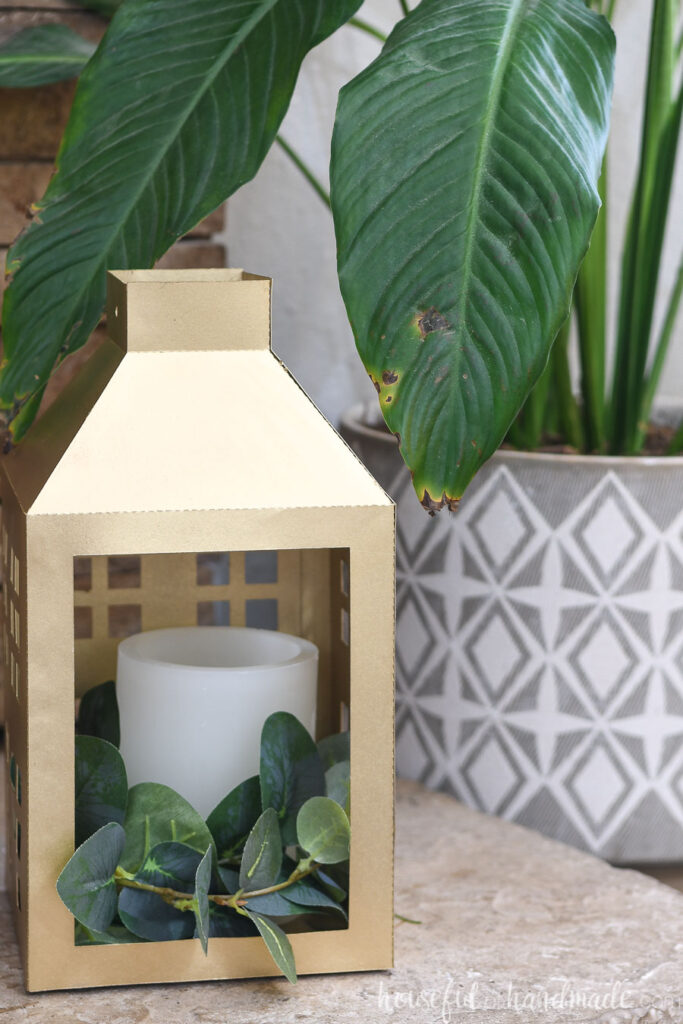
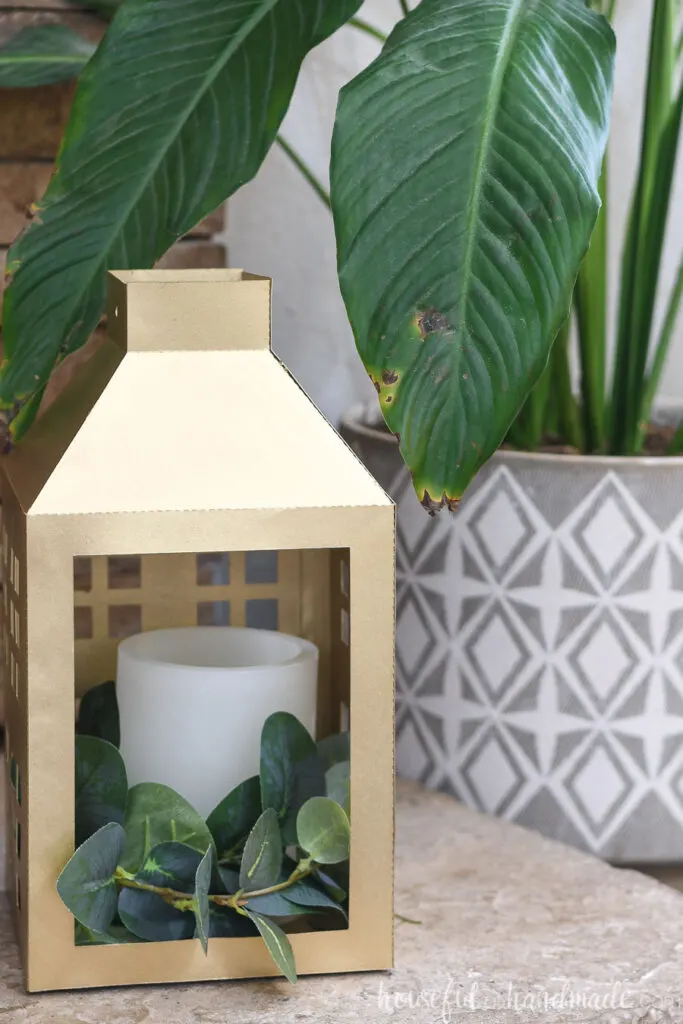
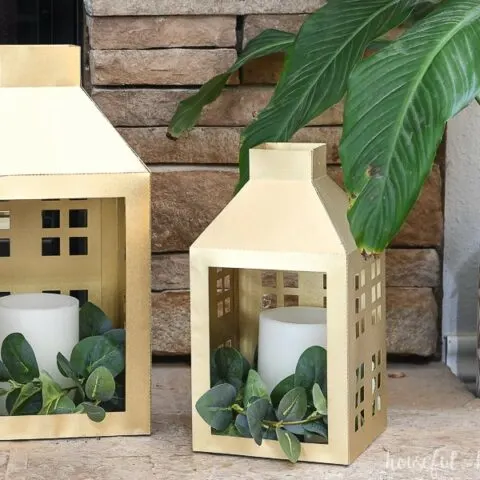
This is definitely not my first paper lantern, but these are my first fillable paper lanterns. The design of these lanterns is an open front and a bottom so you can add decor inside really make your lanterns part of your decor.

Ways to Fill Decorative Lanterns
I kept things simple with my paper lanterns. And since I have a very rustic fireplace right now, I wanted to add more greenery to it.
This post may contain affiliate links. As an Amazon Associate I earn from qualifying purchases. Click here to read my full disclosure policy.
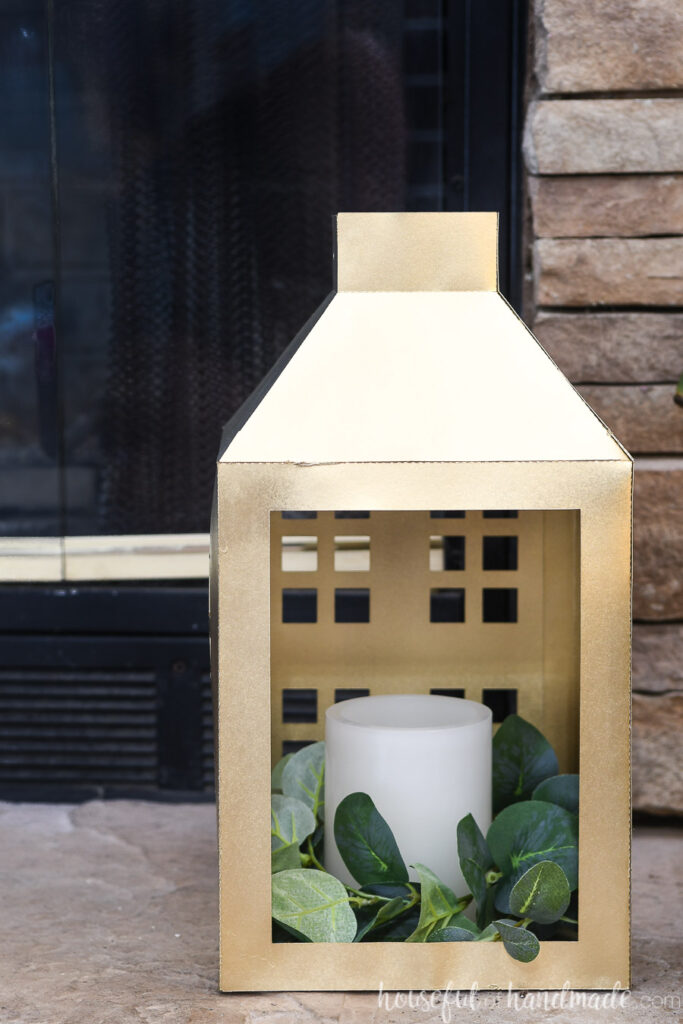
And the classic look of a simple flameless candle (always use flameless candles inside paper lanterns!) and the eucalyptus leaves around it is perfect for simple Christmas decor.

But you can fill your DIY lanterns with anything you want! Here are 15 fun and creative things you can put inside your own decorative lanters:
- A large flameless candle
- Multiple smaller candles (use different sizes for added interest)
- Fairy lights
- Mini Christmas houses and figurines
- Ornaments
- Bottle brush trees
- Sand and sea shells
- Faux succulents
- Air plants
- Pinecones or acorns
- Fake snow
- Christmas/Seasonal figurines
- Faux greenery or flowers
- Nativity scene

Have fun decorating your lanterns with one or multiple items from the list.
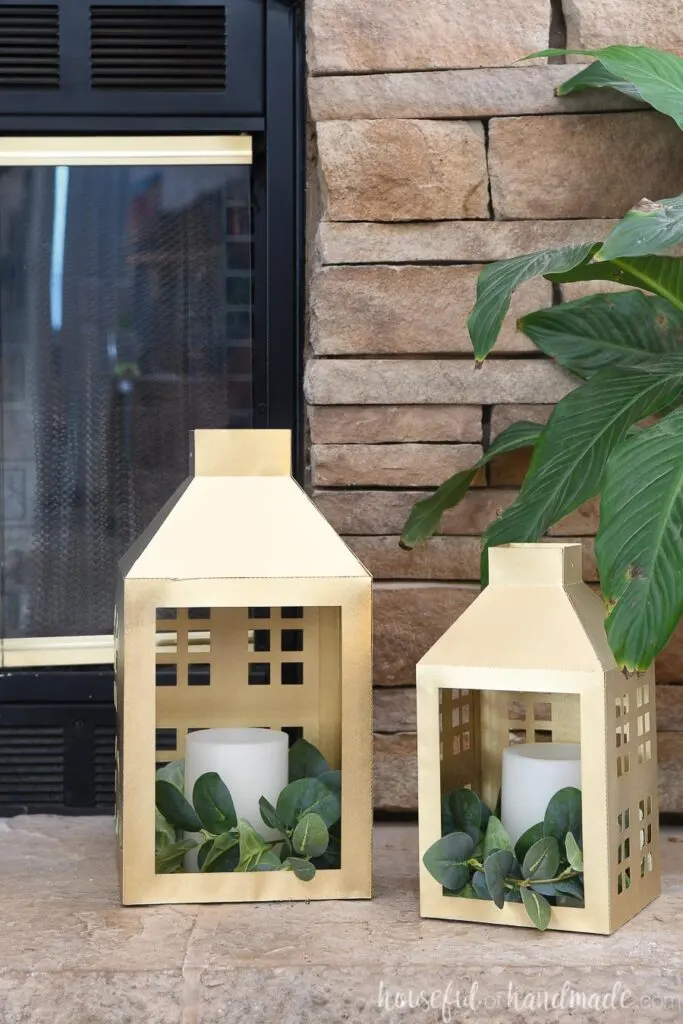
These large paper lanterns will be perfect for creating instant Christmas decor wherever you need it. Add them to your hearth, console table, shelves, centerpieces, and more!

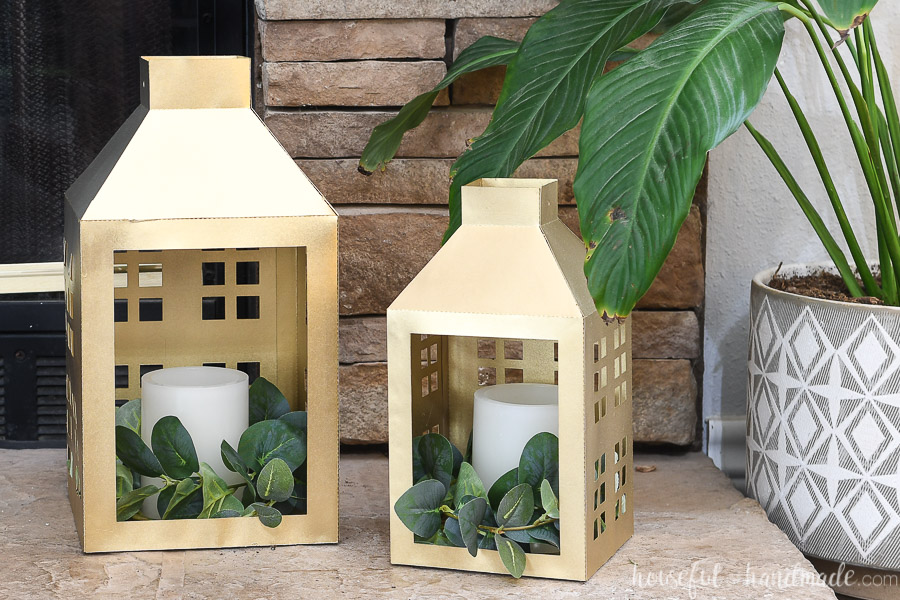
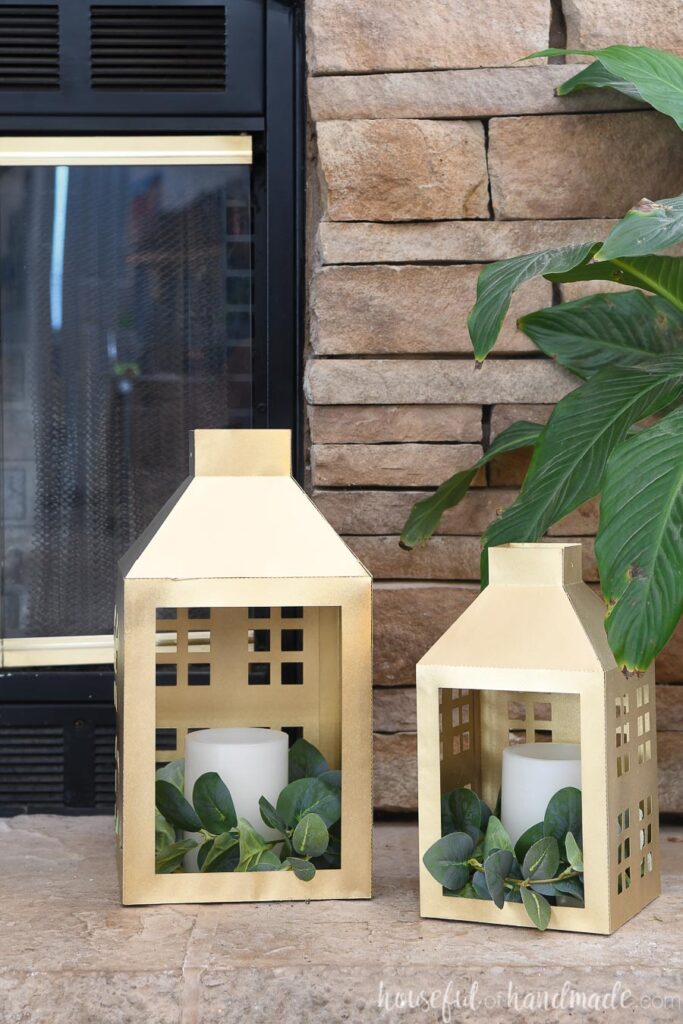
Different Sized Lanterns
If you want to make a full scene with your paper lanterns, the easiest is to have 2 different sizes. Of course, you can always resize your lanterns, just make sure you lock the aspect ration and resize all pieces the same amount.
But the smaller lantern already filled up an entire 8 1/2″ x 11″ sheet of paper. So I had to create a new file for the larger lantern. The side pieces are now 2 pieces that are glued together to make the 1 piece.
These pieces all still fit on standard paper, but you just need a few more sheets to make the larger lantern.
But even if you are buying premium paper, these lanterns are still super inexpensive since you only need 5-7 sheets a paper and a small piece of foam board (I buy a 22″ x 30″ sheet at the dollar store).
And exactly how big are these lanterns??? The smaller lantern is 5 1/2″ square by almost 11″ tall when assembled. And the larger one is 7 1/2″ square by 14″ tall!
The two lanterns look very substantial on my chunky stone hearth. And there is plenty of inside space for filling with all kinds of fun decorations.
How to Make DIY Paper Lanters
Supplies:
- Large lantern templates
- Cardstock
- Foam board
- X-acto knife
- Hot glue gun & glue sticks
- Spray paint
- Optional: Electronic cutting machine
- I love using my Silhouette Cameo to quickly cut out paper decor projects, but you can also use scissors and an x-acto knife.
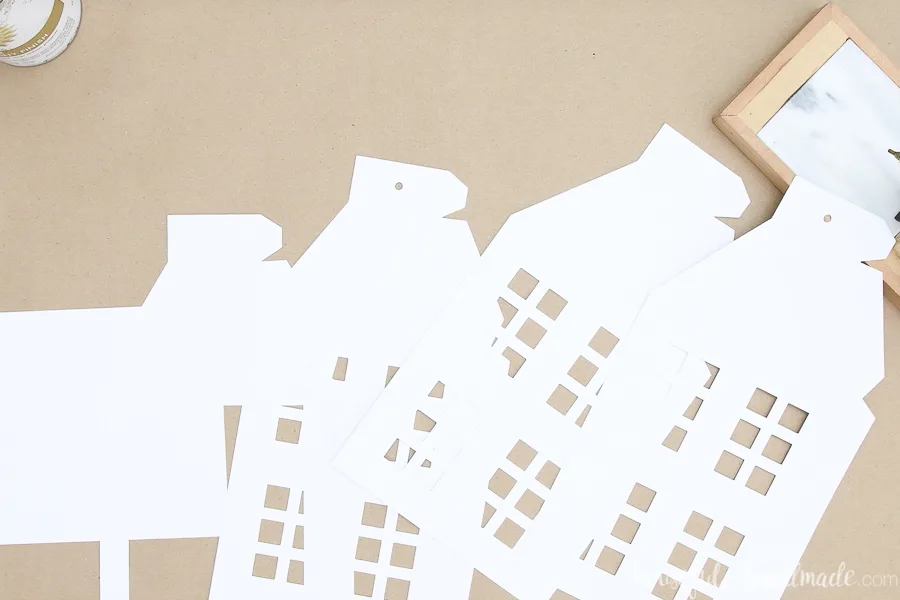
Cut out the paper pieces
For the smaller lantern cut the following pieces:
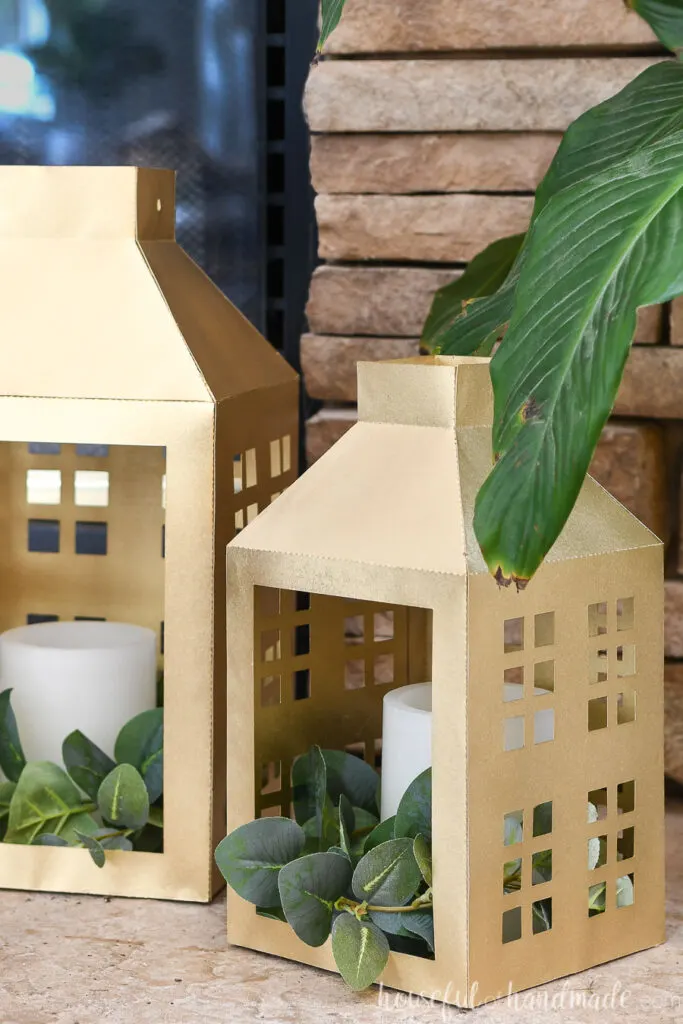
- 2 of the side pieces with a hole in the top (for adding a handle later if you want);
- 1 of the side pieces with the hole removed;
- 1 of the front pieces;
- 1 of the bottom template.
For the larger lantern cut the following pieces:
- 3 of the side bottom pieces;
- 1 of the front bottom piece;
- 2 of the top pieces (there are 2 per sheet making a total of 4 pieces);
- 1 of the bottom template.
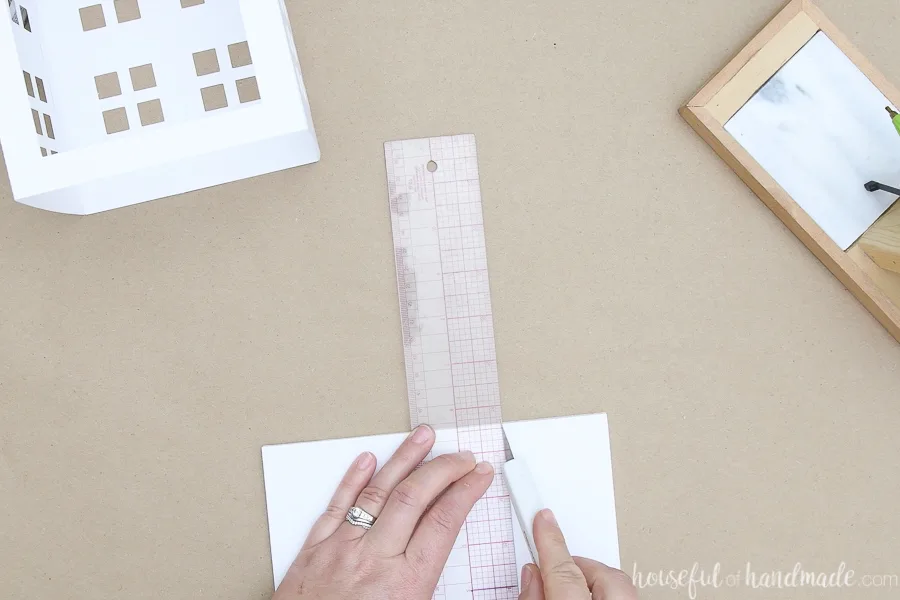
If using an electronic cutting machine, put the paper on a cutting mat and use the cardstock setting for your cut.
If using scissors, print and cut out the pieces from your cardstock. Use an x-acto knife to cut out the openings in the front and sides.

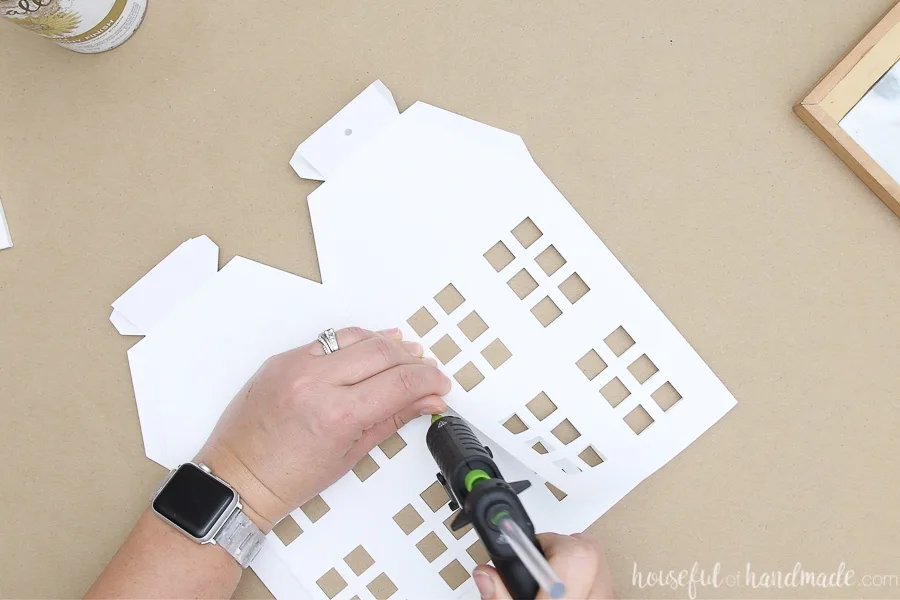
Assemble the Lanterns
Fold along all the dotted lines.
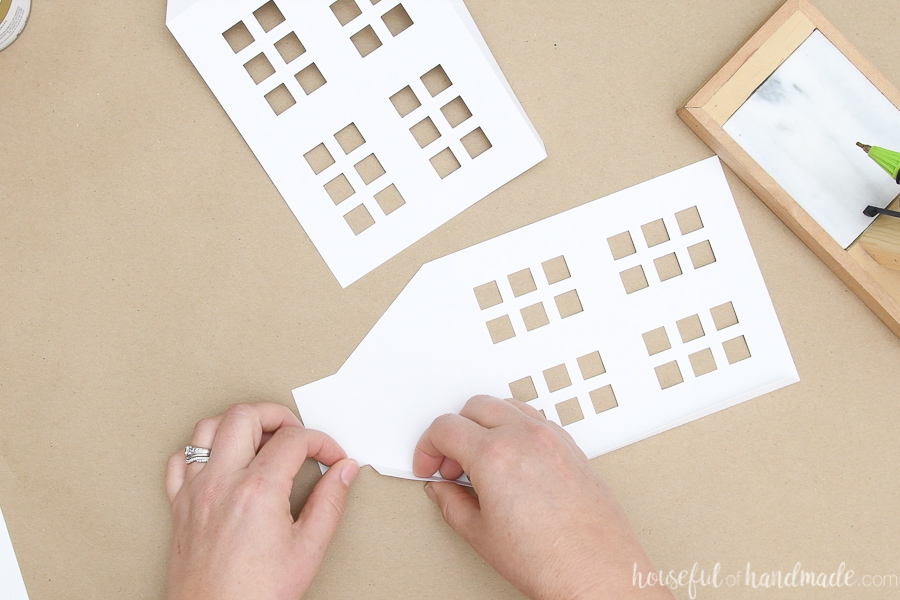
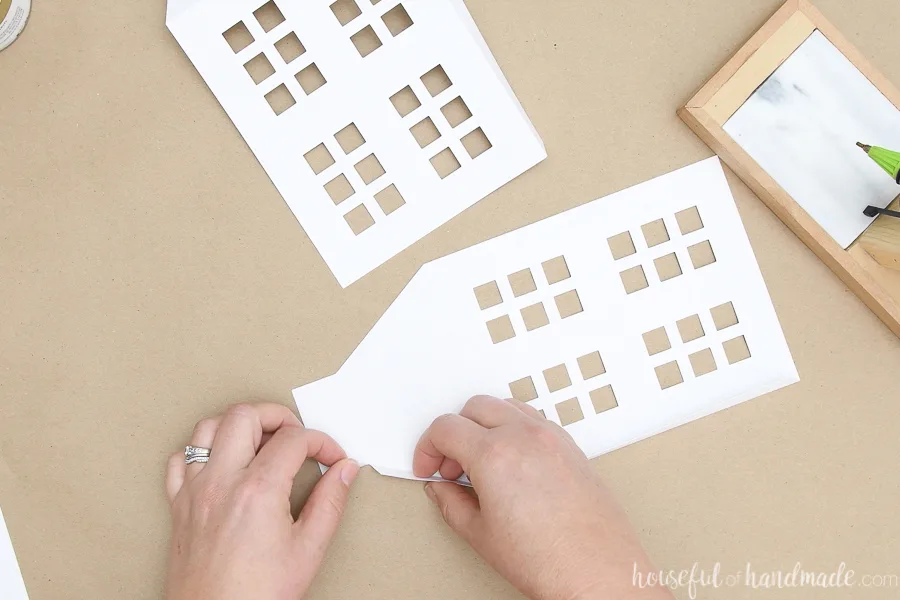
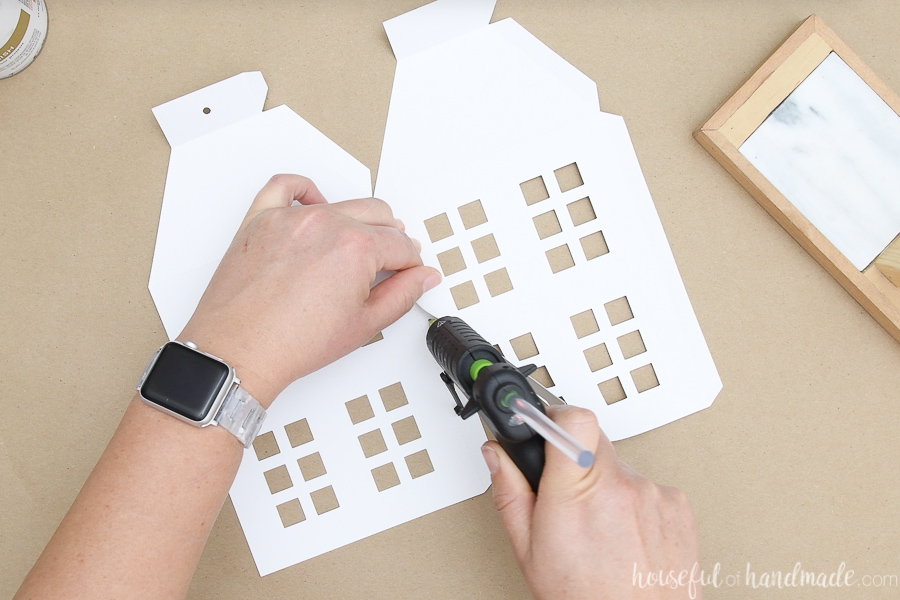
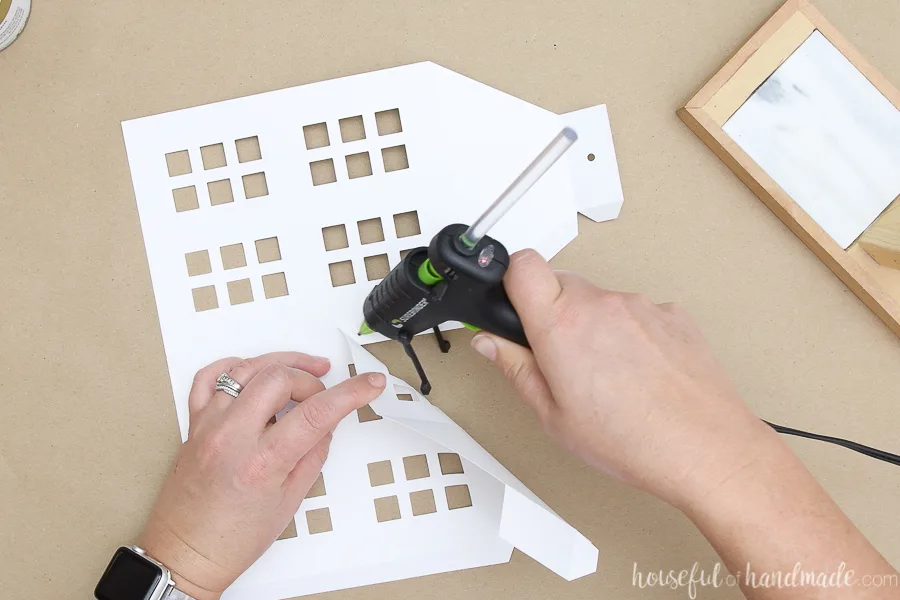
For the larger lantern, start by glueing the top pieces to the bottom side pieces. The top pieces with holes go on the two sides, the ones without go on the front and last side piece (which will be the back).
Glue the side pieces together so the holes on the top are alternating. This makes them on opposite sides when fully assembled so you can add a rope or wire handle if you want (I did not do this, but want you to have the possibility).
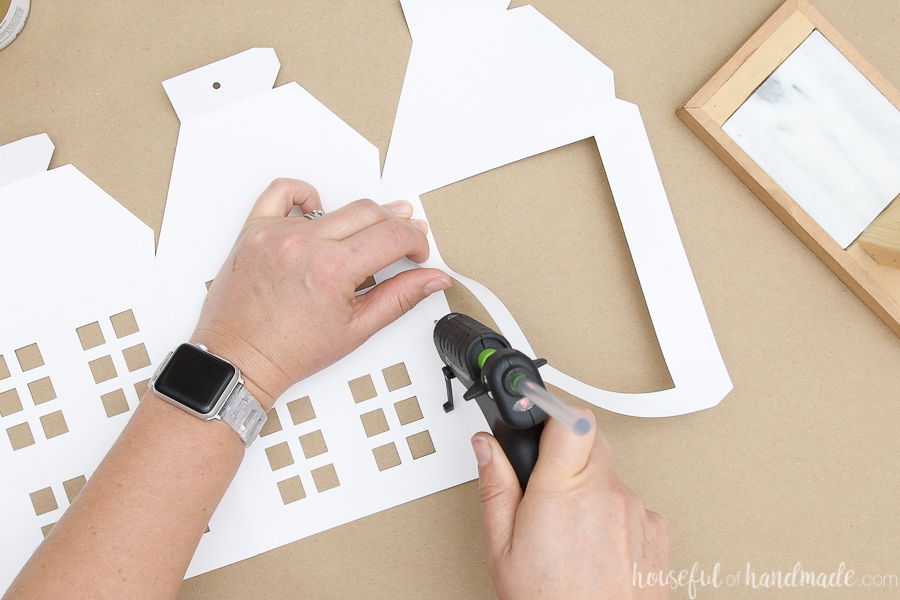
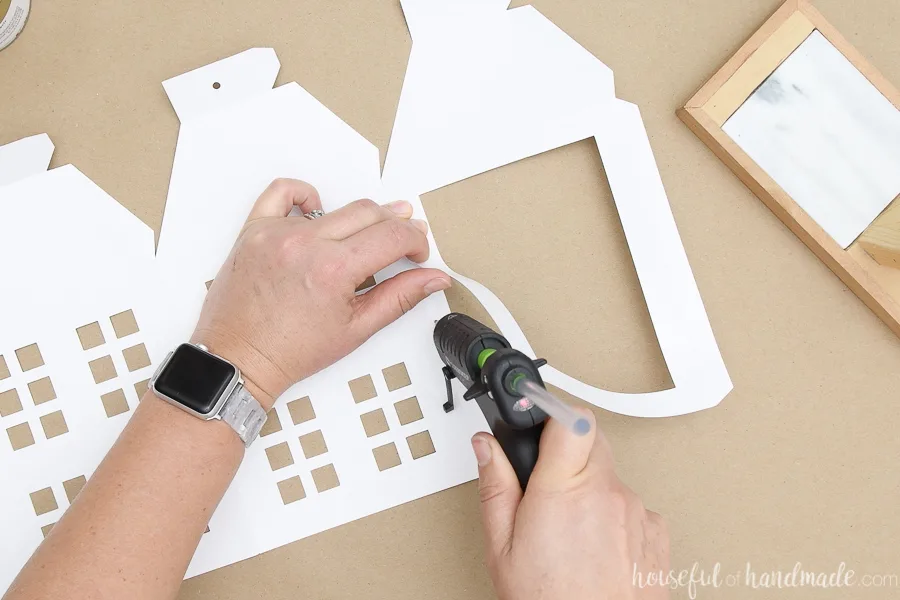
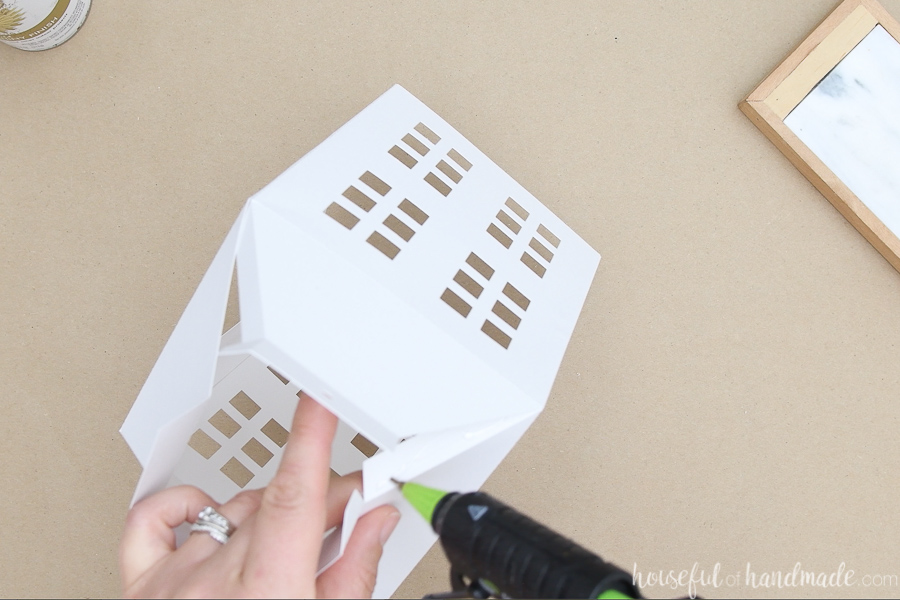
Since the pieces are so large, I like to line them up properly first. Then lift the bottom half and add glue to it, while keeping the top lined up. Then press the bottom to secure.

Then you can add glue to the top part of the flap and secure without worrying about the seams not lining up properly.

Repeat for all the side pieces, then finish by attaching the front piece in the same manner.
Fold the pieces on top of each other to overlap the final seam. Line these up and glue the same way.
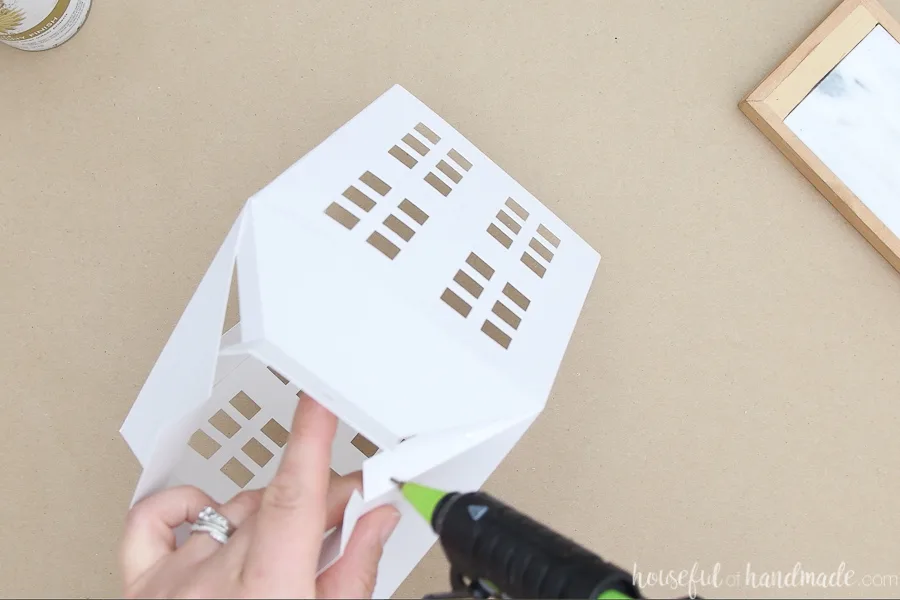
Now you have a square with all four sides glued together.
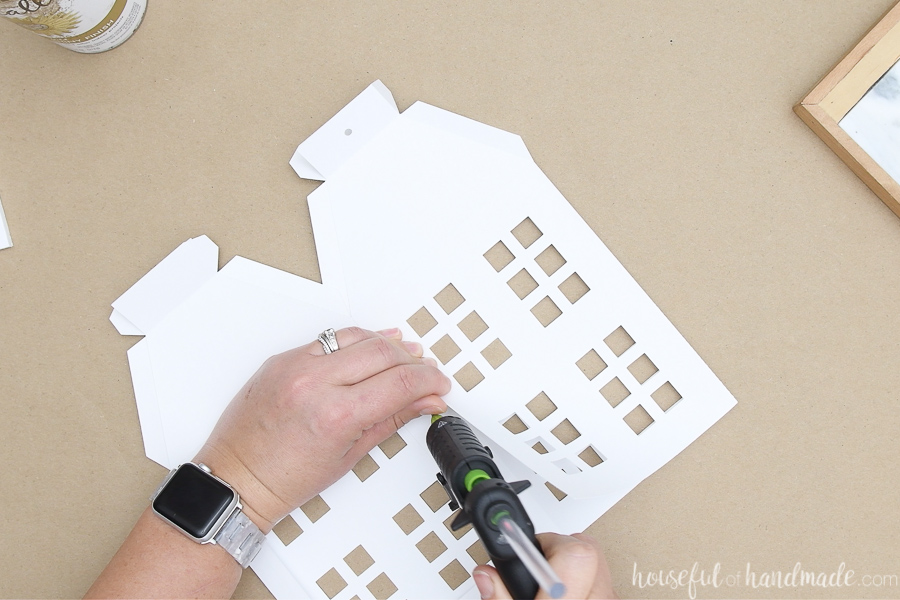
Stand the lantern up and glue together the flaps on top to close them up.
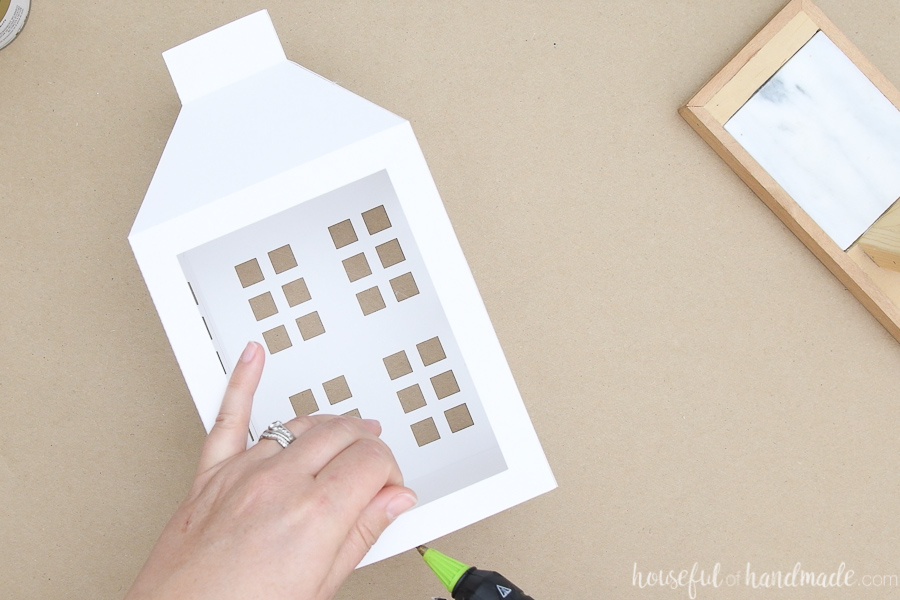
For the bottom, use the template to cut a piece of foam board the exact size. I like to use an x-acto knife to cut foam board without crushing the edges.
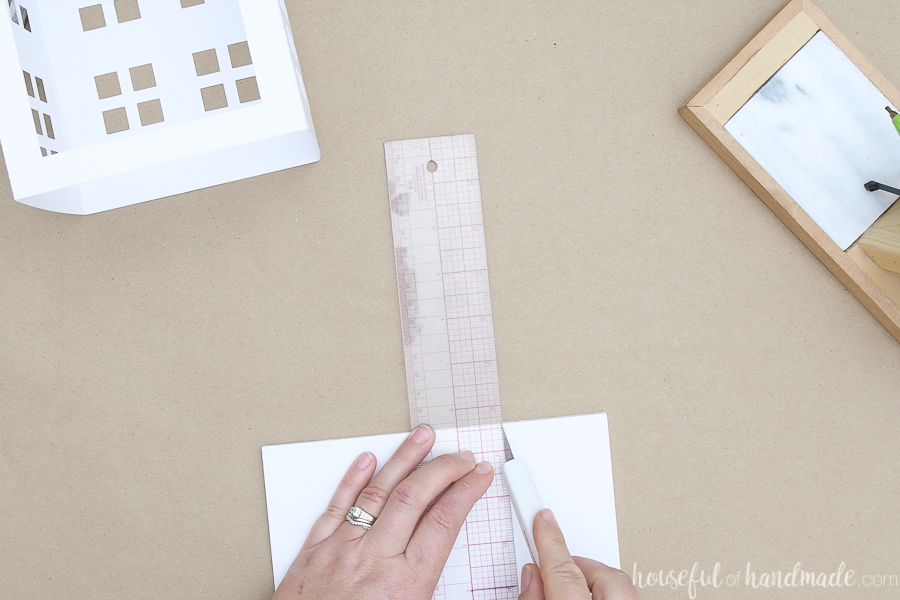
Place the piece of foam board inside the bottom of the lantern so it is flush with the bottom. Slide the tip of your glue gun in between the lantern and foam board and add a little glue to secure.
Repeat for all 4 sides so the bottom is fully secured.

Paint your Lanterns
Now you can leave your lanterns whatever color you made them out of… or have fun spray painting them.
I like spray painting paper crafts because it gives them a shiny finish that makes them look less like paper.
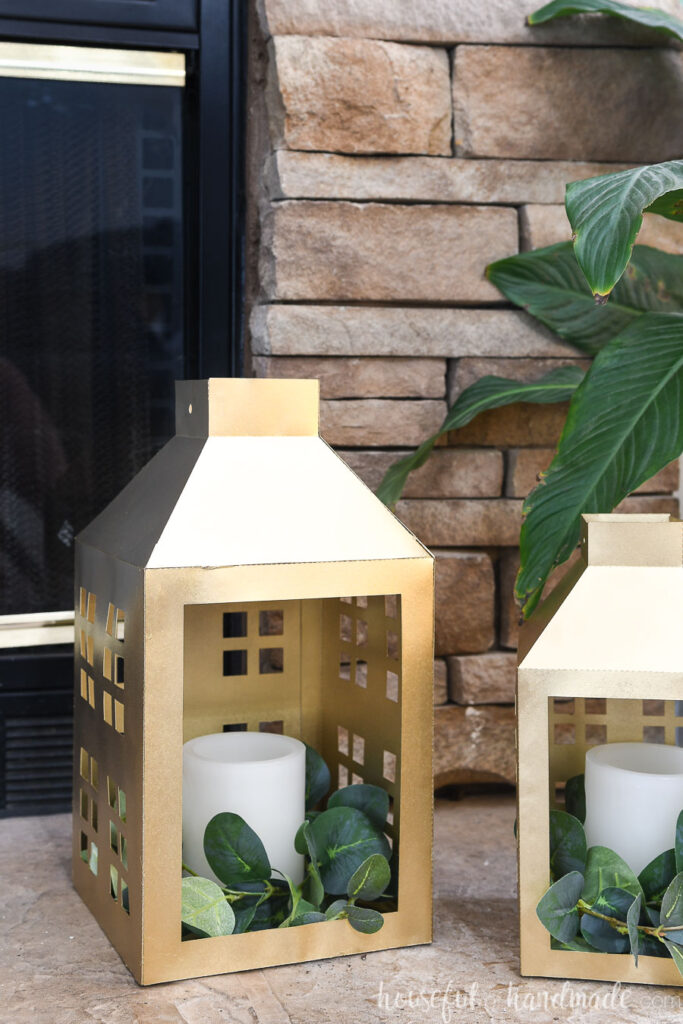
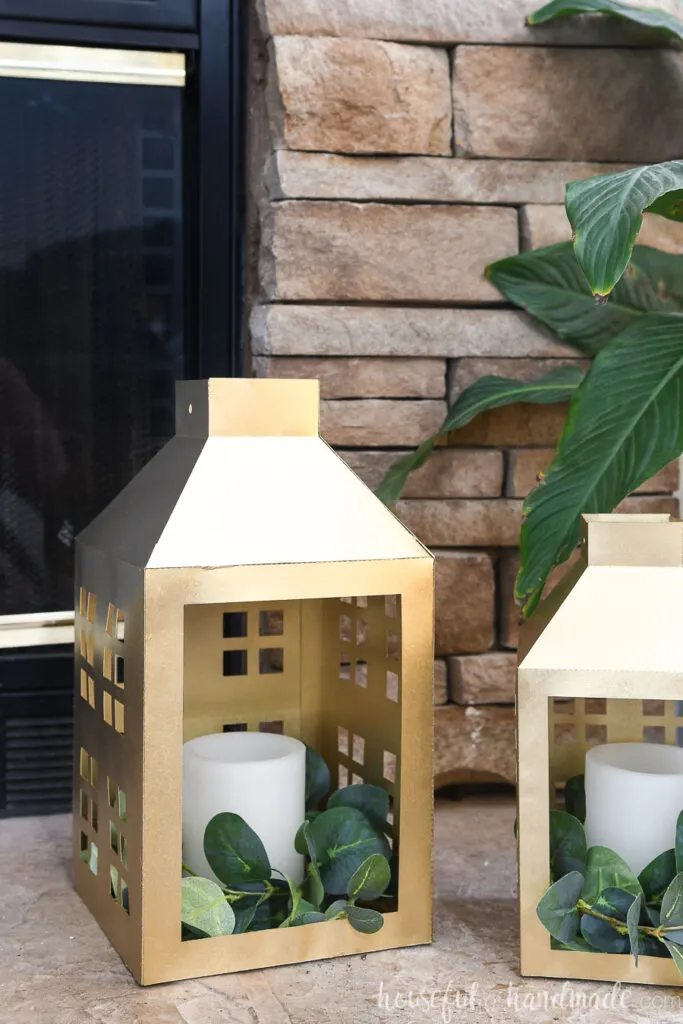
To match the slightly modern look I am going for with my Christmas decor this year, I used Rustoleum Metallic spray paint in Gold. But you can spray paint them any color you want.
I have used the hammered spray paints before (on these wall vases and these paper lanterns) and love the look of them. And since there are just so many spray paint choice, you can have fun trying all kinds of different looks!
More Paper Christmas Decor!
And don’t forget that we are only on Day 2 of the 7 Days of Paper Christmas Decor!!!! Make sure to stop by tomorrow for more fun and check out any other posts you may have missed below:

Large DIY Paper Lanterns
Make these pretty paper lanterns with the included template. You can add decor inside to really make your lanterns part of your home decor.
Materials
- Large lantern templates
- Cardstock
- Foam board
- Spray paint
Tools
- X-acto knife
- Hot glue gun & glue sticks
- *Optional - electronic cutting machine
Instructions
- Cut out the paper pieces.
- If using an electronic cutting machine, put the paper on a cutting mat and use the cardstock setting for your cut.
- If using scissors, print and cut out the pieces from your cardstock.
- Use an x-acto knife to cut out the openings in the front and sides.
- Fold along all the dotted lines.
- Glue the top pieces to the bottom side pieces.
- Glue the top pieces to the bottom side pieces.
- Glue the side pieces together so the holes on the top are alternating.
- Lift the bottom half and add glue to it.
- Press the bottom to secure.
- Glue to the top part of the flap and secure.
- Repeat for all the side pieces, then finish by attaching the front piece.
- Fold the pieces on top of each other to overlap the final seam.
- Line these up and glue the same way.
- Glue together the flaps on top to close them up.
- For the bottom, use the template to cut a piece of foam board the exact size.
- Use an x-acto knife to cut foam board without crushing the edges.
- For the bottom, use the template to cut a piece of foam board the exact size..
- Place the piece of foam board inside the bottom of the lantern flush with the bottom.
- Slide the tip of your glue gun in between the lantern and foam board and add a little glue to secure.
- Repeat for all 4 sides so the bottom is fully secured.
- Spray paint your lanterns.
Recommended Products
As an Amazon Associate and member of other affiliate programs, I earn from qualifying purchases.


Happy Crafting!