You don’t need to be an artist to make beautiful decorative pillows!
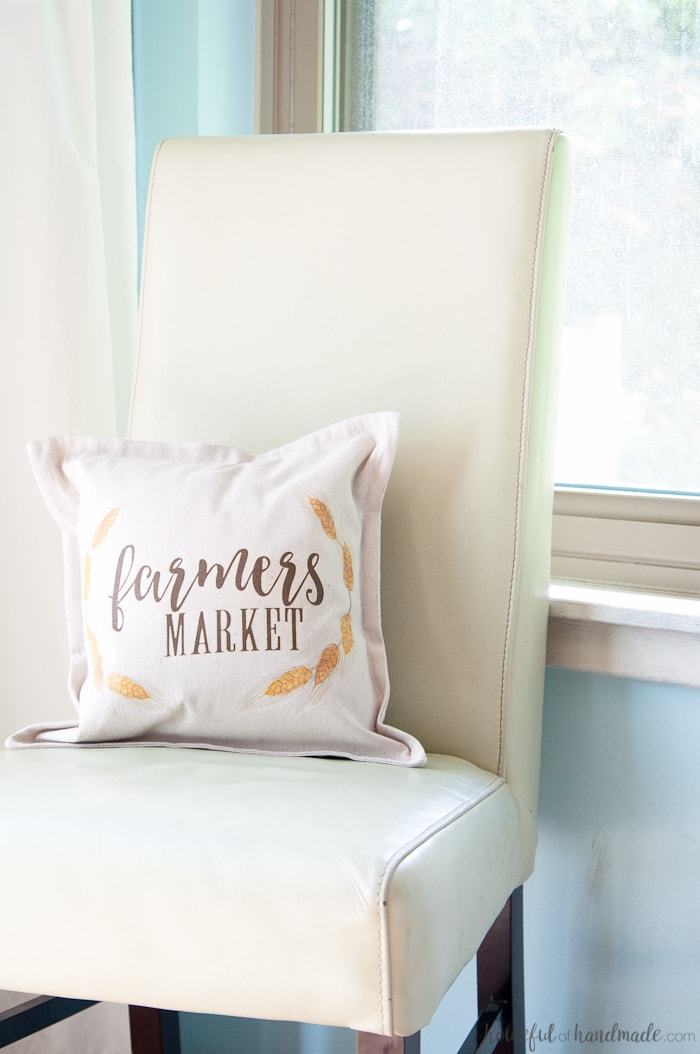
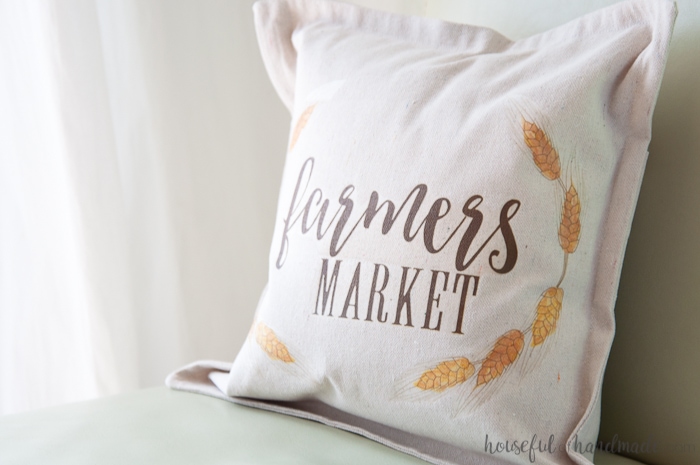
Being a DIY addict, I tend to look at everything with creative eyes. I made these fall farm printables for the upcoming season and I instantly thought they would be perfect for seasonal pillows.
So now I had to find the best way to turn a printable into a decorative pillow and I am happy to report I did. And bonus, it’s so easy!
So now I might be starting to get excited for fall decorating. I have been avoiding putting away all my coastal decor that makes me think of summer.
This post may contain affiliate links. As an Amazon Associate I earn from qualifying purchases. Click here to read my full disclosure policy.
Not because I am holding onto summer since I couldn’t be more excited for fall, but because I have been busy.
I’ll probably have to wait to redecorate the house for fall until the kids go back to school next week and then hopefully I’ll have free time again.
But this project is not just for fall. I used it to make some quick fall pillows, but you can make them out of any printable art.
The possibilities are endless!

How to Make Decorative Pillows from Printable Art
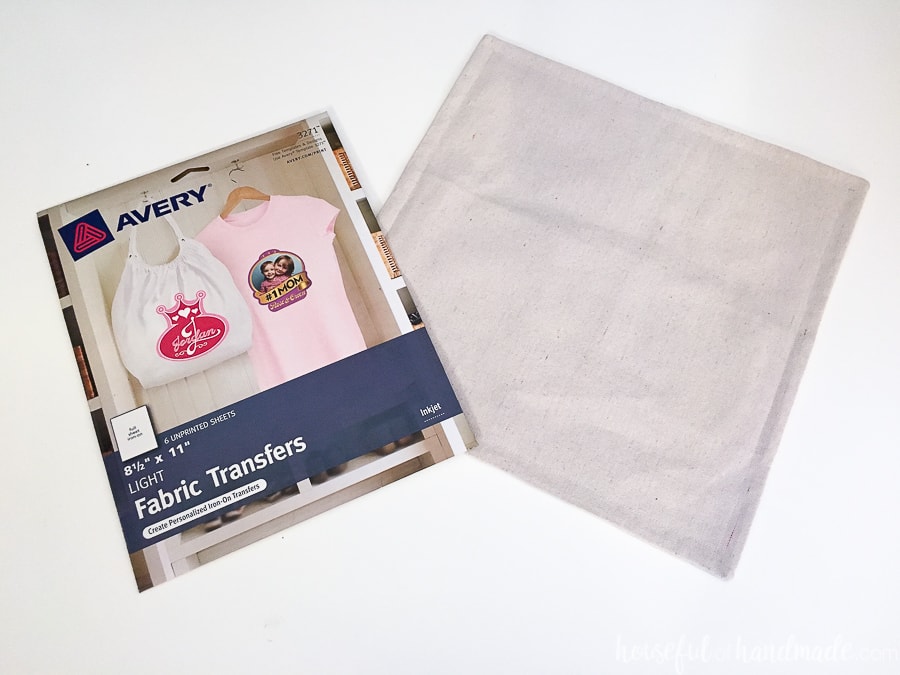
Supplies:
- Plain pillow case
- Fall farmhouse style printable
- Printable fabric transfer sheet
- Iron
- Hard surface
You will need to do a few things to your printable design before you print it onto your transfer sheet. The design needs to be mirrored so it prints backwards.
If you cannot do this in Acrobat Reader, try using a photo program to mirror (or reflect) the image.
Scale your printable print to the size you need for your pillow. Then print it out on your transfer sheet.
Cut out the print. You do not need to worry about cutting it out completely, just get close to the design. The extra transfer paper around the design is clear. Also, make sure any corners are rounded so they are less likely to peel away.
Heat up your iron. Turn off the steam or empty the iron.
You will want to iron on a hard surface, Place a towel or pillow case under it to prevent the heat from ruining the surface if needed.
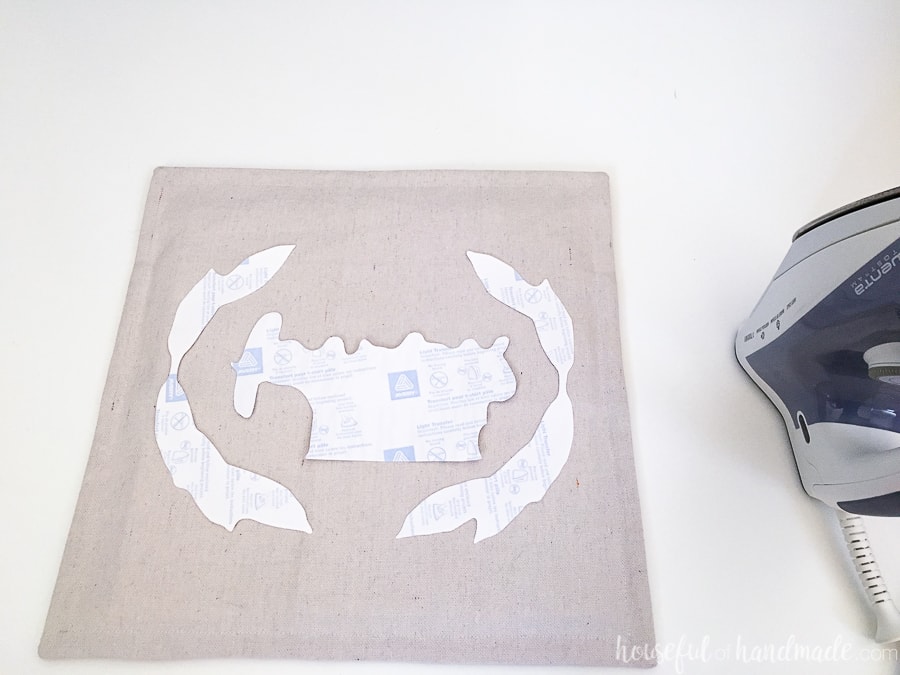
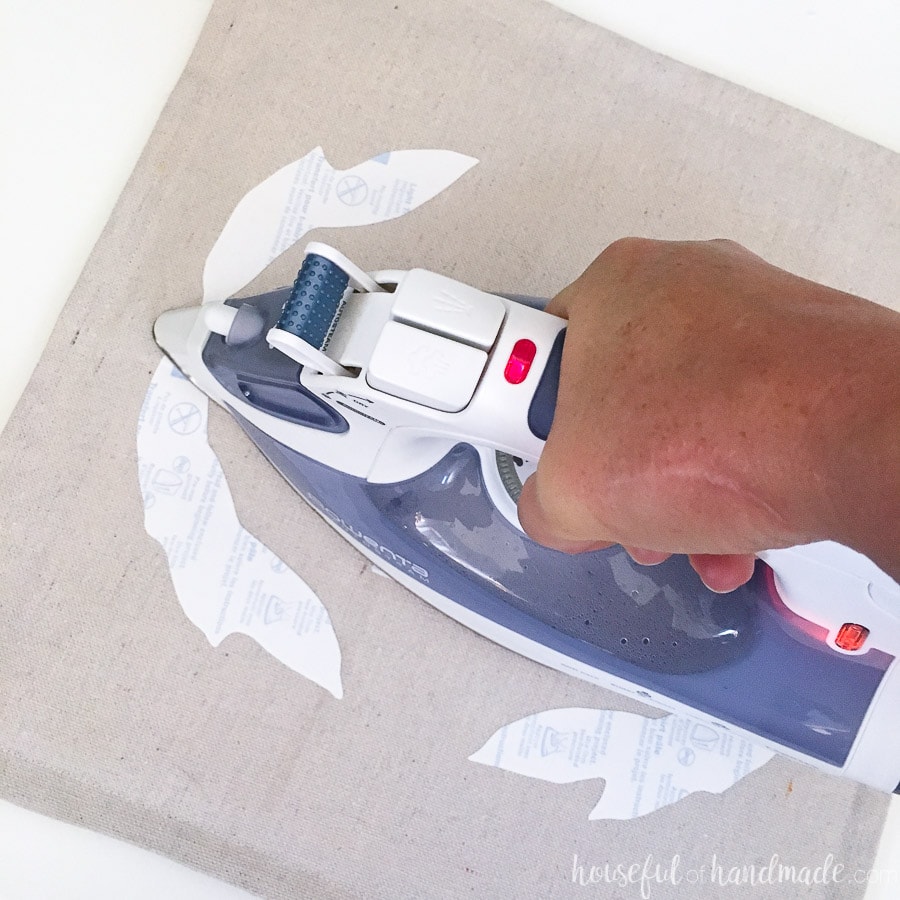
Iron the pillow case to warm it up and remove any moisture. Arrange the cut out design on your pillow case.
Now iron your design while pressing firmly on the iron. Go slowly and iron for a long time but keep the iron moving so it doesn’t burn (or turn off if you have that safety feature).
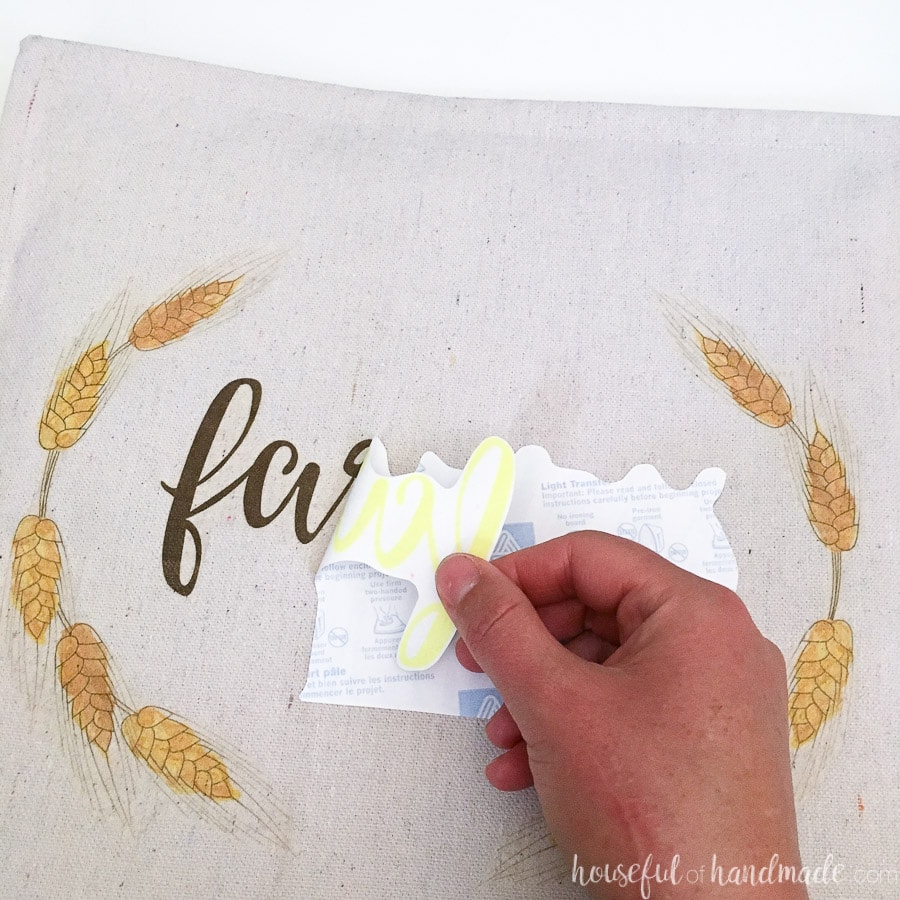
Wait a couple minutes until everything cools down before removing the backing. Be patient or it will ruin the design!
After it has cooled, start carefully pulling the backing of the transfer paper off and reveal your beautiful decorative pillow. If the transfer paper starts coming up at all while removing the backing, iron it again and let cool.
Now put a pillow form inside your new pillow! It’s time to start decorating.

Happy Crafting!
Randi
Tuesday 23rd of August 2016
This pillow is adorable! Thanks for the tip!
Kati
Monday 29th of August 2016
Thank you Randi! I think it's such an awesome tip :)
sahana
Sunday 21st of August 2016
The pillow looks great. Love this idea. Thank you for sharing with us at #HomeMattersParty. We would love to have again next week.
Kati
Monday 22nd of August 2016
Thanks Sahana! It's so easy too ;)
sherry
Thursday 18th of August 2016
What a clever idea! The pillow is so cute.
Kati
Monday 22nd of August 2016
Thank you Sherry! I love how the pillow turned out.