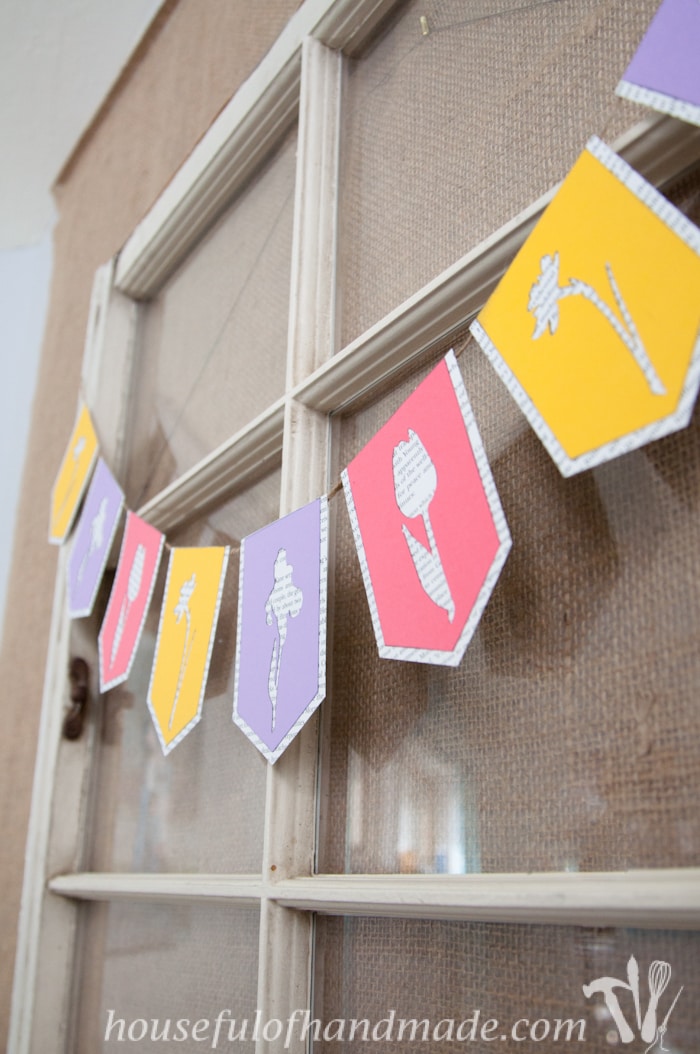
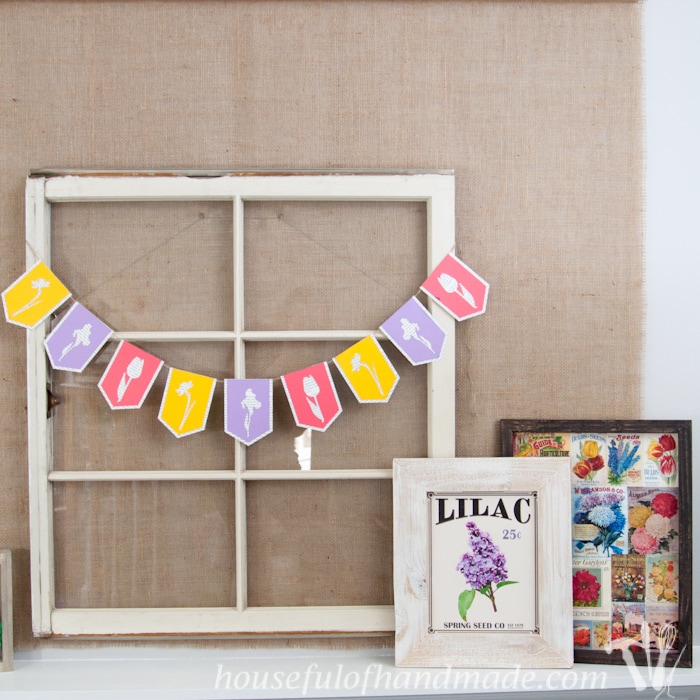
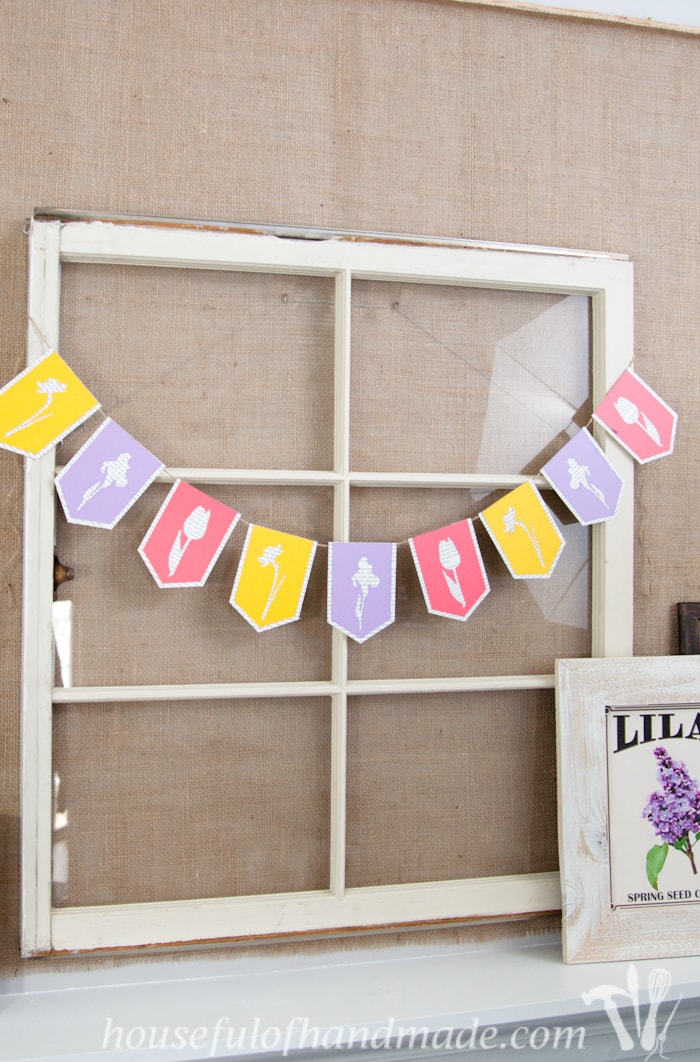
Sadly, spring took a step backwards today. We had hail and slush coming out of the sky. But that didn’t make me any less excited for spring decorating. I have been staring at my mantle and knew I needed something to accessorize my old window. I couldn’t decide on a banner or a wreath. I love them both so much for decorating! After a bit of back and forth, I had the idea of doing a reverse silhouette in a banner so I ran with it. I am glad I did because this spring flower & book page banner is perfect for our spring mantle, even if Mother Nature is not cooperating.
This post may contain affiliate links. As an Amazon Associate I earn from qualifying purchases. Click here to read my full disclosure policy.
All this week I have been wrestling with the idea of adding video tutorials to the blog. My hubby is pushing me to do it because that is his preferred way of getting information. But I feel like I have just barely gotten the hang of this photography stuff. I can finally take photos, upload and edit them in less than 2 hours. Now he wants me to start over and learn how to set up, take, and edit video! I know he has the best intentions, but I was hesitant.
I decided if I was going to try out video I would start easy and use my iPhone. I ordered a Gorilla Pod for it and it arrived this weekend. I decided this post was as good as any to try it out on. So while the weather wasn’t so nice outside, the lighting inside was beautiful. I grabbed my phone and gave it a go!
I am still working really hard on the video. But I wanted to at least get the written tutorial for the banner ready to share, even if the video has to come out a bit later.
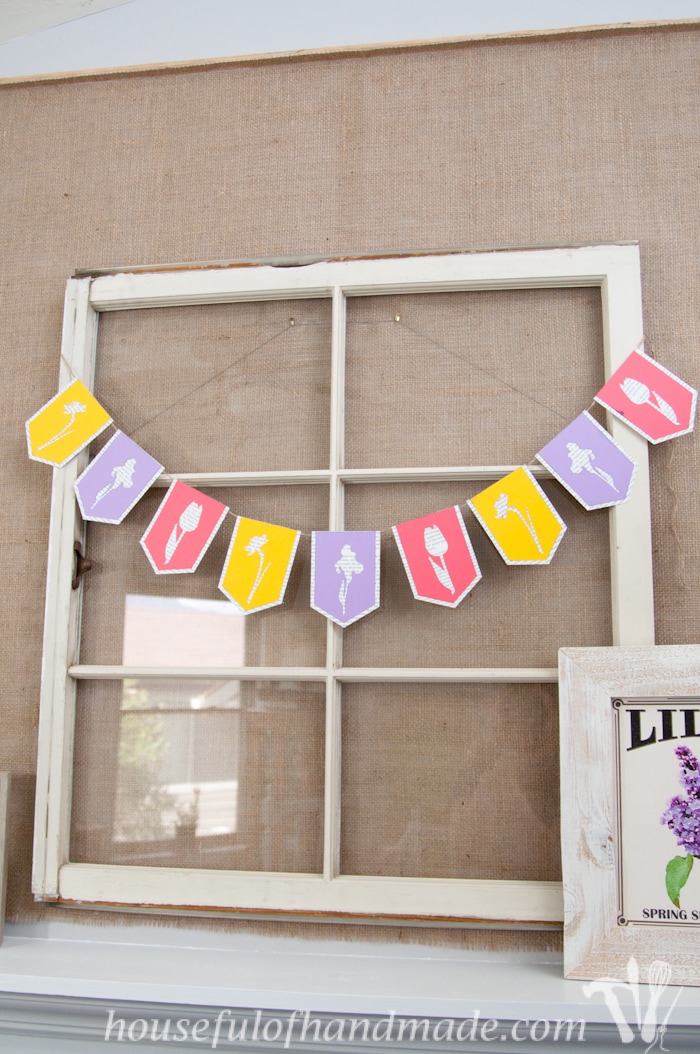
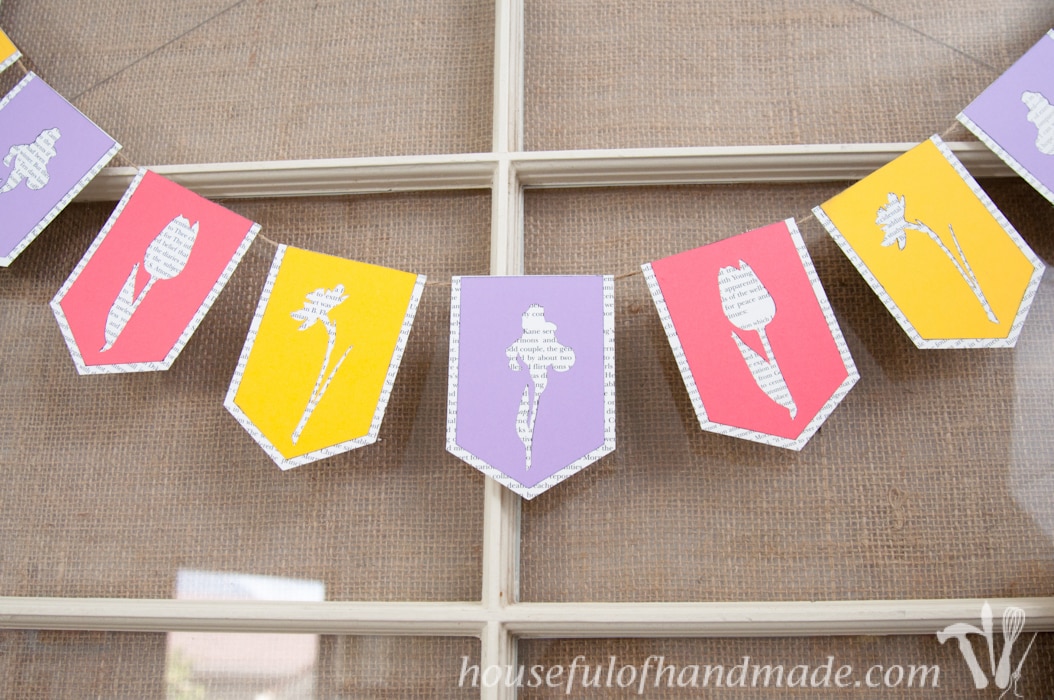
For this banner, I decided to use my favorite spring flowers. These three flowers mean winter is almost over to me because once they start coming through the ground I know it’s not much longer before the rest of the flowers follow. Can you tell what flowers they are by their silhouettes? Daisies, tulips, and irises.

I created a cut file for my Silhouette SD to cut the flowers out of the center of the pennants. It was fun to get back to my Silhouette and do some old-fashioned crafting after spending the last week elbow deep in drywall mud and paint. If you want to make your own banner, I am sharing the Silhouette cut file. To download it, click here. Or if you would like a PDF of the pennants for old school cutting, you can do that by clicking here.
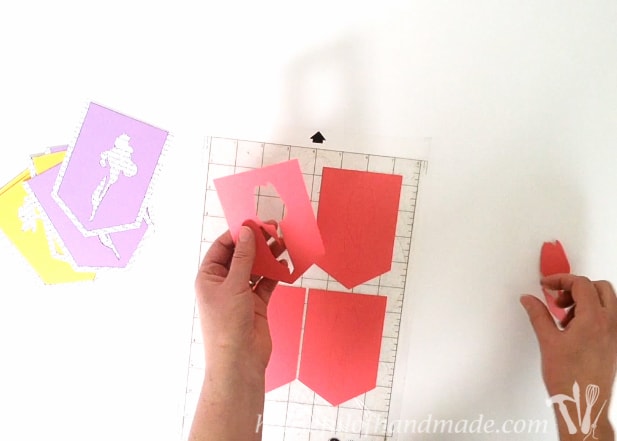
After cutting out the pennants, I added a little contrast to the edges. I used an ink pad and rubbed it along the edges.
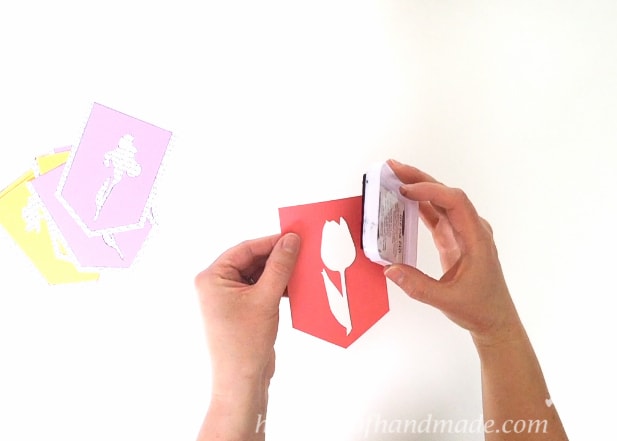
Because I couldn’t fit the ink pad inside the silhouette of the flowers, I used a felt pen and just ran it along the edges.
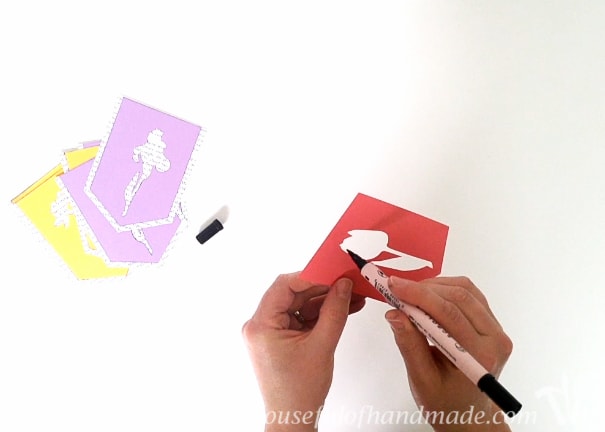
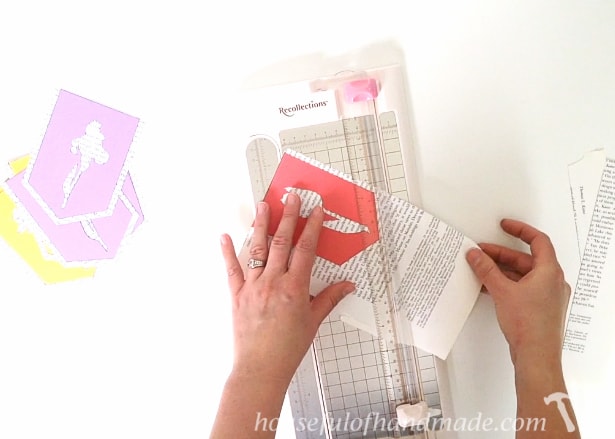
Then to make sure it was super sturdy, I decided to glue them onto a book page. The combination of the bright colored cardstock on top of the book page is perfect for my vintage flower mantle. I used my trusty spray glue to give the back of each pennant a smooth, even coat of glue. Then stuck it down to the book page.
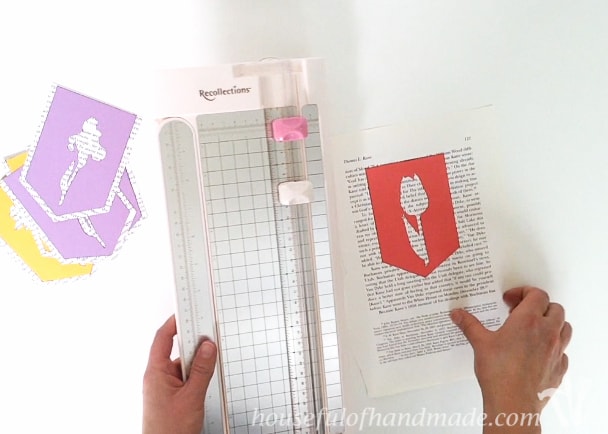
I finished off each pennant by trimming the book page to be about 1/4 inch bigger than the cardstock. Easy peasy!
To attach the pennants together into a banner I reached for the best crafting tool of all time… a hot glue gun! I put a thin strip of hot glue on the top back of each pennant.
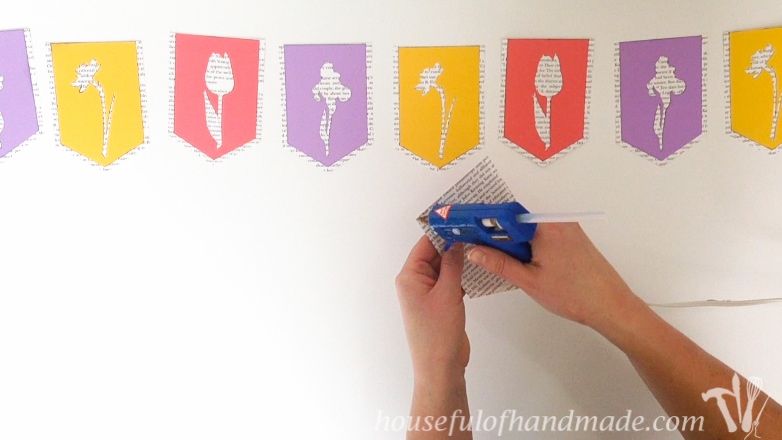
Then pressed a piece of twine into it.
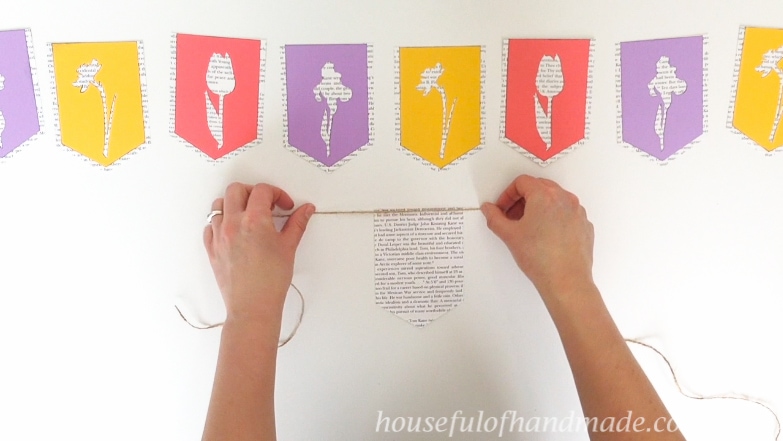
Continue until all the pennants are attached and you are done!
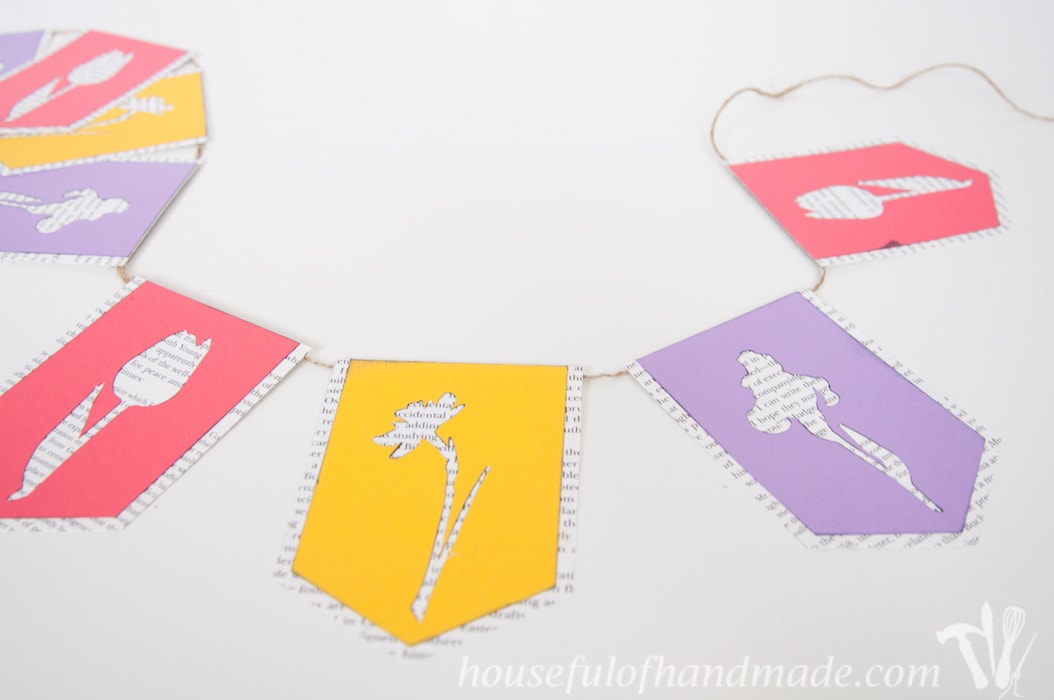
It turned out so cute, and the perfect craft for a rainy (or almost snowy) afternoon. Now if only it would warm up enough for my favorite spring flowers to start peaking out of the ground!
Do you ever have the problem where learning a totally new skill makes your brain hurt? I have been straining my brain all day trying to figure out this video and I feel like I am failing at every step. But I was determined to get this video ready for you (even if it’s not absolute perfection) and here it is:
https://www.youtube.com/watch?v=pFt8ILp2uYQ
What do you think? Do you prefer video or photo tutorials?


I was unable to click the green confirmation box. What should I do?
I see by the dates of the comments that the idea has been around for awhile! That’s great – it’s a lasting memory and I’ve found it!!! The banner is one of the cutest I’ve seen for spring. Thank you for sharing and always keep your ideas available to your readers for years!!! I will definitely be making this bookpage flower charmer!!!
Thank you so much Barb! I hope you love your new spring banner!
Help! I am a subscriber and forgot the password to get into your library. How can I reset it?
Hello Dawn! I include the password in the bottom of each week’s newsletter (and I just sent one out this morning).
Oh this is so adorable! I love the touch with the book pages. Great job on the video!
Thank you Jenny! It’s always a little scary trying something new and this video kinda scared me 🙂
This is adorable! I really need to get an old window — love them. Thanks for sharing at Merry Monday! 🙂
Thanks Dee! I love my old window, it goes with everything 🙂
I love this so much! Definitely enlisting the kids to help me make one of these – so pretty for spring.
Thanks Allison! It would be a fun and easy craft for the kids to make.
Thank you for the downloadable silhouette file!! This is so cute!
Thank you Kim.
This is a great idea! Thanks for sharing.
Thanks Anita 🙂
Kati I just found your page through Facebook and I am loving touring through your blog! Great projects!
Thanks for visiting Leanne! I’m so happy you found me and hope you’ll stop by again 🙂
I love this Kati, it’s so cute.
Thank you Kristi 🙂
I’m so excited for Spring! This banner is so cute and happy.
Thanks Jenna!
Cute as ever and I love that you did a video tutorial. Perfect combination with the flower printables.
Thank you Dawn! It was kinda fun doing a video, there will definitely be more to come.