I have always been a little obsessive about the Christmas tree. I have a color scheme and style that I want to focus on. I usually don’t change my decorations from year to year, but every few years I do switch things out as I get bored. Before we had kids, we had a sparkly blue, purple and silver tree, full of glass baubles and all things fabulously breakable! I would put up the tree and decorate it all by myself. Everything was perfectly placed. I would evaluate every ornament with the lights on, then with the lights off. See, totally obsessive. I even decorated the back of the tree perfectly. But then I had kids…
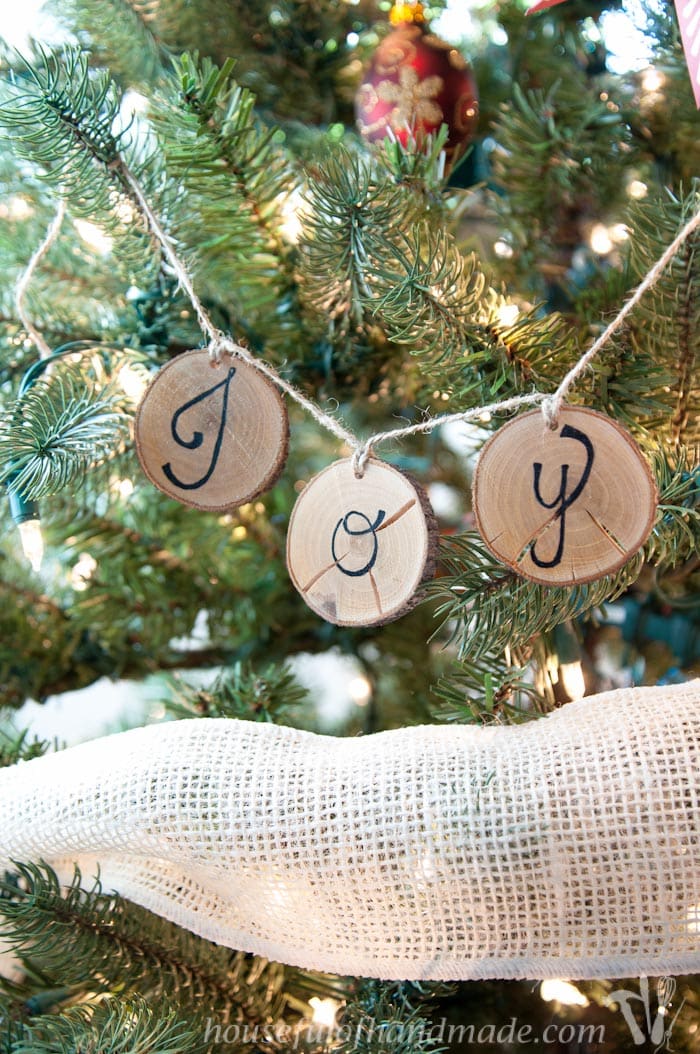
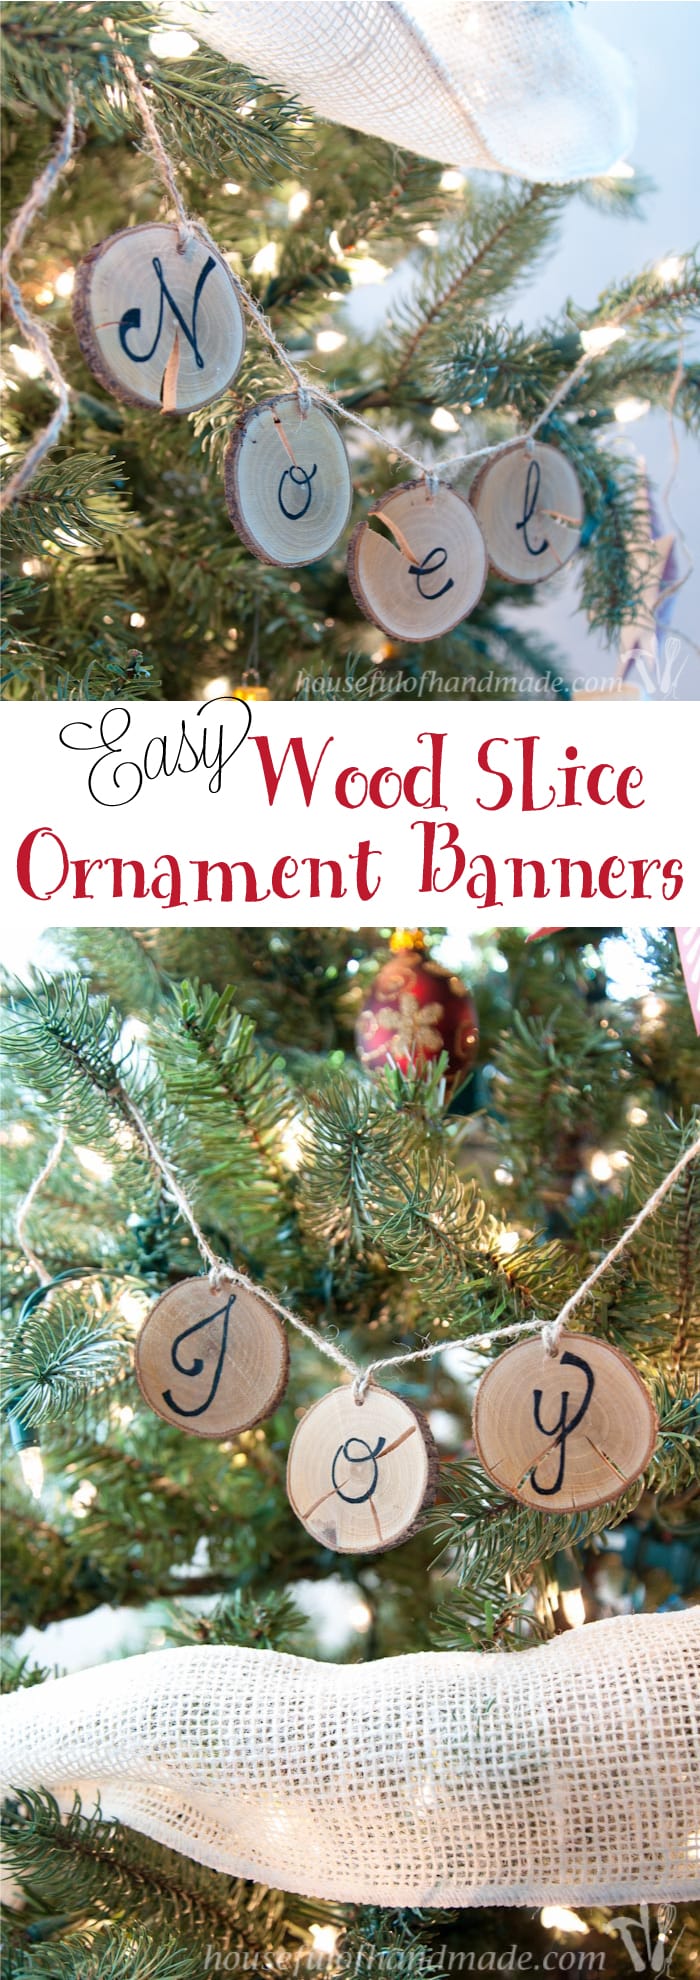
I love having kids. They are the light of my life, but after the first Christmas with a toddler, I realized they were not good for my perfect Christmas tree. I decided it was finally time to make a more family friendly Christmas tree, but I didn’t want to sacrifice style. I started making ornaments that were beautiful but not breakable. Since we have been using more natural elements our tree has taken on a rustic look and I like it. These new wood slice ornament banners are no exception. A simple, rustic, kid-friendly, solution for our tree!
This post may contain affiliate links. As an Amazon Associate I earn from qualifying purchases. Click here to read my full disclosure policy.
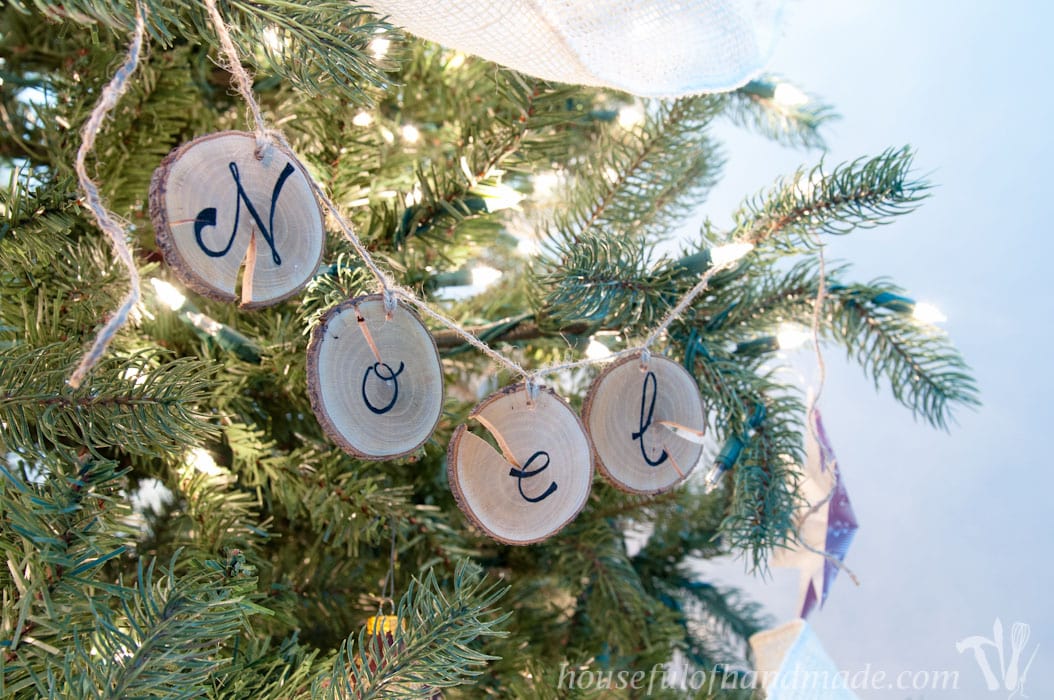
I cut these wood slices off the branches I took from my neighbor after they trimmed their trees last year. I used most of the branches to make this woodsy log wreath, but then cut a handful of wood slices with the leftovers. I had high hopes for making ornaments with them last year. Then I discovered that fresh tree branches have a lot of moisture in them and can split while they dry. I didn’t end up using them last year, but when I came across them this year I knew I wanted to use them, splits and all.
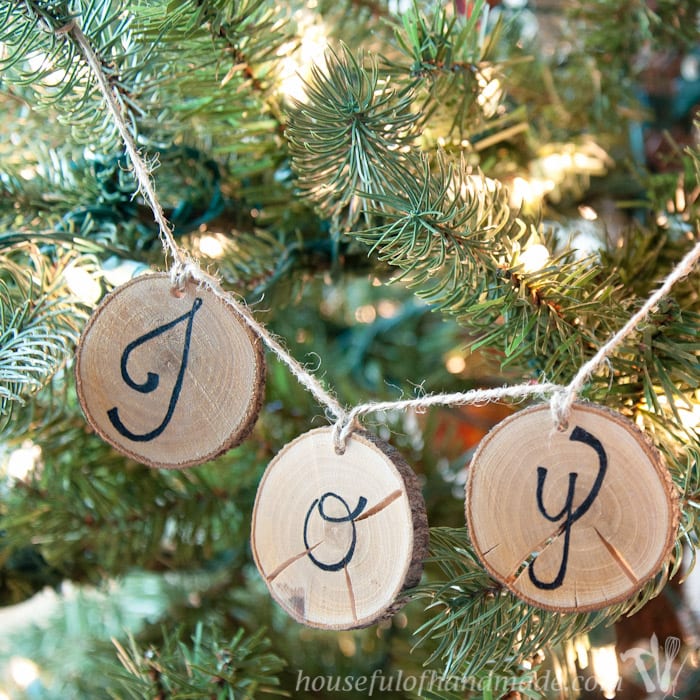
I love the look of the wood slices, but I wanted them to make more of a statement. So I turned them into a simple banner to string on the tree. I picked some of my favorite Christmas words: Joy, Noel, and Love.
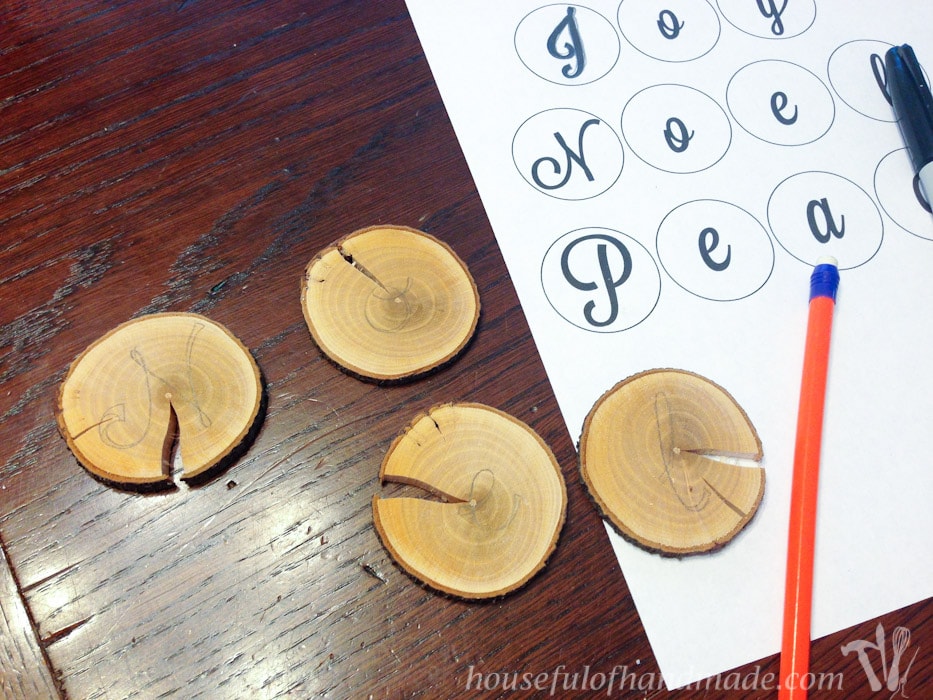
To make the letters, I found a font that I liked and made a little cheat sheet for me to refer to and practice on. When I was ready, I sketched the letters on my wood slice with a pencil. Then it was as easy as drawing the letters on the wood slices with a sharpie.
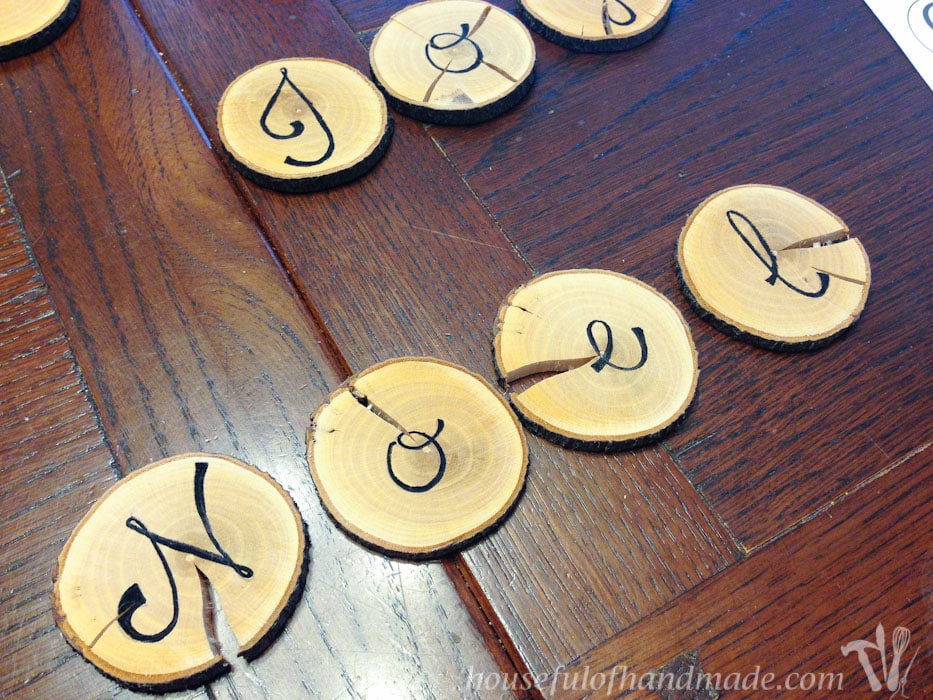
After I had the letters drawn on, I drilled a little hole in the top of each wood slice. When you need a drill a hole completely through something, I recommend putting it on top of a scrap piece of wood so when the drill bit comes out the back it will not split the wood.
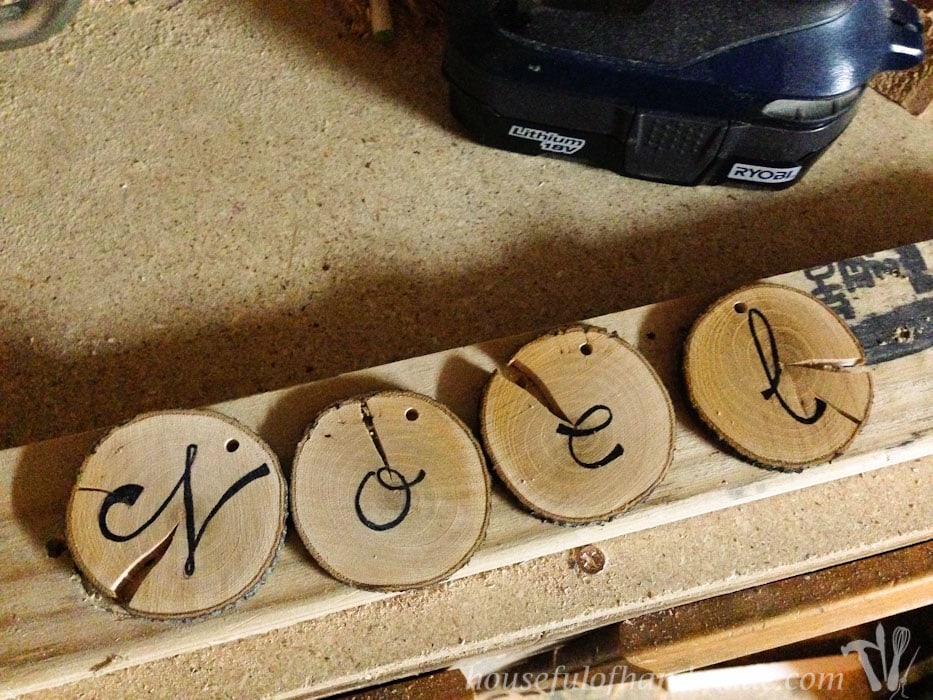
To string them together, but still keep the front of the ornaments facing front, I chose to tied them on by sticking a loop of string through the front of the ornament.
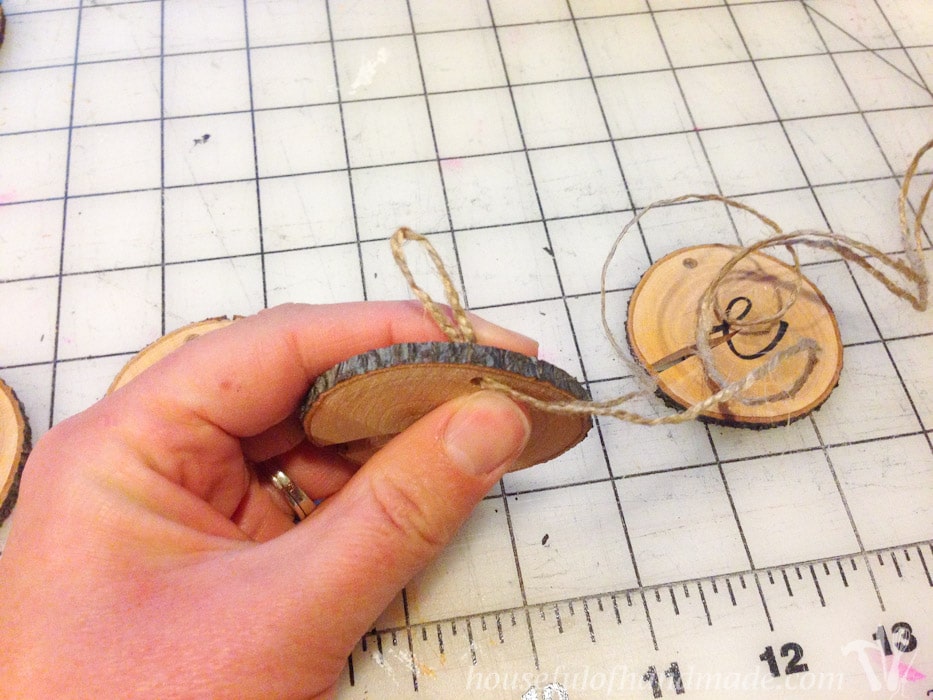
Then bringing the strings from the back of the ornament through the loop. Pull to tighten.
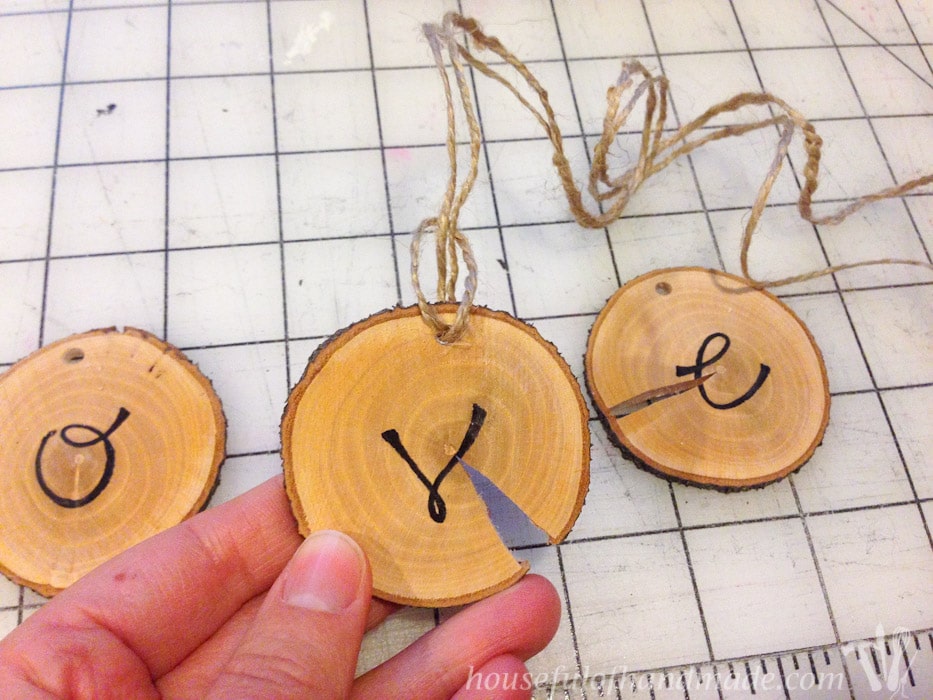
To add the rest of the wood slices, you can continue to use this type of knot, just make sure to make a large enough loop to pull the slices that are already attached through it.
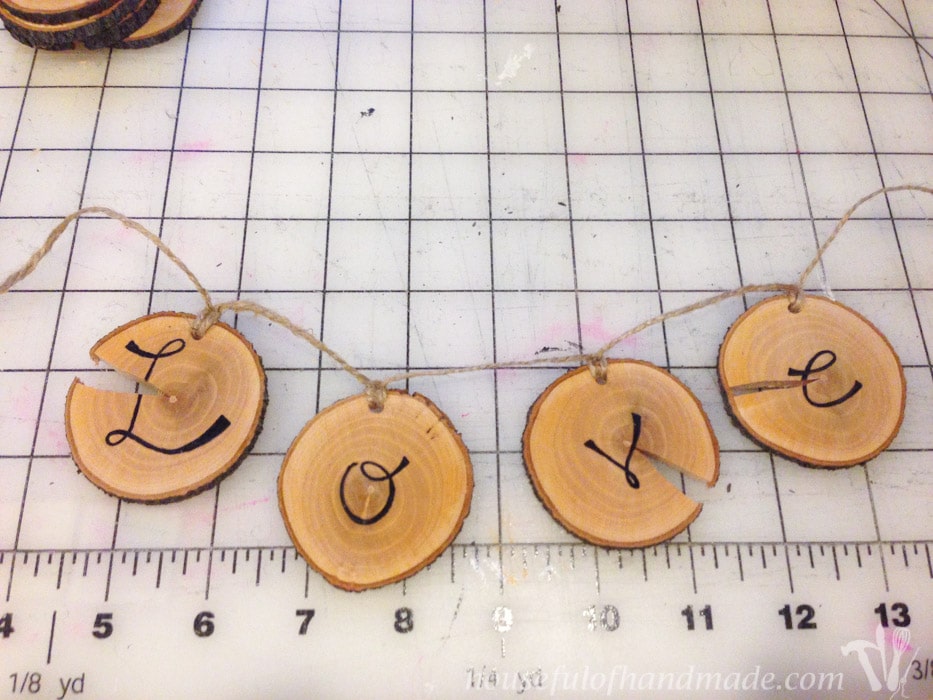
Once all the ornaments are attached, you can tie it onto the tree! Easy as that.

We make a few new ornaments every year. I try to make sure they are beautiful and stylish so I didn’t have to sacrifice my ideal Christmas tree. We have lots of fun decorating the tree together with our new ornaments, but after the kids are in bed, I totally rearrange the ornaments so they are perfectly placed! I may still be slightly obsessive about the tree 🙂
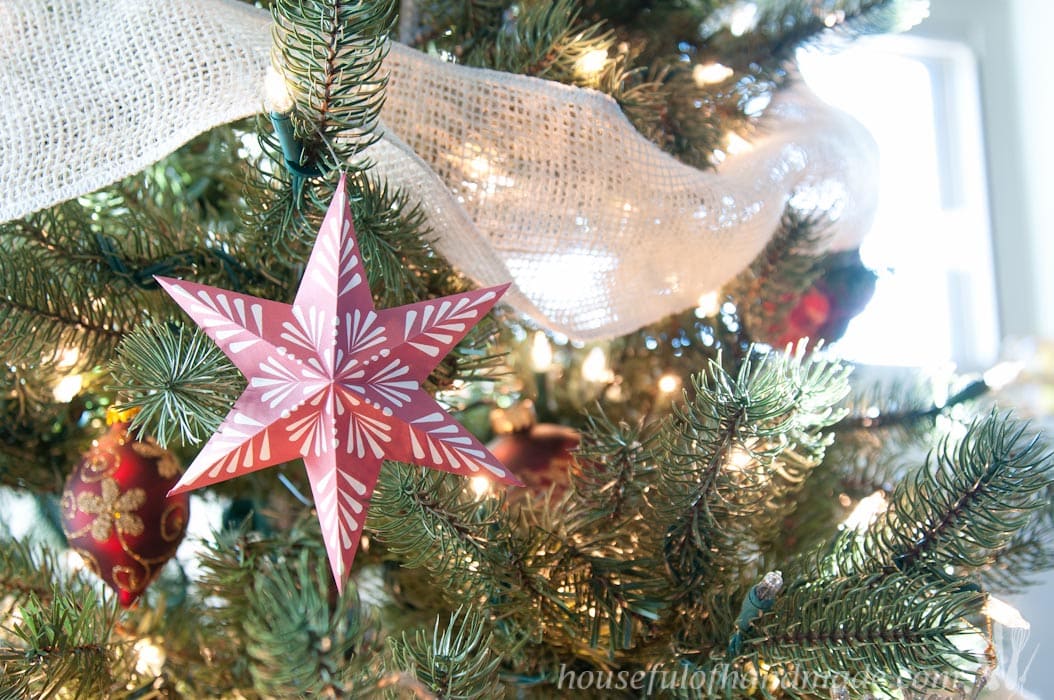
Don’t forget to check out the other ornaments we made this year. We are loving these free printable 3D snowflake stars. So pretty and kid-friendly!
And now our tree is almost decorated for the year. We really love it, today my daughter was singing and dancing around it. There is just something magical about a Christmas tree. All the sparkle just makes you happy.
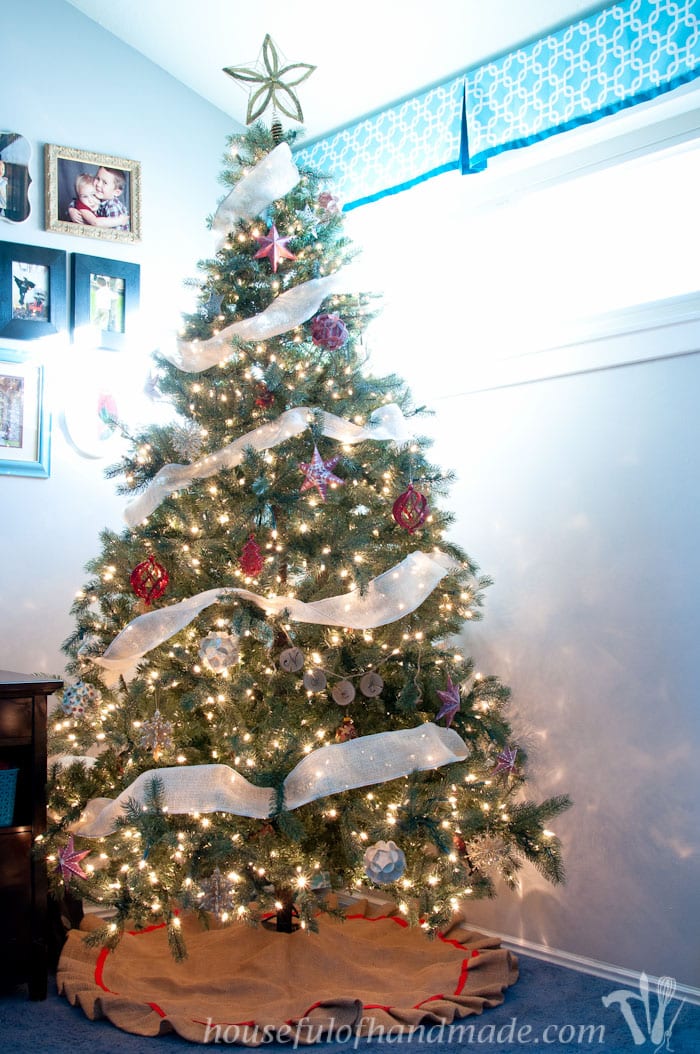
Let the season begin, I know I am more than ready!


