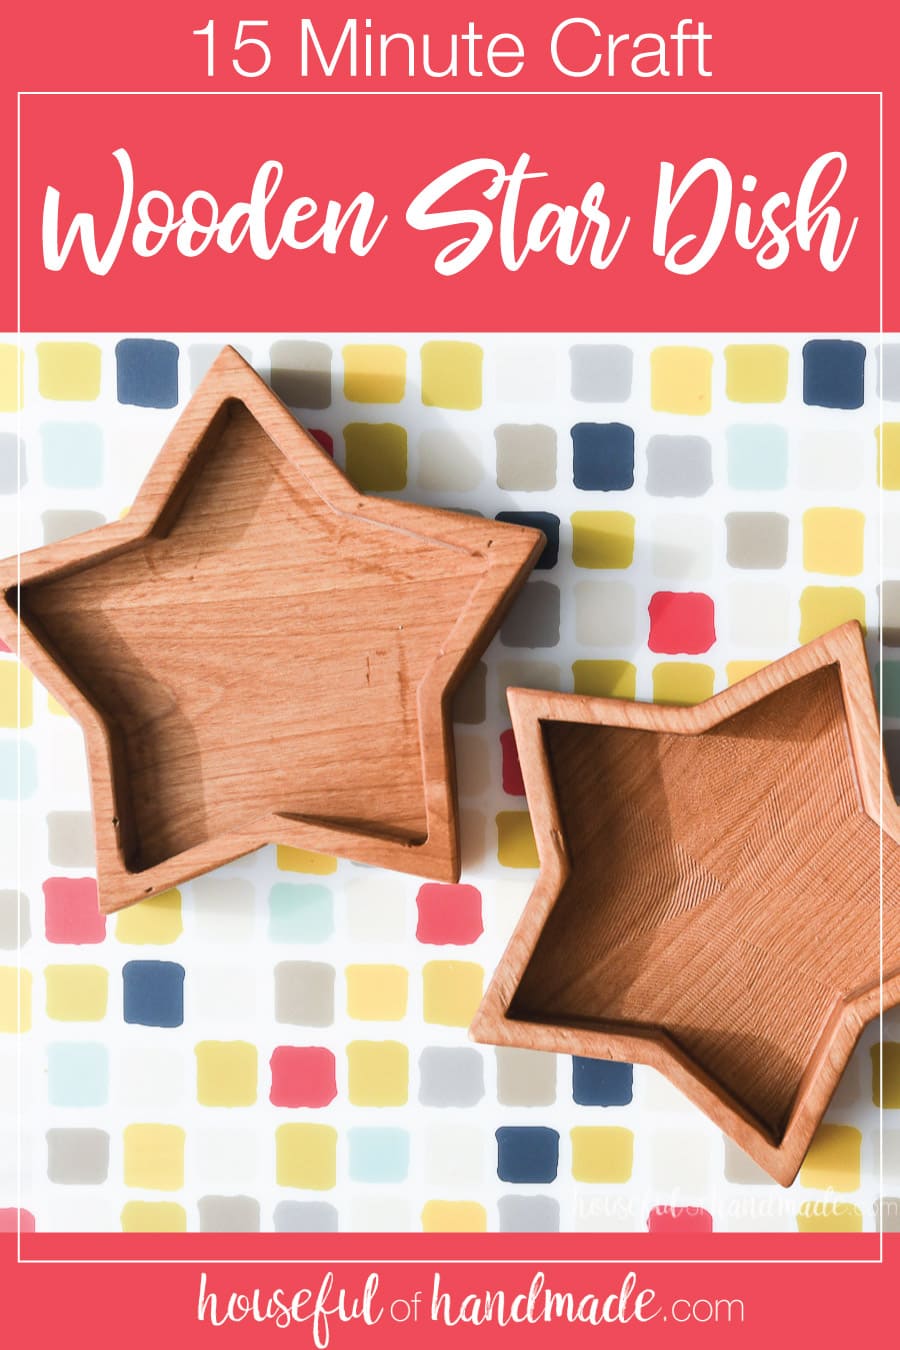
These simple star bowls are great for adding some patriotic decor to your summer!
It’s time for another Craft Lightning project! I love participating in these 15 minute craft series. Sometimes when working on big projects, it’s hard to remember how fun little projects are.
This month’s Craft Lightning is all about Patriotic Crafts. With Memorial Day right around the corner, I decided to make an easy wooden star bowl. It’s the perfect little dish for candy, or jewelry, or anything else you want to display with some patriotic flair!
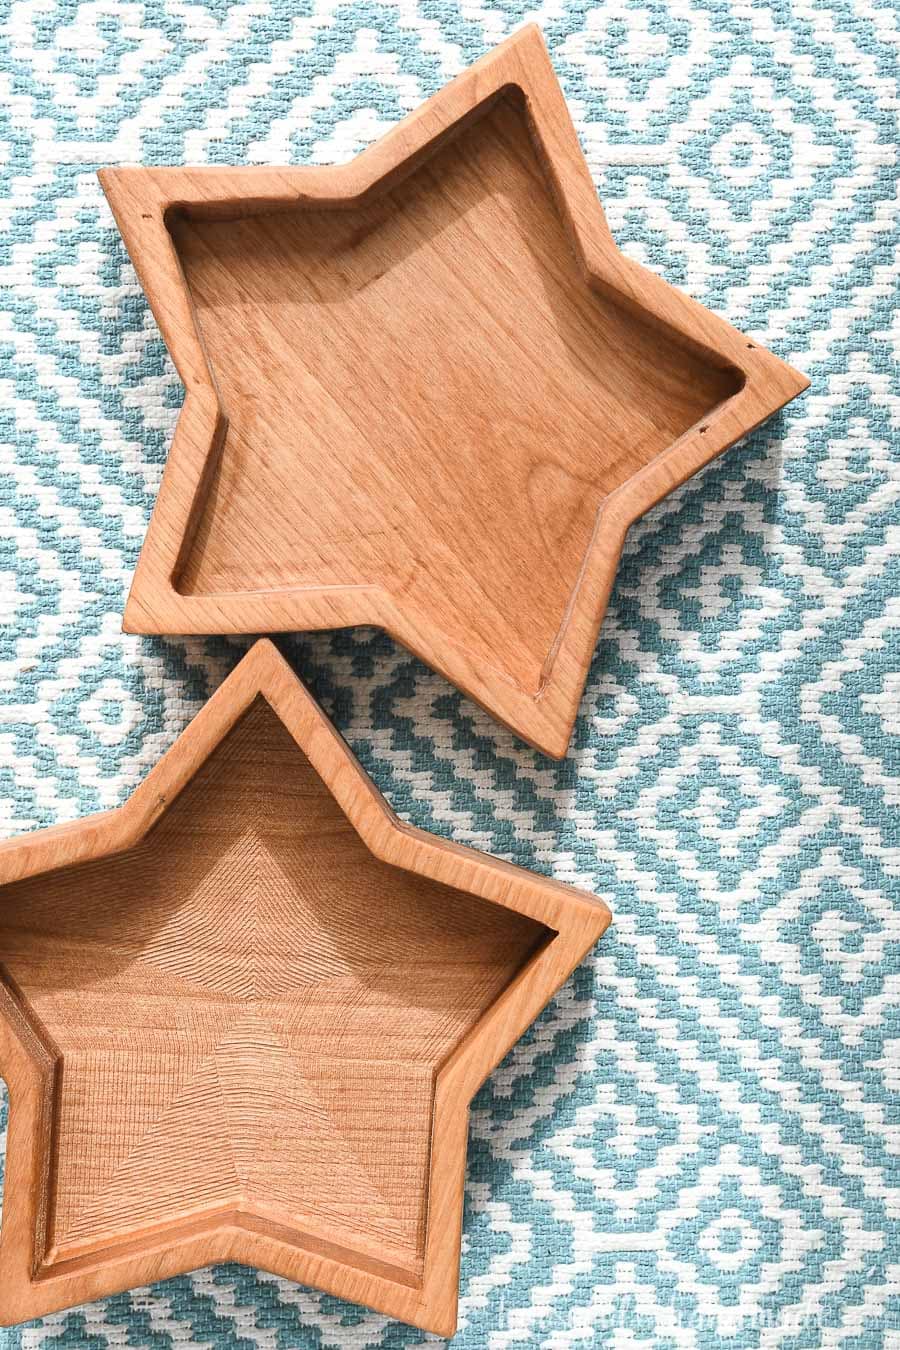
My favorite part of this easy project, it’s a great excuse to use up some of those scrap wood pieces that are cluttering up the garage. You can make the star bowl any size you want.
This post may contain affiliate links. As an Amazon Associate I earn from qualifying purchases. Click here to read my full disclosure policy.
And if I had a piece of scrap 1×12, I wouldn’t also made a wooden star tray. But I didn’t so I will have to run to the store to before I can do that because I am slightly obsessed with how cute these turned out.
Tools Needed to Make a Wood Star Bowl
If you are knew to woodworking, don’t fret! This star dish is made with basic tools that any beginner can use.
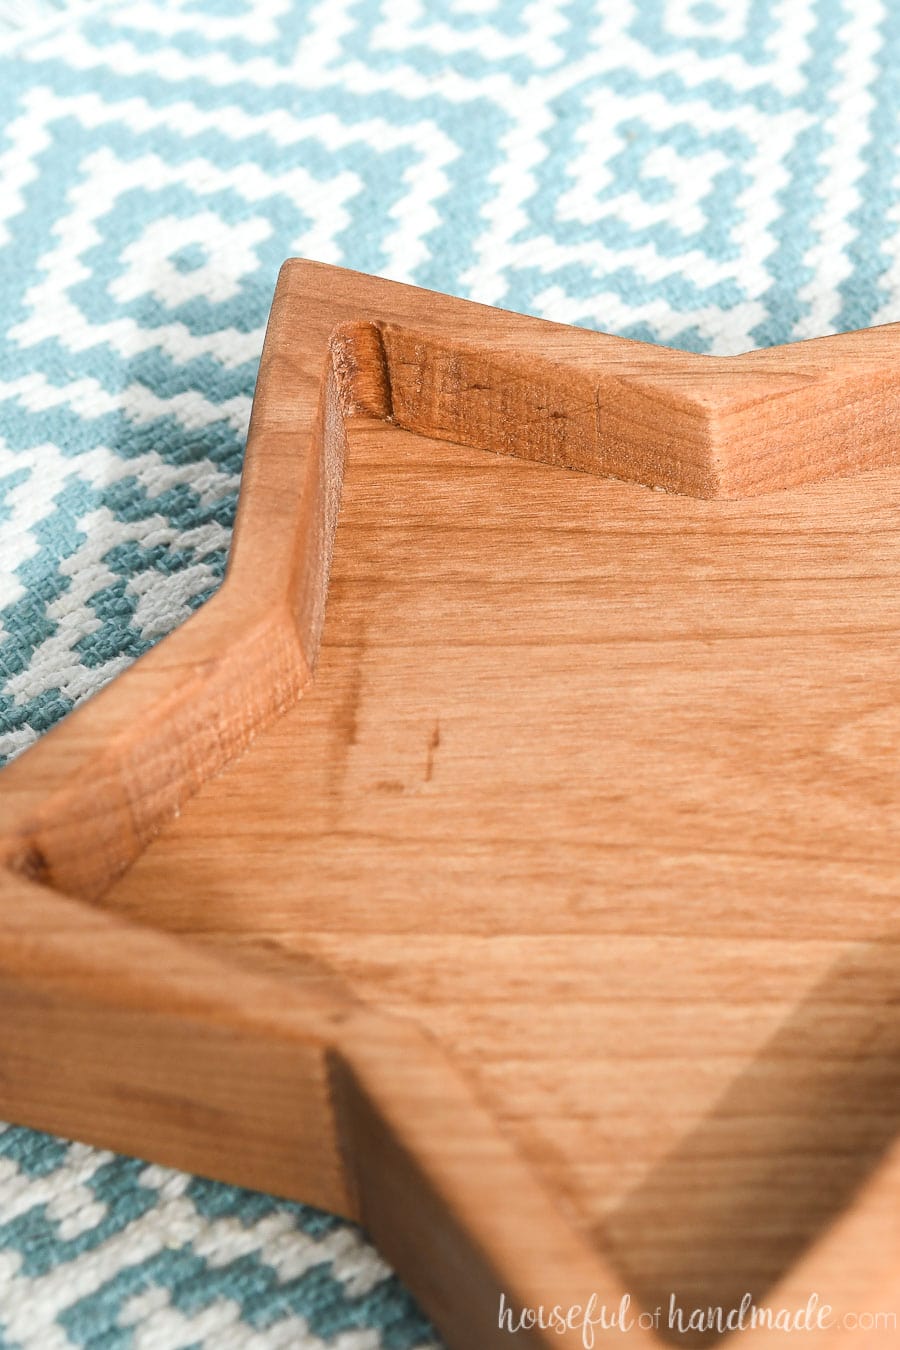
To cut the star shaped bowl, I used a jig saw. Nothing fancy, but I made sure to put a clean cutting wood blade on it for a better cut. You could also use a scroll saw or band saw for this.
To cut the inside star to make the dish shape, you will need to drill starter holes. This is the place you put the jig saw blade to cut the shape out of the center. All you need for this is a drill with a drill bit slightly larger than the jig saw blade.
Also, I did use my miter saw to cut the two pieces of wood off my scrap before cutting it to shape. But if you do not have a miter saw, you can do this with a jig saw too.
You will need to sand your star bowl. I love my corner cat (or mouse) sander. It has a point on one end and was super helpful in getting into all the points of the star.
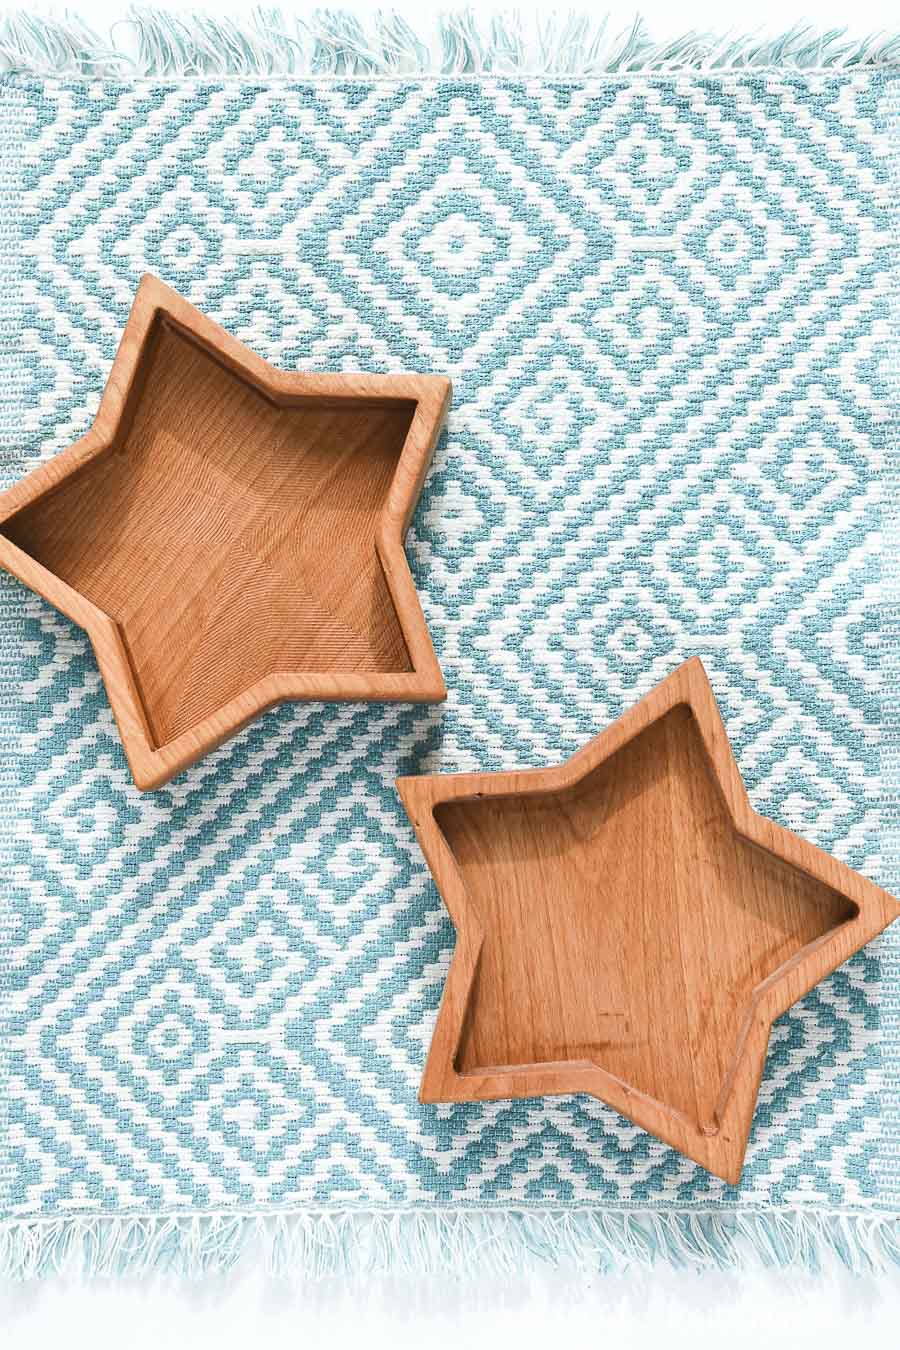
I did make a second bowl with my new CNC machine. It gave me a much more even outside to the bowl, but is missing the hand-cut charm. So if you have other tools, please feel free to use them!
But even if you are working without a garage full of tools, you can make your own wooden star bowls.
How to Make a Wooden Star Bowl
Supplies:
- Scraps of wood
- I used (2) 8″ pieces of 1×8 alder for each of my wood star bowls.
- Paper and printer to print template (or feel free to make your own)
- Pencil
- Double-sided tape
- Wood glue
- Clamps
- Tools *see tools needed above
The size of you bowl depends on the size of your scrap. I used 1×8 scraps (which are actually about 7 1/4″ wide). Click here for the PDF of the star I used. Cut around the outside of the star template.
If you want to make your own star design, make sure the width of the border between the outside and inside star is at least 3/8″ to 1/2″ thick. Otherwise it could break when you are cutting it out.
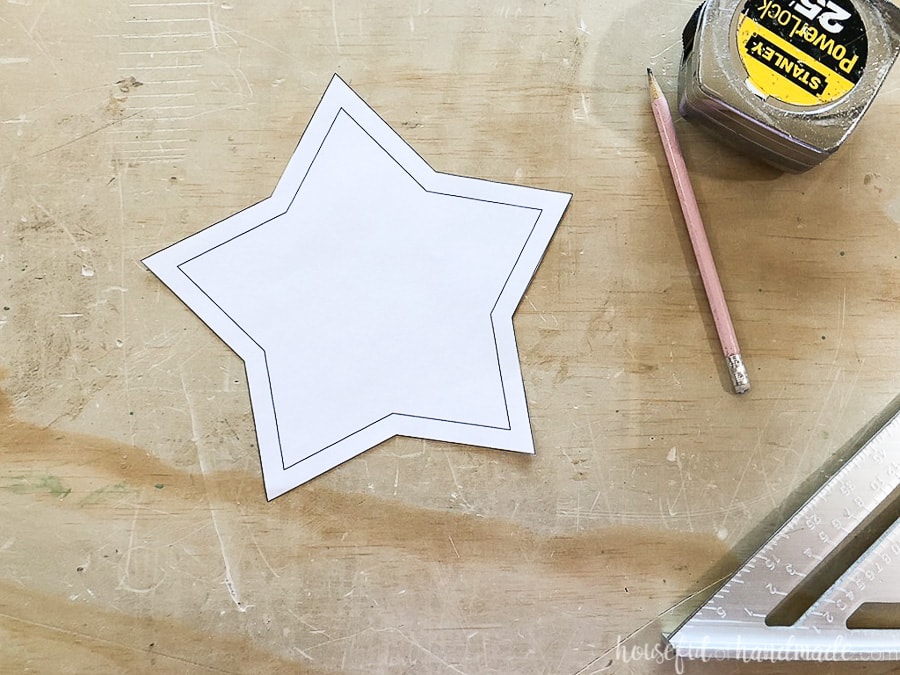
You will need 2 pieces of wood large enough to fit your star. To make sure the two cut out stars fit together perfectly, we will cut the outside shape from both boards at the same time.
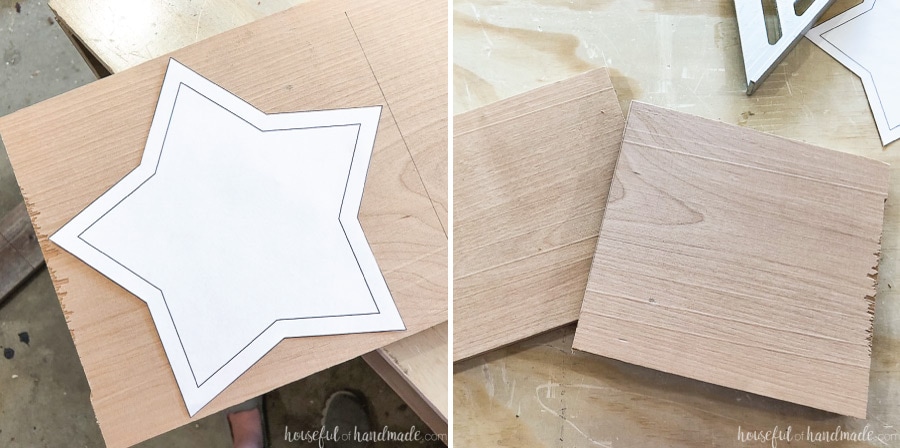
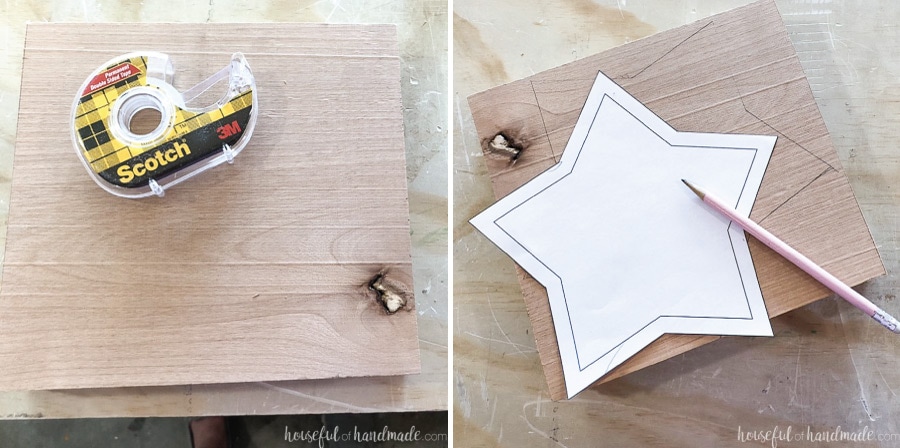
To make sure they do not move around as you cut, put a few strips of double sided tape between the boards.
Then trace the outside of the star template onto the top board.
Clamp the boards to a table to keep them secure and then use your jig saw to cut out the star. Start at the outside tip of the points of the star and move to the center.
You will need to remove the clamps and rotate the star to get all the way around the outside. That is why the double sided tape is so nice!
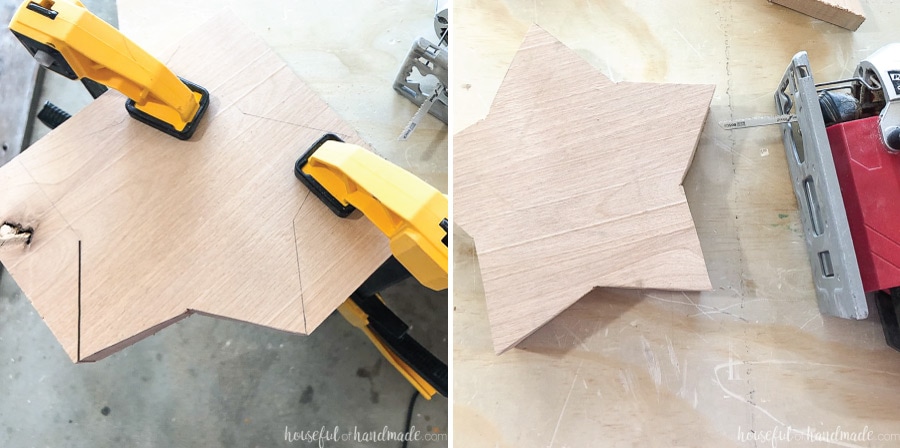
Once the outside is all cut out, pop the two pieces of wood apart. But first, draw a couple lines across one of the points to make it easier to line it back up later.
My double sided tape was nice and sticky, but I put a flat putty knife between them and they popped apart easily.
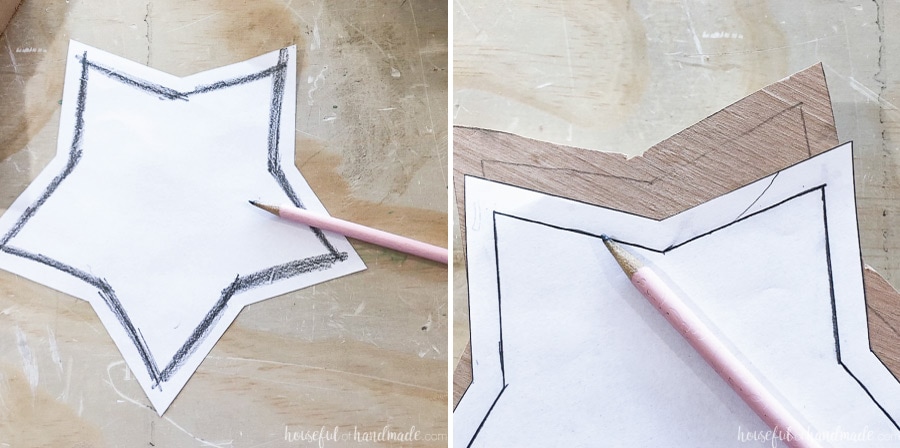
Then to transfer the inside star to the top piece of wood, rub the back of the template with the side of your pencil where the line is. Line it up on the cut out star and trace the line. It will transfer to the wood just like if you were drawing on it.
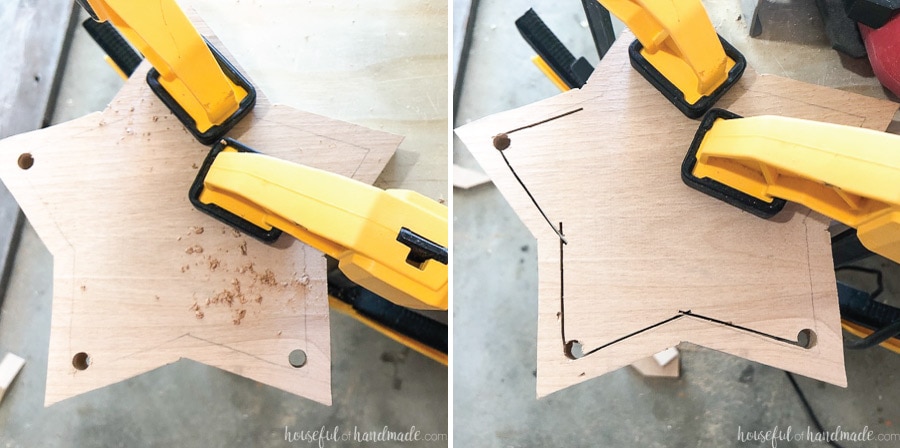
Clamp the top piece to the table and drill a hole each of the points of the inside star. Make sure the holes are just on the inside of the line.
Put the jig saw blade inside the hole and cut out the inside star.
Now it’s time to assemble. Add a little wood glue to the back of the top star piece and place it on top of the bottom star. Make sure you line it up the same way it was cut. Clamp the two pieces together, or place something heavy on top. Let the glue dry.
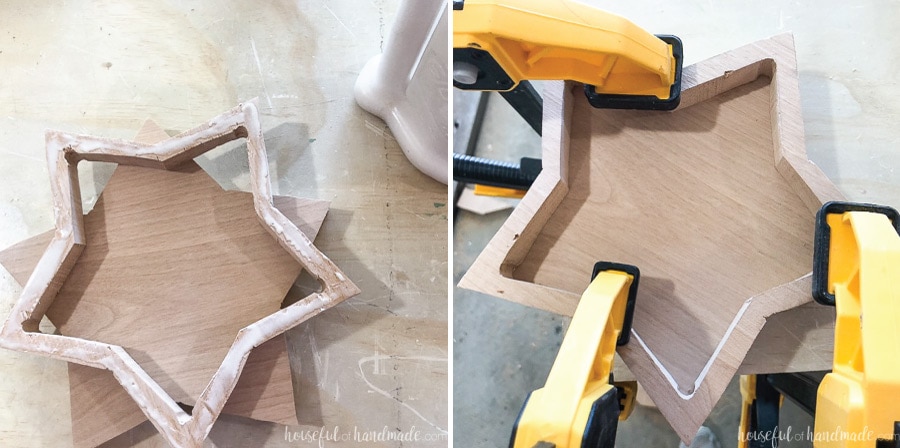
Sand your new wood star bowl. This will help smooth out any imperfections from the jig saw too.
Now you can paint, stain or just seal the wooden star dish. I used alder wood scraps that have a wonderful reddish color, so I just finished them with a penetrating sealing wax called Simple Finish.
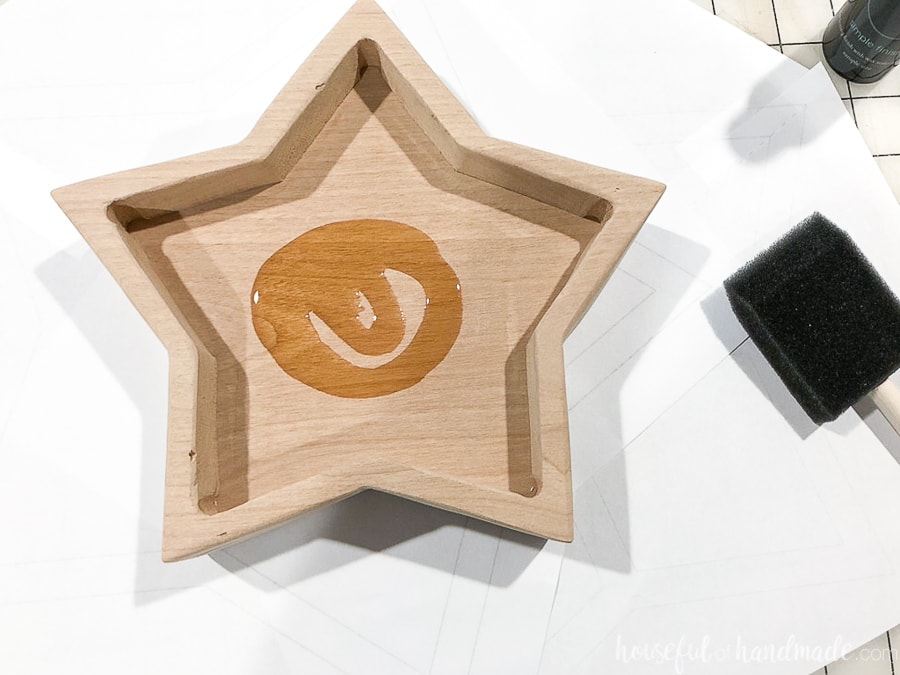
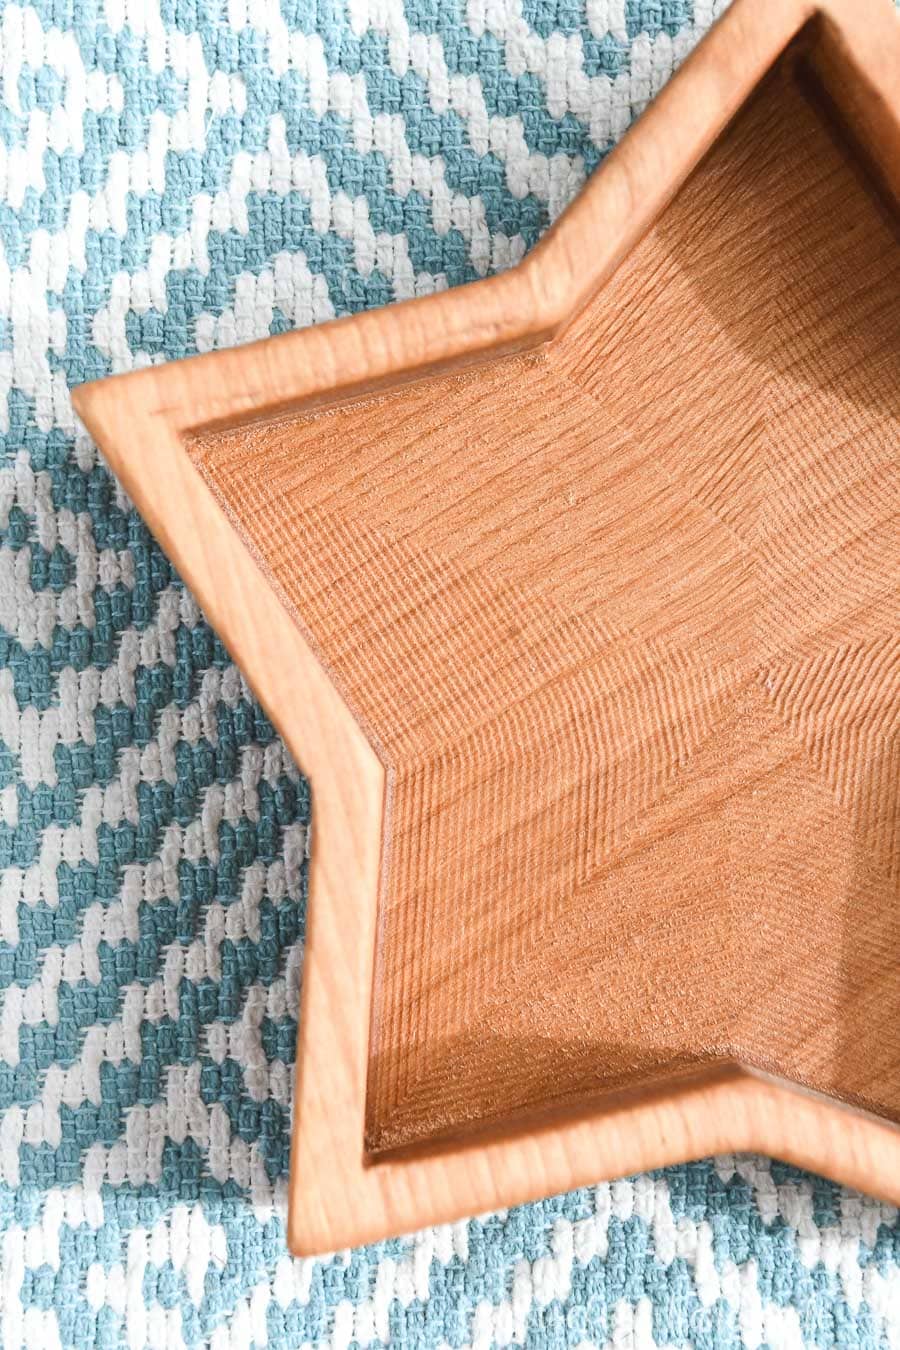
And while I was making my first bowl with the jig saw, I decided to let my new CNC machine make me a second one. This one took twice as long to cut out because I also used the machine to carve into the bottom dish to make the center of the bowl deeper.
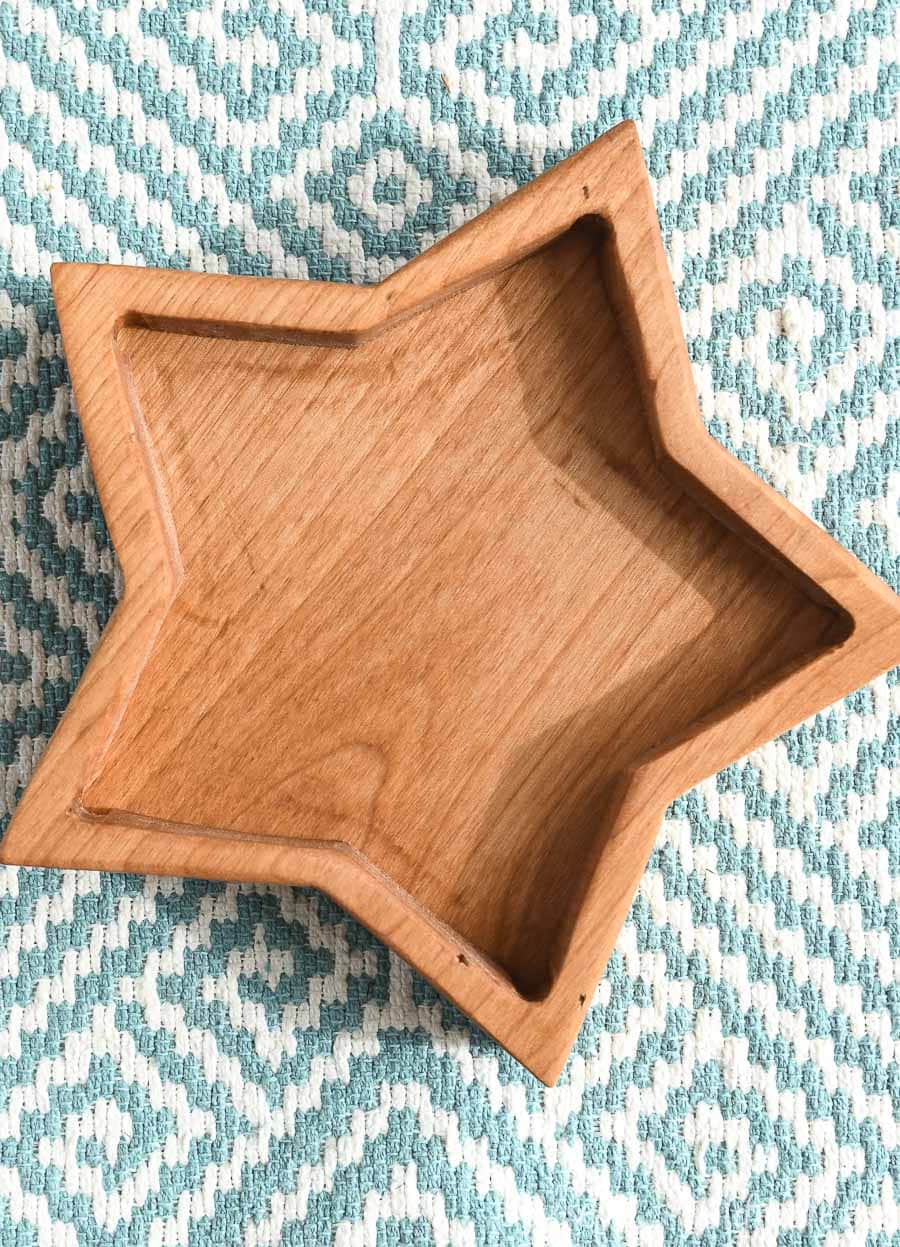
I love how both star bowls turned out! The not-perfectly even edges of the hand cut one give it a quirky appearance. And the texture from the CNC router bit on the bottom of the machine cut one make a star echo.
I cannot wait to use these for lots of fun things this summer with all our gatherings!


