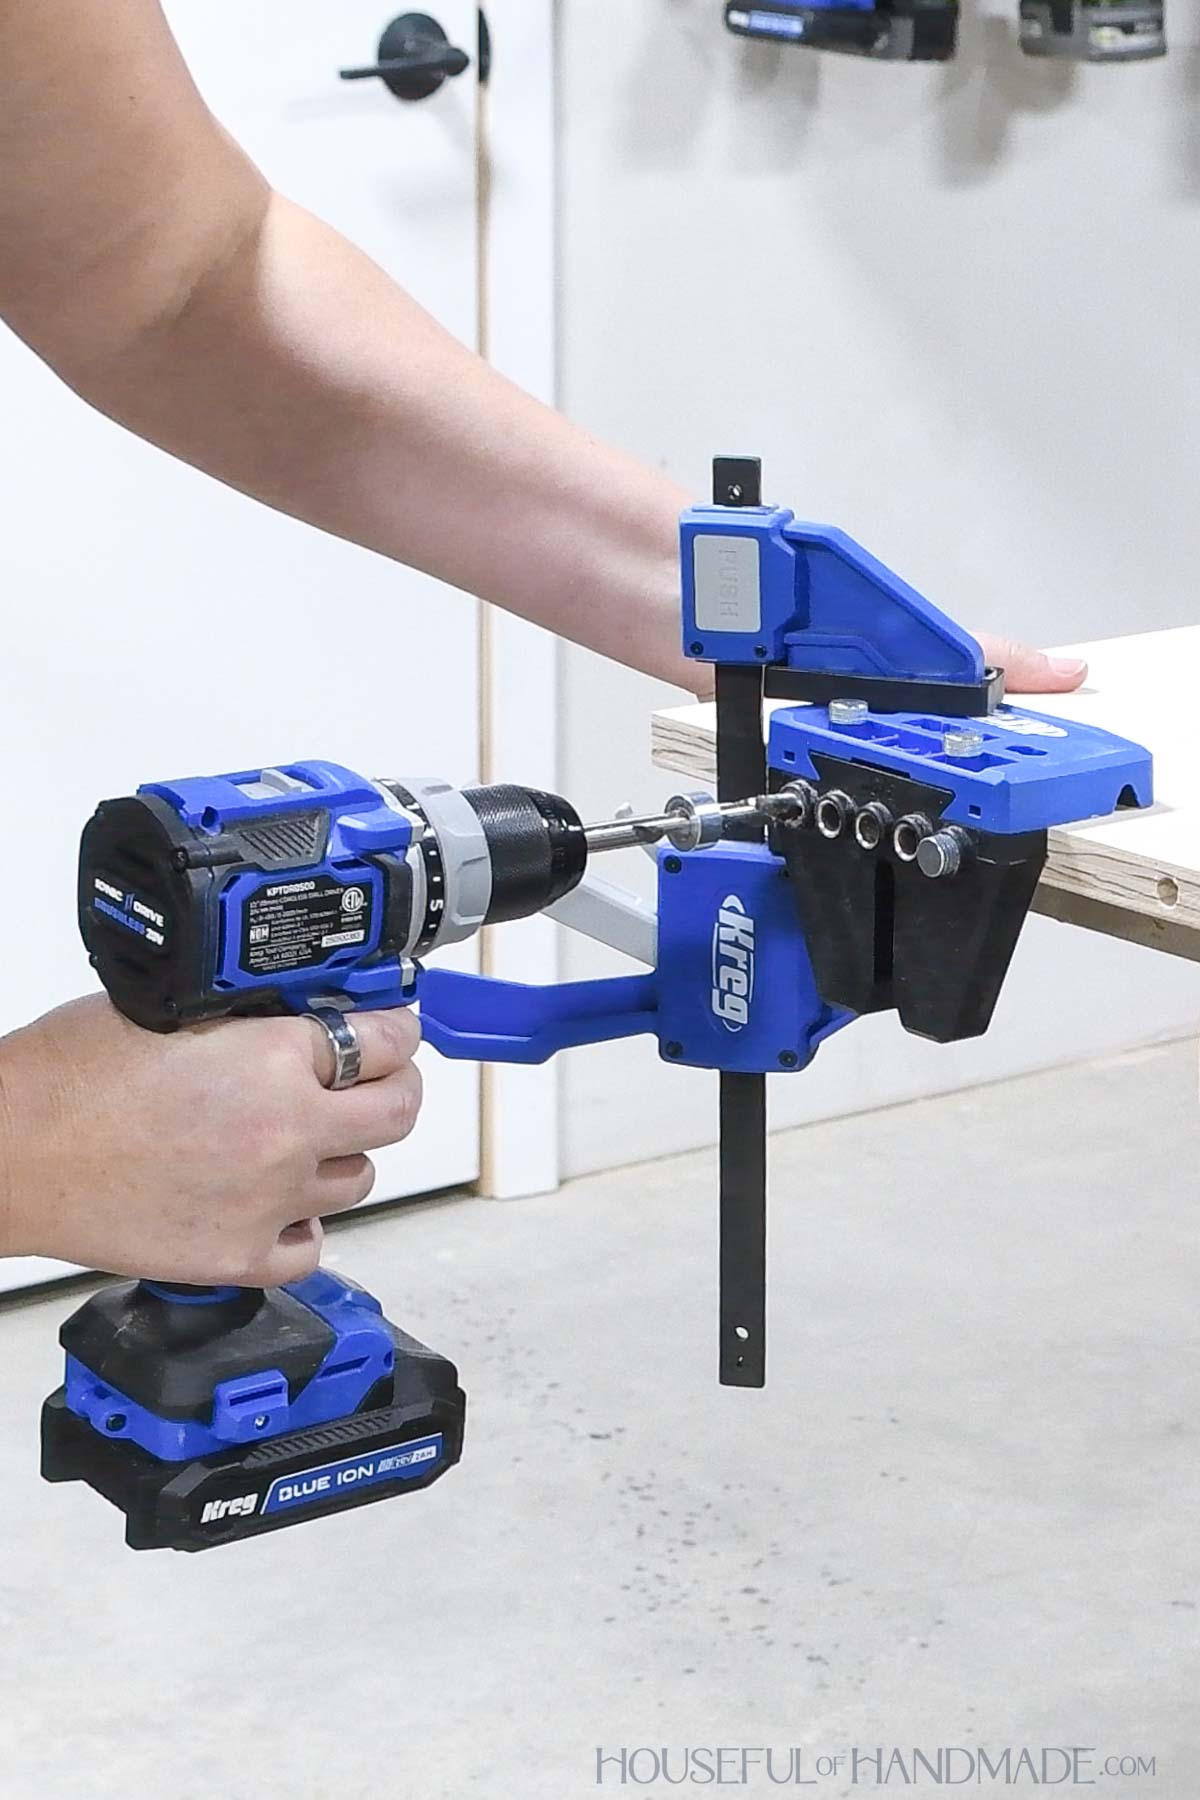
Dowel joinery is a great option for some woodworking joints. I love that there is not visible holes or screws with dowels.
I am a huge fan of the Kreg Tools I have so far, so when they came out with a Dowel Jig, I couldn’t wait to try it!
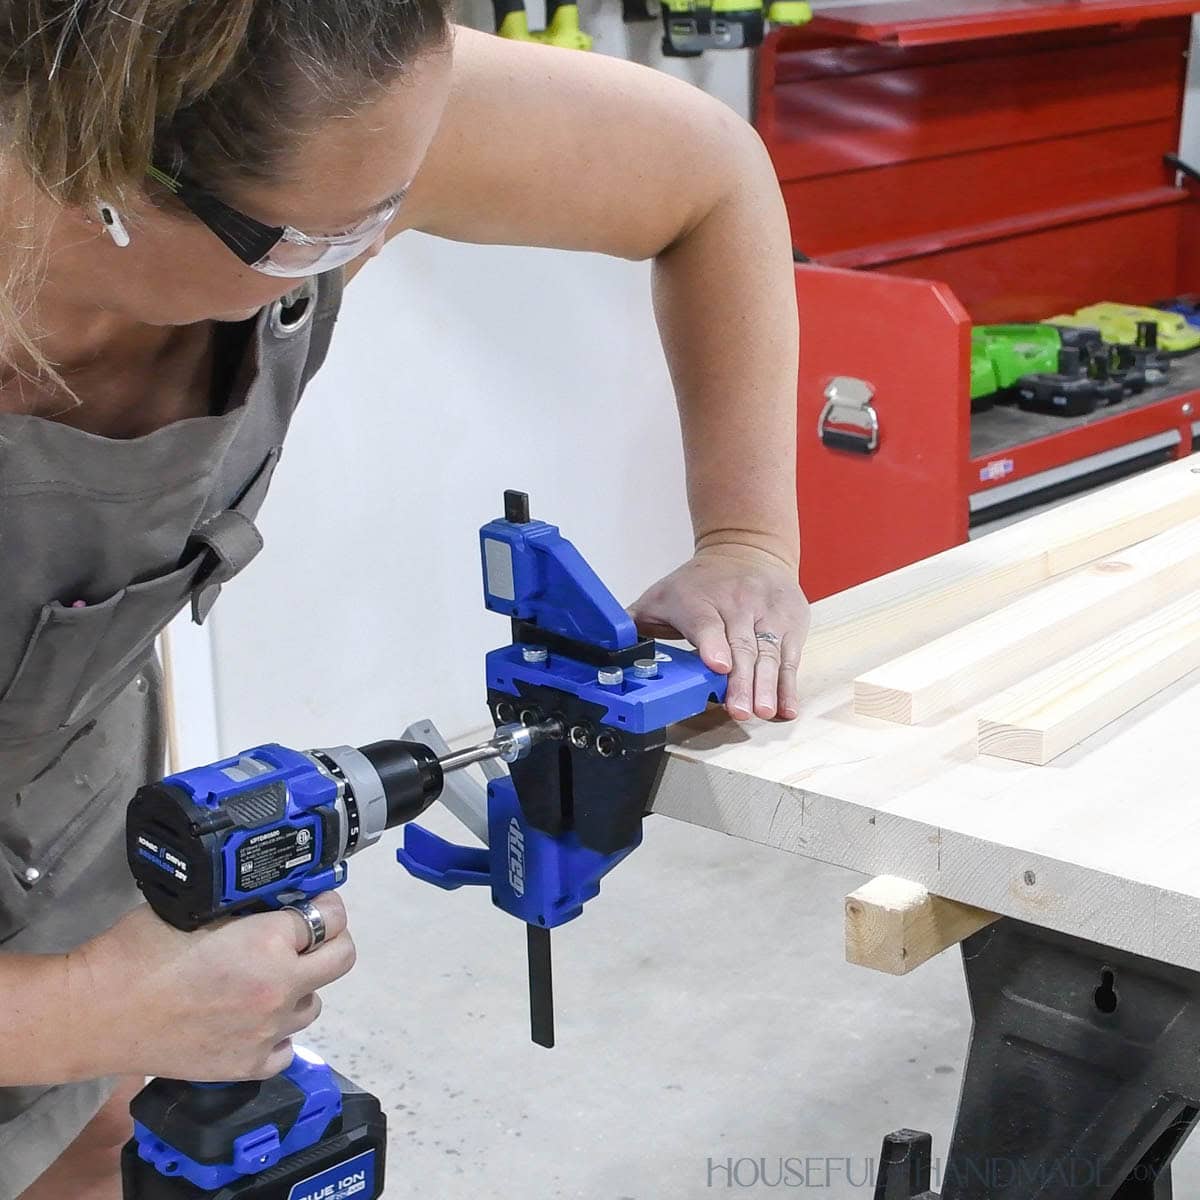
My previous dowel jig got the job done, but I banged up my knuckles multiple times using it and it only allowed me to drill one hole at a time. So there was a lot of time spent realigning.
This post may contain affiliate links. As an Amazon Associate I earn from qualifying purchases. Click here to read my full disclosure policy.
The new Kreg Dowel jig is a game changer for dowel joints. With 5 guide holes and lots of ways to align and quickly realign, it makes building with dowels fast and easy.
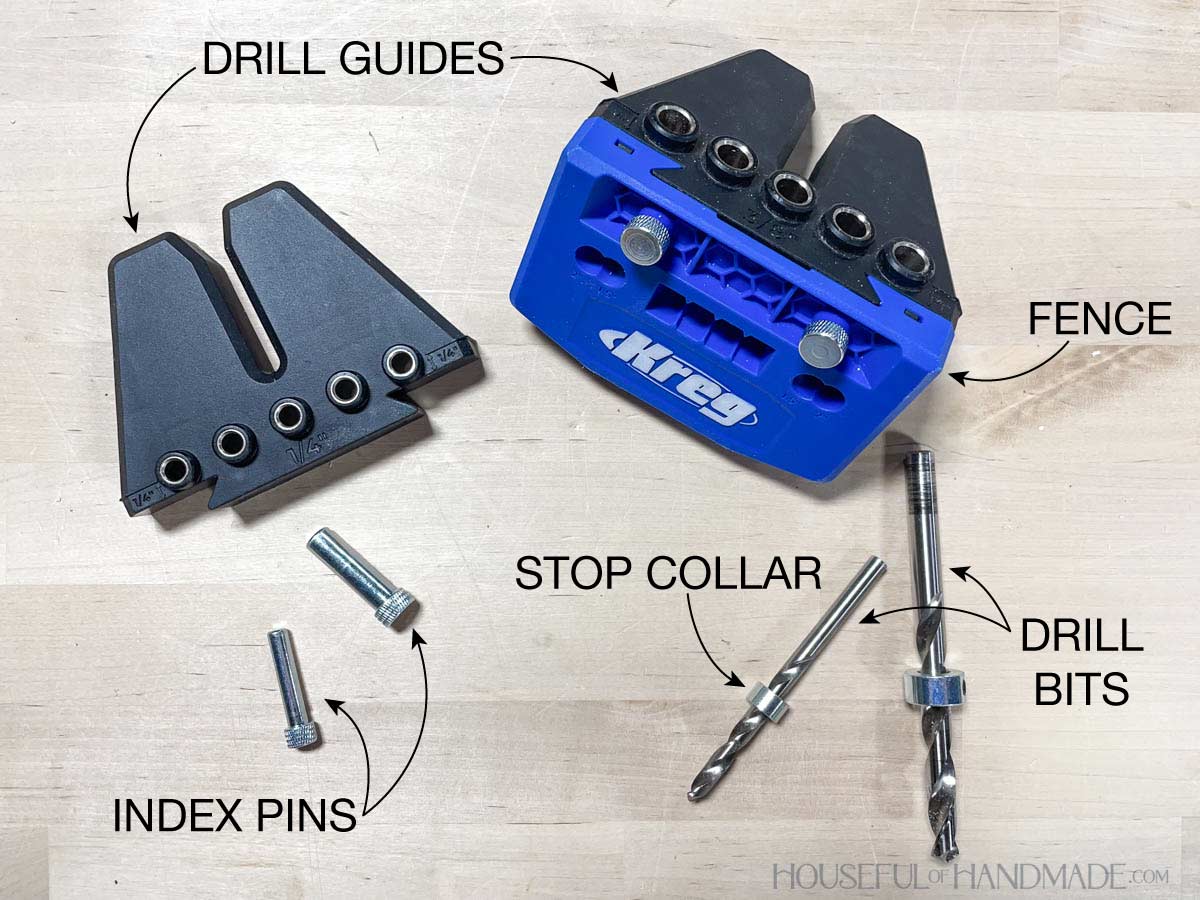
Dowel Jig Features
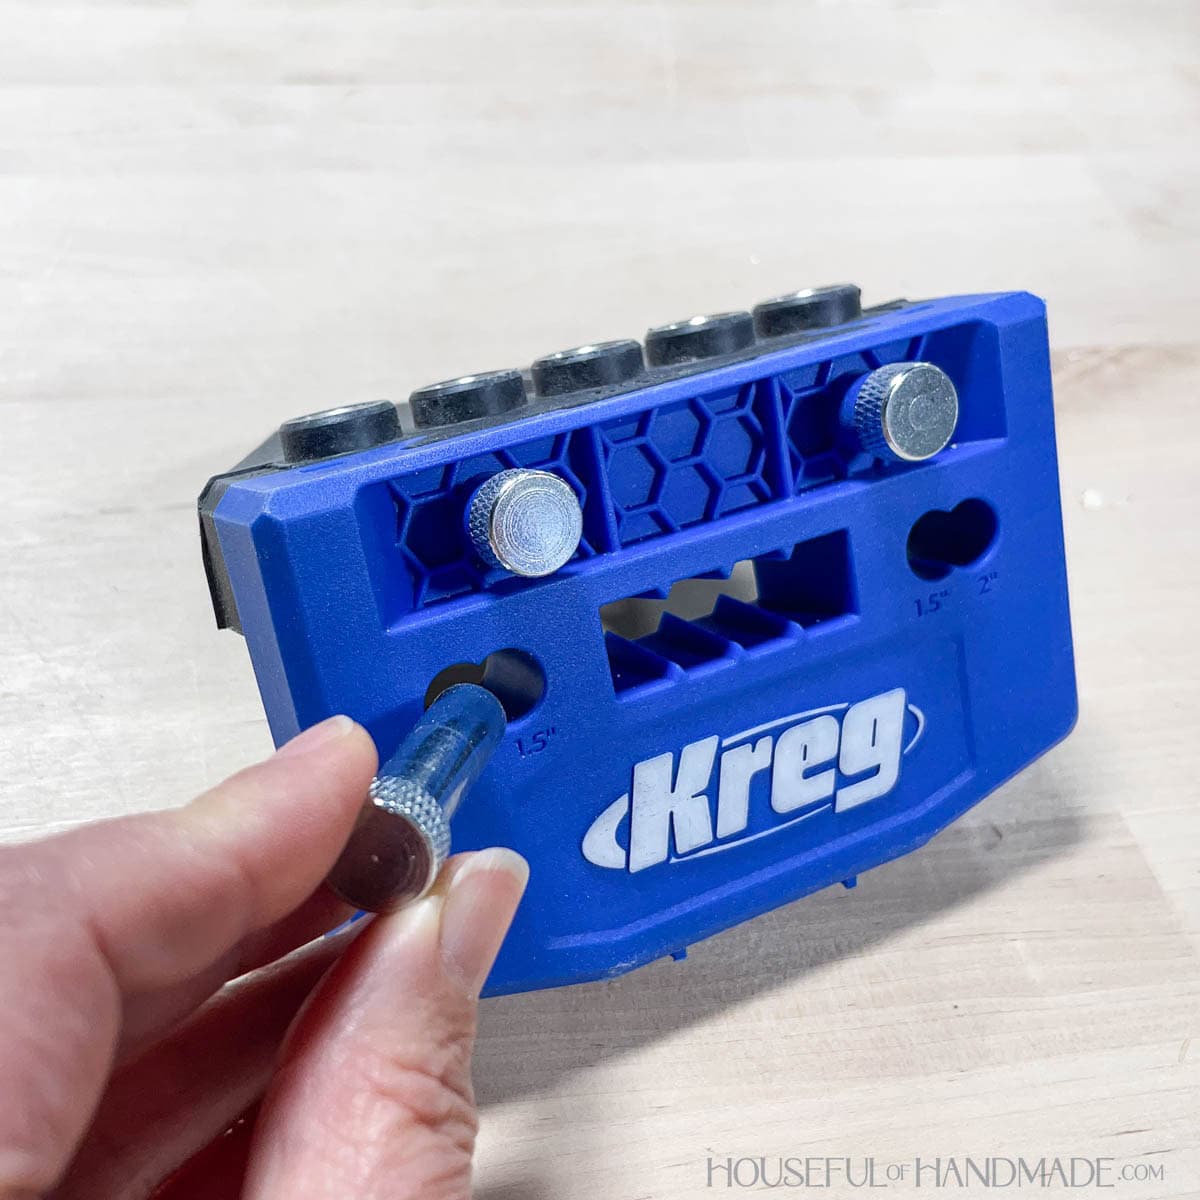
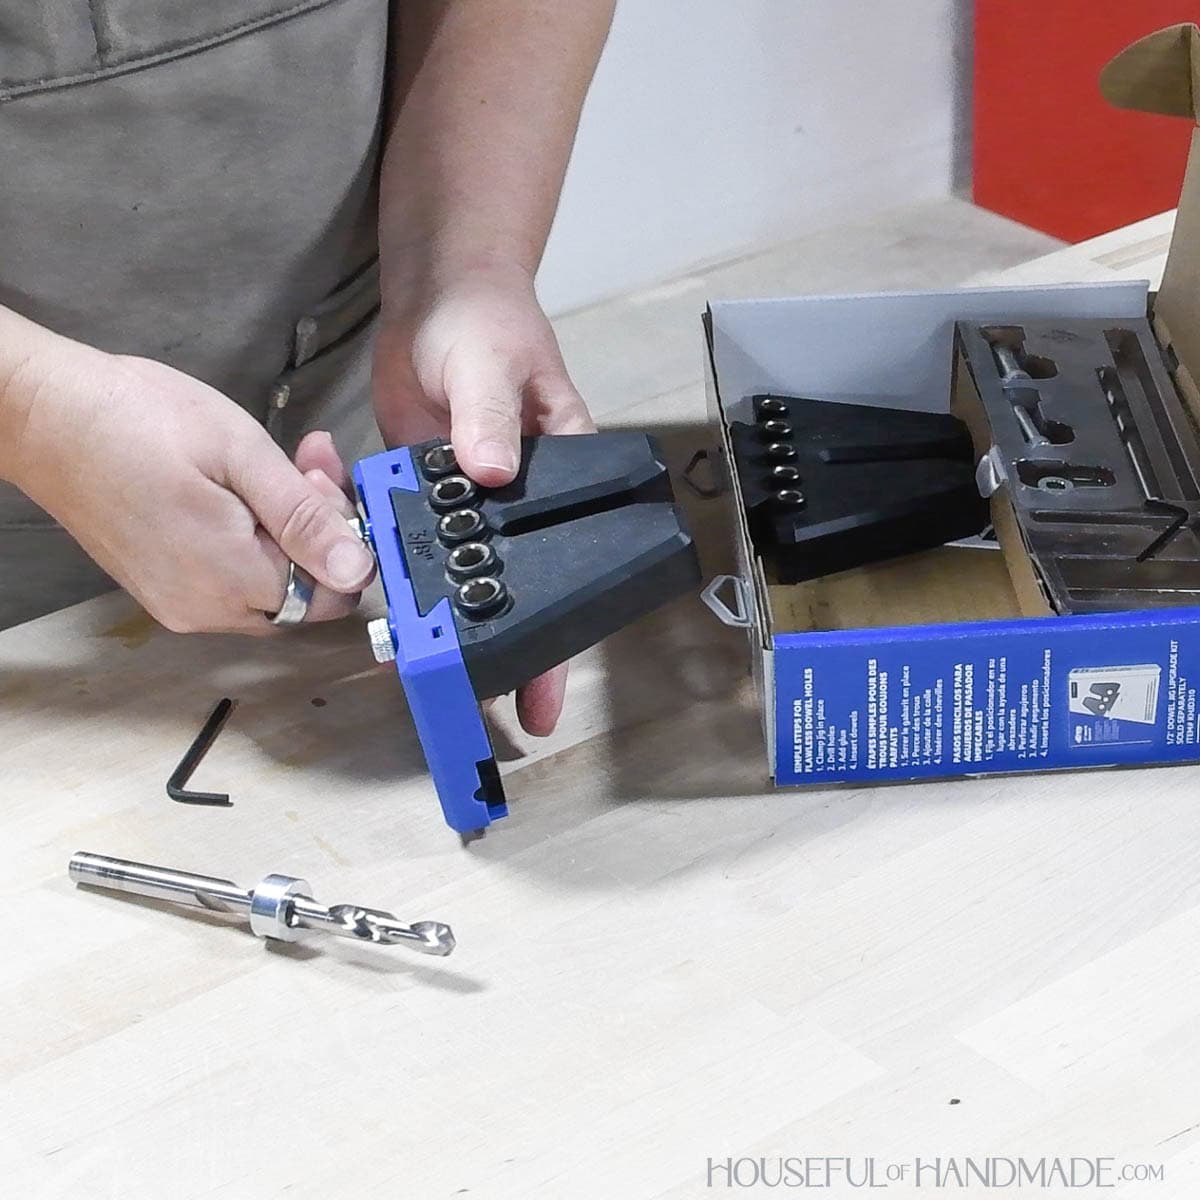
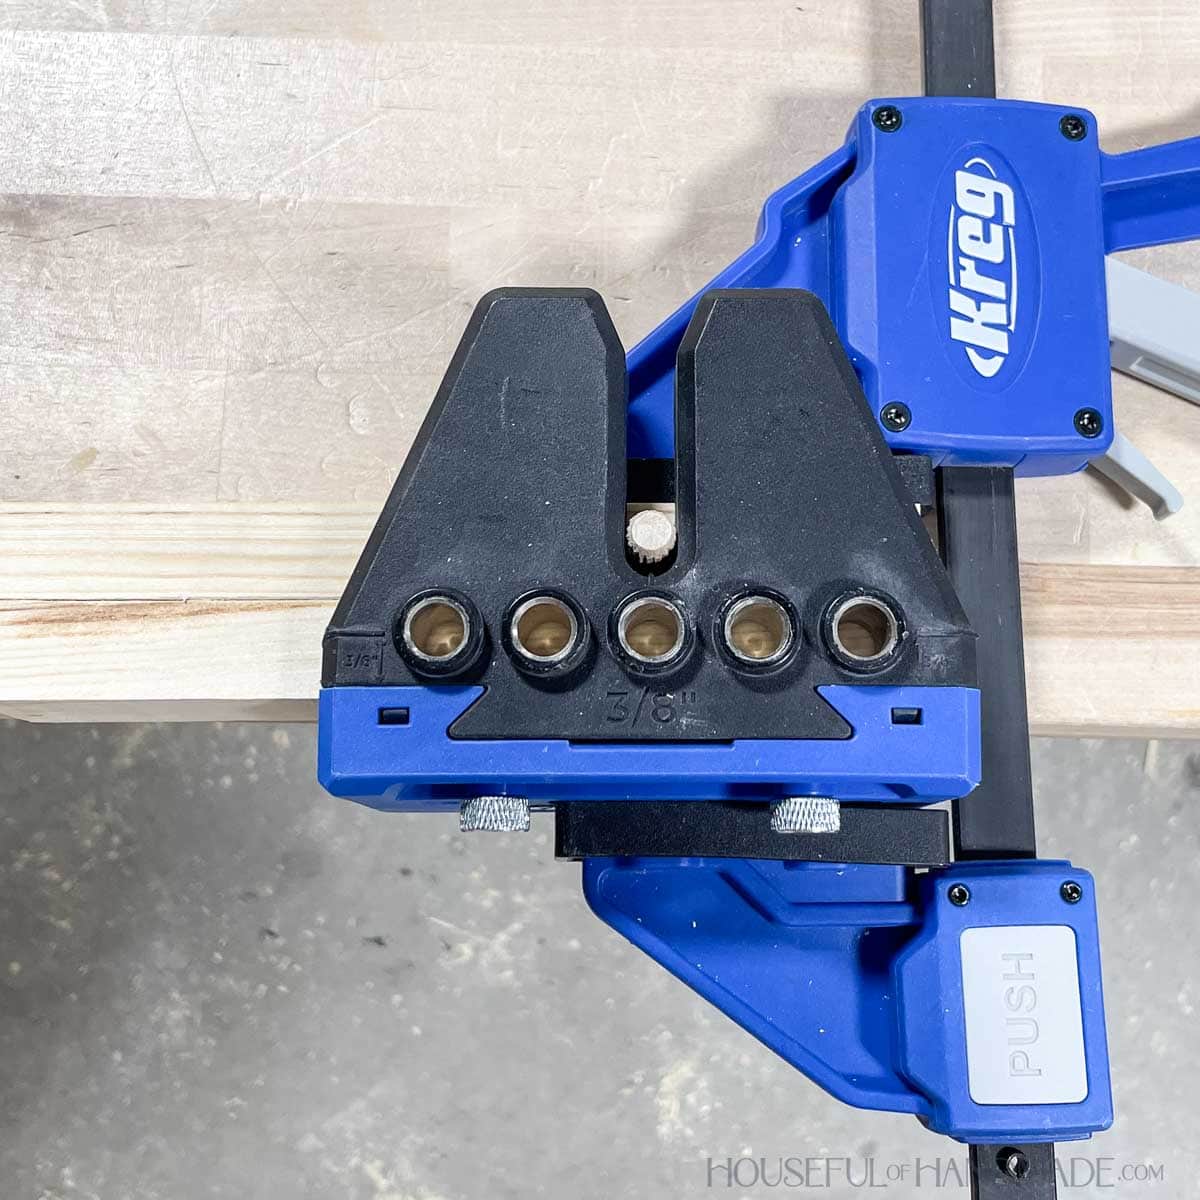
The Kreg Dowel Jig has a blue fence and 3 different sized dowels guides. It also includes drill bits and index pins for each size.
The 1/4″ and 3/8″ guides come standard with the jig. You can purchase the 1/2″ guide as an add-on.
Use the guide size that corresponds to the size of dowels needed for your project as noted below.
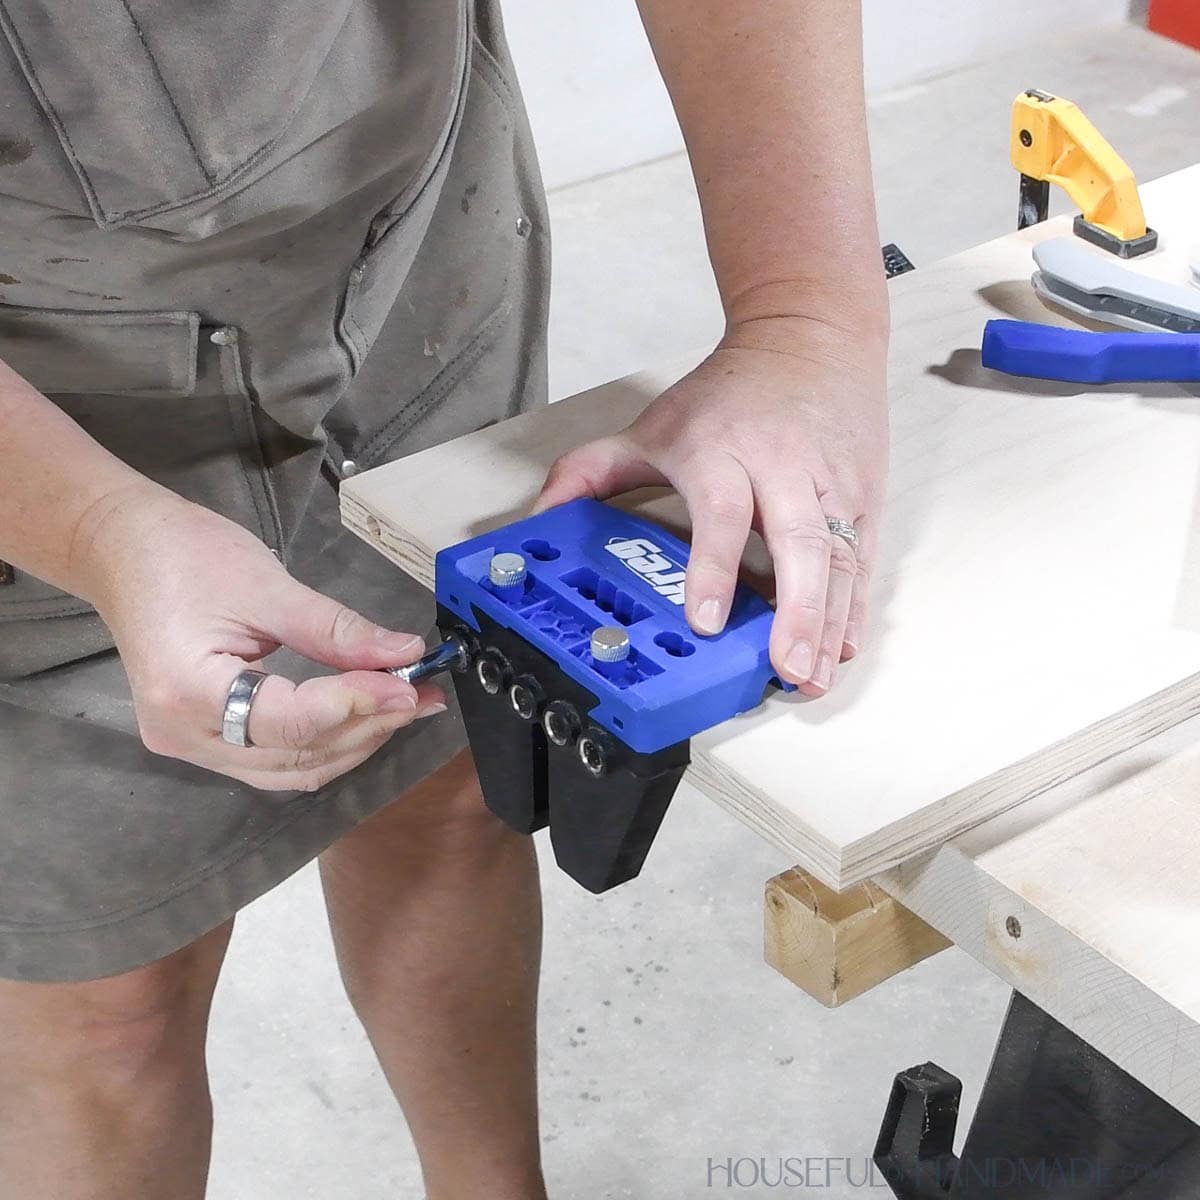
To assemble the jig, place the guide needed into the slot on the fence and secure it with connector pins.
5 Ways to Align Dowel Holes
There are 5 different ways to align the dowel jig to ensure your dowel holes are perfectly placed.
First, you can draw lines on your work piece and use the marks in the window on the front of the fence to align it.
Make sure your alignment lines are straight and perpendicular to the edge of the board and both pieces of the joint have the same lines.
Second, you can drop the index pin into any hole to use as a stop for your edge.
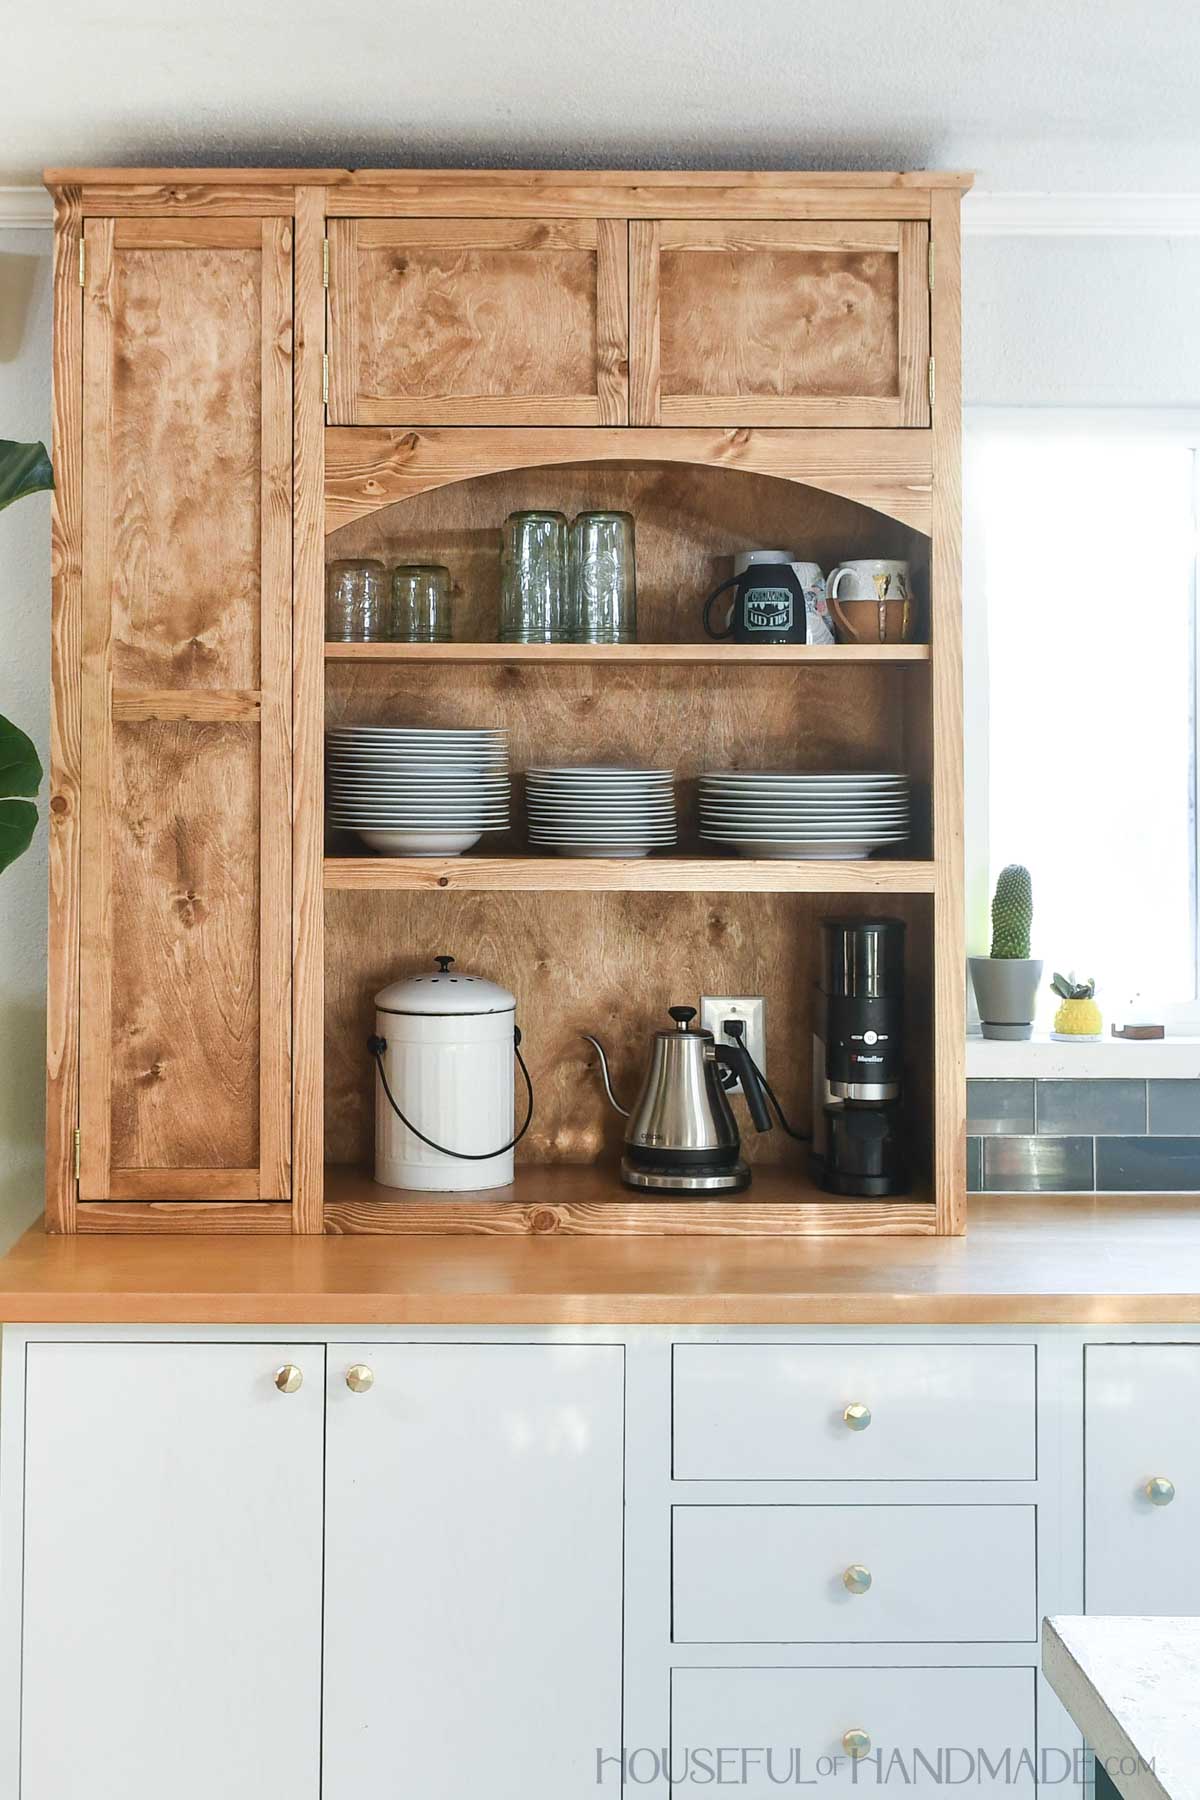
I also use the edge of the jig to line it up with the edge of the board. This worked great for the fixed shelves I added to my countertop hutch cabinets.
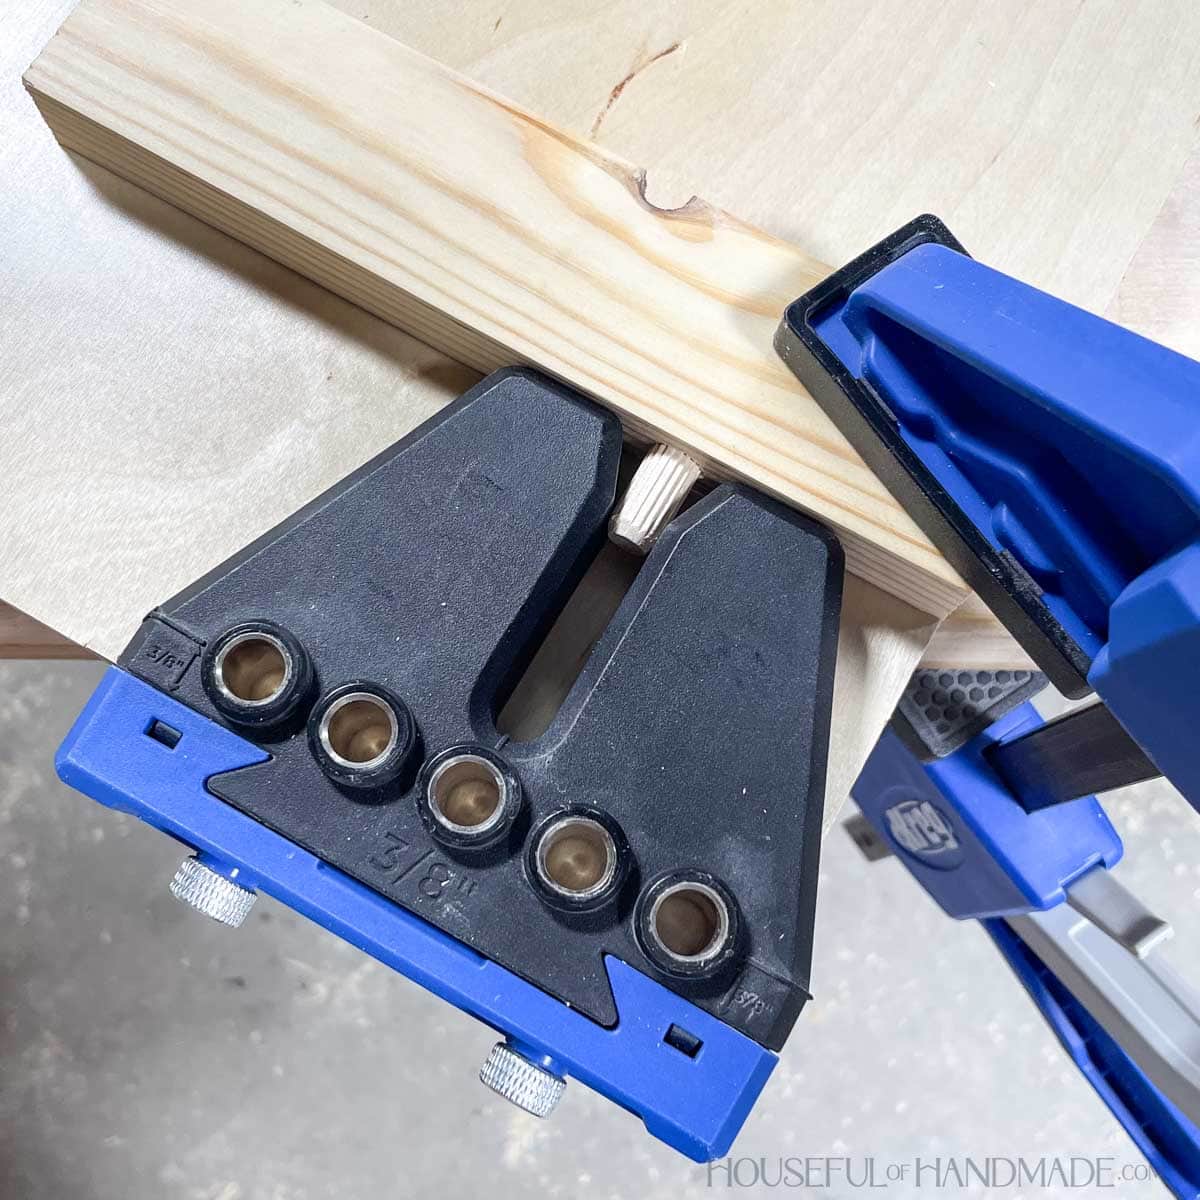
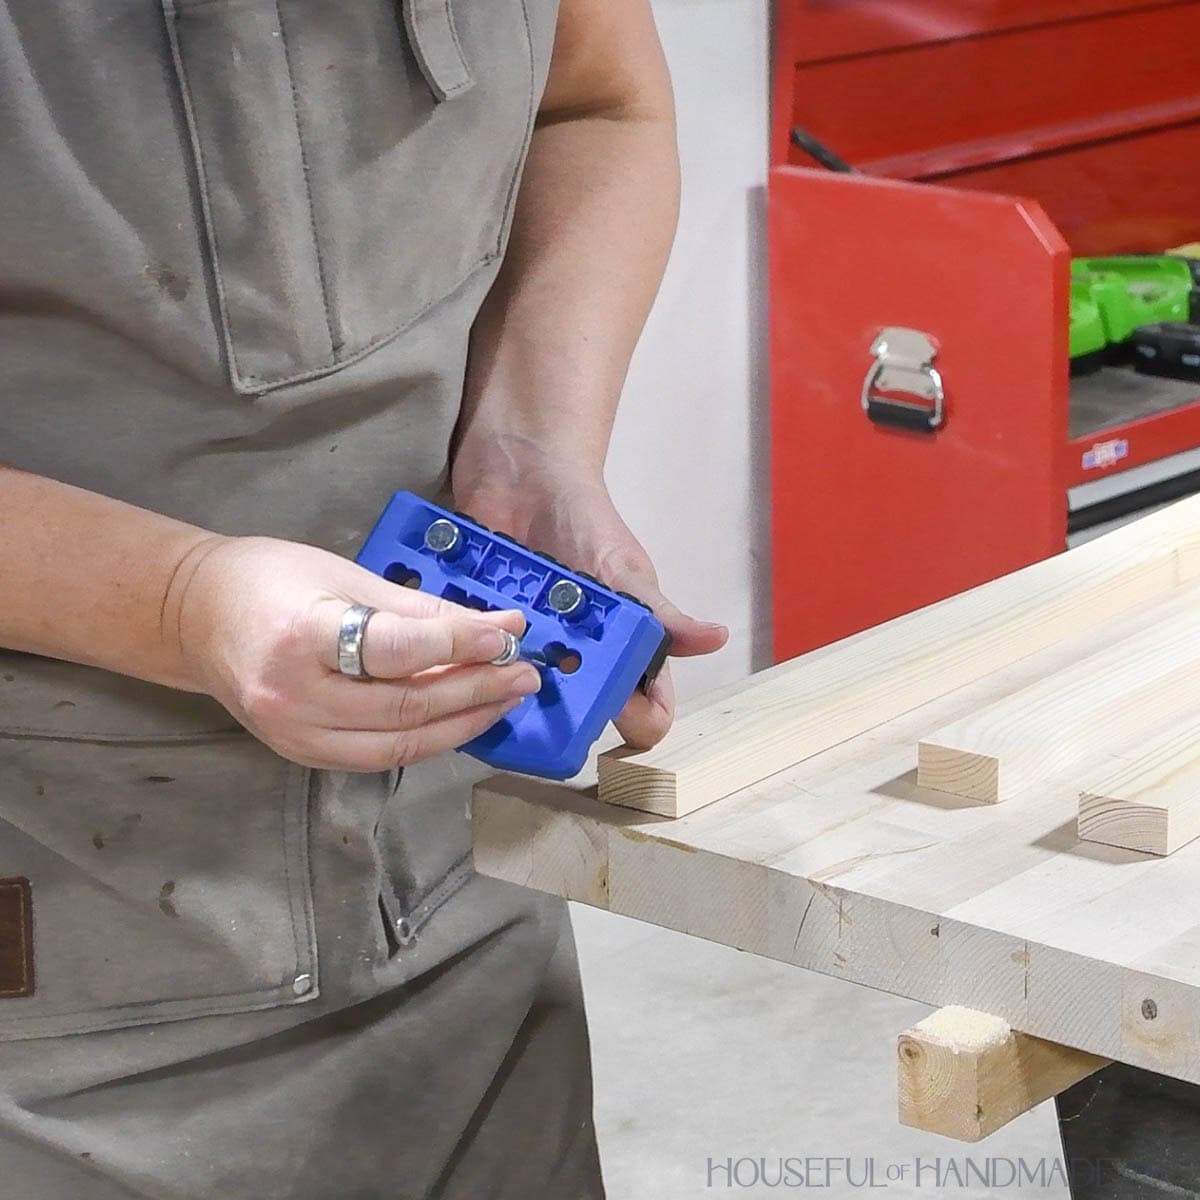
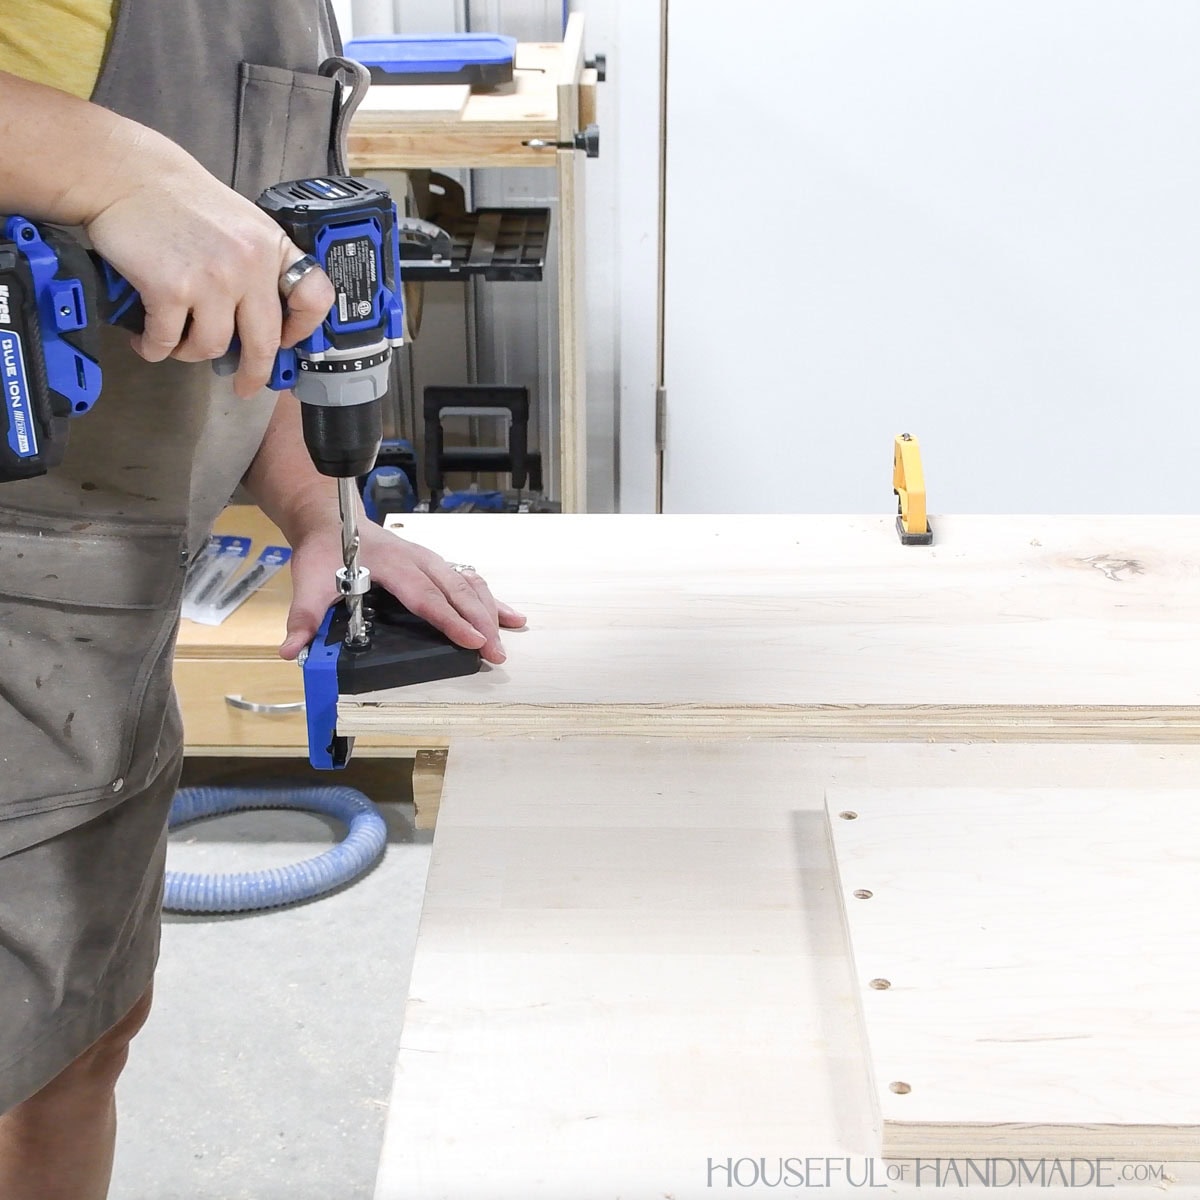
Third, once you have drilled one or more holes, you can use the index pin through a guide hole to realign the jig for additional holes.
This is the perfect way to add holes all along a board for a corner joint or fixed shelf.

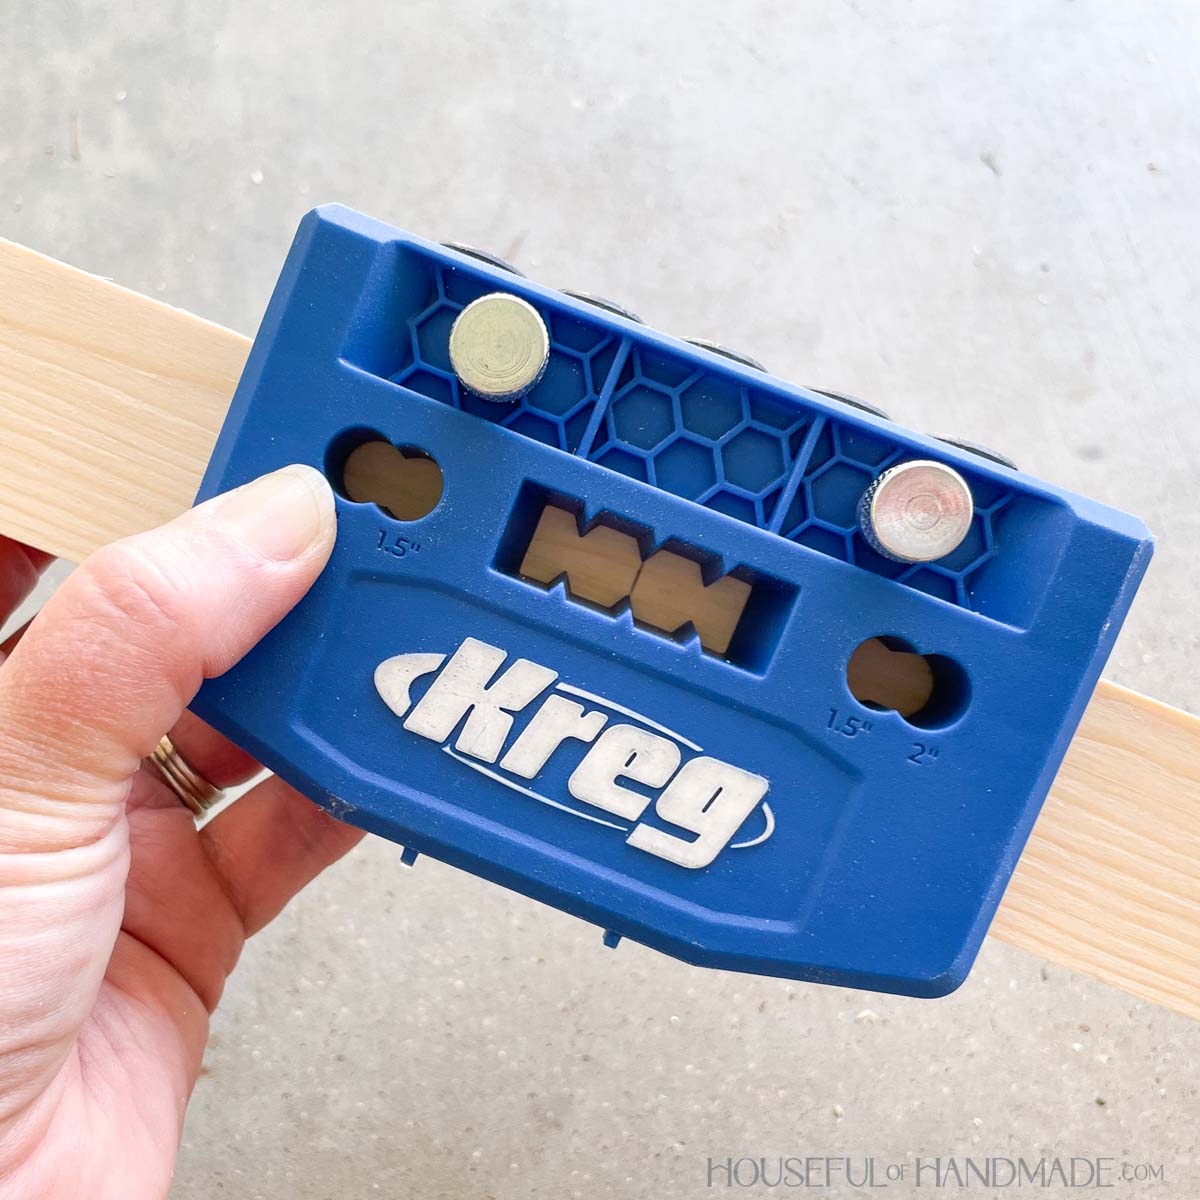
Fourth, when drilling dowel holes in a face frame, there are figure 8 holes in the front you can place the index pin inside to use as a stop.
This will center your dowel holes perfectly in a 1 1/2″ or 2″ wide face frame board. Perfect for building your own cabinets.
Fifth, once you drill holes in one piece, you can dry fit a dowel pin in it, Then use the groove in the center of the different sized guides to align the jig to it.
Make sure the two workpieces are positioned how you want them attached when using the dowel groove.
There is also a center mark in the dowel groove for you to manually align it with a line.
Drill Bit with Stop Collar
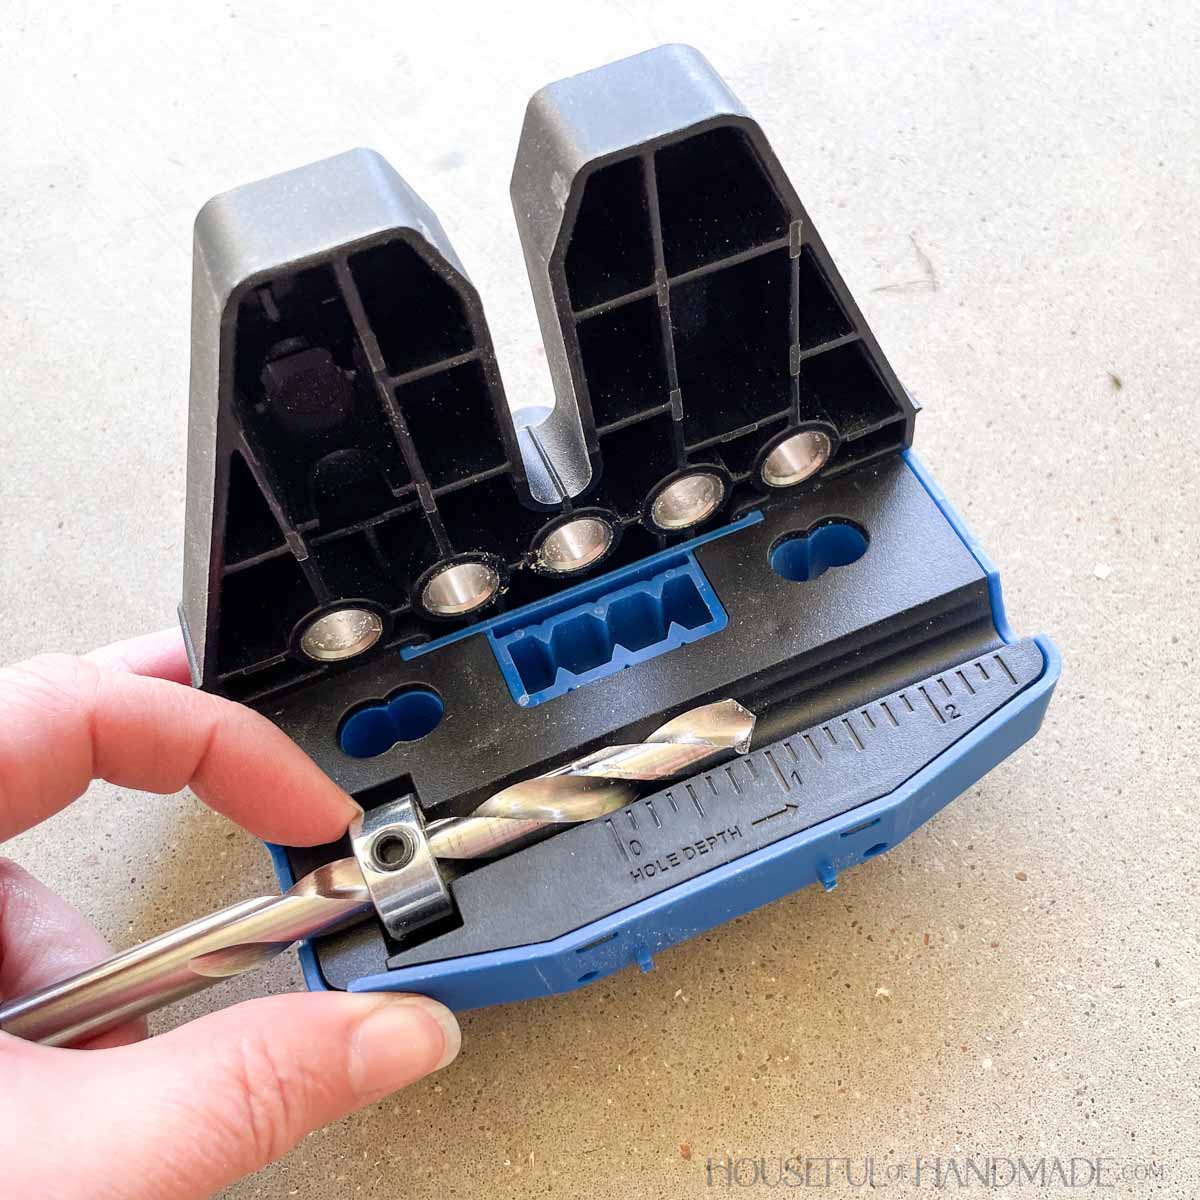
The stop collar on the drill bit is my favorite feature for drilling dowel holes. Before I got this jig I was marking the depth on my drill bit with a piece of tape.
With this new jig, the bit comes with a stop collar, similar to the one on the pocket hole jig bit.
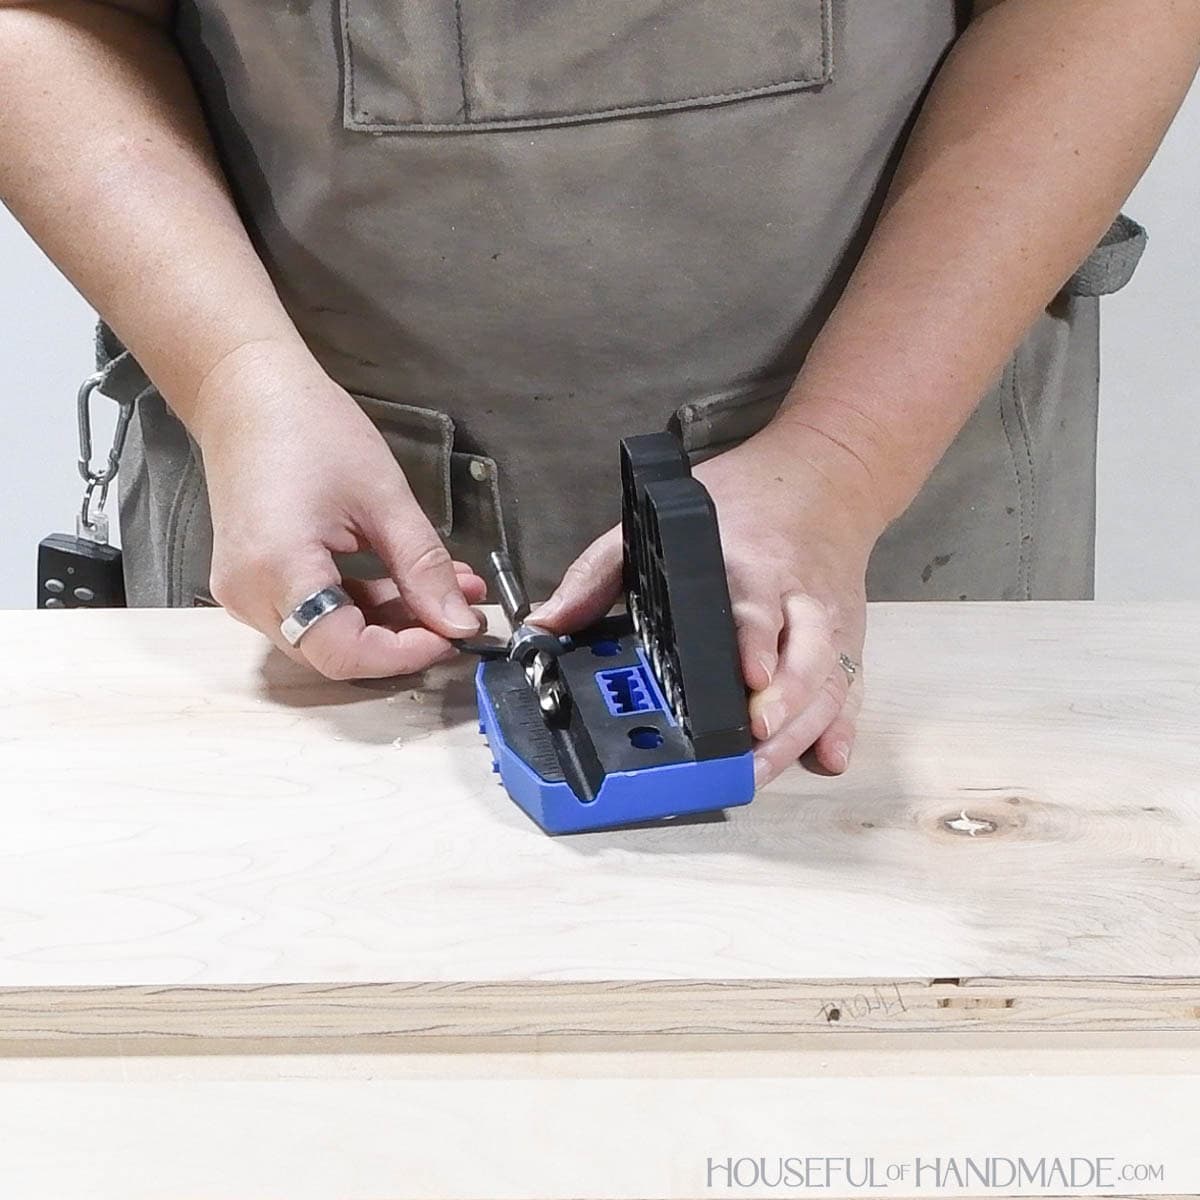
And to set the stop collar, there is a guide on the back of the fence with numbers that already take into account the thickness of the drill guides.
So all you have to do it place the drill bit into the groove and align the top with the depth you need to drill. Then tighten the stop collar and you are ready to go!
What Size Dowel to Use?
The width of the dowel pin is determined by the thickness of your lumber. You want your dowels to be up to 1/2 the thickness of your board.
The length of the dowel pin should be about 1 1/2 to 2 times the board thickness. This allows you to drill holes deep enough to get a snug fit.
Dowel pins usually come in 1″ to 2″ lengths. You may be able to find specialty lengths as needed.
Use the guide and dowel best suited for your lumber size as noted in the table below.
| Material Thickness: | Dowel Size: | Dowel Length: |
| 1/2″ to 5/8″ | 1/4″ | 1″ to 1 1/4″ |
| 3/4″ to 1″ | 3/8″ | 1 1/4″ to 1 1/2″ |
| 1″ to 1 1/2″ | 1/2″ | 1 1/2″ to 2″ |
How to Assemble Joints with Dowels
Tools & Materials
Recommended Tools:
- Kreg Dowel jig
- Drill
- Measuring tool
- Clamps
- Hammer
- Pliers
Supplies:
- 1/2″ to 1 1/2″ thick lumber for your project
- Dowel pins
- Wood glue

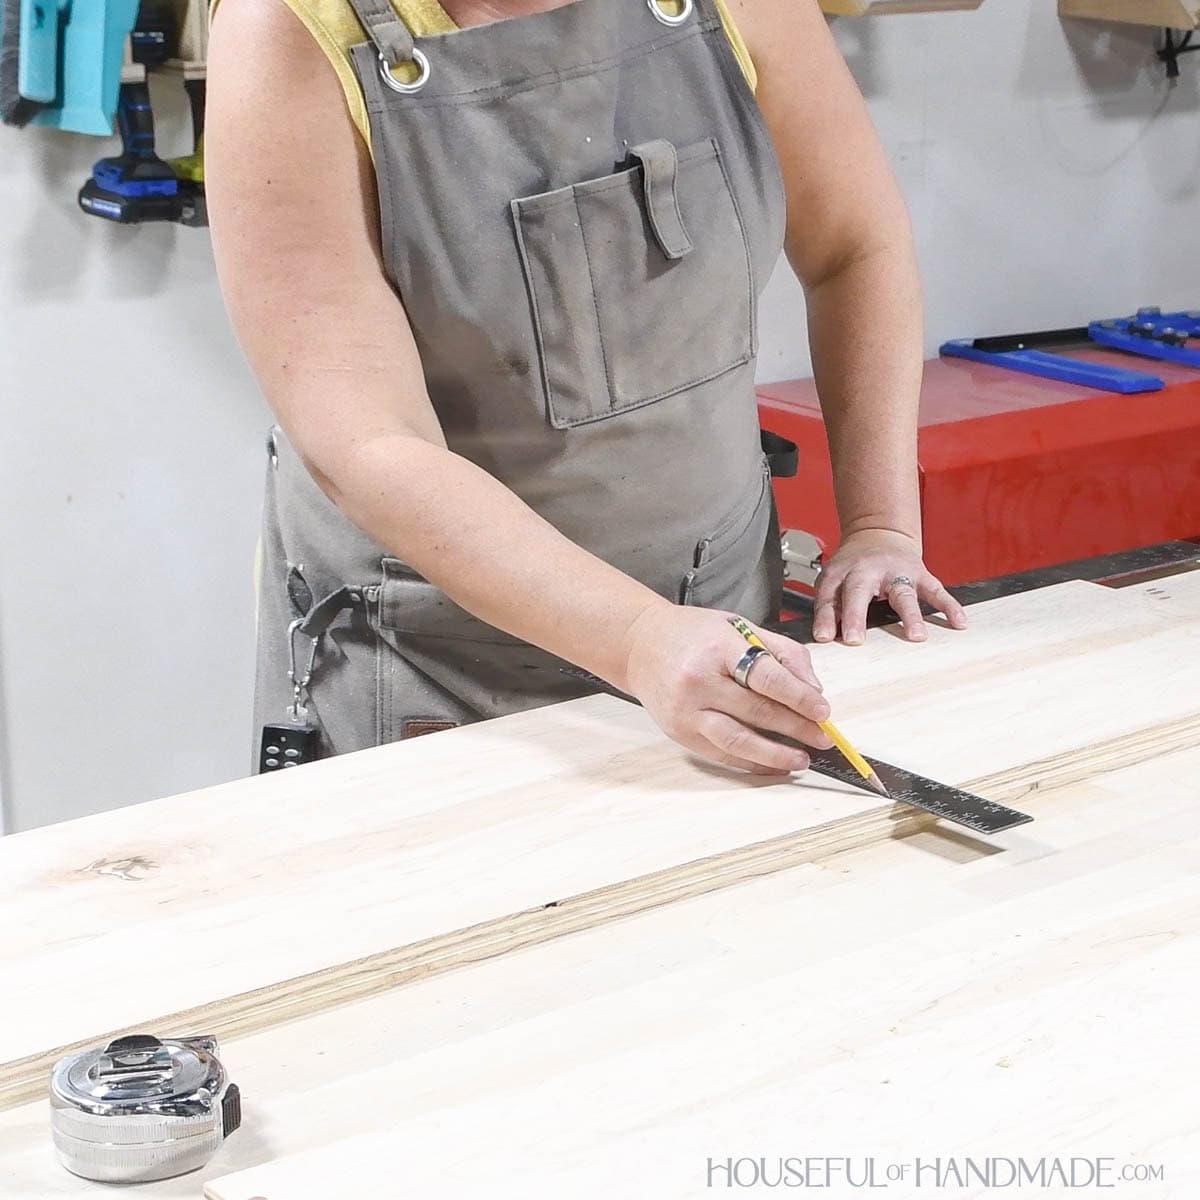
STEP 1- Label the boards
I like to label all my pieces well before drilling any holes. I label the top and front on everything.
When drilling dowel holes, I prefer to always align the jig starting with the top and front of each piece.
This ensures the top and front of all pieces are flush, even if the lumber or cuts are perfect.
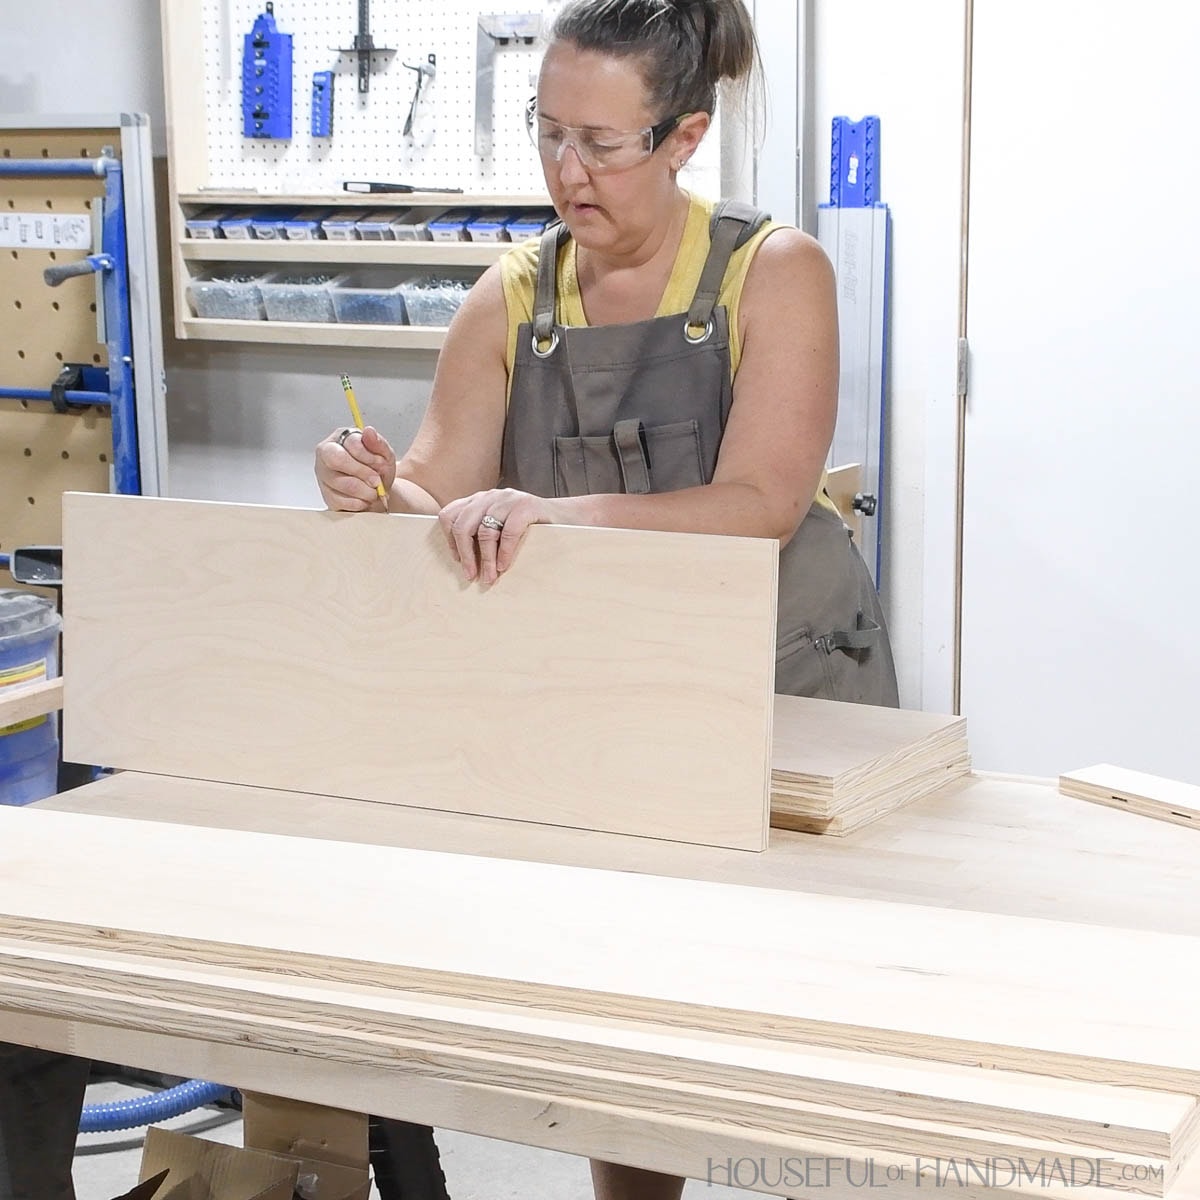
Also, measure and mark where all your pieces will align on the boards for anything that is not flush with the ends.
STEP 2- Set up the jig
Place the drill guide for the appropriate sized dowel pins in the fence and tighten the connector pins until it is secure.
Place the stop collar on the corresponding drill bit. Then place it in the groove on the back of the fence.
Line the end of the drill bit up with the numbers on the side to set the depth of your hole.
Typically I split the length of the dowel in half and drill my holes to that depth in each side. I also include 1/16″ additional depth in each hole for some wiggle room.
When drilling holes in the face of a board, I drill the hole so it is about 1/4″ shallower than the board thickness.
Then the remaining amount needed for the dowel length is drilled in the end or edge grain of the other board in the joint.
STEP 3- Drill holes
To drill your first hole, line your jig up using one of these methods (see more details and pictures above):
- Align marks in the window on the fence with lines.
- Use the index pin in a guide hole as a stop or line the edge of the jig up.
- Place index pin in figure 8 hole on the front of the fence.
Once you are lined up, clamp the jig firmly.
With the drill bit in your drill, drill the hole through the guide you lined up until the collar hits the guide.
For smaller workpieces, you can drill additional holes without having to move the jig. You want at least 2 dowels on each joint to prevent it from twisting.
You can pick any holes on the guide to use based on the size of your piece you are adding holes to.
To drill additional holes in larger pieces, you can use one of the alignment methods below:
- Place the index pin in a guide hole to align it to an already drilled hole.
- Align marks in the window on the fence with lines.
You do not need to go crazy with dowel pins to attach your pieces. For longer boards, you can place dowels 5-8″ apart.
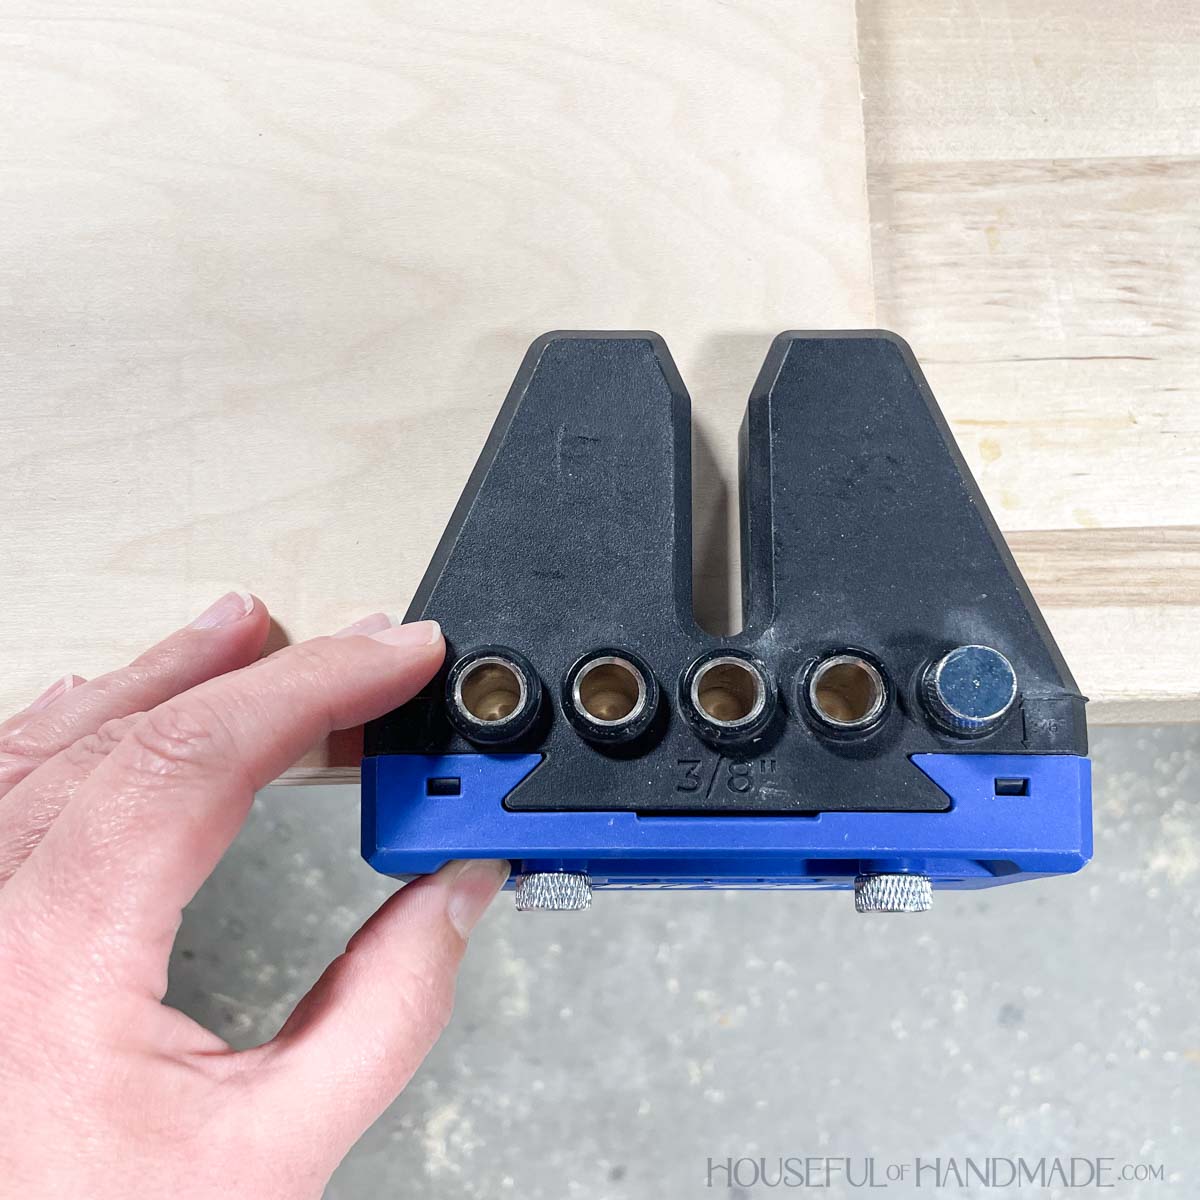
To drill holes in the middle board, remove the guide from the fence.
Then you can line up the guide by either using the edge of the guide or the center park on the sides.
The distance from the edge of the guide to the center of the dowel hole is noted on each different sized guide. When using 3/4″ thick lumber (standard for 1x boards), the edge of the 3/8″ guide put the holes in the center.

Once all the holes are drilled in one board, you need to drill coordinating holes in the board it attaches to. Adjust the stop collar on your drill bit if needed.
If you aligned the jig using the index pin stop or edge of the jig, just repeat on the other board, but make sure to start at the front of the piece again.
You can also dry fit dowels into the holes, clamp the boards together, and use the dowel positioning groove on the guide to hold the guide in place.
Then drill the hole in the center of the guide.
Finish drilling all dowel holes in the pieces.
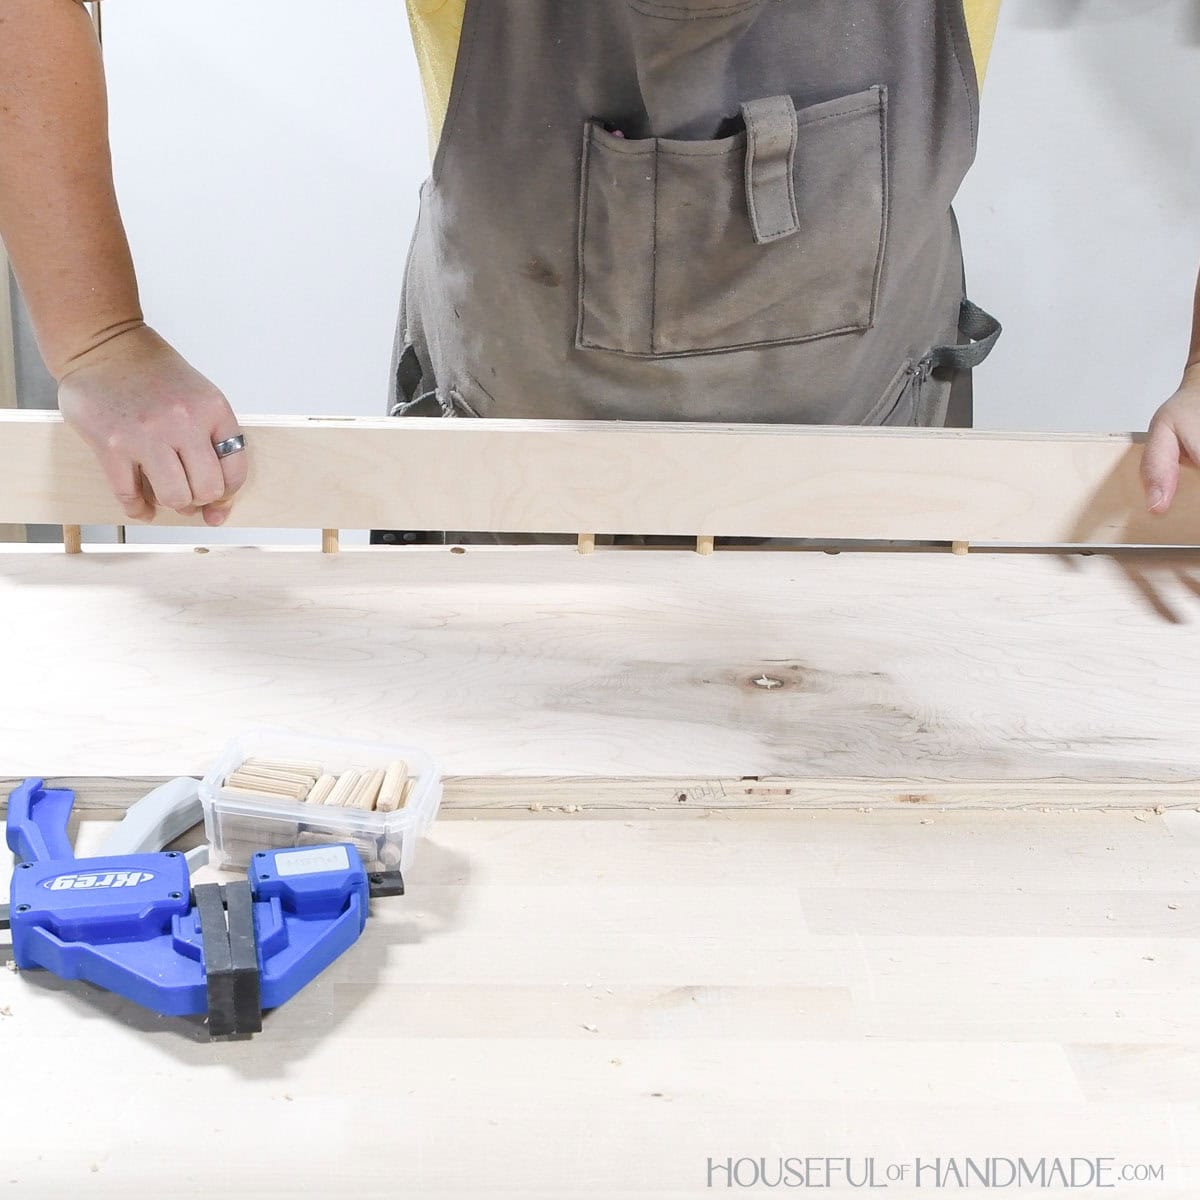
STEP 4- Test fit
Always test fit your pieces before adding glue.
Place the dowels into the holes and place the second piece on top. Press firmly to ensure the holes are deep enough for the boards to come together.
Pull the pieces apart and remove the dowels with pliers.
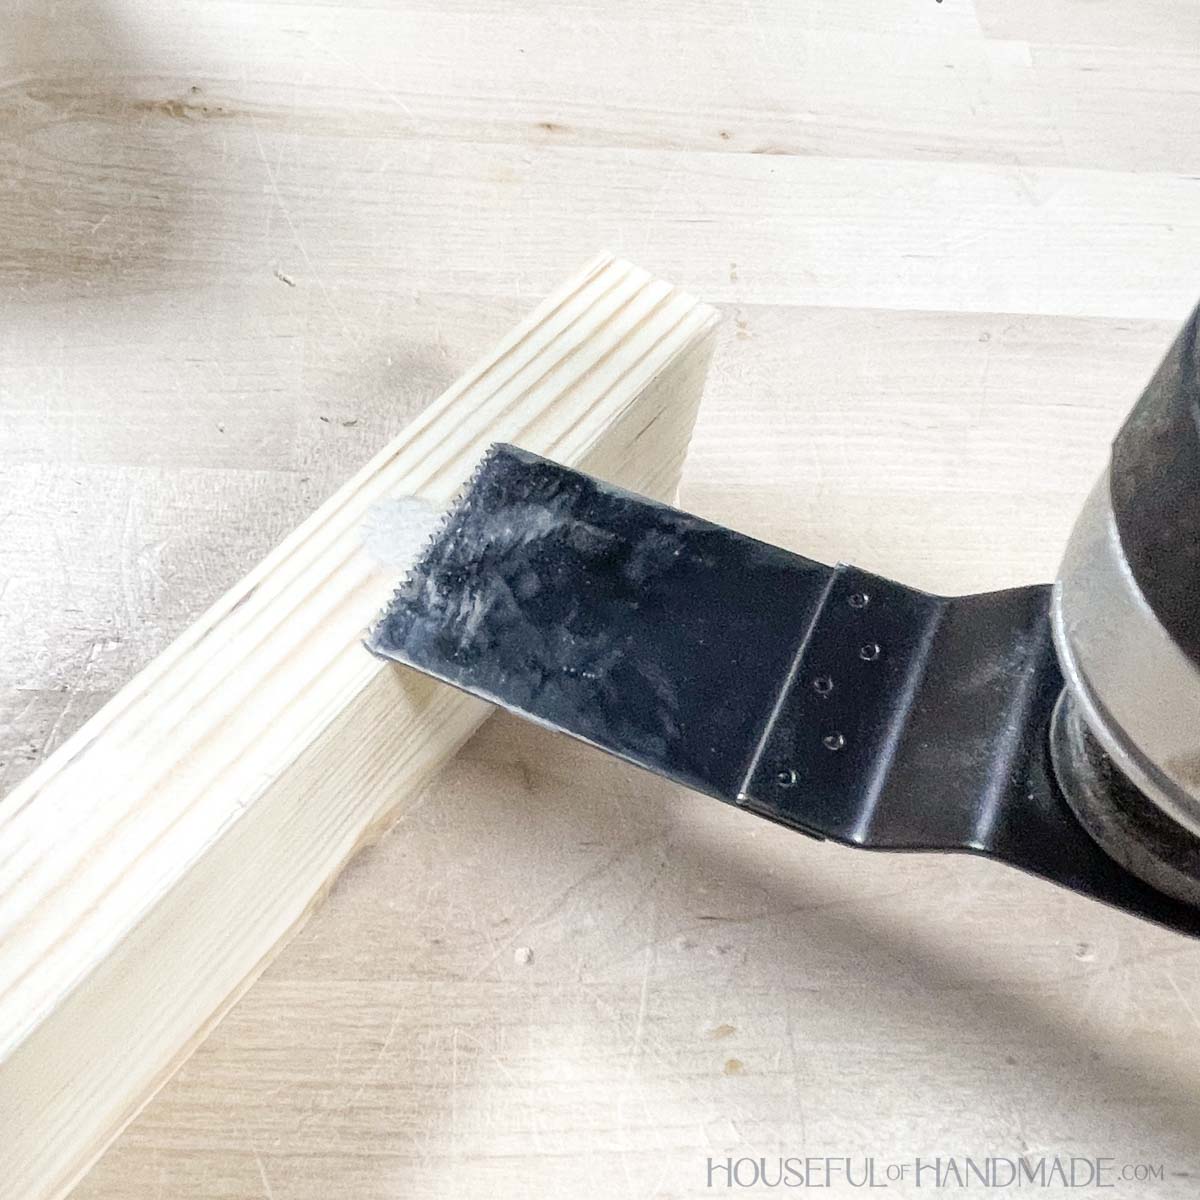
If any of the holes are misaligned, you can glue a dowel into the bad hole. Then let it dry.
Once dry, cut off the excess part of the dowel. Make sure to cut it carefully so you do not mess up the edge of your board.
Then realign the jig properly and re-drill a new hole.
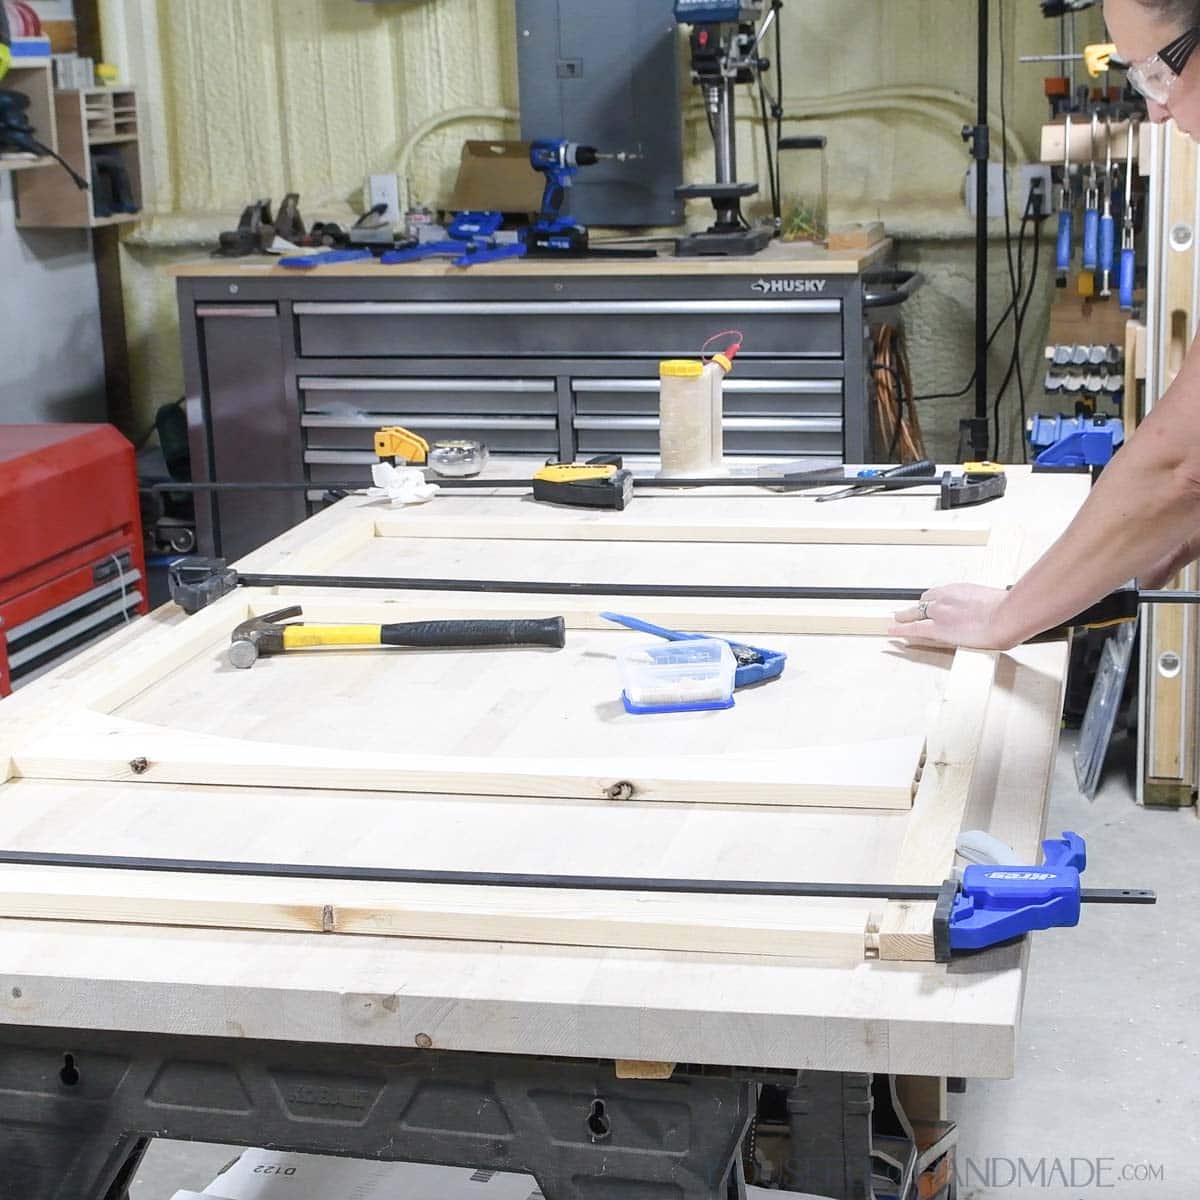
STEP 5- Glue and clamp
Once you are happy with the joint, it is time to add glue.
You want to add glue all over half of the dowel. You can either do this with a finger or paint brush. I love using a silicone glue brush for this.
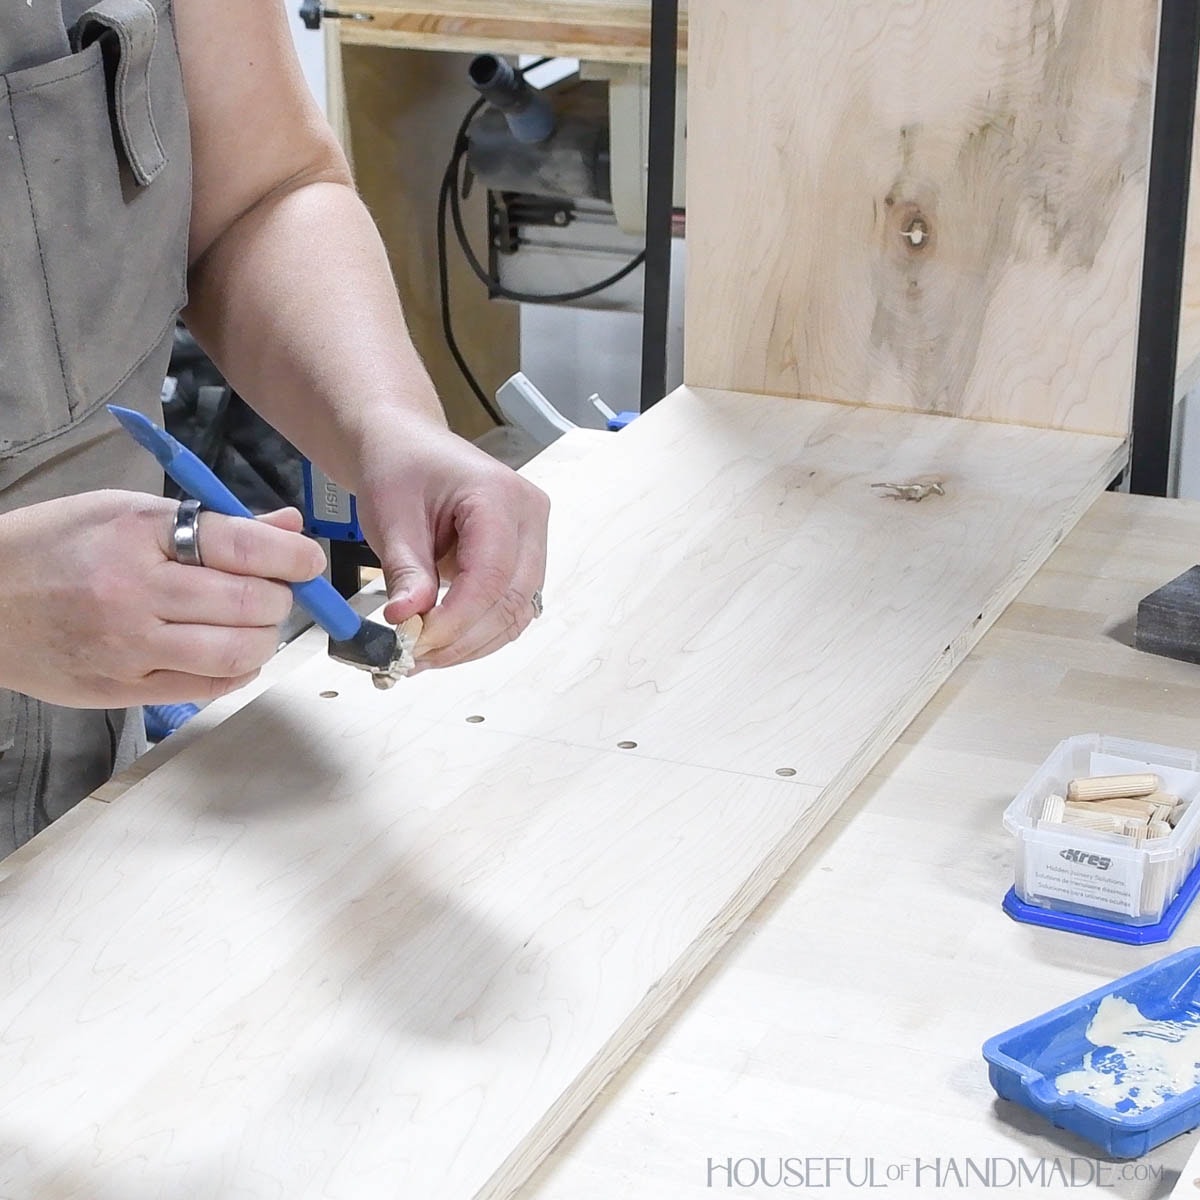
Place the dowel into the hole and make sure it is fully seated. Tap with a hammer carefully if needed.
Then apply glue to the other side of the dowel that is sticking out. Also, place glue on the edge of the board without the dowels in it.
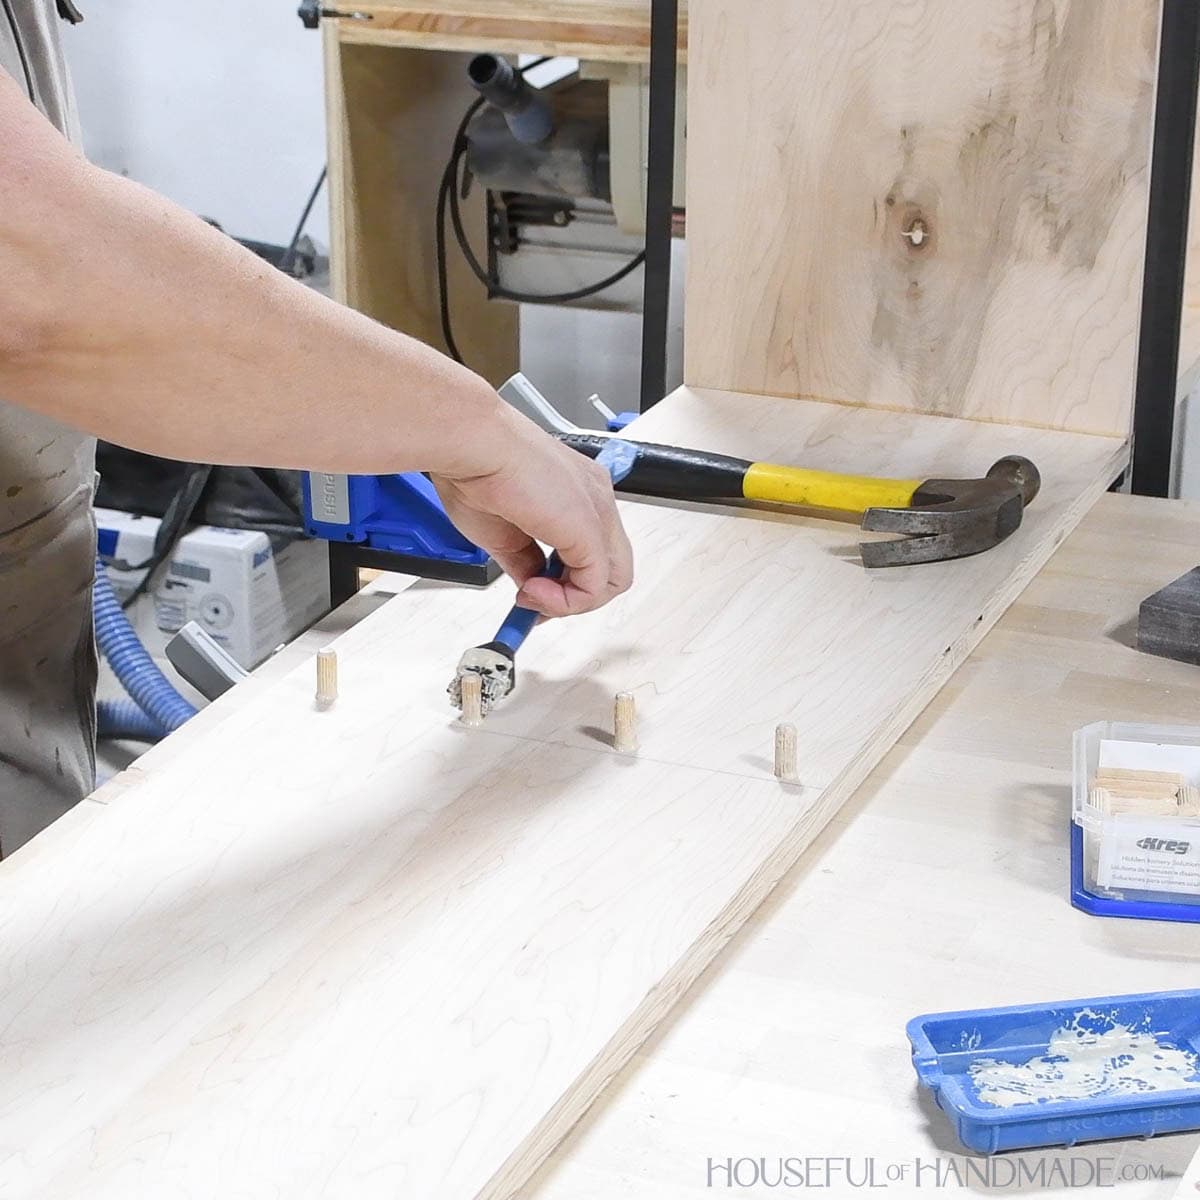
Place the two pieces together so the dowels go into the corresponding holes and press tightly.
With the glue on the dowels, it should be a nice tight fit. I like to use my clamps to pull things together.
Clamp until the joint is flat, but be careful not to over-clamp and bow the pieces. Check for square as you go.
And now you can repeat for any other dowel joints in your project!
I am truly excited about the features of this new jig and know it will be used often in my shop. It worked great for building these beautiful kitchen hutches.
Happy building!

I was gifted the Kreg Dowel jig to use in my workshop. I only recommend products that I use and love and all opinions are 100% my own. Click here to read my full disclosure policy.