
I have an app that I use to keep all my recipes in. All of our families favorite recipes are in it, with all my modifications.
And while it is convenient, I miss cookbooks and recipe cards. The nostalgia of seeing handwritten edits and food splatters is missing from the kitchen.
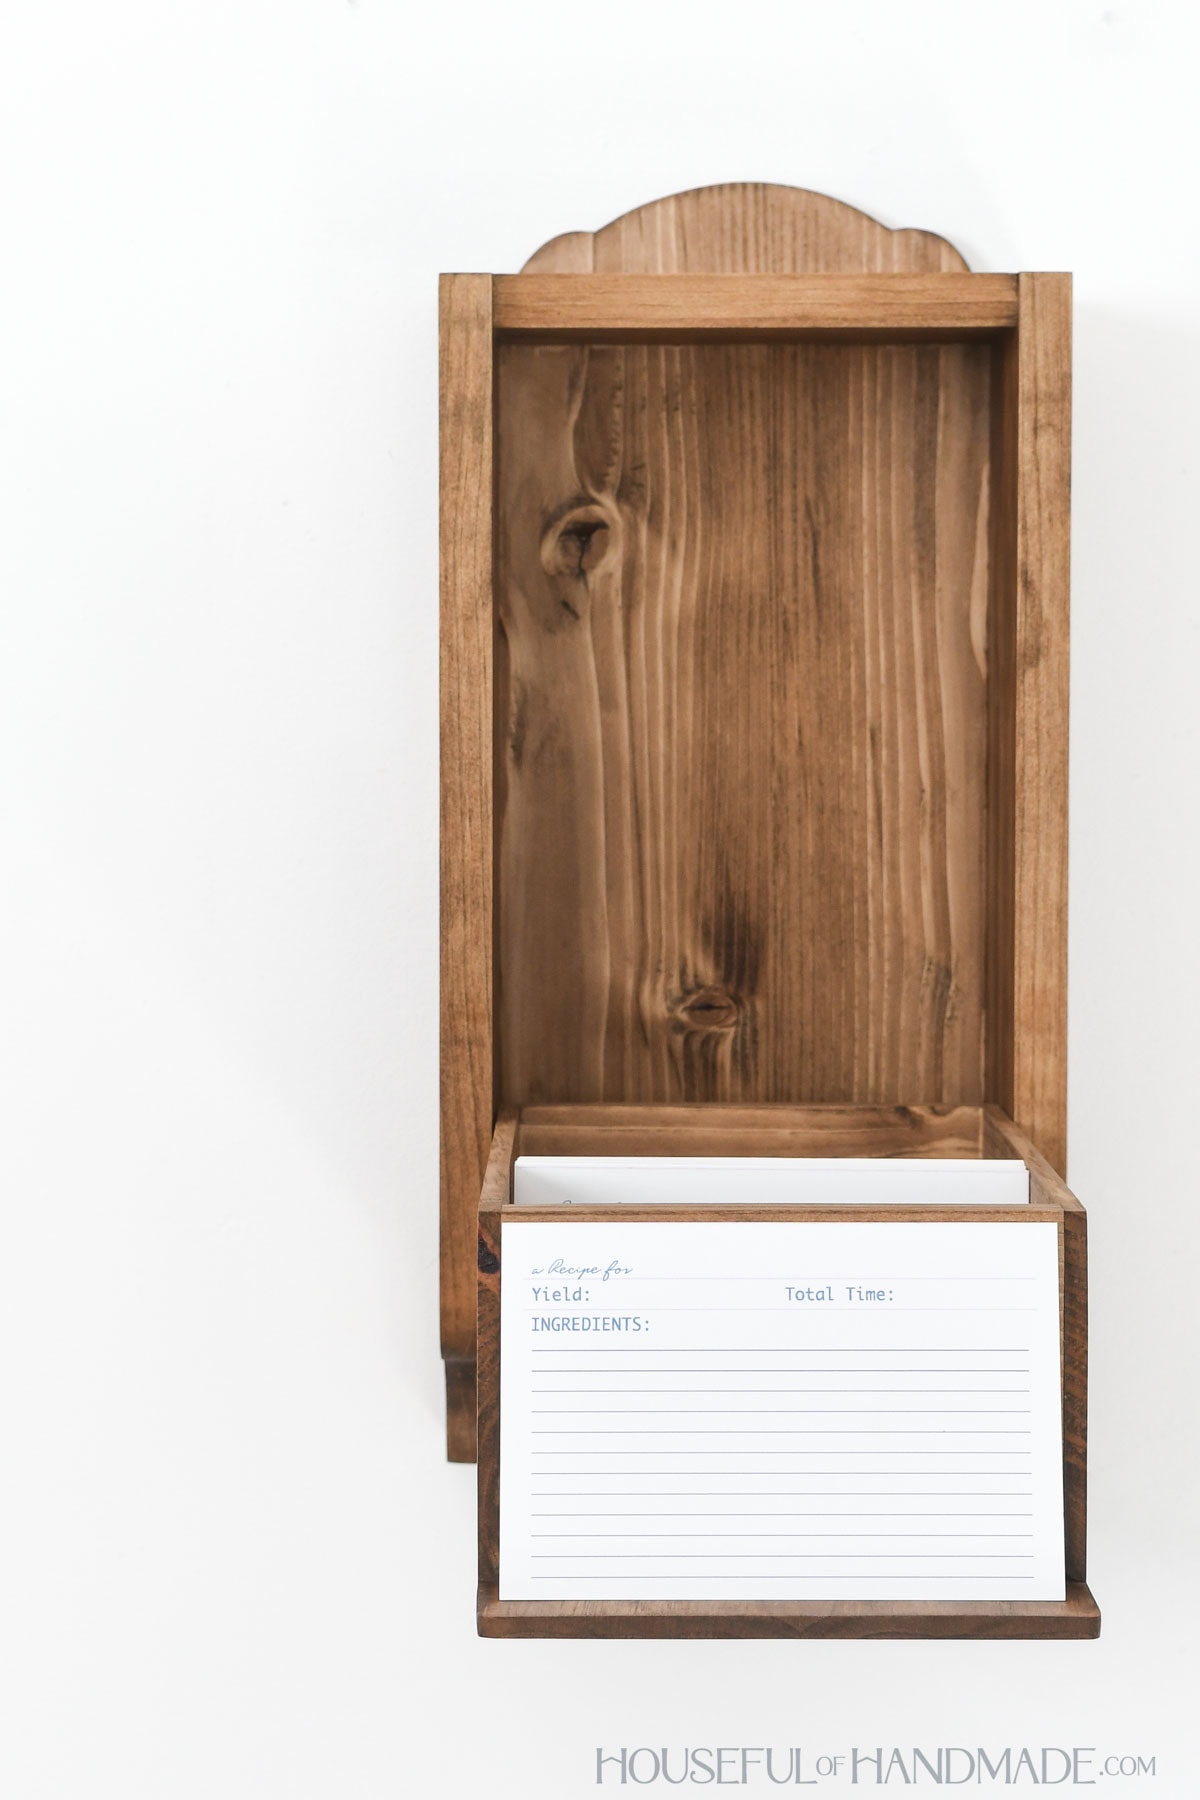
So I am hoping to bring that all back with today’s DIY gift idea. It is a beautiful wall-mounted recipe box. This large recipe holder will have room for all my recipes and more!
This post may contain affiliate links. As an Amazon Associate I earn from qualifying purchases. Click here to read my full disclosure policy.
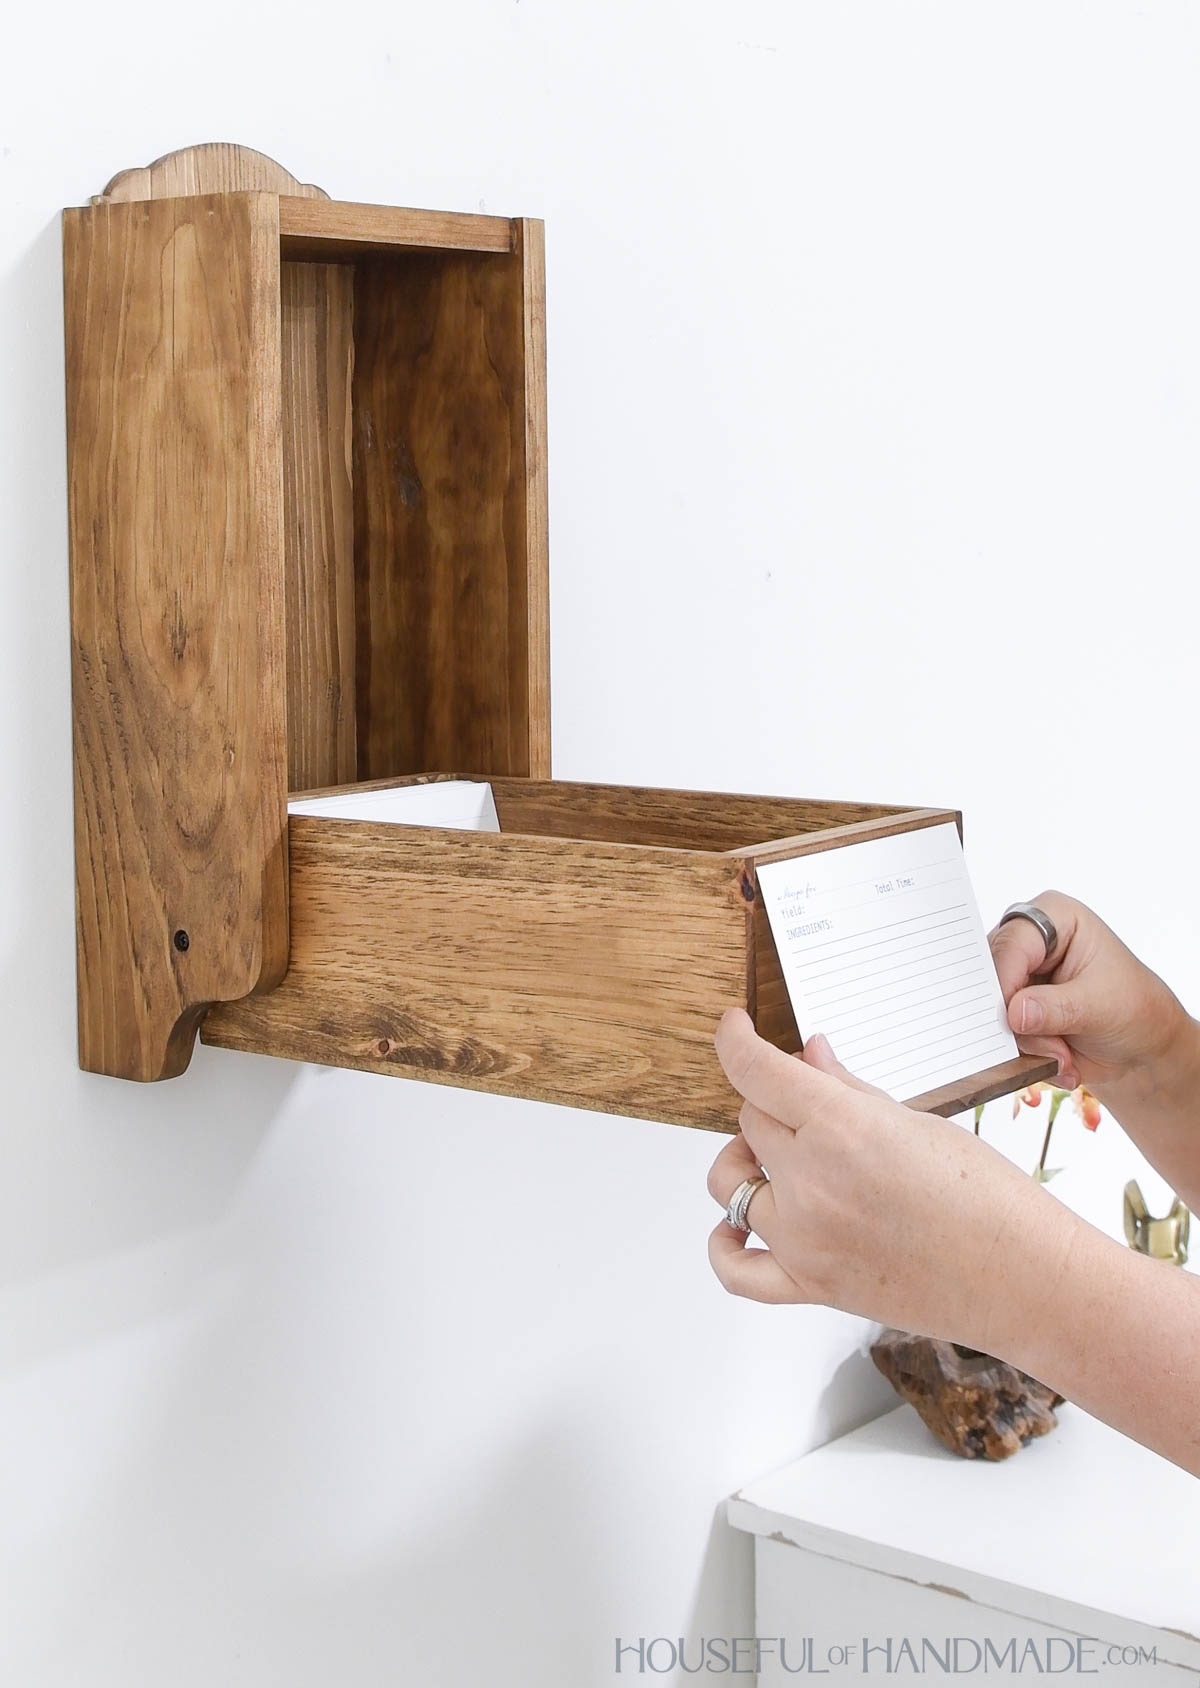
Vintage Inspired Recipe Box
I had never seen a hanging recipe box until a vintage store shared a couple they had for sale. No surprise they sold quickly.
So instead of hunting for another vintage recipe holder, I decided to build my own.
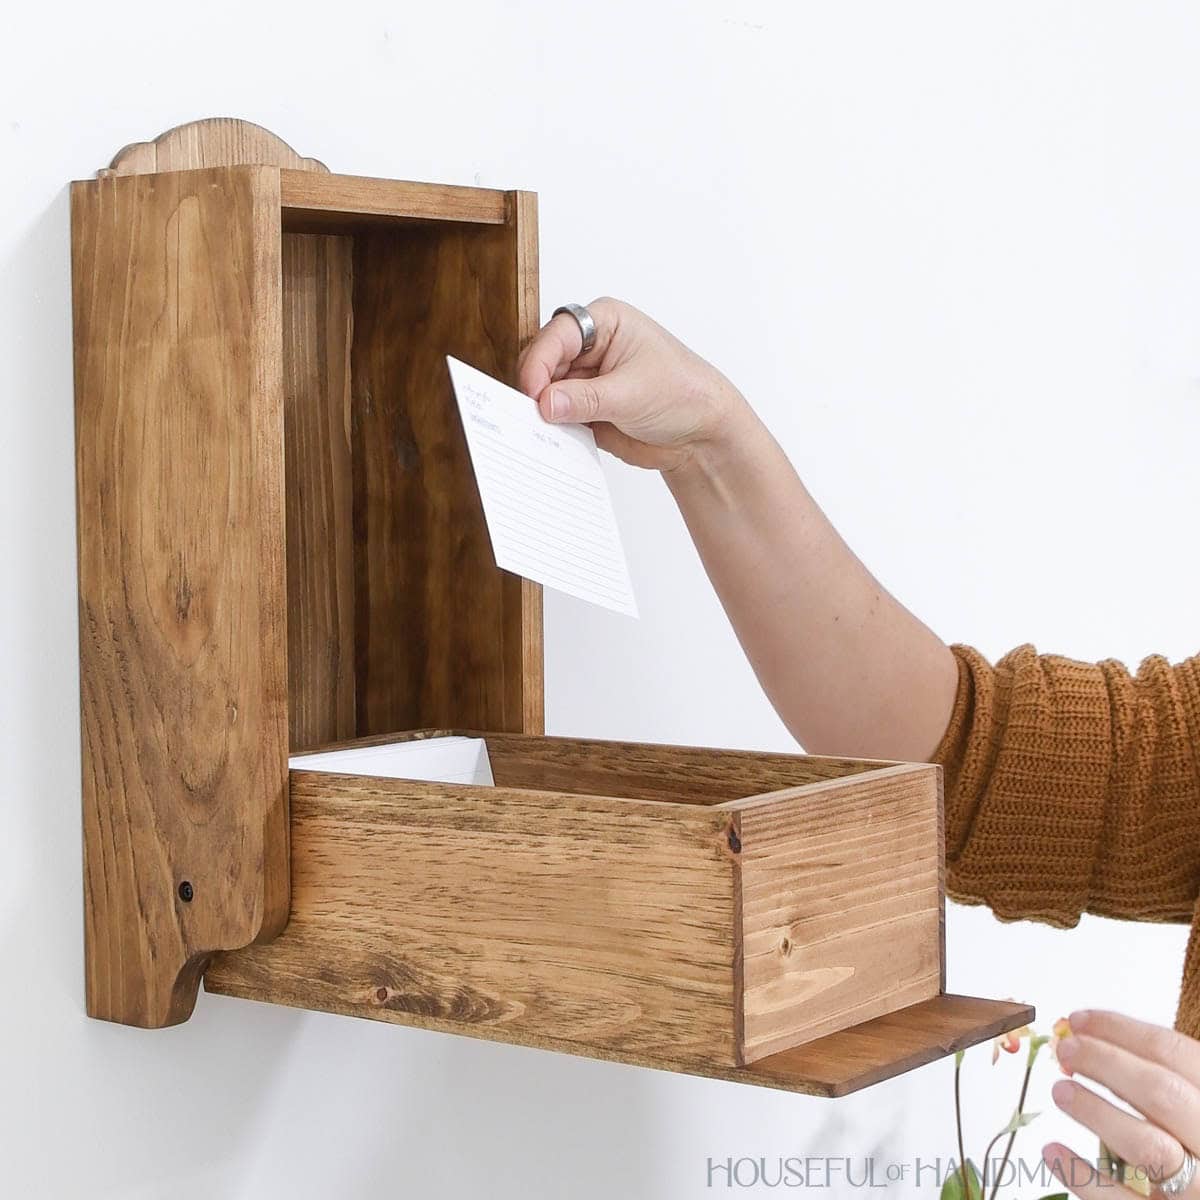
Engineering the two pieces so they fit together and pivot open easily took me some time. But the end result is beautiful and functional.
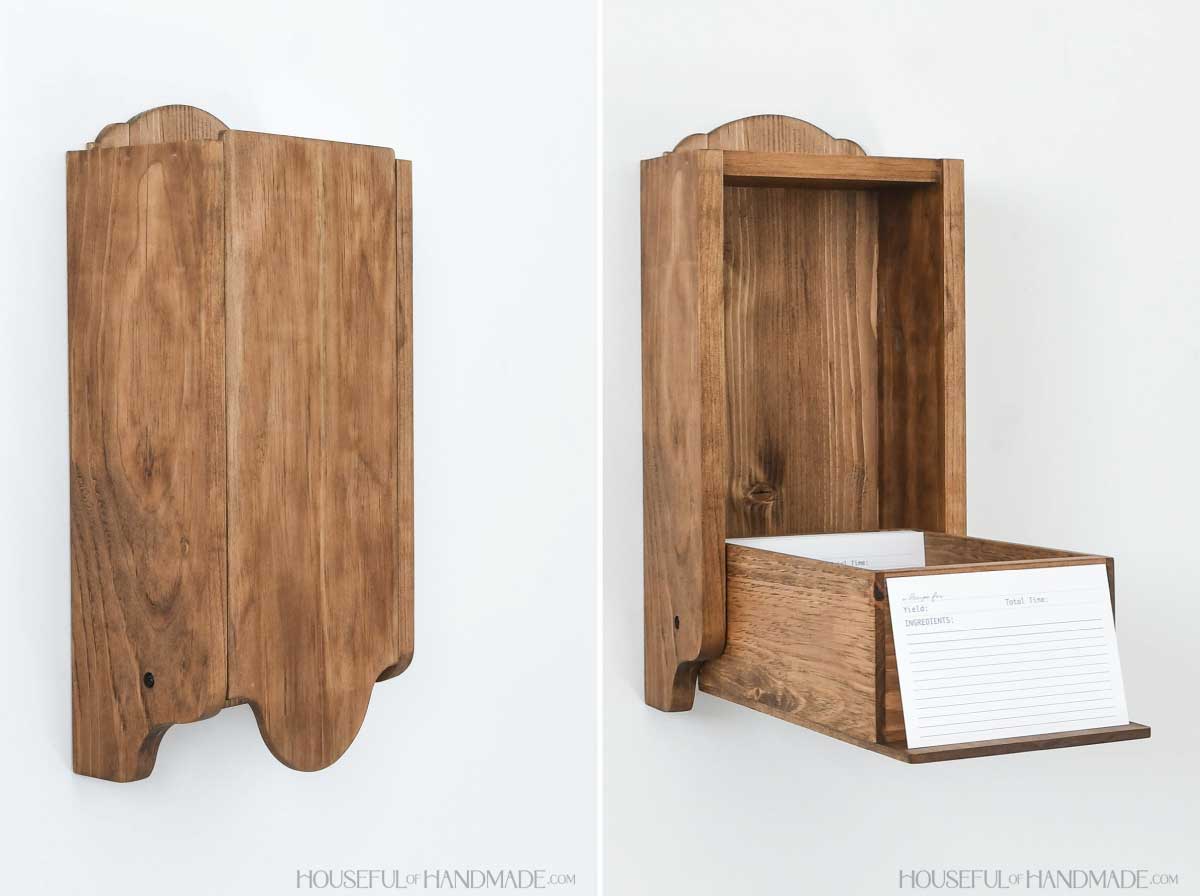
I love that the recipe box hangs on the wall so it is always available. But it does not take up valuable countertop or cabinet space.
The inside holds 4×6 recipe cards and there is so much space for recipes. Most recipe boxes are only 4-5 inches deep, this one is just over 10″!
And the front of the recipe holder is the perfect shelf for you to put the recipe you are cooking with now.
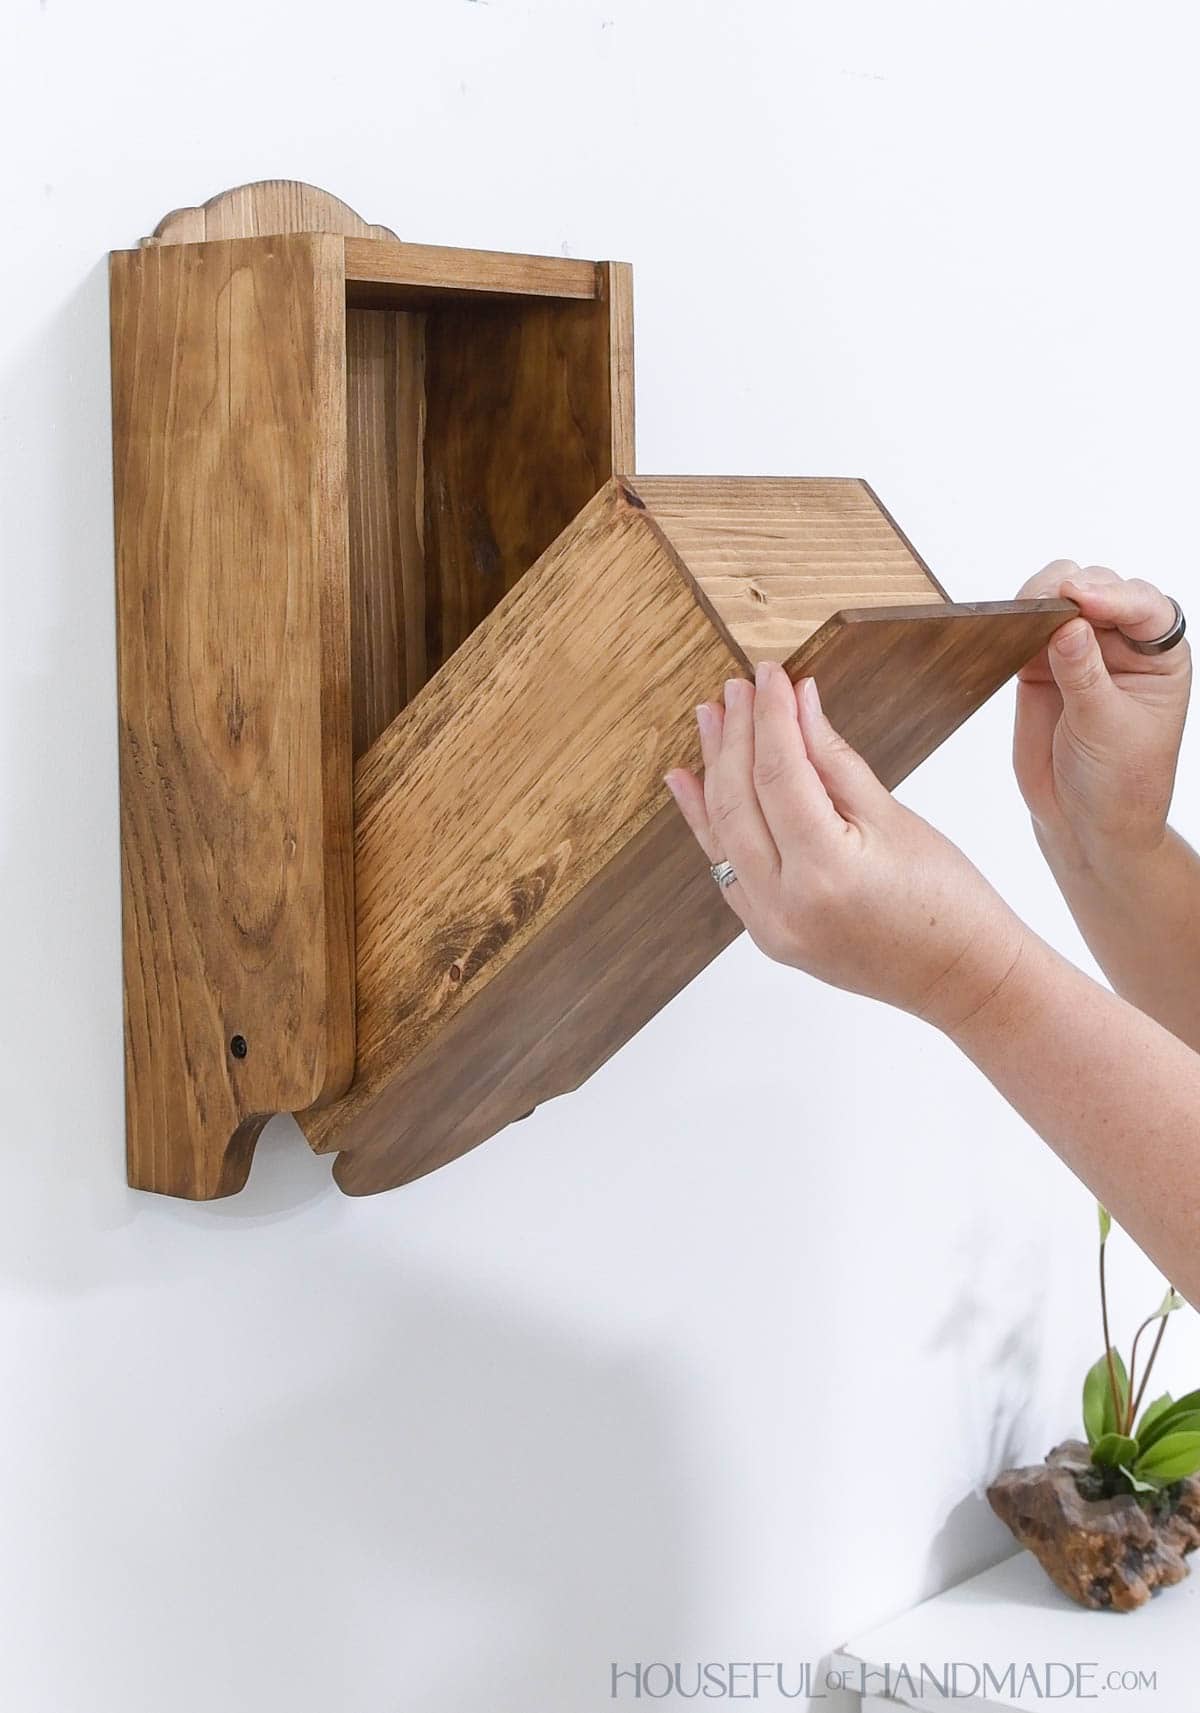
How to Build a Hanging Recipe Holder
Tools & Materials
Recommended Tools:
- Miter saw
- I recently upgraded to this sliding miter saw (watch for it to go on sale), but previously used this inexpensive miter saw that I love.
- Table saw
- Jig saw
- Brad nailer (18 gauge)
- Drill
- Drill guide or Drill press
- Speed square
- Multi-mark measuring tool
- Sander
Supplies:
- Wood products
- (1) 1×6 board, 5′ long
- (2) 1/4 x 4 project boards, 3′ long
- (1) 1/4 x 6 project board, 2′ long
- 3/4″ 18 gauge brad nails
- 1 1/4″ 18 gauge brad nails
- Wood glue
- 1 1/4″ washer head screws (I used pocket hole screws)
Overall Dimensions
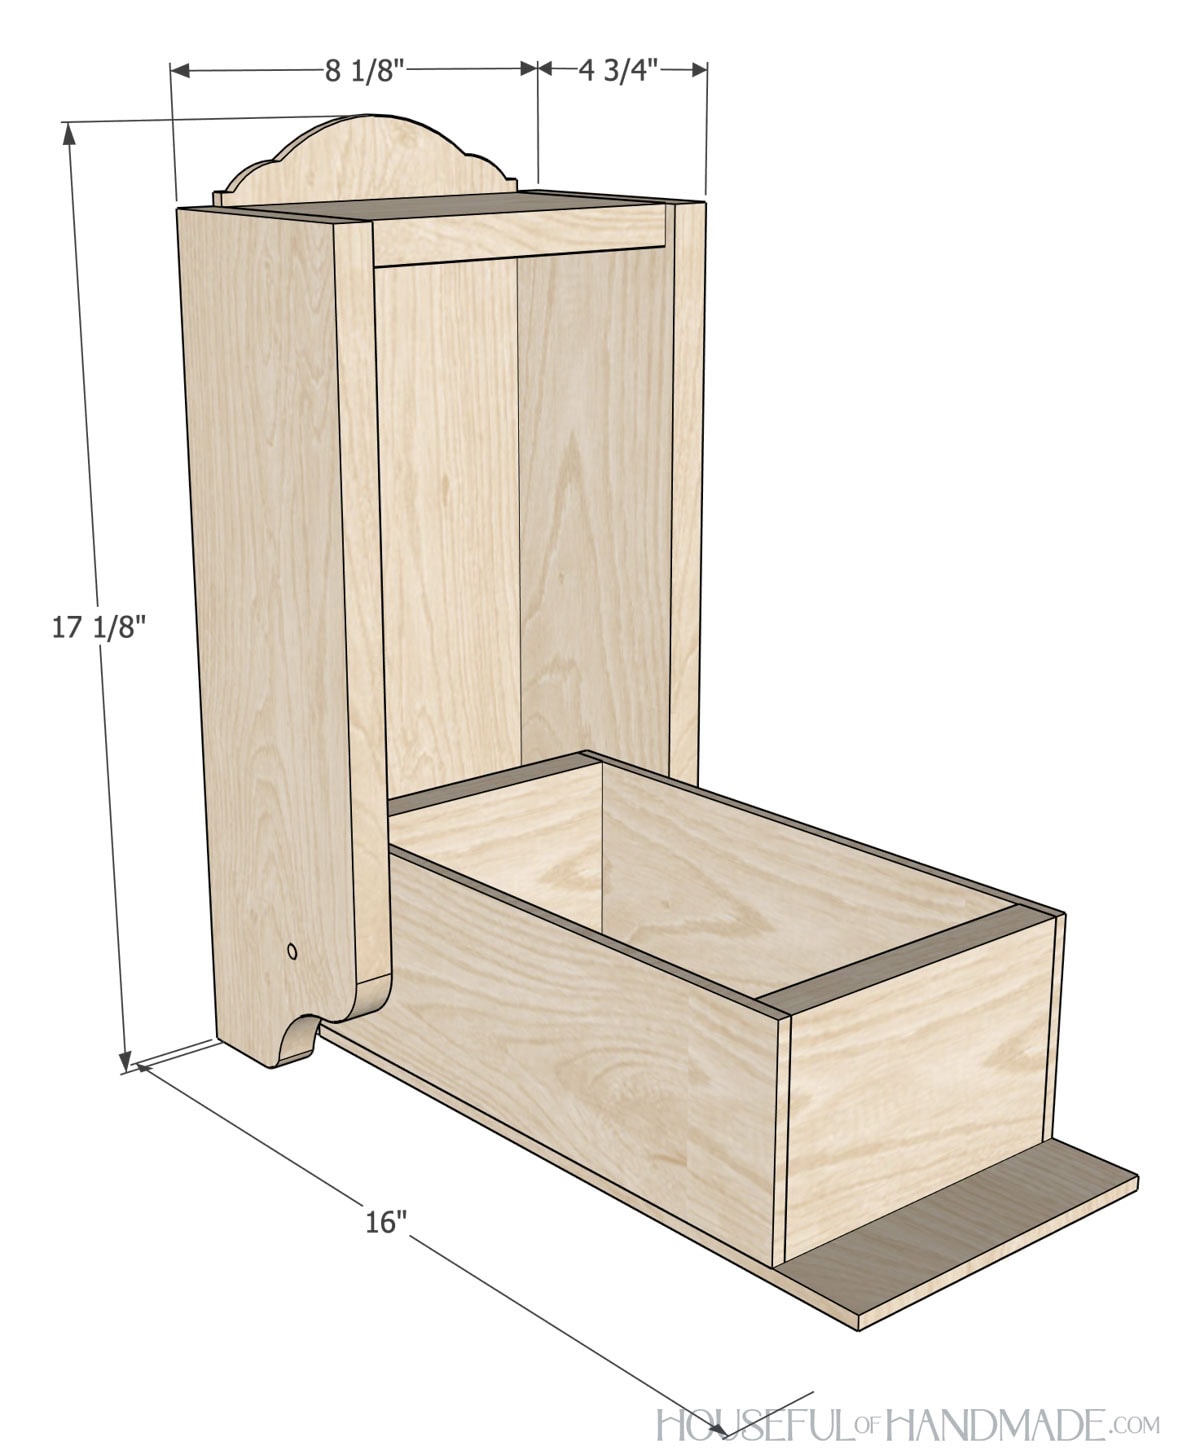
When closed, the finished recipe box is 8 1/8″ wide by 4 3/4″ deep and 17 1/8″ tall. When open, the recipe box is 16″ deep.
The recipe box holds 4×6 recipe cards.
Cut List
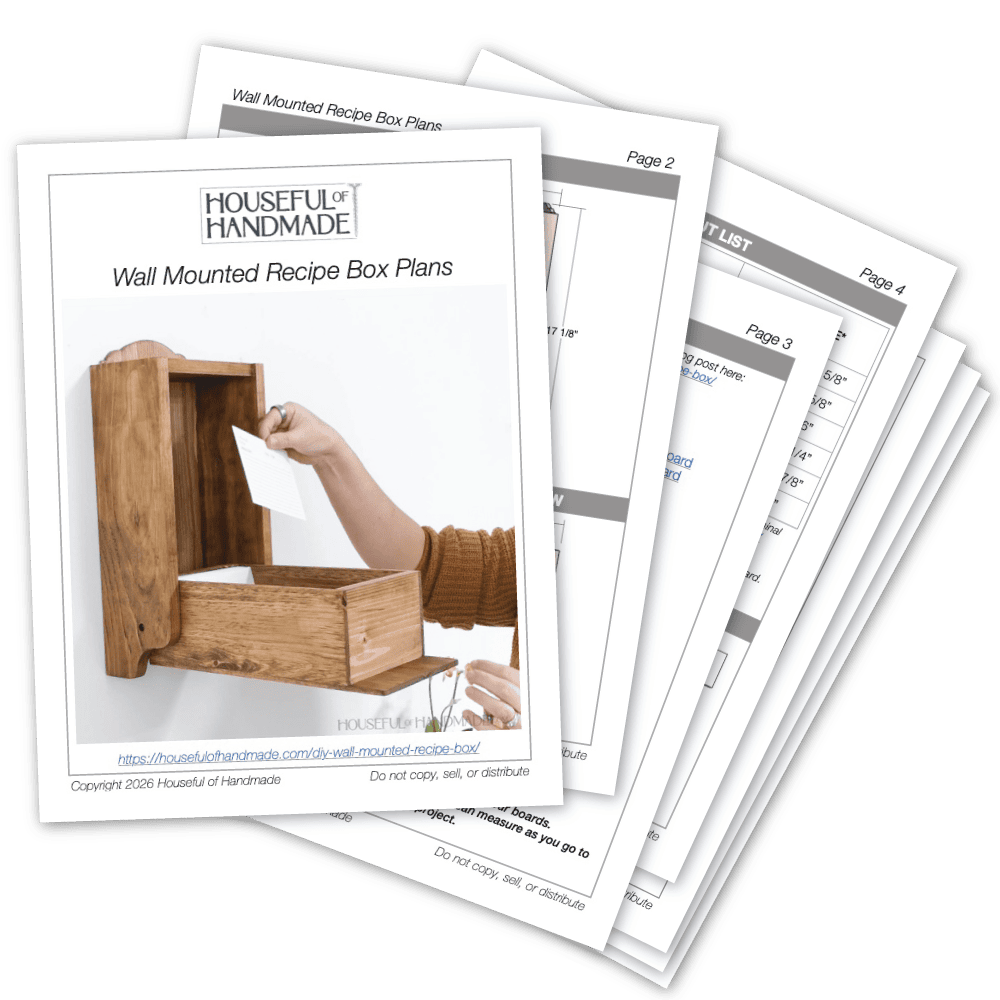
Cut out the pieces according to the easy-to-read table in the PDF plans.
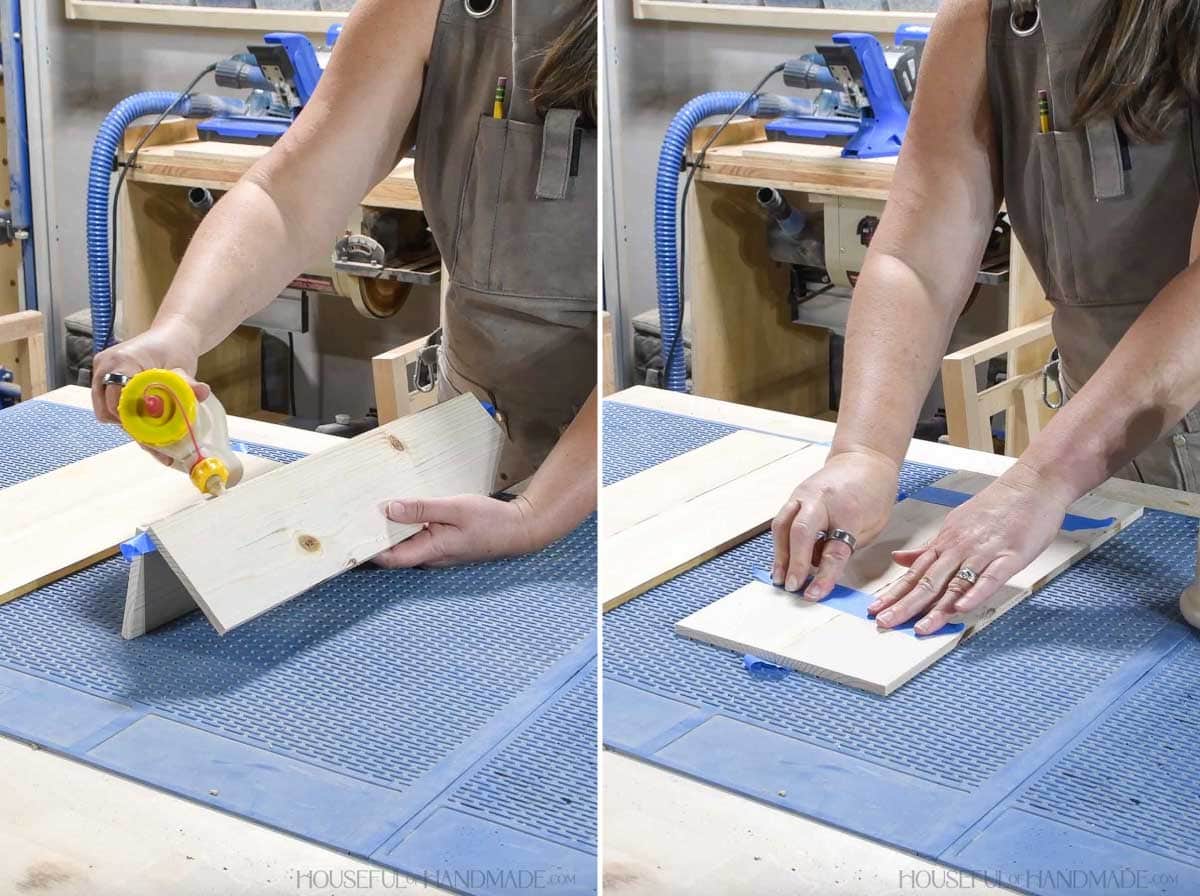
Glue two 1/4 x 4 boards together to create one 7” wide board.
Use painters tape to clamp the boards and place a heavy object on top to keep it flat till the glue dries.
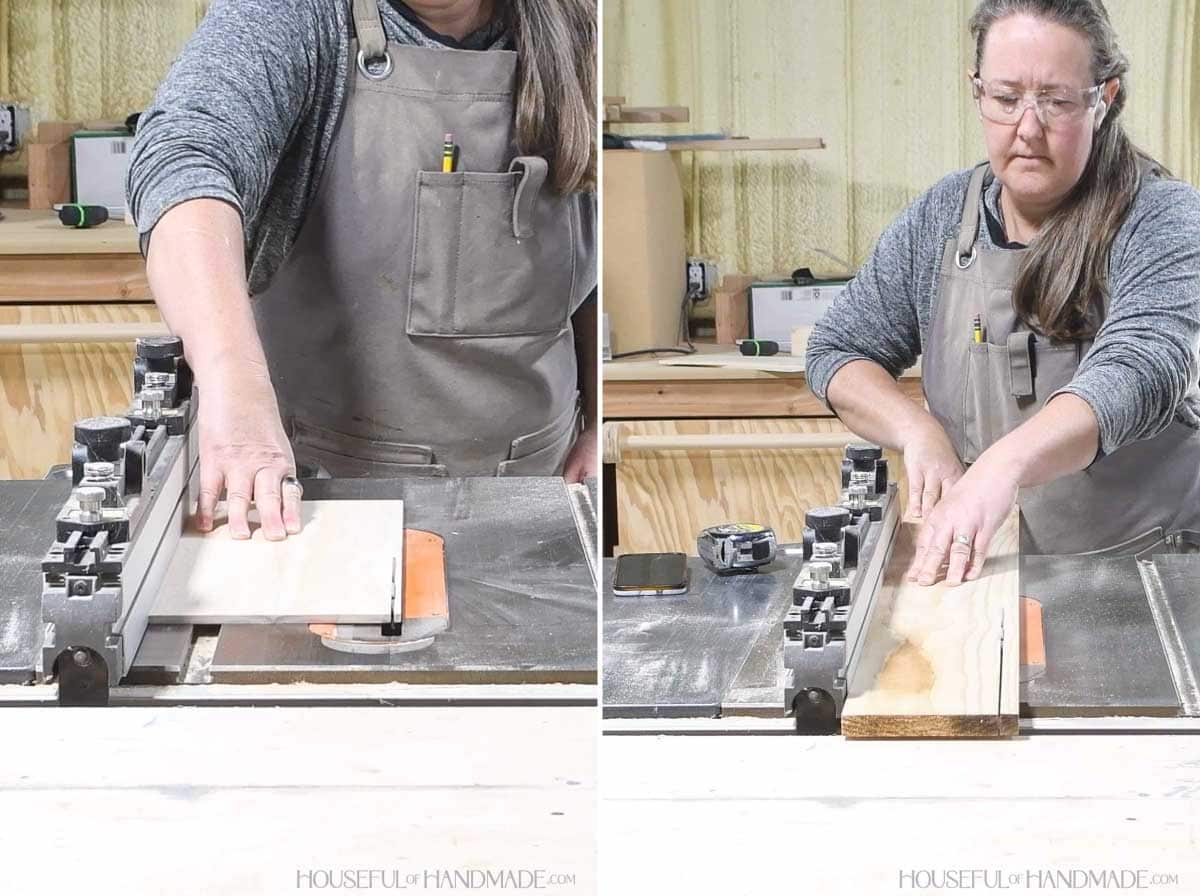
Then rip and cut the boards according to the cut list.
This project does not use standard sized lumber in order to be built to fit a standard sized recipe card. So you do need a way to rip each board to their final width.
STEP 1- Shape boards
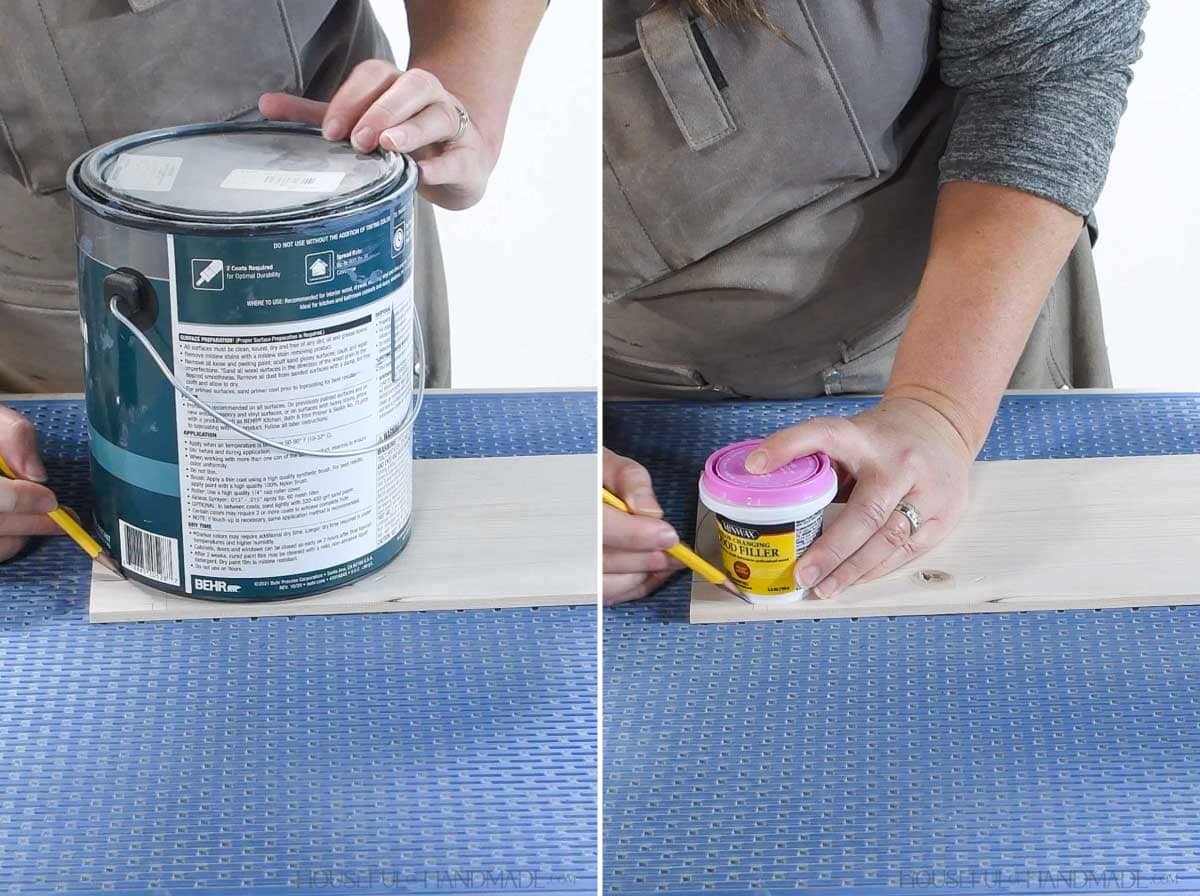
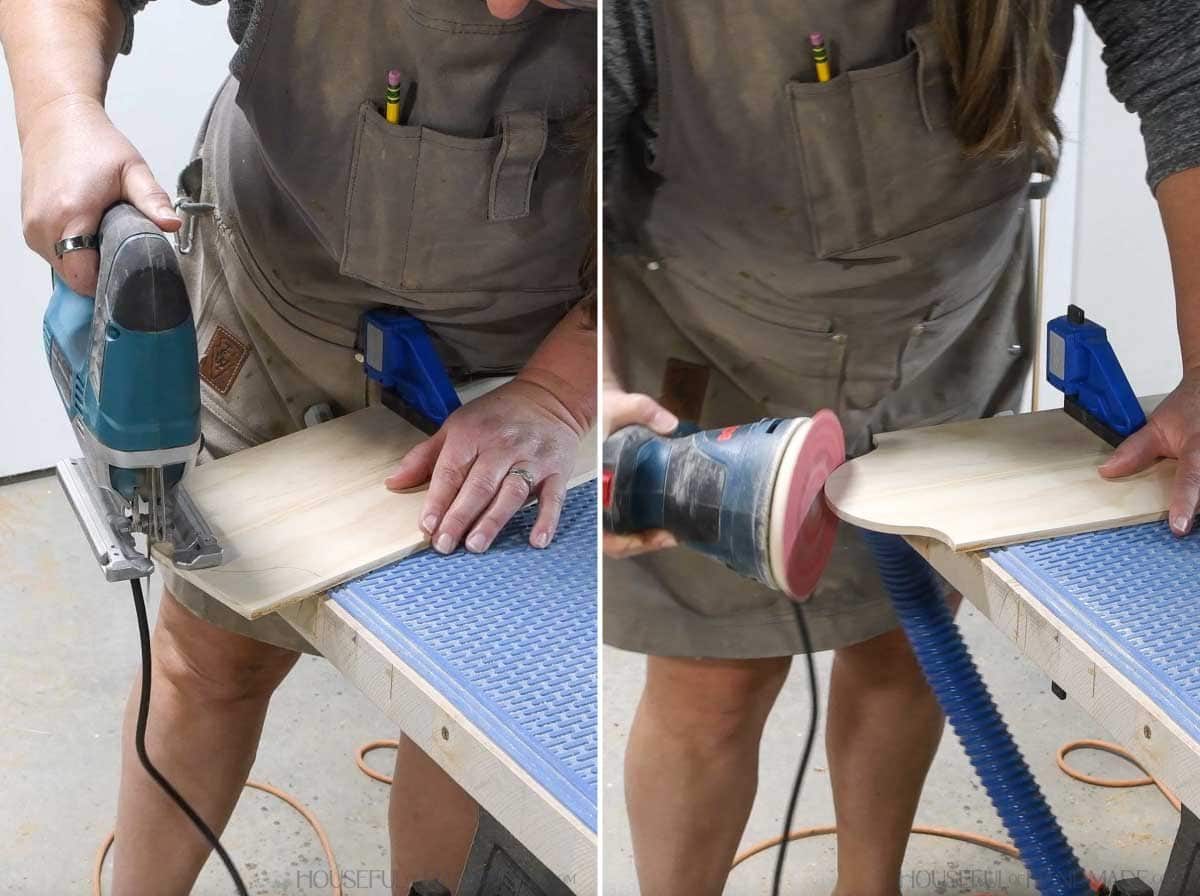
Measure and mark the design on the top of the back and the bottom of the front according to the diagram in the plans or draw your own design.
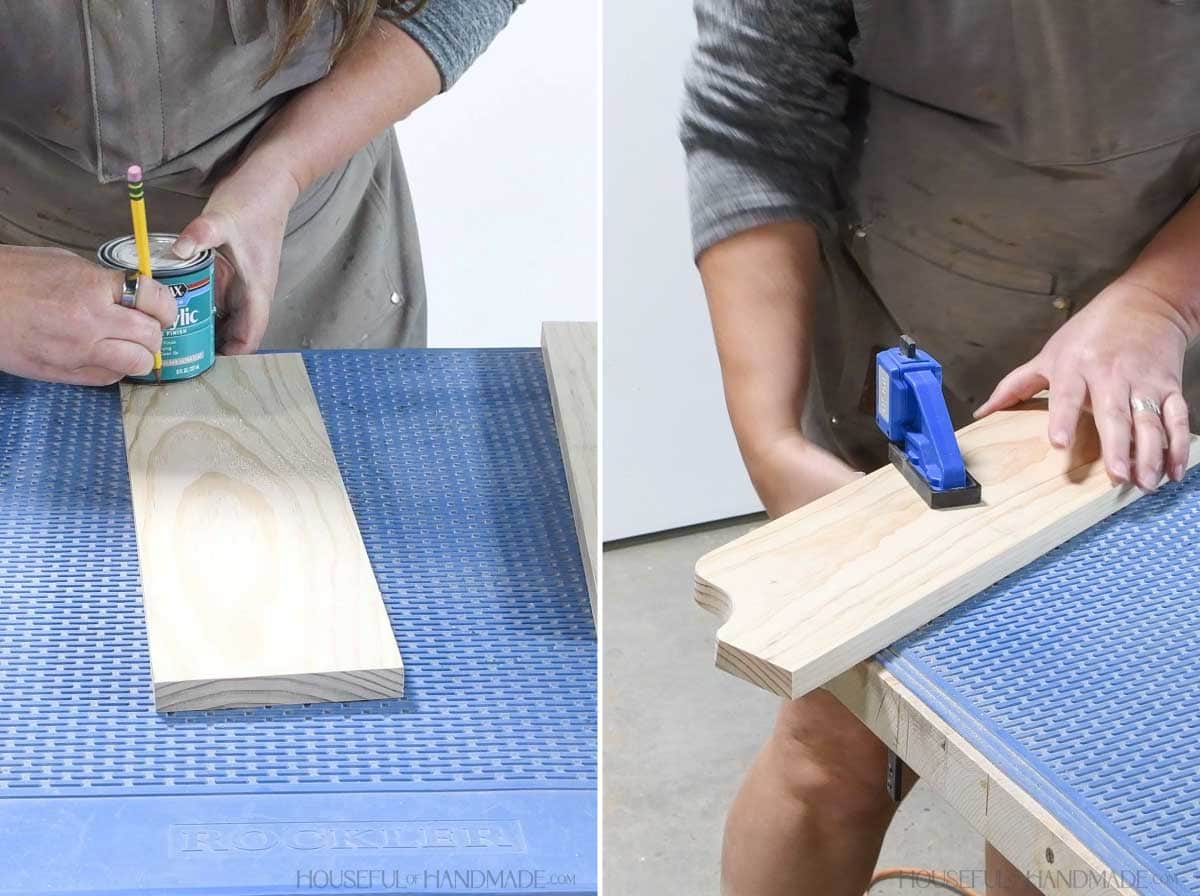
To draw the clean curves, I used cylinders in my shop such as small paint cans and glue bottles and traced them for the design.
Cut away the design with a jigsaw and sand smooth.
Measure and mark the curves on the sides according to the plans. Also, mark the center point for the screws, ensuring the sides are mirrored.
Cut away the design with a jigsaw and sand smooth.
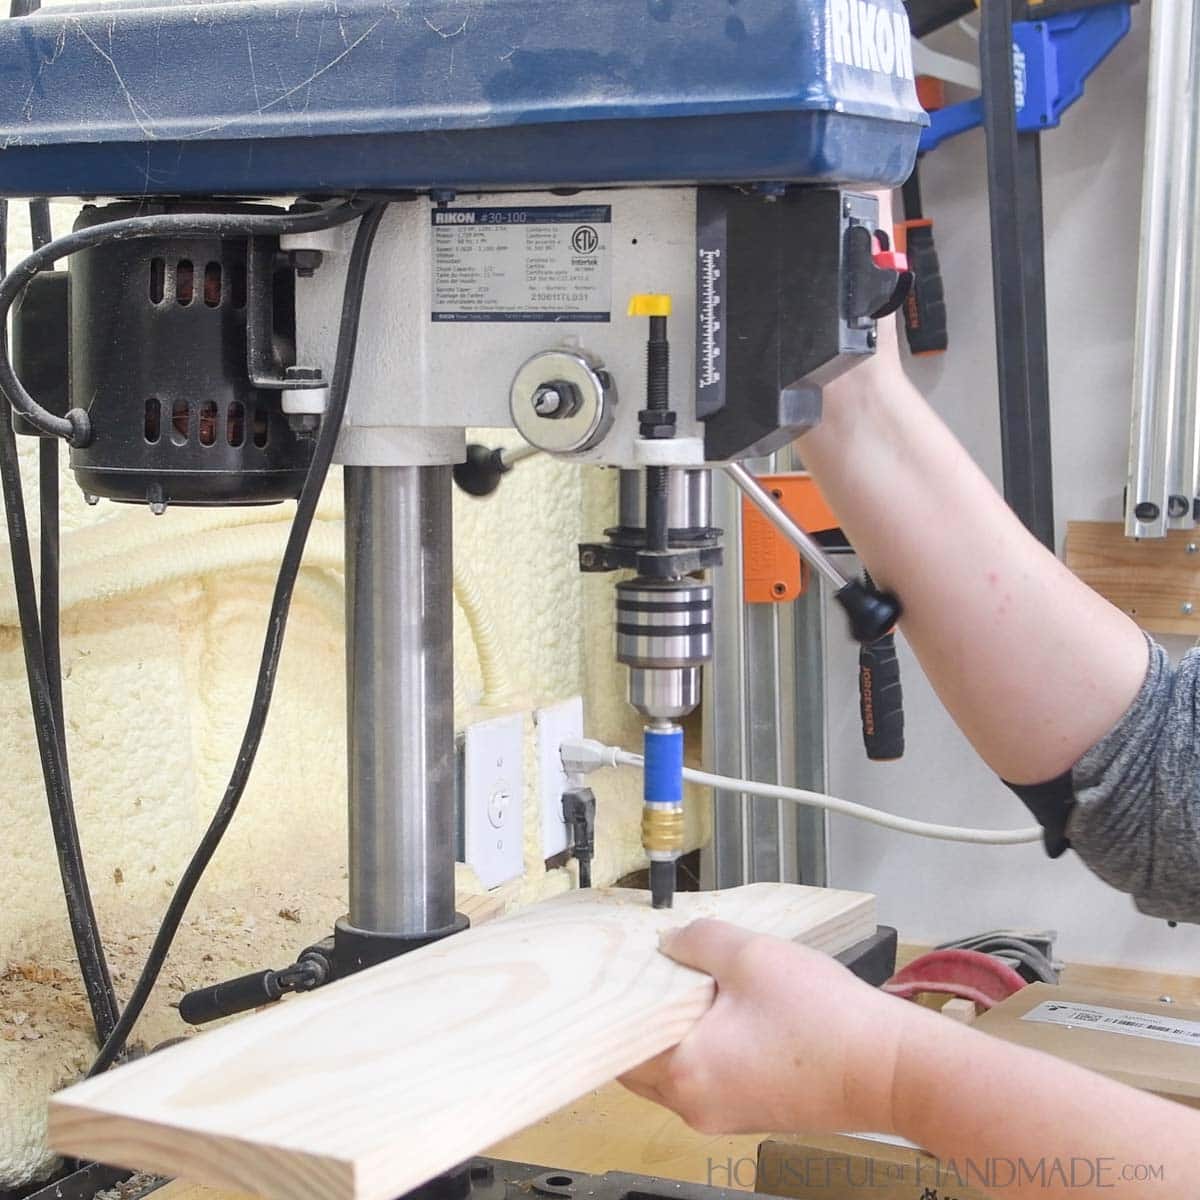
Drill a 1/2” deep hole big enough to fit your washer head screw inside. Then predrill all the way through the board.
I used a pocket hole screws and the Quick-Flip tool from Kreg to drill my hole. Use a guide or drill press to ensure the hole is straight.
STEP 2- Assemble outside
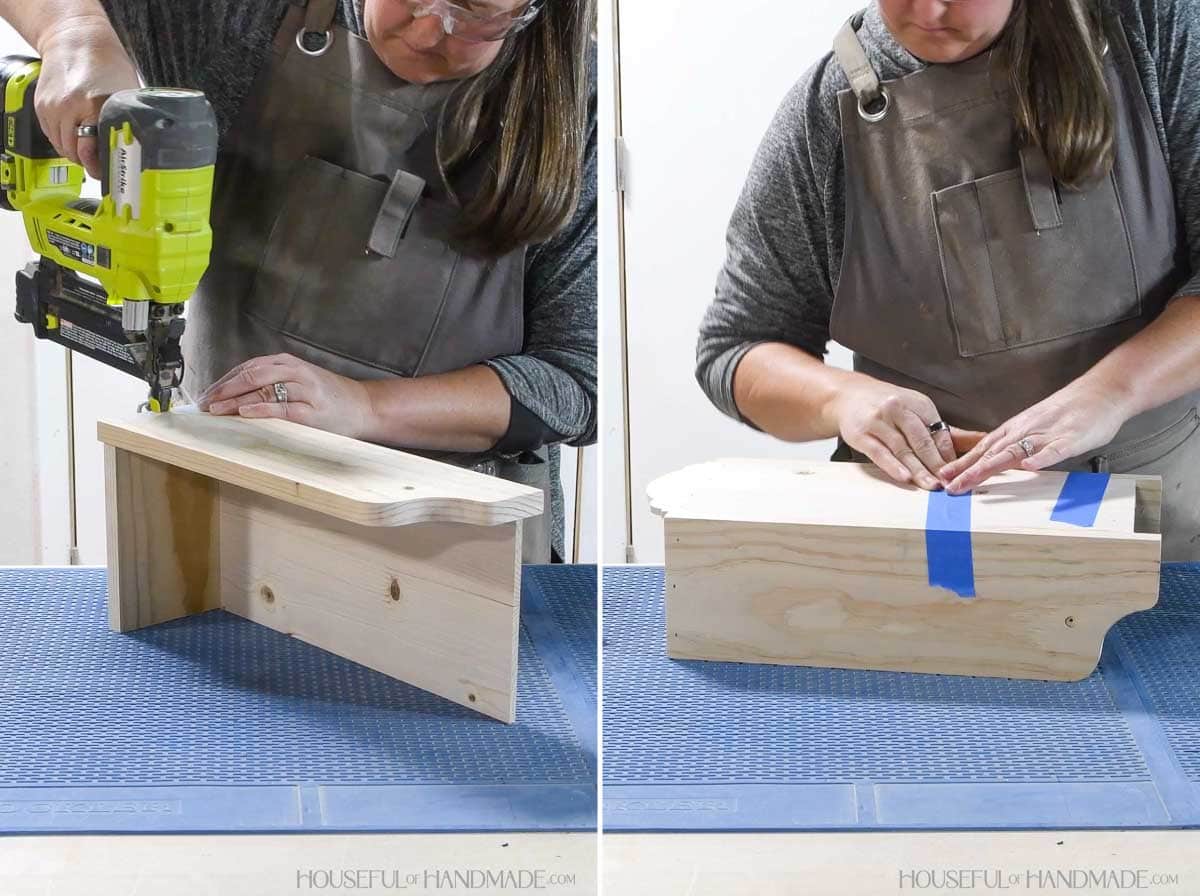
Attach the top to the back so it is set down 1/4” from the corners at the top before the curves.
Secure with glue and 3/4” brad nails through the back.
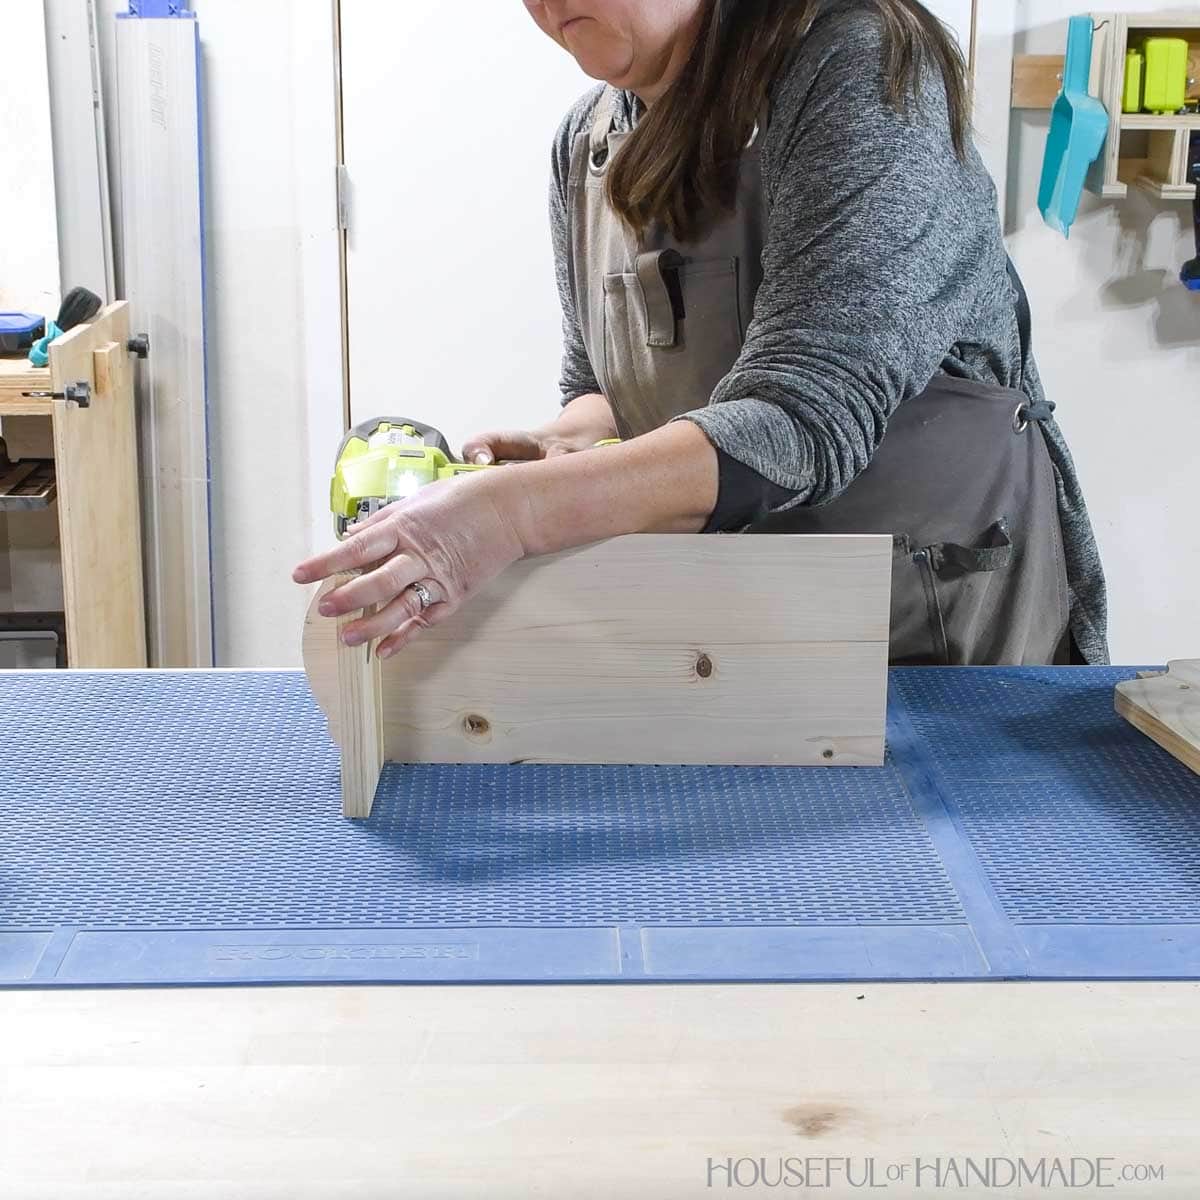
Attach the sides so they are flush with the top of the top board and the back is set inside them. Make sure the holes for the screws are on the outside.
The bottom of the sides will not be flush with the bottom of the back so that the inside box can open properly.
Secure with wood glue all around. Use painters tape to hold the back tight to the sides while the glue dries.
Secure the sides to the top with 1 1/4” brad nails.
STEP 3- Assemble inside box
Attach the box sides to the box front/back to create a box.
Secure with wood glue and 3/4” brad nails.
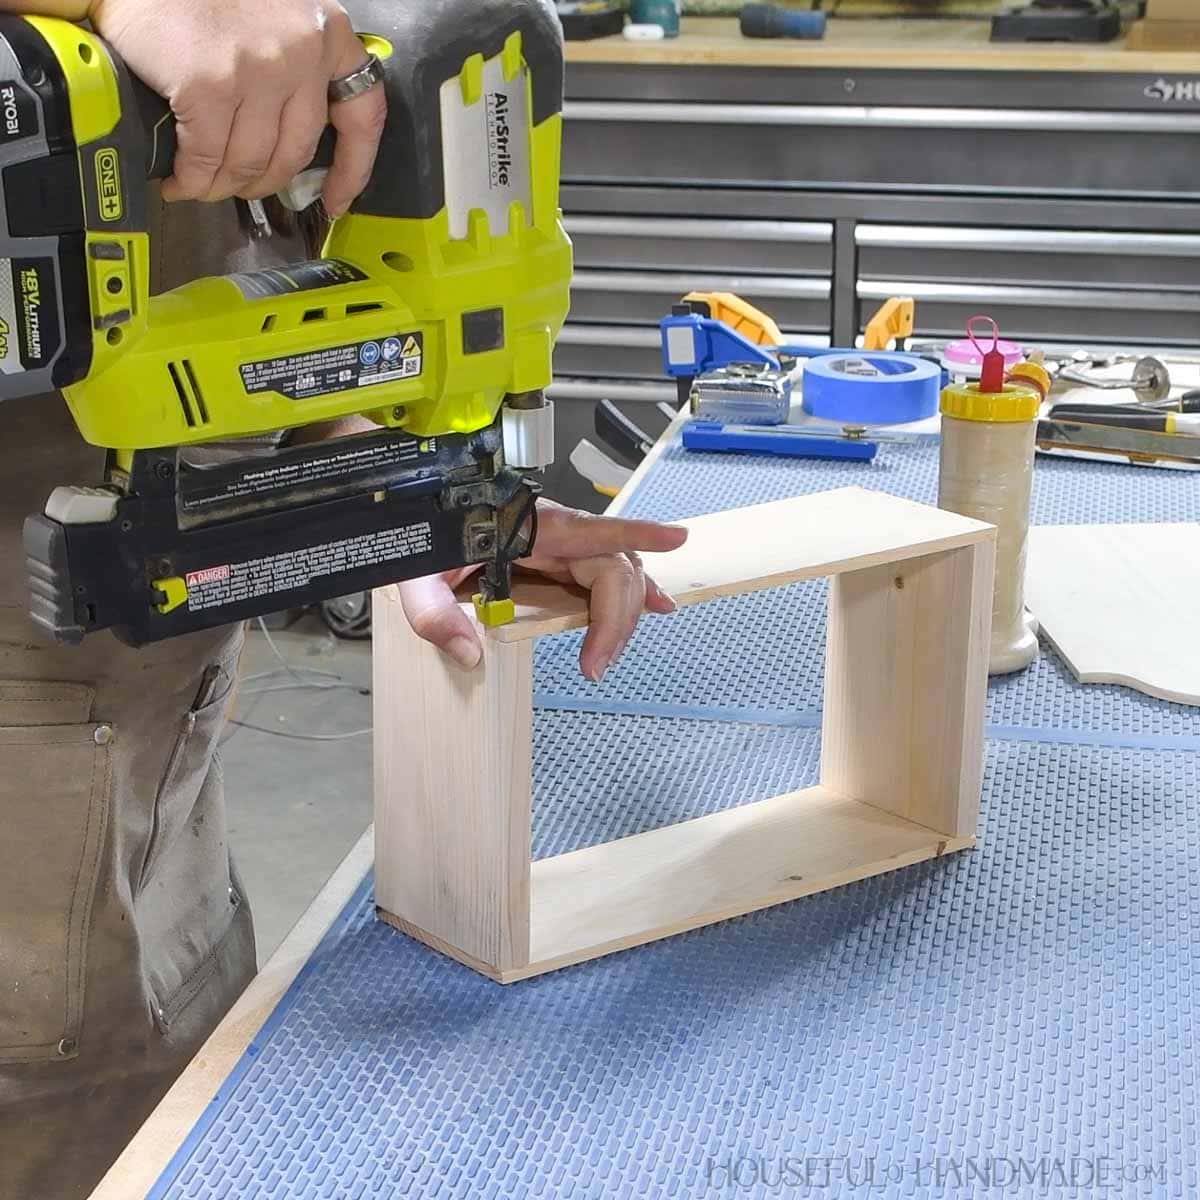
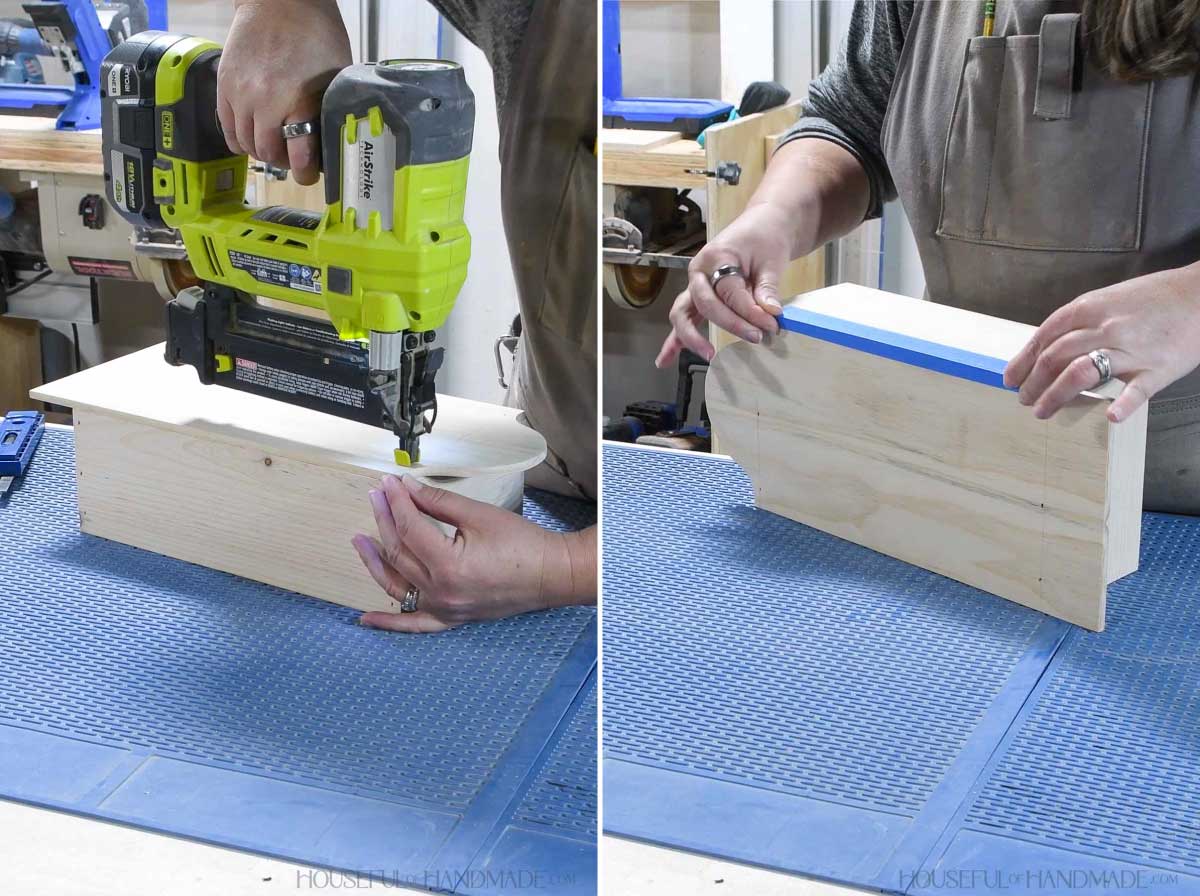
Attach the front to the bottom of the box so the front of the box is 1 3/4” below the top.
Secure with wood glue. Use painters tape to hold it while the glue dried. For the front/back of the box, also secure with 3/4” brad nails into the wider boards.
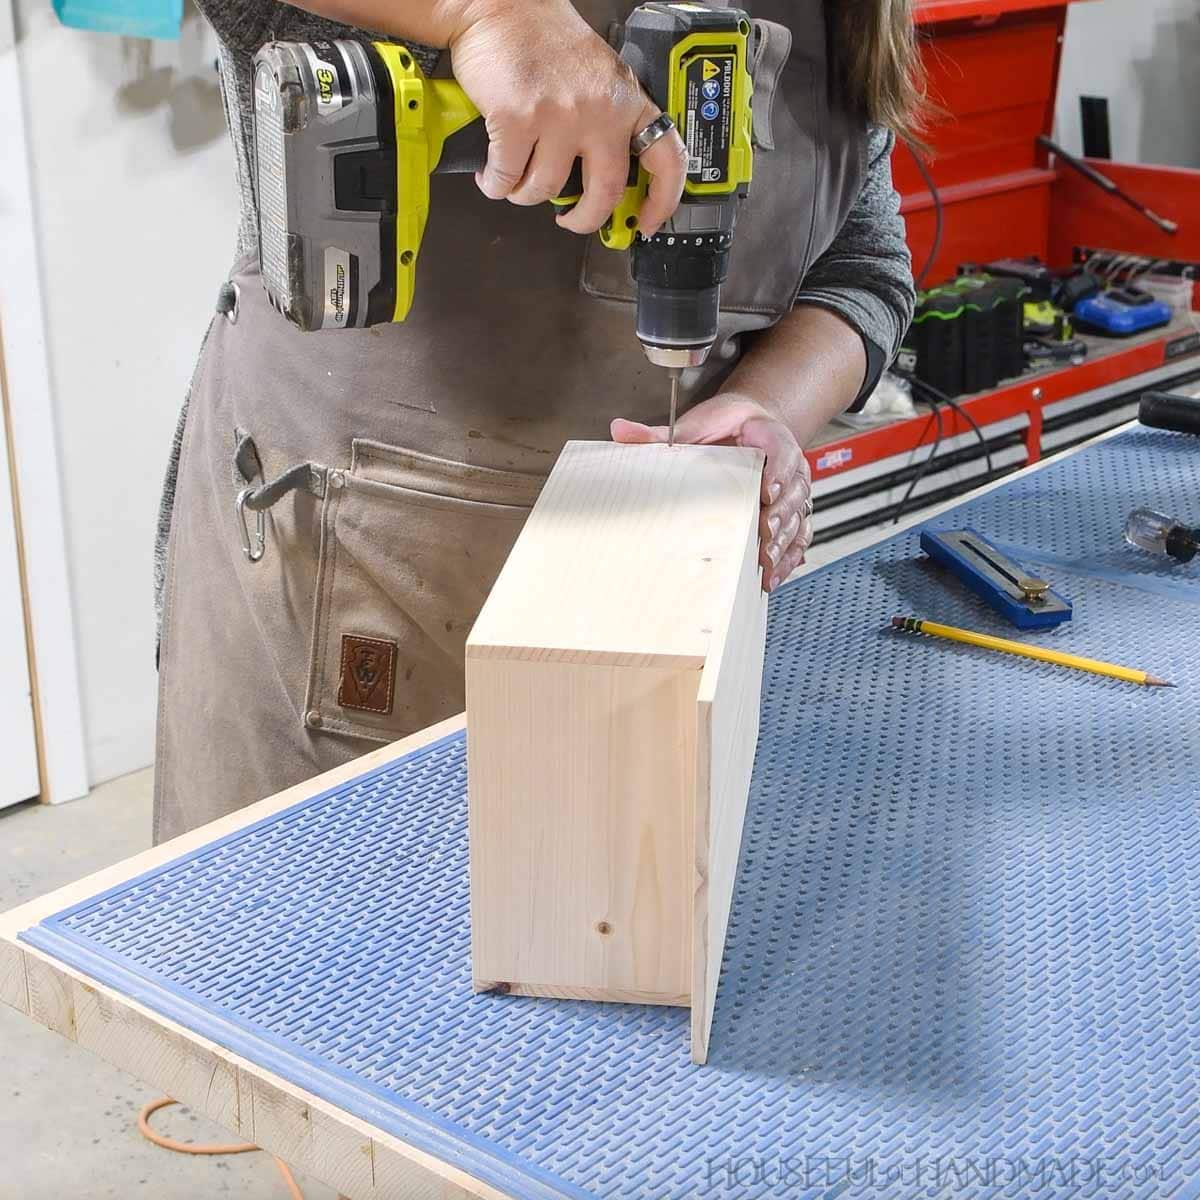
On the back of the box, measure and mark the screw point according to the diagram in the plans.
Predrill a small hole at the mark for the washer head screw.
STEP 4- Install recipe box
Place the box inside the sides. The front should flush with the front of the sides and stick up 1/4” up from the top.
There is a slight gap (~1/4”) between the top of the box and the back so use some painters tape to hold the front flush with the sides toward the bottom.
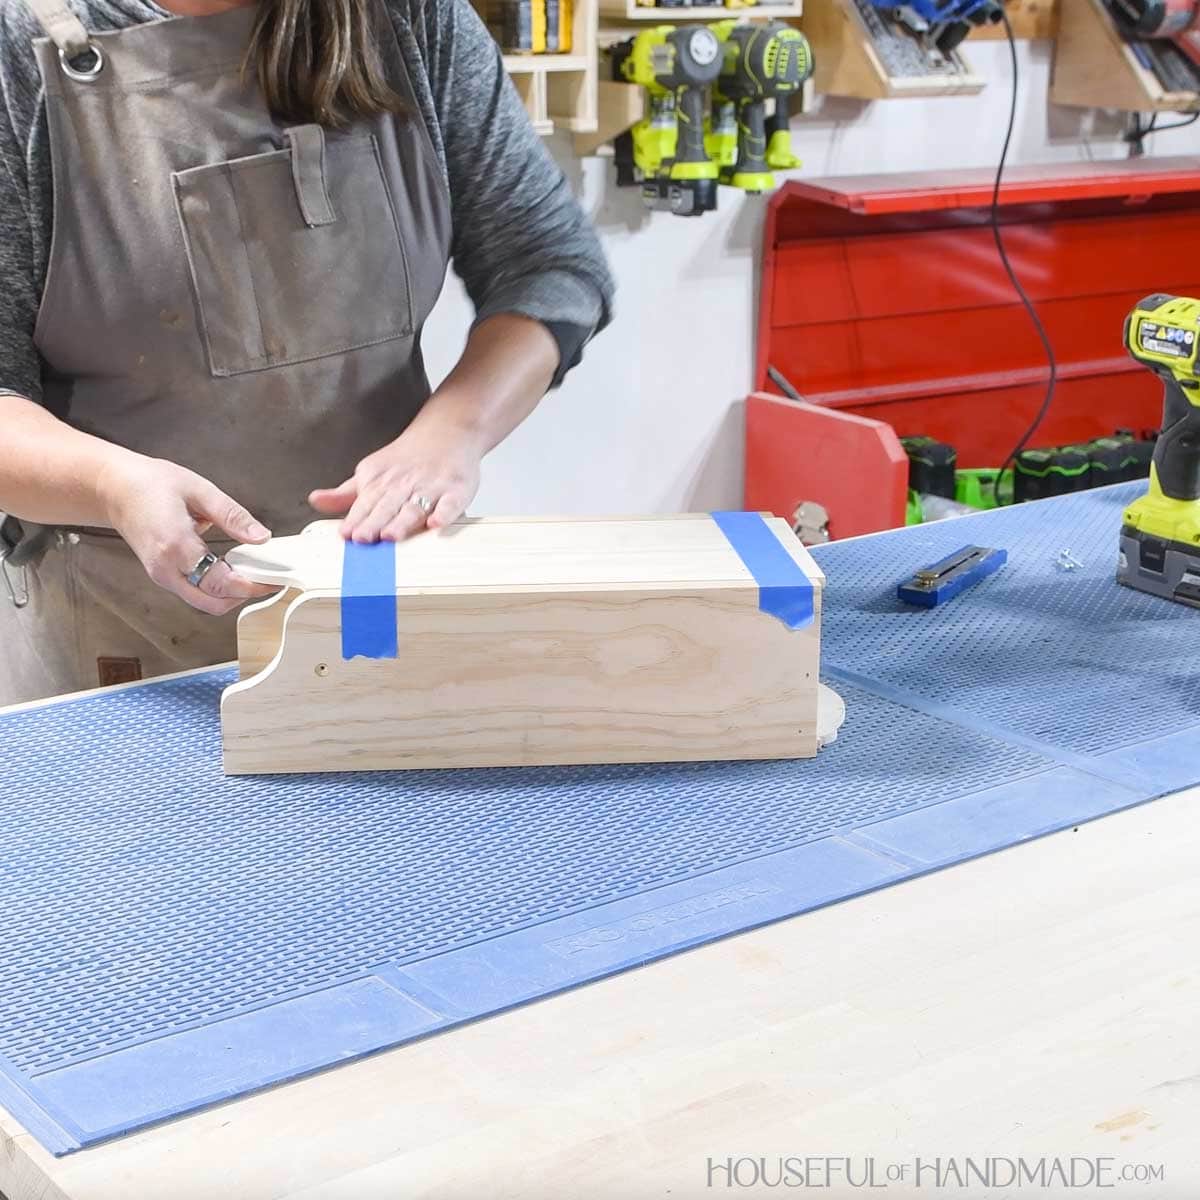
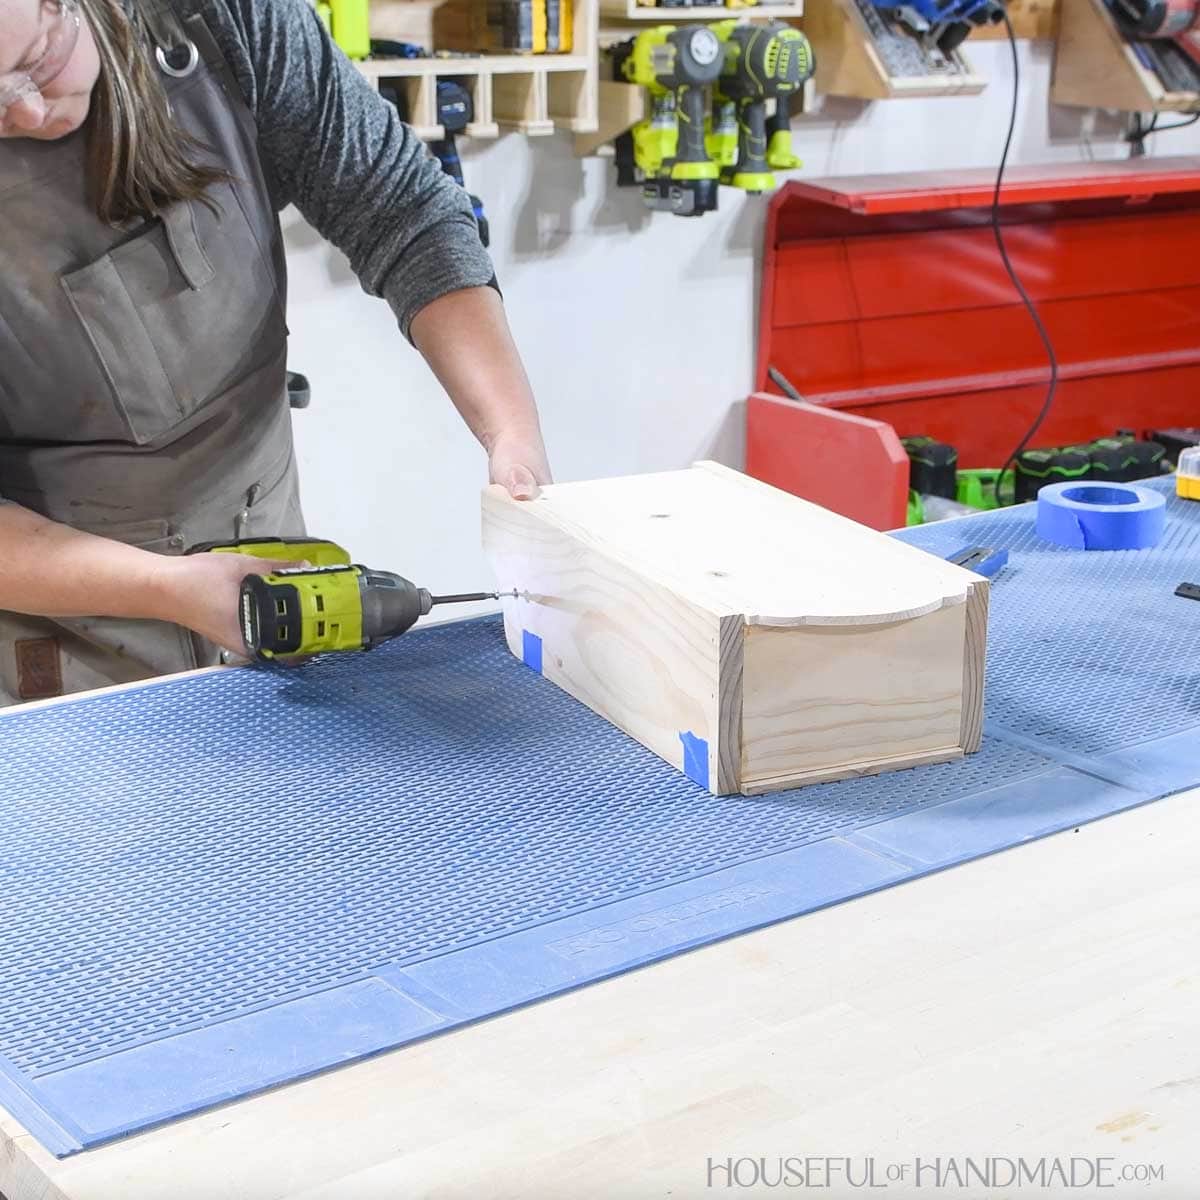
Then drive your washer head screw into the sides and carefully grab the pilot hole in the side of the box. Repeat for the other side.
Drive the screws in fully, but do not tighten them.
STEP 5- Finish and hang
Remove the box insert and sand and finish.
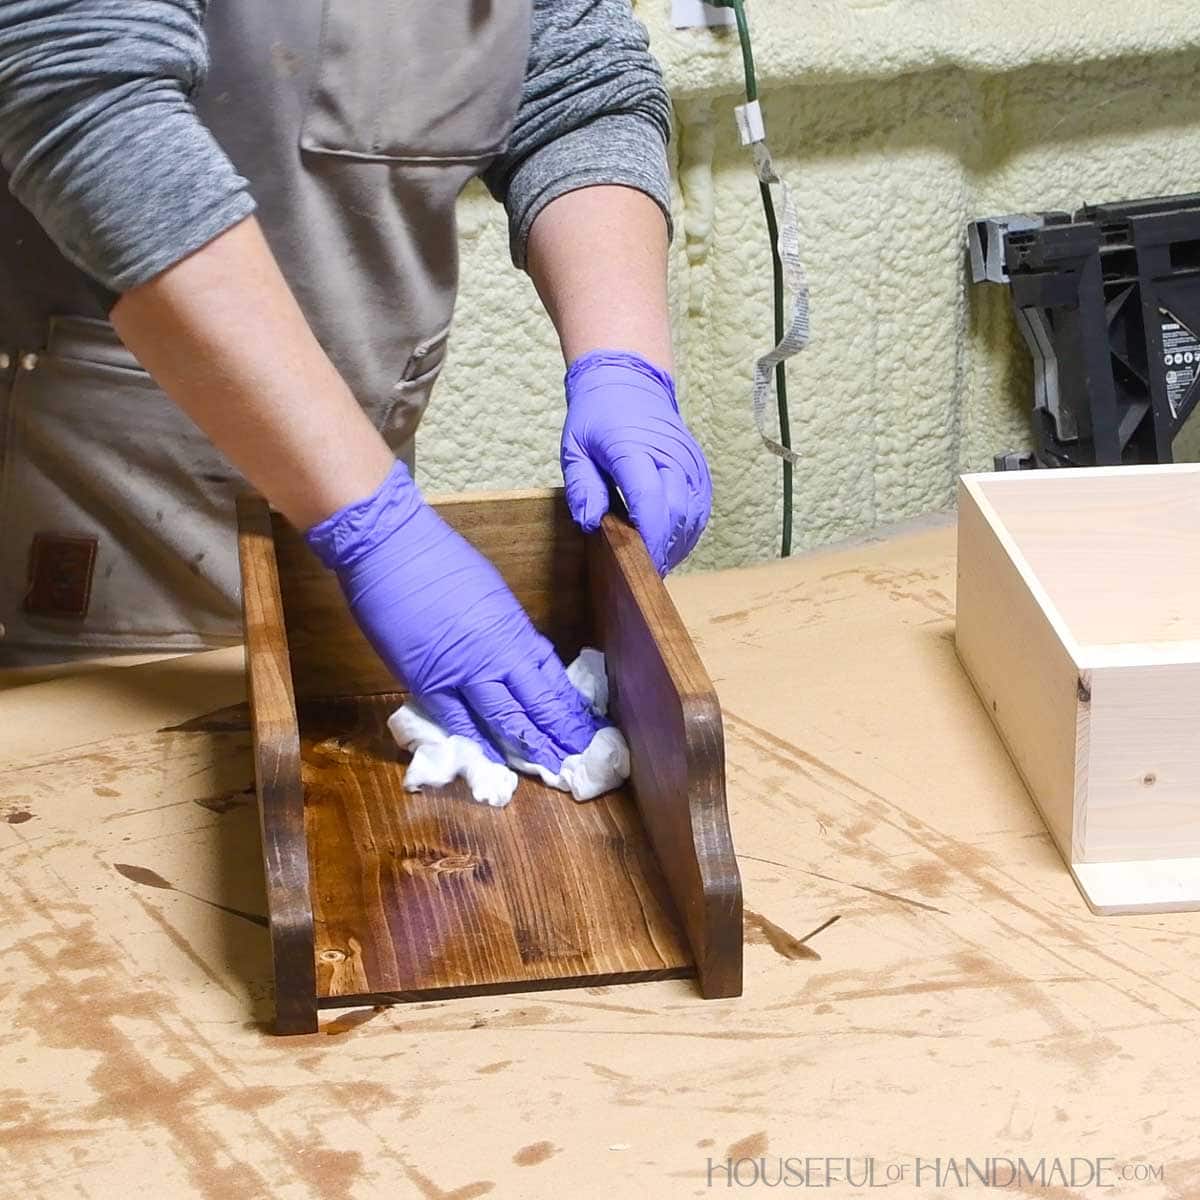
Then reassemble by carefully driving the screws back in through the side into the recipe box.
Check that the box pivots open and closed and adjust the screws as needed if they are too tight or loose.
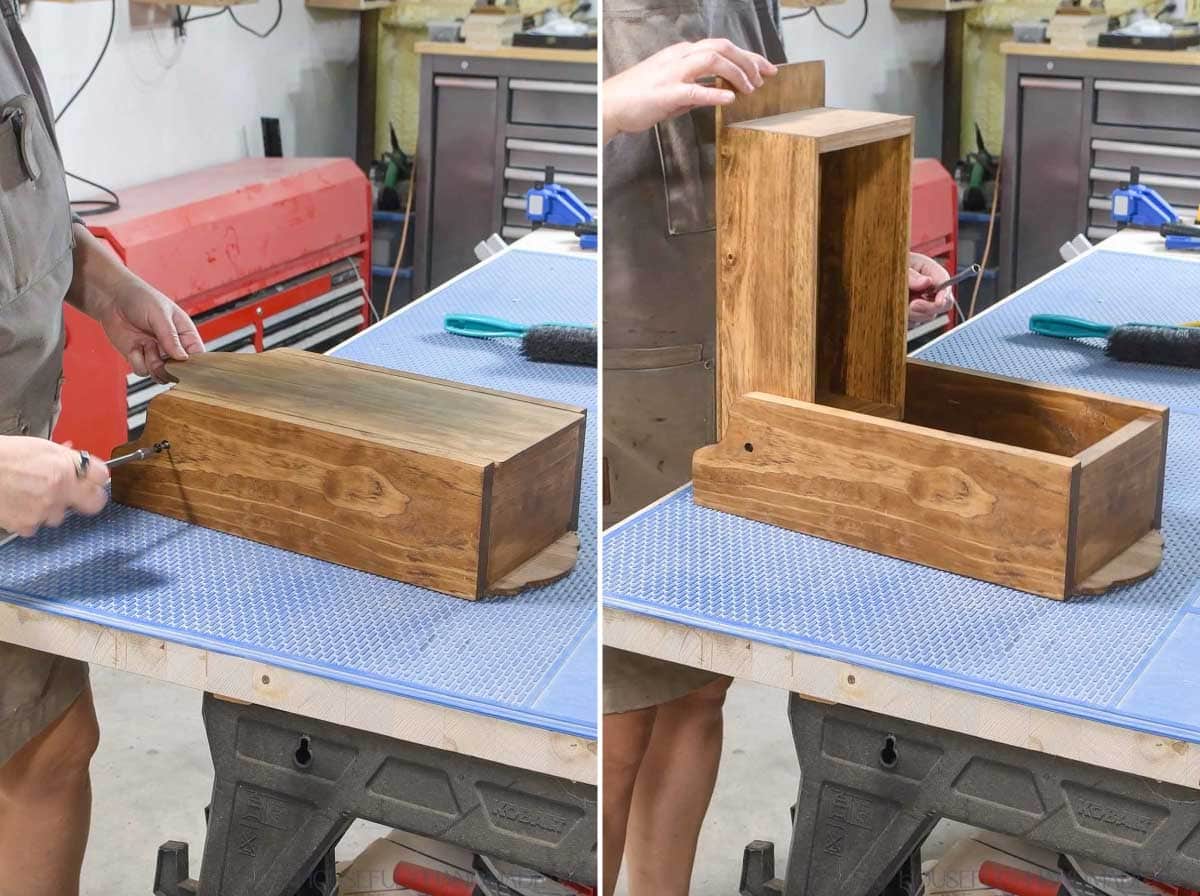
Mount it to the wall with screws through the back.
My recipe box stays closed on its own. If yours does not, there is room to add a magnetic latch under the top.
Premium plans include:
- Recommended Tools
- Shopping list
- Easy to read cut list table
- Cut diagrams
- Step-by-step instructions with 3D renderings
- Helpful resources
- BONUS: 3D SketchUp file
You did it!
Now you can add all your favorite family recipes.
I think designing custom recipe cards to pair wiht it would be the most amazing gift for anyone who loves to cook.
DIY Gift Week- Day 2
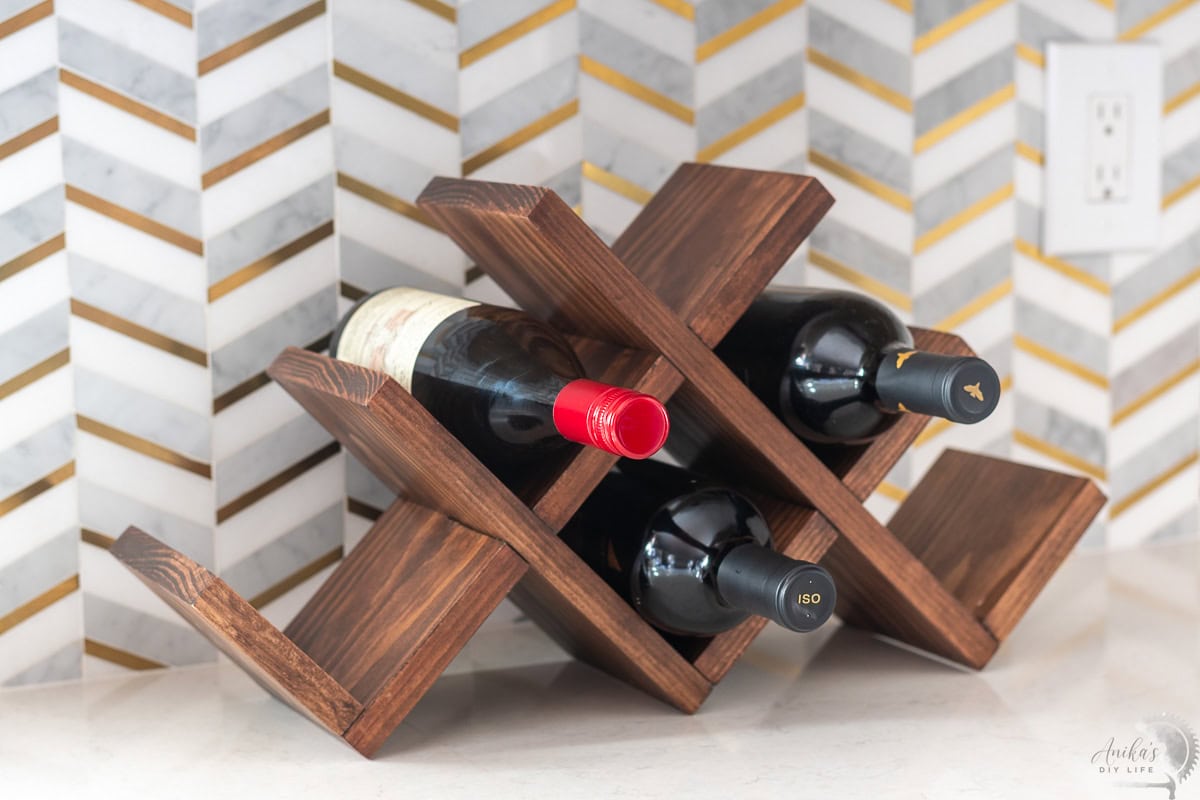
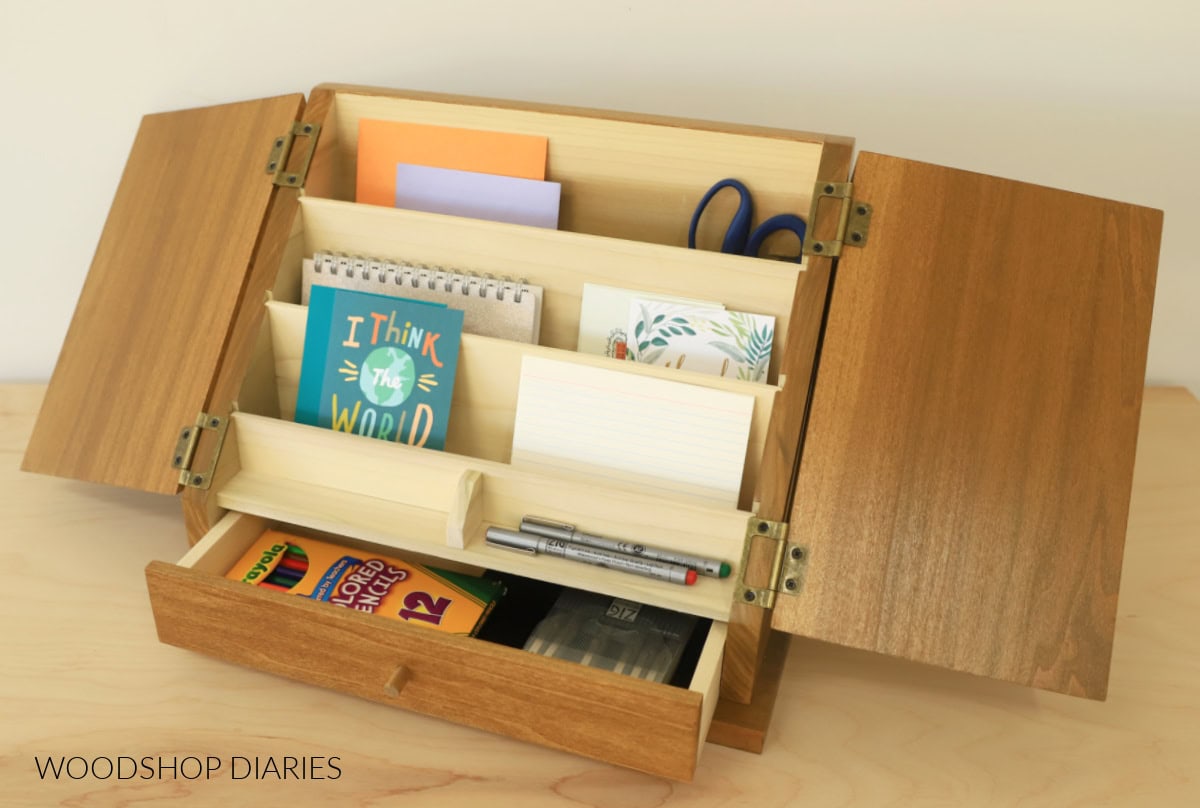
It’s the second day of DIY Gift week! All week I am sharing a new DIY gift idea along with my friends from WoodShop Diaries and Anika’s DIY Life.
Today we have 3 amazing new DIY gift ideas for you! And make sure to come back all week for even more.
Happy building!