This week I knew I wasn’t going to get anything too big done in the bathroom. I’ve had a busy week with lots of end of school stuff. But I am trying to at least get one thing done each week so I can creep closer to a beautifully remodeled master bathroom (hey it’s been 7 years in the making, what’s a few more months right?).
But this week I knew I could make time for installing baseboards and door trim since bathrooms are relatively small.
This post may contain affiliate links. As an Amazon Associate I earn from qualifying purchases. Click here to read my full disclosure policy.
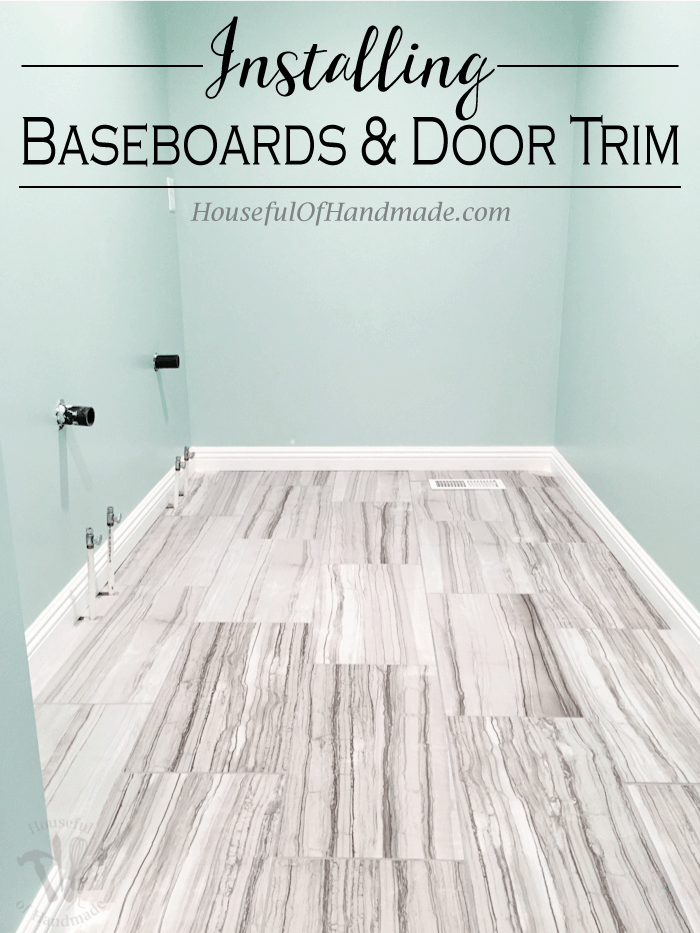
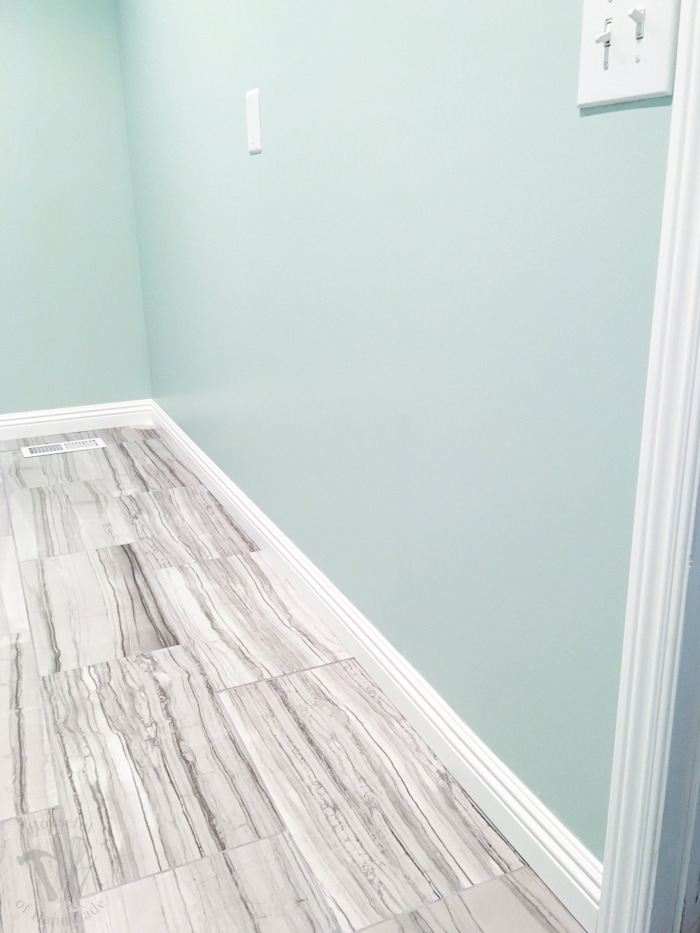
I am not a newbie when it comes to installing baseboards and door trim, I did our entire basement and upstairs bedrooms/hallway. And I am quite good at math, so why am I still so bad at getting my angles to line up?
One of these days I am determined to learn how to cope my baseboards, but today was not that day. Since I am so bad at lining up my baseboards I have learned how to cheat and make my baseboards look like they have been beautifully installed even when I cannot seem to line up anything (okay, maybe not anything because I had a couple really great angles, 2 out of 6 isn’t terrible, right?).
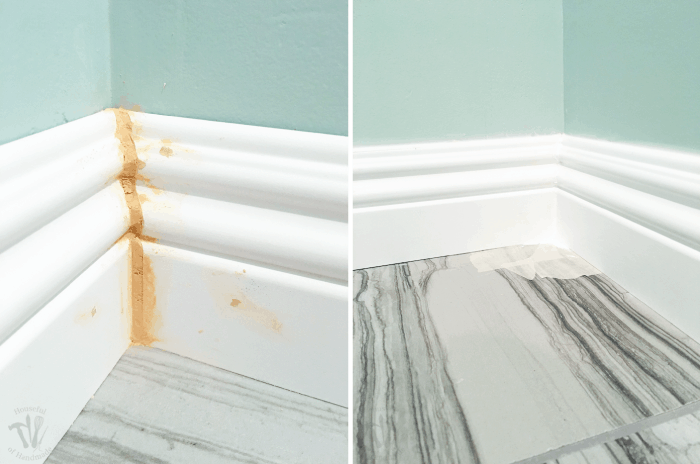
The first time I did baseboards, I tried to fill the gaps with caulk as I did the finish caulking. I am not a professional and while the caulk got rid of gaps, you could still see them and the caulk caves in a bit.
So the next time I did baseboards, I decided to use wood filler (since I was filling wood) to fill in the gaps, duh! It worked so good. And after a little touch up paint, you couldn’t even tell that the angles were really bad to begin with.
I’ve found the easiest way to patch my sad baseboard job was by using my finger. Because baseboards have curved pretty tops (usually), you can easily press the wood filler into the grooves with your finger and make it look just like the baseboards lined up beautifully.
See, you can’t even tell that I completely screwed up this corner (I had my saw blade set at the wrong angle for one of the boards and didn’t even notice until I went to add the next board, but it was already nailed in so I just left it and hoped for the best).
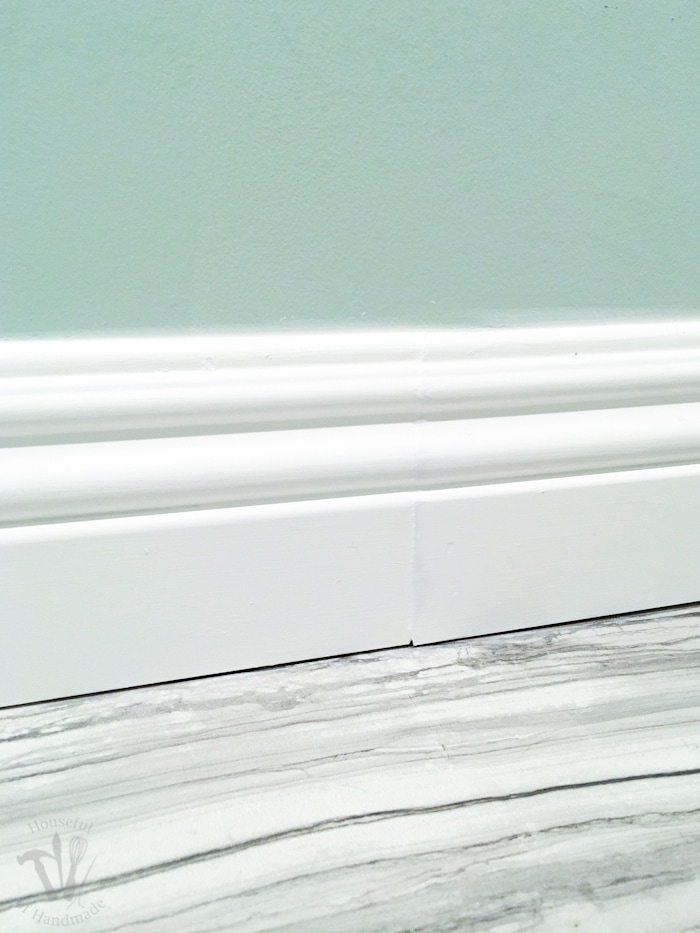
For long walls I always cut the boards at an angle where they meet up. This way it is a much cleaner connection and with just a little wood filler and touch up paint…
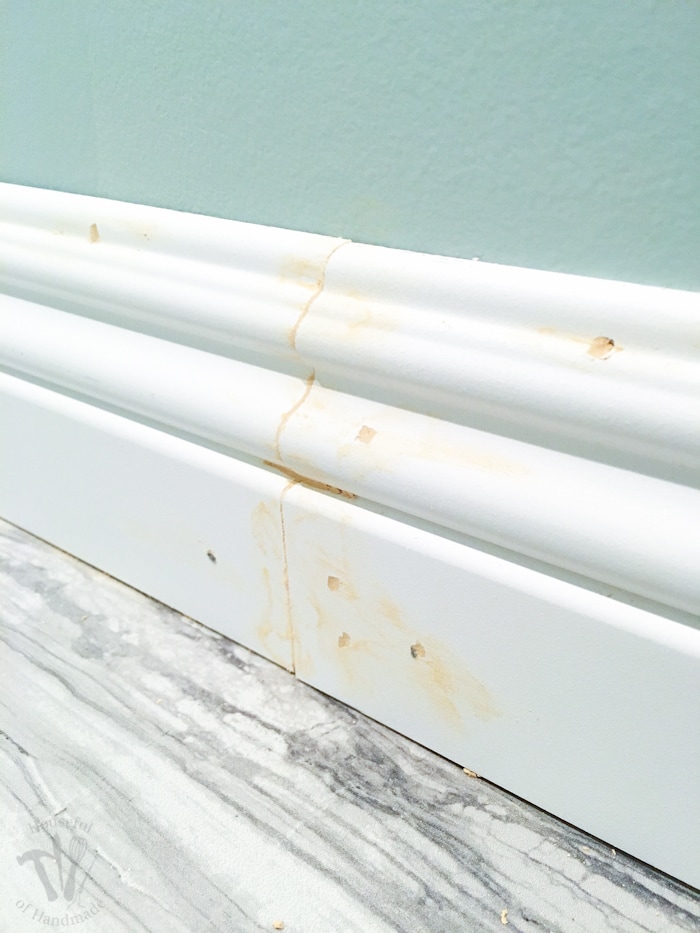
you can barely see the seam. I know it will be completely hidden after a second coat of paint, but I was leaving town for the holiday weekend so I had to choose between clean clothes and a second coat of paint, so I haven’t got the second coat of paint on yet.
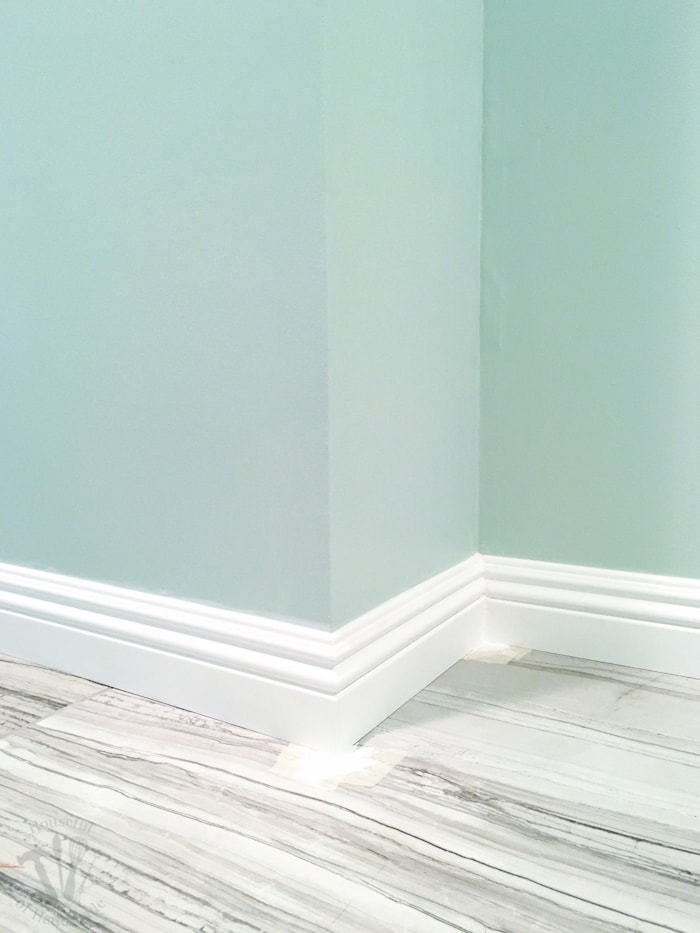
The wood filler also works wonders on outer corners. These ones I am usually much better at lining up. But they still need a little love. I fill the gap with my finger and after a light sanding and coat of paint…

it looks almost perfect.
I also use a quick press with my finger to fill nail holes with a tiny bit of wood filler.
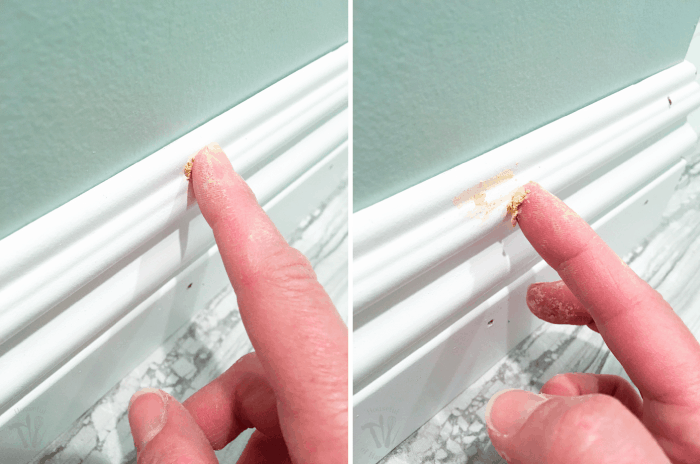
And after the wood filler has a bit to dry, I sand it just a little bit with a super fine grit sand paper. Super easy!
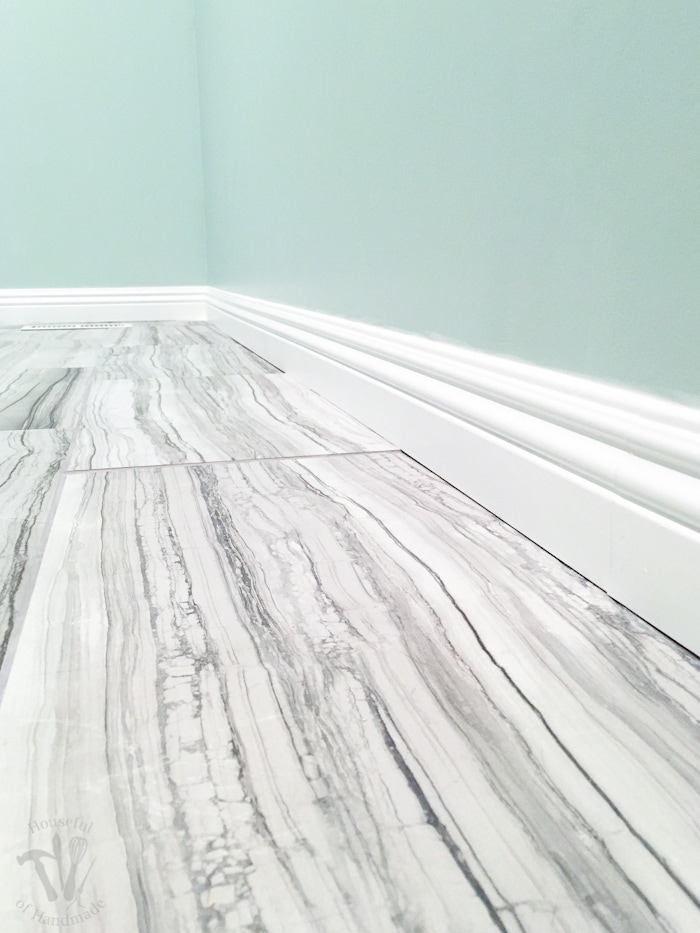
I am so excited to have the baseboards and door trim all done. My husband remarked that it really looks a lot cleaner because you just got rid of the unfinished drywall edges.
If you missed any of the other master bathroom remodel updates, you can read about my first disasters adventures in tiling here and all the things we learned (and wish we would have learned earlier) about installing new tub and shower faucets here. It’s been learning experience remodeling our very first bathroom, but I am so glad we are doing it.

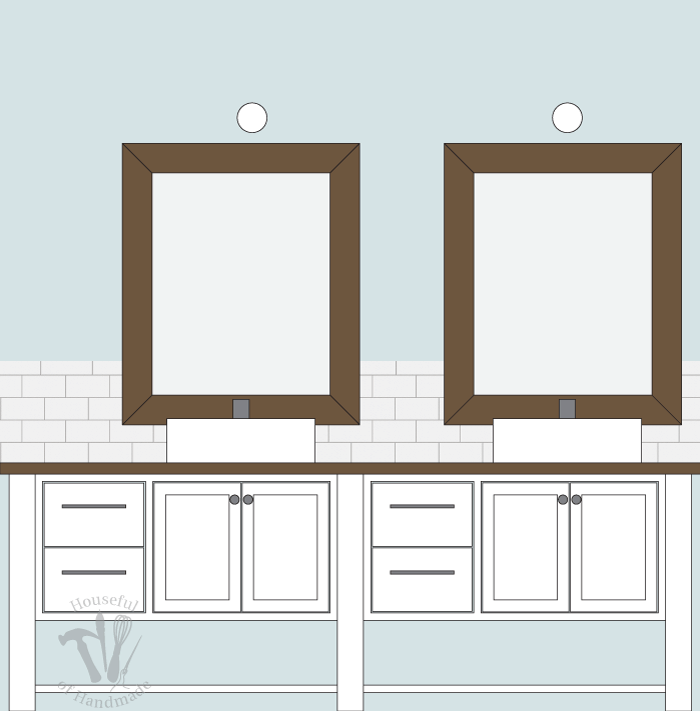
The next big step is to build our vanity. I cannot express how excited I am about having an 8 foot vanity with doubles sinks. After sharing a 3 foot vanity with one out-dated sink (an one teeny tiny drawer) with my family of 4 for the last 7 years, having a sink all to myself just seems too good to be true.
I think I am most excited about having a sink that will not have messy toothpaste all over it from the kids, or little shaving hairs from my husband. I am not a clean freak (just come to my house and you will see how well I have learned to just let the mess be instead of killing myself over it), but I really am much happier when everything is clean.
So to have my own little space that only I am allowed to touch means I will always have a little happy place, right? Here is a sneak peak at the plans for the vanity space. Doesn’t it look so pretty?!
If you have any other tricks for how to make installing baseboards and door trim easier, I’d love to hear them. One day I hope to actually be good at it 🙂

