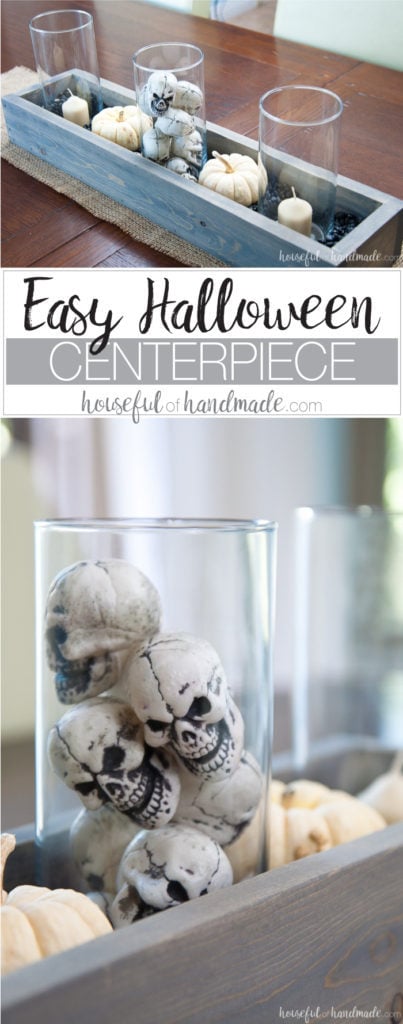
The Halloween decorating is in full swing at our house. Now that the mantle has been made into spooky perfection, it was time to spread out to the rest of the house.
Since I don’t have a coffee table to decorate (yet…), I decided to tackle the next most obvious flat surface: the dining room table.
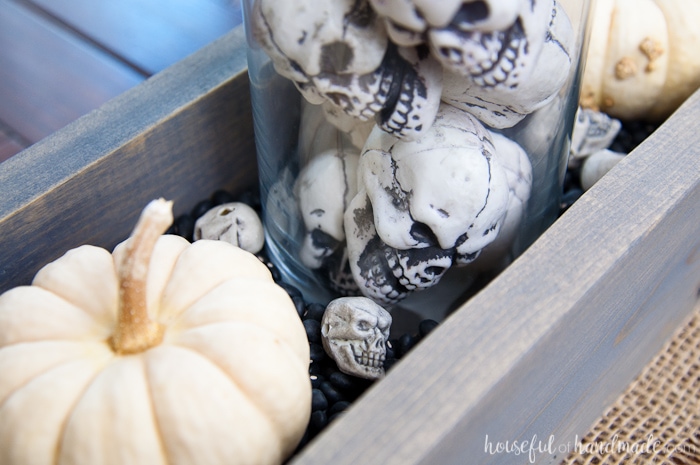
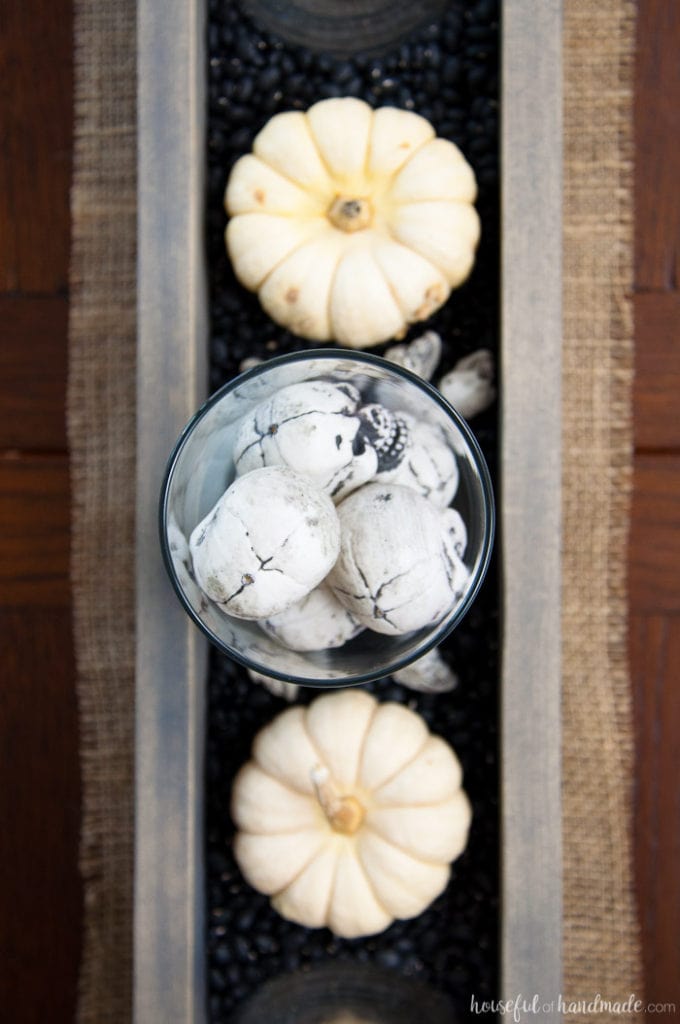
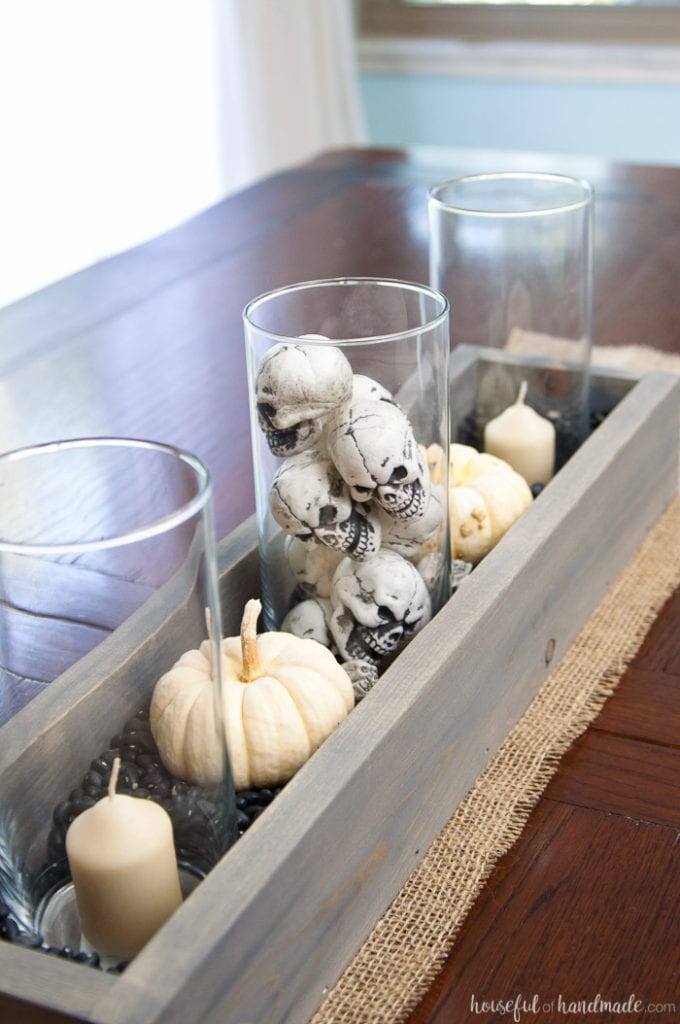
And after a few minutes in the garage and a few minutes arranging some choice Halloween decorations, I had this perfect easy DIY Halloween centerpiece.
This post may contain affiliate links. As an Amazon Associate I earn from qualifying purchases. Click here to read my full disclosure policy.
Now the dining room is almost as scary as the living room.
Last week I was trying to kill half an hour between dropping one kids off at school and needing to go back for volunteering in the other’s classroom.
Since our kid’s schools are really close to Target I spend a lot of time wandering there when I need to kill time. I made a beeline to the Halloween section to see if there was anything that I needed wanted.

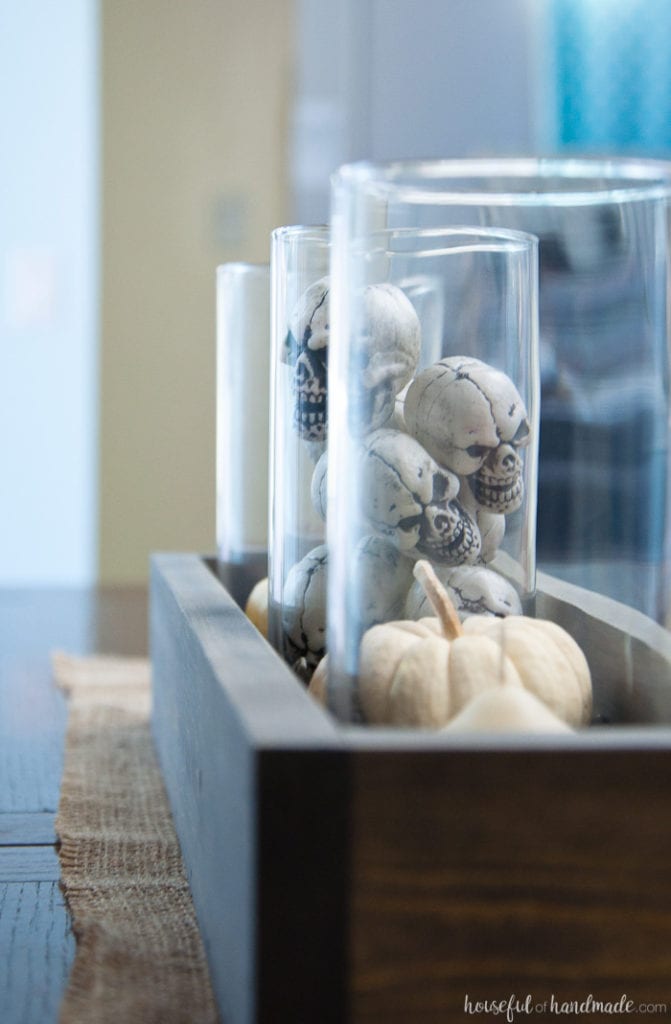
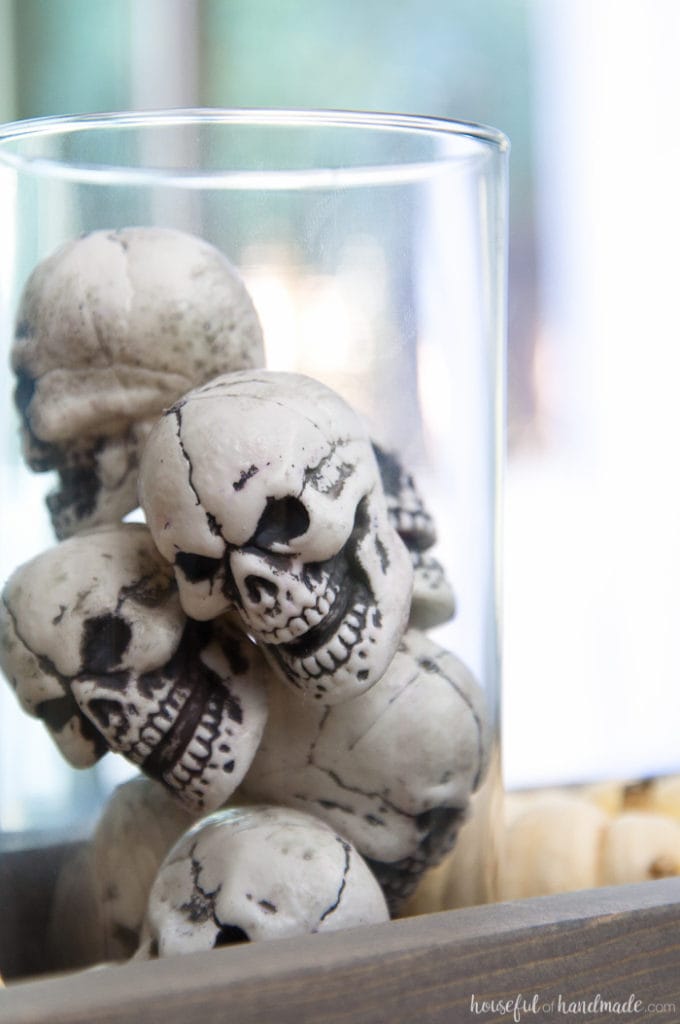
I found a bag of mini skulls, that was tied closed with some very tiny skulls on a string.
Since I am a sucker for skulls I threw them into my cart without any real ideas in mind. Surely I would find a way to use them, right? Well I did!
Knowing that I would be decorating the dining room table I decided I needed to make a simple wooden trough.
Trough boxes are the easiest way to make a centerpiece if you have a long rectangular table. I can’t believe I haven’t made one yet.
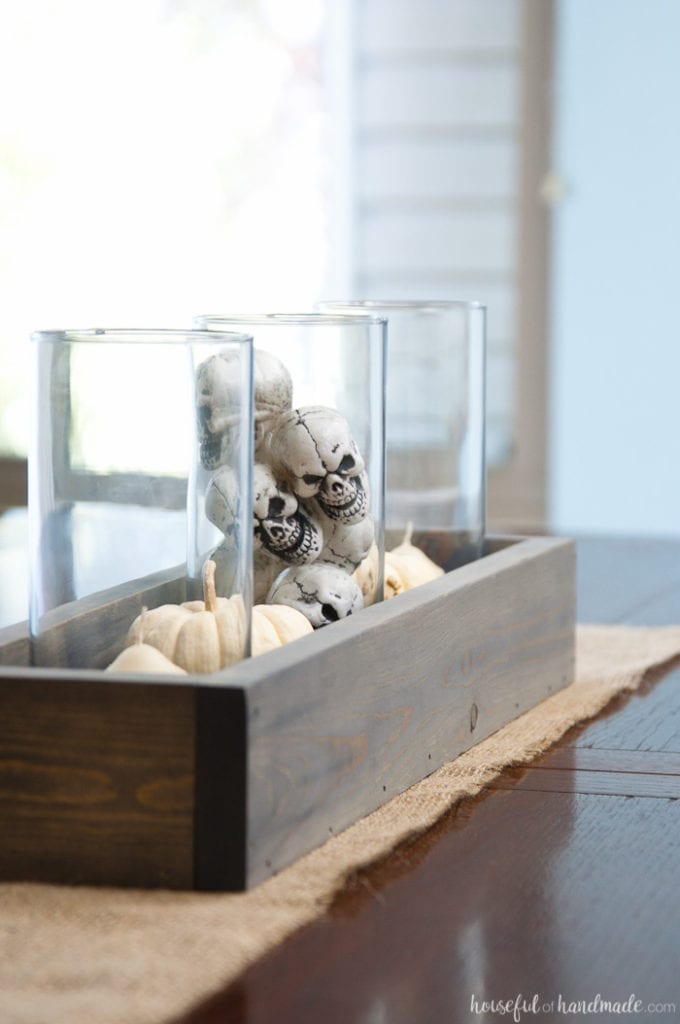
Once I had the trough box made, it was time to turn it into the perfectly easy DIY Halloween centerpiece.
How to Make an Easy DIY Halloween Centerpiece
Supplies:
- 5′ of 1×4 board
- 4″ x 21″ piece of 1/2″ plywood (or an additional 21″ of 1×4 board)
- Miter saw
- Finishing nail gun and 1 1/4″ nails
- Measuring tape
- Wood glue
- Gray wood stain
- 2 lbs dry black beans
- 3 3 1/2 inch hurricane vases
- Mini skulls
- Mini white pumpkins
- Votive candles
Start by making your trough box. Cut the 1×4 board so you have 2 pieces at 4″ long and 2 pieces at 24″ long.
If you want to use additional 1×4 board for the bottom of the trough box instead of the plywood, you will need to cut the end pieces 3 1/2″ long instead of 4″.
But I wanted my box to be 4 inches wide so that the hurricane vases were not touching the sides.
While I had my table saw out cutting my plywood, I decided to also trim my 1×4 boards to 3 inches instead of the standard 3 1/2″ to make a slightly shallow box.
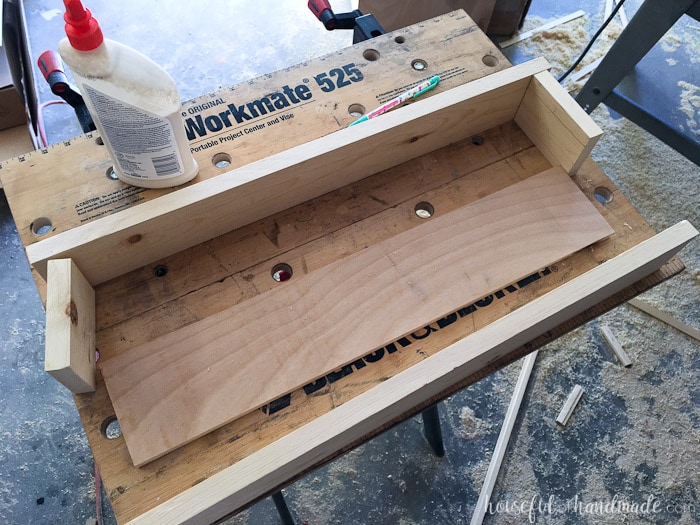
Dry fit together all your pieces to make sure they all fit together nicely.
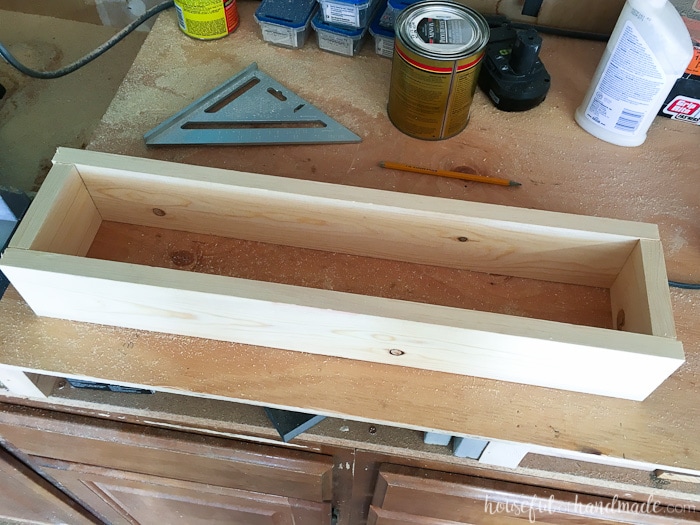
To assemble the box, put a bead of glue on one of the long sides of the plywood.
Clamp it to one of the long 1×4 boards 3/4″ in from each end and flush with the bottom. Secure the two boards together with finishing nails.
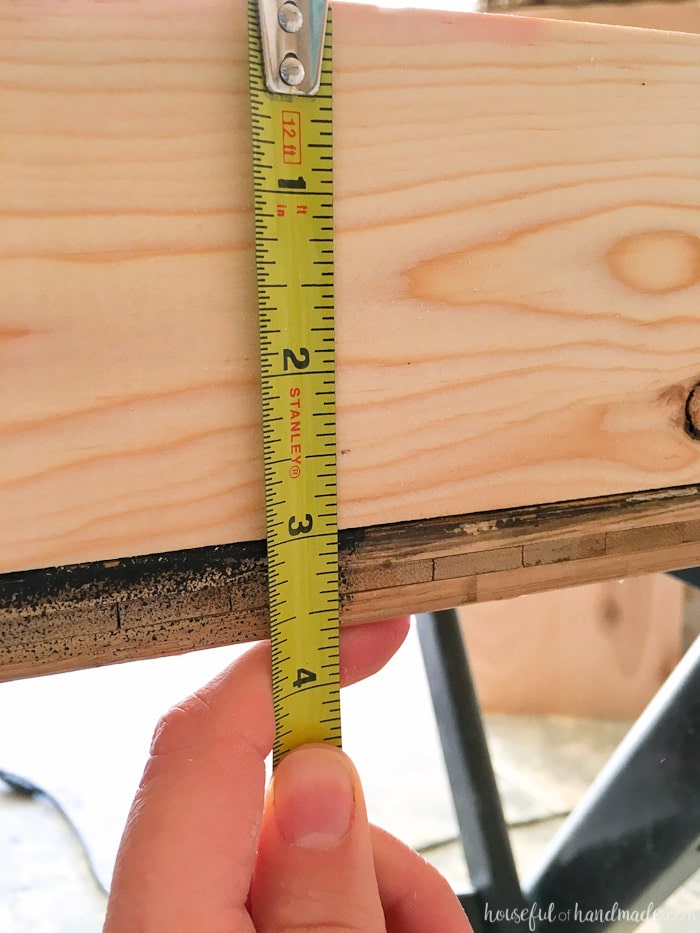
To make sure that you hit the 1/2″ plywood with your nails, measure 1/2″ up from the bottom and mark it so you can keep the nails between it and the bottom.
Add the two ends of the trough box with some wood glue and securing it with finishing nails.
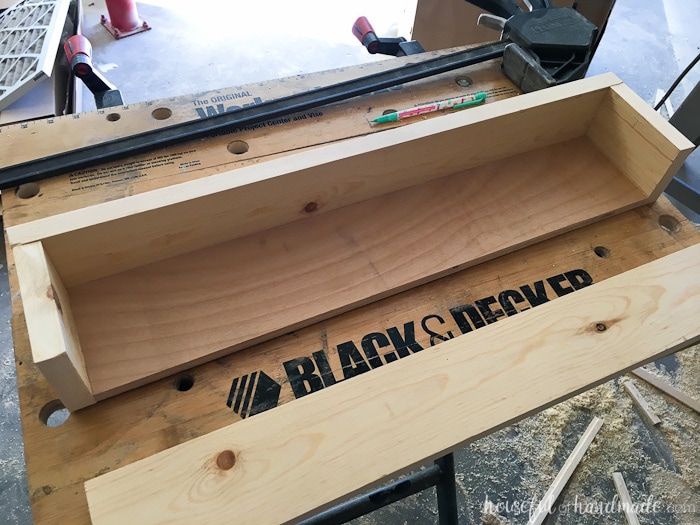
Finish the box by attaching the final side using wood glue and finishing nails again.
Make sure the secure the top of the sides to the ends as well.
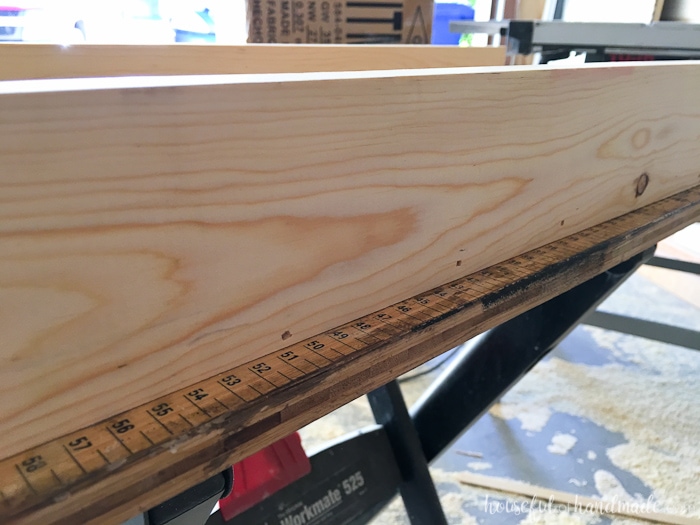
Sand and stain. I chose to stain my trough box with Minwax in Classic Gray.
I figured gray would be a good color for my Halloween centerpiece, but it will also work in pretty much every room of my house too.
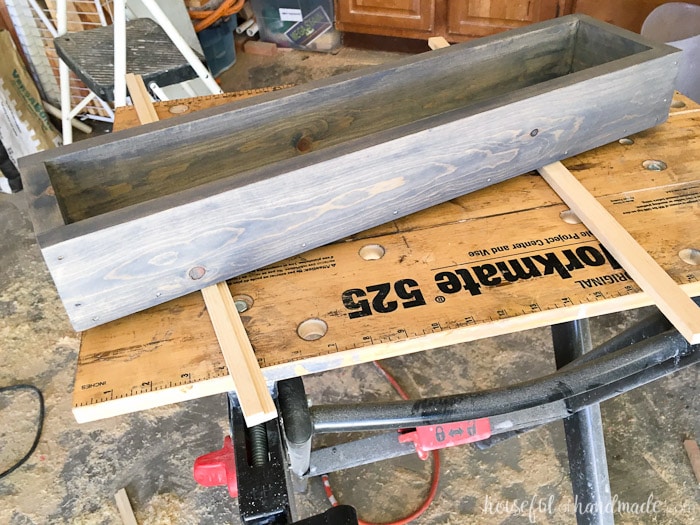
After the stain is dry, it is ready to assemble your new easy DIY Halloween centerpiece.
Add the hurricane vases to the trough and then fill the box with the dry black beans. I definitely recommend putting the vases in first because I learned how hard it was to move aside all those little beans to get them to lay flat.
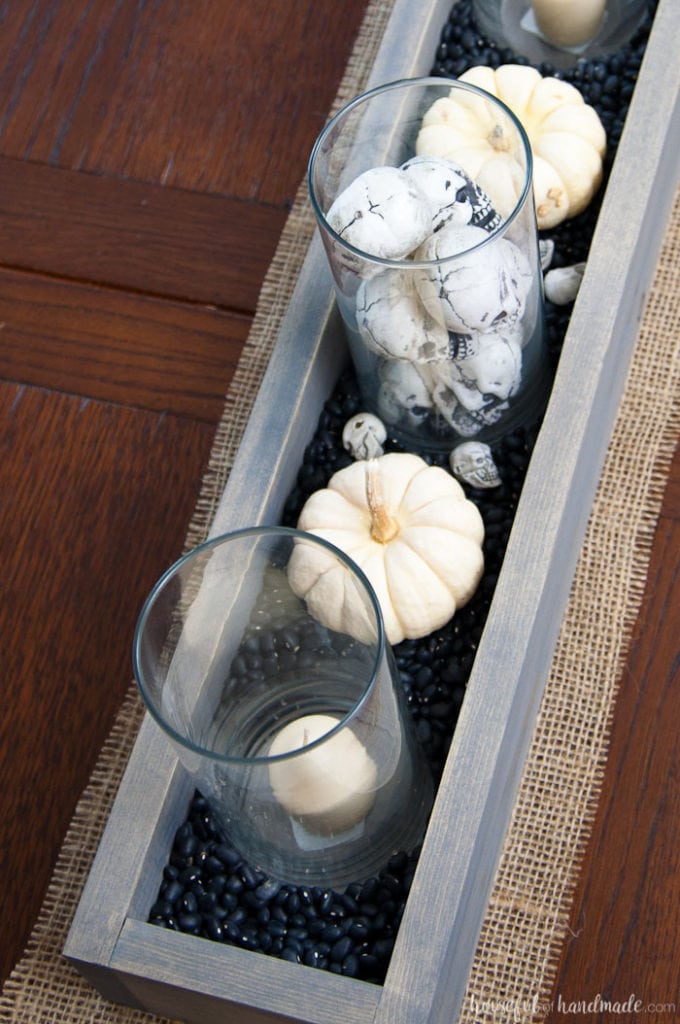
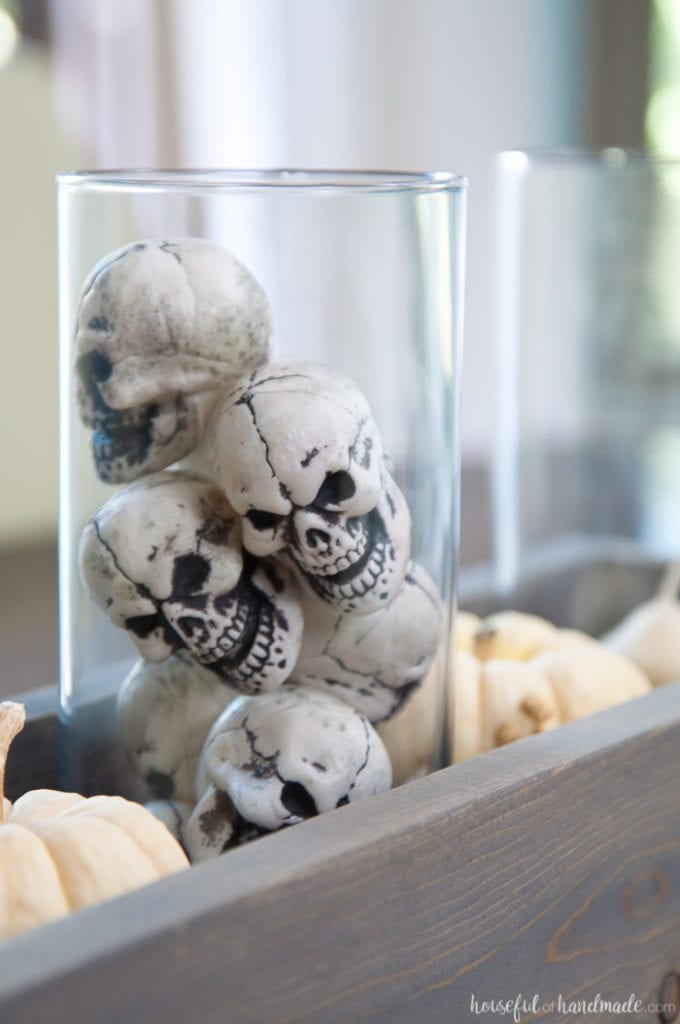
Fill the center hurricane with the miniature skulls. Place votive candles in the other two.
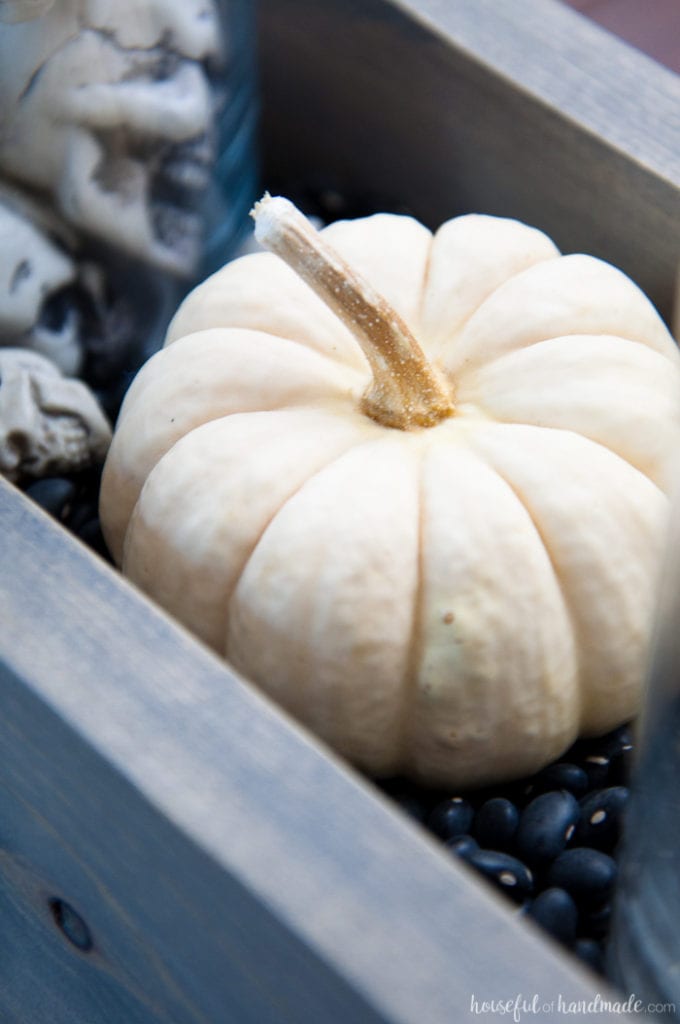
Add a couple pumpkins and you are ready to enjoy your new spooky centerpiece.
Now that the dining room is Halloween ready, we need to get the front porch ready. My kids can’t wait to help put out our spooky outdoor decorations.
Happy Halloween decorating!

