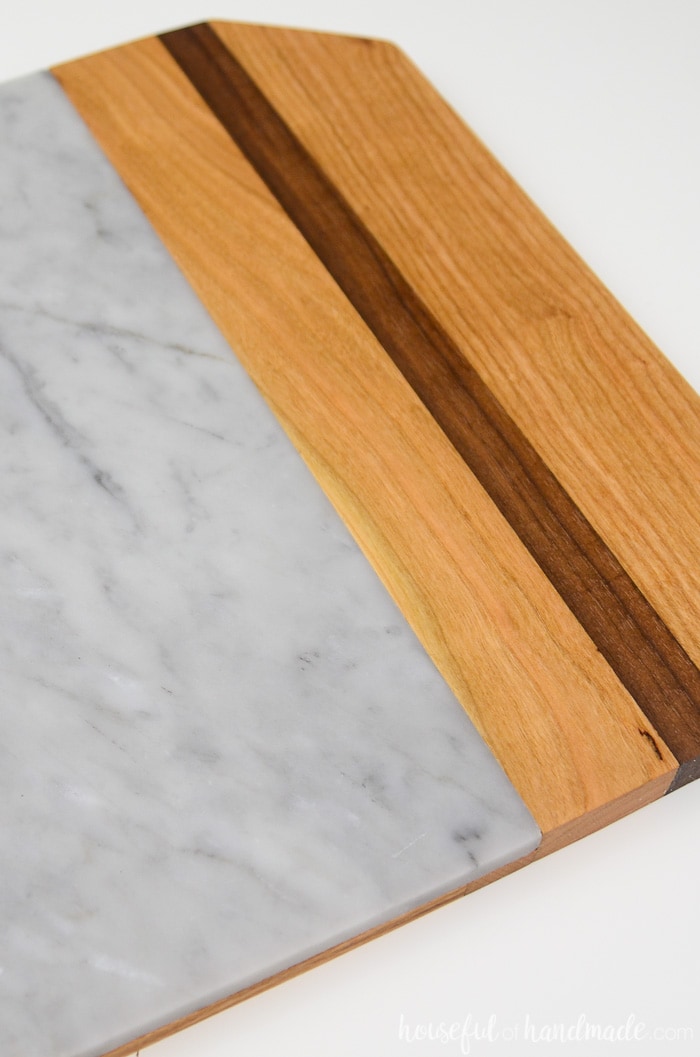
A marble cheese board is the perfect accessory for the holidays.
This wood and marble cutting board is perfect for displaying your favorite cheese plate, appetizers, or as a DIY hostess gift.
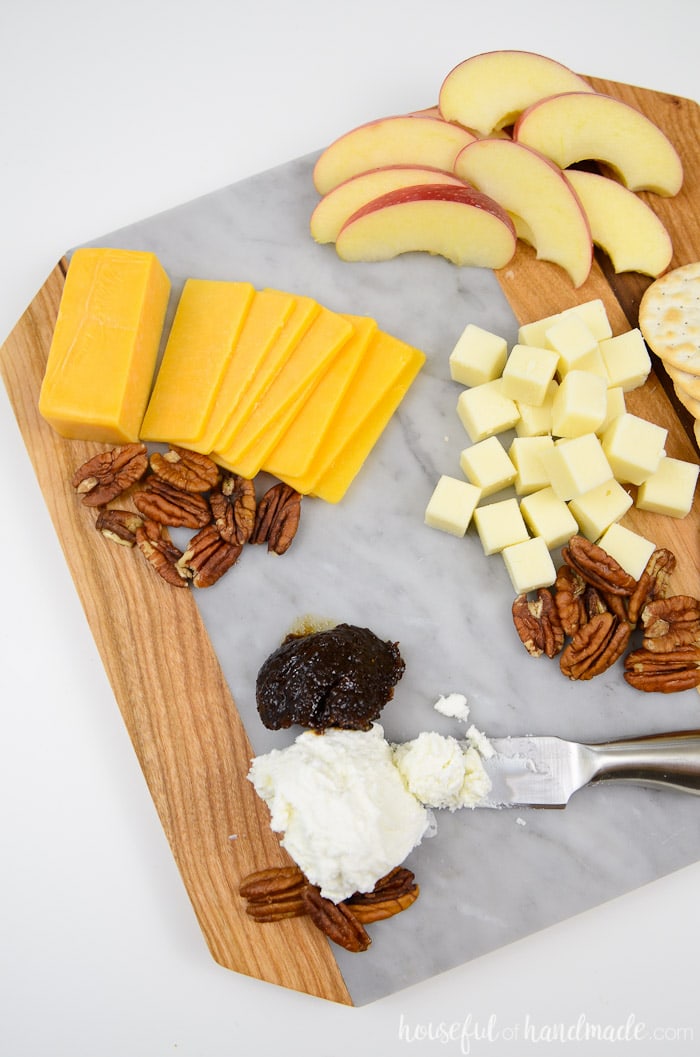
Need a last minute gift or the perfect marble cheese board for a party? Well why not make one!
Cutting boards are fun and easy to make. Except for the 24 hour dry time, they are also very quick to make (very little hands on time compared to other DIY gifts).
This post may contain affiliate links. As an Amazon Associate I earn from qualifying purchases. Click here to read my full disclosure policy.
This year I decided to make myself one with a marble tile inserted into it for the perfect cheese board. I cannot wait to do some more entertaining so I can show it off.

It’s time for the 2nd annual Virtual Cocktail party! Get ready for all the holiday parties with this super fun virtual party.
Your favorite bloggers are sharing cocktails, appetizers, party decor, table ideas, hostess gift and more to help you get ready for Christmas and New Year’s Eve. Check out this fun handmade marble cheese board and then grab a cup of wine and see all the rest of the fun party ideas below.
Last year I shared these easy (and very sparkly) DIY drink coasters. Gotta keep the furniture looking nice even when partying!
But this year, I went with the perfect accessory for my absolutely favorite party food… a cheese plate! I dare say there is nothing I like more than wine and cheese (even more than chocolate).
It’s the perfect party food too because you can grab a bite here and there as you are mingling and socializing. And cheese is so good!
Usually I just display my cheese plate on a classic white serving tray. It totally works, but I knew I could do better.
Before now, I actually have never made a cutting board. Why? Because I had enough of them already. But what I didn’t have was a beautiful marble and wood cutting board that would be perfect for displaying a collection of delicious cheeses.
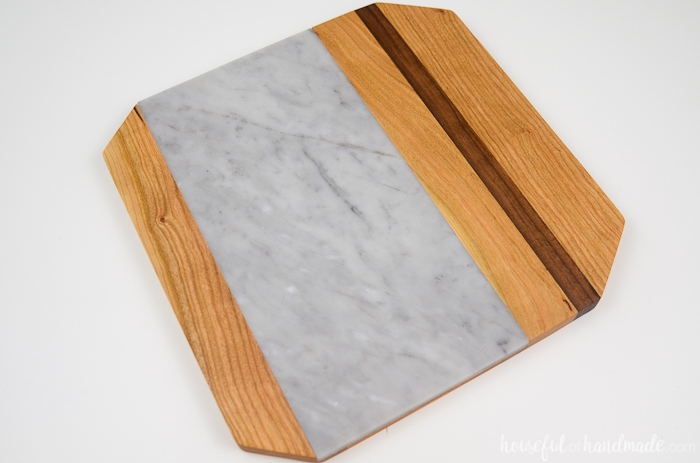
This beautiful marble cheese board was made with a 6×12 Carrera marble tile (which came in a 2 pack for less than $8). Then I added some 1×1, 1×2, and 1×3 hardwood boards to create a little pattern.
I chose walnut, cherry and hickory. The cherry and hickory ended up having very similar tones that you cannot tell the difference between the two, but our wood and marble cutting board is still beautiful.
All the supplies needed for two boards cost me less than $40 and that included the cutting board oil that I can use on many, many boards in the future.
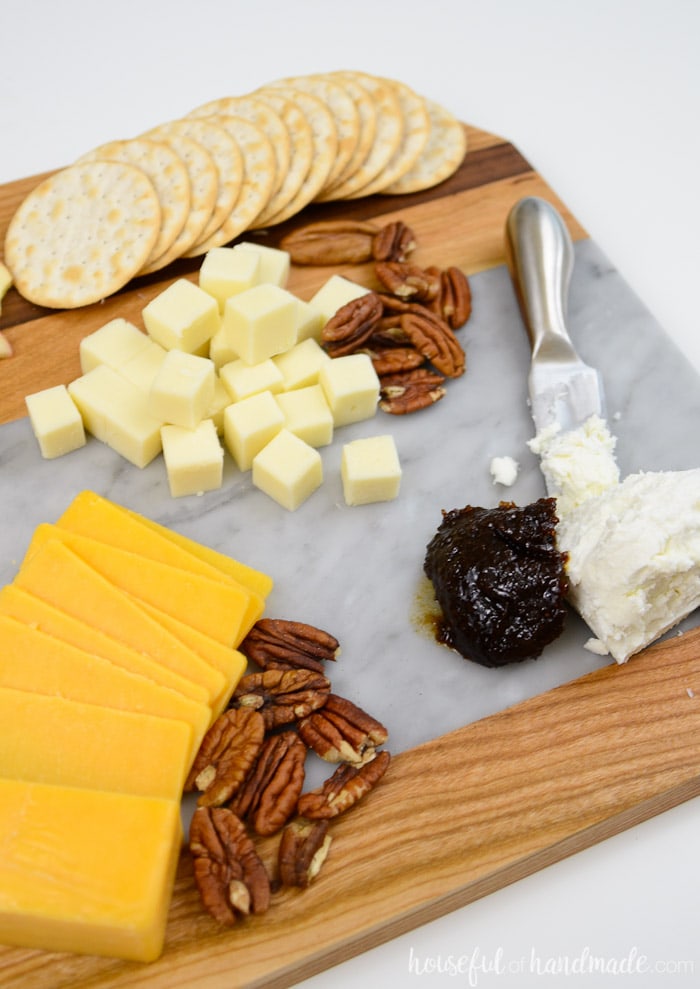
My kids love our new marble cheese board too! They thought it was pretty special that I made a fancy cheese plate for their afternoon snack today. Mom win!
And I poured myself a glass of wine because I didn’t want to waste the delicious cheese. It sure did make homework more fun tonight!
How to Make a Marble Cheese Board
Tools needed:
- Saw
- I used a table saw to rip down strips of wood needed to make the marble tile the same height as the wood boards. And I used a miter saw to cut the boards to the same length as the tile. This could also be done with a circular saw.
- Clamps
- Sander
Supplies:
- Marble tile
- Harwood boards
- Hard maple, hickory, cherry, and walnut are good hardwoods for cutting boards.
- Gorilla glue (make sure it is water resistant and works for stone and wood)
- Exterior wood glue (for water resistance)
- Medium and fine sandpaper
- Cutting board oil
Start by measuring your tile. You will want to cut your boards the same as the width of the tile.
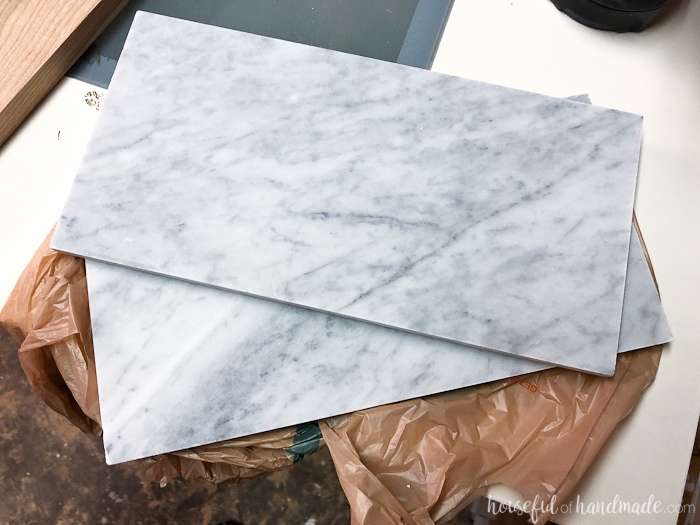
You will also need to measure the depth of your tile and rip pieces of the hardwood to add to it to make it the depth of your boards.
My tile was 3/8″ thick so I cut 3/8″ strips of wood to make the tile 3/4″. I just ripped a strip off 3 of my boards so I wouldn’t have to buy additional wood for these extra pieces.
Then cut them to go around the edges of the tile.
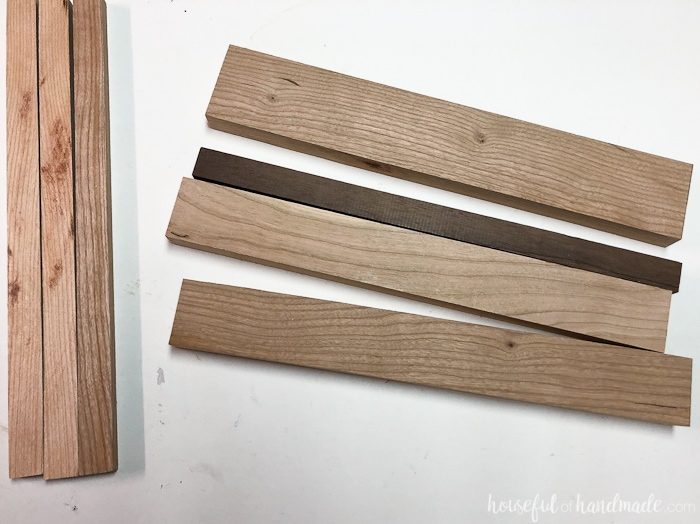
Once all the boards are cut, it’s time to start glueing things together. I used Gorilla glue to glue the wood to the tile.
Start by glueing the thin strips to the back of the tile. Make sure they are flush with the outside of the tile. If there are any edges that overhang, they will need to be sanded flat to the tile before proceeding.
Clamp and let cure for a couple hours (I clamped by putting heavy boxes on top of the wood strips).
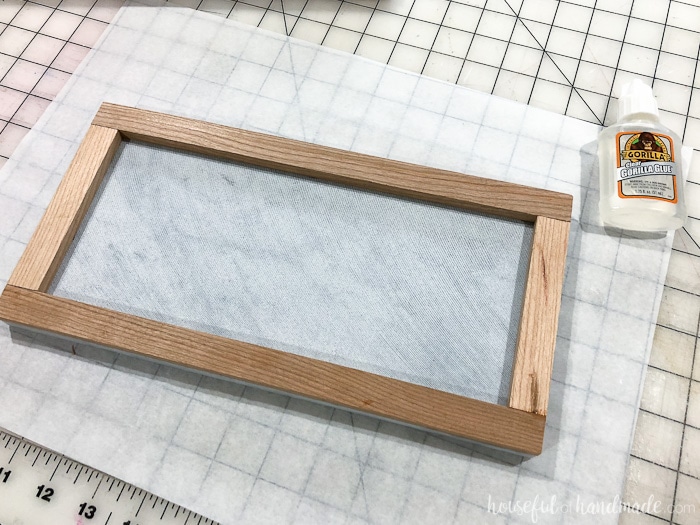
While that is curing, decide on the pattern for your hardwood.
The hardwood section of the wood and marble cutting board is perfect for cutting breads and baguettes next to the cheeses. I angled the two boards on the far ends of my marble cheese board for some interesting design.
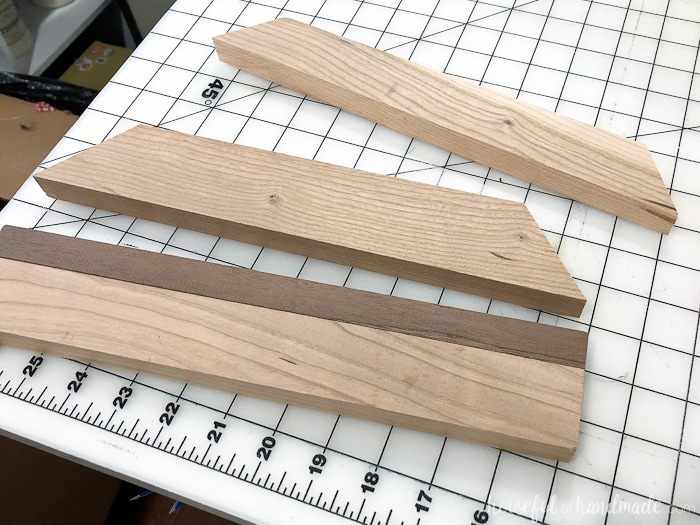
Apply wood glue to the edges of the boards and smooth out. I used a foam brush to make sure the glue was over the entire surface. Clamp together and let sit for a couple hours.
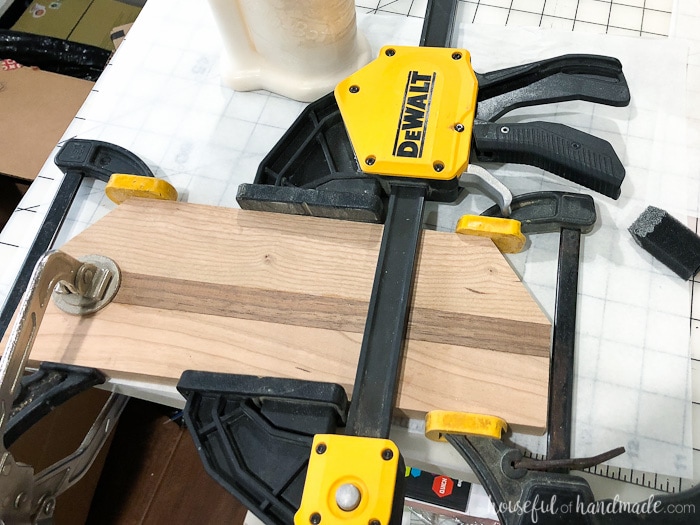
Add Gorilla glue to the sides of the tile with the wood spacers on the bottom. Attach the wood to the sides of the tile and clamp. Let sit for 24 hours until fully cured.
Once everything is dry, sand the surface of the the wood. Start with a medium grit paper and then finish with an ultra fine grit. If you sand a bit of the marble, it’s okay because it won’t hurt it. And make sure to sand off any glue residue on the wood.
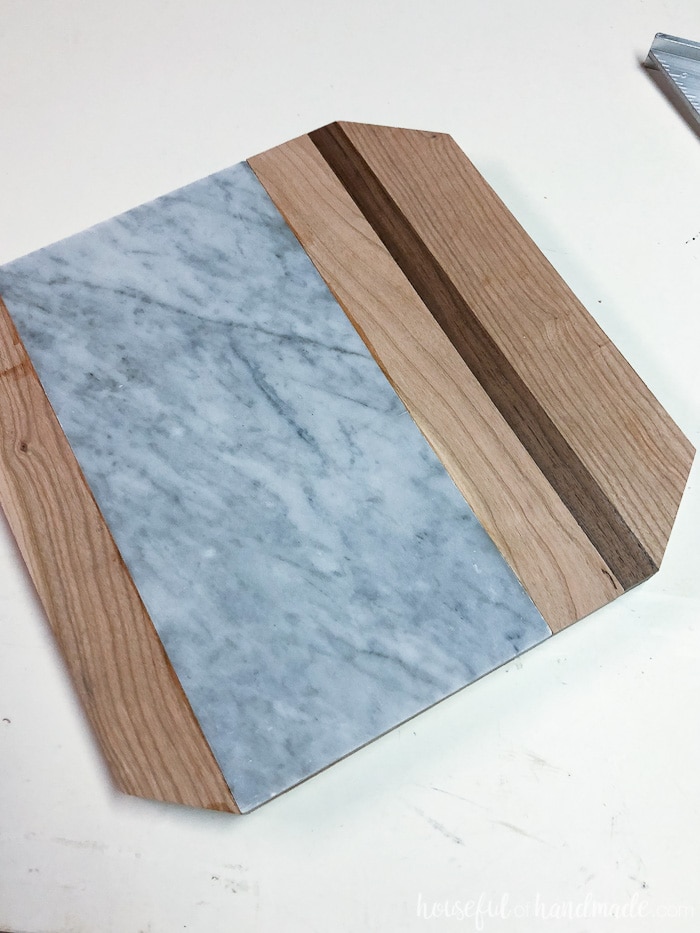
Now it’s time for the fun part. Add the cutting board oil to see the beautiful of the wood come out.
It is amazing how much the oil makes the beautiful colors of the wood pop. It also adds moisture to the wood and protects it from all the stuff you will be putting on it.
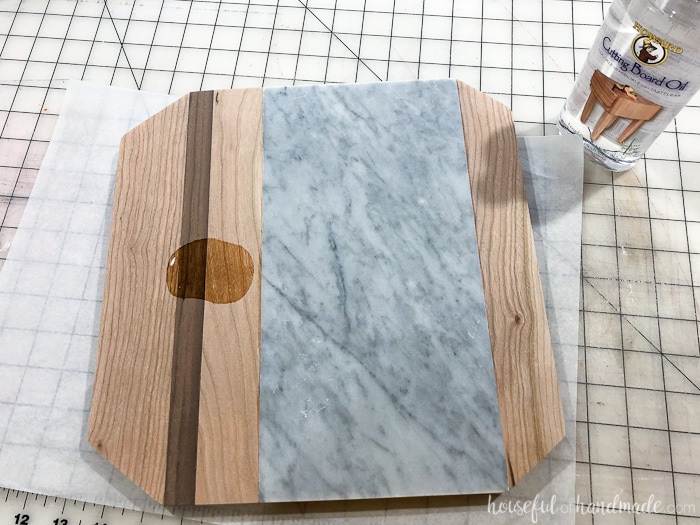
Wood cutting boards do need to be re-oiled every so often. I have seen lots of different information about how often they need to be oiled. I say, add oil after cleaning whenever it looks dry.
And if the oil doesn’t soak into the wood, I guess that means it wasn’t necessary so rub it off with a paper towel. Super specific I know, but how often really is determined by how ofter you use it, how you clean it, and how dry the place you live is.
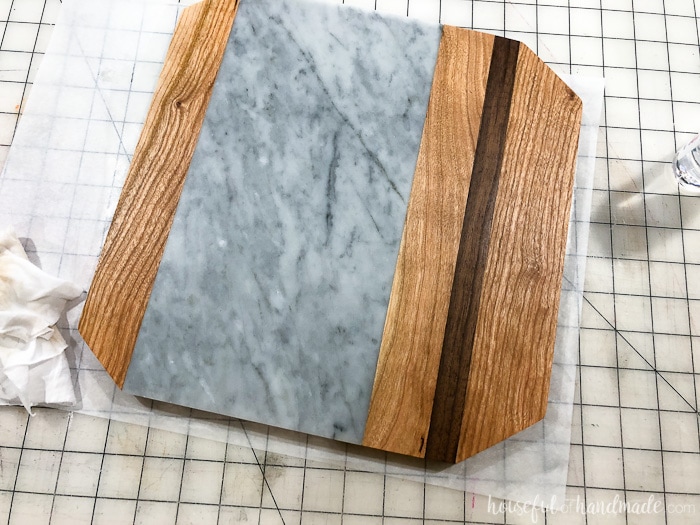
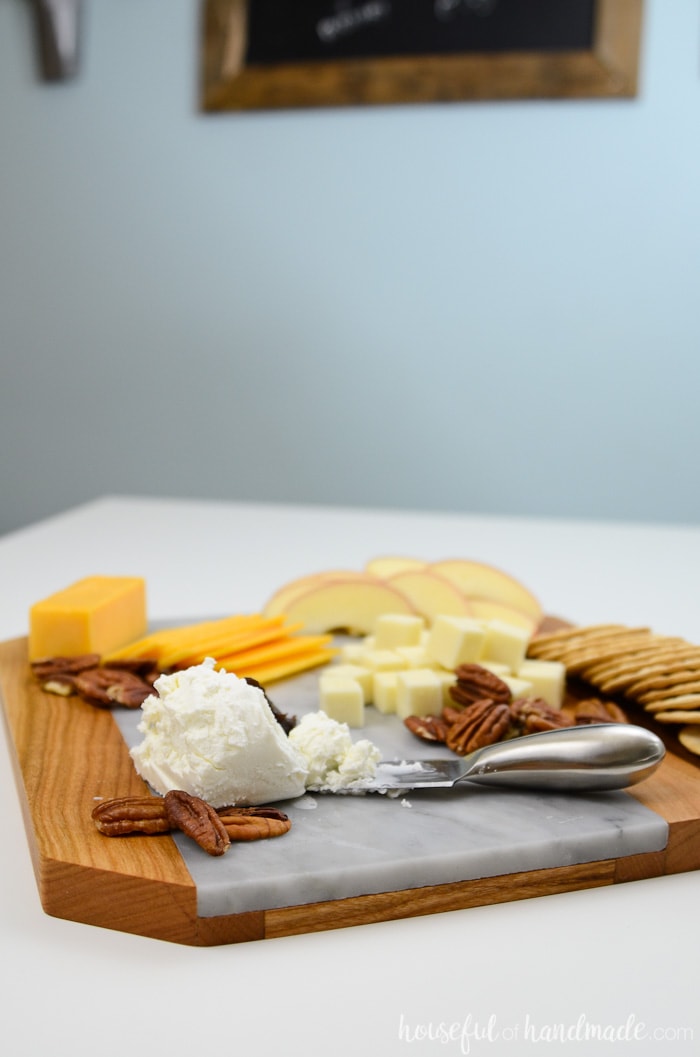
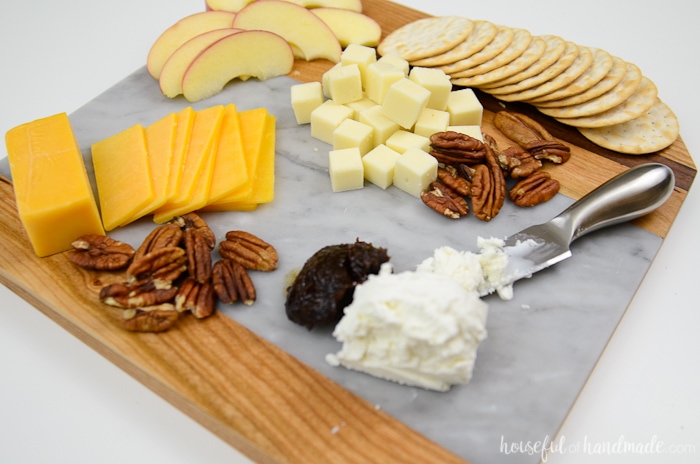
Once the oil is all absorbed into the wood, you can load your wood and marble cheese board up with your favorite cheeses.
Since I love it all, I used what we had in the fridge to make a quick holiday snack for the family. That’s the beauty of cheese plates, you can use what you have and it will still look so fancy.

Now grab that cup of wine and enjoy those cheeses! Then don’t forget to check out the rest of the party posts to get you ready for lots of fun this holiday season.

