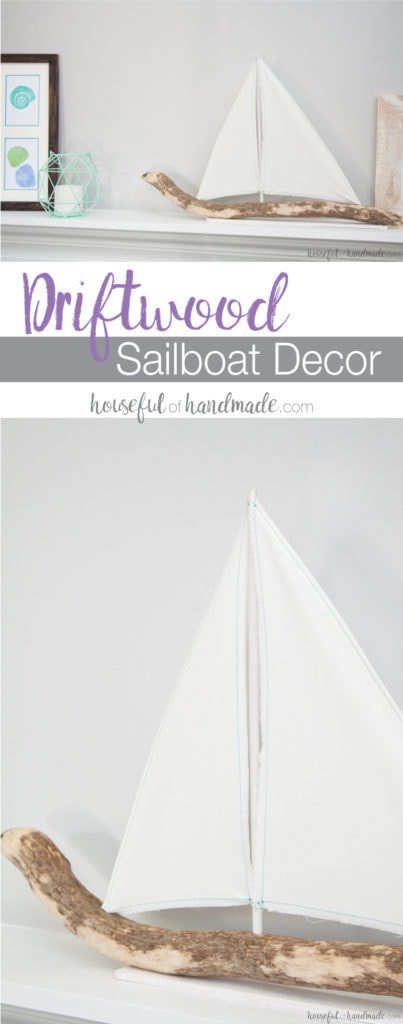
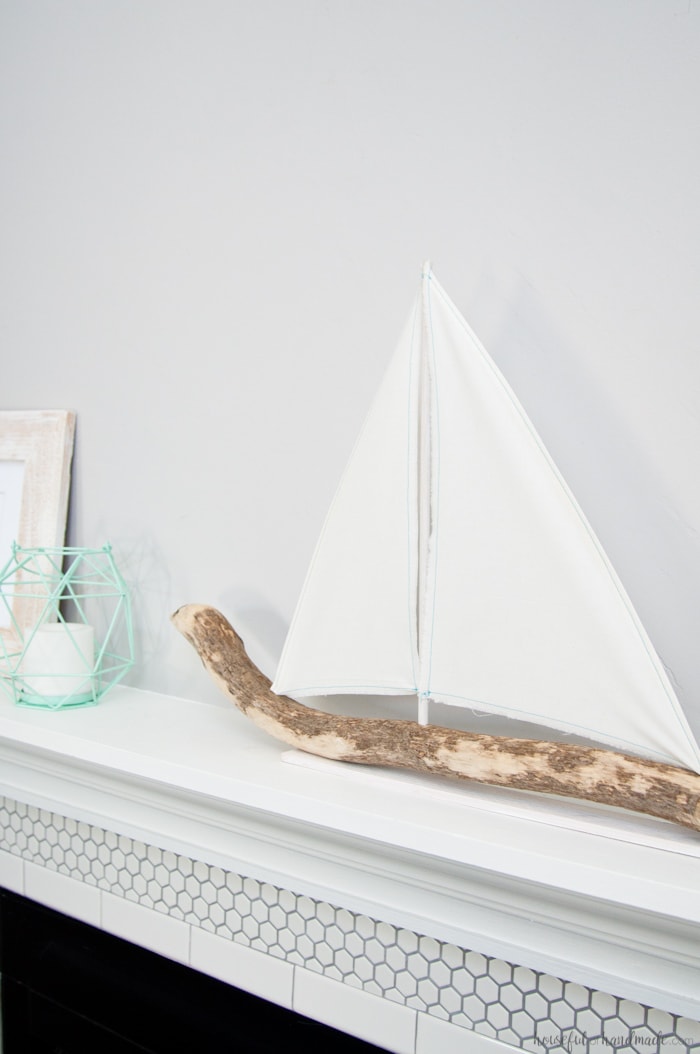
So today’s craft isn’t anything new, I am sure you have seen driftwood sail boats before. I know I have. I have wanted one for some time now, but since I am too cheap to buy one and we don’t live near the ocean to find driftwood, I just gave up on having one. Until this last weekend…
This post may contain affiliate links. As an Amazon Associate I earn from qualifying purchases. Click here to read my full disclosure policy.
We are super lucky to live really close to the Rocky Mountains. Seriously, we are right at the base of them. It takes about 15 minutes to drive into Big Cottonwood canyon where we can be enjoying a mountain adventure.
It’s a little longer to some of the other canyons around, but not much. On Sunday we went into the Uinta Mountains and it took us 1 1/5 hours to make it to the summit and we were there and back in a day and less than half a tank of gas. How’s that for an adventure?

But we are far from the beach where you find this beautiful driftwood for all your favorite coastal decor, or so I thought. As we were playing in the mountains this last week, we were splashing in some mountain streams with the kids and there were beautiful pieces of driftwood all around.
Seriously, the sticks from all the mountain trees were tumbling and being worn by the streams as they made their way down the mountains. It was just as beautiful as the ocean driftwood. Maybe a little different since it was not as bleached out as the stuff in the ocean, but still beautiful.
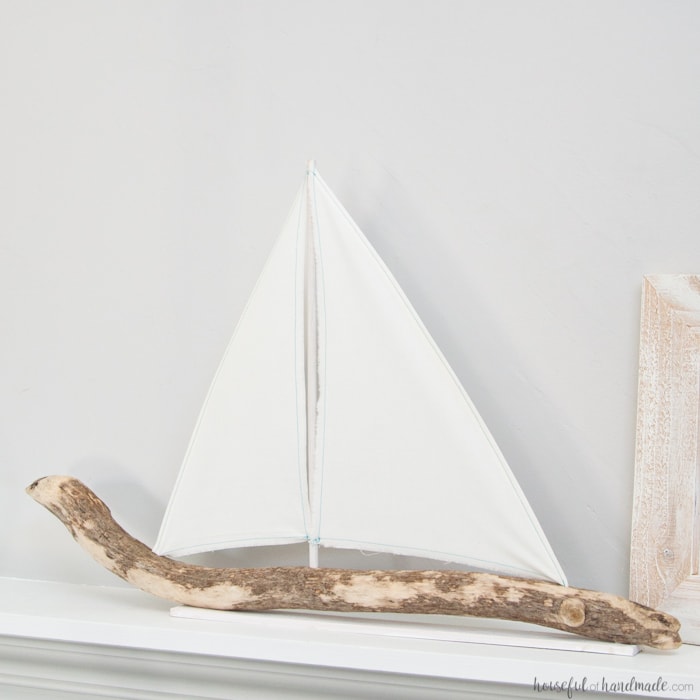
I found a couple fantastic sticks to do some fun things with. But when I came across this beauty, it was just screaming at me to make it into a DIY driftwood sailboat decor. So I did!
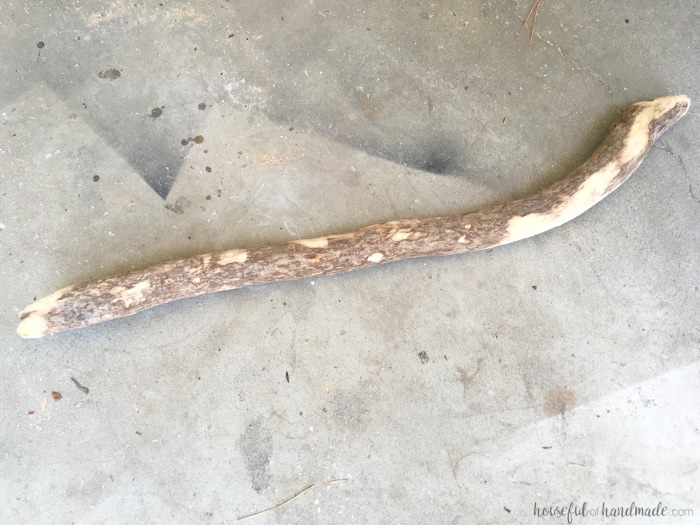
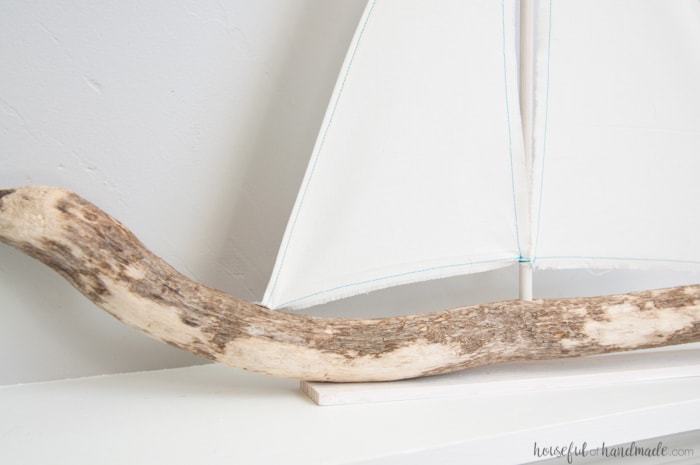
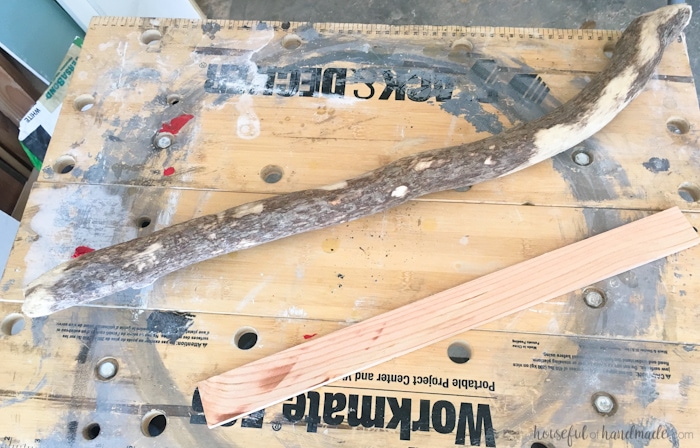
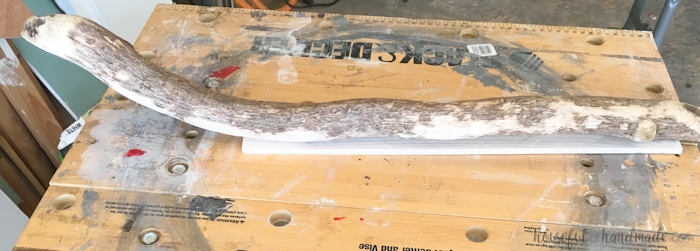
I started with my beautiful mountain driftwood. It will not stand on it’s own, and I don’t want to make sure it is always leaning against something to stay up, so I decided to mount it to a small piece of scrap wood. I happened to have a 1 1/2″ wide x 1/4″ thick piece left over from trimming out the fireplace so I used it. If you don’t have a thin piece, a regular 3/4″ piece would work too.
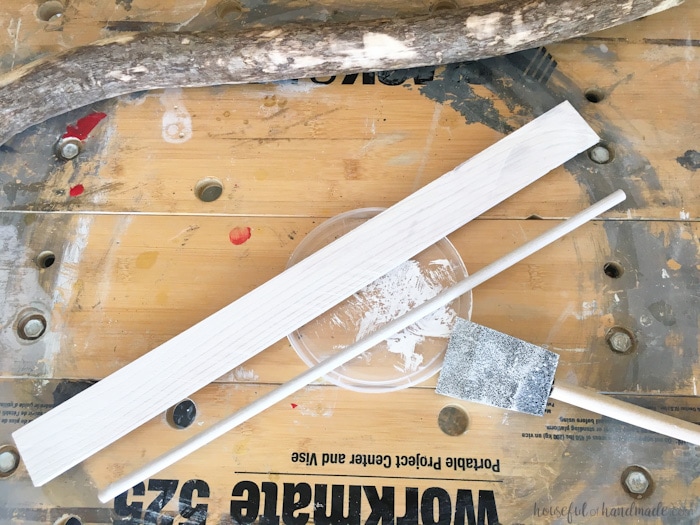
Since I was using new wood, I decided to give it a coastal feel by doing a quick coat of white paint. I thinned the paint down just a little bit so it would be more of a white wash instead of a solid white. And since I am also using a dowel instead of a small piece of driftwood for my center post, I gave my 5/16″ dowel a coat of the white wash paint while I was at it.
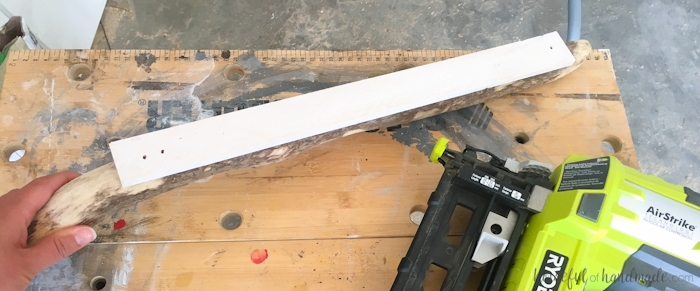
After that was dry, I used my trusty nail gun (seriously, I love having a battery powered nail gun so I don’t have to deal with getting out a compressor every time I want to do a little project) to attach my driftwood to the board. I shot the nails in from the bottom so they were completely hidden.
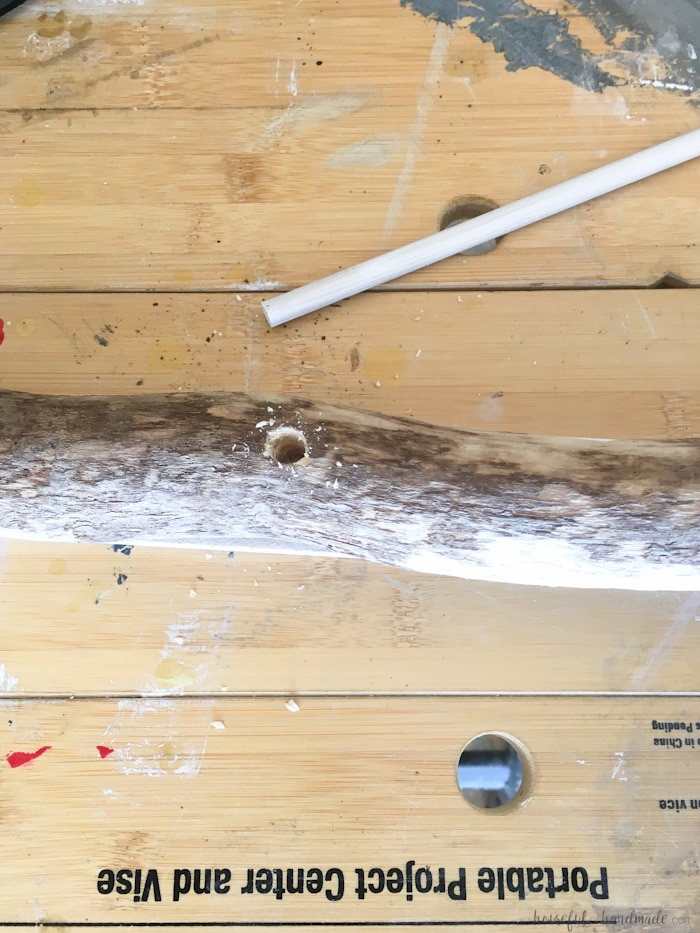
Then I drilled a hole using a 5/16″ bit (the same size as my dowel) into the top center of my driftwood I thought I would need some wood glue to secure the dowel, but when I put it in to check it out, it wouldn’t move at all! It was so stuck, it was a good thing I was happy with it.
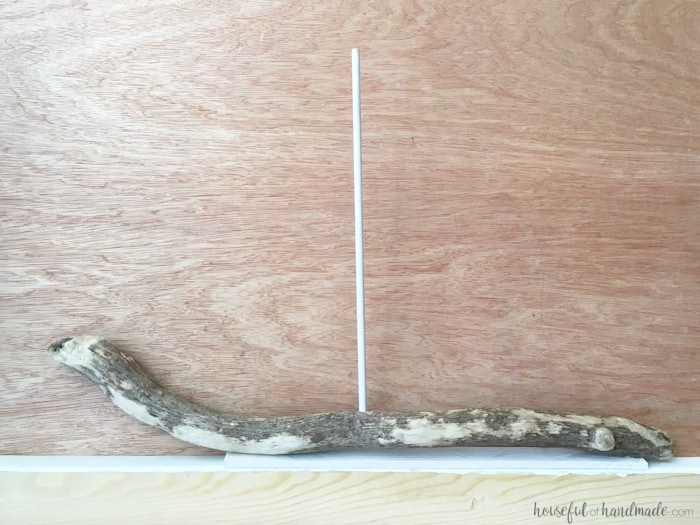
Now it was time for sails. I measured how tall my dowel ended up being (about 15″) and decided I wanted my sails 14″ tall. Then I decided the back sail would be 10″ wide at the bottom and the front 8″. I used a really scientific method of holding the measuring tape next to the boat and saying “Yep, that’s where I want it!”.
I thought about using some more scraps of drop cloth (I have lots left over from my various drop cloth projects cause I love using the stuff), but I wanted more coastal and less rustic. Luckily, I also had some leftover white muslin from my dining room curtains and that would give me the soft, white, coastal feel I was going for!
I cut my sails so they were 1″ bigger than I wanted (so a triangle that was 15″ tall and 11″ wide on the 90 degree angle and one that was 15″ tall and 9″ wide).
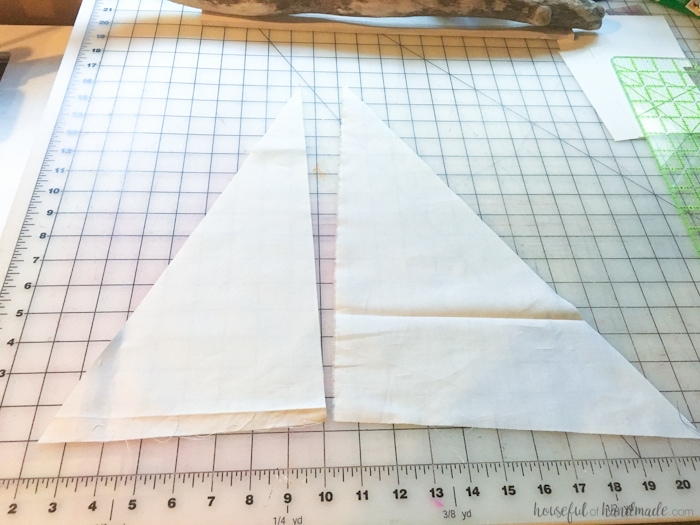
Then I realized I really liked the raw edge that one of my sails had so I decided to give all my straight cuts a frayed raw edge by pulling out a few of the strands of thread.
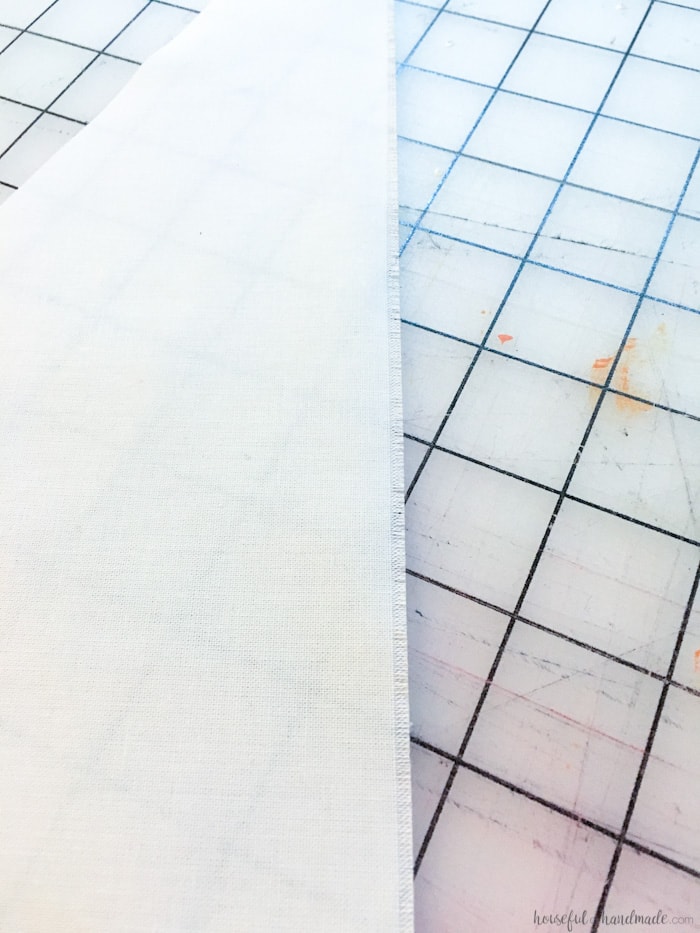
The angled edge wouldn’t work with a raw edge like that so I did a quick rolled hem by pressing about 1/4″ hem (no need to be too precise) and then rolling that over to encase the raw edges and pressing again. Then I sewed all around the sail with a turquoise blue thread to give it some color (I do love a little pop of color).
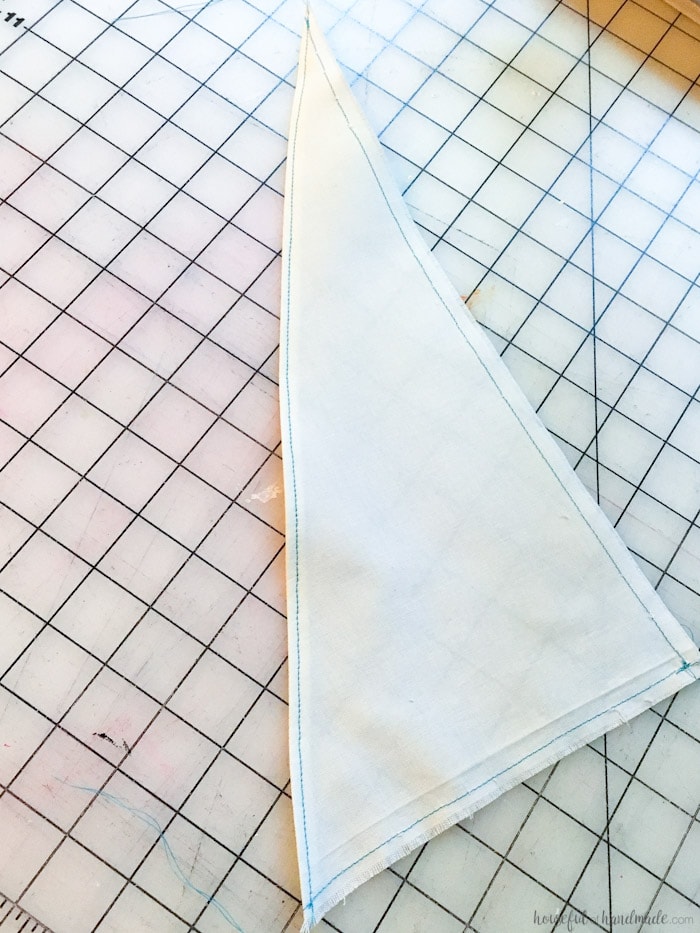
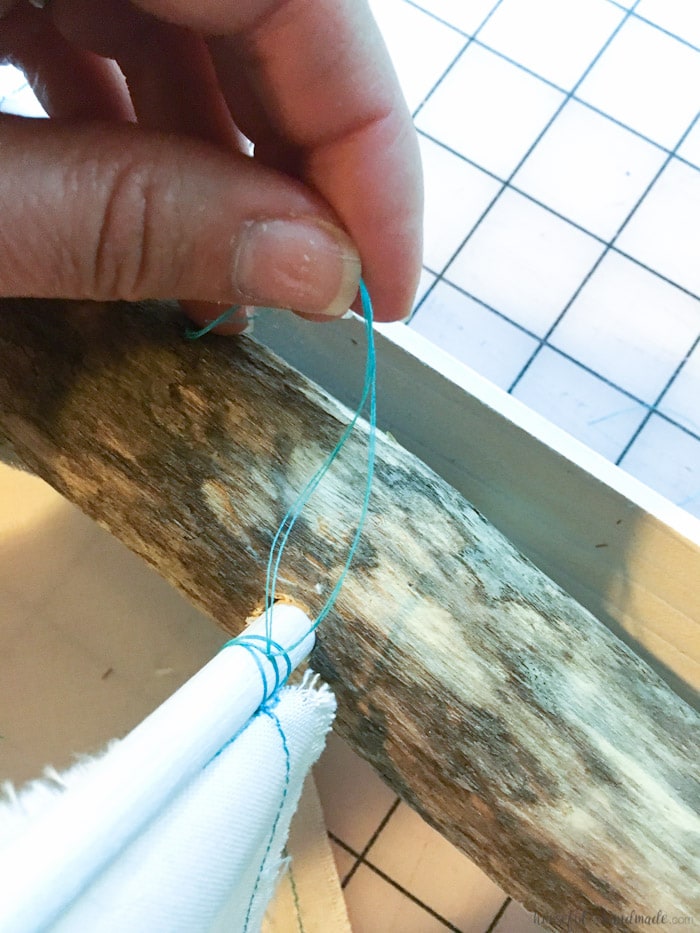
I left the strings on the top and bottom of the straight side of the sails and used them to tie the sails to the dowel I had stuck into the driftwood. After I had tied the sails to the dowel, I secured them a little bit more with some hot glue (gotta love the hot glue!). And don’t mind my horrid nails and cuticles, apparently I really need a manicure.
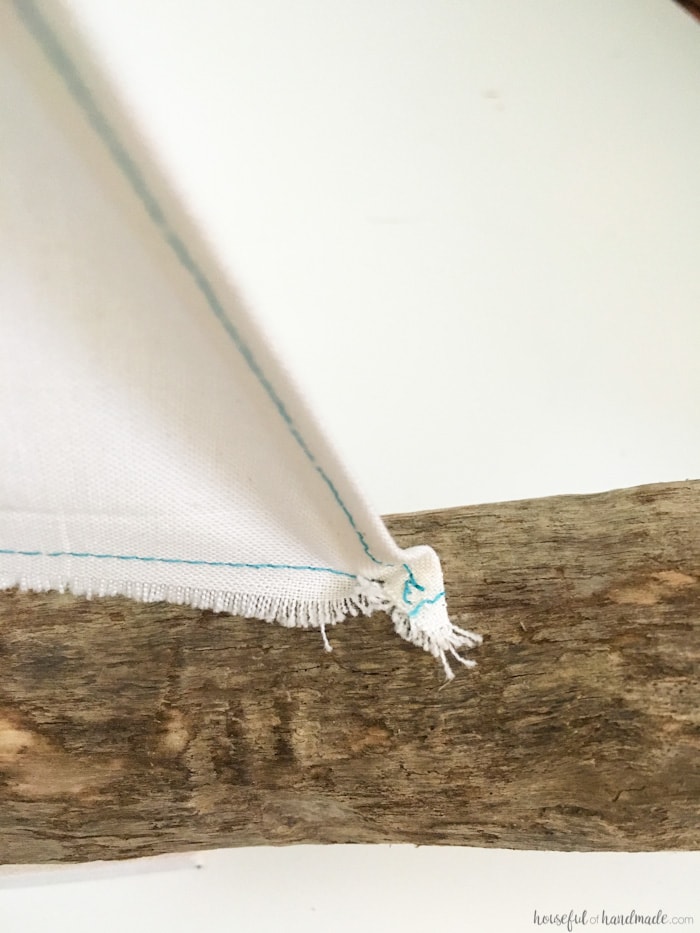
The easiest way I found to secure the outer edge of the sail, my nail gun. I pulled the corner where I liked it and POW! One nail in the corner and it was done instantly.
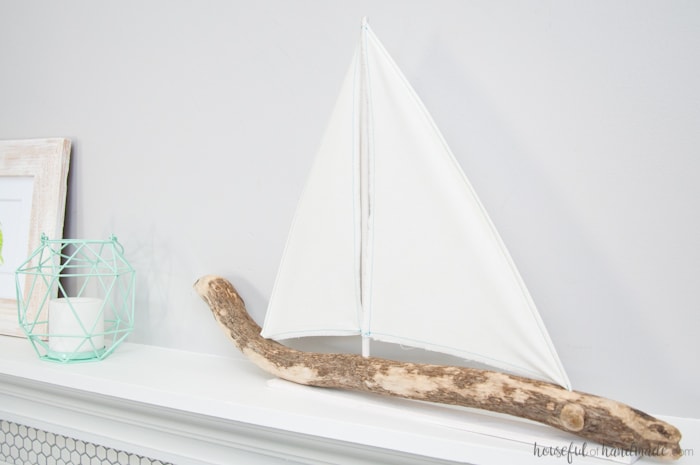
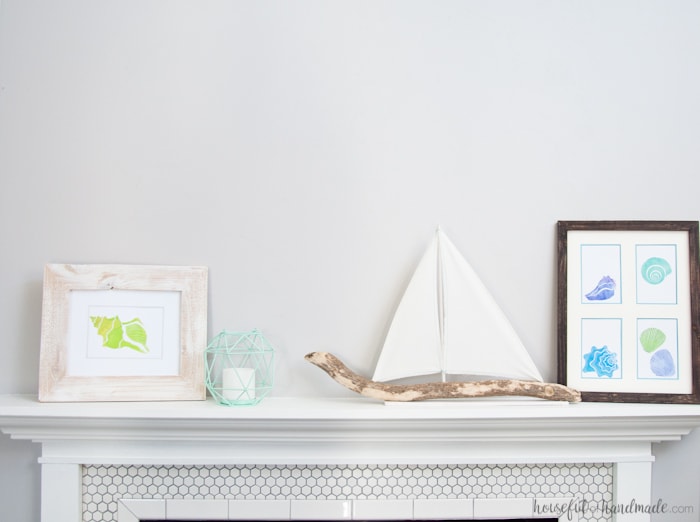
Now it was time to put my new DIY driftwood sailboat decor on my mantle and smile. Finally I can stop seeing all the beautiful pieces out there and wishing I had one too. And even better, mine only cost us a trip to the mountains and a few scraps. Beautiful and free, even better!!!
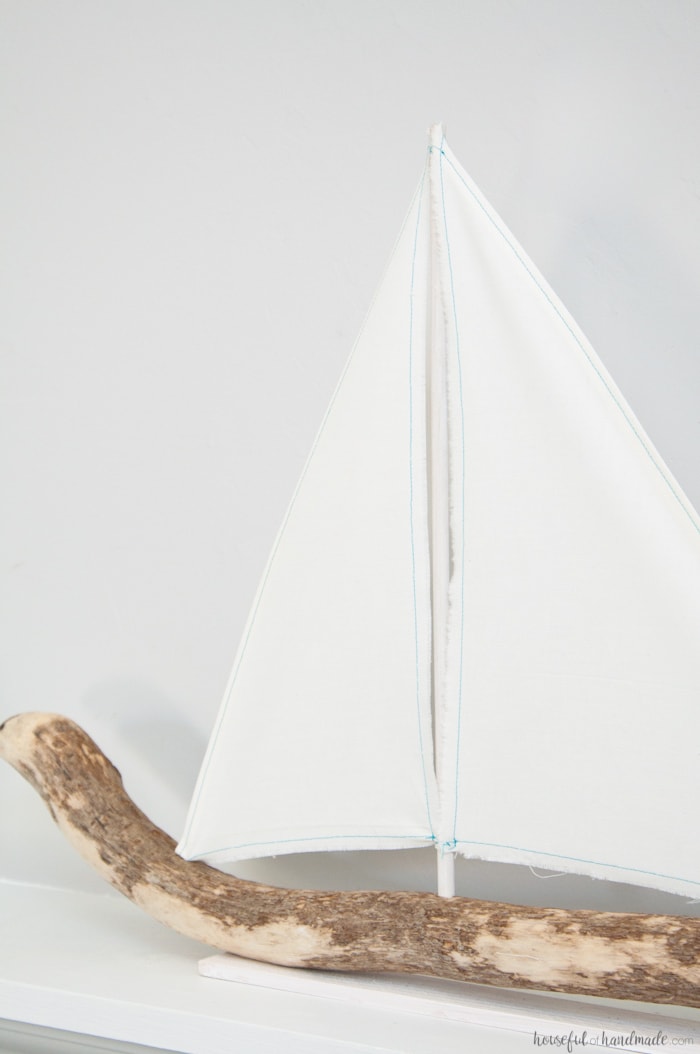
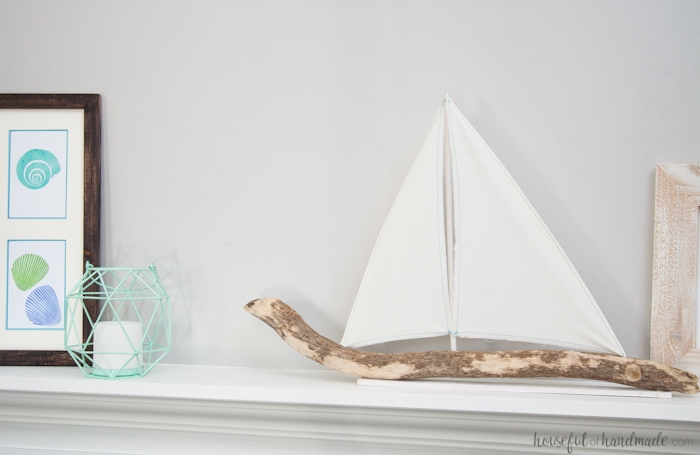
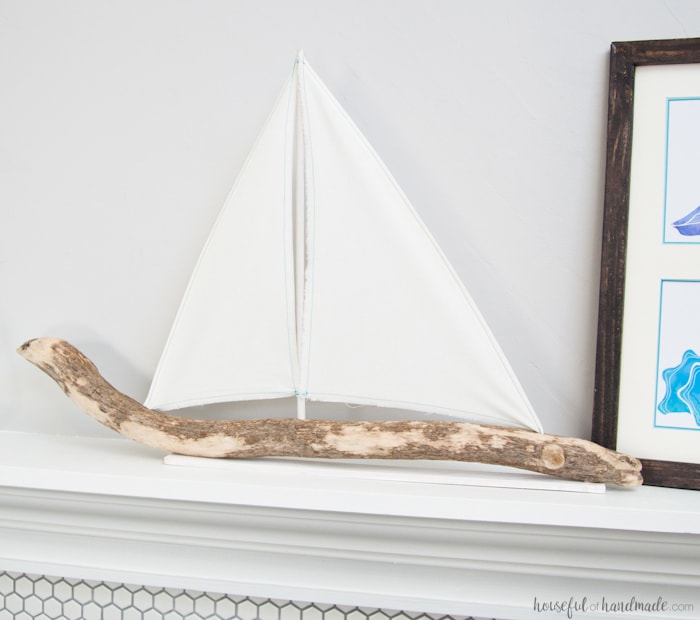
And now my coastal mantle is starting to shape up. I still need a few more details, and a focal piece to add some height in the middle (I’m almost done with the DIY I have planned for this and it looks so pretty, stay tuned). Perfect for our summer decor.
What are you doing this summer?

