Create a beautiful drum ceiling light from an old globe light fixture.
This easy DIY is perfect for adding style to any home on a budget.
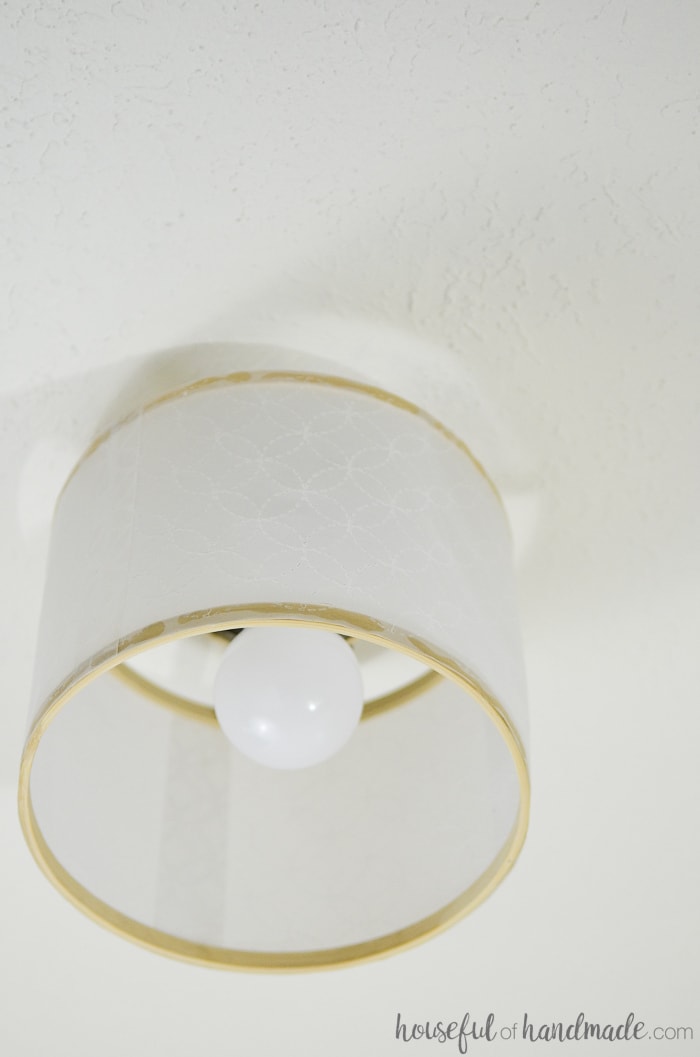
Upcycle your old globe ceiling light into a drum ceiling light with this easy tutorial. For only a few dollars you can create a beautiful hallway light fixture.
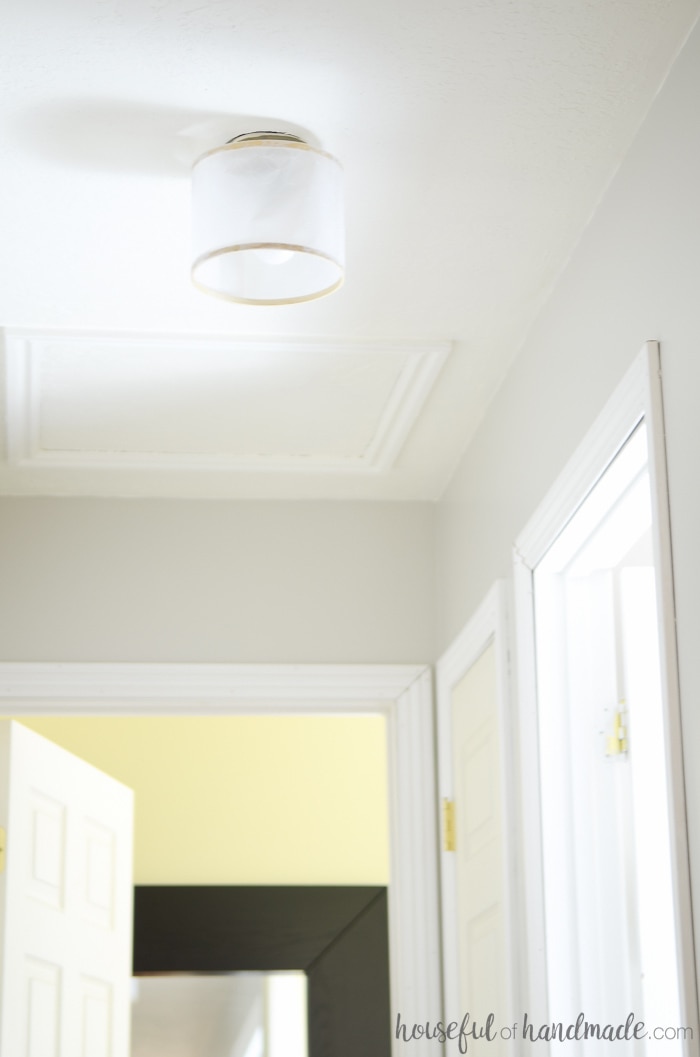
The drum shade is a perfect replacement for the outdated globe light.
This post may contain affiliate links. As an Amazon Associate I earn from qualifying purchases. Click here to read my full disclosure policy.
I use a paper cutting machine to add texture to the vellum covering the light fixture, but it is not necessary. You can use plain vellum or purchase textured vellum too!
This month I decided to stop neglecting our hallway!
It’s embarrassing to admit that this frequently seen room was still sporting the ugly, beigey-neutral paint color that most of our fixer upper was painted when we moved in 12 years ago!
Yep, you read that right. I have not bothered even giving our hallway a fresh coat of paint in 12 years.
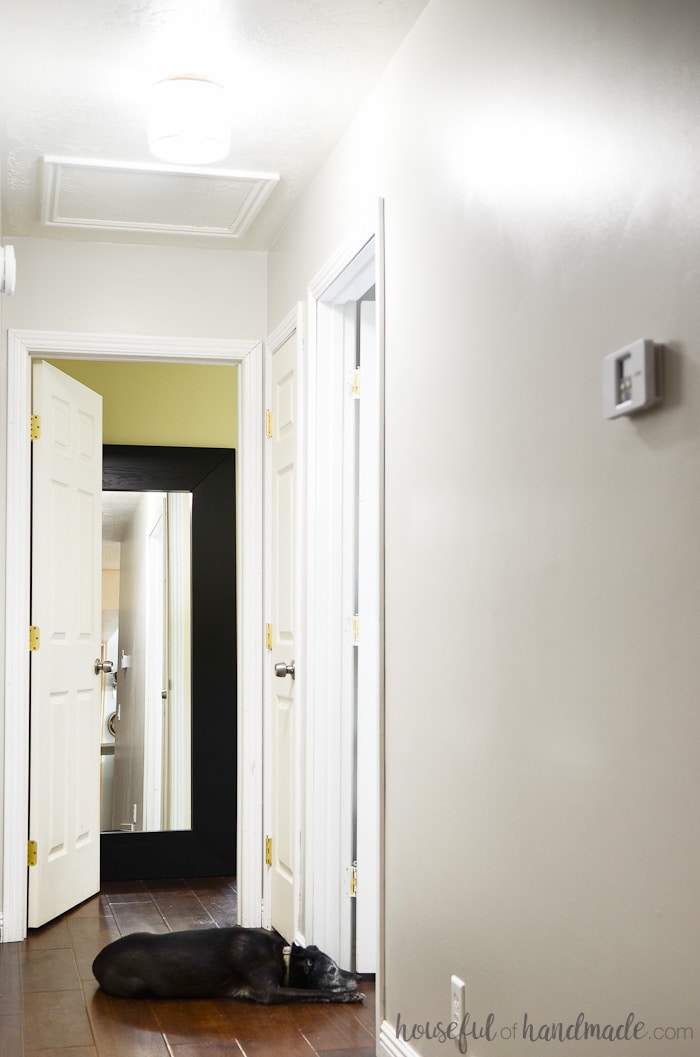
Instead of updating this central room of our house, we have been busy redoing the rest of our home. You can follow along with our DIY remodel here.
But every day I walk through the main hallway about a million times! Okay, I might be exaggerating a bit.
However, I do have to go through this hallway to get to my bedroom, bathroom and office/craft room. And these rooms definitely get the most of my attention.
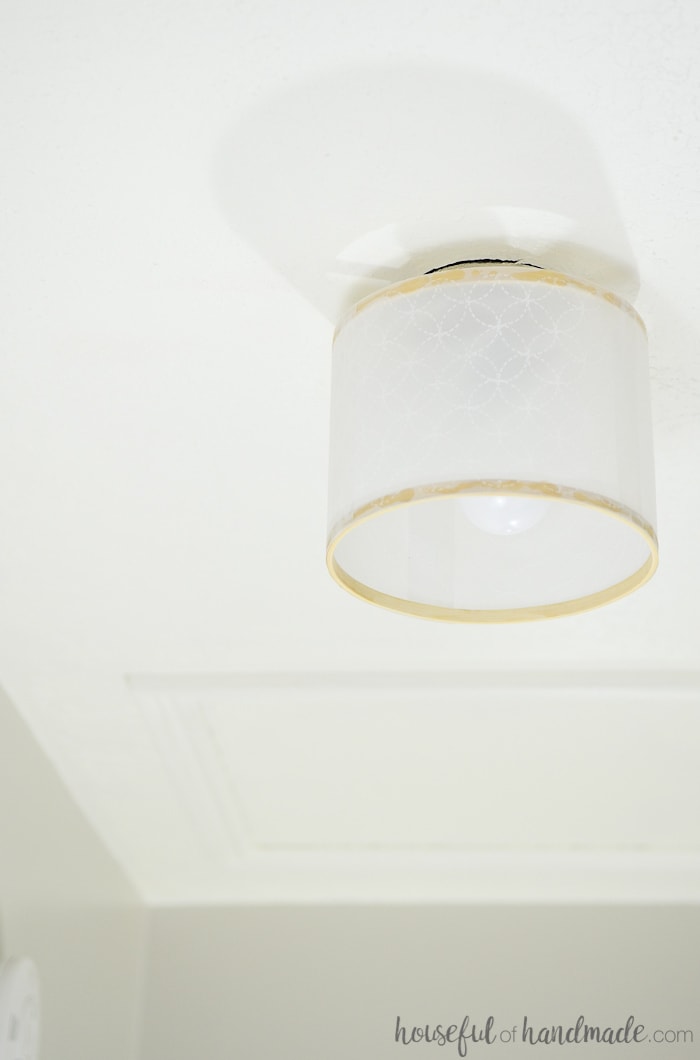
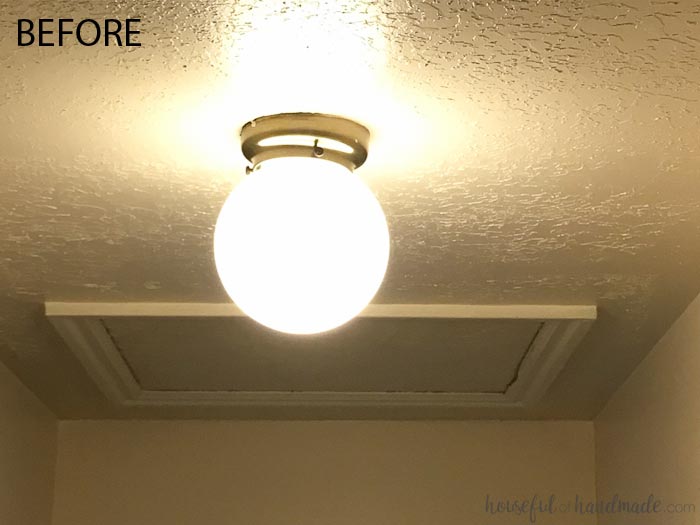
Now I am happy that my journey through our main floor is much prettier with the addition of a fresh coat of paint and a new drum ceiling light fixture. After painting the hallway, I knew I could not put that old globe bowl back up.
But instead of heading to the store to find a new hallway light fixture, I decided to DIY one!
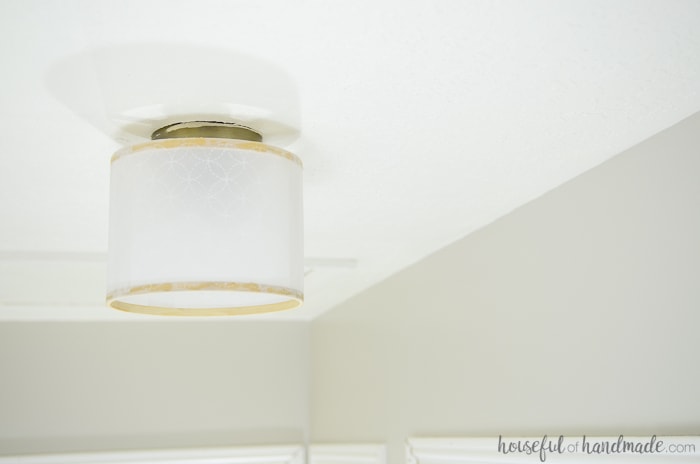
I am in love with the drum ceiling light fixtures. They are so beautiful, with a slightly feminine softness. But they are not too trendy that I will hate the light fixture in a year.
And I knew I could create the perfect drum ceiling light with a few basic supplies. Then to make it truly unique, I used my Spellbinders Platinum 6 machine to add some texture to the drum shade.
The new hallway light fixture makes me so much happier than the boring globe!
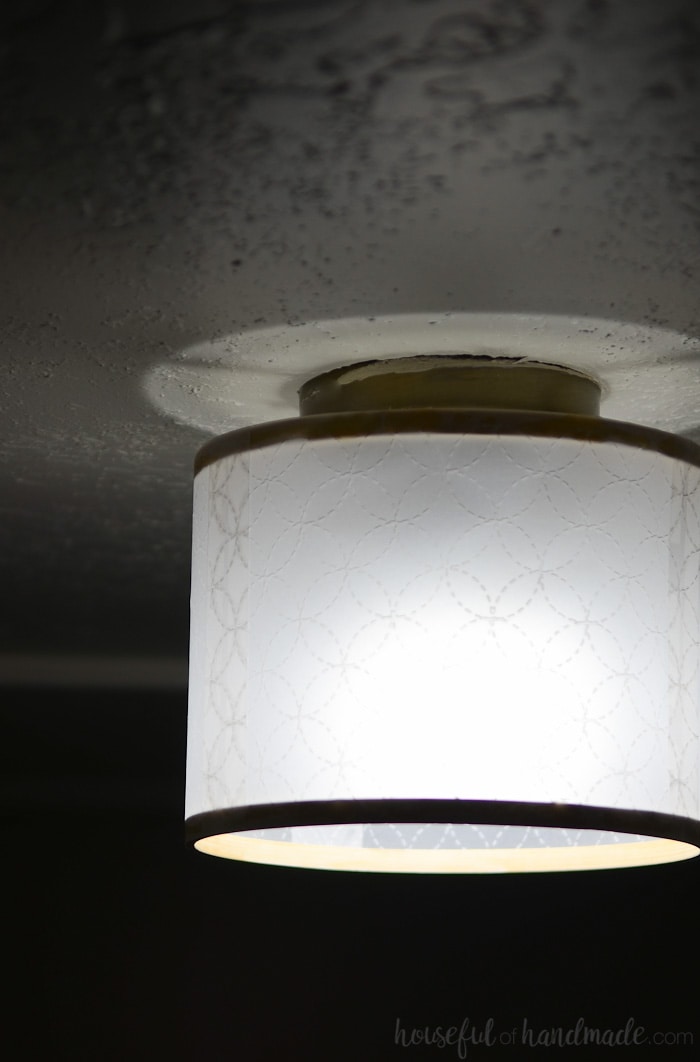
Using the base of the globe light, I created a beautiful drum shade. The shade was easily affixed over the old light base and now all you see is soft pretty light.
I love the new drum light so much that I am wondering where else I can add another one.
How to Make a Drum Ceiling Light
Supplies:
- Vellum paper
- Embroidery hoops
- The size of your embroidery hoop will depend on your light fixture and preference. I used 2 8″ hoops for the drum shade and 1 4″ hoop to hold it to the light base.
- 3/8″ square dowel
- Drill
- Hammer
- 5/8″ finishing nails
- Wood glue
- Double sided tape
- Hot glue gun and glue sticks
- Optional: You can use the Spellbinders Platinum 6 with an embossing folder to add texture (I used the Wedding Ring Stitch Quilt design by Lena Lok).
Expert Tip:
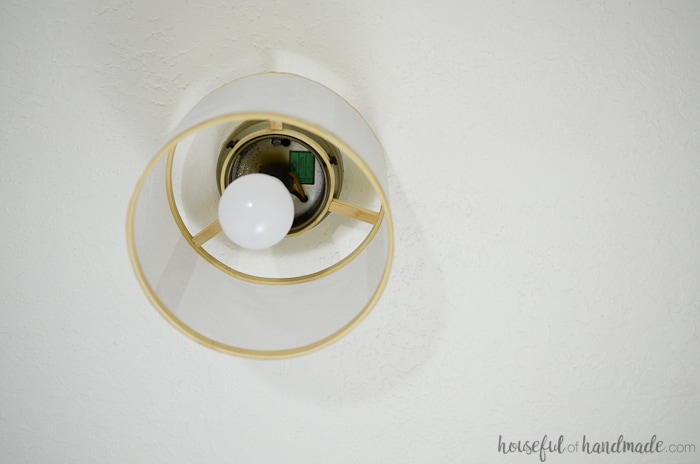
To ensure the new light fixture is not overheated, use an LED bulb that uses just a few watts and stays cool. Also, make sure the embroidery hoop is large enough to keep the vellum away from the bulb with plenty of room around it.
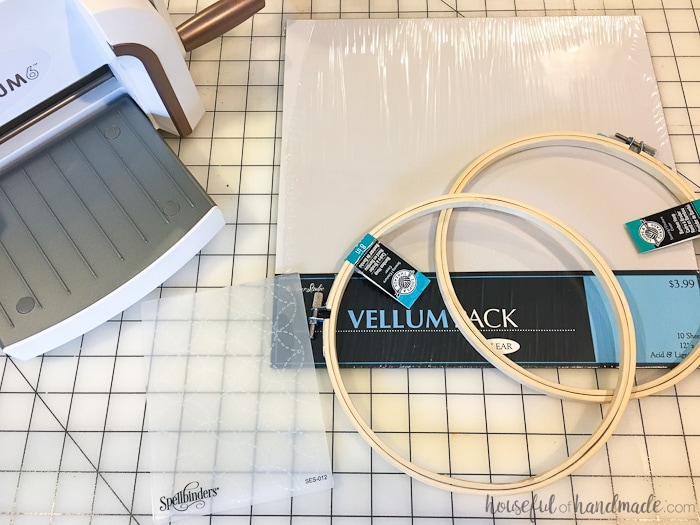
Prep the Embroidery Hoops for the Shade
Find an embroidery hoop that is just larger than the base of the globe light fixture. Mark where the screws that hold the globe bowl are located on it.
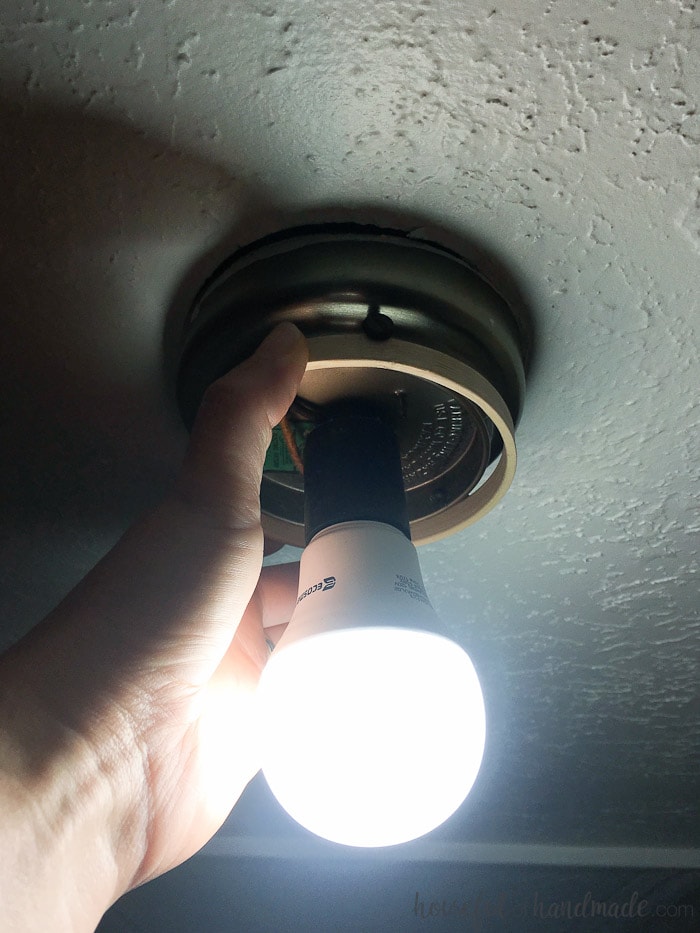
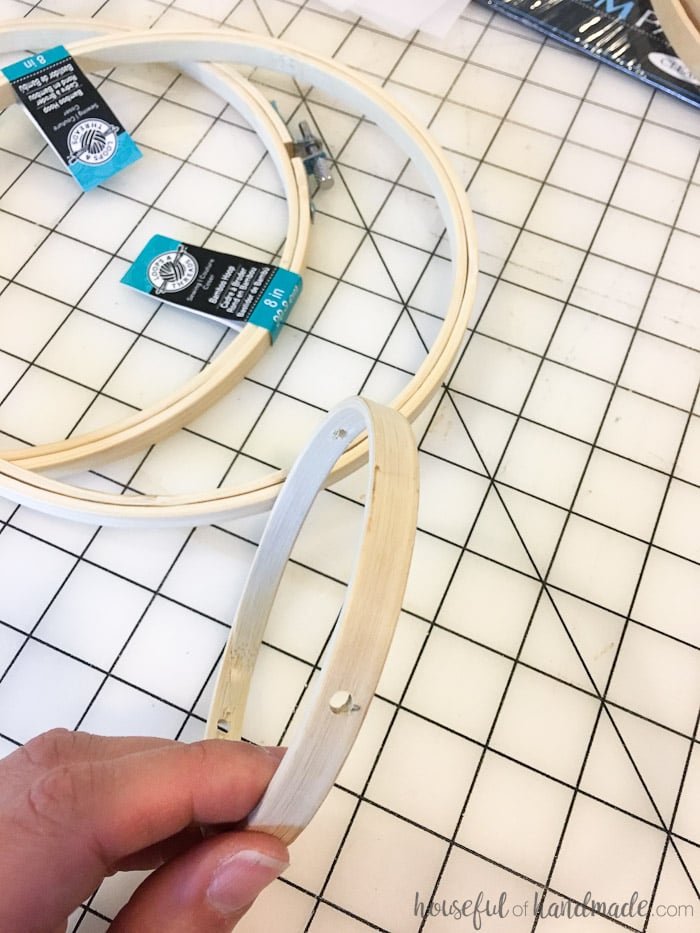
Drill holes in the embroidery hoop where the screws are. Make sure the hole is just large enough to hand screw the screw from the light fixture through it.
Center the smaller hoop inside the larger hoop. Measure the distance between the two hoops and cut 3 pieces of the square dowel to that length.
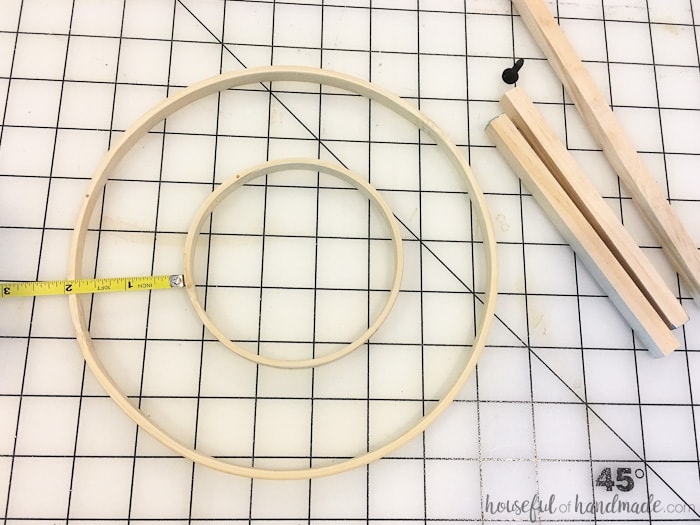
Add wood glue to the end of the dowels. Attach them to the smaller hoop with a finishing nail so they are evenly spaced around the hoop, between the holes for the screws.
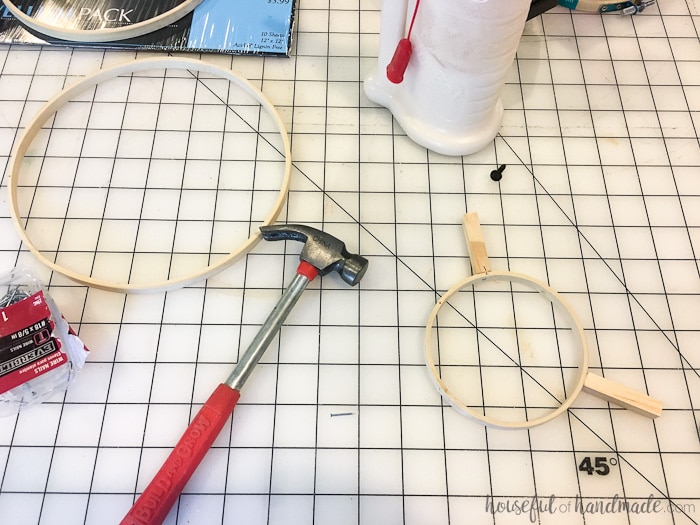
Place the smaller hoop with the attached dowels inside the larger hoop. Secure with wood glue and a finishing nail into each dowel.
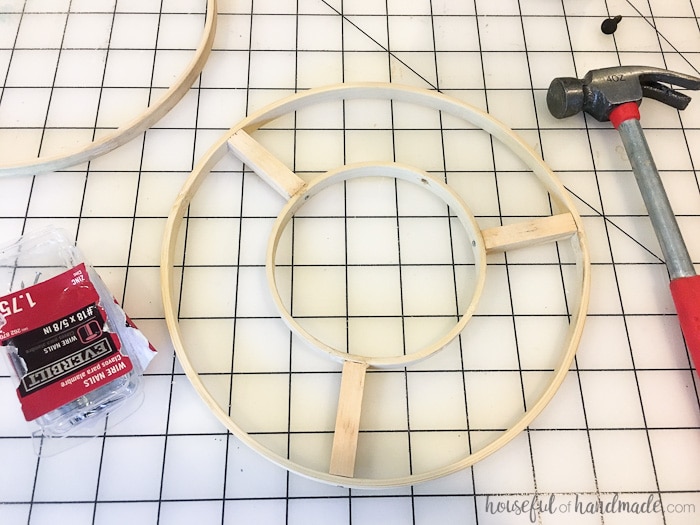
Cut the vellum to the width you want for your drum ceiling light fixture. I made ours 6″ which is about 1 1/2″ over the end of the bulb in the fixture. Cut enough pieces to fit around the embroidery hoop with a little extra.
Add texture to the Light Shade
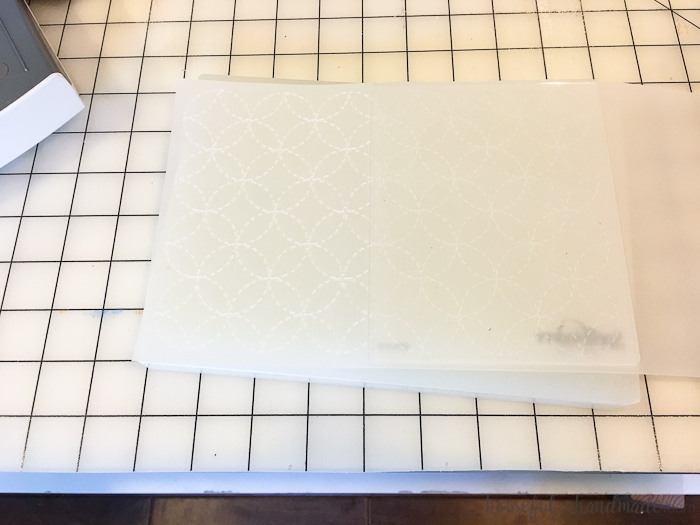
Place the vellum in the em-bossing fold-er so one edge is flush with the edge of the folder.
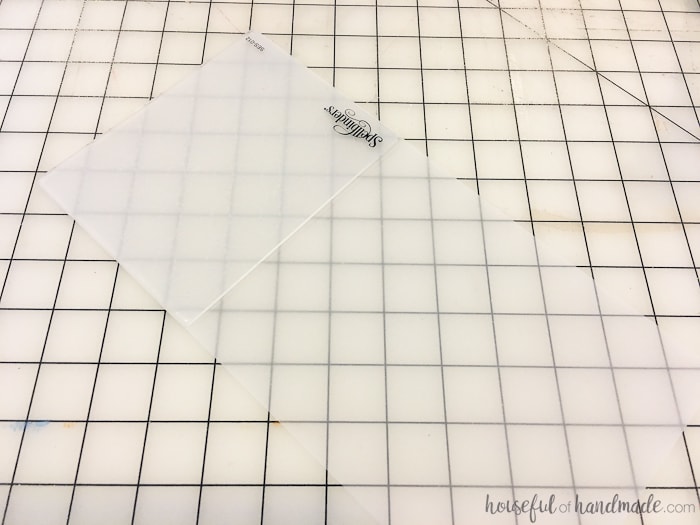
Create a cutting sandwich with the cutting platform, embossing folder, then a cutting plate. Run it through the Platinum 6 machine.
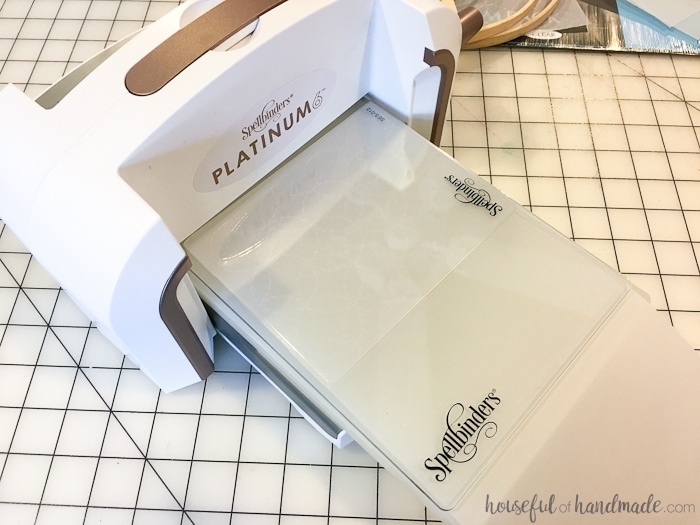
Remove the vellum, then line up the embossed edge with the design in the embossing folder to continue to add the texture.
Run it through the machine again. Repeat until the entire piece of vellum is covered in texture.
Use double-sided tape to tape the pieces of textured vellum together. Try to line up the design so it is seamless.
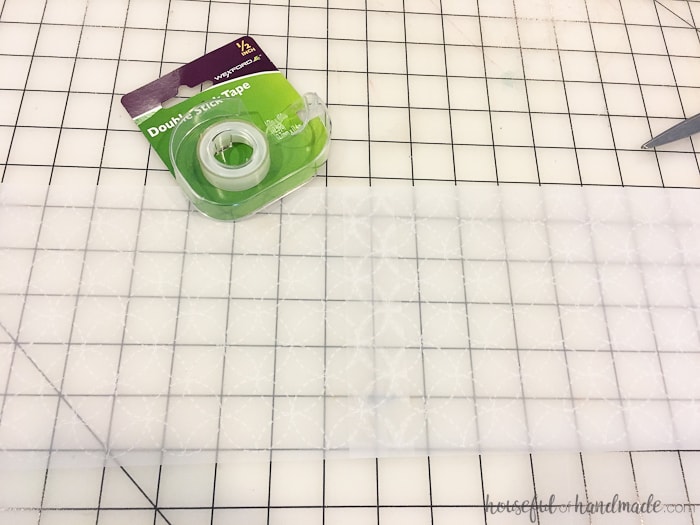
Assemble the Drum Light Shade
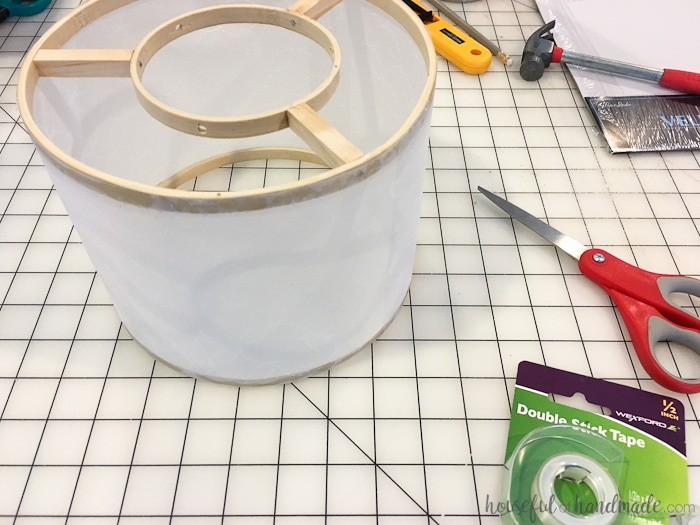
Start glueing the vellum to one of the embroidery hoops. Only glue it about 1/3 of the way around before attaching the other hoop or it will get tricky.
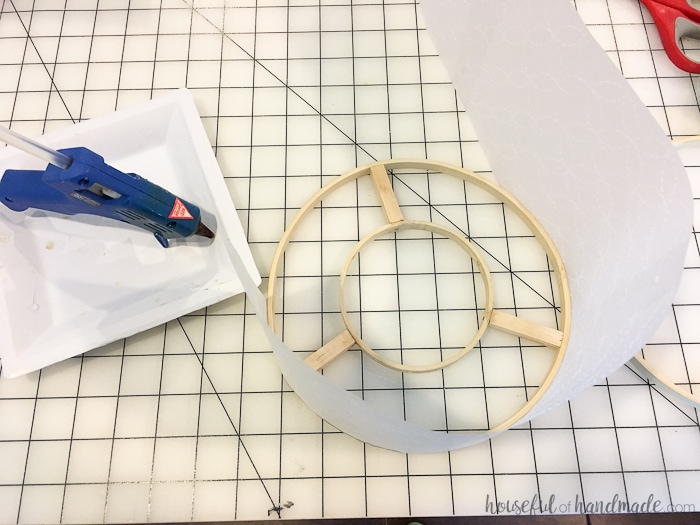
Then start glueing the other hoop to the vellum.
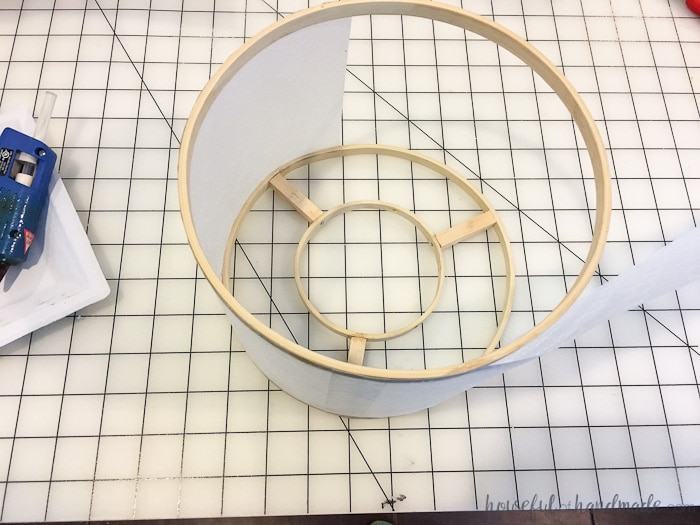
When you have almost covered the entire circle, trim the vellum to overlap. Add a piece of double sided tape to the edge to secure it to the other side of the vellum. Finish glueing it to the hoop.
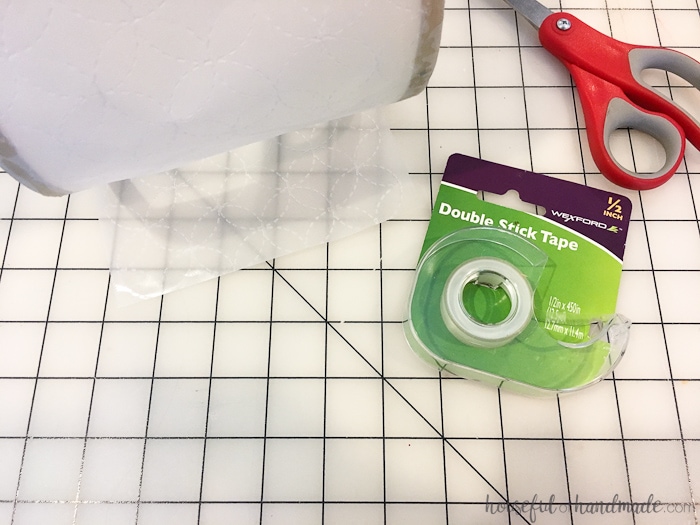
Press the edges of the vellum together between the hoops to secure the tape.
To hang your new light fixture, and tighten the screws throughout the small embroidery hoop into the light fixture.
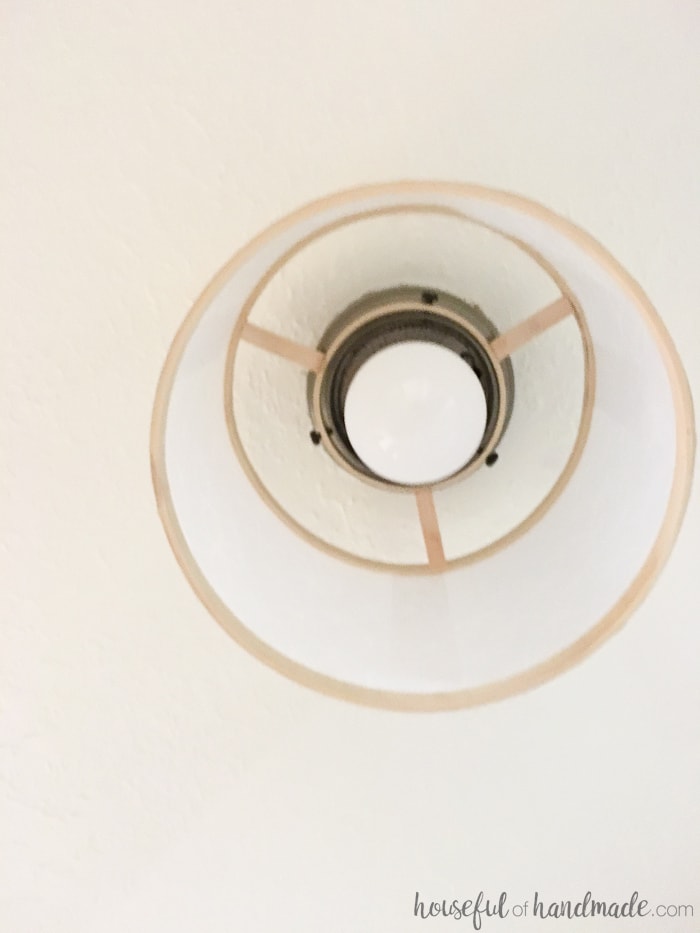
Add a light bulb and admire your handy work!
Who would have guessed it would be so easy to DIY a light fixture? The drum shade is perfect for a hallway light fixture.
And to think it use to be an old globe light.
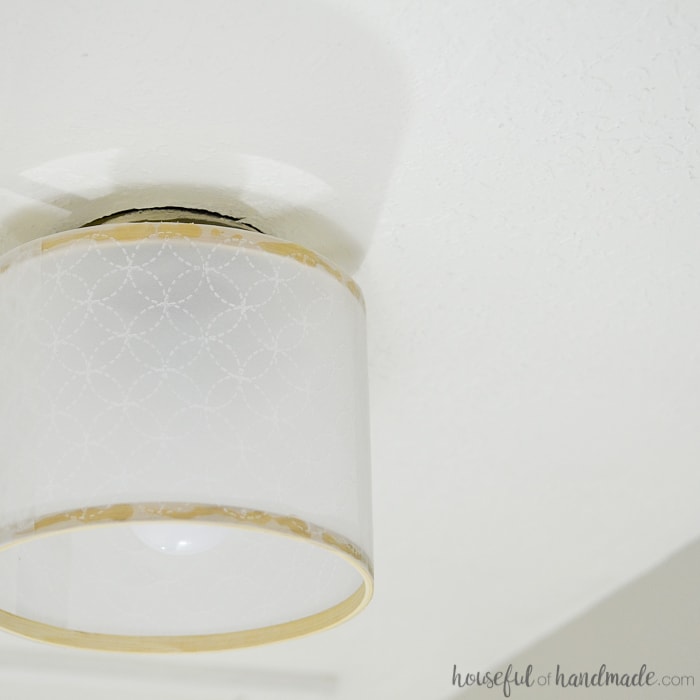
Now I am ready to turn all my old lights into something more beautiful.
And don’t forget to check out the rest of these fun DIY Decor tutorials to help create the home of your dreams on a budget!


