These easy to build outdoor Christmas trees will add sparkle to your entry.
Christmas is fast approaching! One of the things I look forward to each year is decorating the outside of our home. I love the magic of Christmas lights at night.
After getting the lights on the house, we still needed some more sparkle for our entry. So I partnered with Kreg Tools and their new project plan site, BuildSomething.com, to make these outdoor Christmas trees from 2x4s!
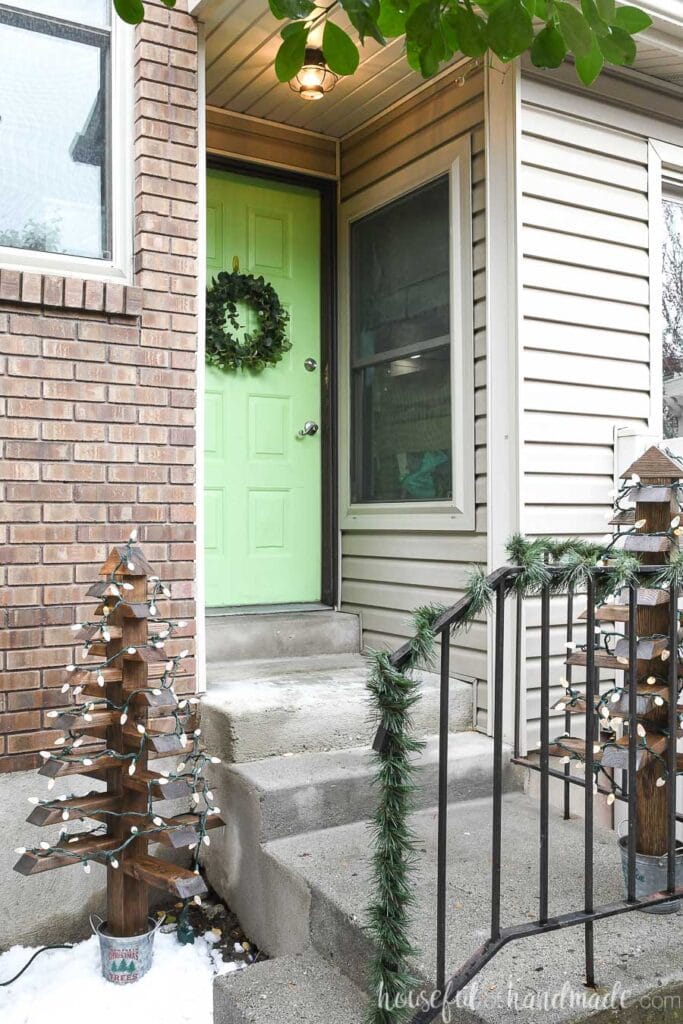
Wood Christmas Trees
These Christmas trees are so easy to build. And if you have left over 2x4s pieces from other projects, the is a great way to use them up.
This post may contain affiliate links. As an Amazon Associate I earn from qualifying purchases. Click here to read my full disclosure policy.
Plus, since the 2x4s don’t really need to perfectly straight, you can use up any slightly bowing or twisty boards on this project. I know I had a few of those pieces laying around waiting to become firewood. But not anymore!
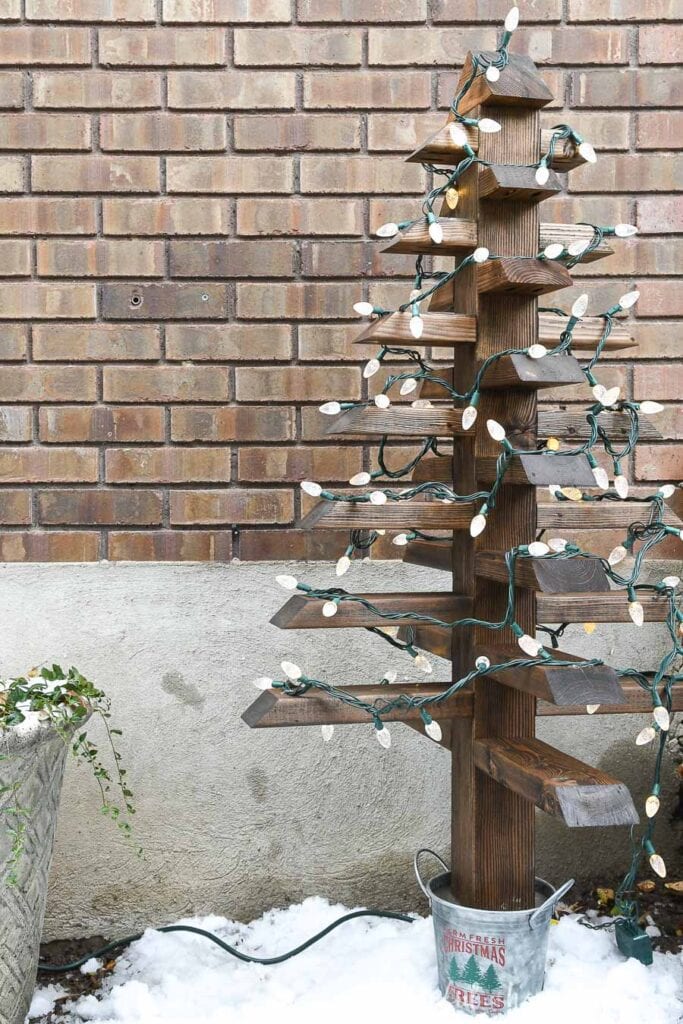
But if you have to buy wood to make these wood Christmas trees, don’t worry… 2x4s and 4x4s are cheap!
To make both Christmas trees, it only takes (1) 10′ 4×4 and (4) 8′ 2x4s. All the wood cost me less than $25 at my local Home Depot.
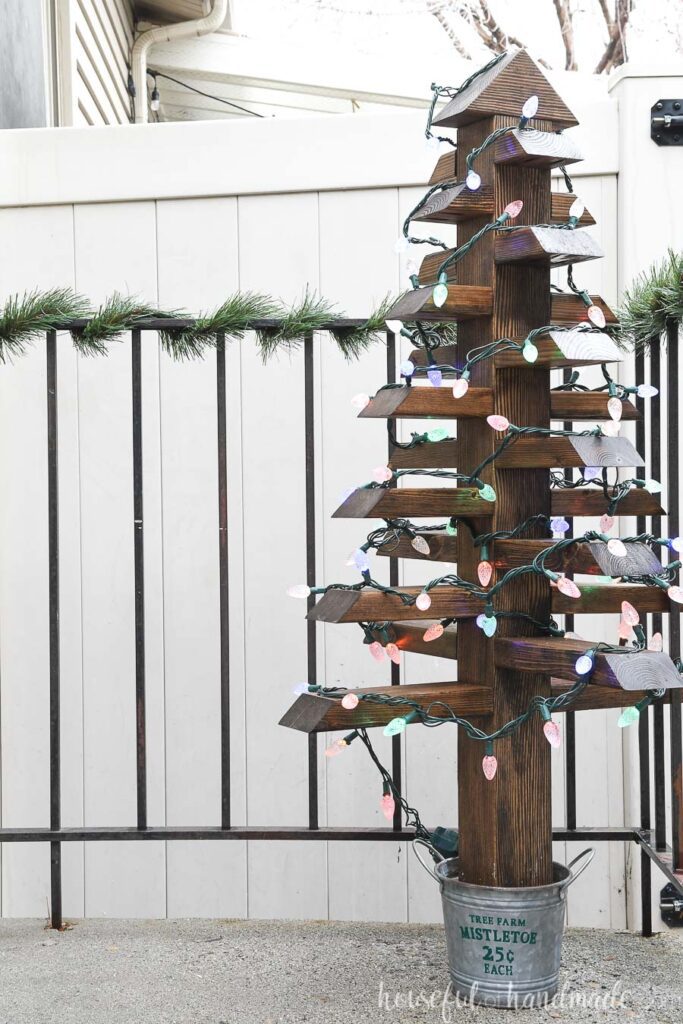
Outdoor Christmas Tree Details
To finish off these outdoor Christmas trees they needed a base. Something that would help the 4×4 center stand easily, but look amazing at the same time.
I found these metal Christmas buckets at Michael’s Arts and Crafts. The base of the bucket is about 5 1/2″ diameter, which fits the 4×4 perfectly.
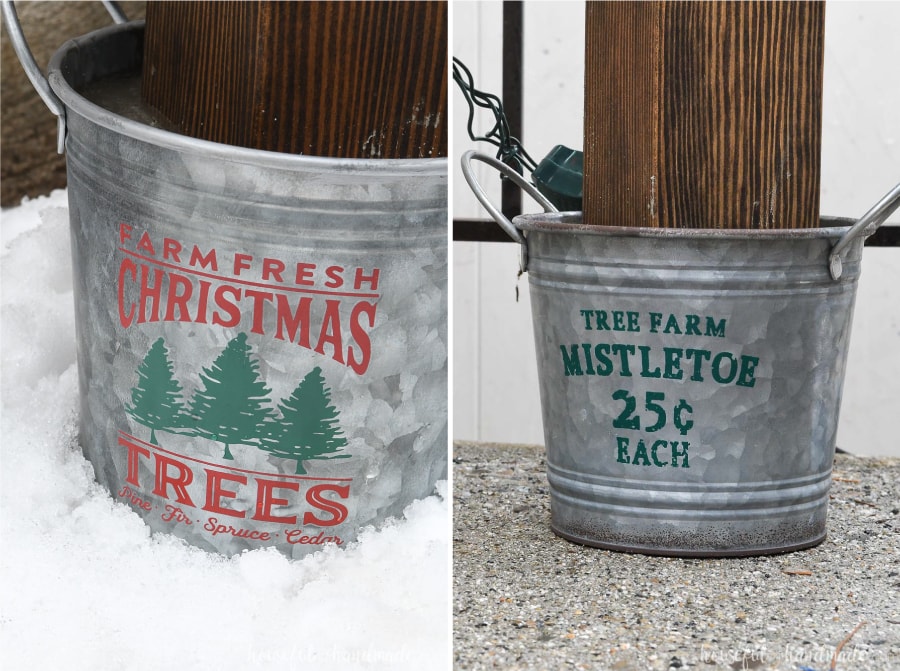
Then to keep the tree upright in the bucket, it was easy to mix up a bit of concrete and fill the bucket. Now the 2×4 outdoor Christmas trees are sturdy and look great!
And as much as I loved the way the Christmas trees looked during the day… I wanted them to look even better at night! So I added Christmas lights.
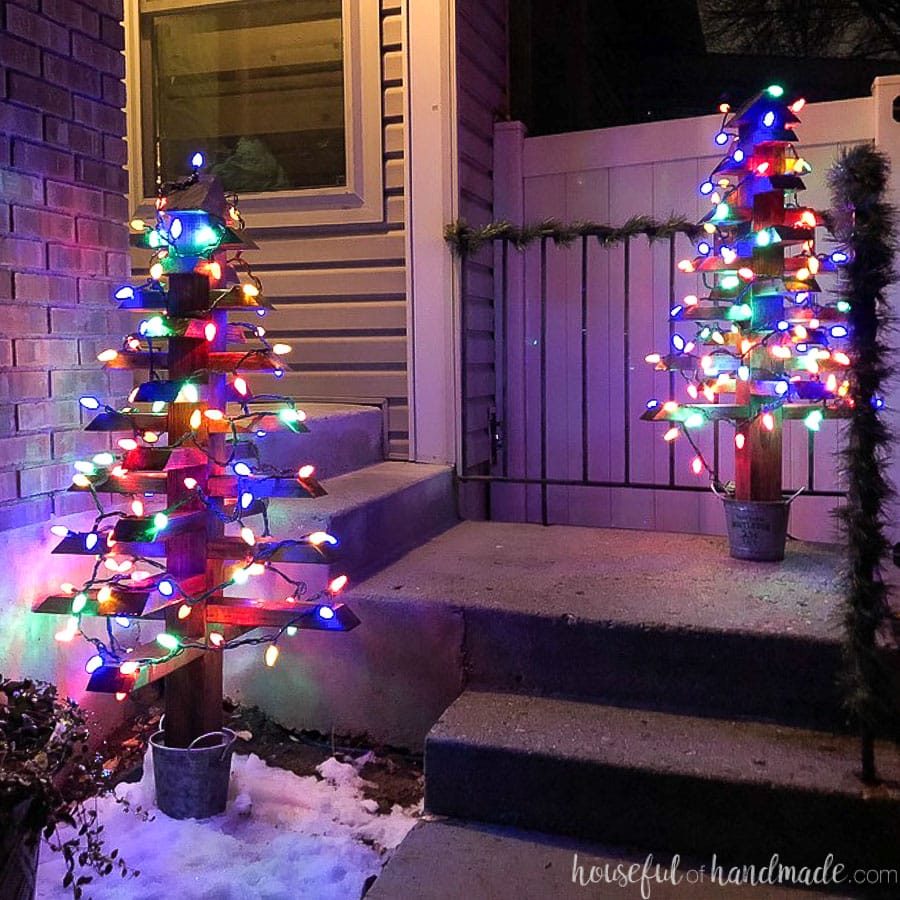
The Christmas lights were easily added to the 2×4 branches of the tree with none other then… hot glue!
I love that the hot glue is not visible, but the Christmas lights stay were I want them. And if I ever decide to remove the lights, it is easy to do.
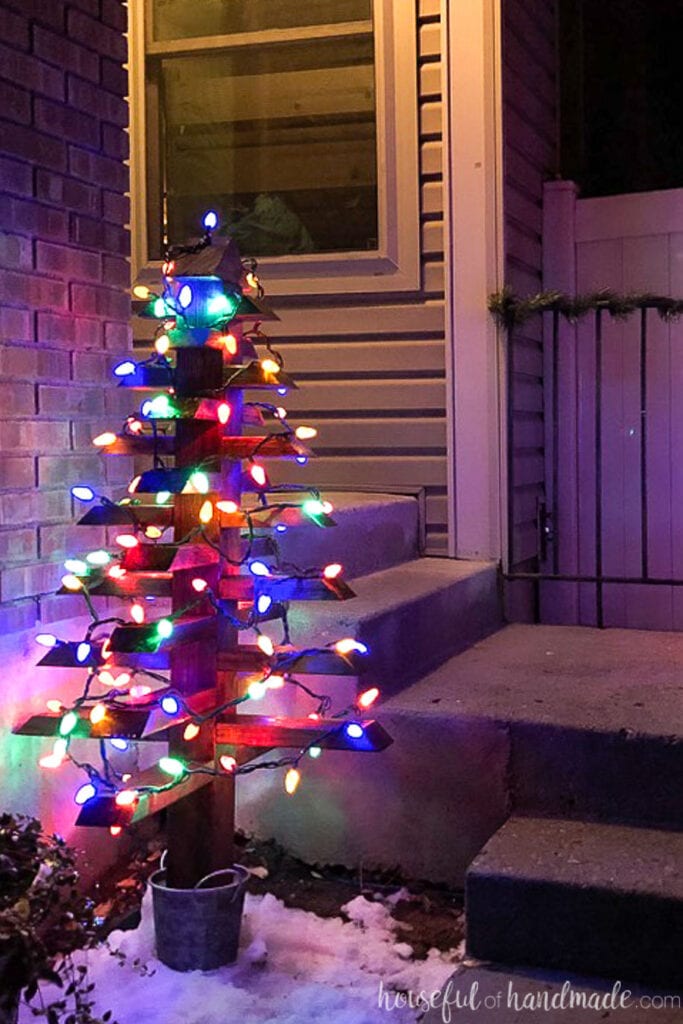
Build Plans for Christmas Trees
If you are ready to make your own 2×4 Christmas trees to decorate your porch, I am sharing the free build plans over on BuildSomething.com today!
Click here for the complete build plans.
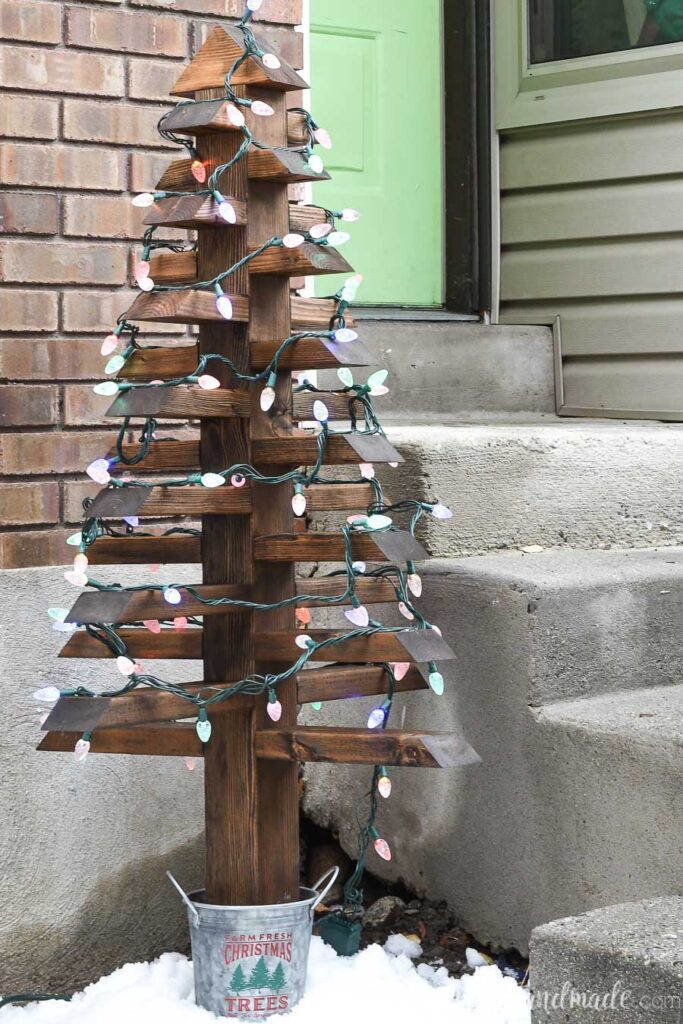
And now the outside of our home is starting to look like Christmas!

Thank you to Kreg Jig for sponsoring this post. I only recommend products that I use and love and all opinions are 100% my own. Click here to read my full disclosure policy.
