I’m embarrassed to say my current shoe storage is just a pile of shoes in the bottom of my closet. I needed a better option.
So when my plywood scrap pile started getting a little too big for comfort, I decided this was the perfect time to tackle my shoe storage problem.
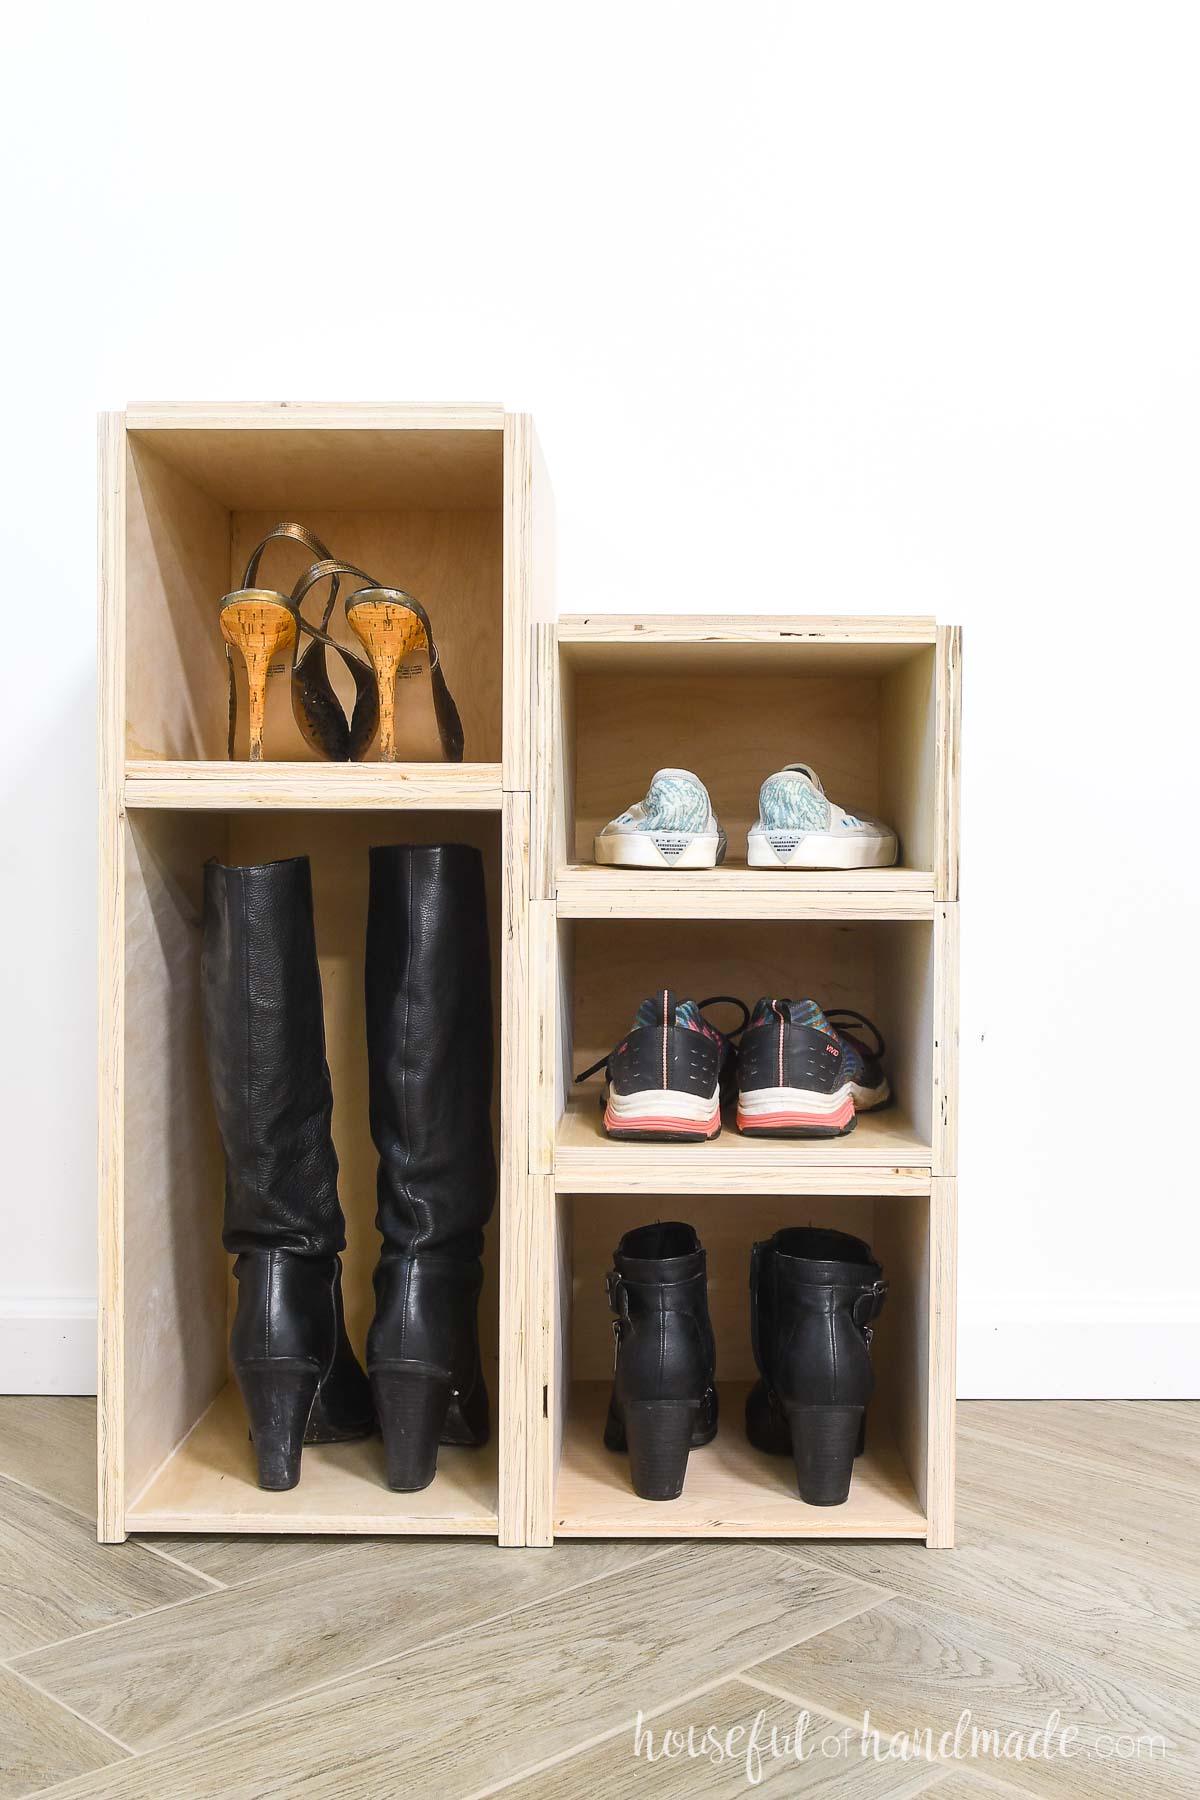
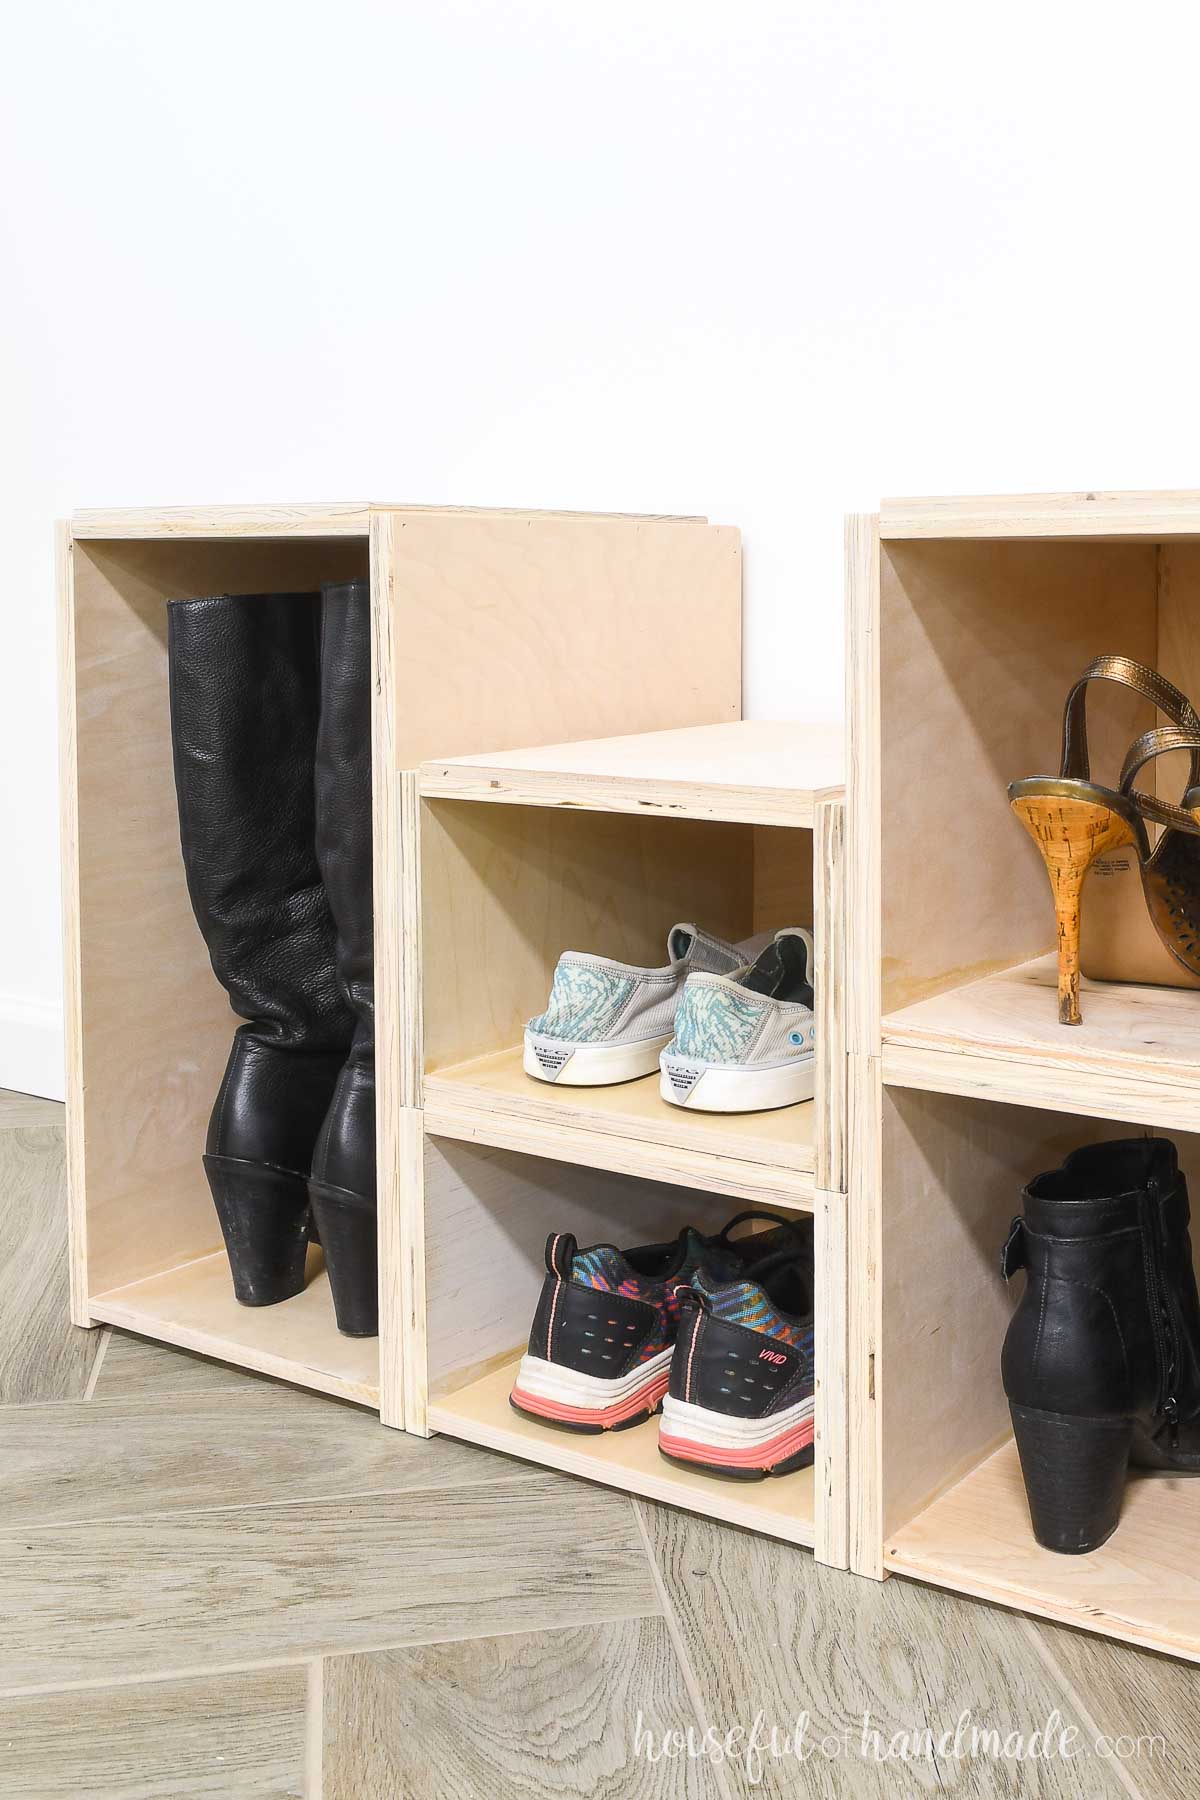
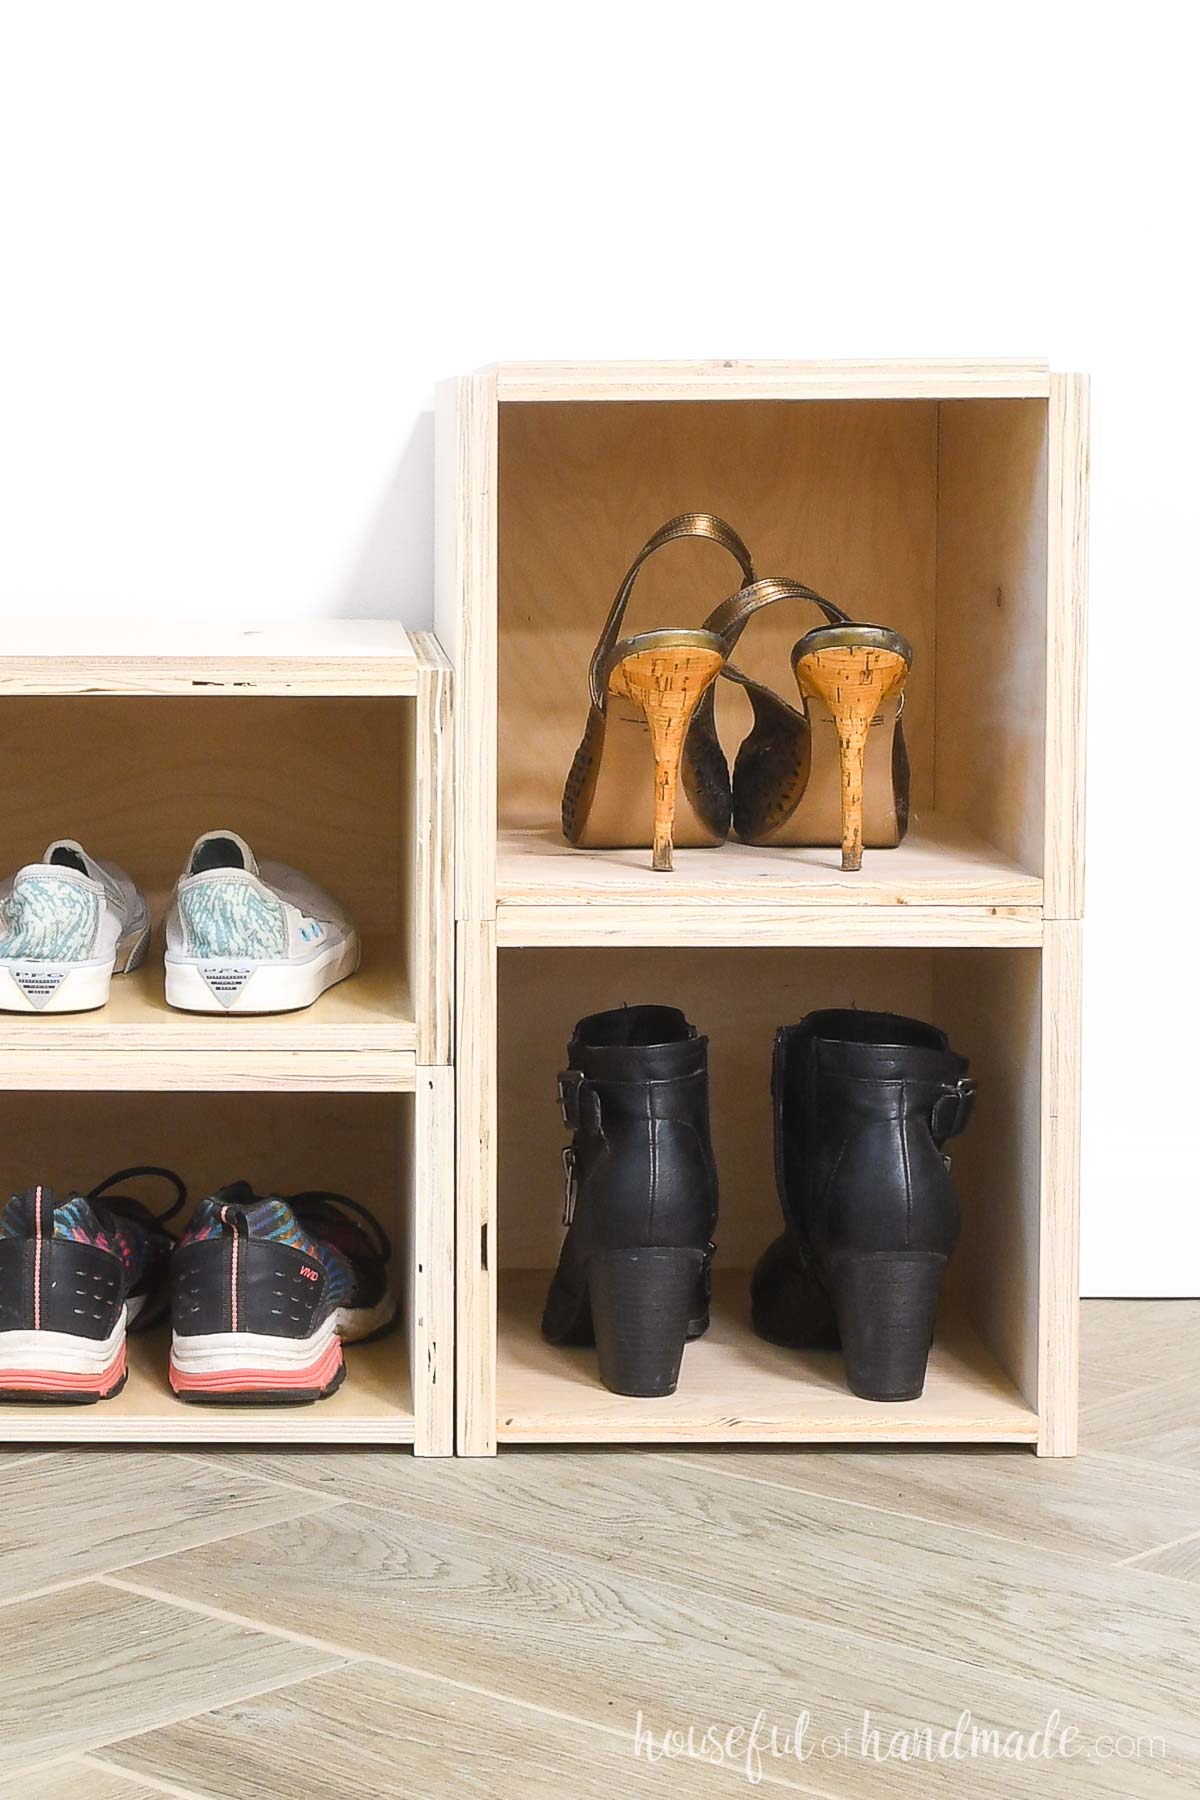
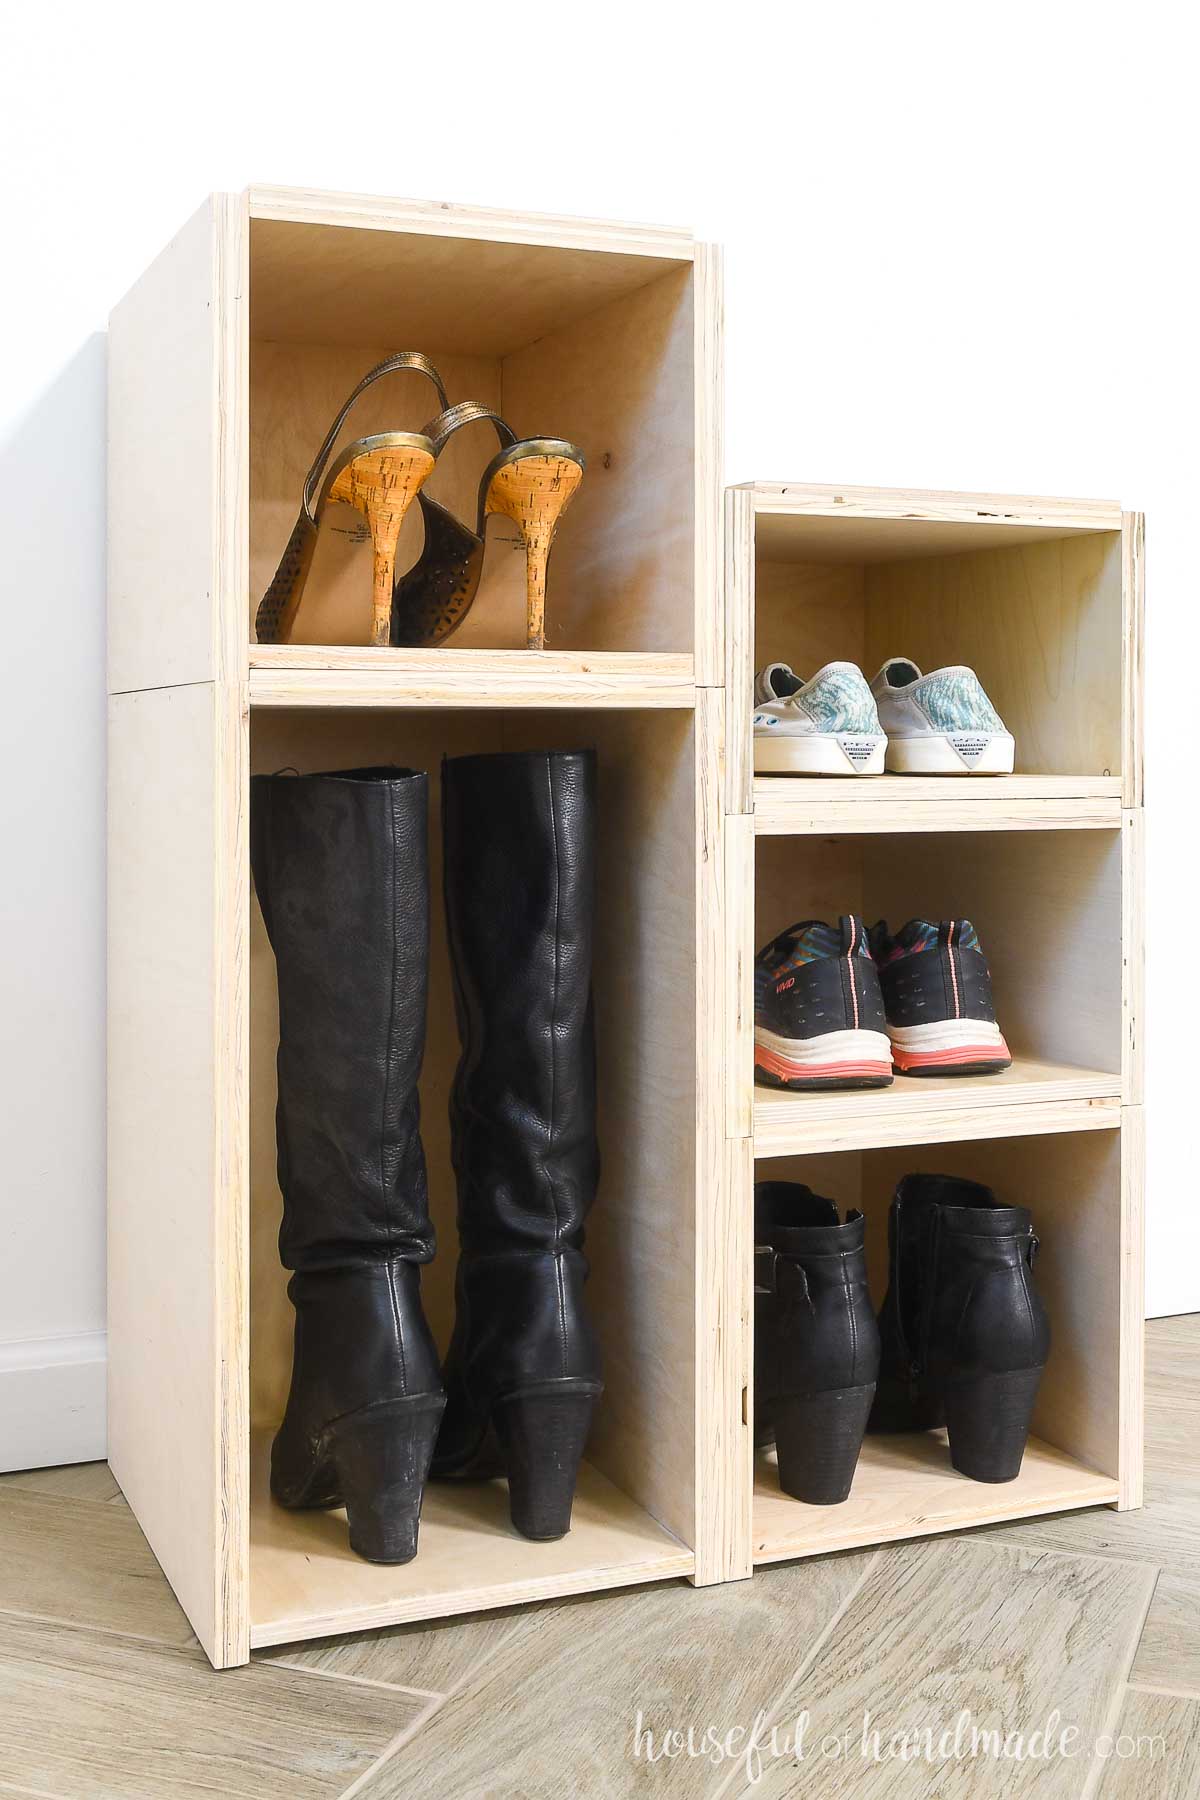
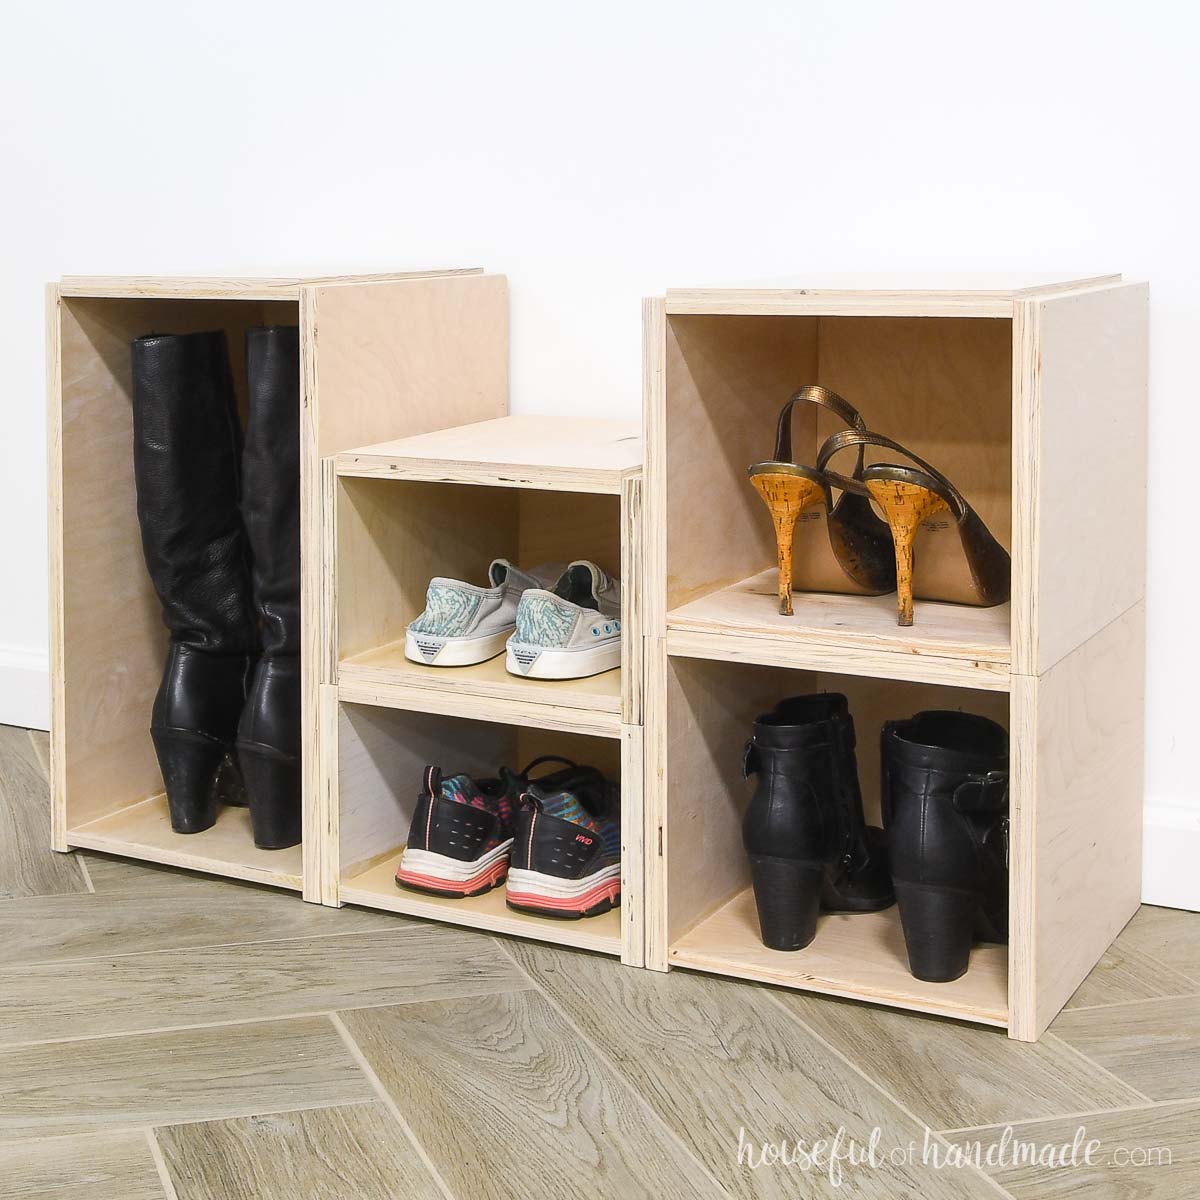
I designed and built different sized shoe boxes that can all be stacked. And they are quick and easy to build from small pieces of plywood so I can add more whenever I need them.
This post may contain affiliate links. As an Amazon Associate I earn from qualifying purchases. Click here to read my full disclosure policy.
Plywood scrap project
My favorite part of these shoe boxes is that they are made from small pieces of plywood. Pieces as small as 7 1/4″ x 10″ are used.
This is the perfect project to use up the piles of not-to-small-to-toss plywood scraps. I was able to build 2 small boxes, 2 medium boxed and 1 tall box without cutting any plywood bigger than 24″
And as I build more projects and collect more scraps, I can turn them into more stacking shoe boxes to add to the collection!
How to Build Plywood Shoe Boxes
Tools & Materials
Recommended Tools:
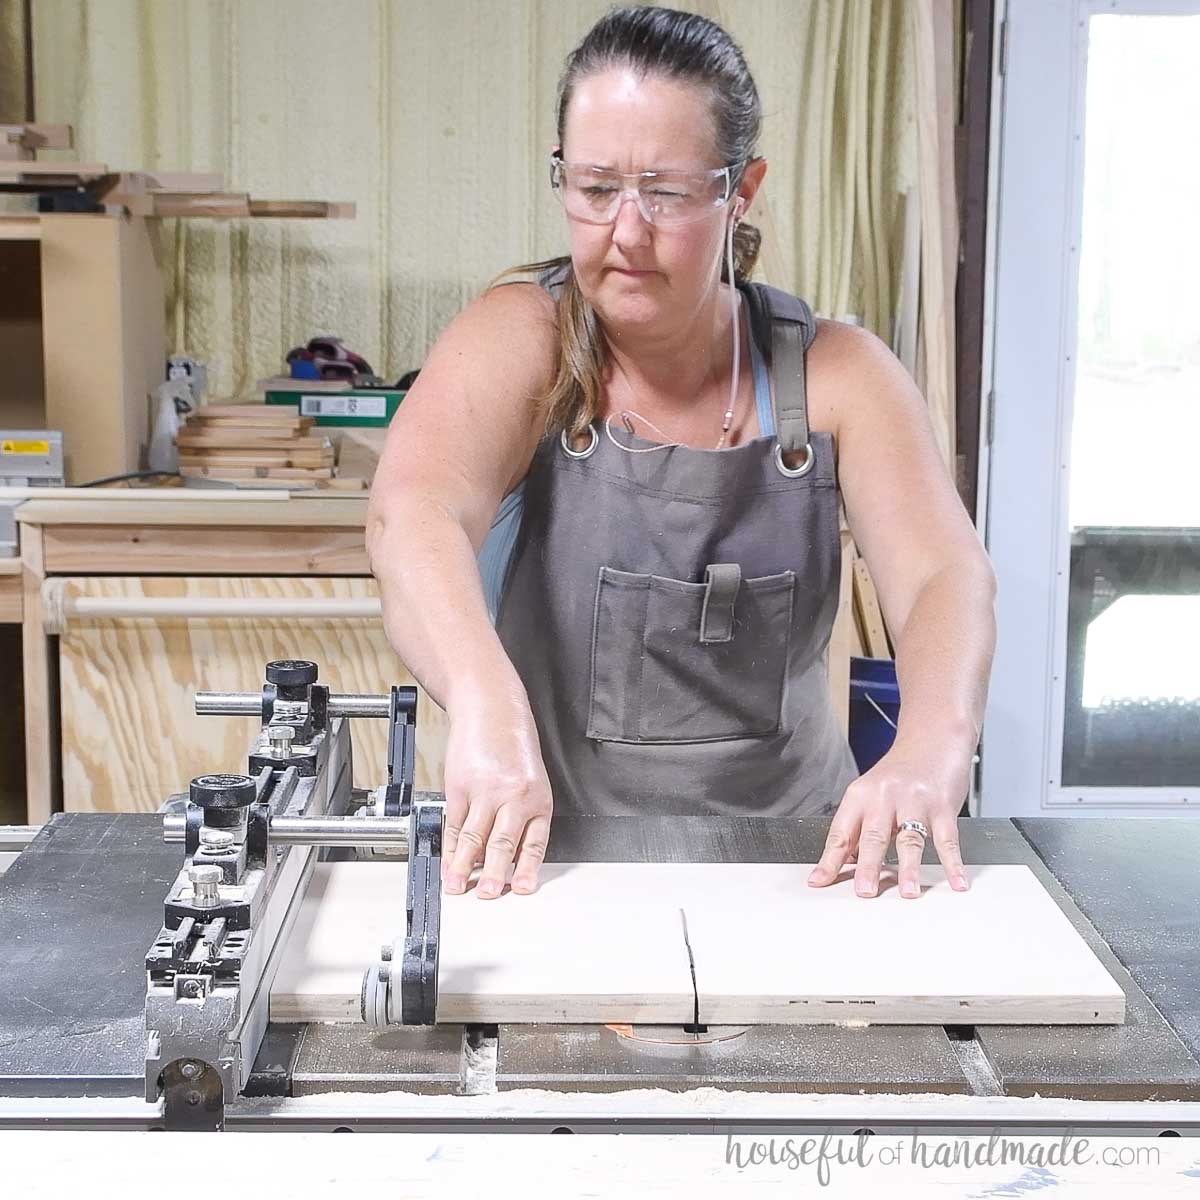
- Table saw or Circular saw with guide track
- Finish nailer
- Multi-mark measuring tool
- Sander
Supplies:
- Wood products
- 3/4″ plywood scraps
- 13” x 25” piece per SM box
- 13” x 31” piece per MED box
- 20 1/4” x 37” piece per TALL box
- 1/2” plywood scraps
- 10” x 20” piece per SM box
- 10” x 23” piece per MED box
- 10” x 33” piece per TALL box
- 3/4″ plywood scraps
- 1 1/4″ finish nails
- Wood glue
- Sandpaper
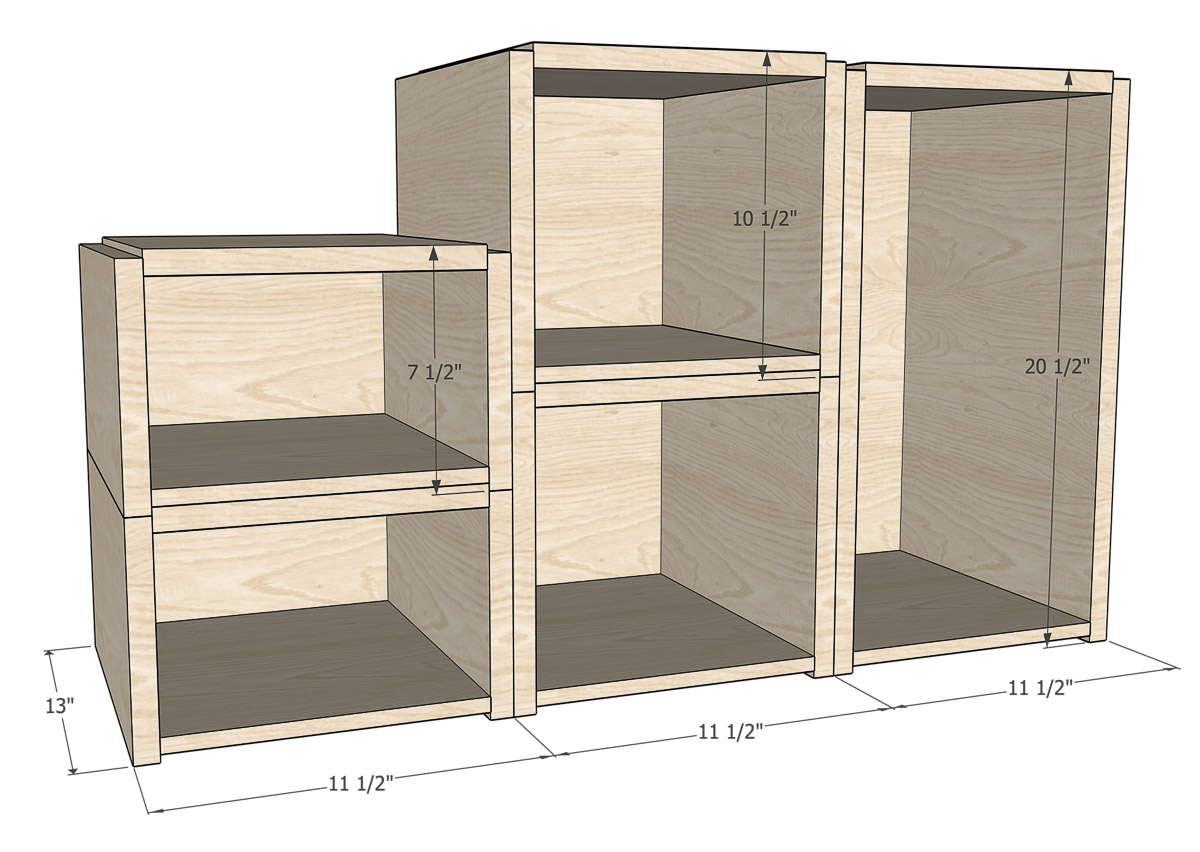
Overall Dimensions
The finished boxes are all 11 1/2″ wide by 13″ deep. The small boxes are 7 1/2″ tall, medium are 10 1/2″ tall and large are 20 1/2″ tall.
The inside is 12 1/2″ deep and 10″ wide with varies heights for different types of shoes.
Prefer to Watch? Check out the Video Below
Cut List
Cut out the pieces according to the easy-to-read table in the PDF plans.

The measurements for the wood needed include 2-3 pieces so it is perfect for using up smaller scraps instead of cutting bigger pieces up.
And I didn’t worry too much about grain pattern on my boxes. So I was able to make better use of the scrap pieces.
STEP 1- Attach the back
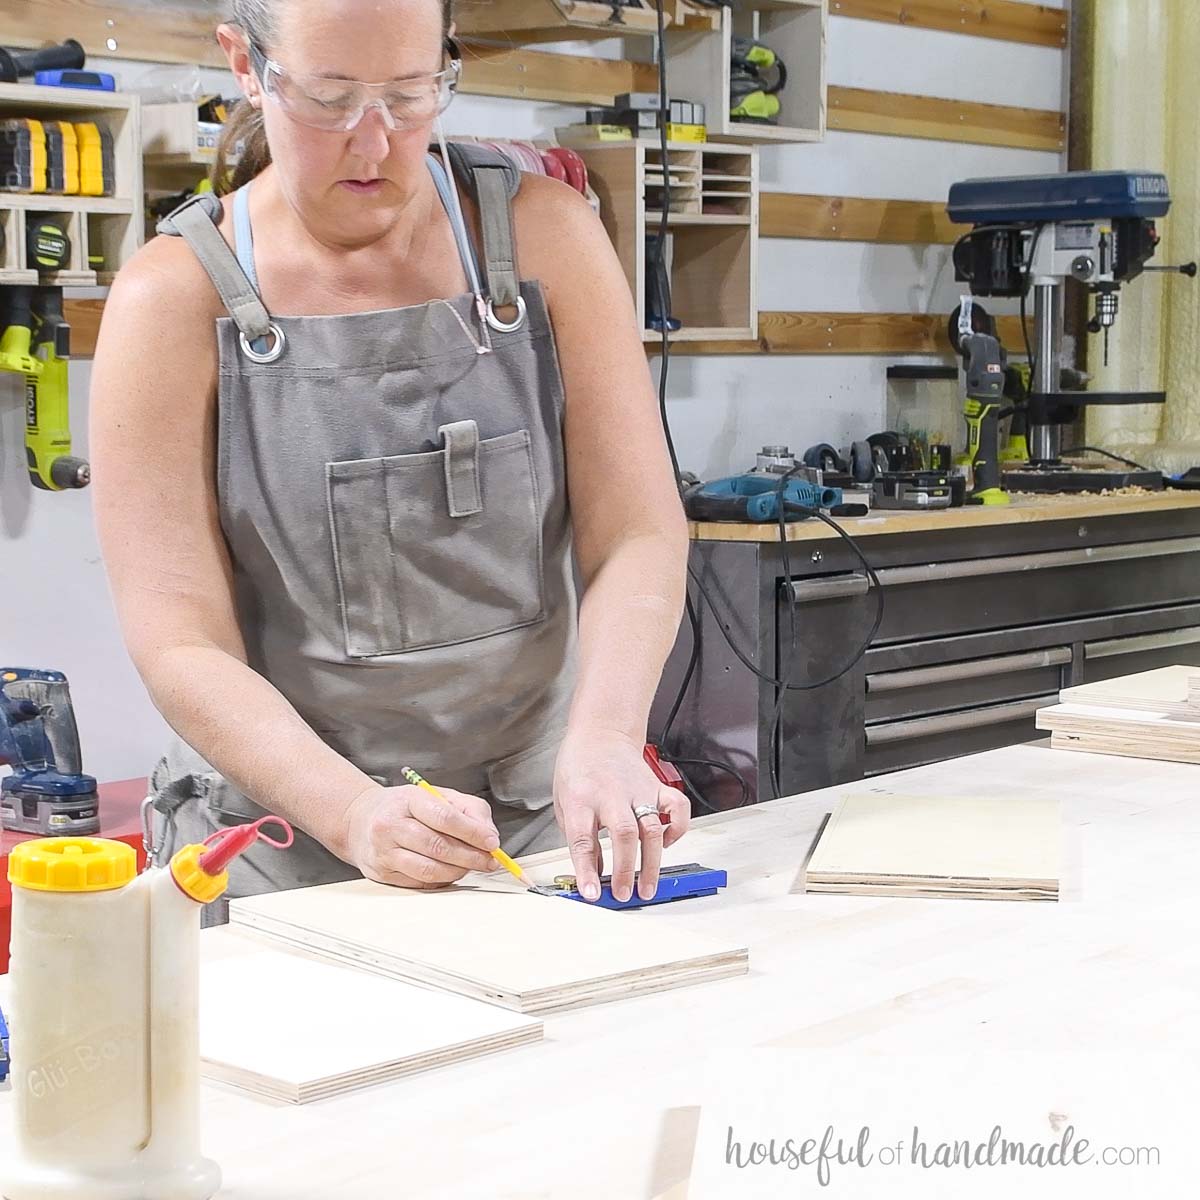
Draw a line 1/4″ up from the bottom of the side and back pieces.
I love the Kreg multi-mark tool for this. I can set the tool to 1/4″ then run it along the edge of the boards while running my pencil along the top.
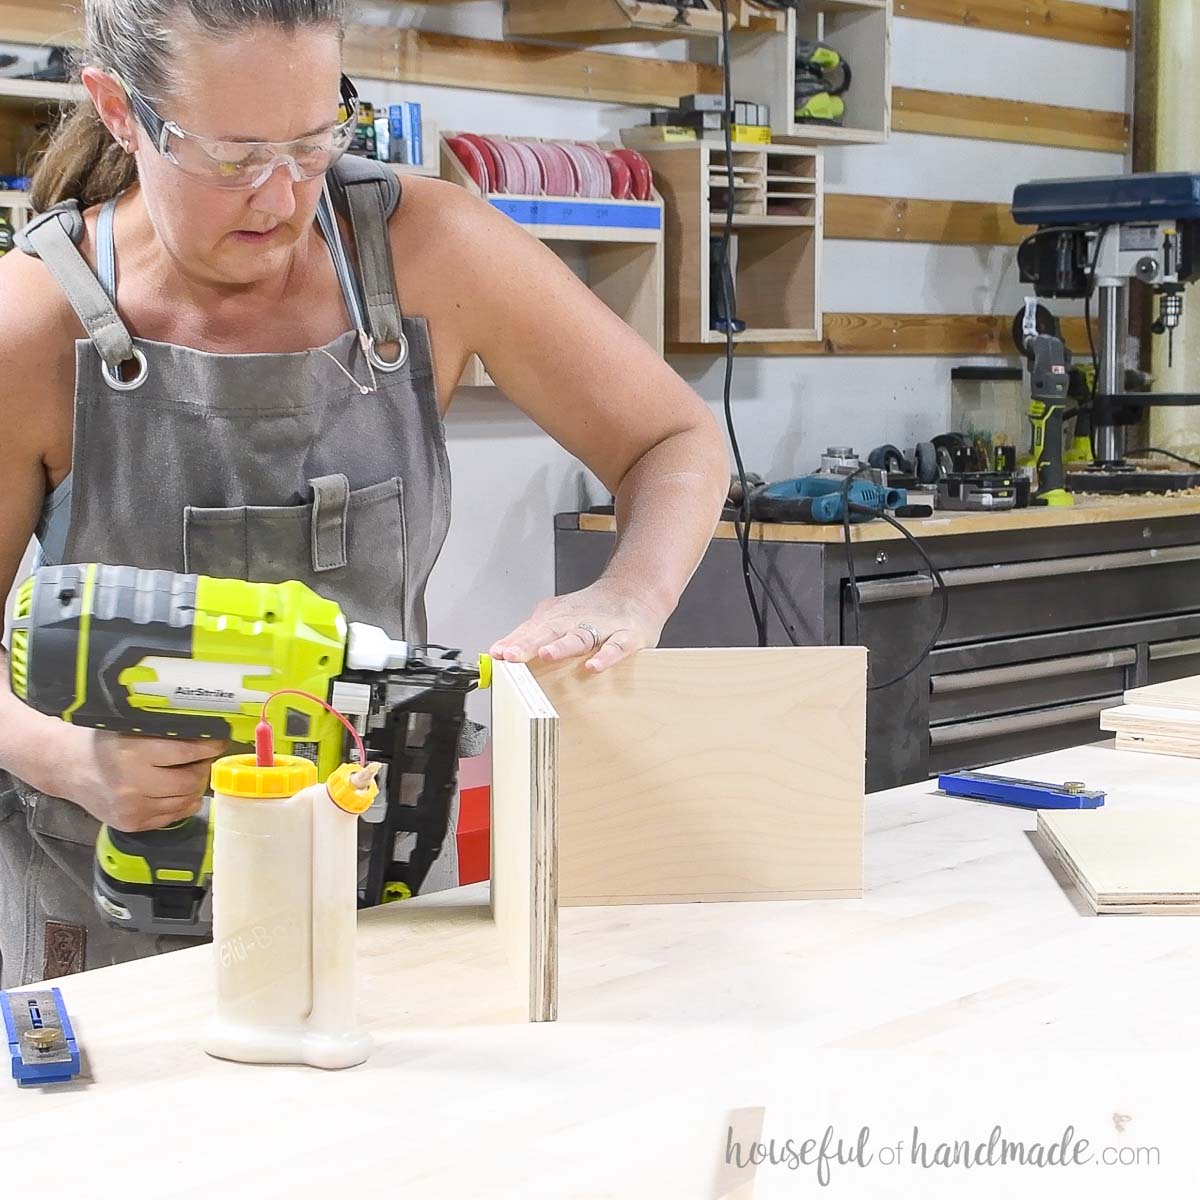
Attach the back piece to the inside back of one of the side piece. Secure with wood glue and 1 1/4” nails.
Make sure the lines are both on the bottom and inside.
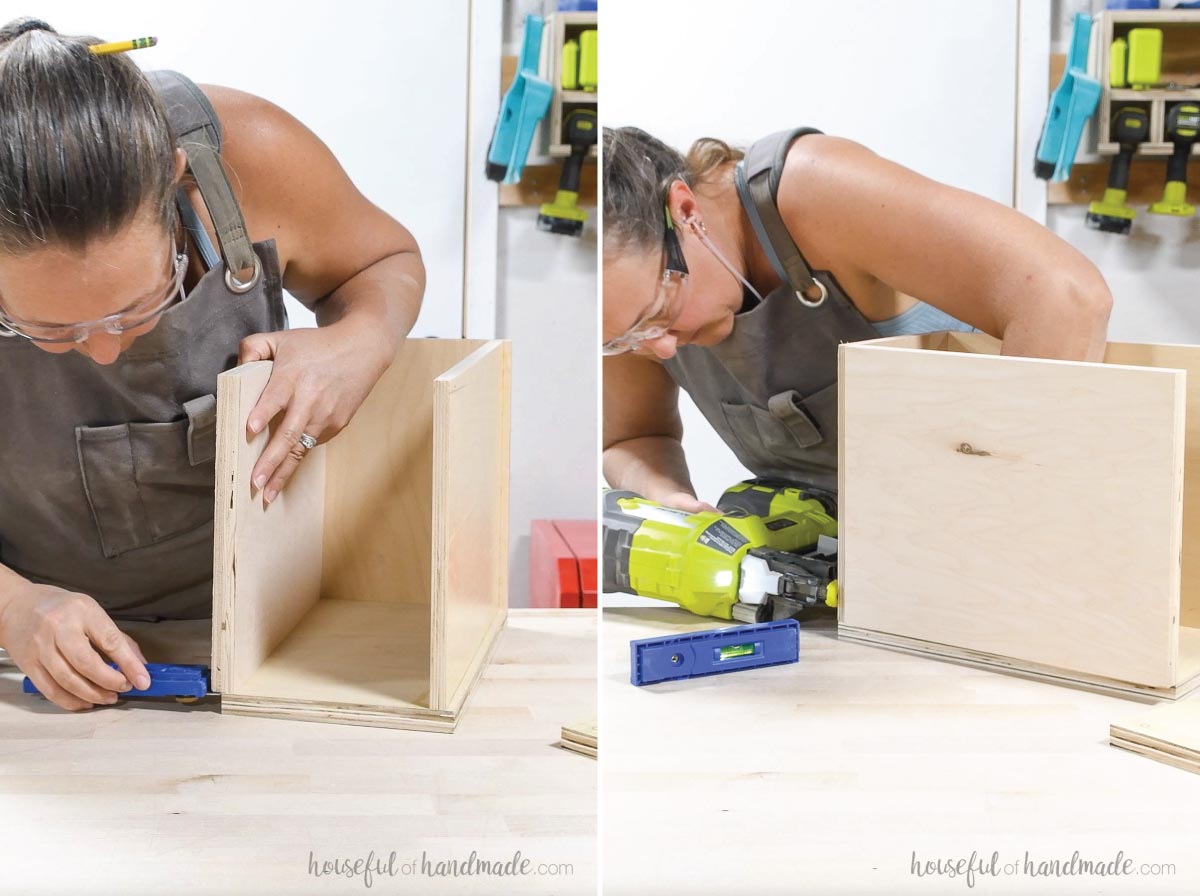
STEP 2- Attach the top and bottom
Then attach the bottom to these two pieces so that it is set up from the bottom 1/4” using your lines.
Secure with wood glue and 1 1/4” nails through both the side and back pieces.
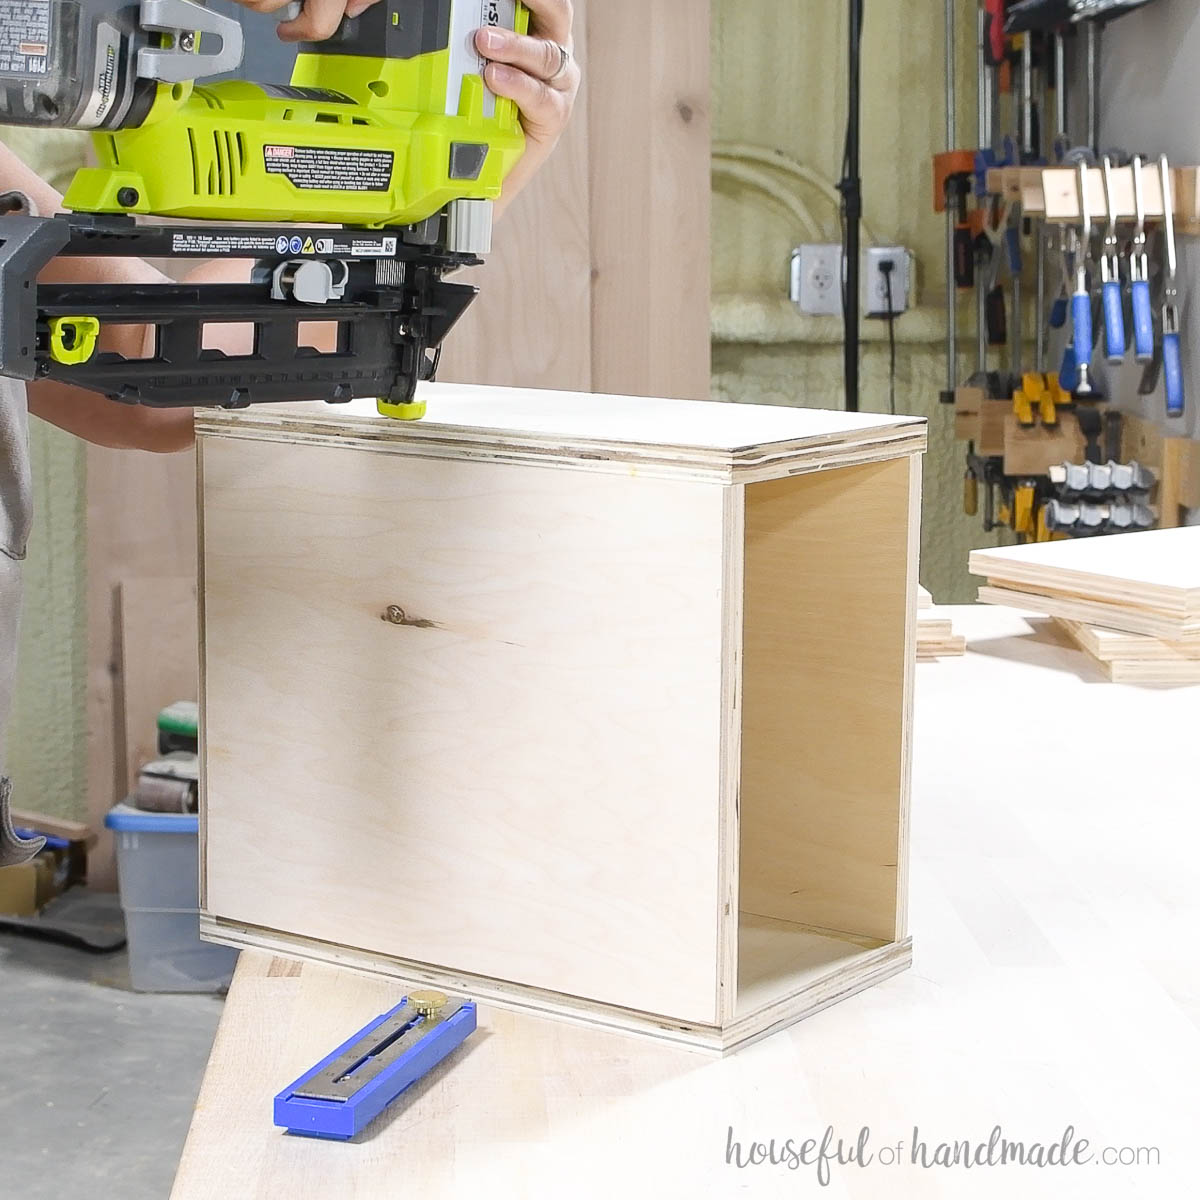
Next, attach the top piece to the side and back so it is 1/4” over the top of the box.
Secure with wood glue and 1 1/4” nails through the side and back piece.
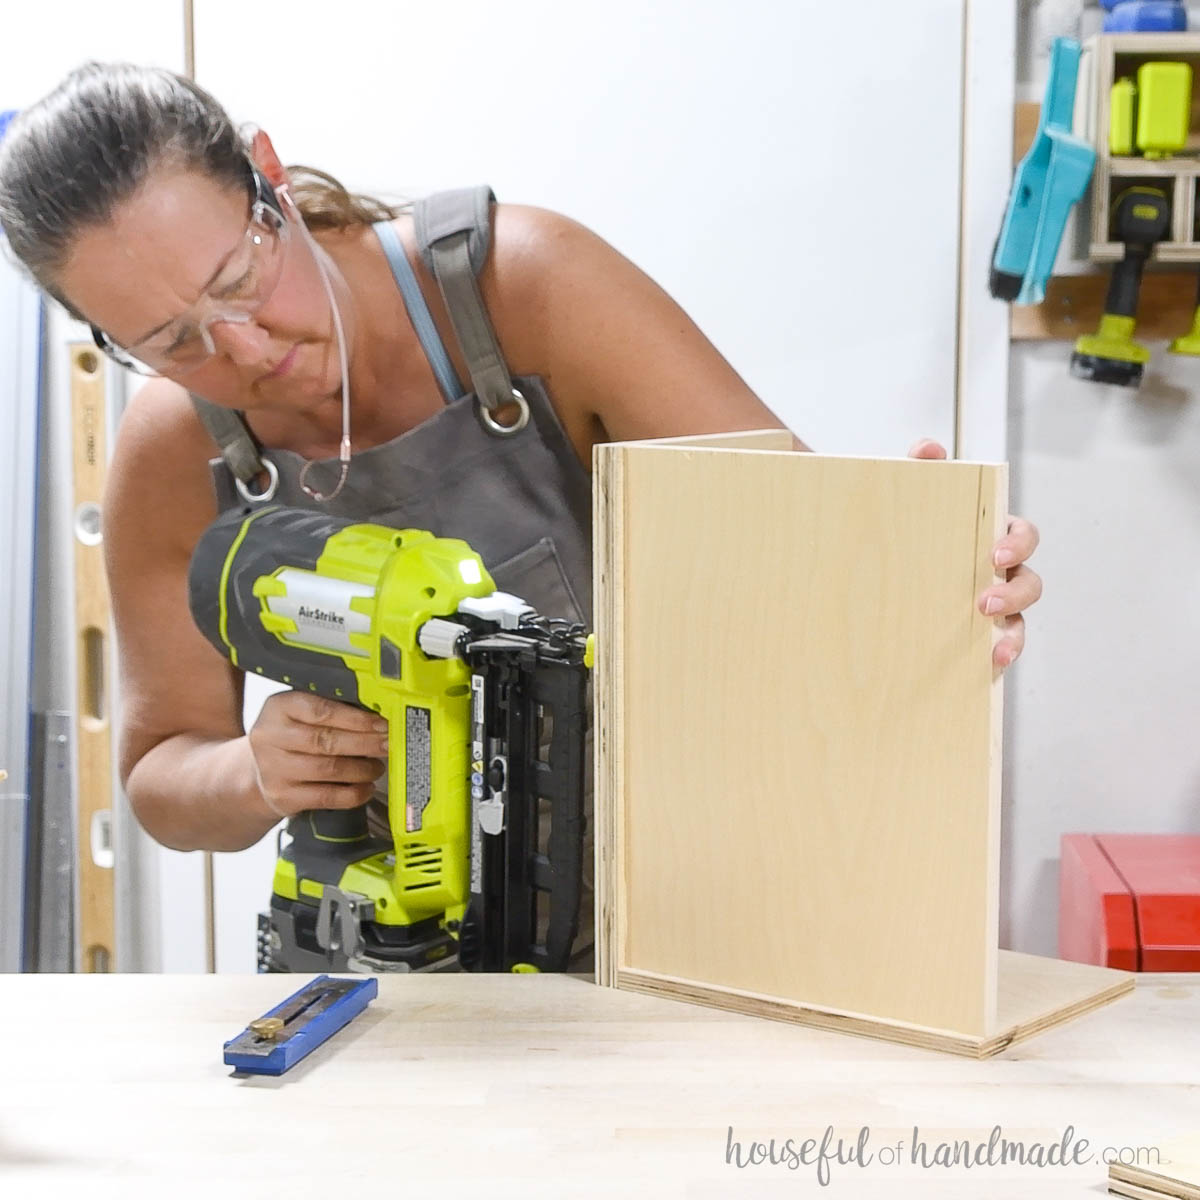
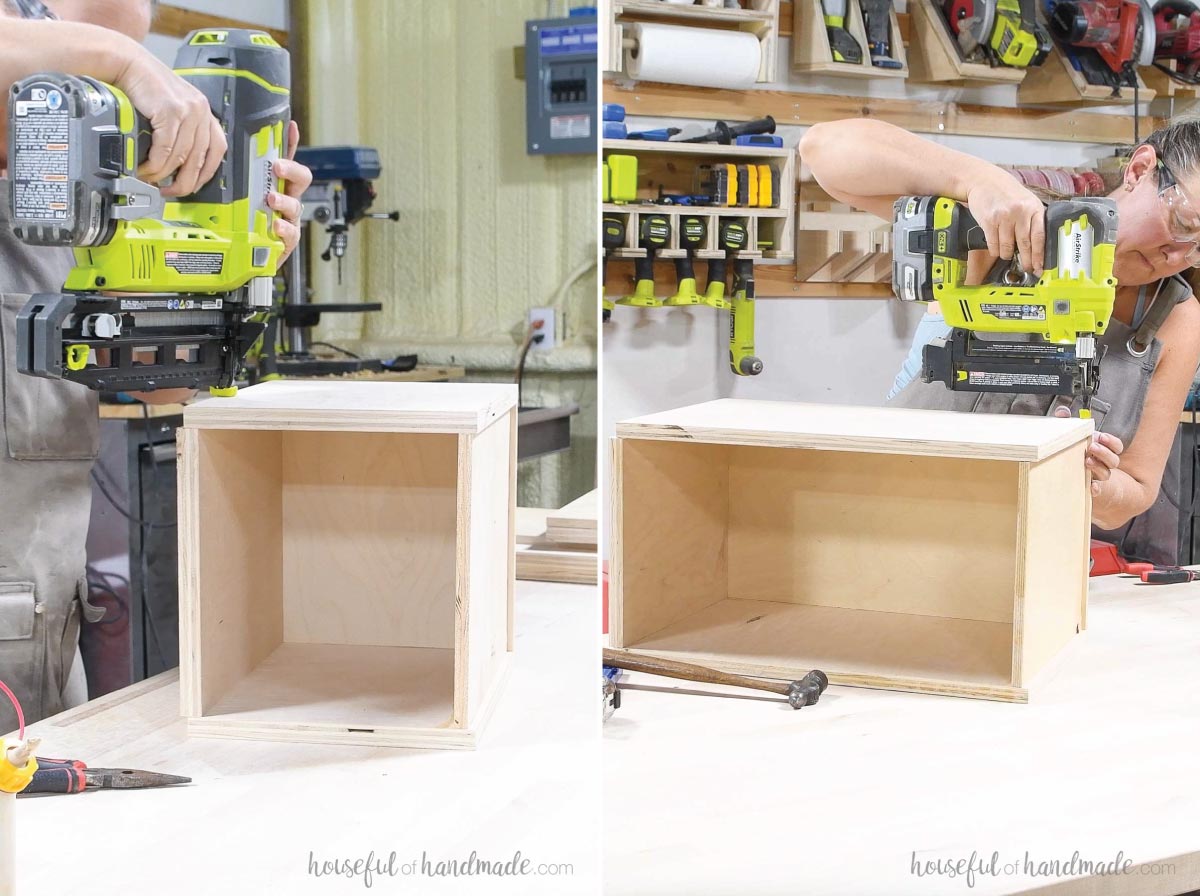
STEP 3- Attach the side
Finally, attach the second side piece so it is lined up the same as the first.
Secure with wood glue and nails into the back, top and bottom.
Repeat to build as many boxes as you want!
The process is the same for the medium and tall shoe boxes.
STEP 4- Sand and finish
Sand your wood boxes. When sanding the top, make sure to sand the lip of the box that allows it to stack.
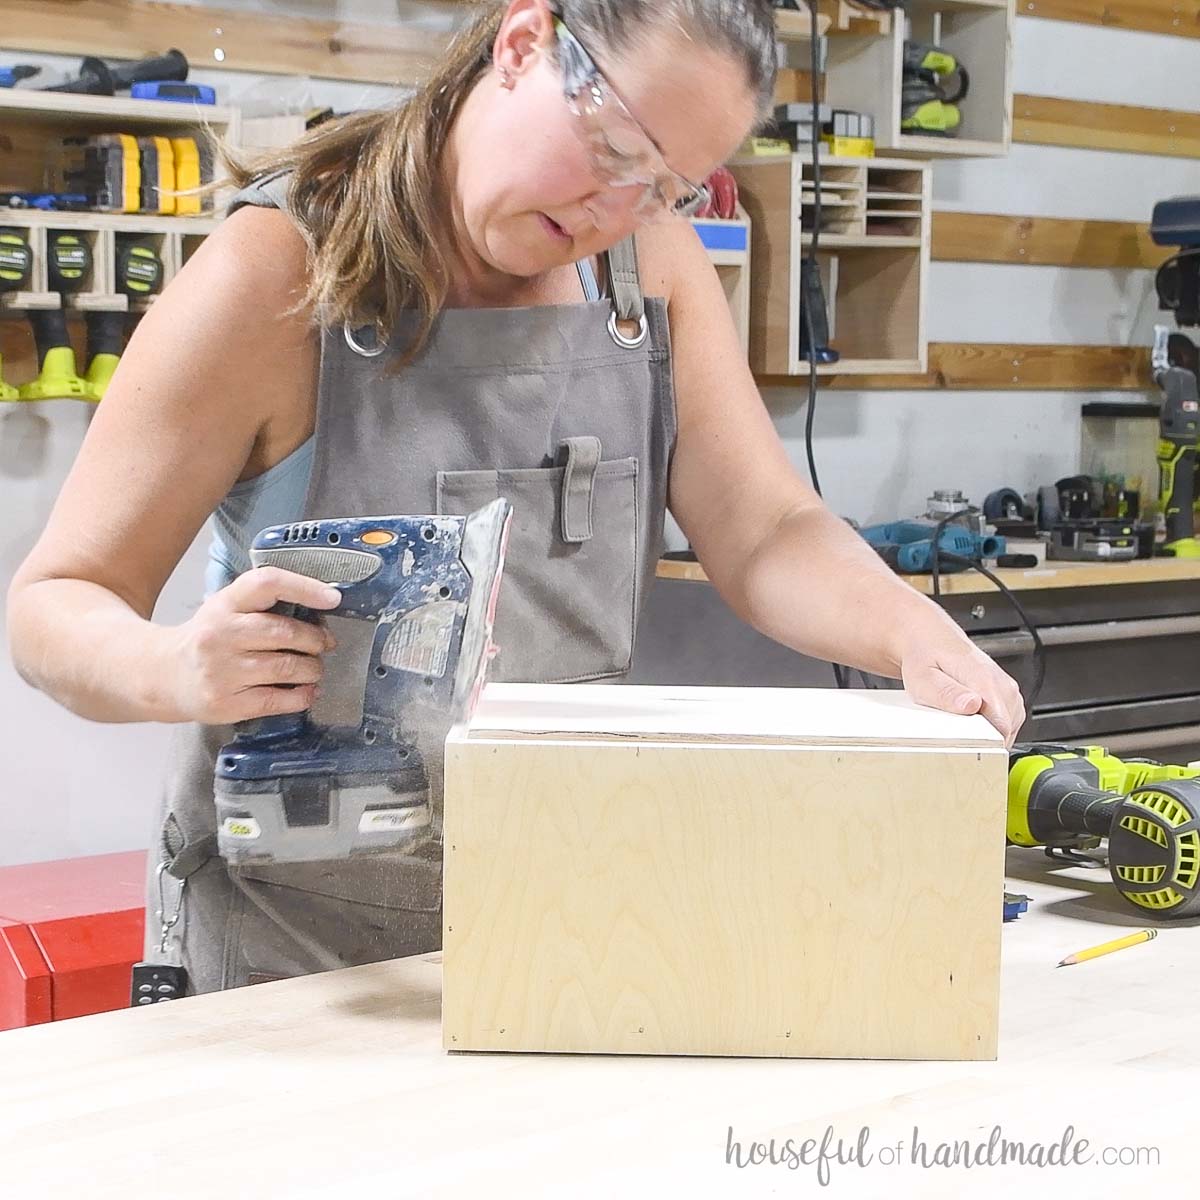
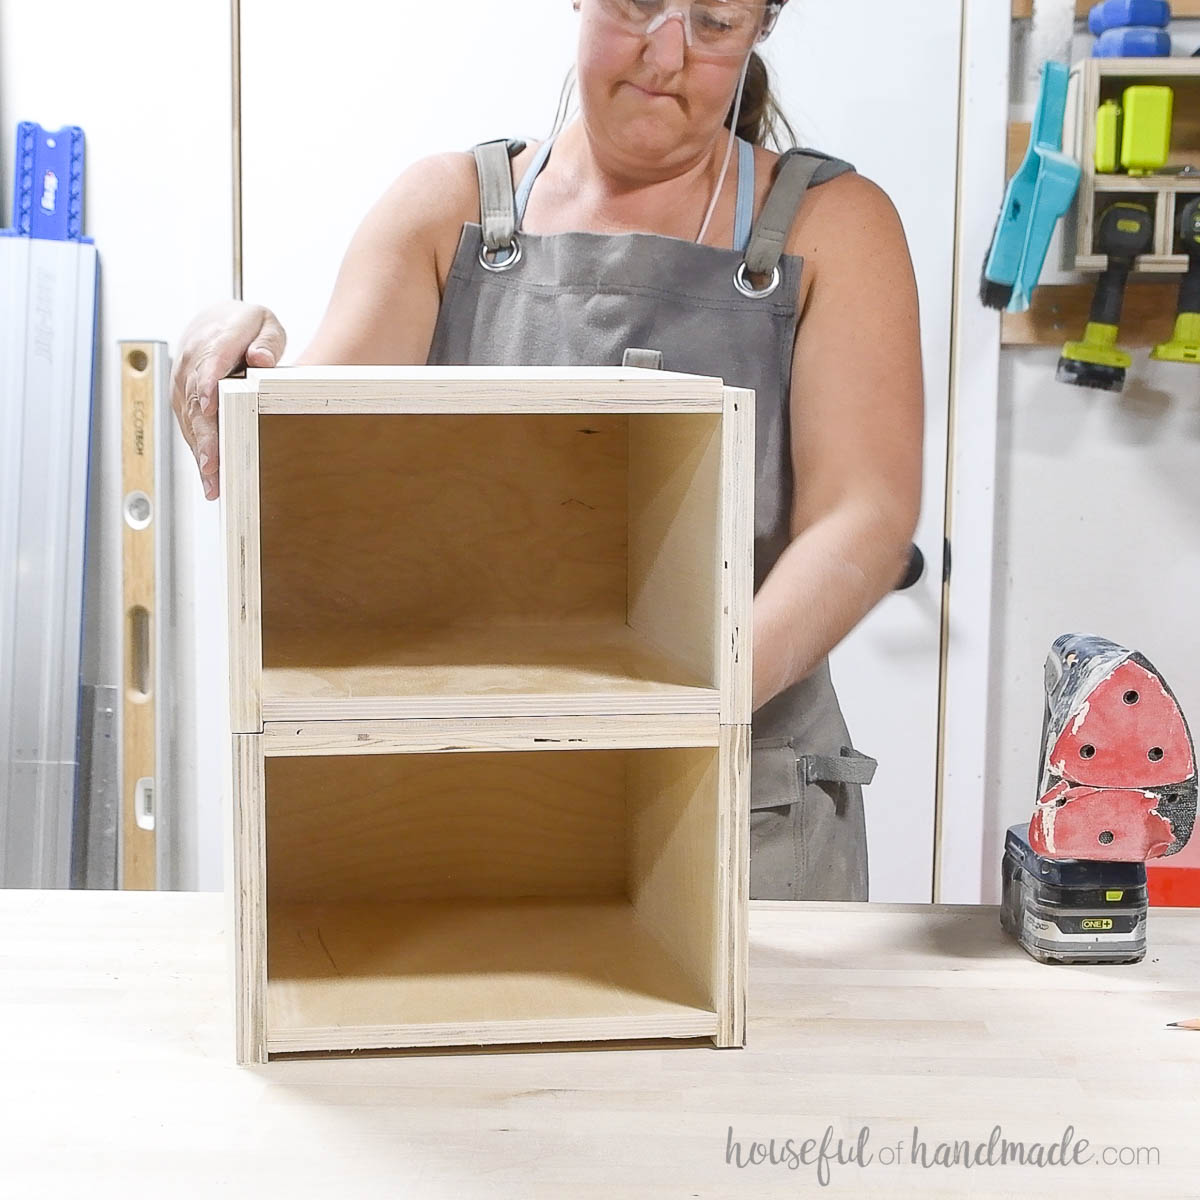
Test the stacking to see if you need to sand the lip more.
You want it to fit without a lot of wiggle, but not too tight so they are a pain to stack.
If you want to seal them, I recommend using a penetrating sealer, not one that creates a film on top or it can make it too tight to stack.
I left my boxes raw wood cause I like the look, especially with all the mismatched plywood scraps!
You did it!
Premium plans include:
- Recommended Tools
- Shopping list
- Easy to read cut list table
- Cut diagrams
- Step-by-step instructions with 3D renderings
- Helpful resources
- BONUS: 3D SketchUp file
Now you can stack your boxes in any configuration that works in your space. Then fill them with your shoes.
More Scrap Wood Ideas
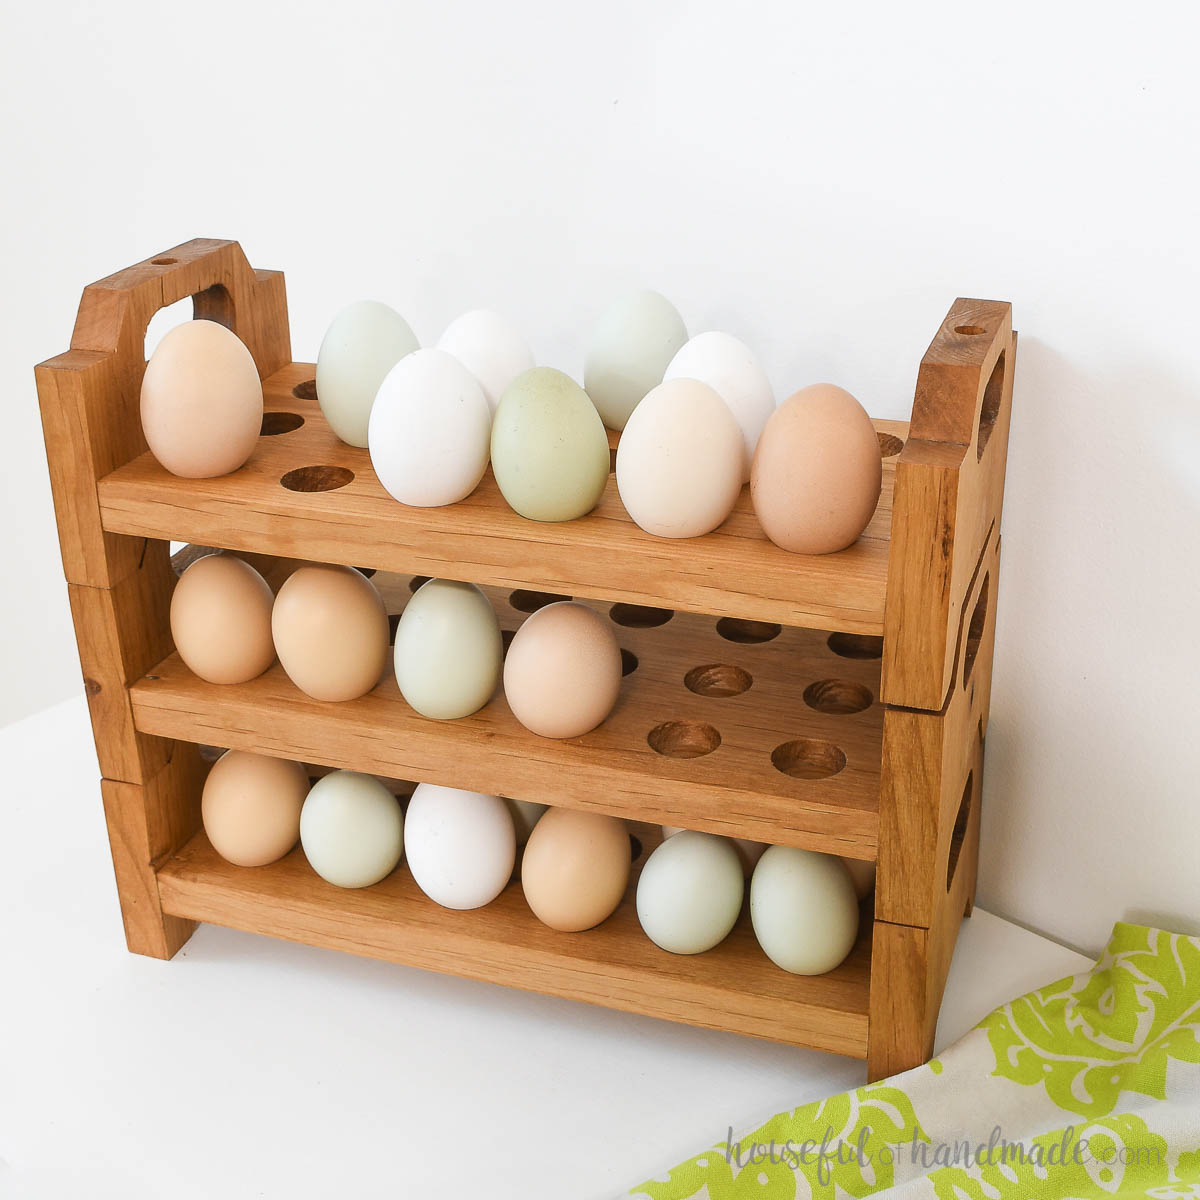
Today is the first day of this years Scrap Wood Summer. Every Tuesday through August, I will be sharing a new scrap wood project along with my friend Shara from Woodshop Diaries.
Check out all the other scrap wood projects below from the month so you can use up all those scraps of wood!


Happy building!
