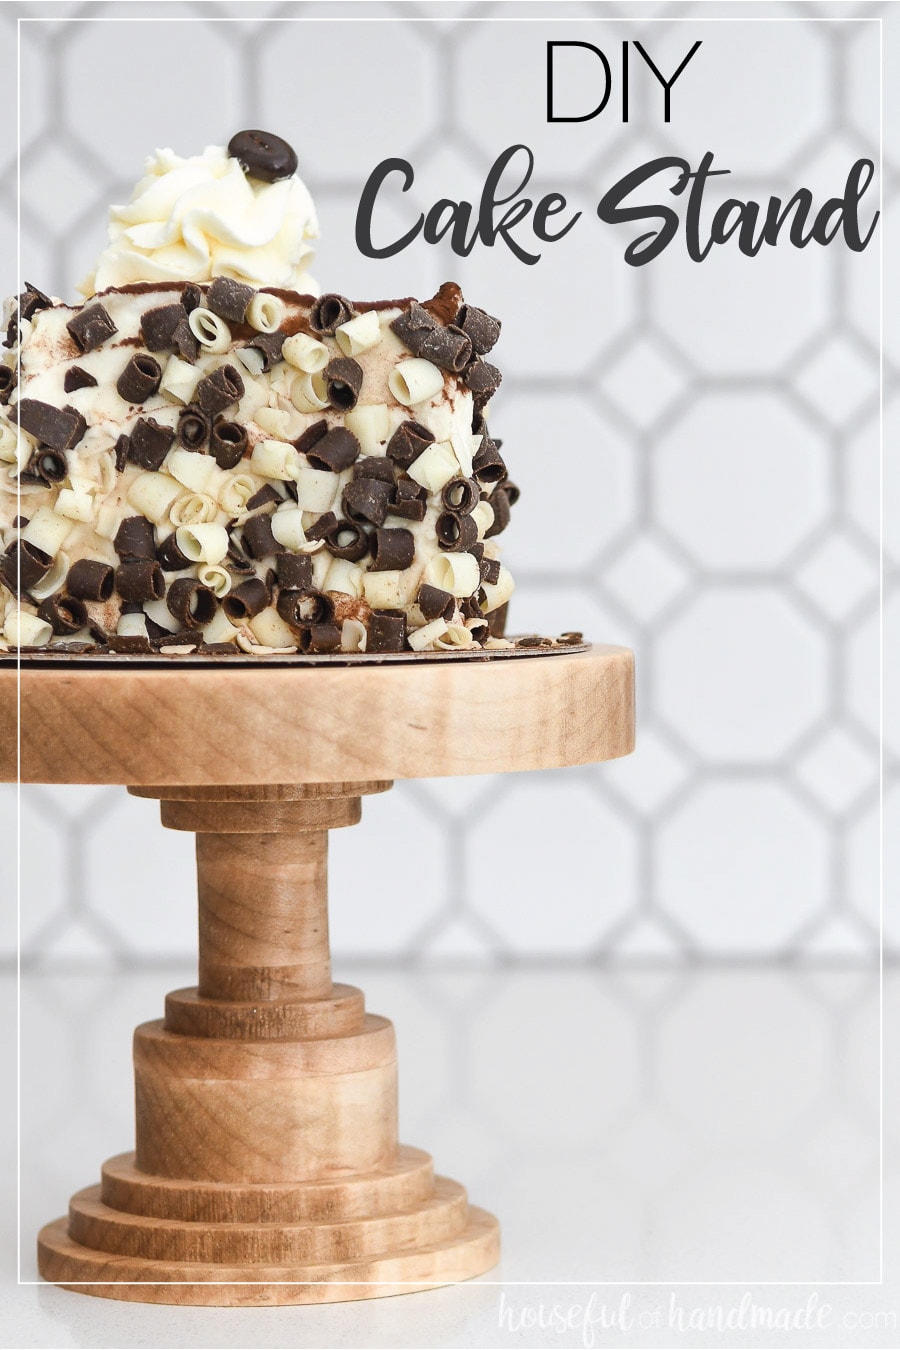
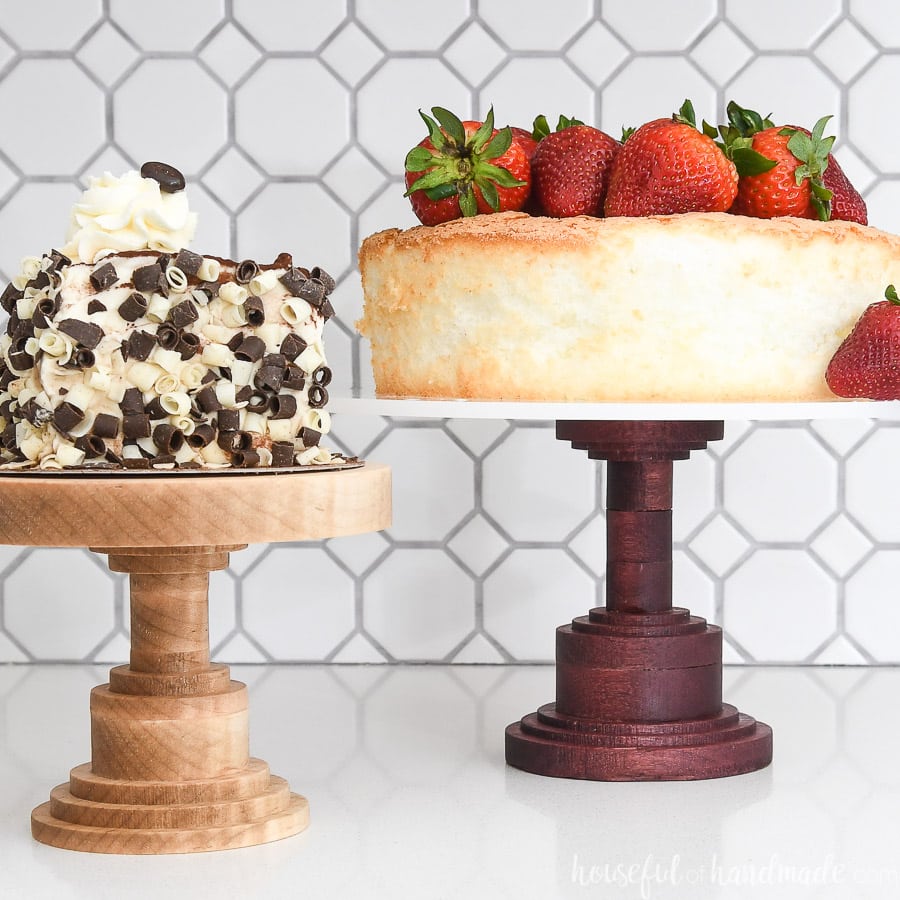
Display your cakes in style with these beautiful DIY Wood Cake Stands.
Today’s project is a fun one!
Not only because these DIY wood cake stands are gorgeous and I can always find a reason for another cake stand. But because this is the first time I have partnered with Inventables to share a project using the X-Carve!
What is an X-Carve?
An X-Carve is a CNC (which stands for Computer Numerical Control) machine with a router on it. The CNC machine moves the router on 3 axis. The X and Y axis help cut out many different shapes.
This post may contain affiliate links. As an Amazon Associate I earn from qualifying purchases. Click here to read my full disclosure policy.
But the Z axis is where things get cool. It allows the machine to cut different depths.
The X-Carve from Inventables allows you to do 3D carving. And you can cut lots of different materials. This came in handy when making the large DIY cake stand because I used it to cut the 1/4″ acrylic top as well as 3/4″ hardwood for the base.
Just think of the possibilities! I know I am excited to bring you some new project ideas using the X-Carve.
Wooden Cake Stands
I had a chance to play around with my new X-Carve over the last month. I wanted to explore and try a few things to fully understand how I could design all kinds of things.
But for my first project, I wanted to keep it simple while still showing the possibilities of the 3D carving. And to say I am obsessed with my new DIY wood cake stand, it would be an understatement.
If you want a reason to have cake more often, you need to make on of these DIY cake stands.
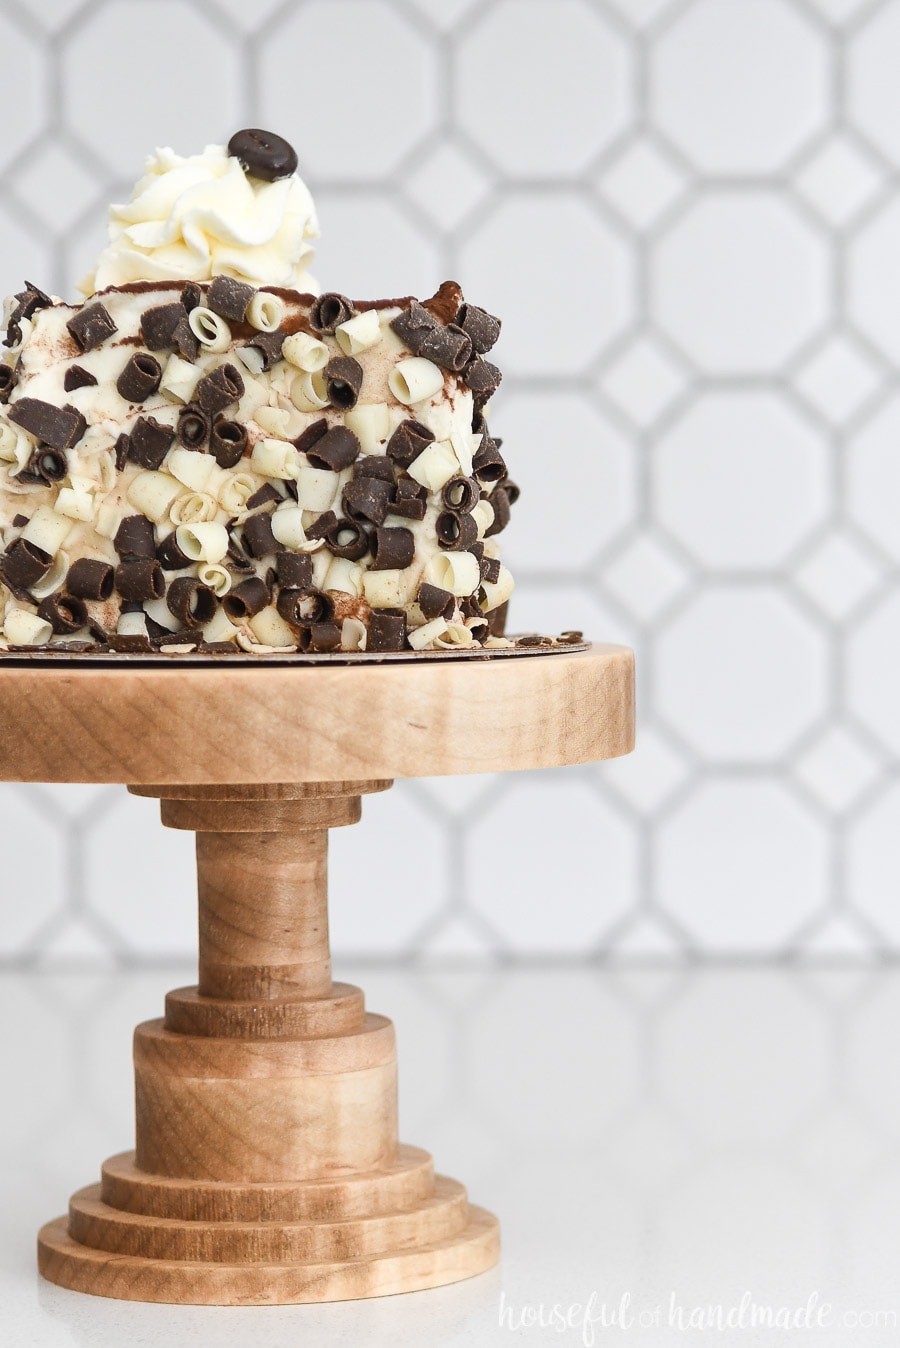
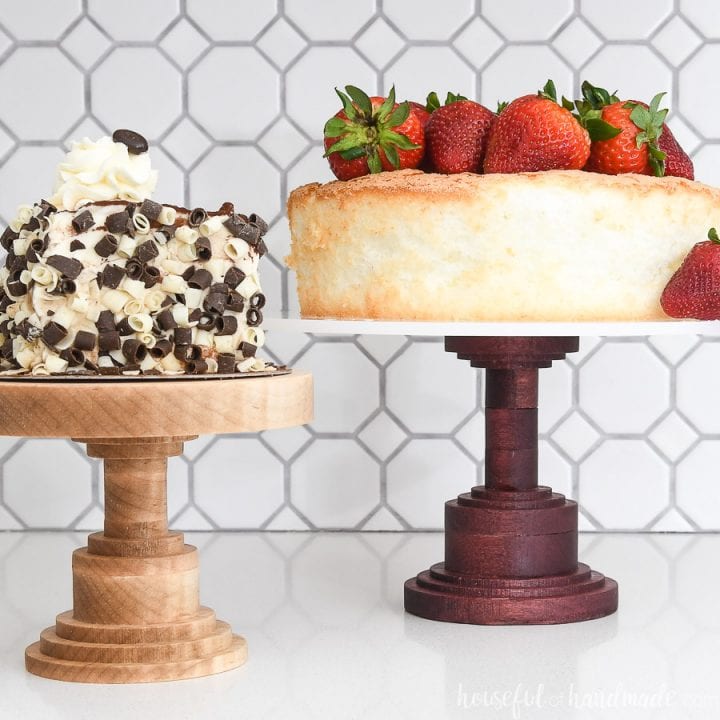
The small one is made completely out of Tiger Maple. It’s a gorgeous hardwood that has an almost flame-like texture on it.
You would think that would be expensive, but the simple design meant I was able to cut the entire stand out of just one 6″x12″ piece of wood.
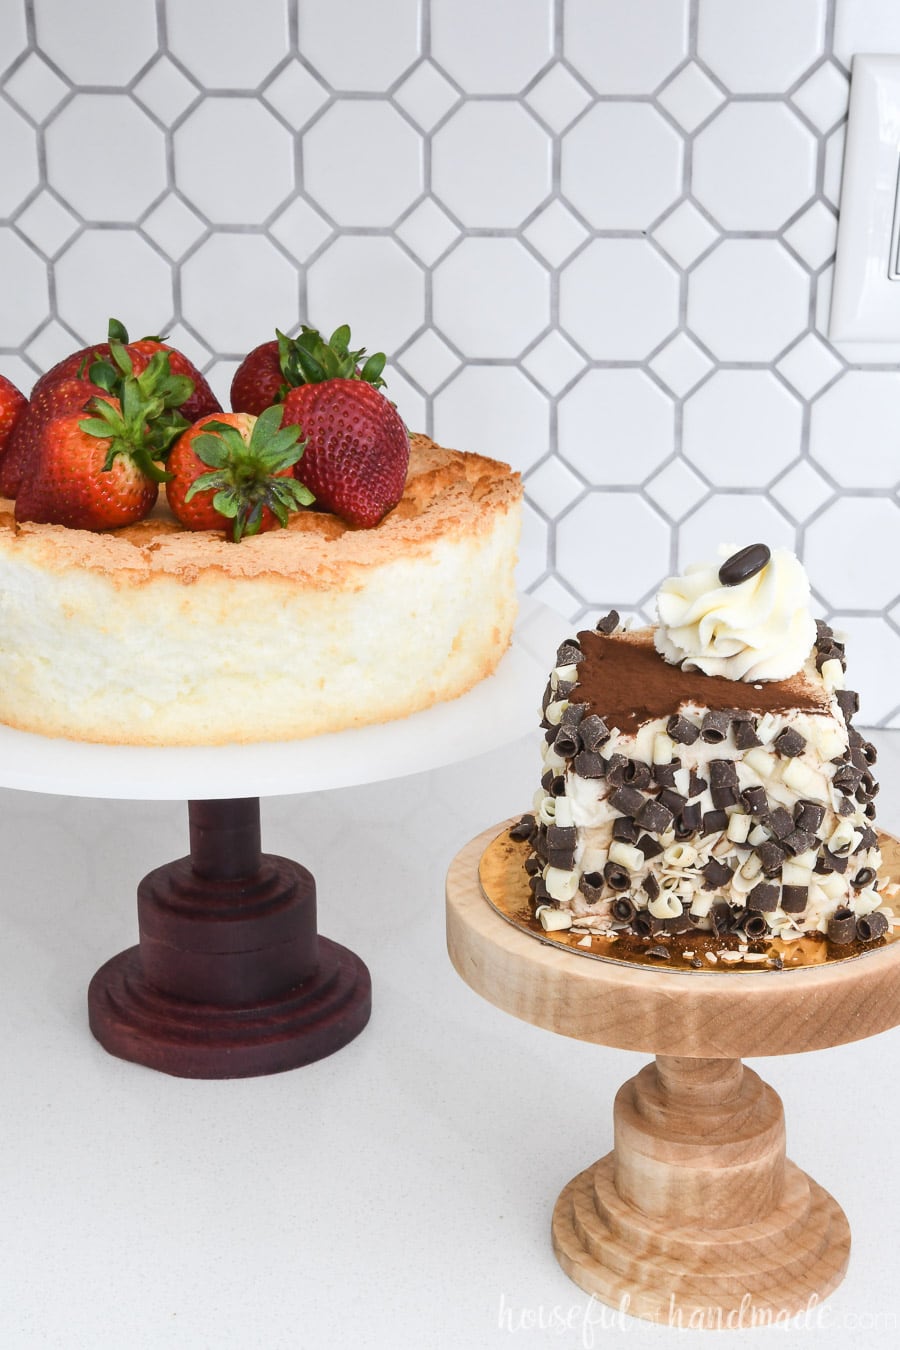
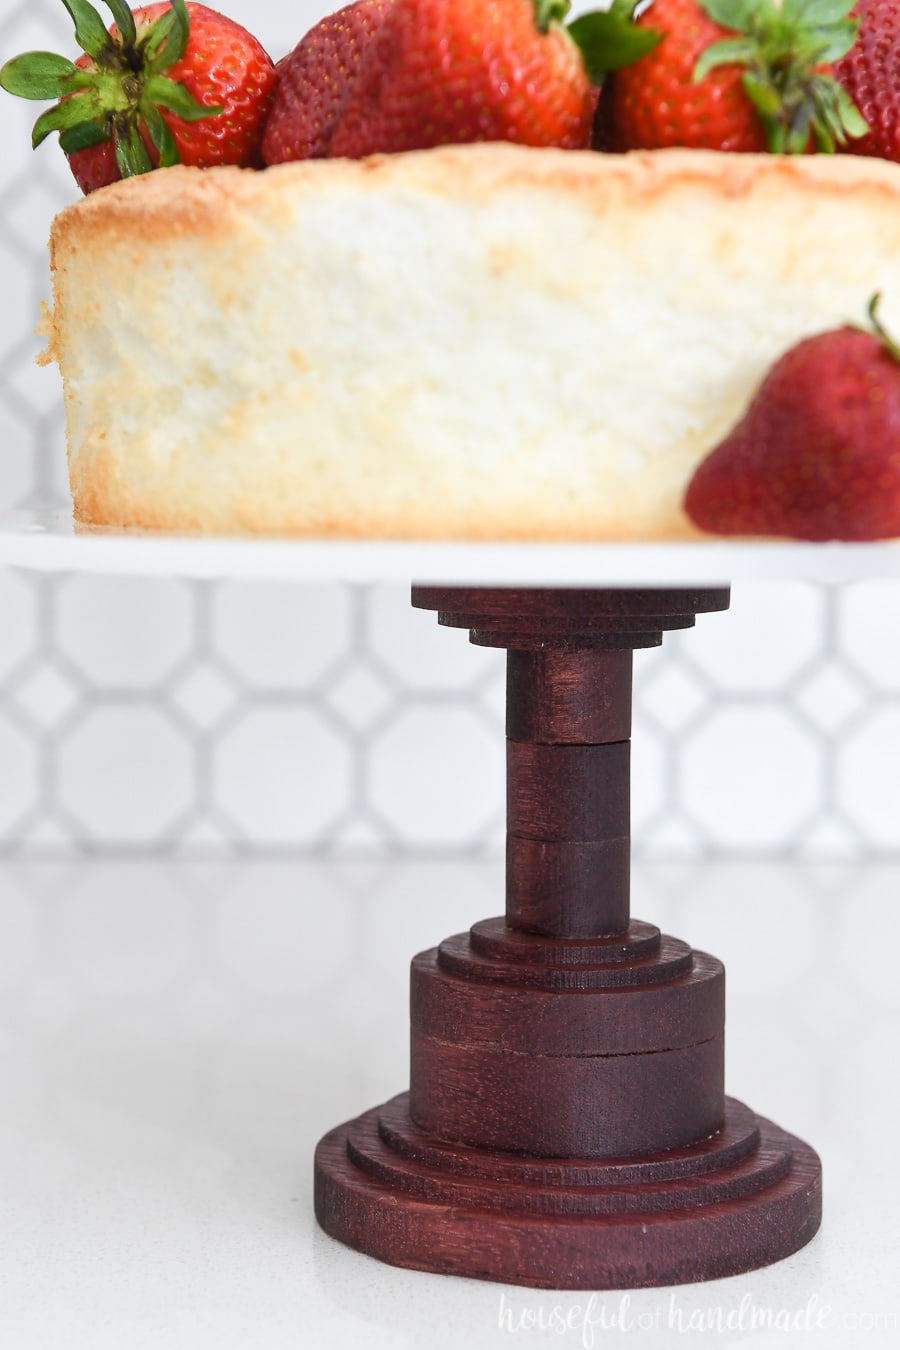
The larger stand was cut from a 6″x12″ piece of Purple Heart. And the top is cut from this 40% light transmission white acrylic.
The larger wooden cake stand was a bit more expensive, but it looks so amazing! Cake anyone?
What If You Don’t Have an X-Carve?
I love sharing lots of fun new ways to make things. And I have been eyeing the X-Carve for over a year. If you like the projects I share, but dont have your own X-Carve… yet, there are other options.
Easel is the free software that runs the X-Carve. Just sign up for an account today and play around with it.
It’s fun to see all the different designs you can make. And the Simulate option shows you what the different designs look like cut out with different bits.
Then if you want to try out your designs, some high schools, colleges, libraries, and maker spaces have X-Carves you can use. It’s a great way to get your feet wet and see if you an X-Carve is right for you.
So now I am excited to show you how easy it was to make these DIY wood cake stands with the X-Carve. The only question you will have is “How may cake stands is too many?”!
How to Make a Modern Cake Stand
Tools & Materials
Recommended Tools:
- X-Carve
- Carving bits
- For the hardwood I used a 1/8″ two flute straight bit and for the acrylic I used a 1/8″ single flute upcut bit.
- Digital Calipers
- Saw
- You will need to cut the center dowel to length. You can use any type of saw, I used my miter saw.
- Clamps
- Chisel or knife
- Sander
Supplies:
- 6″ x 12″ piece of 3/4″ hardwood
- For the small all wood cake stand I used Tiger Maple and for the larger cake stand base I used Purple Heart. You can check out all the different types of hardwood from Inventables here.
- 1/4″ thick acrylic sheet (for the larger cake stand)
- 1/2″ wood dowel
- Wood glue
- Sand paper
- Sealer
- I used Maker Brand Simple Finish. Make sure to use a food safe finish if you want to put your cake directly on the cake stand.
- Super glue
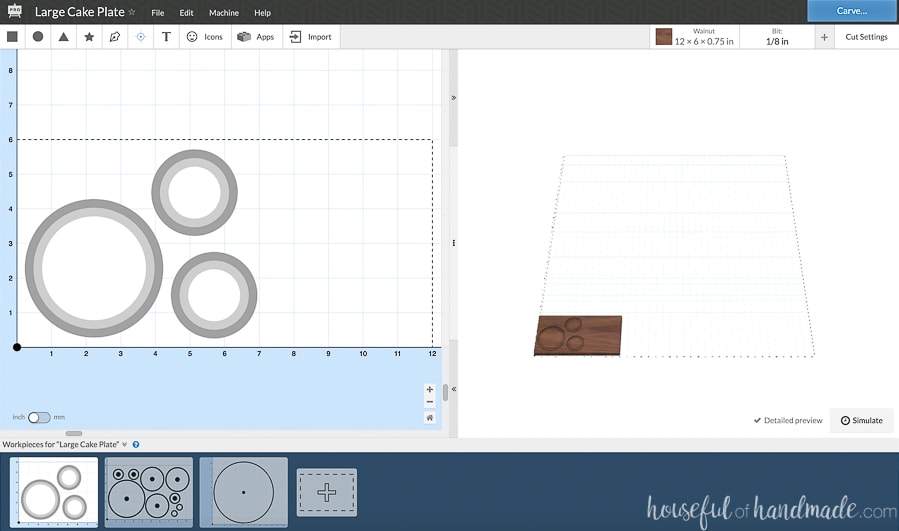
STEP 1- Set up the Easel File
You can use the file I made for the cake stands by first, signing up for a free Easel account, then clicking on one of the links below to open the file.
When you open the link, it will not be editable unless you make a copy. But go ahead, make a copy, and play around with it. Sometimes when using a new program it’s good to start with something already there. Then you can always open a new one when you want to make your own cake stand.
On the bottom of the screen, you should see multiple workpieces for the project (2 for the small and 3 for the large). I separated the 3D carving parts from the cut parts because during one of my test runs, it was taking a lot longer to do the cut with them combined.
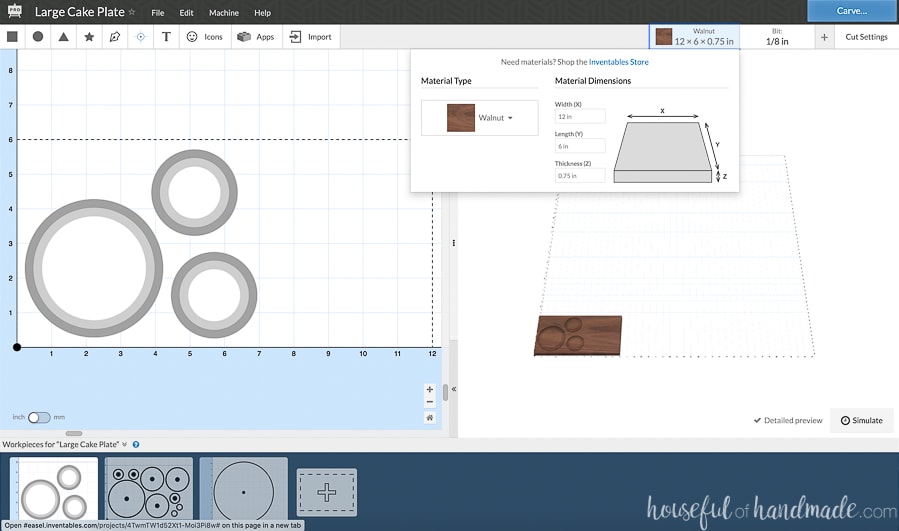
To change your material, you select the Material option above the cut screen. This is also where you input your material size. Use the digital calipers to measure the exact thickness so the cut depth is correct.
If your material is slightly thicker than 0.75 inches (mine was 0.76 inches), you will need to adjust the cutting depth of the items that need to be cut completely through on the second workpiece.
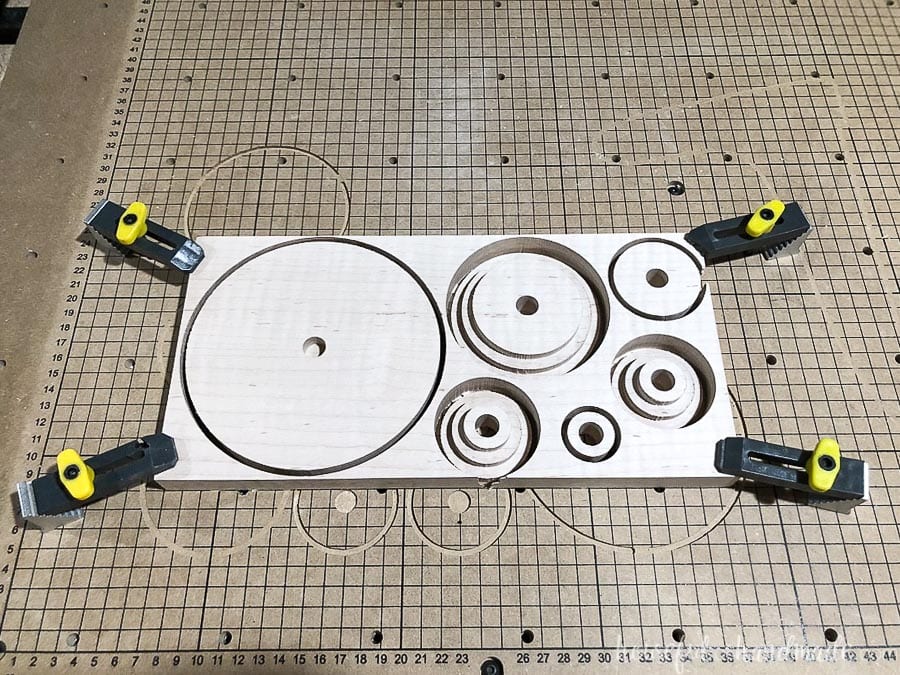
STEP 2- Cutting the Design
Clamp the material down to the X-carve. It doesn’t really matter where you place it on the waste board, just make sure it is straight and centered between screw holes for the clamps to attach too.
To send the file to the X-Carve, select Carve…
This will prompt you through a series of checks to make sure everything is set up properly. Take the time to set up the XY zero carefully on the corner of the wood so that there is room for all the pieces to be cut.
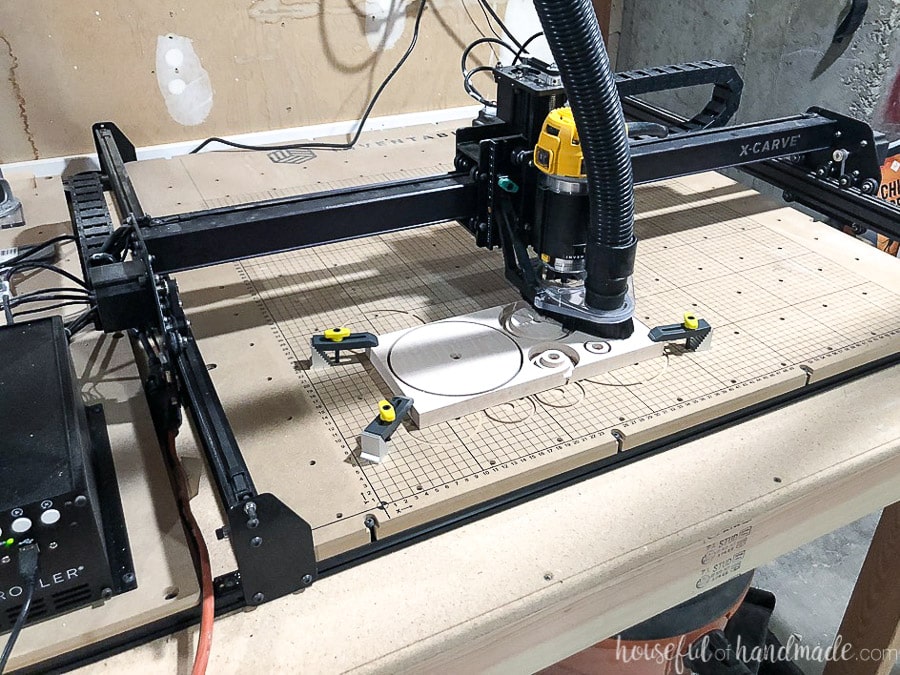
Then grab a seat and watch as the magic happens. I love watching the X-Carve cut. I also love being close by in case of errors.
On my large cake plate, the bit broke halfway through the cut. I was able to quickly stop it and nothing was ruined.
Once the machine is done, move it out of the way (I go back in like I am doing another cut and use the arrows on the side to jog it out of my way). Loosen all the clamps and remove the material.
STEP 3- Assemble the Cake Stands
Small Cake Stand
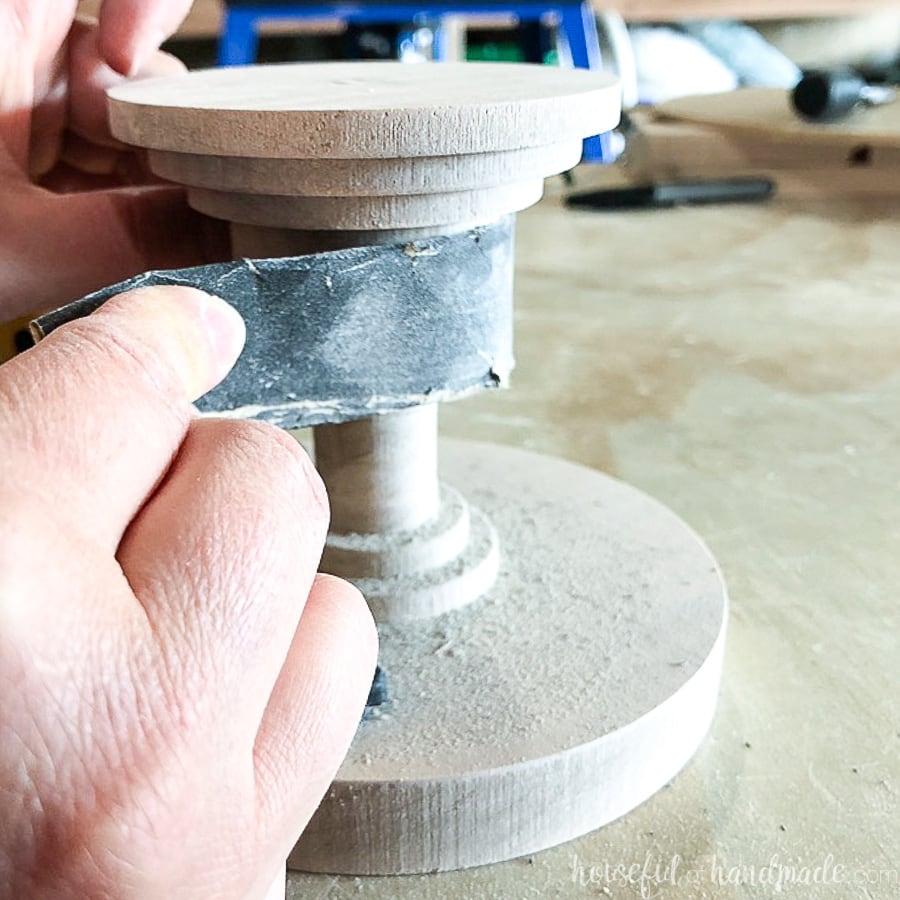
To remove the pieces you will need to break the tabs. I like to use a wood chisel or knife to break them. Then you can carve off any excess with the knife and sand smooth.
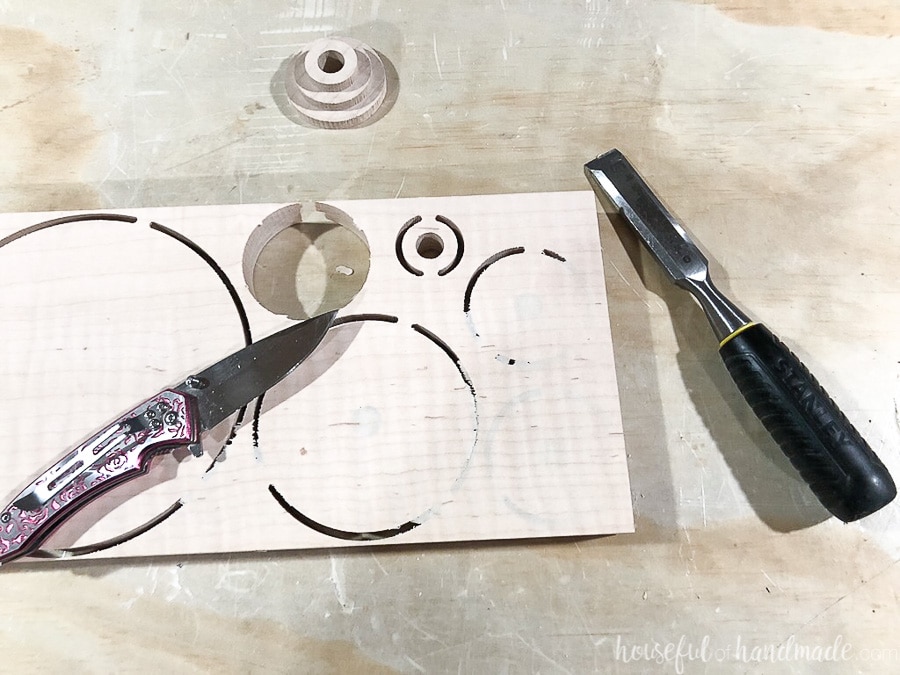
For the smaller cake stand, I did not sand the pieces before assembly. This required more hand sand handing.
For the large base, I hand sanded each piece by carefully holding it on the base of my electric sander and it was much easier.
Press the dowel into the carved out hole on the underside of the top piece. Draw a line on the bottom of the dowel where it comes out the bottom of the cake stand.
Cut the dowel so it is slightly shorter than the line.
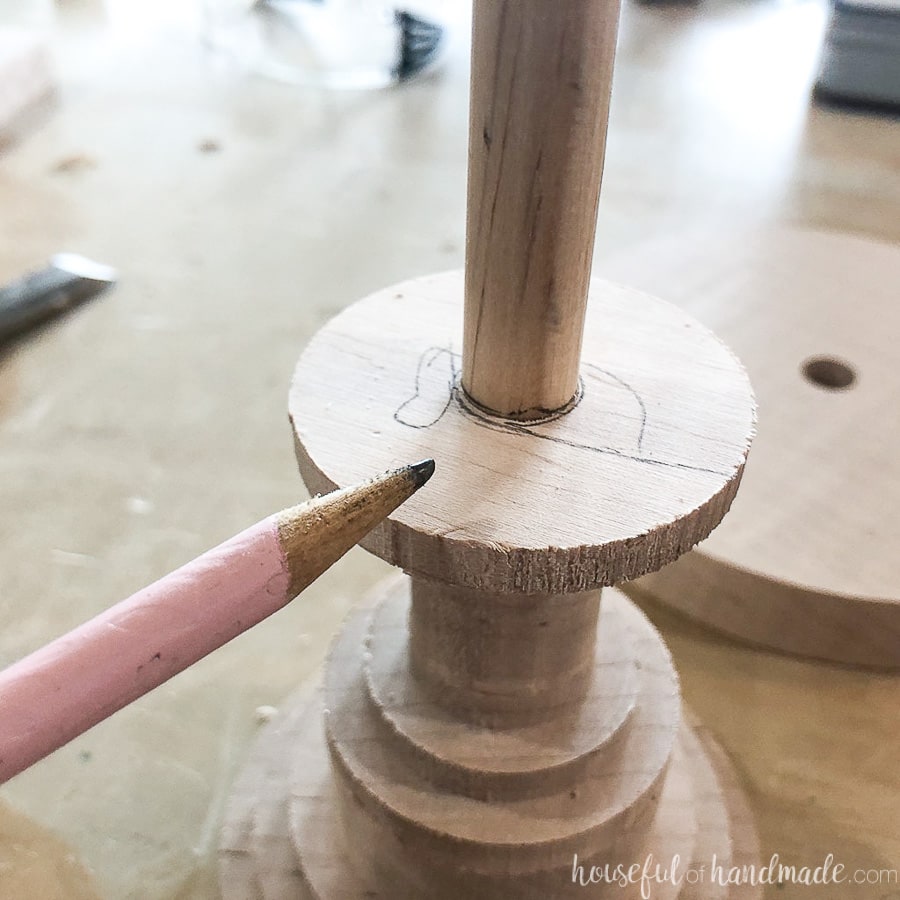
Do a dry fit of the pieces to make sure the dowel is not too long. It should be a slightly tight fit.
Start glueing the pieces together starting at the top.
Add wood glue to the pieces where they join as well as the dowel. Be careful to only put glue on the smaller pieces where they connect to larger pieces so you don’t end up with lots of glue to remove later.
As you stack all the pieces of the wood up, be aware of the wood grain.
I kept the grain going in the same direction on all the pieces as I stacked so the coloring was consistent.
The end grain edges will be darker than the edge grain edges when you apply stain or sealer (you can see where one of the small pieces of the Purple Heart got turned and so the grain doesn’t match, whoops).

Clamp the whole things together and let the glue dry.
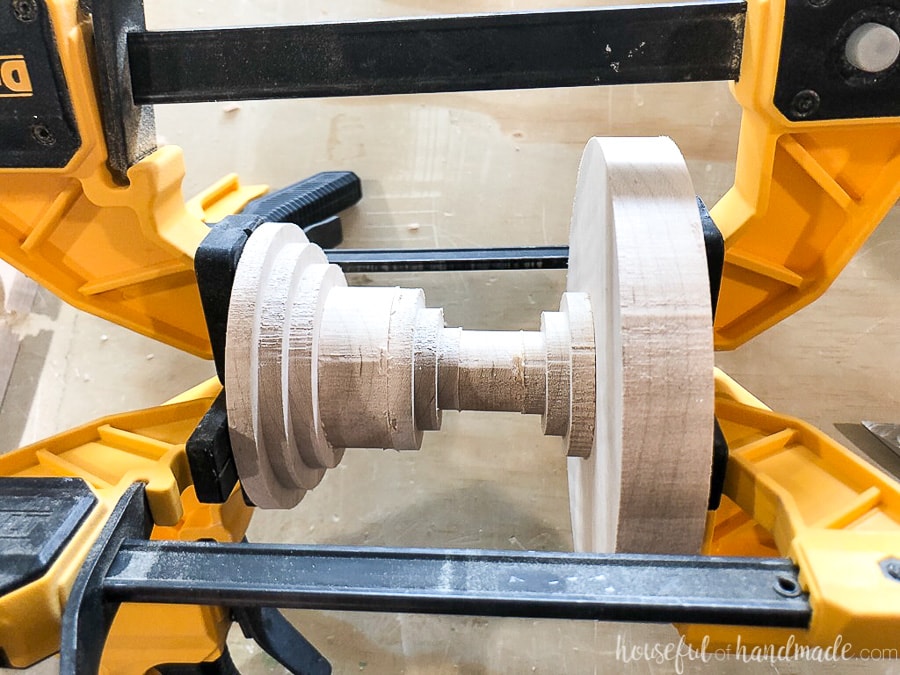
Remove any bit of squeeze out (I like to do it when dry instead of wet so it doesn’t soak into the wood).
Sand as needed to make the entire wood cake stand super smooth.
Seal your new DIY cake stand with your favorite finish and then enjoy your cake!
Large Wooden Cake Stand with Acrylic Top
The large cake stand is similar to the small one, but with a couple little changes for the acrylic top. We put together a full tutorial video for this one. Check it out below!
On the large cake stand Easel file there are some 1/2″ circles. These are for the top “plug” where the acrylic connects to the wood base. There are a couple different sizes, if they are loose, you might need to cut a slightly larger one.
Remove the protective film from the bottom of the acrylic and place the plug into the hole. Place the top piece on top of it. Stack the remaining pieces on your dowel and then insert it into the edge of the upper piece. Mark the length of the dowel and cut.
When you start glueing things up like the instructions for the small cake stand, make sure the plug is in the acrylic so it stays at the proper depth. Clamp the wood base together and let the glue dry.
Remove any glue and sand as needed to make the entire wood cake stand super smooth. Seal the base of the stand.
Once the sealer is dry, use super glue to attach the acrylic to the base. Add glue to the plug in the center but be careful not to get it on the top of the plug or it will be visible.
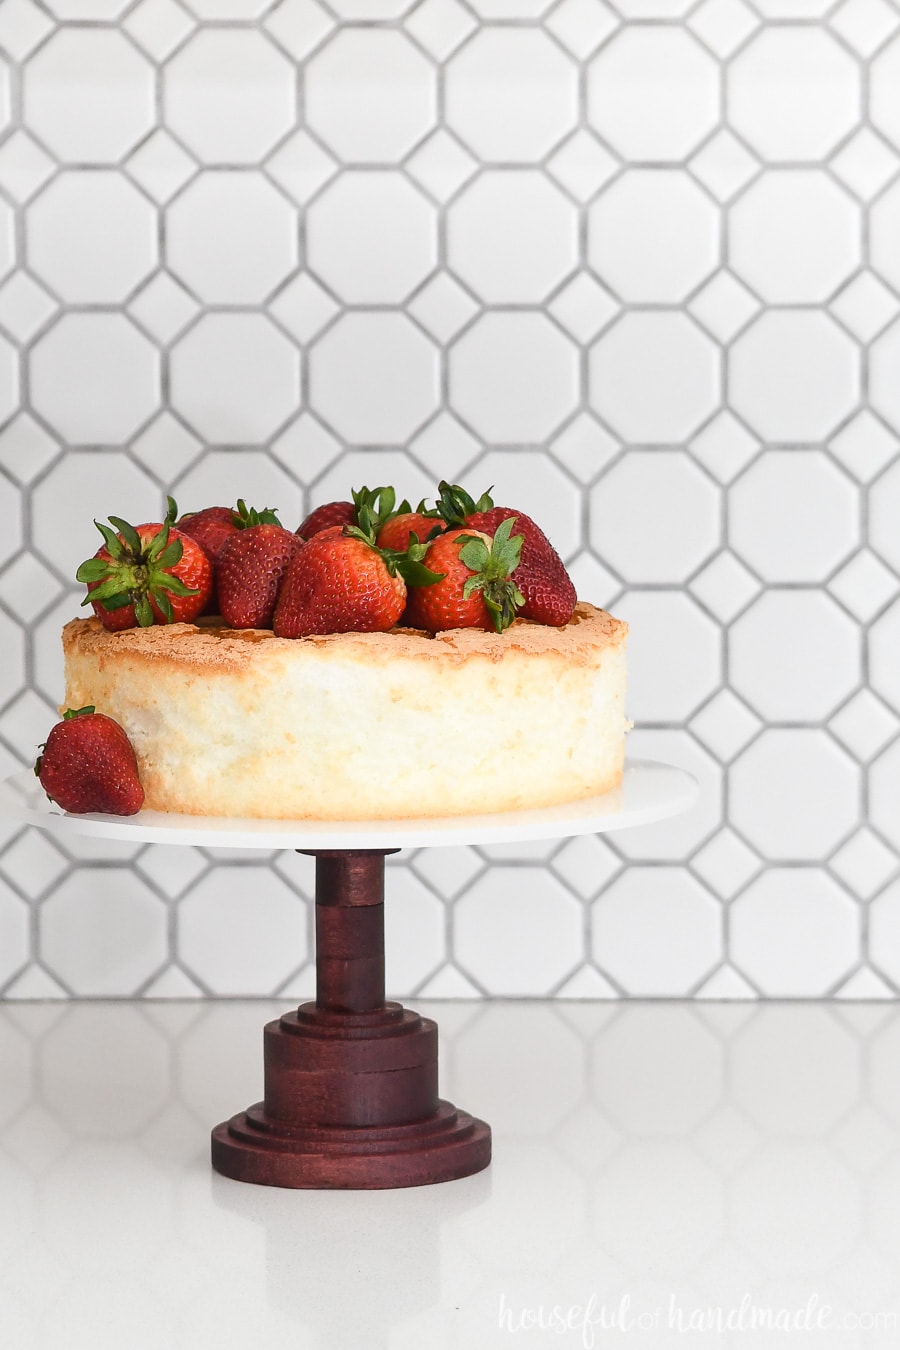
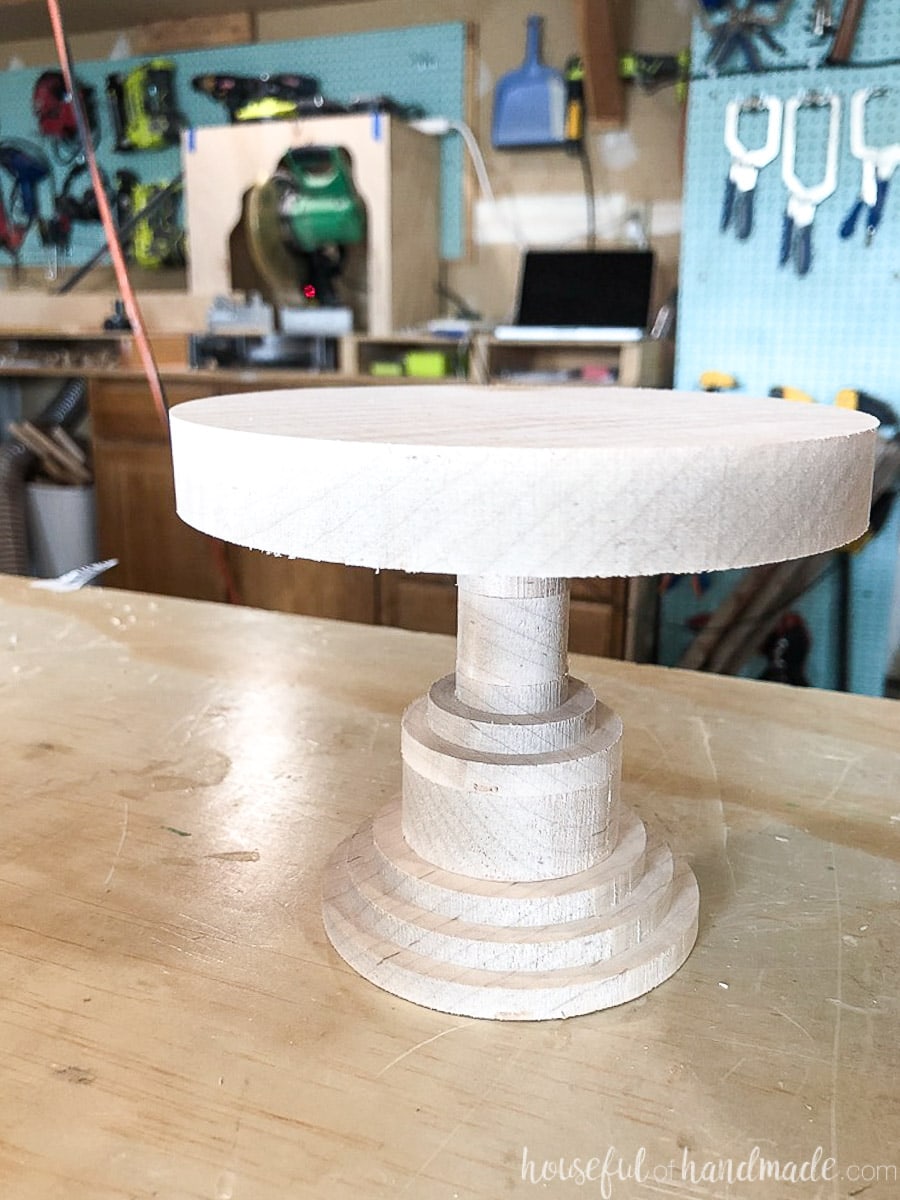
Now you can serve up your favorite treat in style!
Don’t you just love the art-deco look of the new DIY cake stands? It’s fun to think it’s just a series of rings on a stick, but they look so pretty!
And if cake is not your thing, we can still be friends. You can use these beautiful wood cake stands for serving cheeses, cookies, or anything else you want to be pretty. Yeah, I probably should make a couple more.
Tips for Your First X-Carve Cut
I was a little intimidated when I first got my X-Carve. There are a lot of things to think about. But the more you use it, the more you will realize all the new ways you can use it.
So take a deep breath and have some fun!
- Start simple. You could spend a month researching bits, speeds, feed rates, etc. I know, I have read so much. And it is confusing. But with the Easel software, they have recommended cut settings for most materials. Start there. Once you get some cuts under your belt, all the other information will start to make more sense.
- Be careful where you put your clamps. I have cut through a few clamps because I put them in the wrong spot. And the one I still sometimes forget, is to not put a clamp in the lower left-hand corner (where you set your XY zero). The bit will drop down before it moves to its first cut area.
- Make sure the bit is tight. Twice I didn’t secure the bit tight enough in the collet. During the cut, the bit slowly moved down and the final pieces were cut into my washboard. Not too big of a deal except it made the tabs fail and the piece came loose which causes lots of problems.

DIY Wood Cake Stand
Mae a gorgeous DIY wood cake stand using the X-Carve! They make great gifts. You can never have too many cake stands.
Materials
- 6″ x 12″ piece of 3/4″ hardwood
- 1/2″ wood dowel
- Wood glue
- Sand paper
- Sealer
- Super glue
Tools
- X-Carve
- Carving bits
- 1/8″ two flute straight bit
- Digital Calipers
- Saw
- Clamps
- Chisel or knife
- Sander
Instructions
- Make a copy of the Cake Stand Easel File
- Select the Material option above the cut screen.
- Use the digital calipers to measure the exact thickness so the cut depth is correct.
- Adjust the cutting depth as needed.
- Clamp the material down to the X-Carve.
- Send the file to the X-Carve, select carve.
- Loosen all the clamps and remove the material.
- Carve off any excess with the knife and sand smooth.
- Press the dowel into the carved out hole on the underside of the top piece.
- Draw a line on the bottom of the dowel and cut the dowel so it is slightly shorter than the line.
- Glue the pieces together starting at the top.
- Add wood glue to the pieces where they join as well as the dowel.
- Clamp the whole things together and let the glue dry.
- Sand as needed to make the entire wood cake stand super smooth.
- Seal your new DIY cake stand with your favorite finish
I hope you enjoyed my first X-Carve project as much as I did. I promise, there will be lots more to come. My mind is completely swimming with ideas!

Thank you to Inventables for sponsoring this post. I only recommend products that I use and love and all opinions are 100% my own. Click here to read my full disclosure policy.