With spring around the corner, I bought more seeds to plant in my raised garden bed. But my current storage solution was not big enough to hold all the seed packets.
Since I am working hard to use up plywood scraps this month, I knew I could build the ultimate seed storage box and get all my seed packets organized!
Seeds like to be kept cool, dry and dark. A wood box is perfect for optimal storage. The wood will pull any moisture from the seed packets and is a great insulator.
This post may contain affiliate links. As an Amazon Associate I earn from qualifying purchases. Click here to read my full disclosure policy.
And instead of building just one seed packet storage box, I built 2 different sizes!
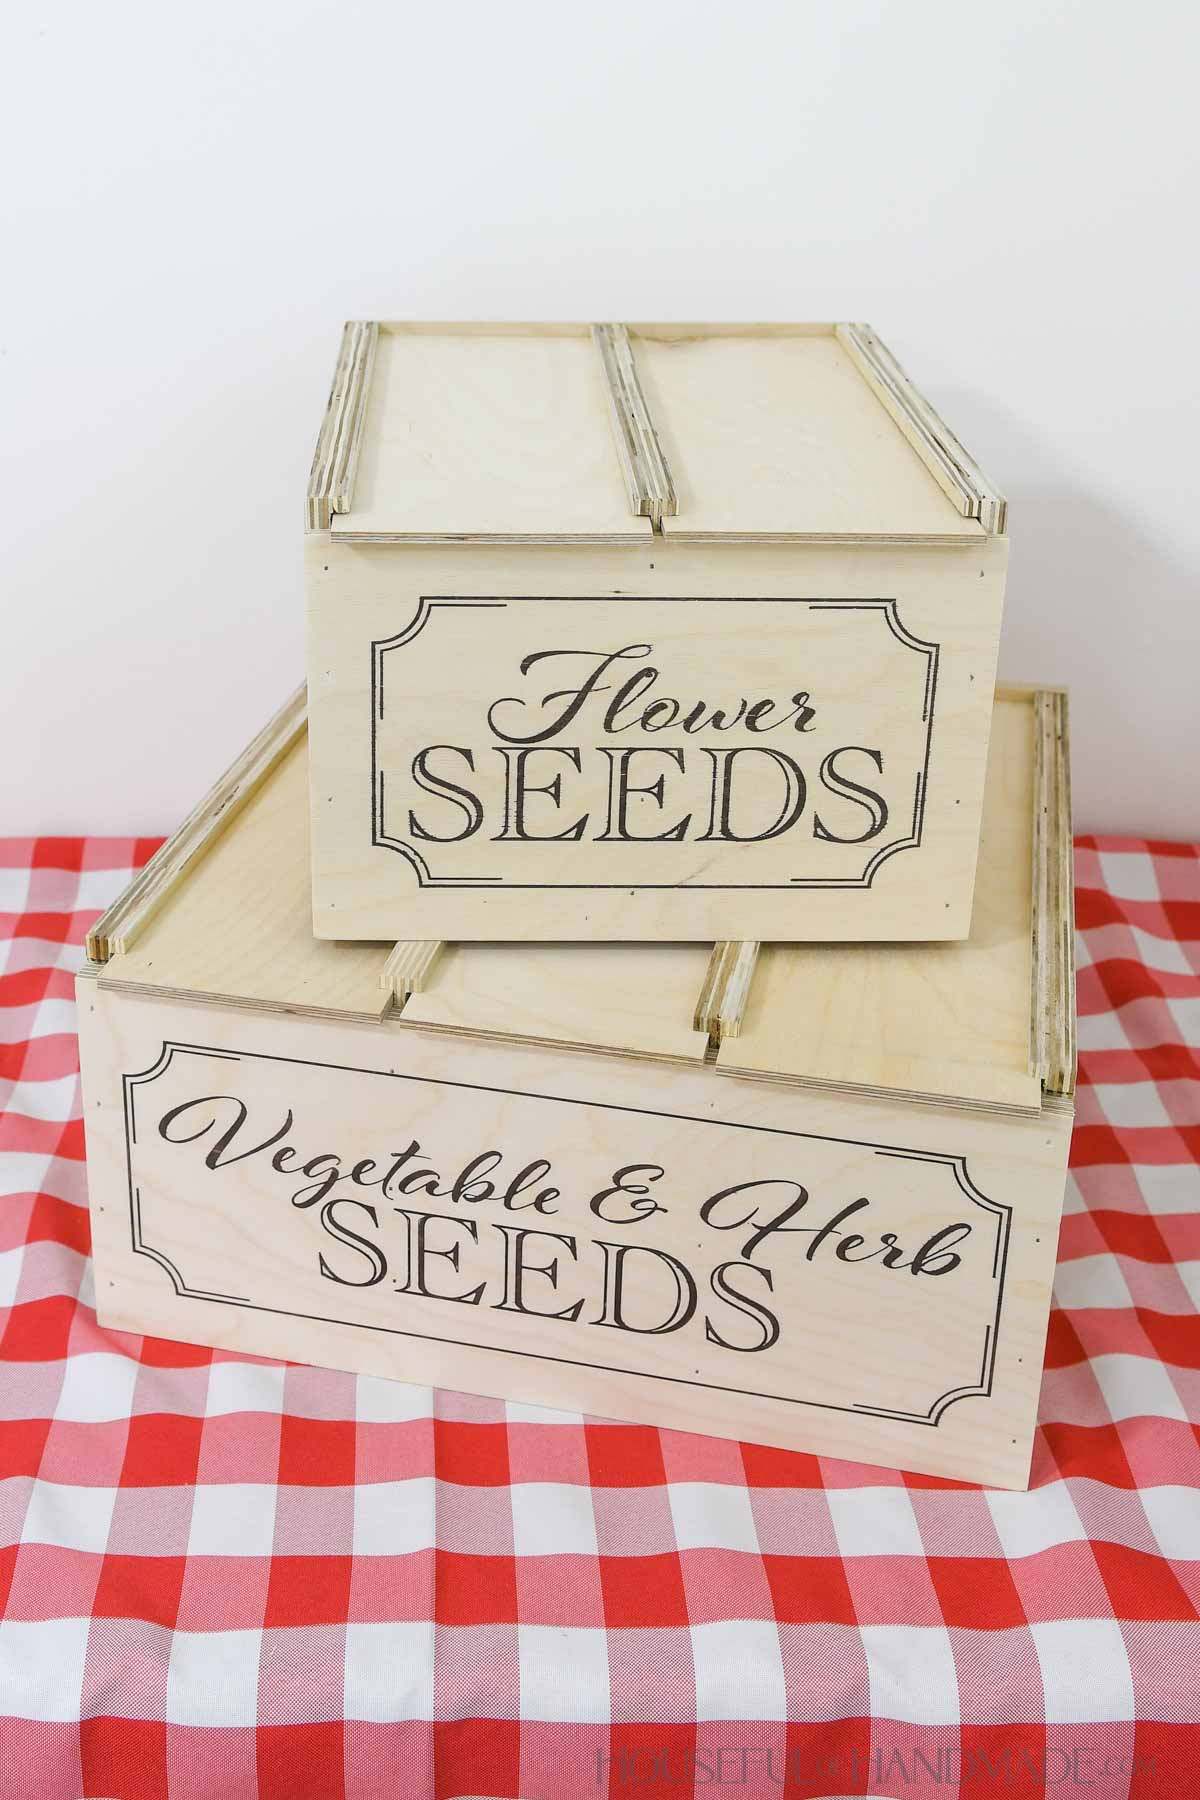
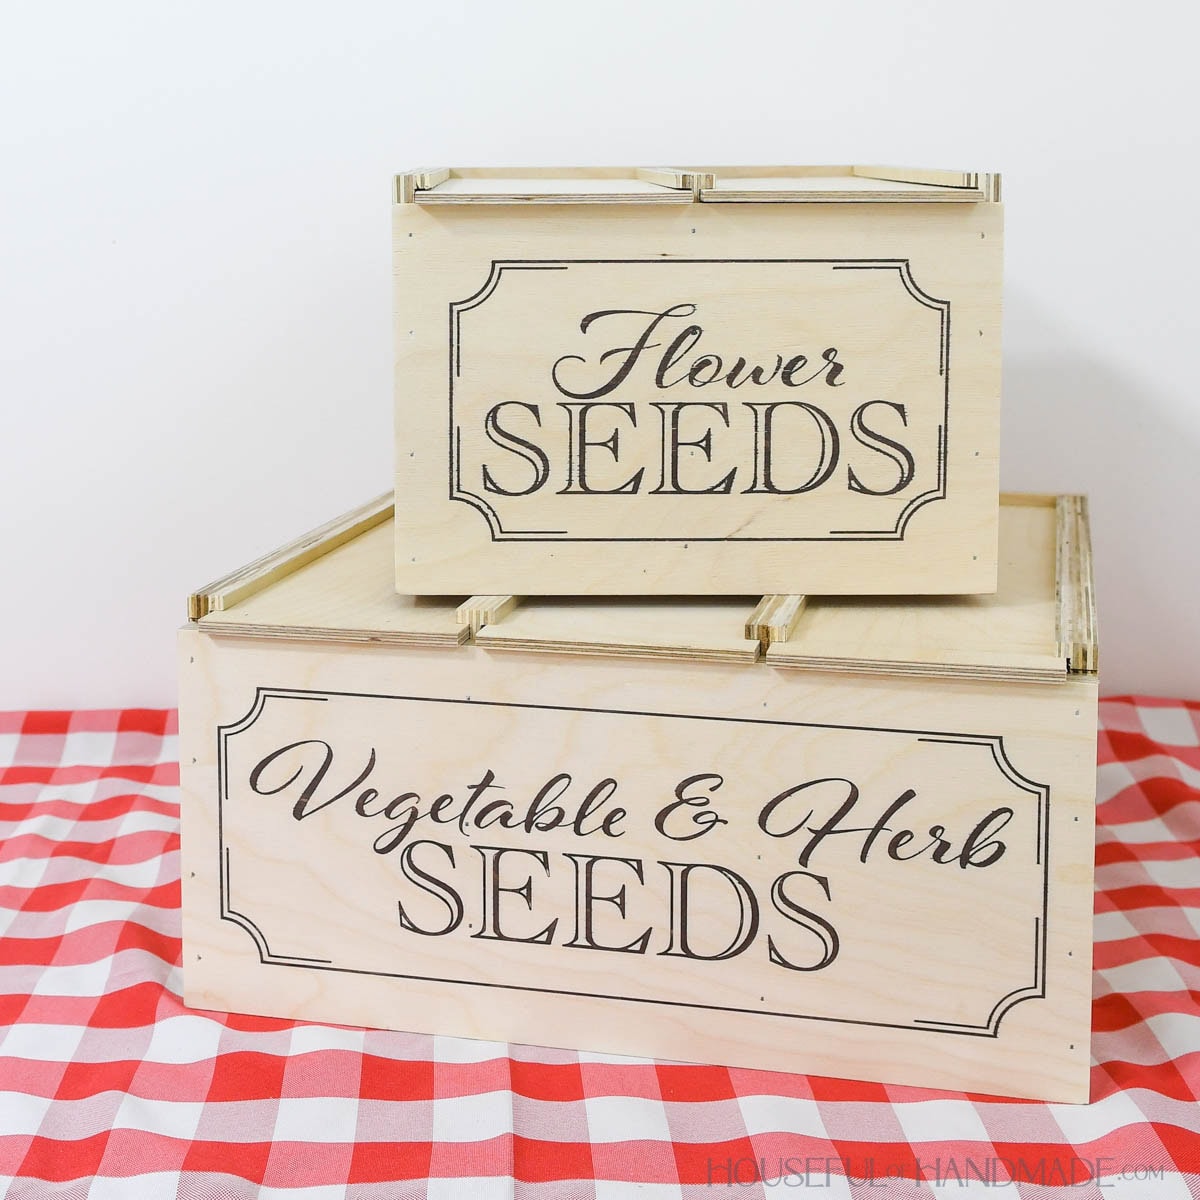
Large Seed Storage Solution
Both of these seed storage boxes are large. I thought I would fill them up more than I did. Now I have enough room to grow my garden a lot over the next few years.
Even though the boxes have lots of storage, they are made from just a few small plywood pieces.
It was the perfect scrap wood project for this month’s Plywood Scrap Challenge. Check out the rest of the month’s scrap projects listed below the tutorial.
The large seed box has 3 storage compartments for seed packets. Each compartment is 15″ deep.
The small box has 2 compartments for storing seeds. And each compartment is only 12″ deep.
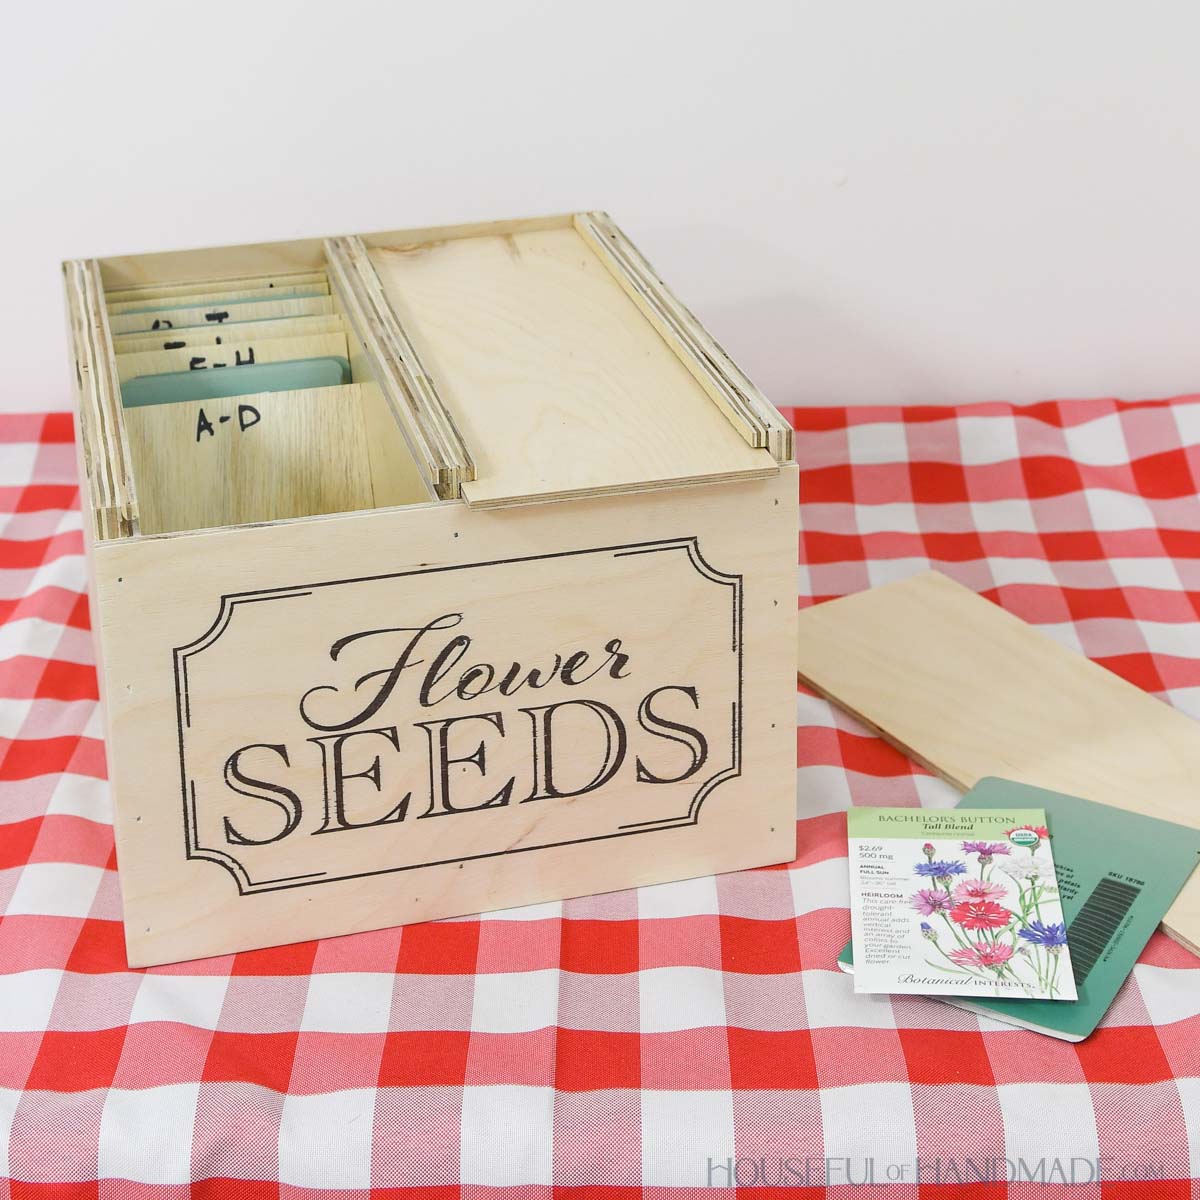
After unloading all my seeds, I only used 1/2 of one compartment for my flower seeds, and I still have 1/2 of two compartments available for vegetable and herb seeds.

How to Build a Seed Packet Box
Tools & Materials
Recommended Tools:
- Table saw
- Brad nailer
- Sander
Supplies:
- Wood products
- (1) 3/4 plywood, 16” x 36″ or 32” piece
- (1) 1/4 plywood, 16” x 36″ or 48” piece
- 1 1/4” brad nails
- Wood glue
- Optional: 1/8” plywood, chipboard or cardstock for dividers
Overall Dimensions
The large seed storage box is 15 3/4″ x 15 1/2″ and has 3 compartments for seed packets up to 4″ x 6″ in size.
The small seed packet box is 10 3/4″ x 12 1/2″ and has 2 compartments for 4″ x 6″ seed packets.
Cut List
Cut out the pieces according to the easy-to-read table in the PDF plans.
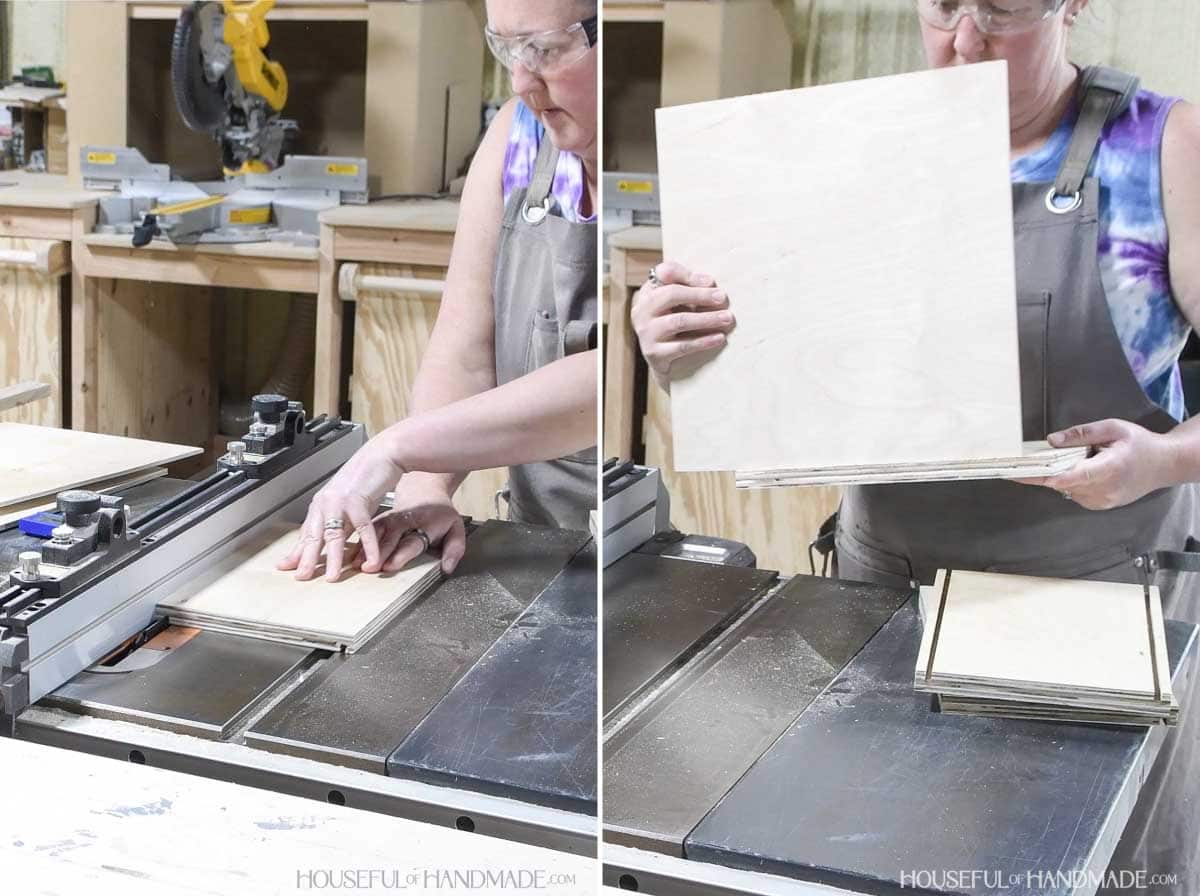
STEP 1- Cut grooves
Set the table saw so the fence is 1/4” away from the edge of the blade and 1/4” deep.
Cut the starting edge of your groove. Then slide the fence a up to a blade widths away and cut again. Repeat until you have cut a groove the desired width.
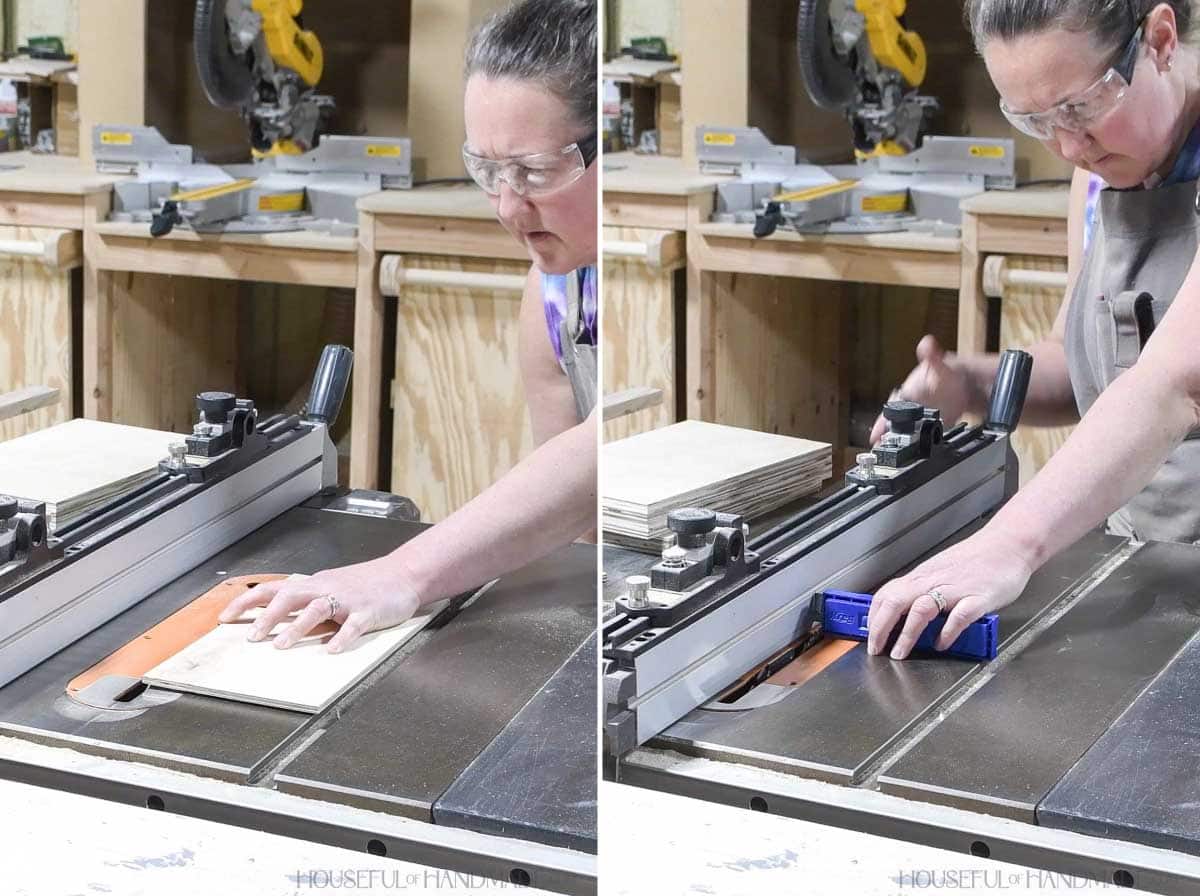
The grooves on the top of the side & center pieces should be slightly wider than the 1/4” plywood so it can slide easily in the groove.
The grooves on the bottom of the side pieces should just be wide enough for the 1/4” to sit into, it does not need to slide.
In both side pieces, cut the groove on the top and bottom edge. In the center pieces, cut the groove only on the top edge, but cut it on both sides of the board.
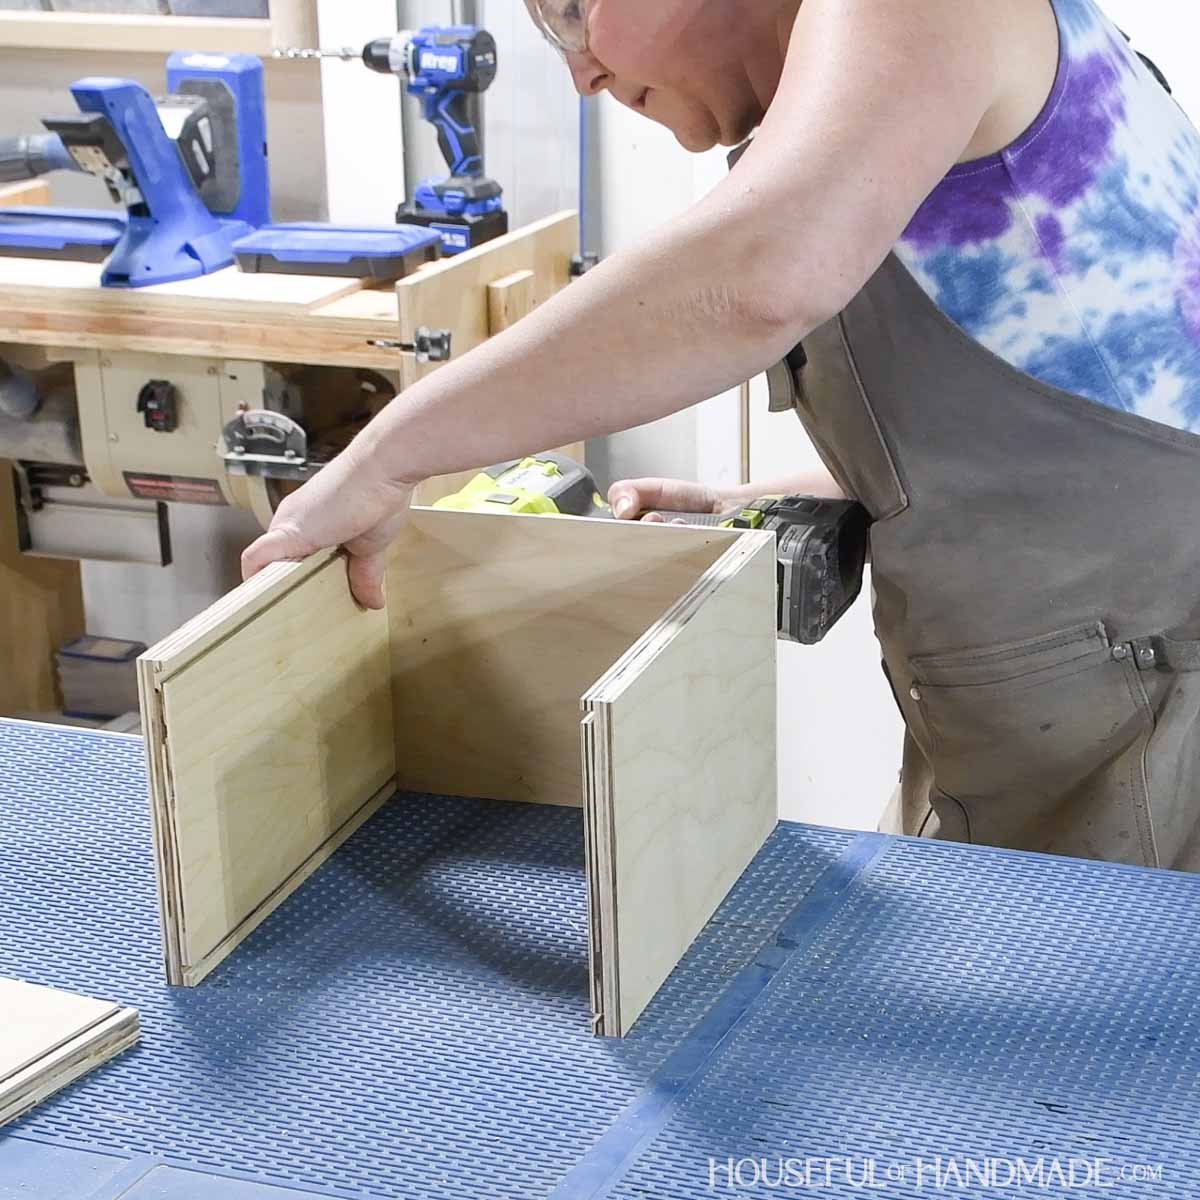
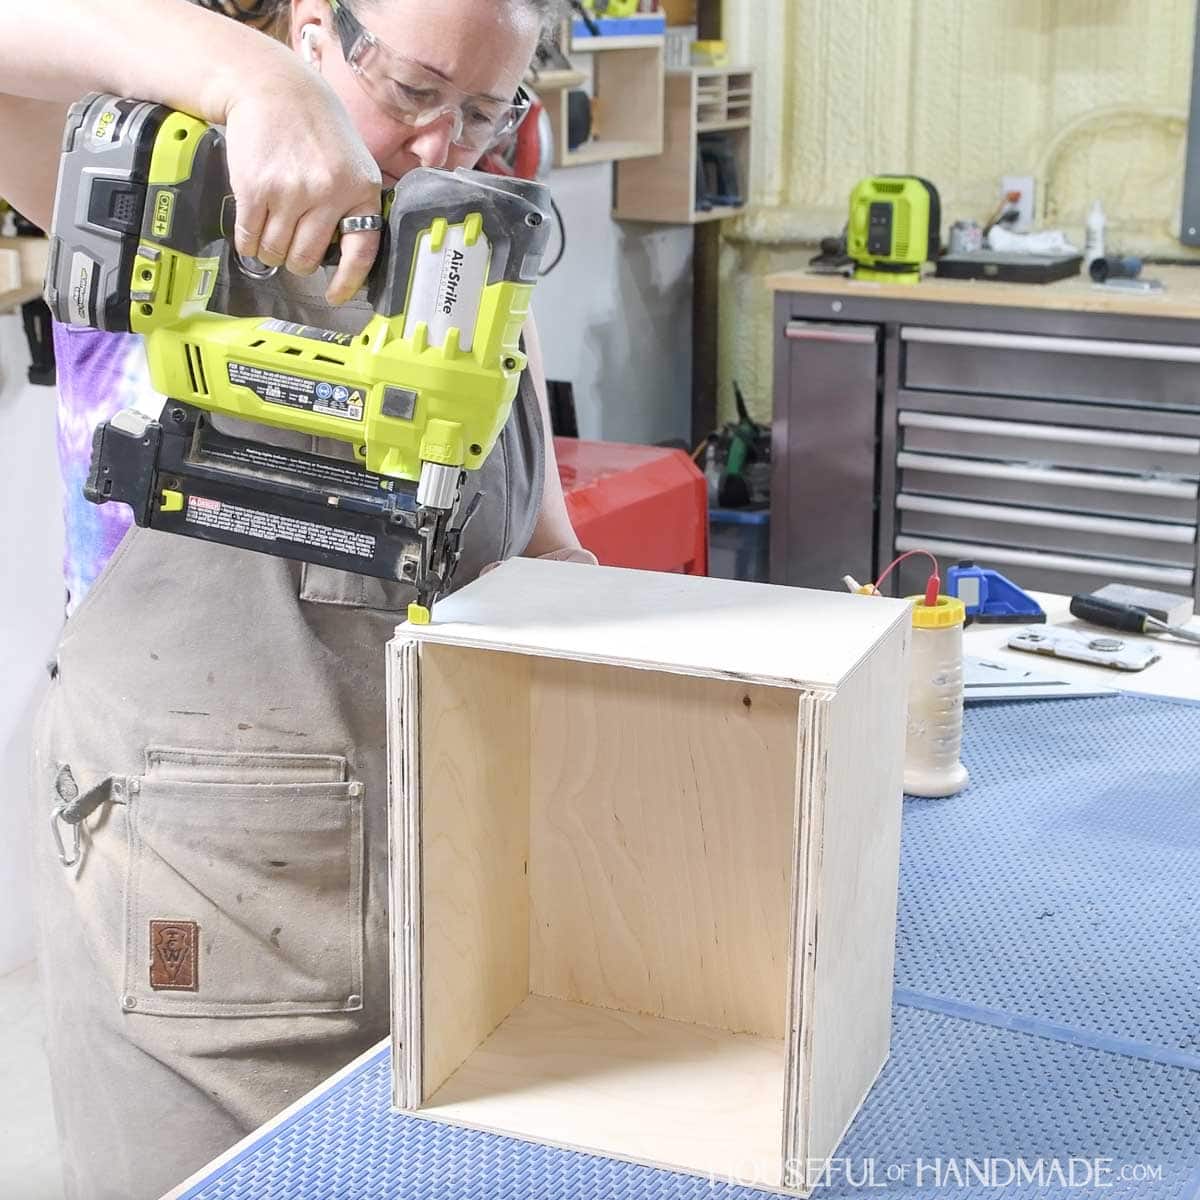
STEP 2- Assemble box
Attach the two side pieces to the back piece so it is flush on the top, bottom and outside edges.
Mirror the side pieces so the grooves are all pointing toward the center.
Secure with wood glue and 1 1/4” brad nails. Make sure not to put the nails into the grooves.
Slide the bottom piece into the bottom grooves until it is flush with the back. The front should be flush with the front of the sides.
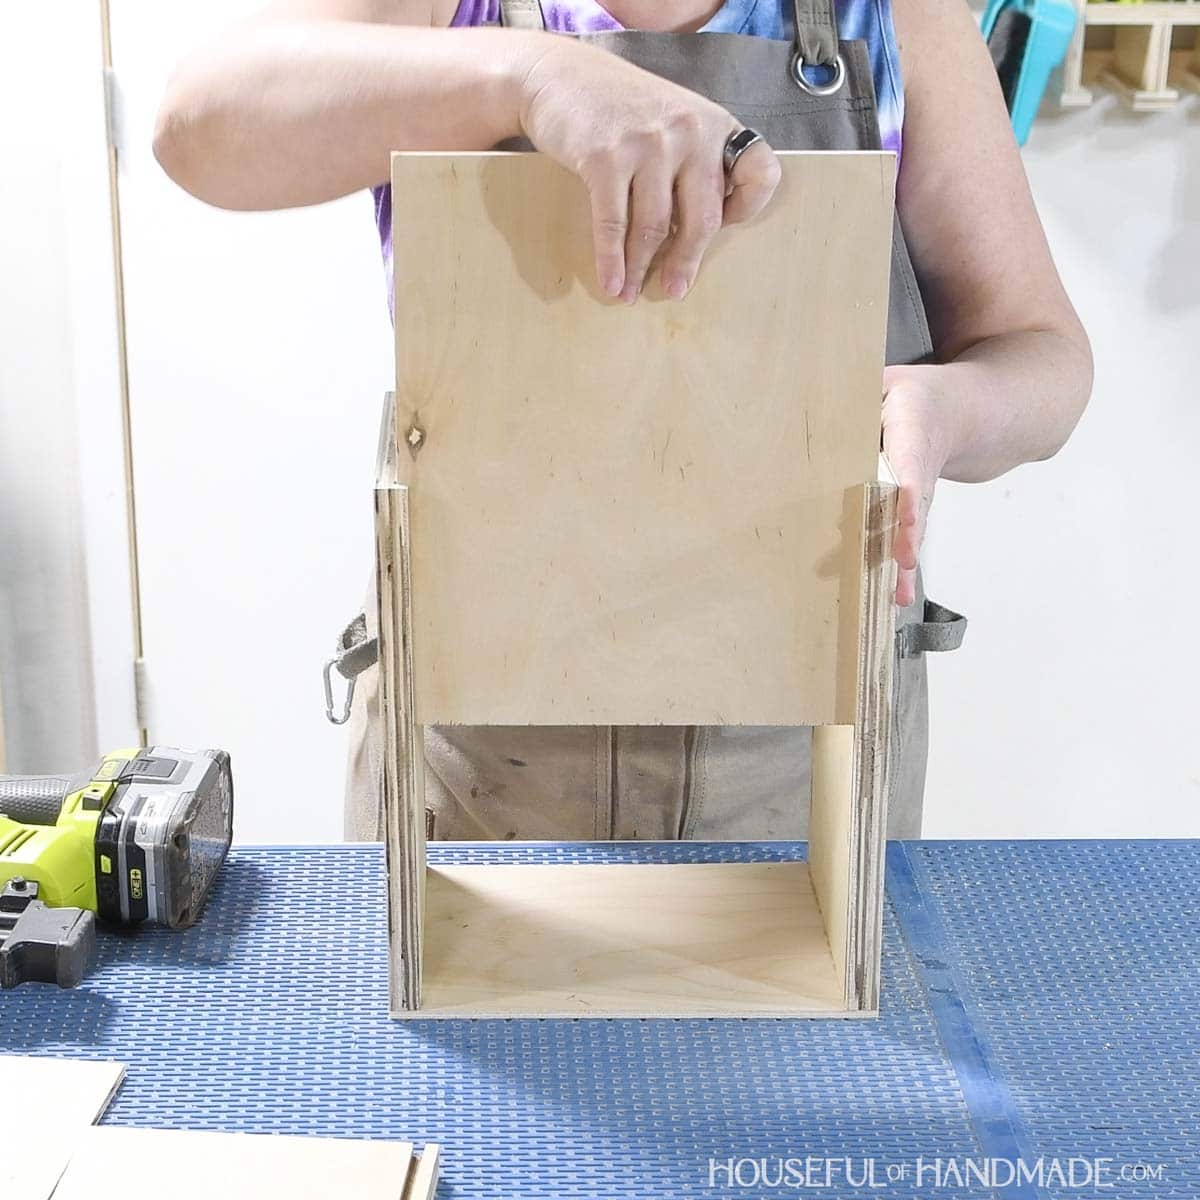
Attach the front to the sides so the top is flush with the bottom of the grooves and it is flush on the outside edges.
Secure with glue and 1 1/4” brad nails. Again, make sure not to put nails into the grooves.
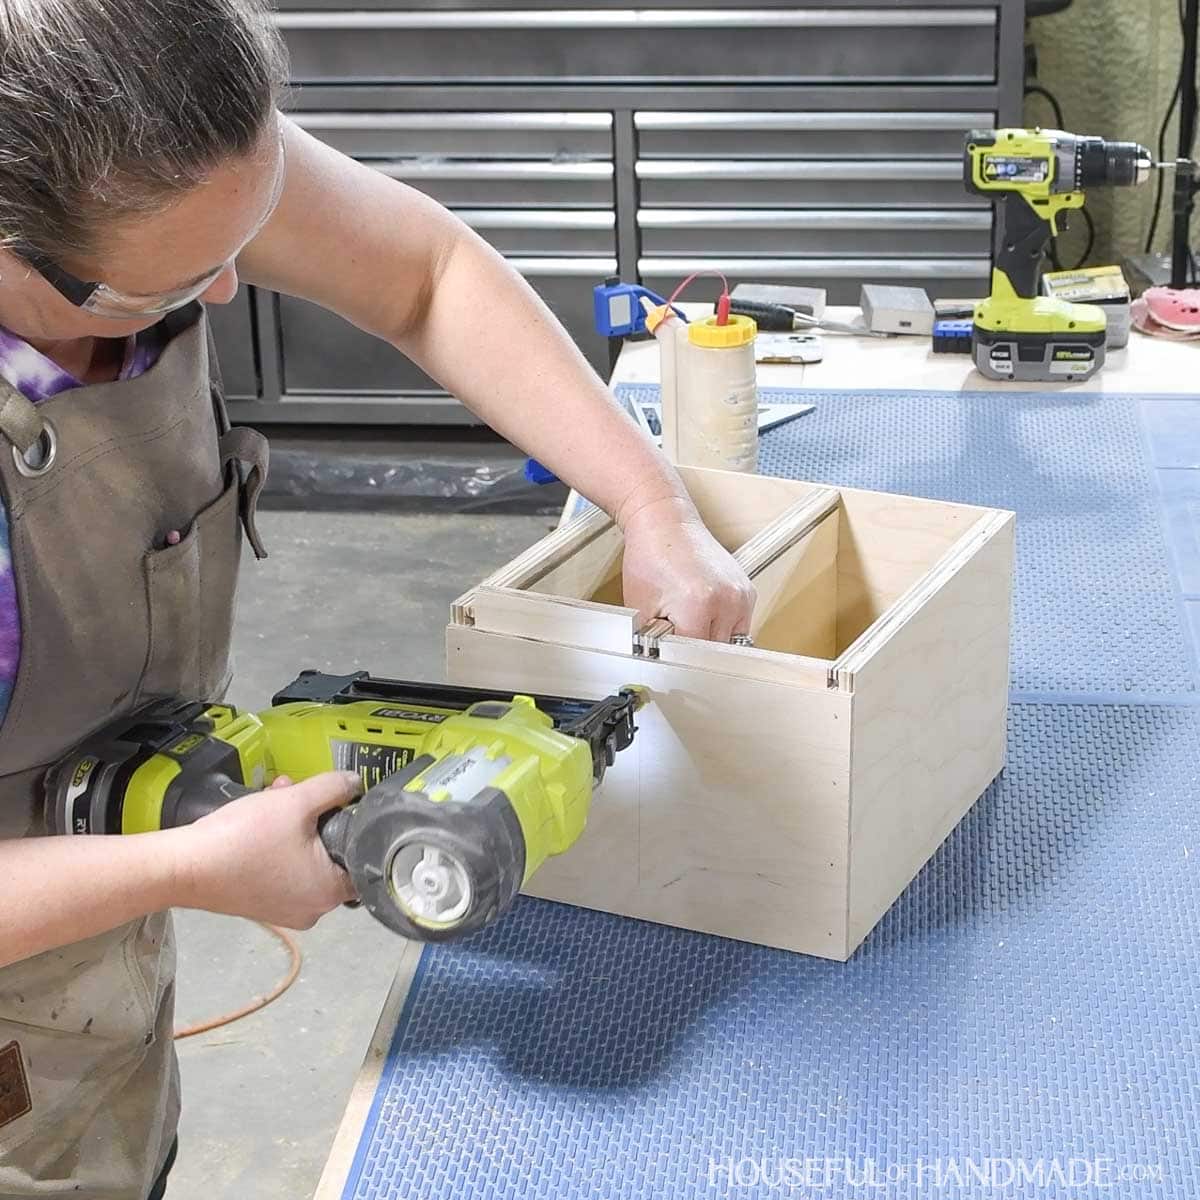
Slide the center pieces into the box according to the diagram in the plans. Line them up so the top back is flush and the front is flush with the bottom of the grooves.
Secure with brad nails (I skipped glue because it would be hard to not get glue everywhere since the boards are snug fitting).
EXPERT TIP:
Cut a couple scraps of plywood to use as spacers. Then insert them in between the side and center to hold the center pieces properly spaced while you secure them.
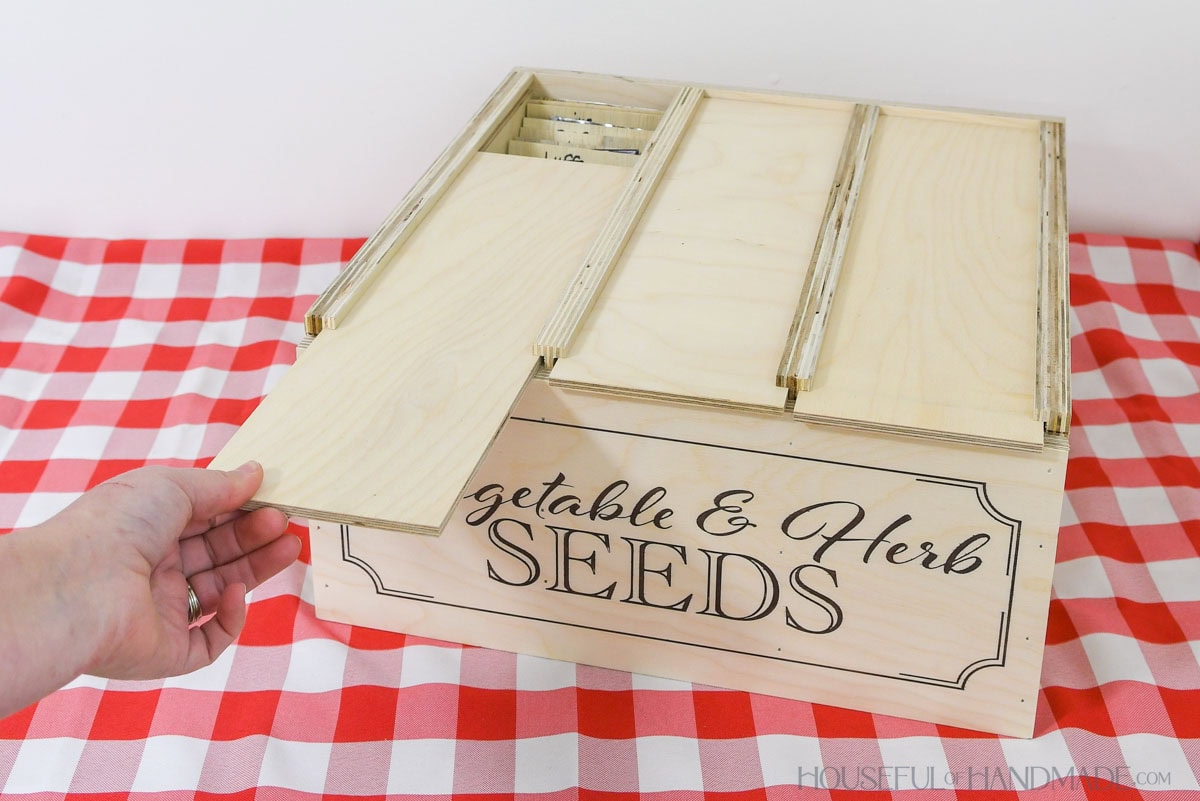
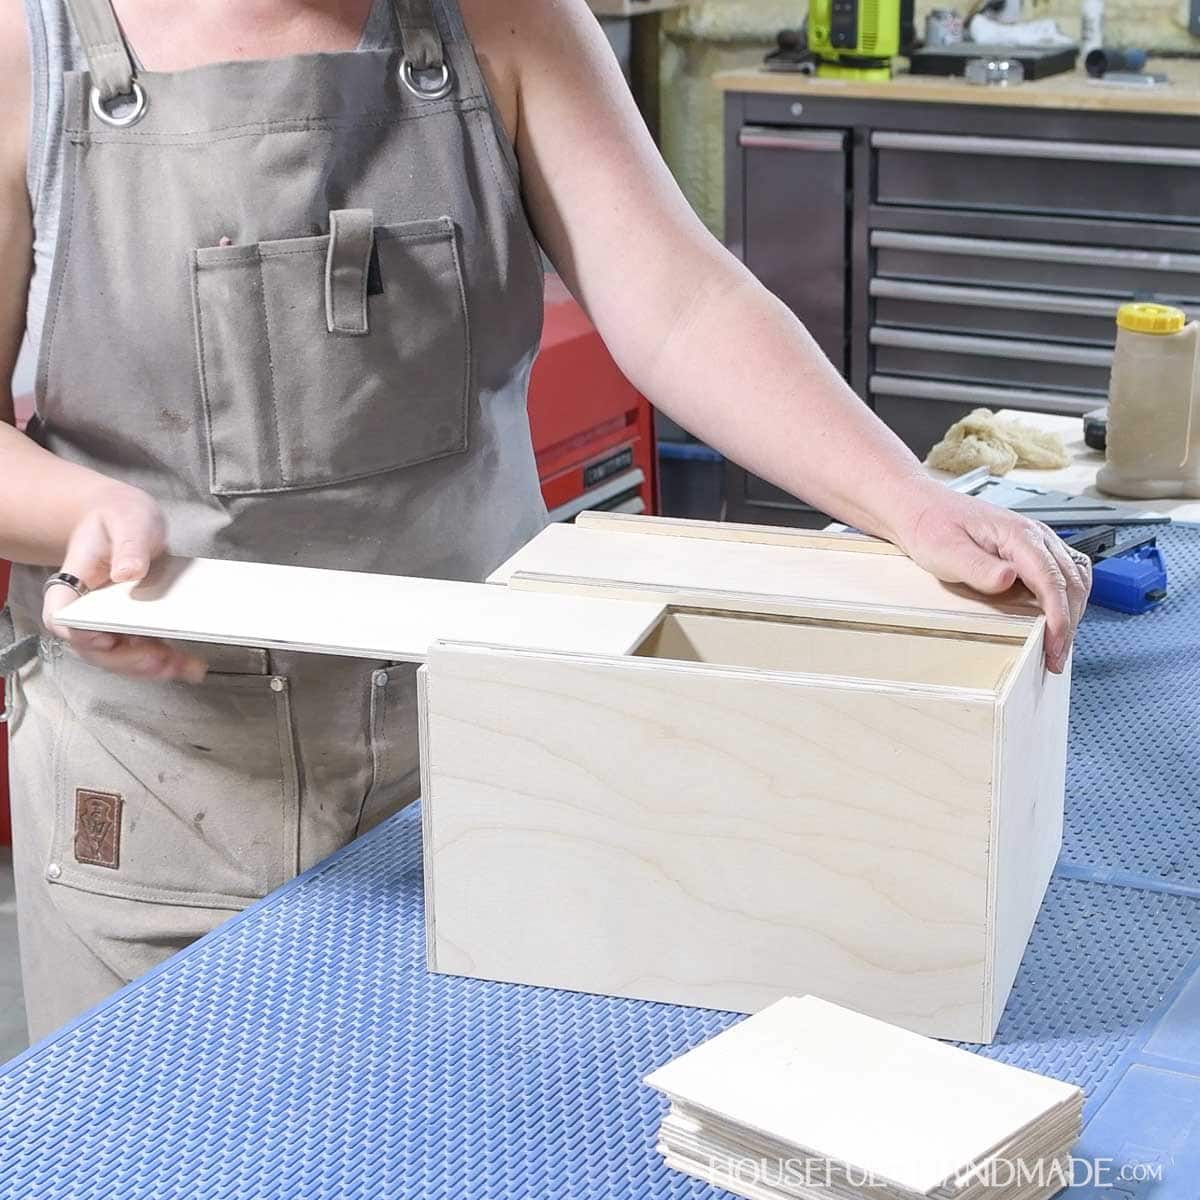
STEP 3- Insert tops & finish
Slide the top pieces into the grooves on the top to close the box. When pressed flat against the back, they will hang over the front to give you a handle to pull it open.
If any of the tops are not sliding in easily, sand the boards until they do.
Sand the finished box.
I chose not to seal mine because seeds need to be kept dry and the unfinished wood will help wick away any moisture that may get on the packets.
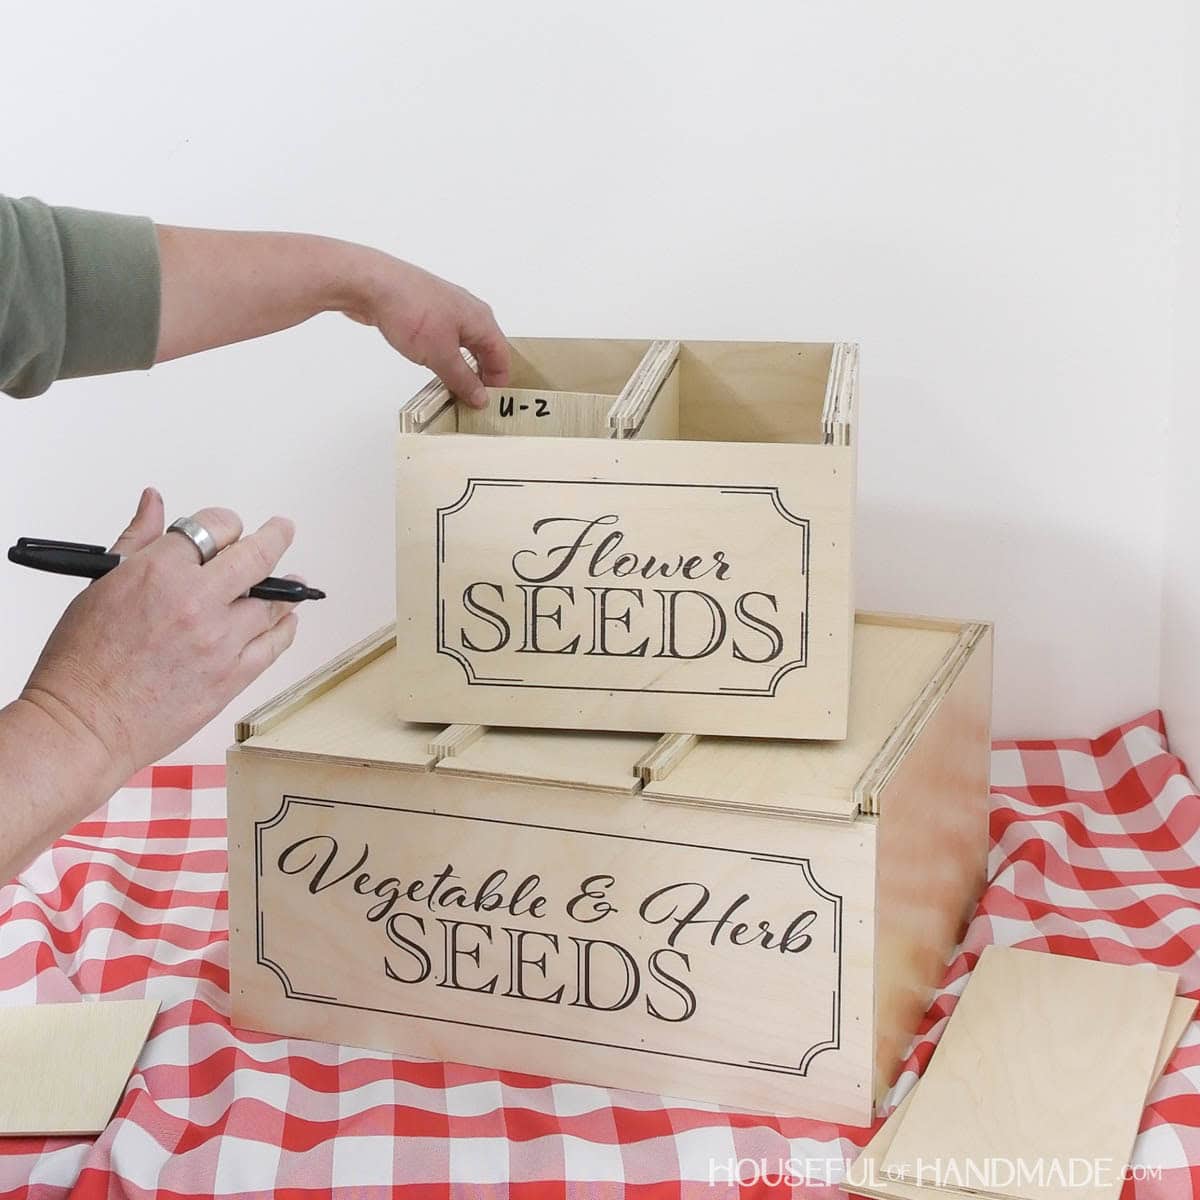
However, I did add a faux laser engraved design to the front to help me keep things even more organized.
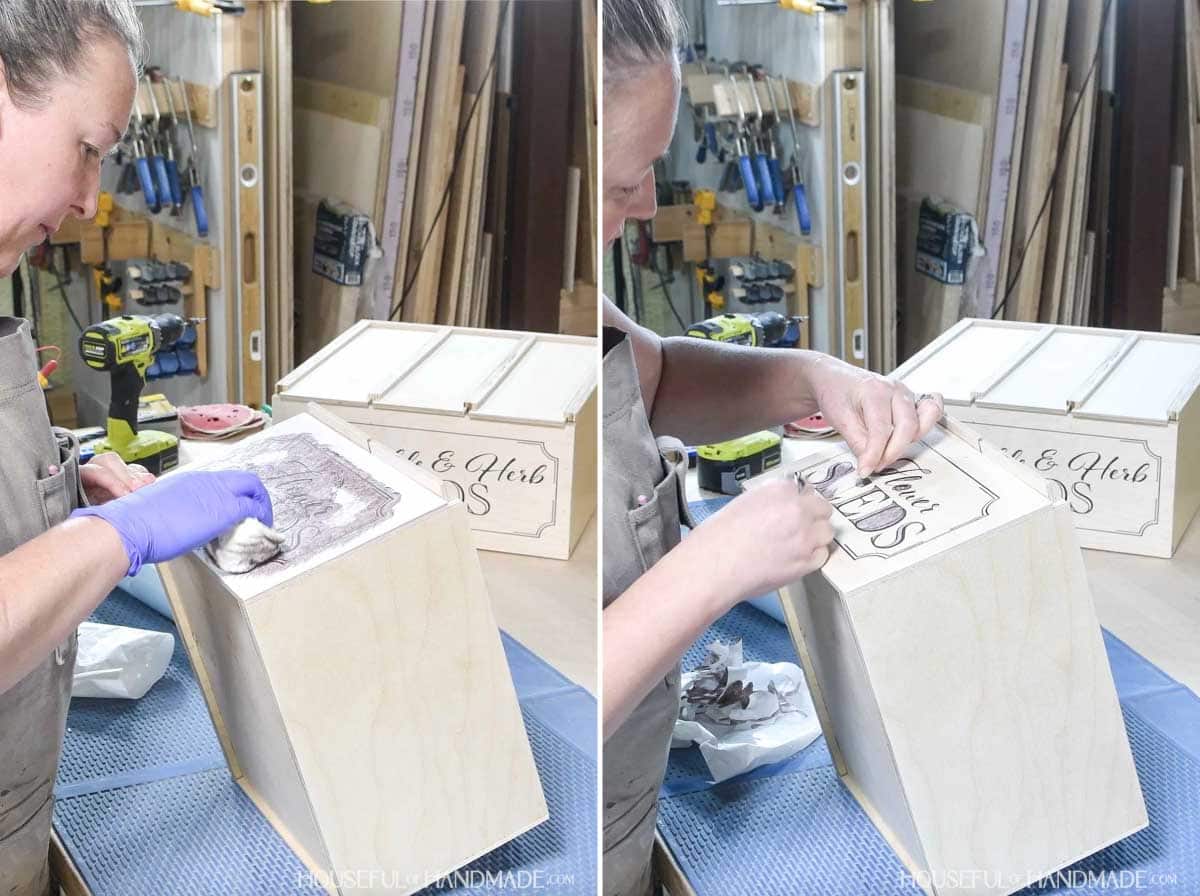
To make dividers for the seeds, cut 4 1/8” x 6 1/2” pieces of 1/8” plywood, chipboard or cardstock.
Then label the dividers on the top 1/2” to make finding your seeds easier.
For my flowers, I labeled the dividers with the alphabet. For the vegetables, I grouped them by seed type (i.e., carrots, tomatoes, lettuces, etc.).
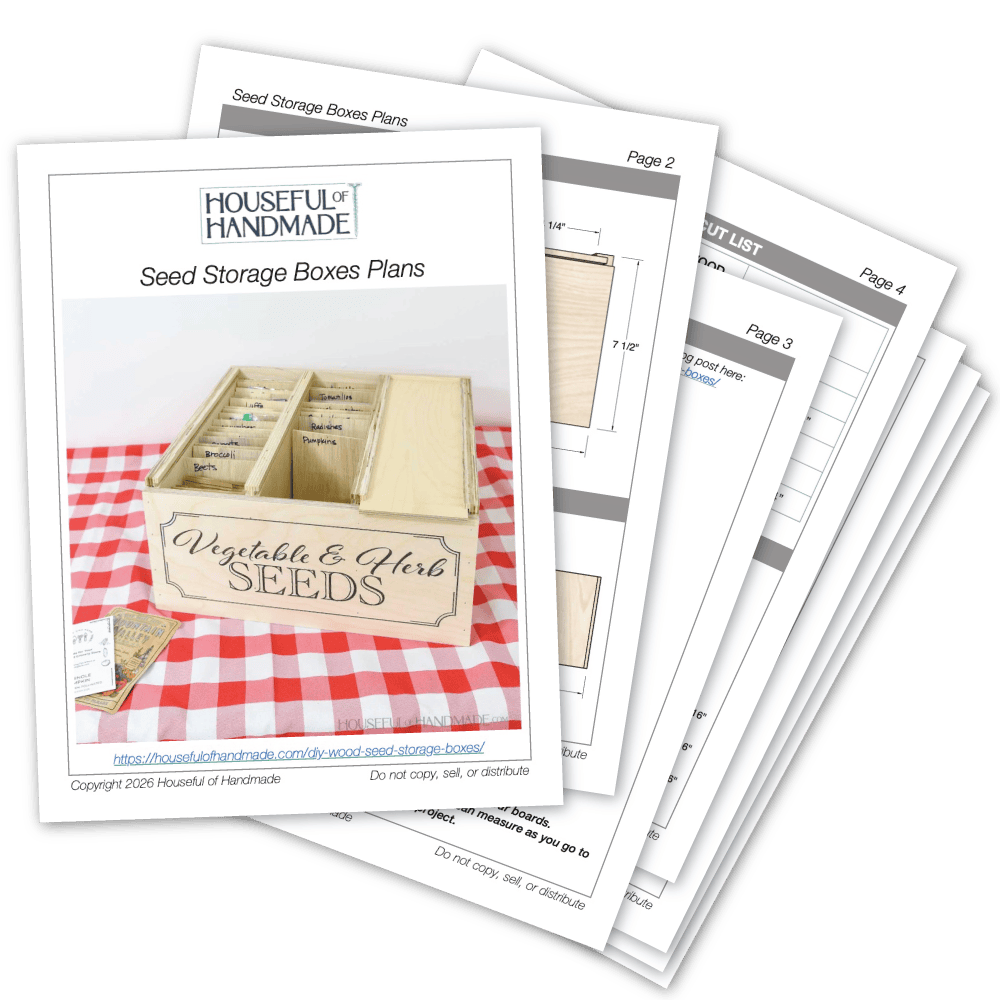
Premium plans include:
- Recommended Tools
- Shopping list
- Easy to read cut list table
- Cut diagrams
- Step-by-step instructions with 3D renderings
- Helpful resources
- BONUS: 3D SketchUp file
You did it!
Now you can organize all your garden and flower seeds and get ready to start planting.
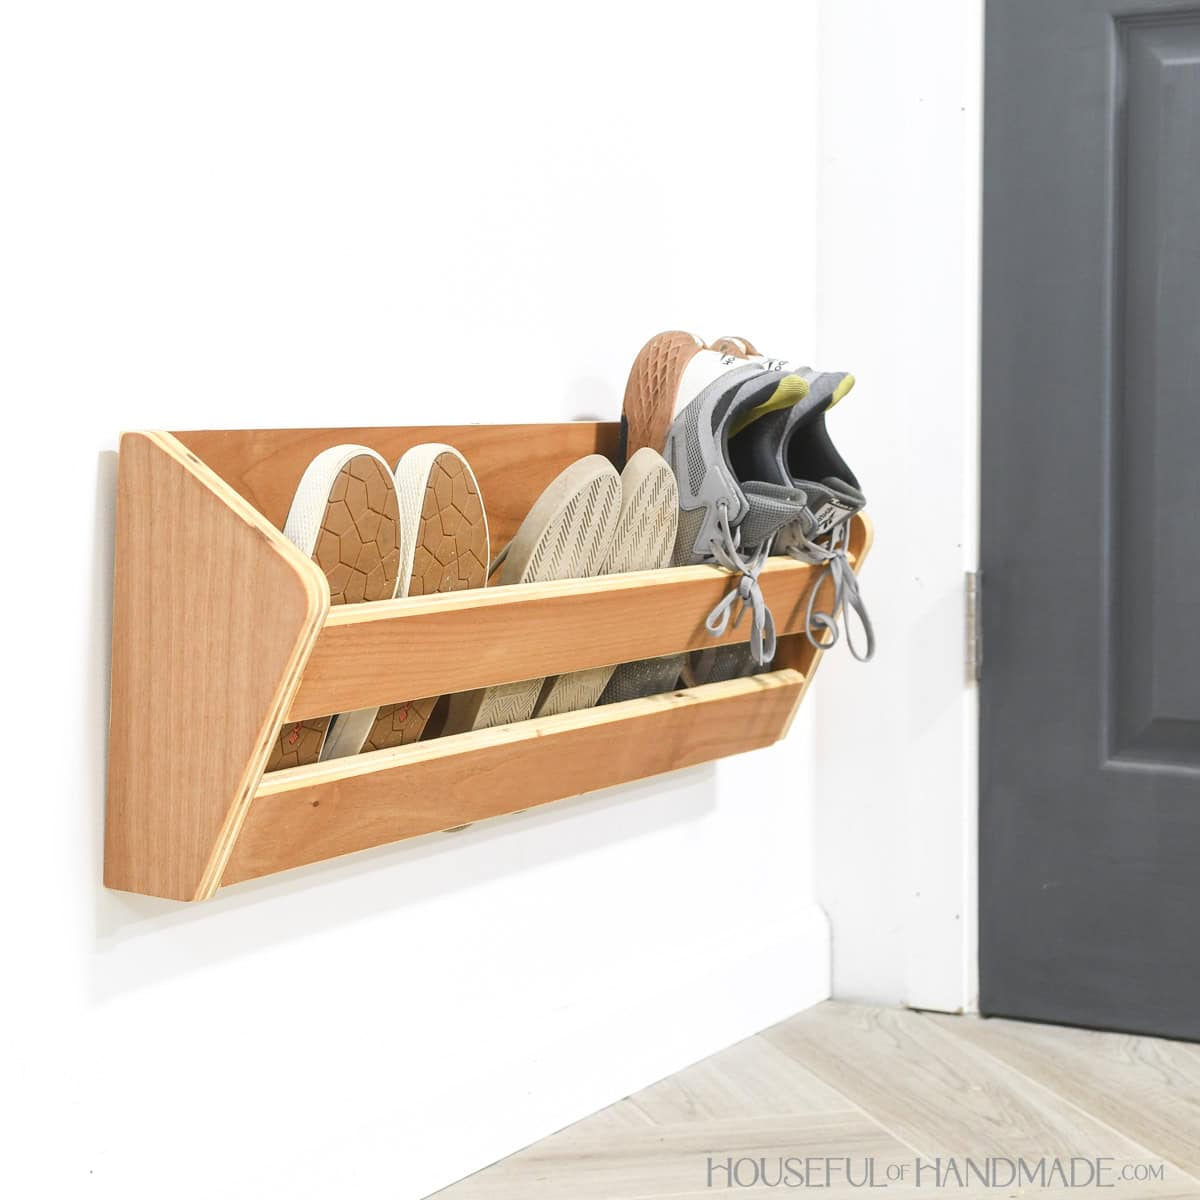
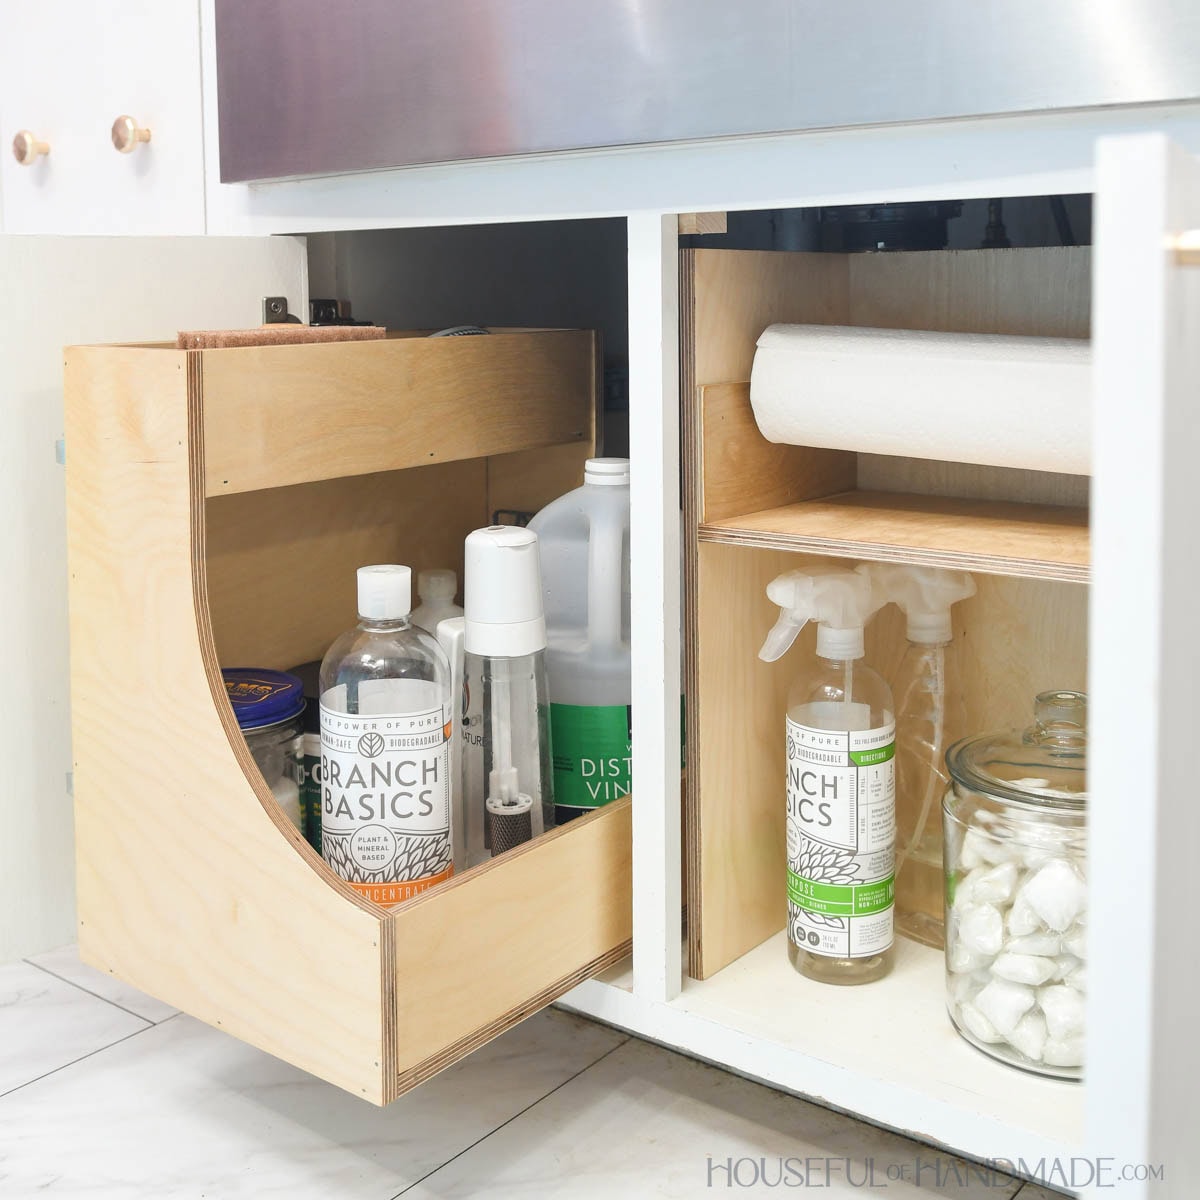
More Plywood Scrap DIYs
This project was part of this month's Plywood Scrap Challenge. My friend Shara from Woodshop Diaries and I have shared new projects built from leftover plywood pieces each week.
I'll share each week's new scrap plywood project below so you can use up your scraps too!


Happy building!
