I must be getting older because sitting outside and watching the birds is one of my favorite relaxing activities.
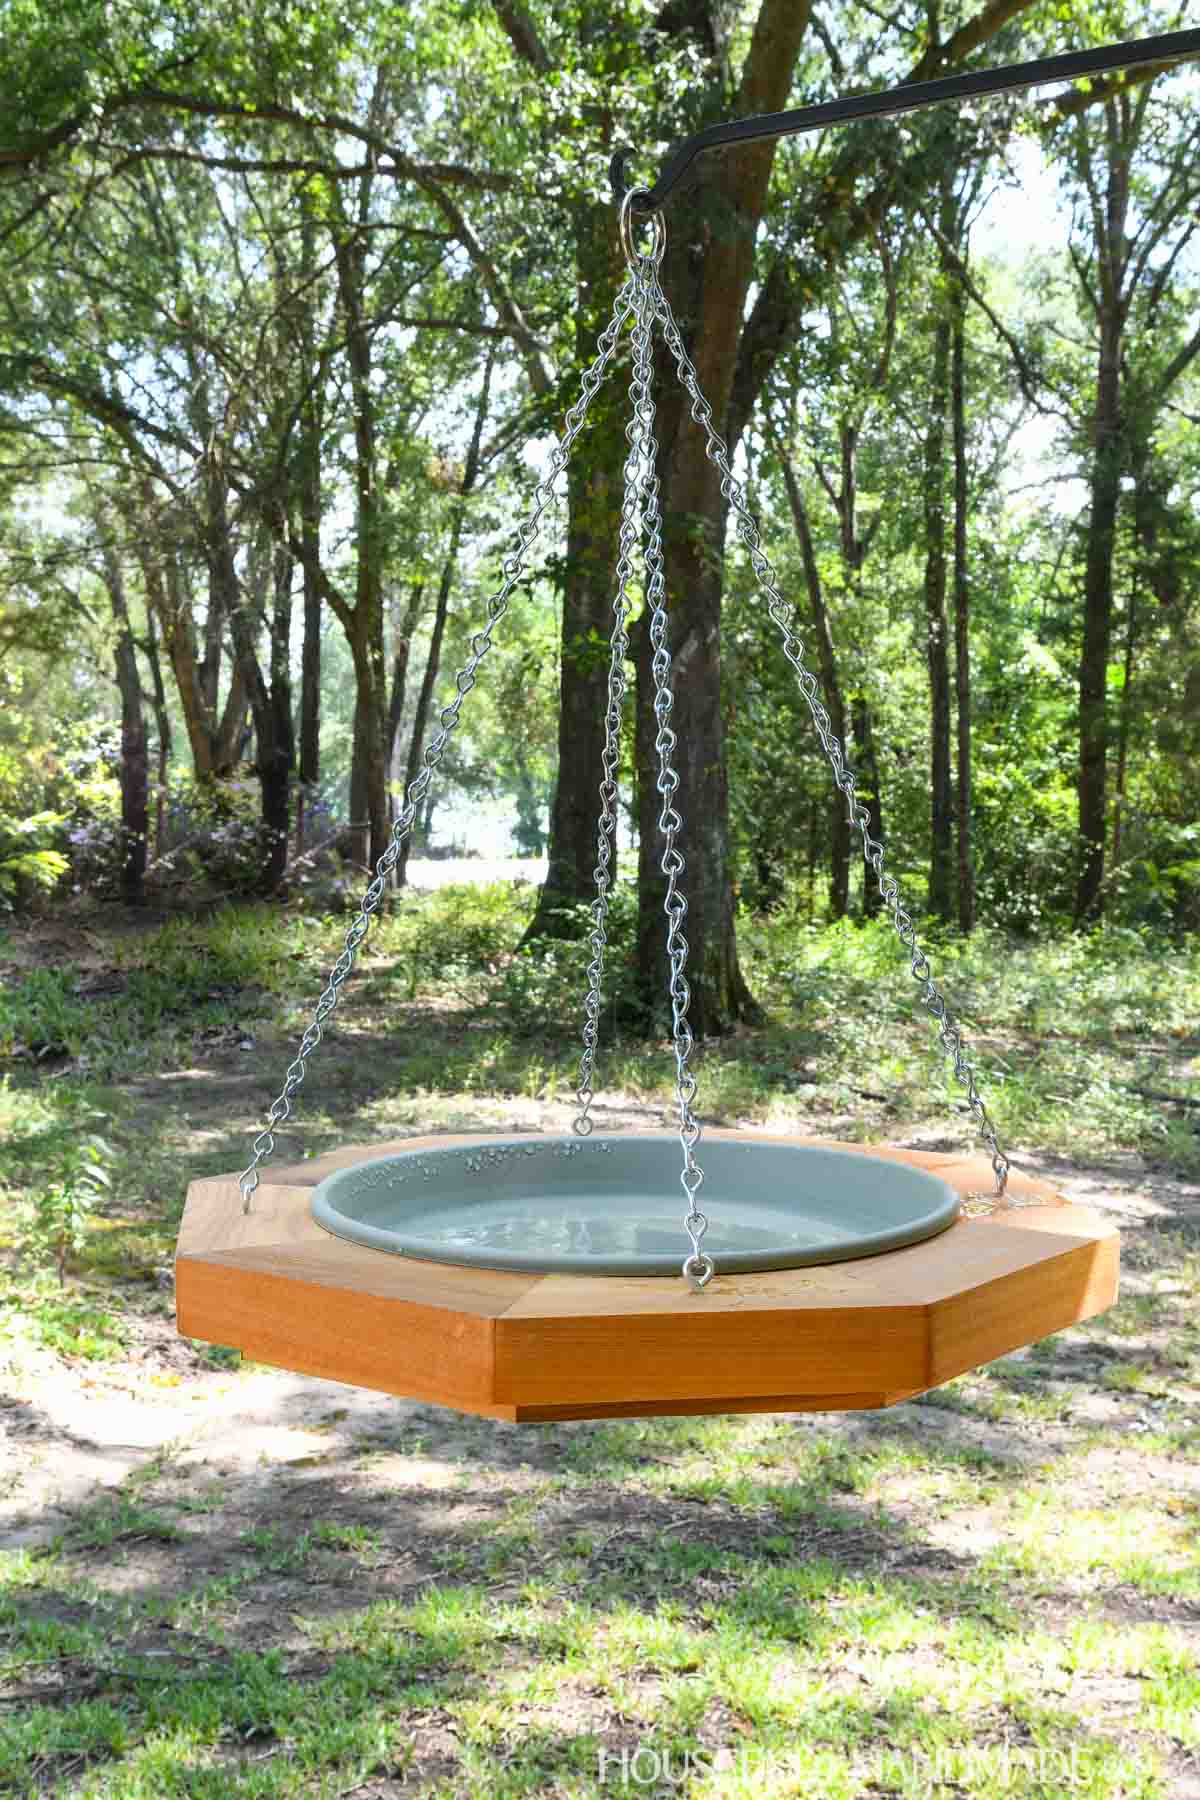
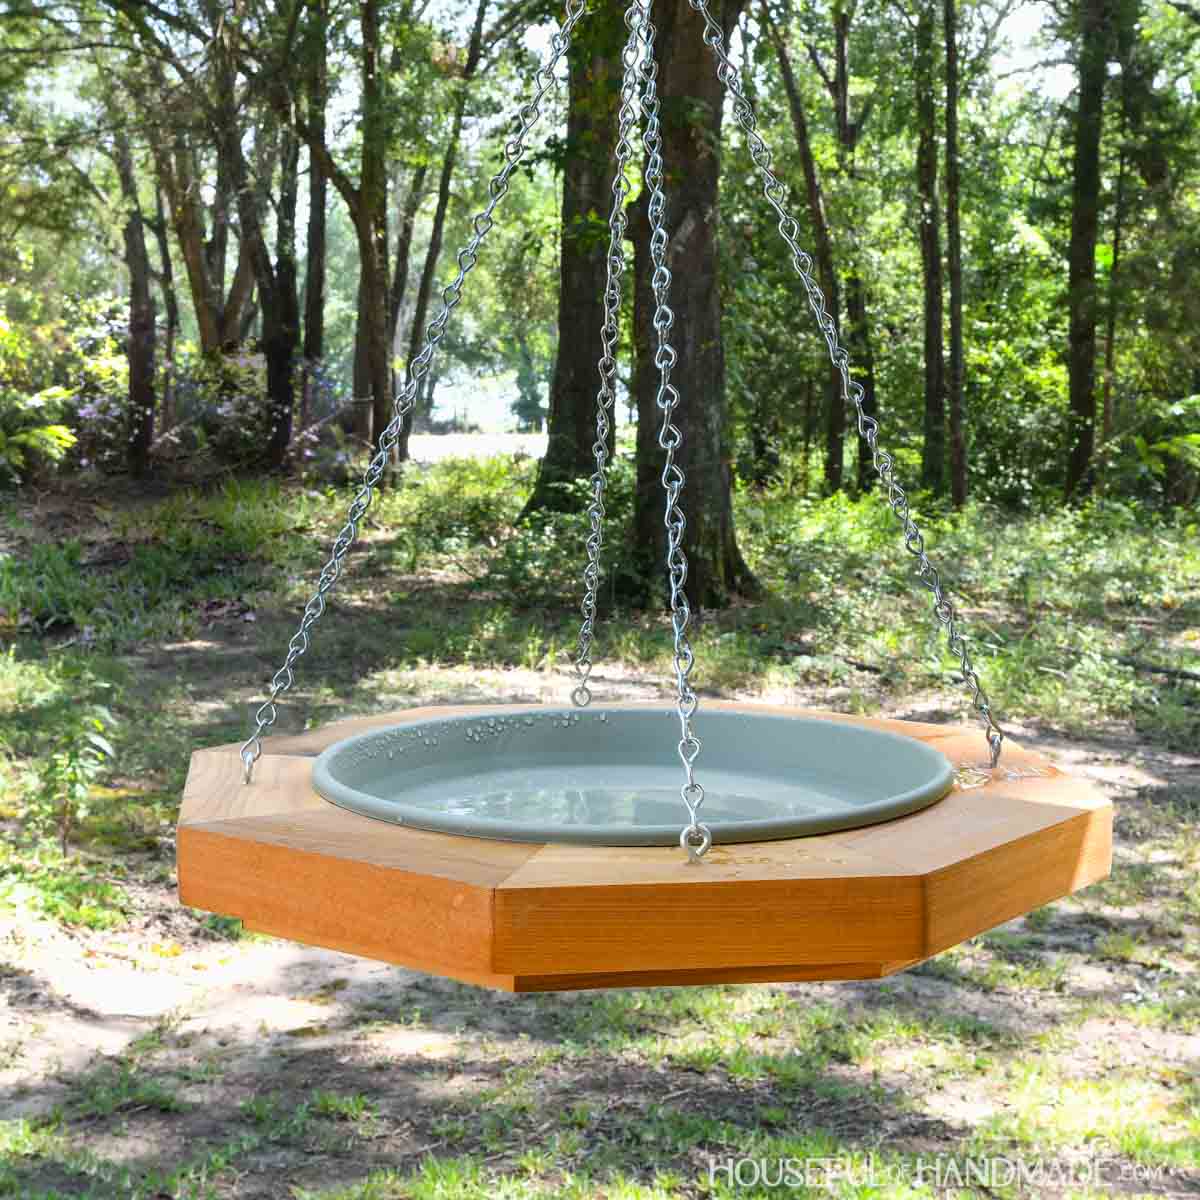
The birds love coming by to eat out of the bird feeder, but hopefully they will stay longer now that I added this beautiful hanging birdbath too!
It’s the perfect place for the birds to splash around. And I get to watch!
This post may contain affiliate links. As an Amazon Associate I earn from qualifying purchases. Click here to read my full disclosure policy.
But the best part is this DIY hanging birdbath was built entirely from scrap wood. I love making something beautiful for the yard from trash!
Bird Bath from Wood Scraps
I had a pile of small 2×4 scraps left over from these modern Adirondack chairs and this octagon side table. So they were perfect for building another fun outdoor project.
This bird bath is the perfect scrap wood project since all the pieces are less than 8″ long.
So save up the cut offs, no matter how small, from your next project. Or you can buy a 5′ long board and get to building today!
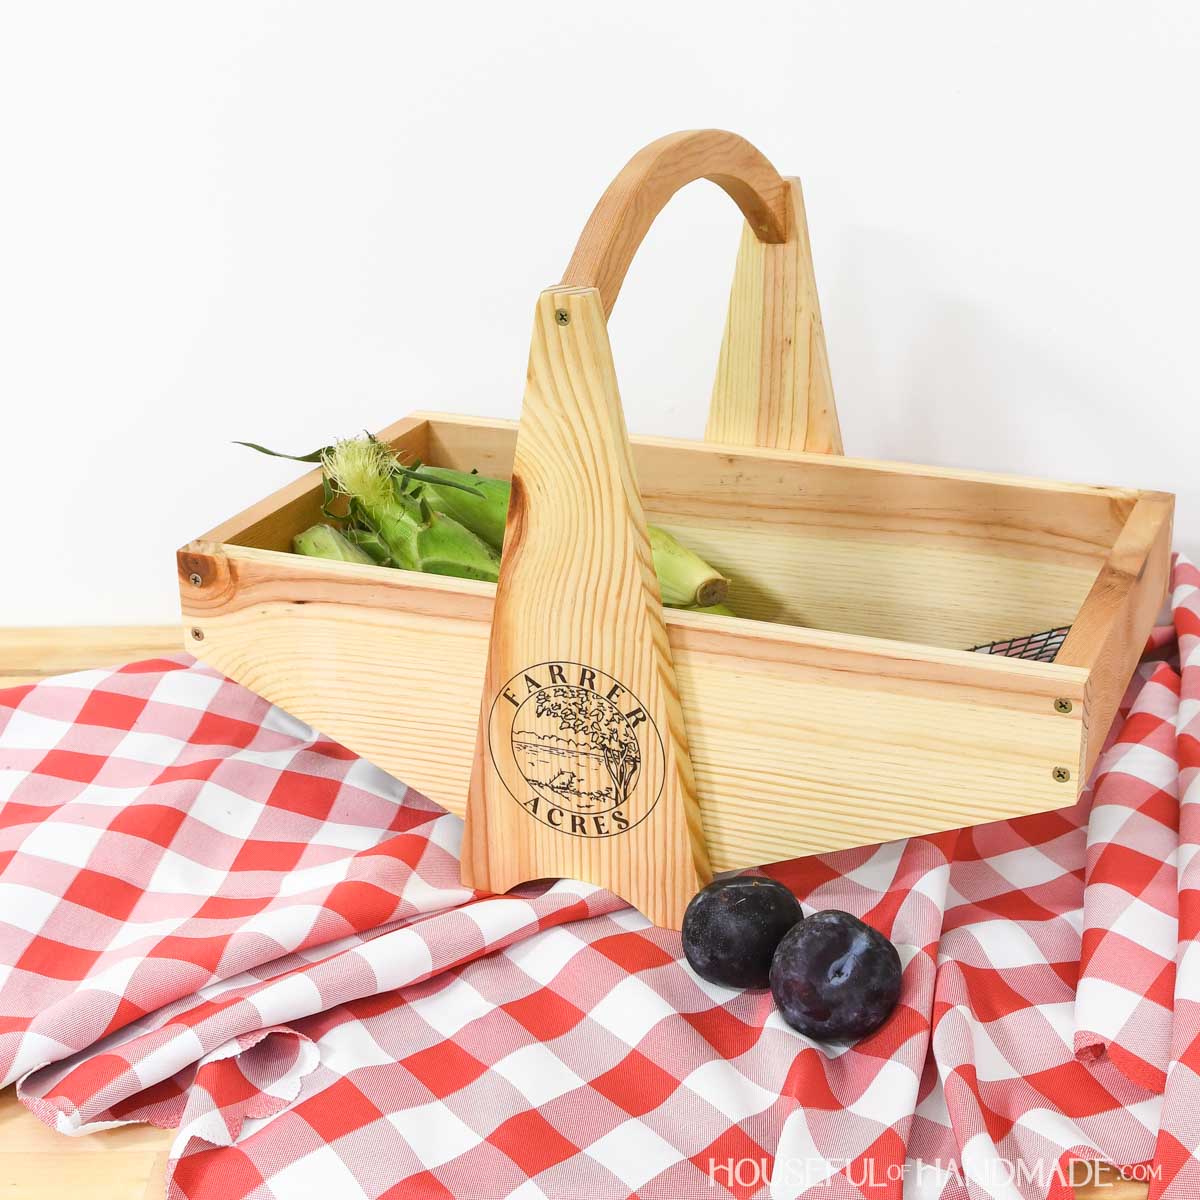
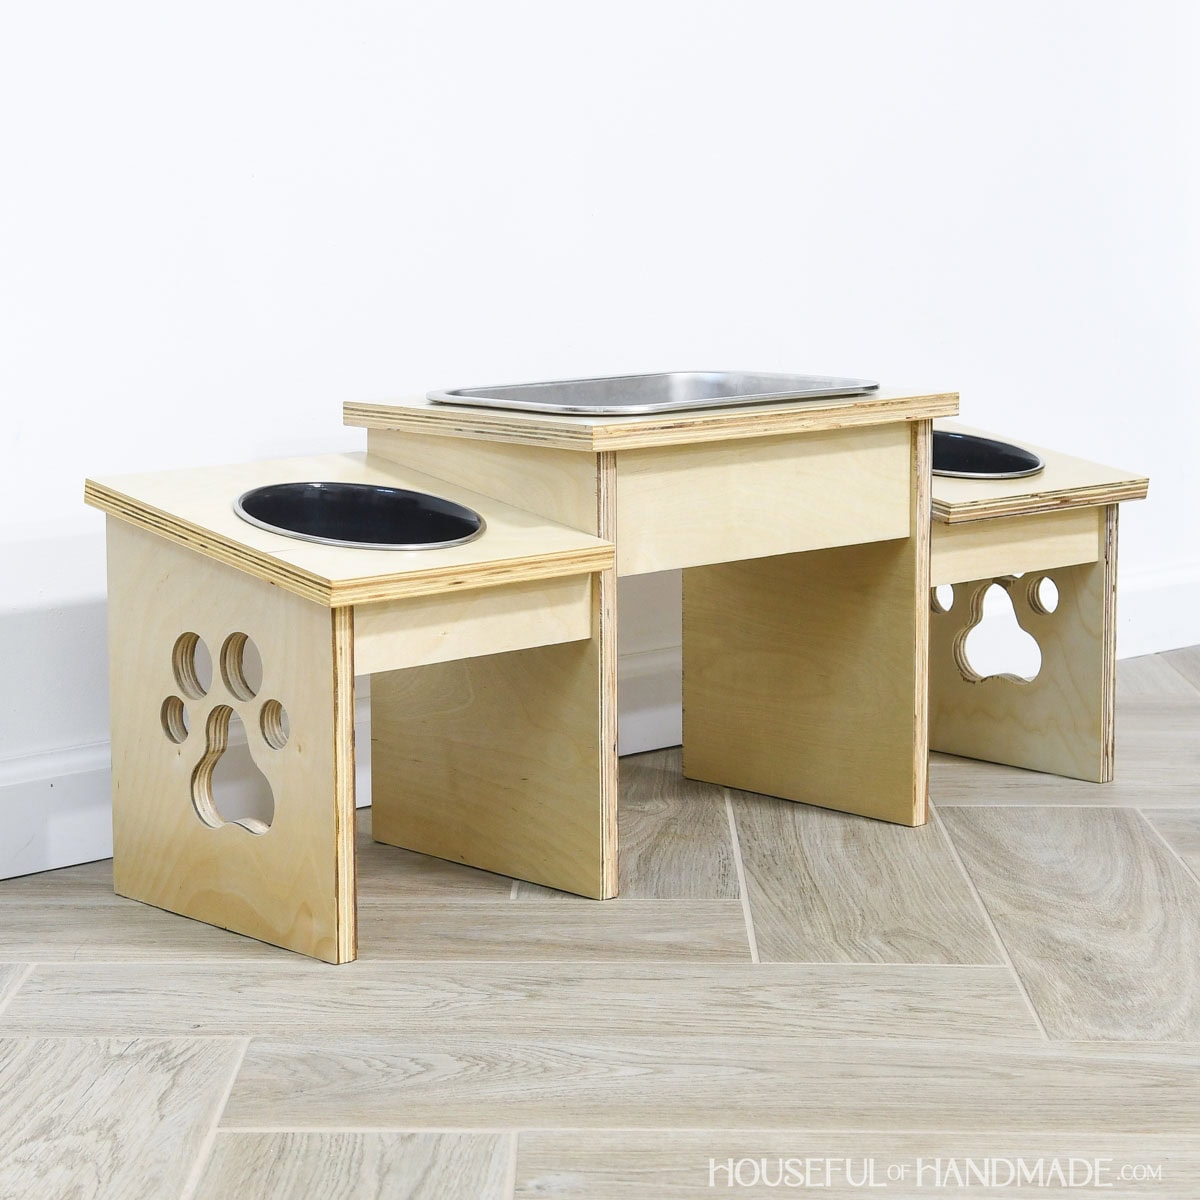
I built this project as part of Scrap Wood summer. Make sure to check out all the other scrap wood projects shared below and come back every Tuesday in August for more.
How to Build a Hanging Birdbath
Tools & Materials
Recommended Tools:
- Miter saw
- I recently upgraded to this sliding miter saw (watch for it to go on sale), but previously used this inexpensive miter saw that I loved.
- Jig saw
- Pocket hole jig
- Drill
- Impact driver (optional, but I love not having to switch bits with the drill)
- Brad nailer
- Stapler
- Speed square
- Multi-mark measuring tool
- Face clamps
- Sander
Supplies:
- Wood products
- (1) 2×3 or 2×4 board, 4-5′ long
- (1) 1×2 board, 4-5′ long
- 2 1/2″ exterior pocket holes screws
- 1 1/4″ brad nails
- 5/8″ staples
- Outdoor wood glue
- 1/2″ welded hardware cloth
- (4) 1 3/8″ screw eyes
- (8′) #12 light duty chain (rated for 29lb or more)
- (1) 1 3/8″ steel O-ring
- 10″ or 14″ plant saucer
- Outdoor wood sealer or paint
Overall Dimensions
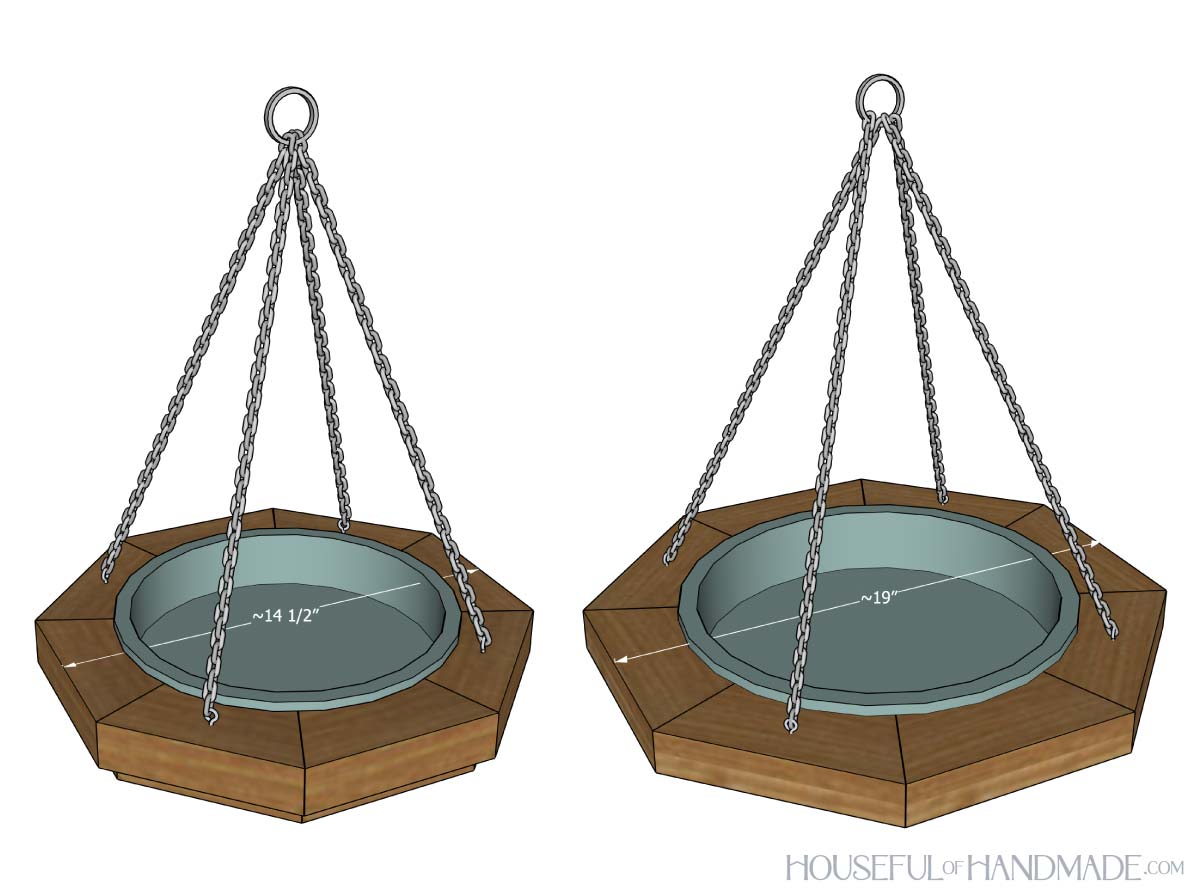
I created 2 different plans for this birdbath build.
- The larger one is built from a 2×4 board and is ~19″ across with a 14″ saucer inside.
- The smaller one is built from 2×3 boards and is ~ 14 1/2″ across with a 10″ saucer inside.
Cut List
Cut out the pieces according to the easy-to-read table in the PDF plans.

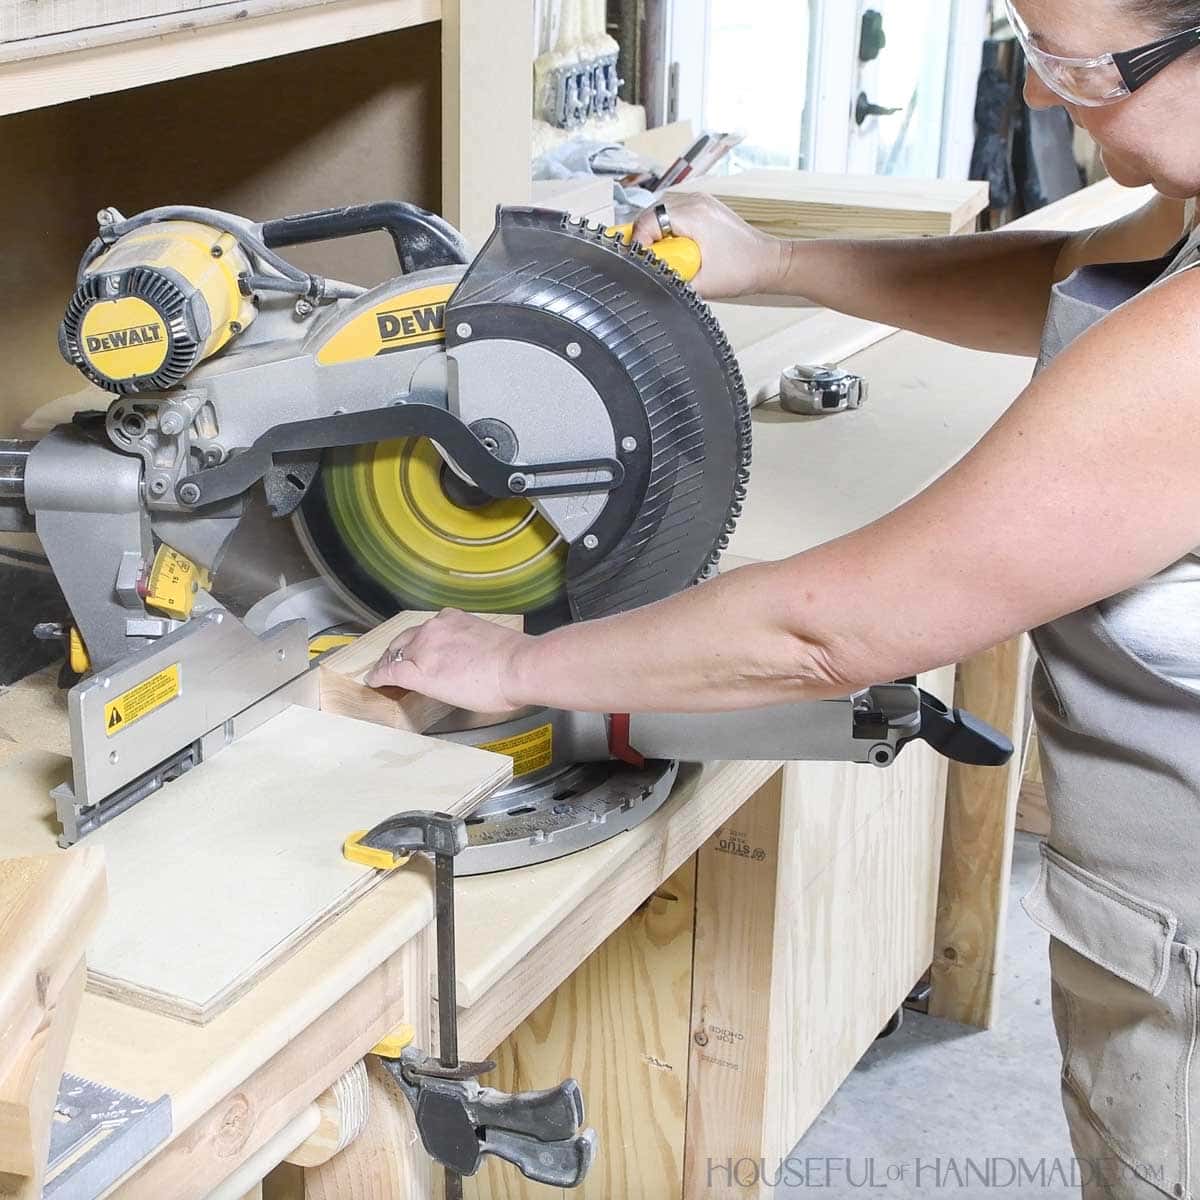
The pieces are all cut at a 22.5 degree angle so they angle toward each other. Refer to the cut diagram in the plans for pictures of the angled cut.
EXPERT TIP:
I like to set up a stop on my miter saw when I need to cut a lot of pieces the same length. This can be as simple as clamping a speed square or scrap board next to saw.
STEP 1- Build an octagon
Set your pocket hole jig to drill holes in 1 1/2″ thick material.
Drill 2 pocket holes on one side of each top octagon board. Make sure it is the same side on all the boards.
EXPERT TIP:
Make sure not to place the pocket holes too close to the inside of the board or the screws could poke through the inside of the octagon. Space them closer to the back to be safe.

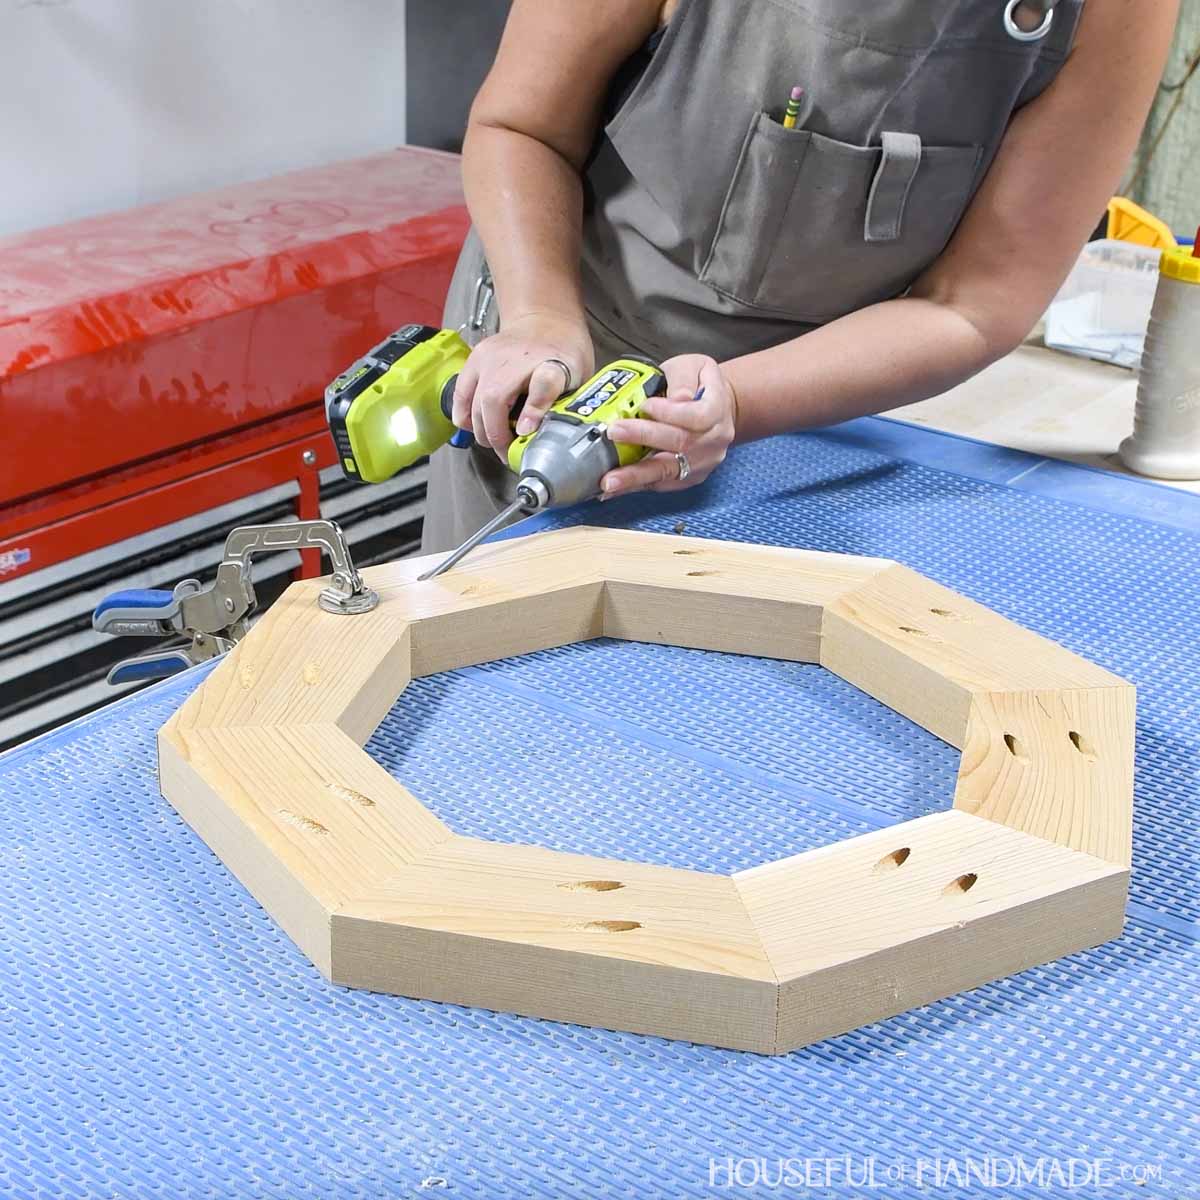
Add glue to the seam of two boards.
Use a face clamp to hold it in place while you secure them together with 2 1/2″ pocket holes screws.
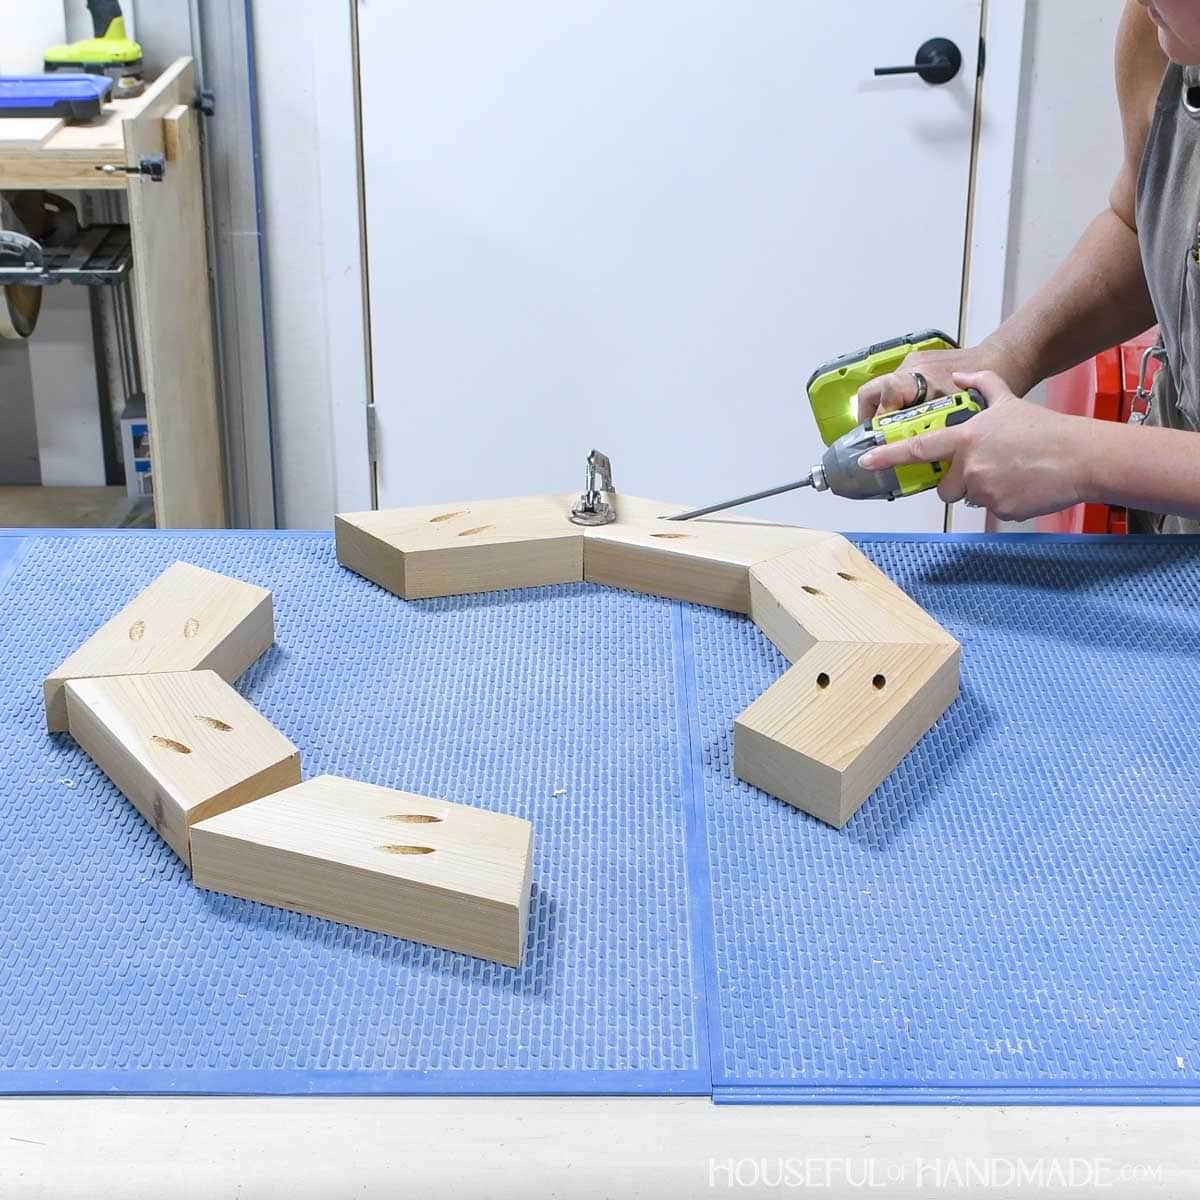
Repeat all the way around until all the pieces are attached to each other creating an octagon.
To get a perfect fit without any gaps, I recommend only cutting and attaching the first 7 octagon pieces to start.
Then lay the remaining 2×4 piece under the octagon where the 8th piece will go. Trace the edges of the boards next to the opening.
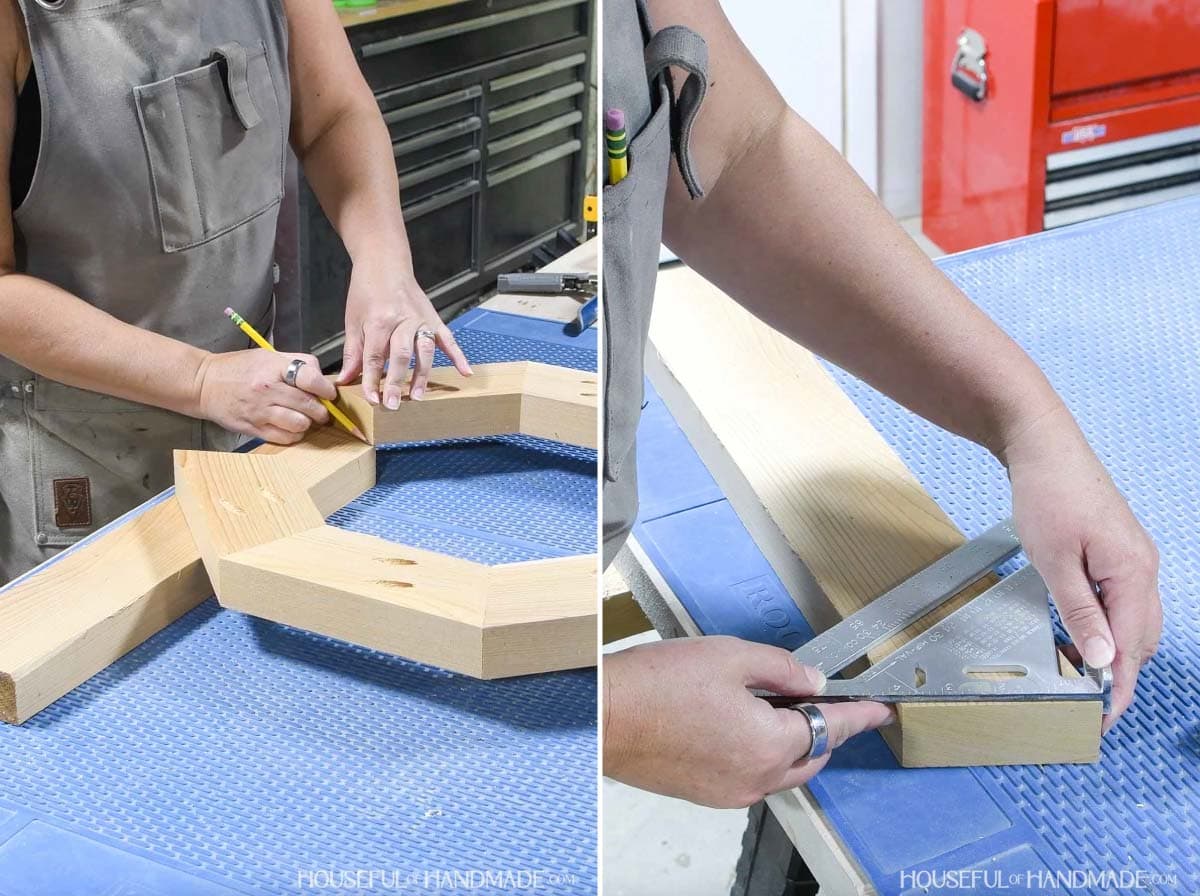
Now you can cut this piece (the angles may have to be adjusted to match your lines).
I used my speed square to determine the exact angle to set my miter saw to to make the cut.
Add pocket holes to the 8th piece and secure it to both sides of the octagon for a perfect fit.
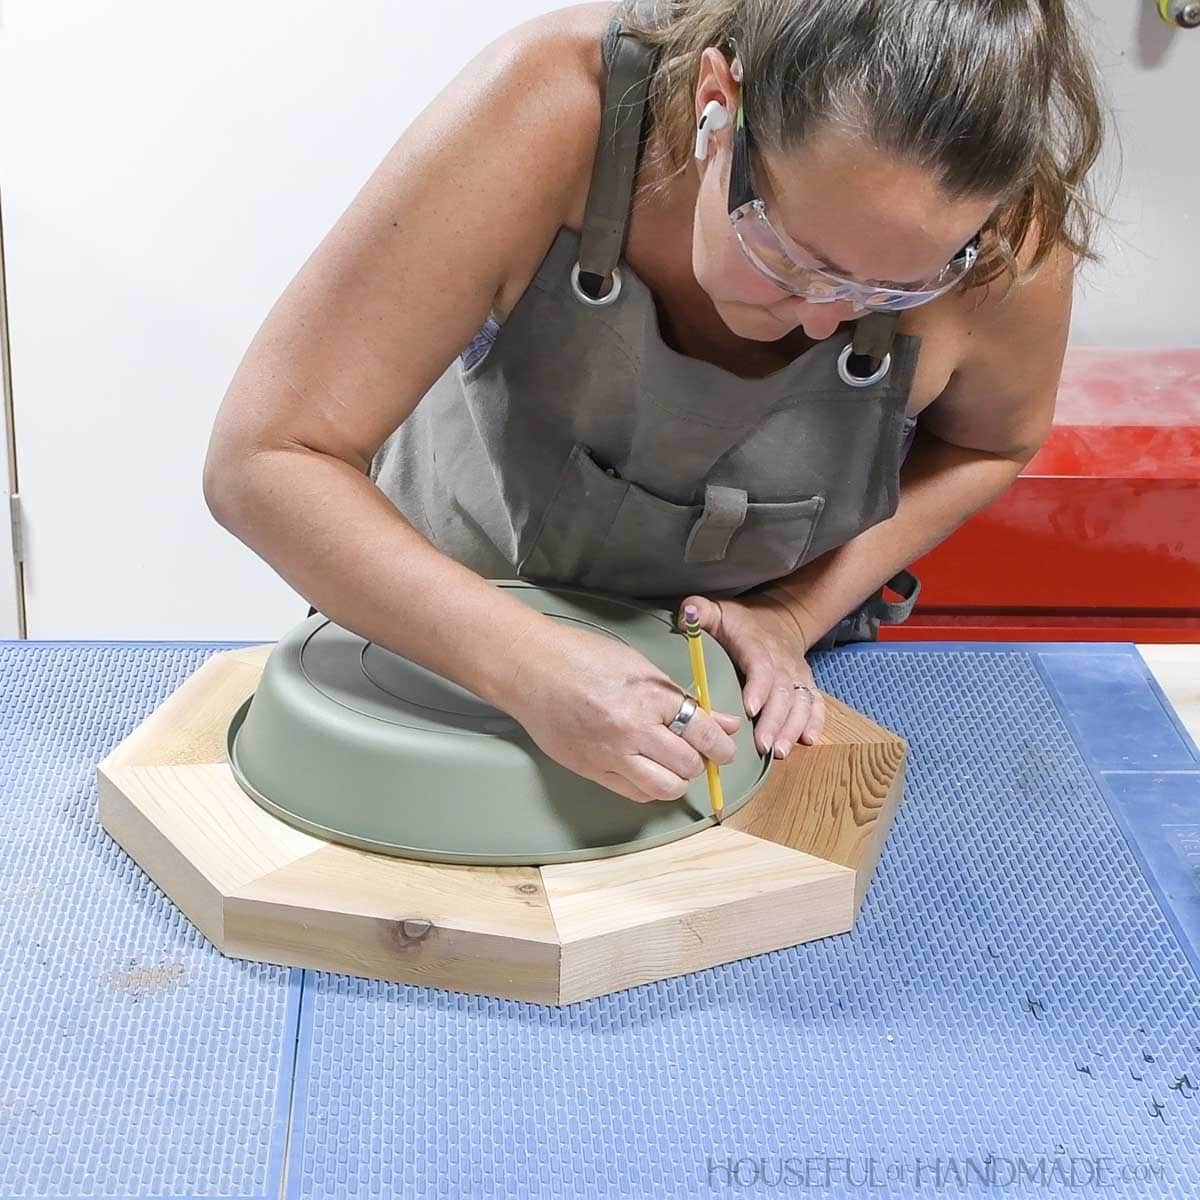
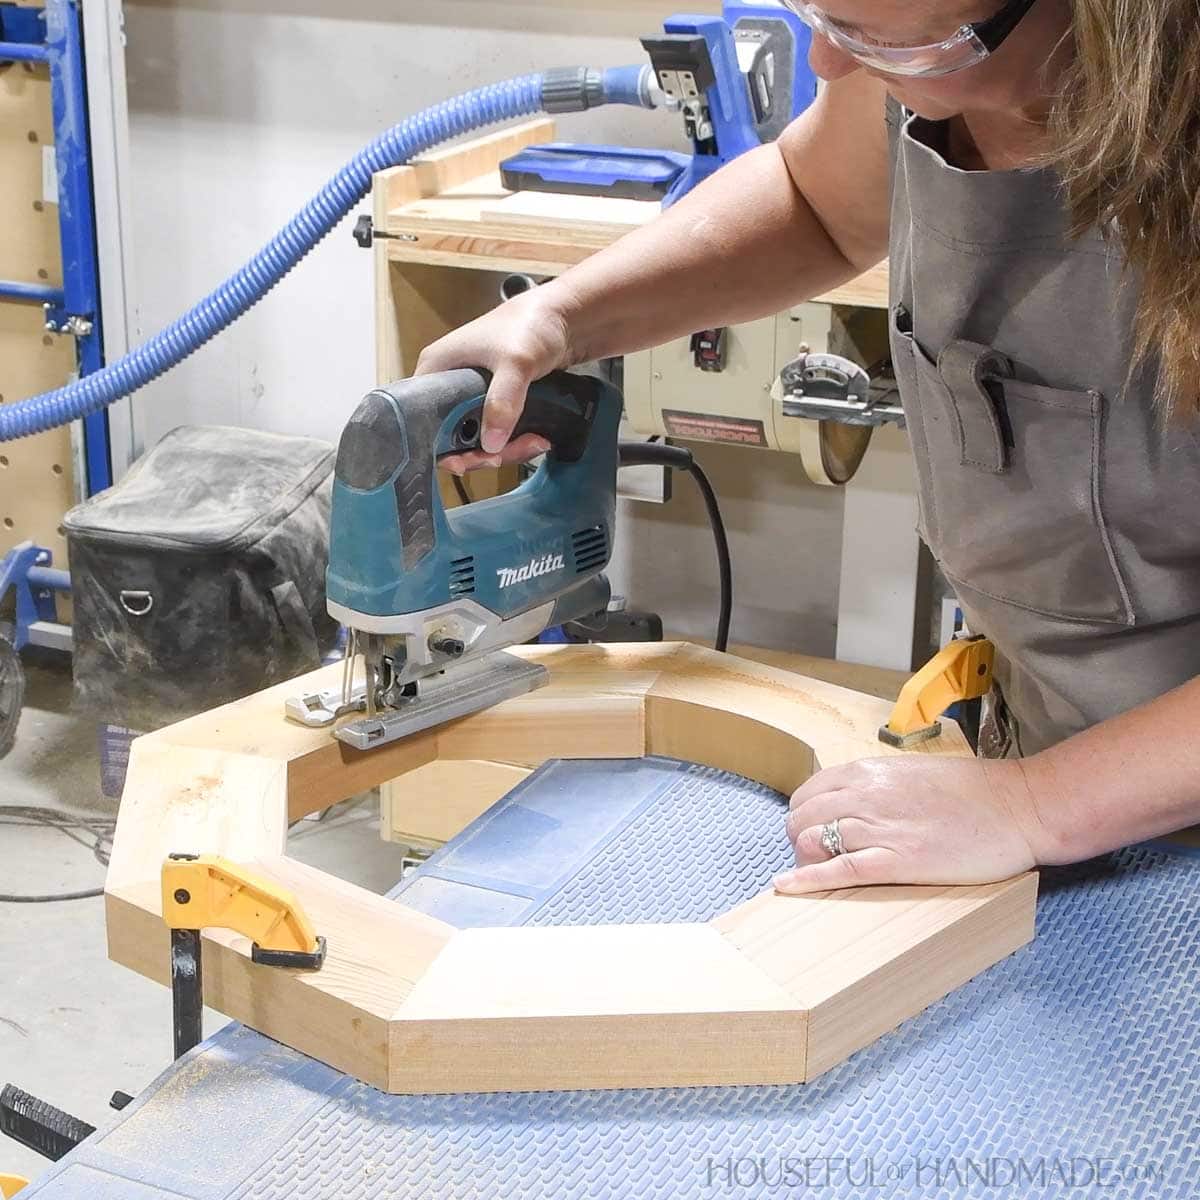
STEP 2- Cut a circle
Measure the diameter of the plant saucer under the lip. Draw a circle on the inside of the octagon to match.
For my saucer, I only had to cut the circle between the seams. From seam to seam was the same measurement as my saucer.
EXPERT TIP:
Use the perimeter of the saucer to draw the circle shape between each seam.
Then cut the circle out of the center with a jigsaw.
Test fit the saucer in the hole and adjust as needed. You want the lip to sit on the top of the boards.
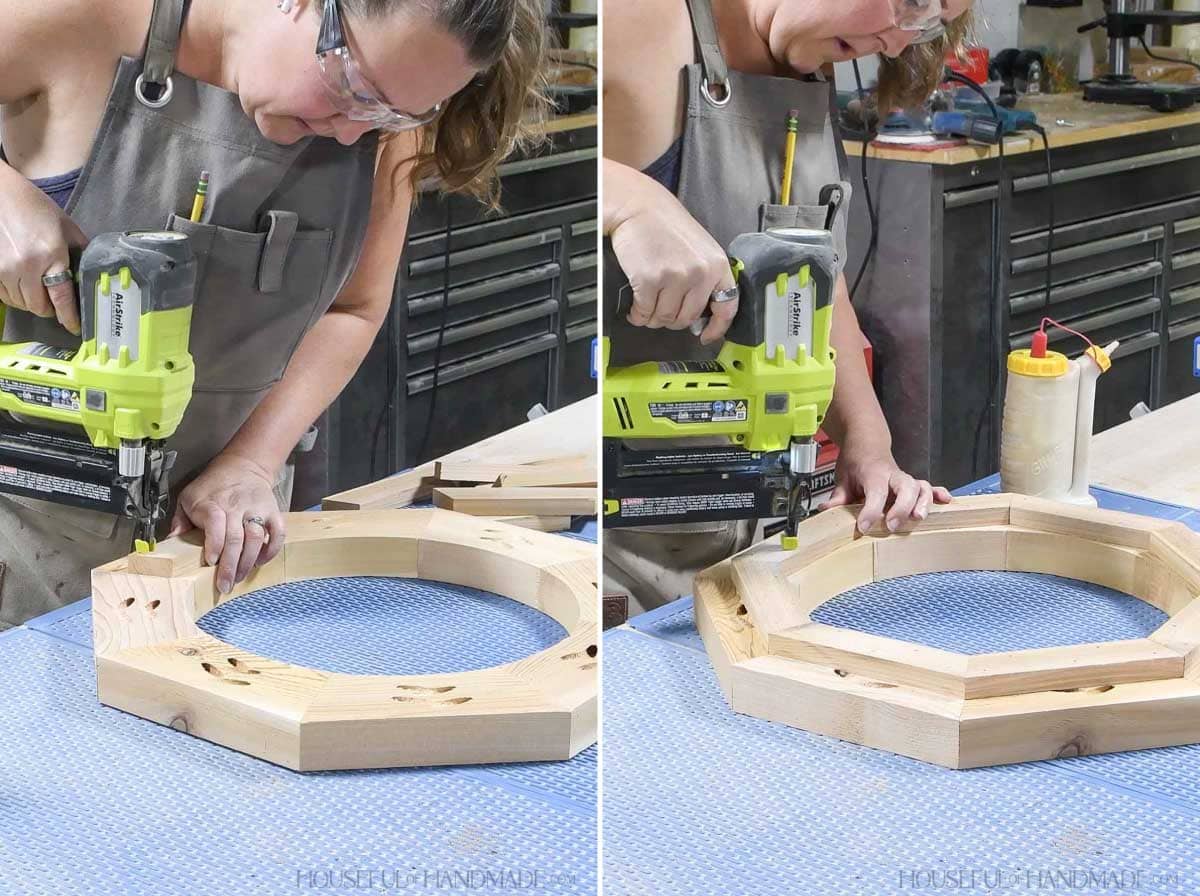
STEP 3- Add lower support
Using glue and 1 1/4″ brad nails, attach the lower octagon pieces to the underside of the finished top.
Line up the angled edge of the lower octagon pieces with the seams in the top as you attach them.
If they are slightly off, don’t worry too much, they are well hidden underneath the birdbath or feel free to trim the last one to fit like you did the top.
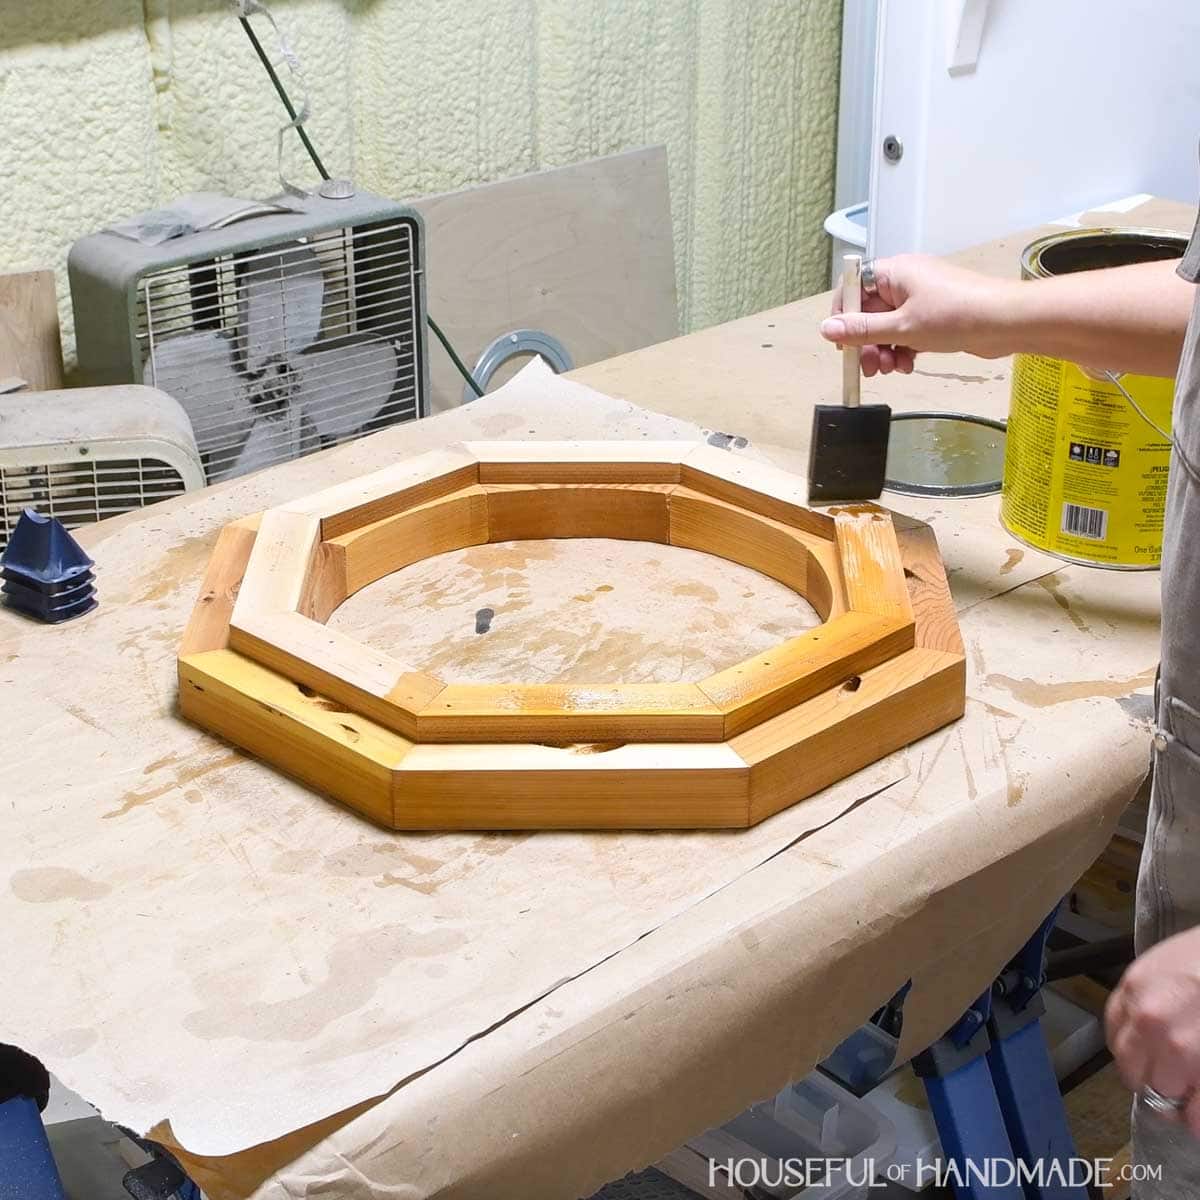
Sand and finish the birdbath. Make sure to use outdoor paint or sealer.
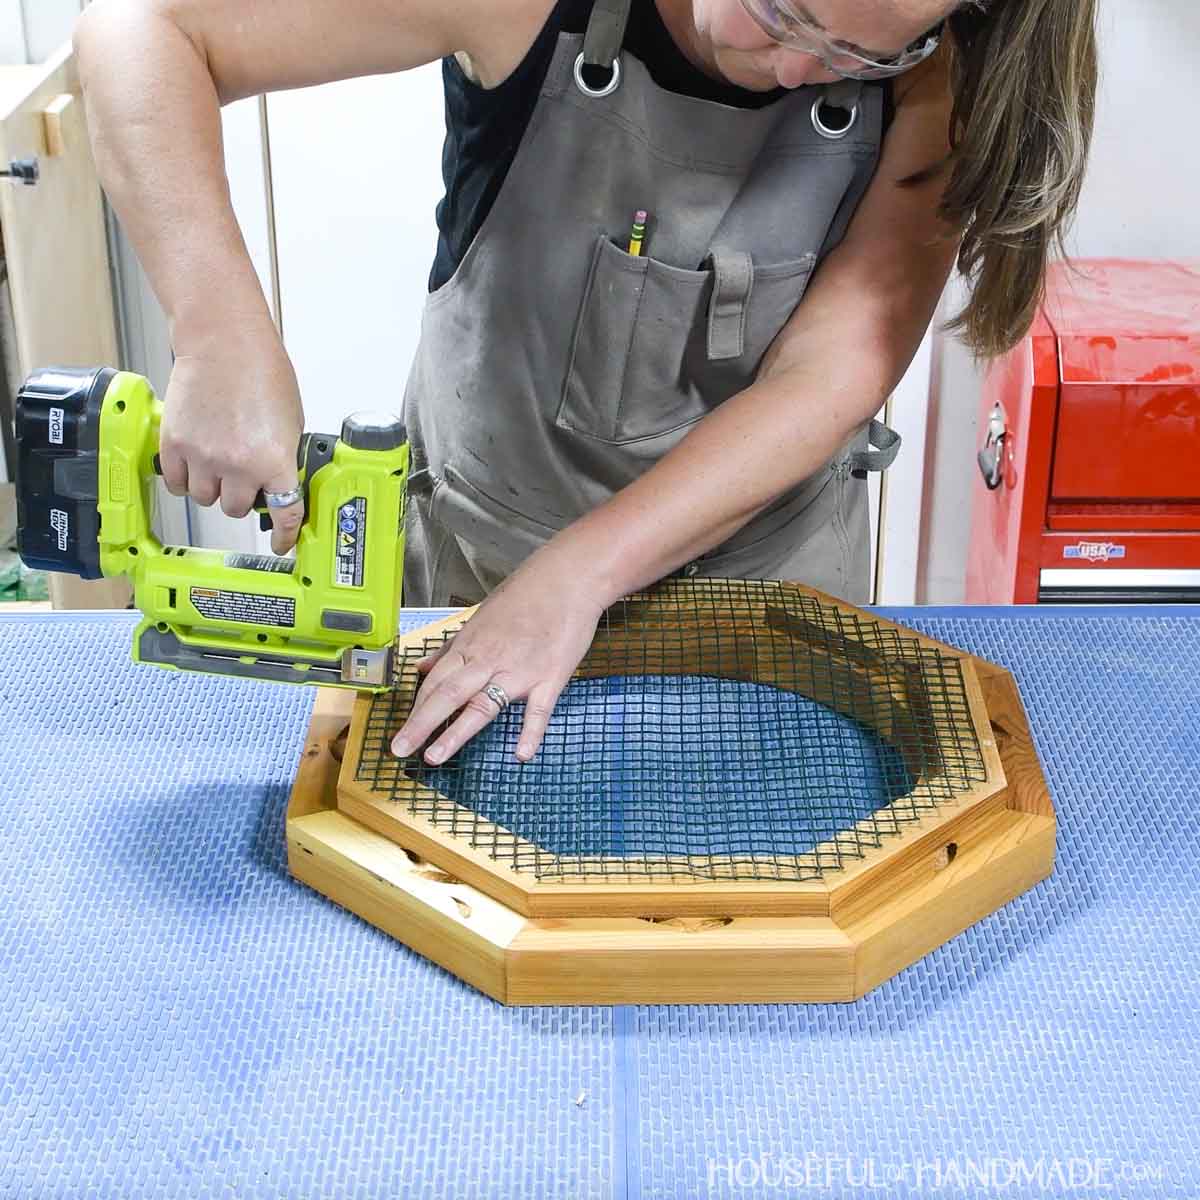
Cut a piece of hardware cloth to fit on the underside of the lower octagon. You want it slightly smaller than the outside of the octagon so there are no metal pieces sticking out.
I used a scrap of vinyl coated hardware cloth, but it is not necessary.
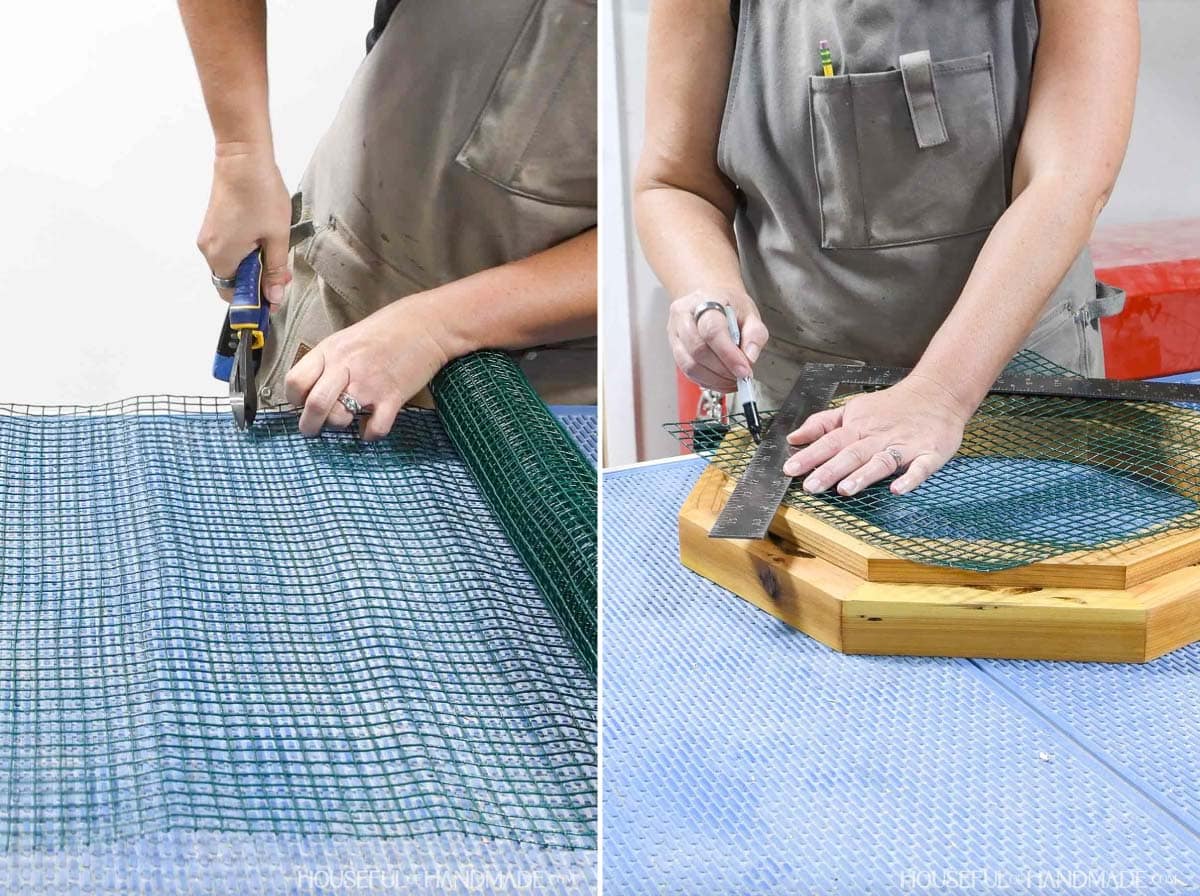
Position the hardware cloth so it is centered on the bottom of the lower octagon. Then attach it with staples.
I added staples to each corner and 3-4 in between to make sure it was very secure.
The hardware cloth is insurance to hold the saucer in case the lip breaks.
STEP 4- Attach chain
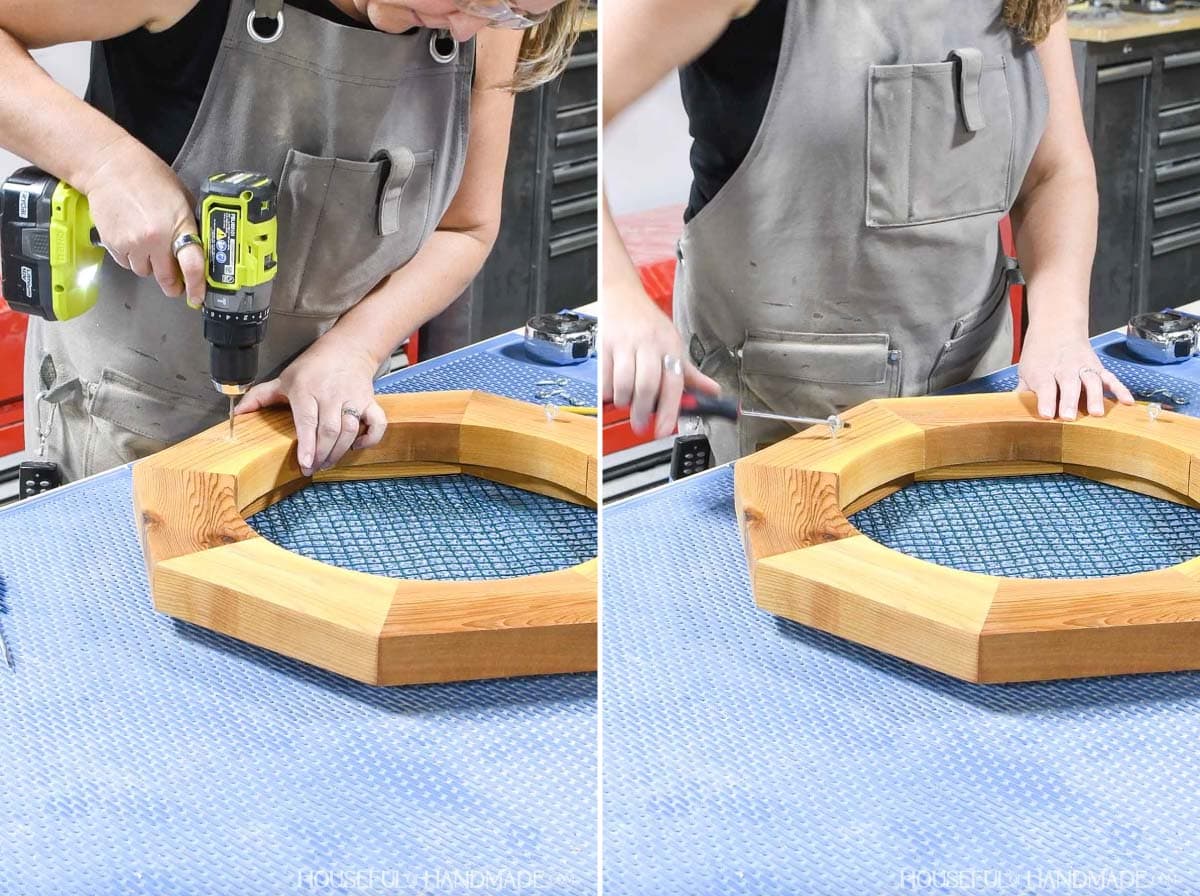
Measure and mark where to add the screw eyes according to the diagram in the plans.
Predrill a hole, then screws the hooks in fully.
EXPER TIP:
I like to use a screw driver through the hole in the screw eye to make it easier to twist it into the wood.
Cut four pieces of chain to length. I like to just use 2 pliers to pull open the chain link instead of cutting it.
Place all four pieces of chain on the O-ring by closing the link around it. Pinch it tight with the pliers.
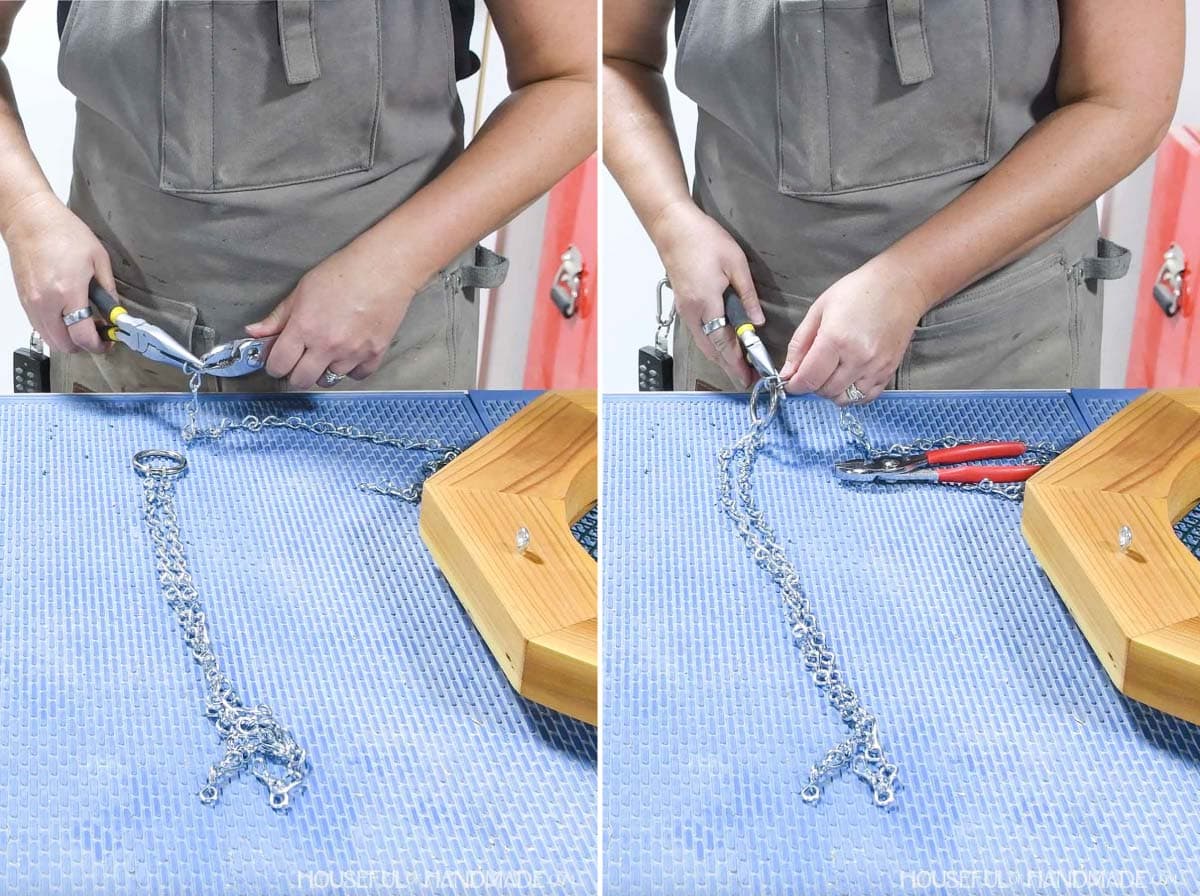
Then open the lower link on each chain and attach one to each screw eye on the birdbath. Pinch them closed.
EXPERT TIP:
To keep the chains from getting twisted, use a piece of painters tape to hold the chains in place on the O-ring. Then hold the O-ring and carefully attach them to the corresponding screw eye.

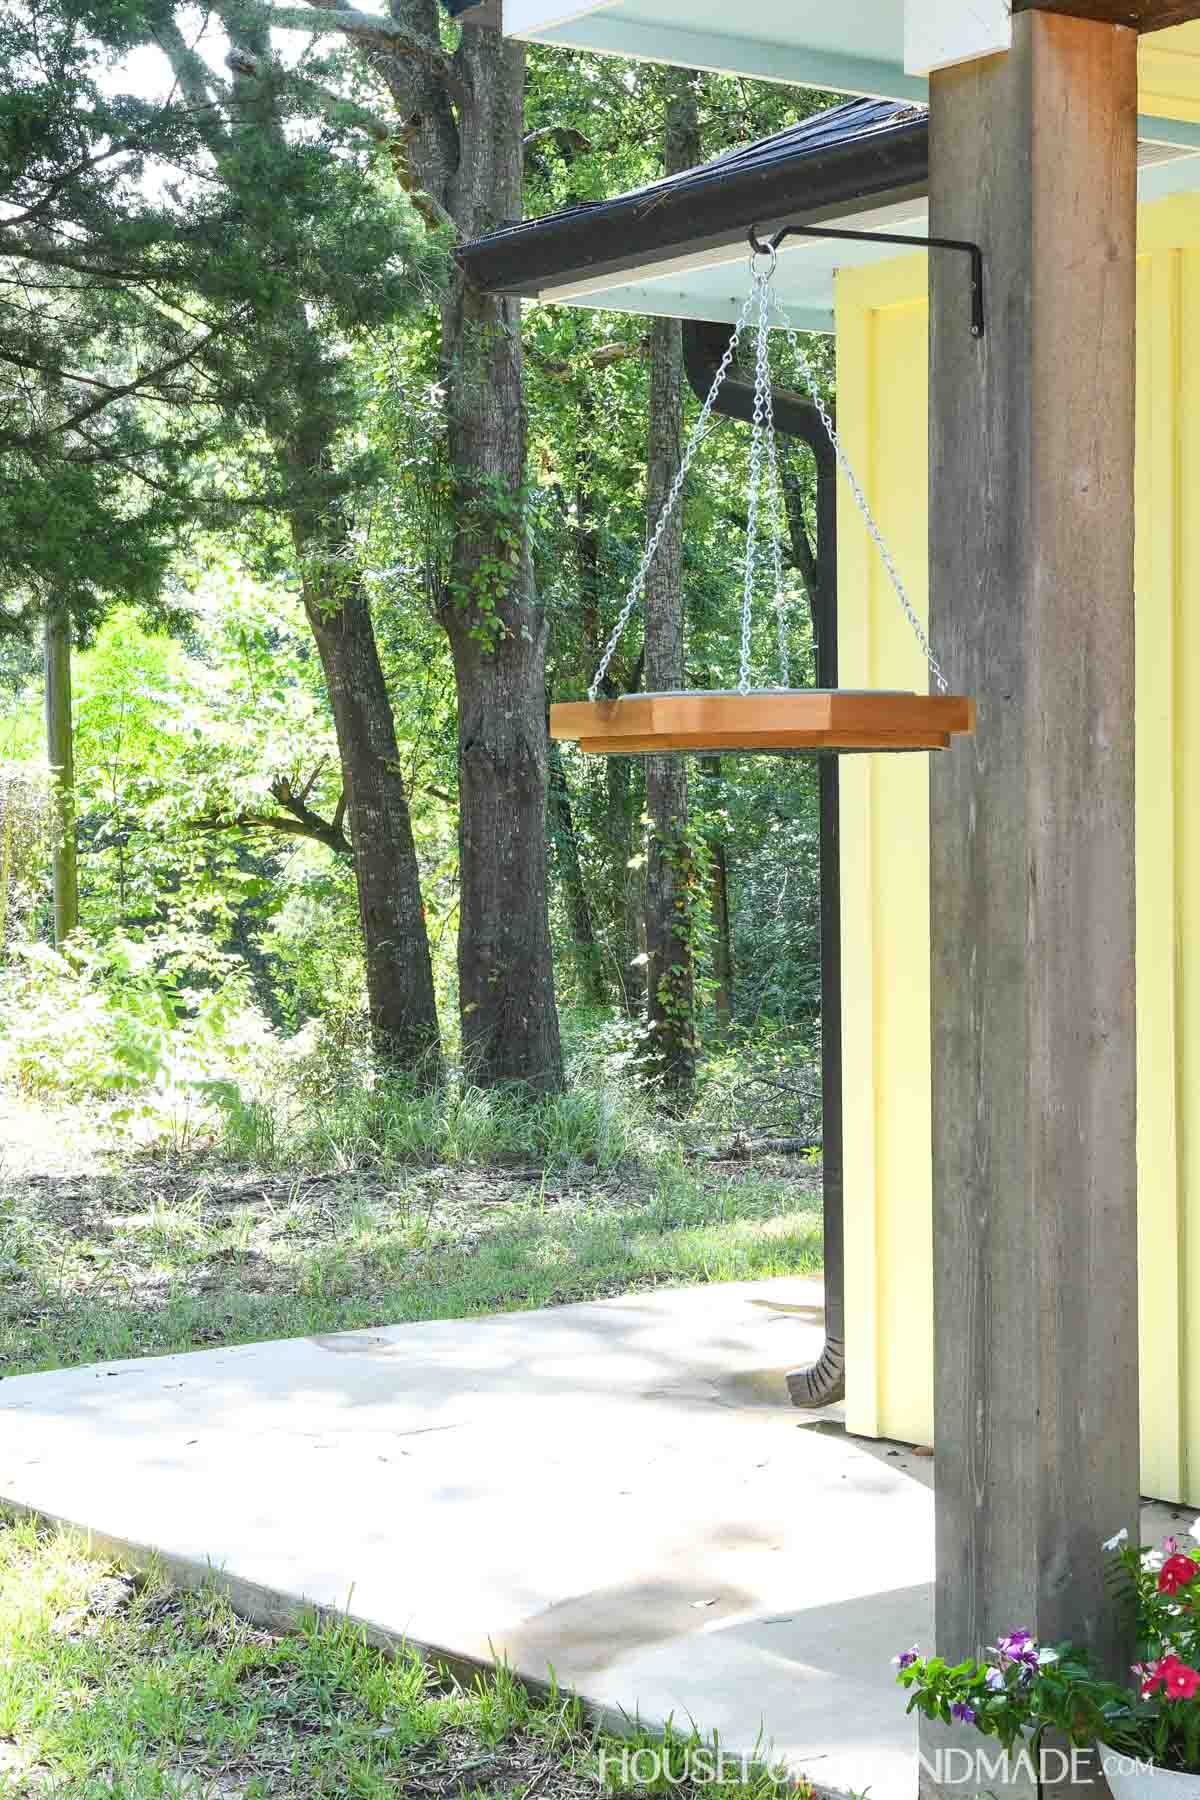
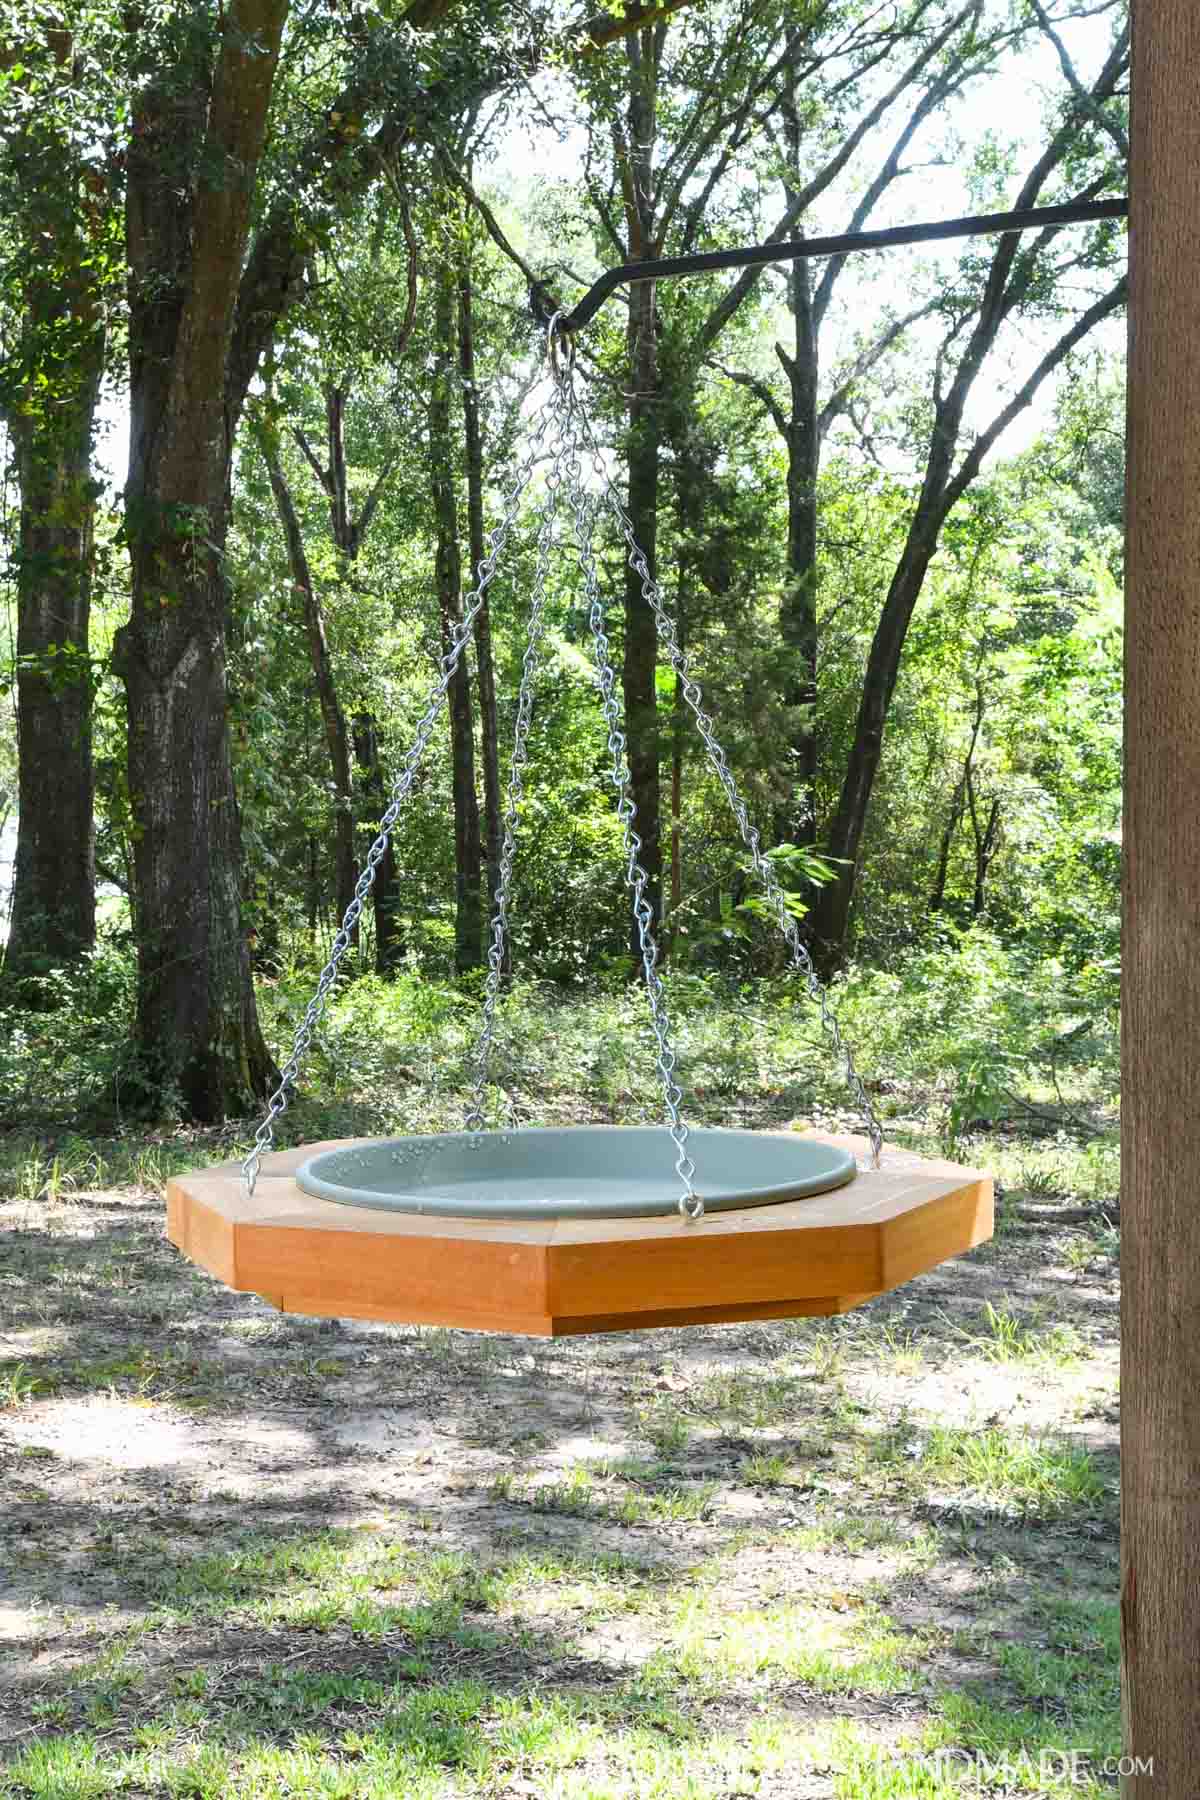
STEP 5- Hang & enjoy
To hang your new birdbath, place the O-ring over a planter hook or loop a piece of chain over a tree branch and use an S-hook to attach the O-ring to it.
Place the plant saucer inside the hole and fill it with water.
Premium plans include:
- Recommended Tools
- Shopping list
- Easy to read cut list table
- Cut diagrams
- Step-by-step instructions with 3D renderings
- Helpful resources
- BONUS: 3D SketchUp file
You did it!
Now you can sit back and wait for the birds to find your new birdbath. Make sure to keep it filled with clean water for them.
More Scrap Wood Projects
It's Scrap Wood Summer time again! Every Tuesday this August I will be sharing a new scrap wood project along with my friend Shara from Woodshop Diaries.
I'll share each week's new projects below so you can use up your scraps too!


Happy building!
