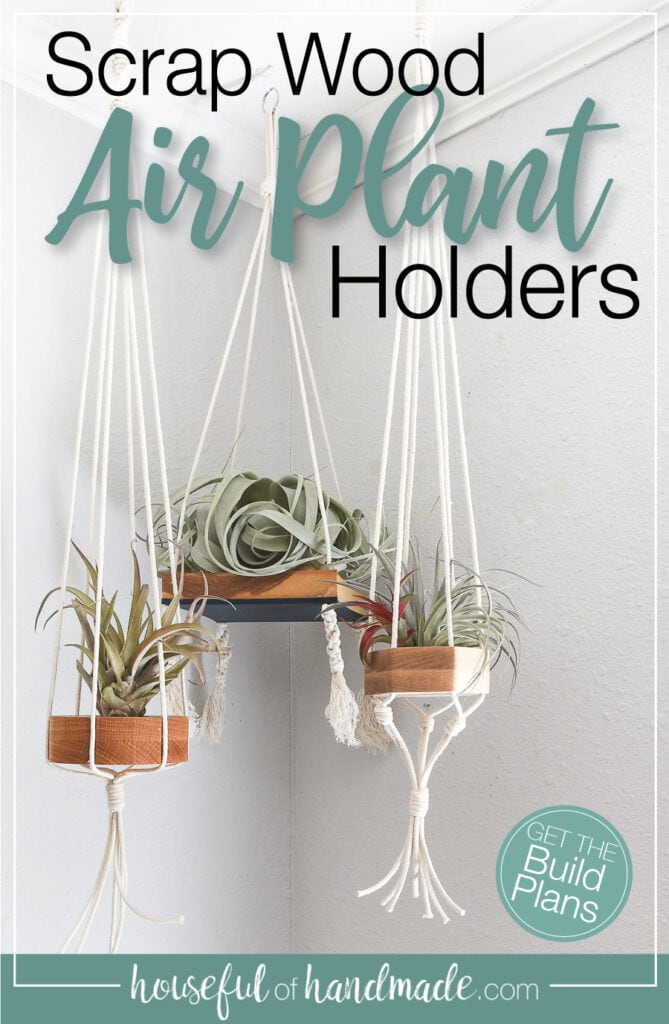
You are going to fall in love with these wood and macrame hanging air plant holders!
I use to not be able to keep any house plants alive, but a couple years ago I ended up impulse buying a couple tiny air plants from Target. I made them these cute house shaped air plant holders and they survived for many years.
It was the start of my house plant addiction. So when I found some different species of air plants, I knew I needed them. And I partnered with Inventables to make some new hanging air plant holders.
Wood Air Plant Holder
Air plants are unique because they require no soil to survive. This means you can get creative with their home and it does not need to hold water!
This post may contain affiliate links. As an Amazon Associate I earn from qualifying purchases. Click here to read my full disclosure policy.
It was the perfect excuse to make a wood pot. And to use up some of that scrap wood that I have been collecting for so long.
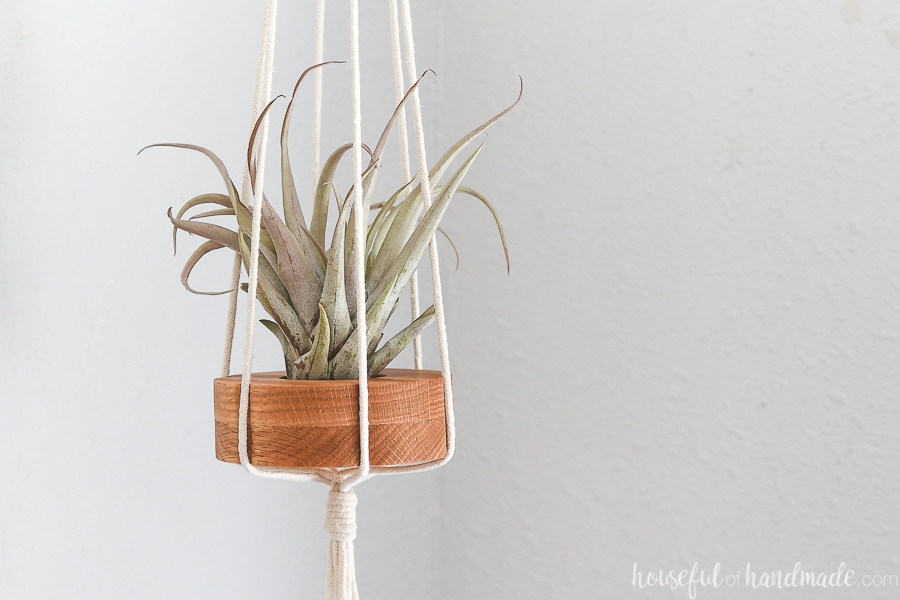
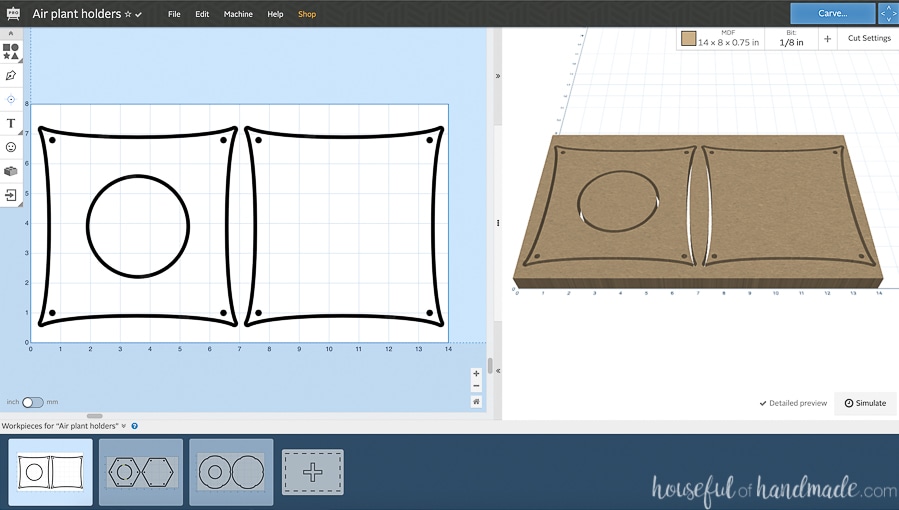
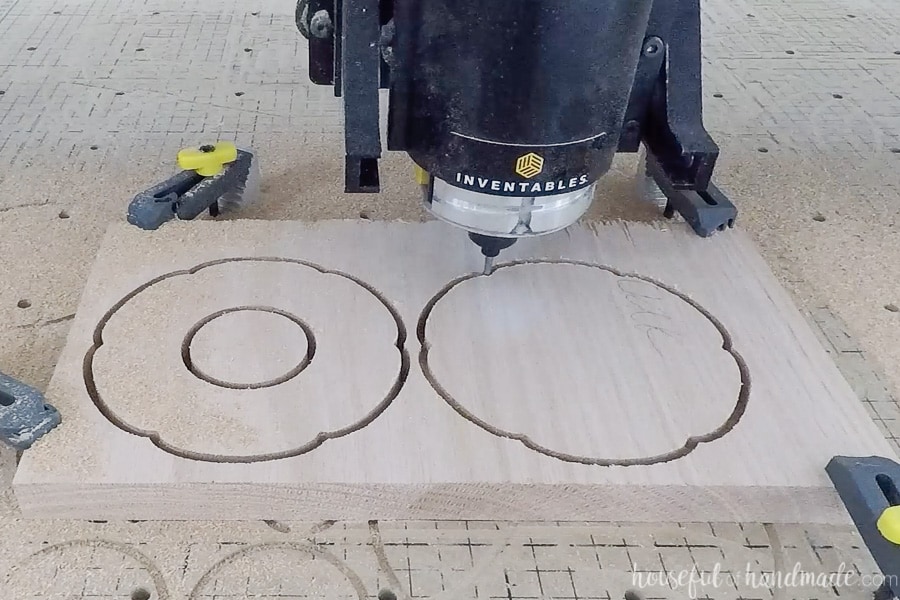
The X-Carve was the perfect tool to make some fun and unique air plant holders. For each wooden holder, 2 pieces of wood were cut the exact same, except one had a hole in the center and the other did not. When glued together, it created a small pot to hold the air plant.
You could use these cute wooden pots anywhere you want to add an adorable air plant. They would be so cute on a desk for some greenery.
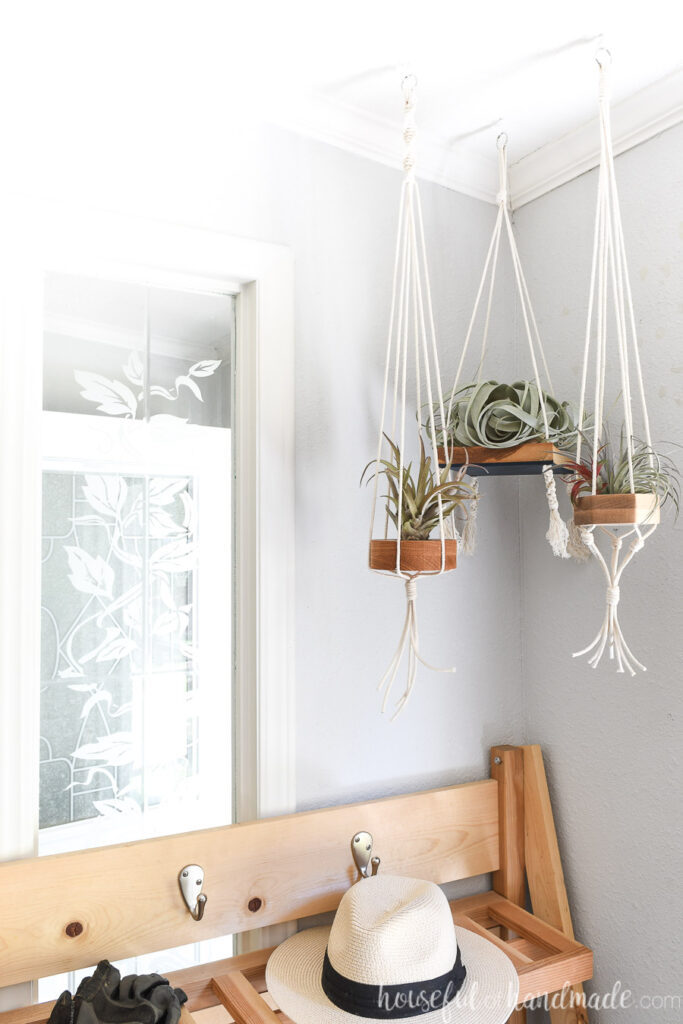
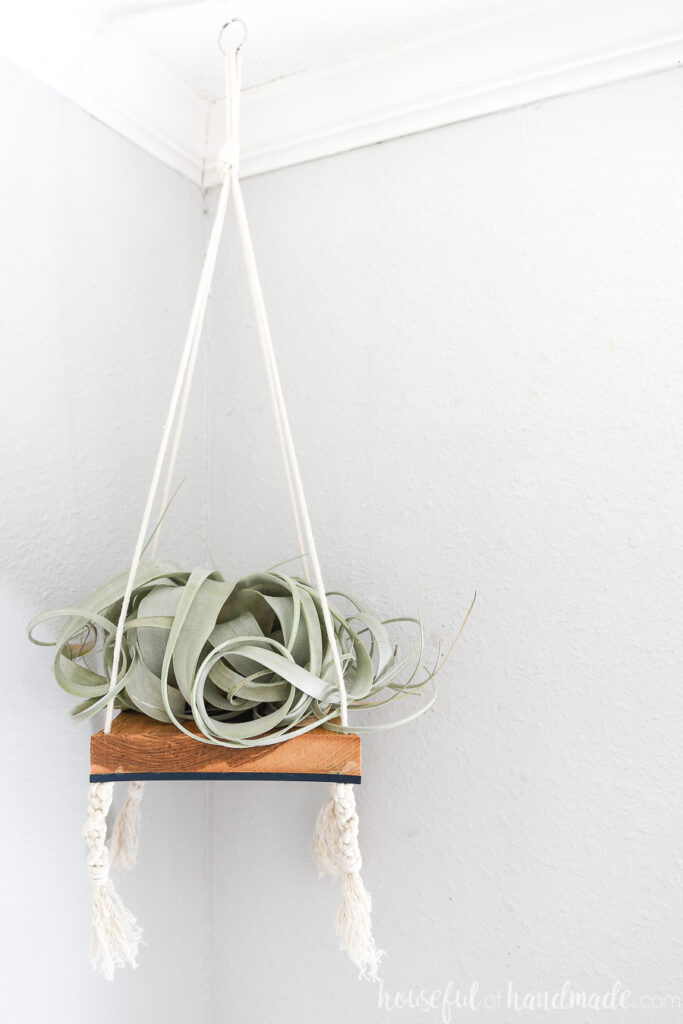
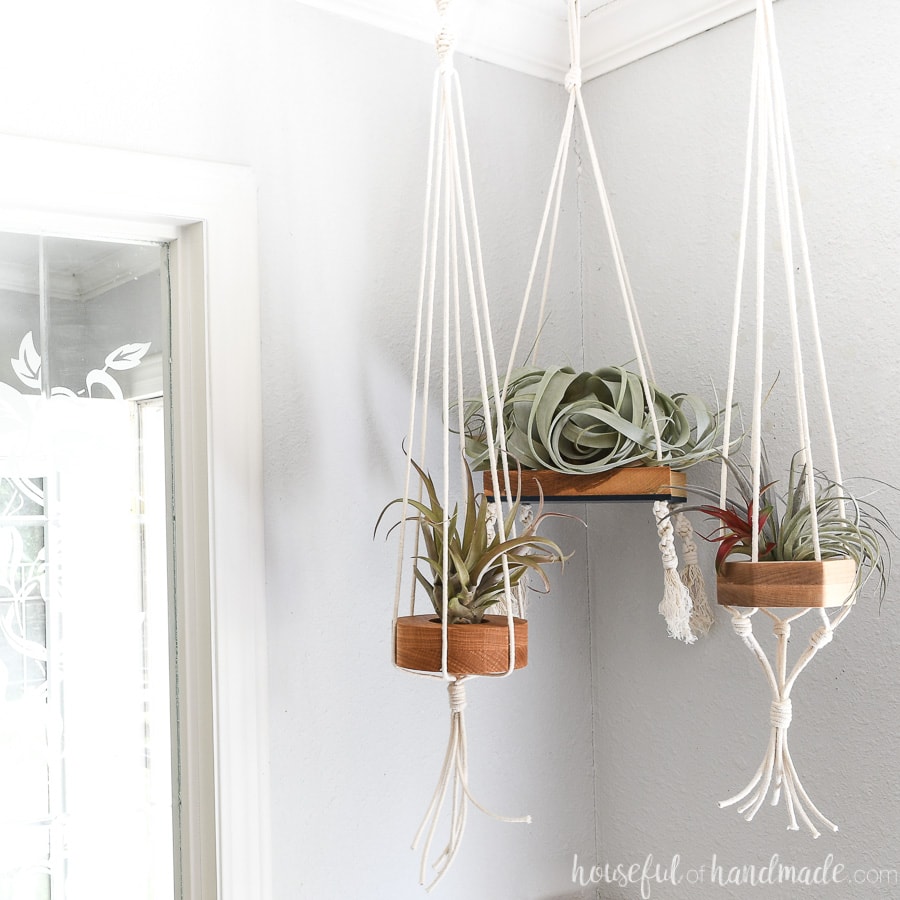
But I wanted to hang my air plants! Tucking a few plants in a corner is the perfect way to brighten it up. So I made my wooden pots into hanging pots with some very simple macrame.
WHAT IF I DON’T HAVE AN X-CARVE?
I understand that an X-Carve is a bigger tool purchase. But there are so many fun things you can make with it, and lots of people even use theirs to make items to sell!
But if you do not have an X-Carve, you still have options.
- Some high schools, libraries, and maker spaces have X-Carves you can use. Use this link to find a location near you.
- You could cut the designs out with a jig saw or scroll saw. It may just require a bit more sanding to get the two pieces to line up perfectly.
- Save up and buy an X-carve! There are so many amazing things you can make with it. And you can always use it to make items to sell.
Either way, start by signing up for a free Easel account to test out designing in their software. You can play around with the detailed preview to show you how it looks cut out of your wood with different bits.
How to Make Air Plant Holders
Tools Needed:
- X-Carve
- If you do not have an x-carve, find a location near you where you can use one.
- 1/8″ straight cut bit
- Digital Calipers
- Clamps
- Drill
- Scissors
Supplies:
- Scraps of wood
- You can always adjust the size of your air plant holder to fit your scraps of wood or air plants.
- Wood glue
- 3mm cotton macrame cord
- Metal or wood rings
Carving the Wood Pieces
You can use the 3 designs I created for my air plant holders by first, signing up for a free Easel account, then clicking on the link below to open the file.
When you open the link, it will not be editable unless you make a copy. There are 3 different workpieces on the bottom of the screen. One for each of the different holder designs.
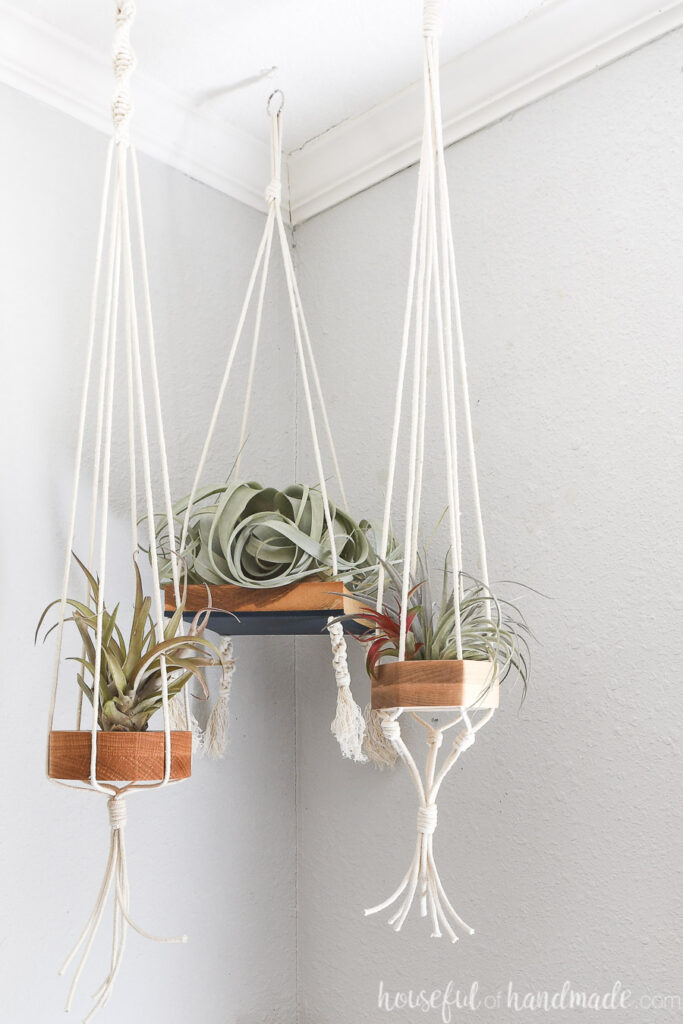
For my two smaller holders, I cut both pieces from the same piece of wood (scraps of oak and maple).
For the larger holder, I cut the top piece from a scrap of hickory, then cut the bottom piece from colored MDF board. I love navy accent with the wood and neutral macrame cord.
Finish the Wood Holders
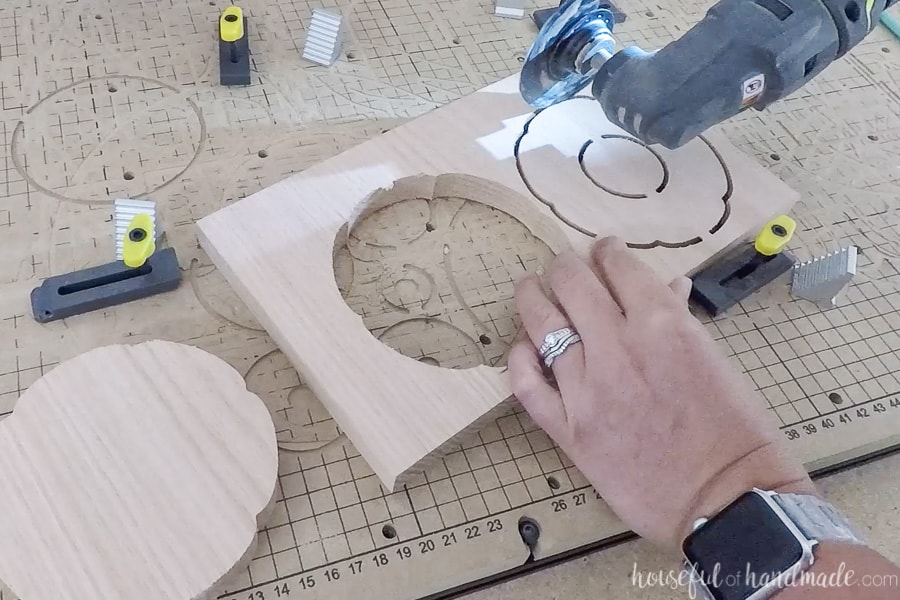
Once the pieces are cut, remove them from waste board and cut the tabs to release them. Keep track of the top of each piece so they are in the same direction when glued together to keep the sides cleaner looking.
Place wood glue on the bottom of the piece with the hole in it. Spread a thin layer over the whole piece.
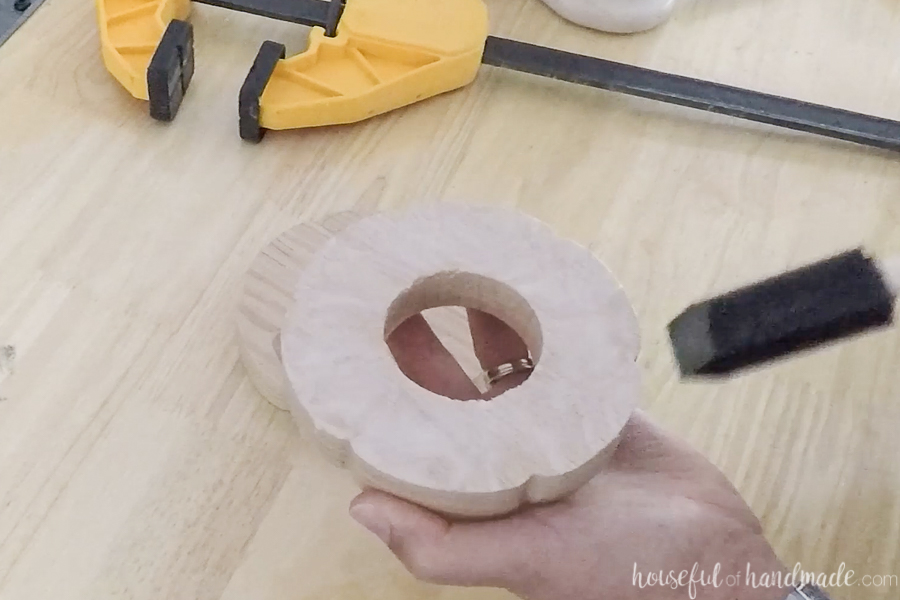
Place it on top of the other piece. Make sure the edges line up and clamp it together. Let the glue fully dry.
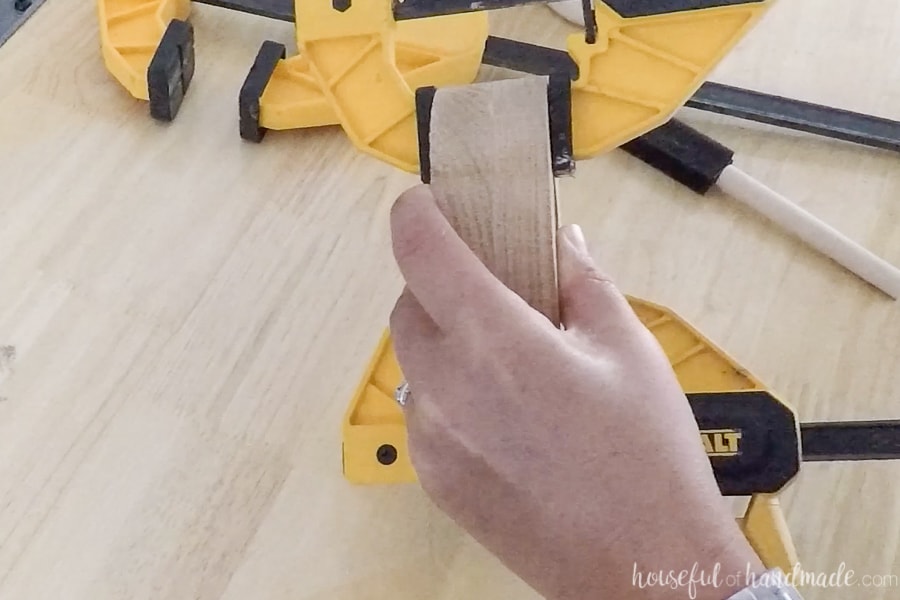
Remove the clamps. Sand the air plant holders to remove any glue squeeze out and smooth the surface. Finish your wood with a stain or sealer if desired.
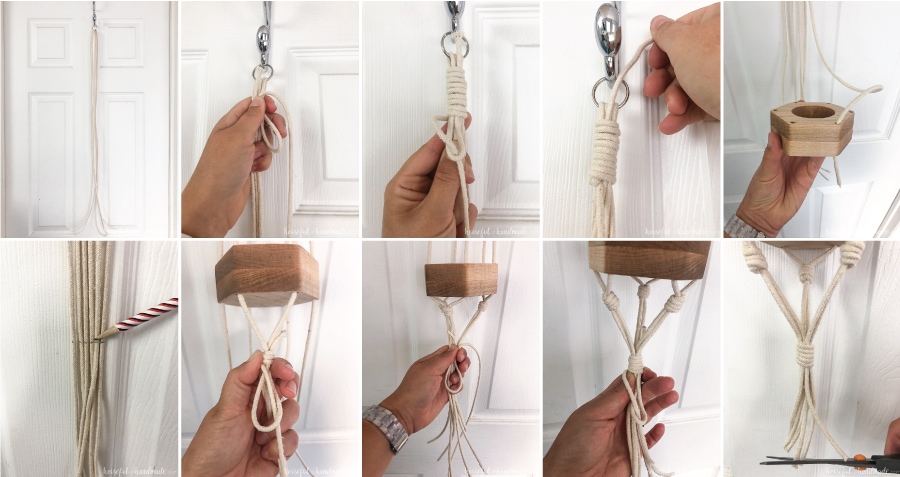
Tying the Macrame Hangers
I used simple macrame knots to tie the hangers for the air plant holders. All of the designs are done with just 3 knots: a gathering knot, a square knot (always tied in the same direction so you get a spiral), and an overhand knot.
I am not going to go into detail on how to tie all the knots, but you can see how to tie these basic macrame knots here.
For the Hexagon Holder
- Start with 3 pieces of cord at least 2 yards long (you can go longer if you want longer hangers).
- Place the cords through the ring so they are even on both sides.
- Tie a gathering knot to hold all the cords together under the ring. Use as many wrap arounds as you want.
- Mark where you want the bottom of the hanger to be and make a mark on all the cords.
- Wrap a piece of tape around the ends of the cords.
- Feed the cords through the holes in the wood holder. Make sure to not twist them as they come out of the gathering knot at the top.
- Use another gathering knot to combine two cords that are next to each other under the wood.
- Repeat for the other cords till you have 3 groups of 2.
- Combine all the cords together and secure with another gathering knot.
- Trim the cords to length.
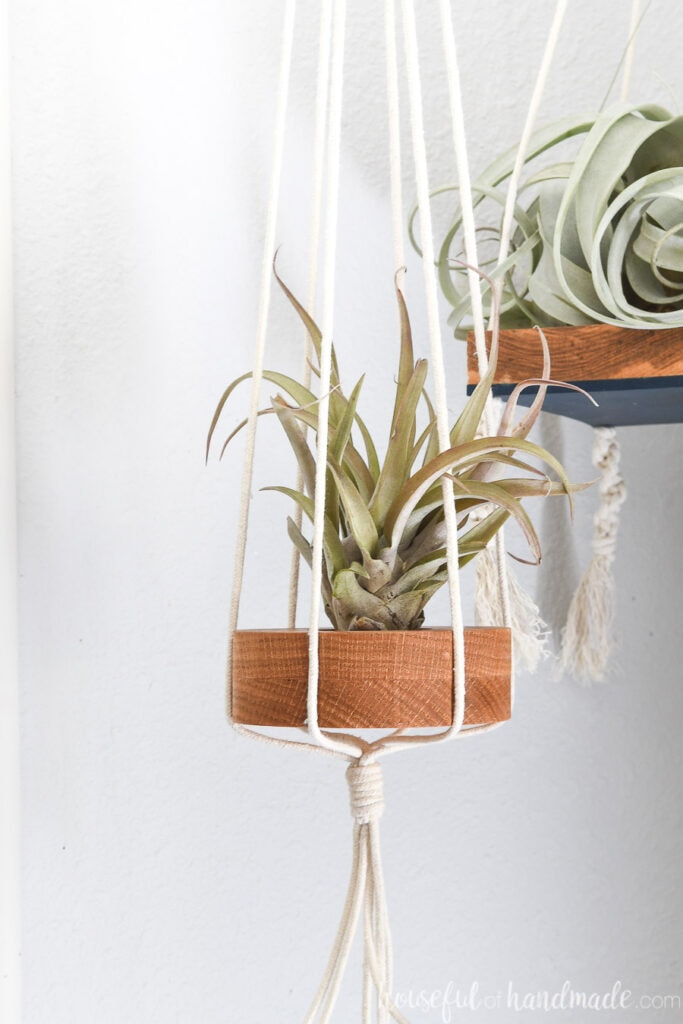
For the Square Holder
- Start with 2 pieces of cord around 2 yards long (you can go longer if you want longer hangers).
- Place the cords through the ring so they are even on both sides.
- Tie an overhand knot with all the pieces of cord to secure them a few inches below the ring.
- Mark where you want the bottom of the hanger to be and make a mark on all the cords.
- Wrap a piece of tape around the ends of the cords.
- Feed the cords through the holes in the wood holder. Tie an overhand knot just under the wood to temporarily hold them in place.
- Cut 4 more 1 yard long pieces of cord.
- Tie one piece of cord to the cord coming out under the wood. Slide it to the mark you made and pull tightly.
- Tie a square knot with these two pieces of cord around the center cord with the right hand cord on the top.
- Repeat tying square knots with the right cord on the top to create a spiral. Tie a total of 10 knots.
- Tie a gathering knot on the bottom of the spiral to contain all the cords.
- Trim the cords to length and fray if desired.
- Repeat for the cords coming out of the other 3 corners.
For the Flower Holder
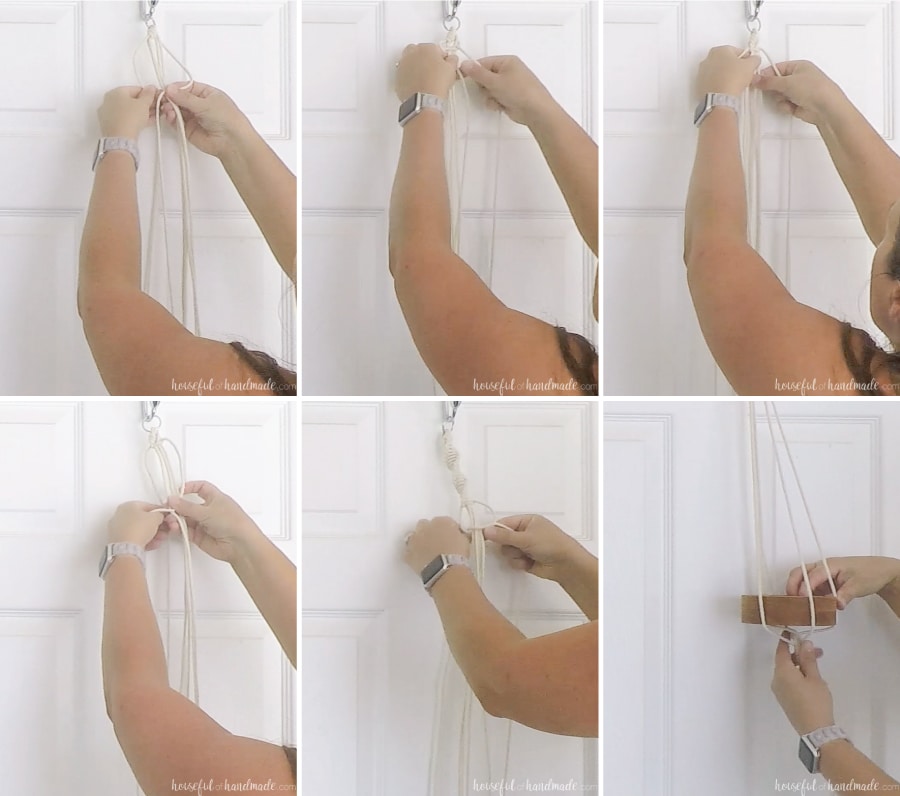
- Start with 2 pieces of cord at least 2 yards long and 1 piece 3 yards long (you can go longer if you want longer hangers).
- Place the cords through the ring so they are even on both sides.
- Tie an overhand knot with all the pieces of cord to secure them just below the ring.
- Tie a square knot with the longer cord on the right cord and the longer cord on the left around the center 4 cords. Start with the right cord over the front of the cords for the knot.
- Tie a second square knot. Keep the same right cord over the front of the cords to start twisting the design.
- Continue to tie knots always using the right cord as the front cord until the top serial design is as long as you want.
- Tie a gathering knot at the bottom of the cords where you want the wood holder to sit.
- Place the wood holder on top of the gathering knot and place one cord in each groove of the flower shape.
- Trim the bottom so the cords are all the same length.
While the tying instructions look long, they are actually quick and simple to do. The part that took the longest was to fray the cords on the bottom of the square holder.
I found it beneficial to have a place to hold the ring while you worked on your knots. For me, this was the over the door hook on my bathroom door.
I also needed a step stool to bring my arms closer to the hook. My shoulders got tired working above my head on the knots on the top of the flower design.
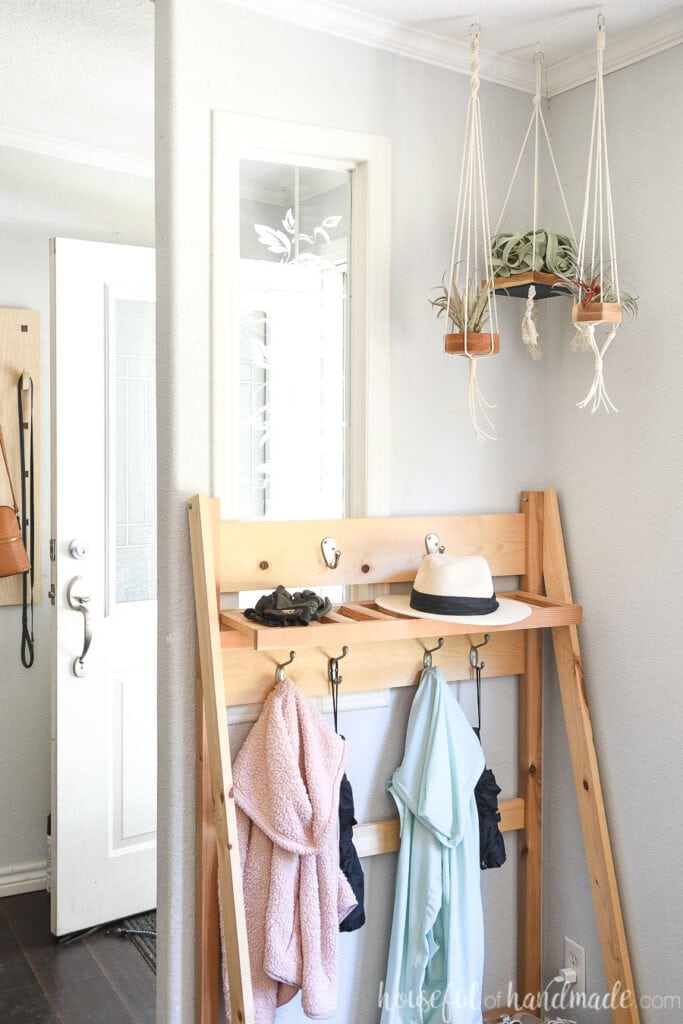
And the finished product was so worth a few minutes of sore shoulders. The three air plant hangers look absolutely amazing in the entryway.

Thank you to Inventables for sponsoring this post. I only recommend products that I use and love and all opinions are 100% my own. Click here to read my full disclosure policy.