Come see how to paint tall walls and ceilings the easy way!
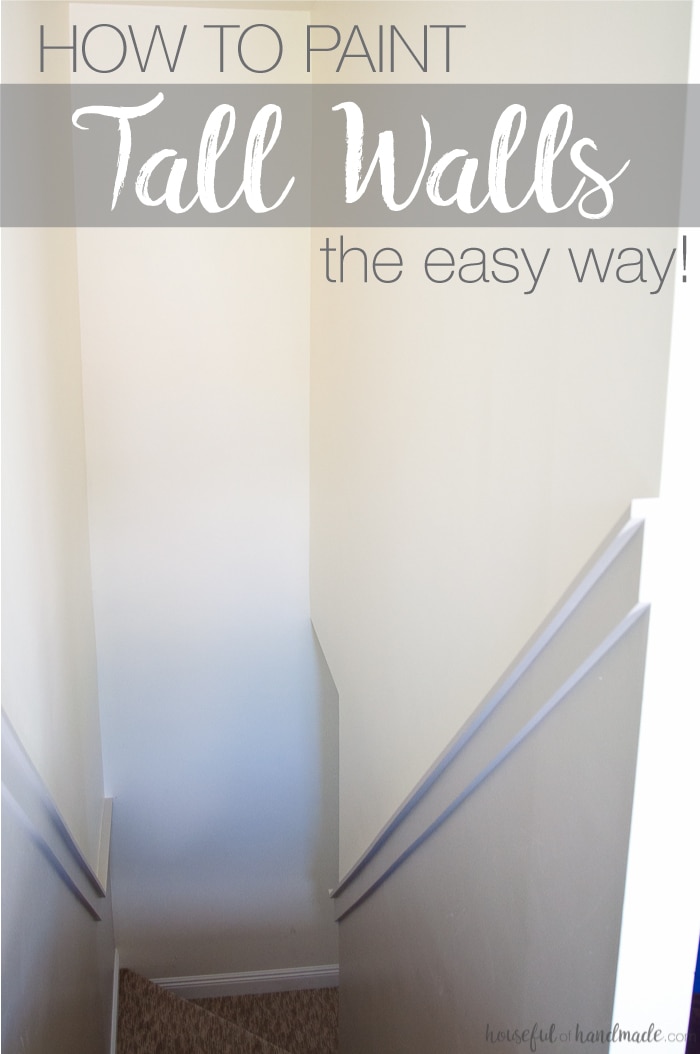
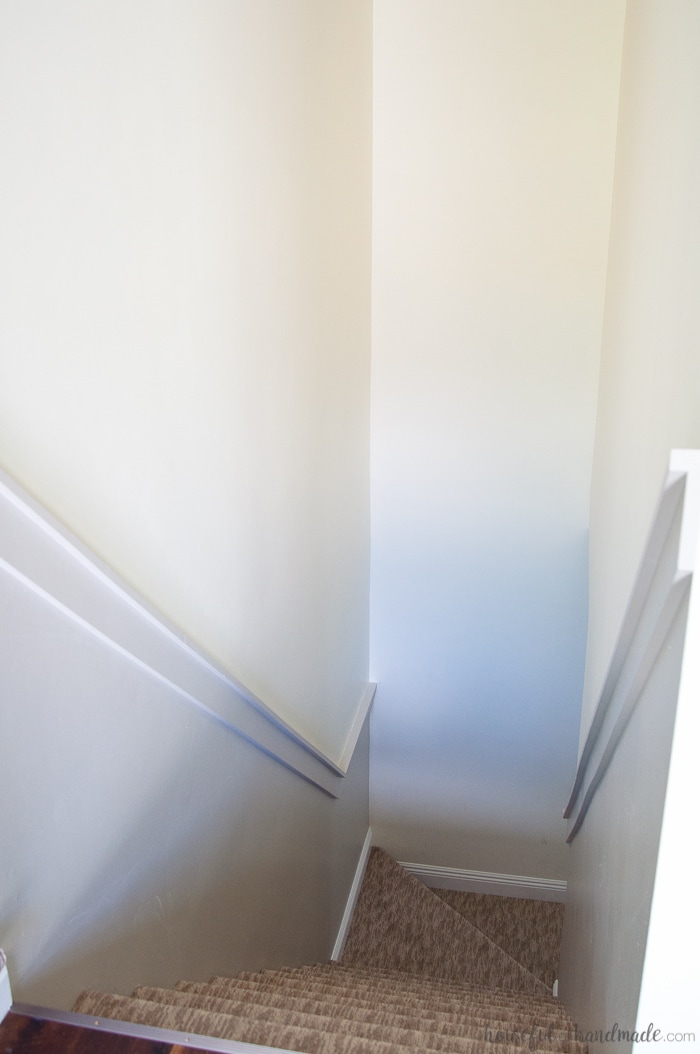
I have been avoiding the stairway remodel for way too long. Why avoid such a small room? Because I was afraid to paint those tall walls and ceiling! It’s silly I know, but those 20′ walls just intimidated me.
But no more will I shrink from a big painting job. Today I am showing you how easy it was and sharing How to Paint Tall Walls with the HomeRight EZ Twist PaintStick.
Thank you to HomeRight for sponsoring this post. I only share products that I use and love, and all reviews are 100% honest. This post may contain some affiliate links for your convenience. Clicking these links will help support this blog so I can keep creating things to share with you, but you will never pay more by using an affiliate link. Click here to read my full disclosure policy.
This post may contain affiliate links. As an Amazon Associate I earn from qualifying purchases. Click here to read my full disclosure policy.
I know painting tall walls can be a huge pain. We have a vaulted ceiling in our living room that peaks at 14′ on one side. I’ve already painted this room twice (before the PaintStick). I would lean the ladder against the wall.
Then load my paint roller and climb the ladder. A couple rolls later, I was back down the ladder, then up, then down. It was a good workout but I hated it.
So when I thought about building scaffolding in the stairway to paint those tall walls and ceiling, all I could think about was going up and down reloading that dang roller! I wasn’t thrilled to be on scaffolding in the first place.
I don’t really have a fear of heights, but it’s not the safest feeling walking out on wood boards while leaning this way and that to paint.
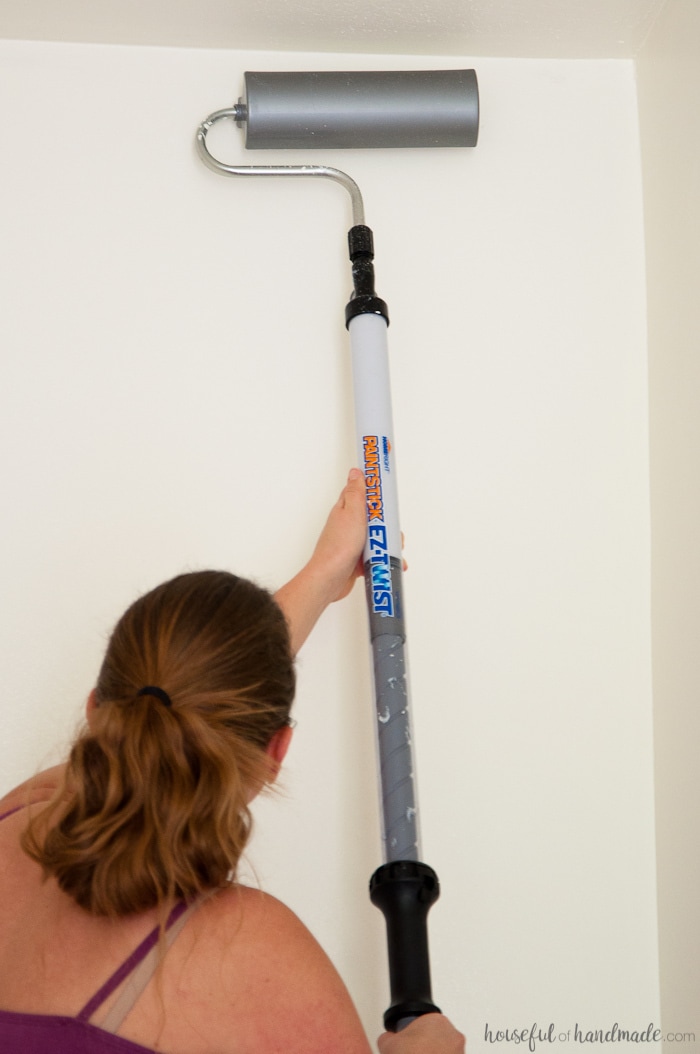
But I found a way to step out on that scaffolding and finally paint the stairway! This way also helped me avoid the up and down to reload the roller. It is the HomeRight EZ Twist PaintStick. I seriously love this thing.
Painting has always been one of those things I do because I have to, but I usually despised it. After being able to paint my entire stairway, ceiling and all, by myself, in just over an hour, I figured I could paint anything. And I have!
Since the stairway painting, I have also painted our basement family room and upstairs living room. The living room is that room with those tall vaulted ceilings. My husband and I were able to paint this large room together in just under 2 hours with the EZ Twist PaintStick.
I did the cutting in and he did the rolling. After we were half way through the first coat he exclaimed “I love this thing. Seriously this is so awesome!” Usually he paints with me grudgingly, but the second coat he was eager to get to work on because it was so easy.
Even if you do not have tall walls in your home, the EZ Twist PaintStick is awesome. It is so much less messy than traditional painting with a roller and tray. In the basement our walls are only 7 1/2′ tall, but the PaintStick made is super quick and I only had one plastic tablecloth that I moved around the room as I painted, mostly because I dripped a bit while cutting in the ceiling.
And HomeRight is going to be giving away an EZ Twist PaintStick to one of you! If you have one (or many) painting projects coming soon, you will love this thing. I am already planning another painting day.
Enter to win below. The giveaway is open to US residents only.
How To Paint Tall Walls
Supplies
- HomeRight EZ Twist PaintStick
- Paint
- The upper part of our stairway is painted Pot of Cream by Behr and the part under the chair rail is Agreeable Gray by Sherwin Williams.
- Paint brush
- Paint Roller Extension Pole
- Blue painters tape
- Ladders
- 2×6 boards
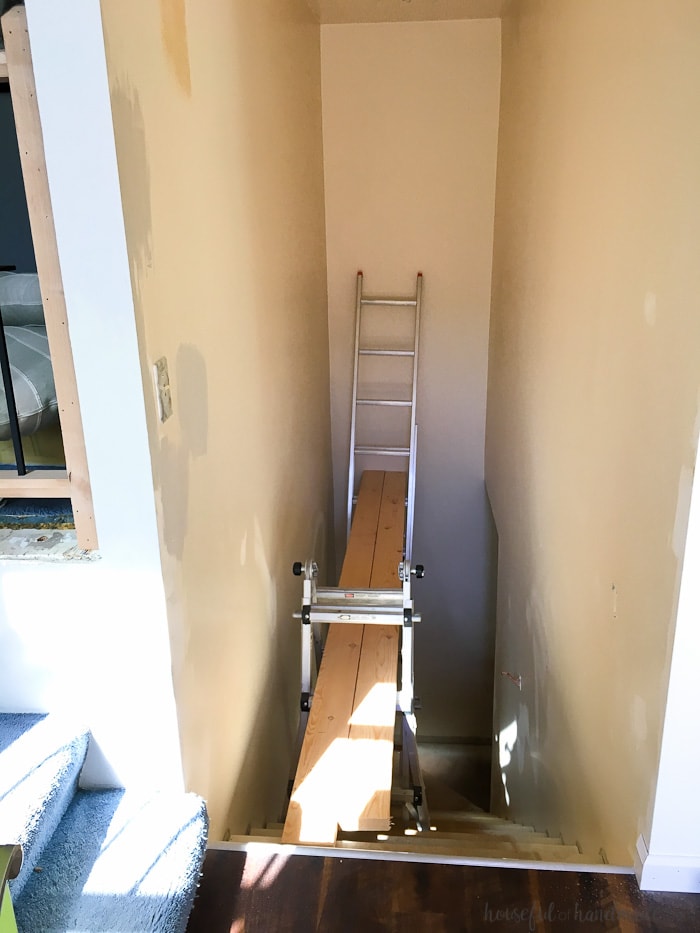
To build our scaffolding, we used one ladder against the far wall and one little giant ladder on the steps. Then we placed 2 12′ 2×6 boards between the ladders.
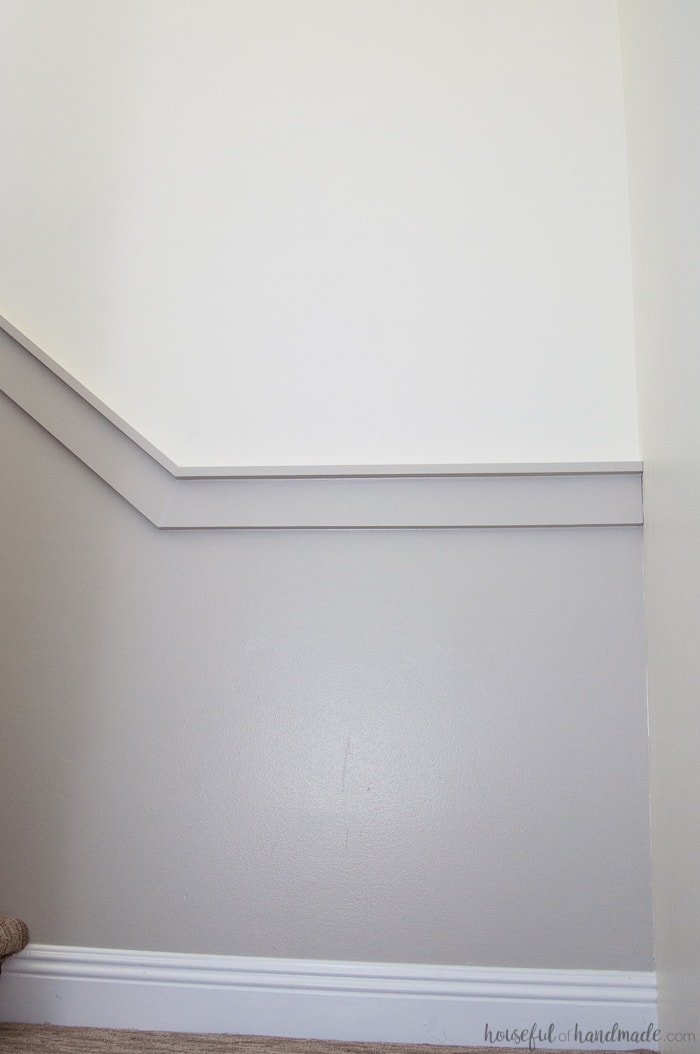
I painted the ceiling and upper walls the same color because I didn’t have the ladders tall enough to get me close the ceiling to cut in. To add some color to the walls, I added chair rail to the stairway and then painted the chair rail and lower part of the walls a different color.
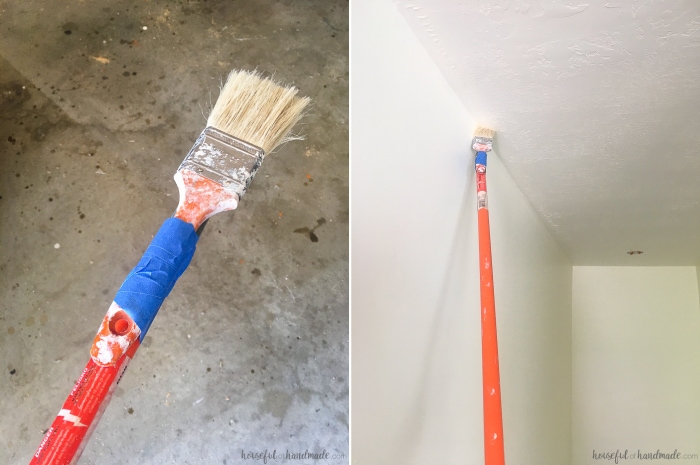
Even though the upper walls and ceiling were going to be the same color, I still needed to be able to get a paintbrush in the corner where rollers cannot. I taped my paint brush to the end of the paint roller extension pole with painters tape. Then I was able to easily reach the paint into the corners.
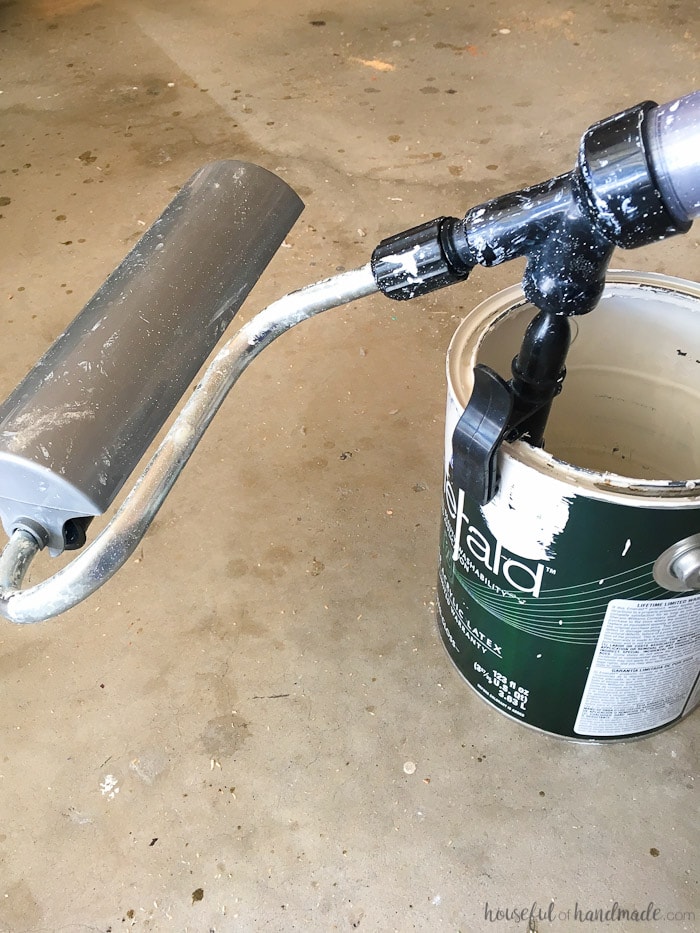
After painting the corners, I filled up my PaintStick with paint. If you are having trouble loading it with paint, make sure you are holding it at a 45 degree angle to the fill tube. That solved my issue every time!
Then start rolling while twisting the handle to push the paint up. Always roll while pushing the paint in so it doesn’t drip. Once the PaintStick is primed full of paint you will only need to push the paint up occasionally as you paint the wall. So keep rolling and painting until the PaintStick is empty. I was surprised at how much I could paint before having to reload it.
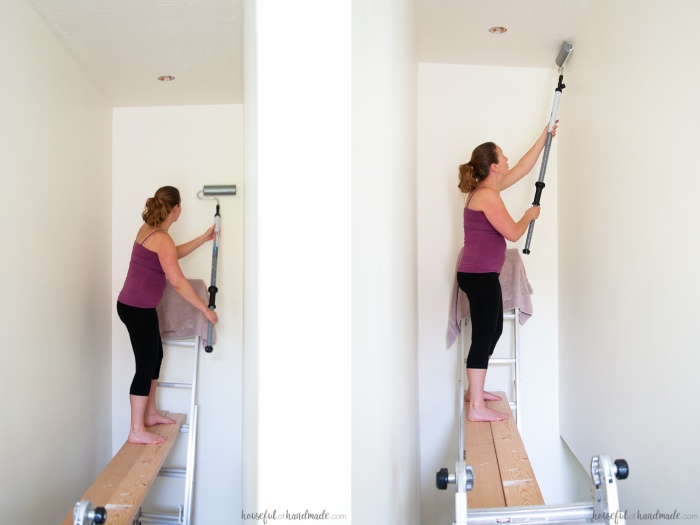
After I painted the ceiling and the upper most walls, it was time to remove the scaffolding. I pulled the 2×6 boards out and removed the little giant ladder. The rest of the stairway I was able to paint with the PaintStick and the ladder. For the second coat, we draped an old towel over the ladder where it touched the walls so it wouldn’t scratch the paint.
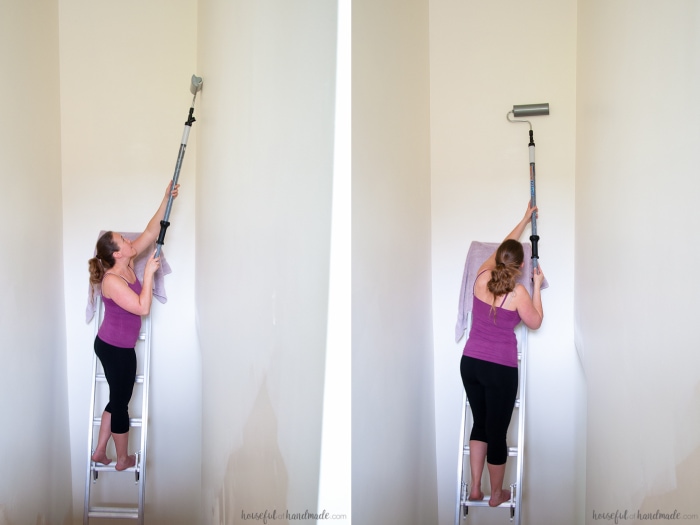
I continued to cut in the corners and roll the walls until the entire stairway was a bright new color.
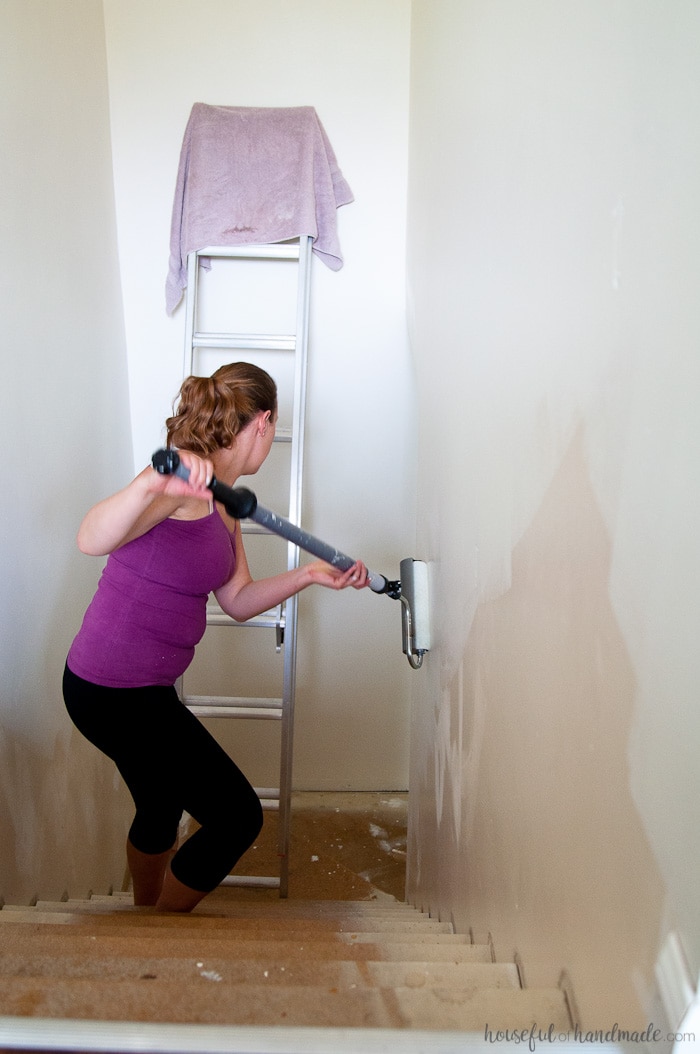
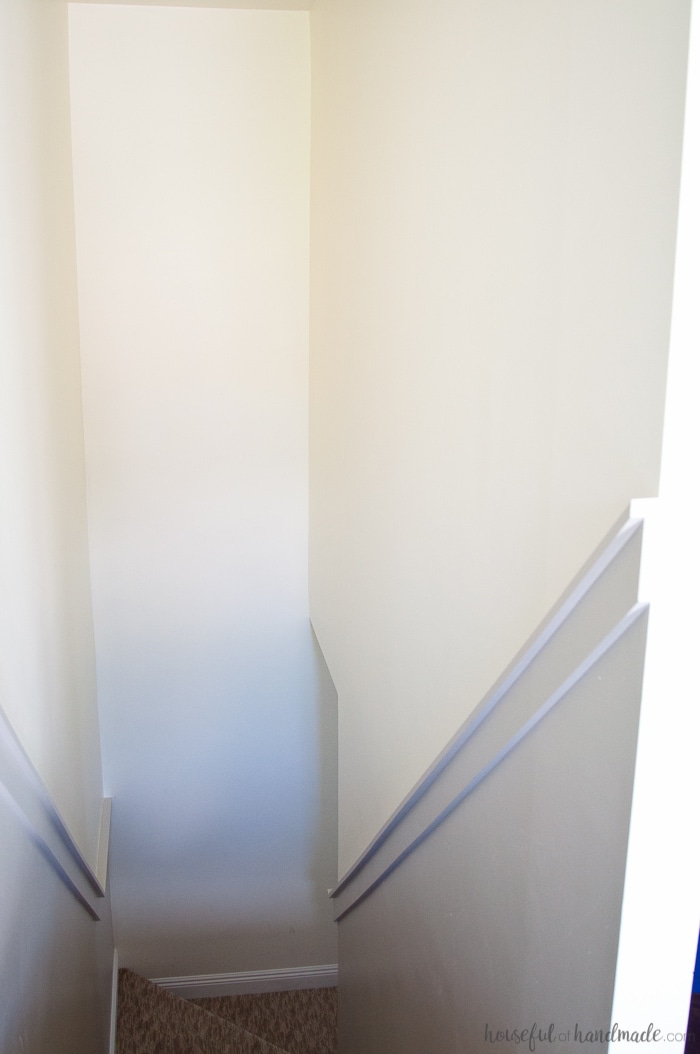
After the upper walls were covered in two coats of paint, I added chair rail and was able to quickly paint the lower part of the stairway thanks to the PaintStick. Now we have a stylish stairway instead of an eyesore. It’s amazing what a fresh coat of paint can do!
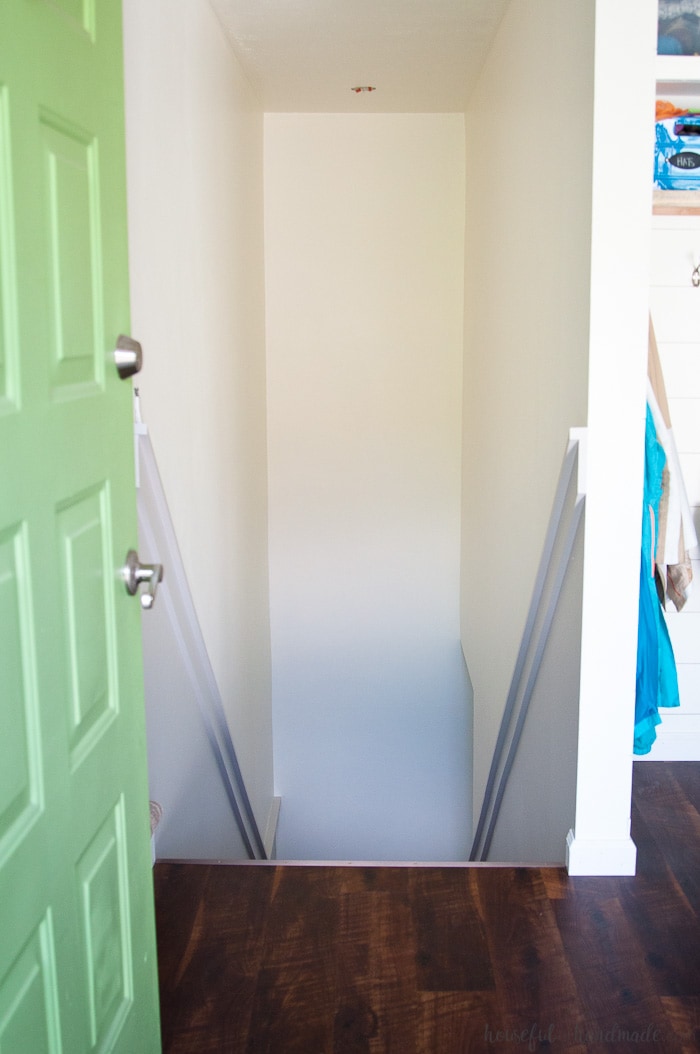
Today I am showing you how easy it was and sharing How to Paint Tall Walls with the HomeRight EZ Twist PaintStick.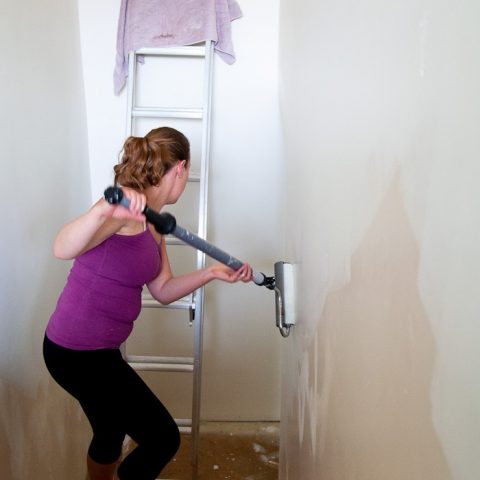
How to Paint Tall Walls
Materials
Tools
Instructions


