After getting the garden planted I am usually exhausted. It is hard work and takes me about 6 hours in the hot sun.
So after I take a couple days to relax and nurse my sunburnt shoulders, it’s time to get back out there for one more big day of work.
But this one day makes gardening the rest of the season fast and easy because I used it to install a DIY drip watering system.
This post may contain affiliate links. As an Amazon Associate I earn from qualifying purchases. Click here to read my full disclosure policy.
Truth bomb… I dislike setting up the drip system. It’s not hard work, but pushing those little pieces together over and over can hurt my fingers.
This year I gave myself a blister on my thumb. And for some reason, my fingers just don’t work the same if I wear gloves.
But I know that one day of irritation will save my garden in the heat of the summer. So I do this every year and have great success with my garden!
Why Install a Drip System?
Less Hands-on Time Watering
Having the drip watering system in place makes it so much easier to keep up with watering my garden.
You only have to turn the water on/off once and all the plants get the water they need.
In Utah, we have hot, very dry summers. It is so dry here, I struggle to grow anything outside in pots because they require watering once or even twice a day!
And I want to make sure all the plants in my garden are watered properly so they can grow and produce lots and lots of veggies for us to eat.
Delivers Deep Water to Plants
When watering vegetables, they need to be watered deep. That means you need to make sure the water sinks deep into the ground instead of just wetting the surface.
The reason you need to water deep is so that the roots reach down for the water.
Roots that reach deep into the soil will produce a stronger plant that can withstand the elements better and therefore produce more food. Yeah!
To water deep, you need to water with a tiny stream of water near the base of the plant for a longer period of time.
The water will sink right into the ground instead of spreading over the surface of the soil.
You don’t necessarily want to use more water, just more concentrated right by the plants. This is why drip watering systems are so great for vegetable gardens.
And extra bonus, it prevents the water from getting on the plant leaves. Consistently wet leaves can lead to disease.
Not as important in our dry Utah weather, but very important if you live somewhere with humidity.
Reusable
Setting up drip watering systems can be a little overwhelming. If you go to the home improvement store, there are rows and rows and rows of little pieces and options.
I needed something that I could easily do and redo every year. (because you are suppose to rotate your vegetables). I wanted a drip system I could reconfigure to water the new locations easily.
I am no expert, but my little drip system has been working great for me for the past 4 years. I reuse most of the pieces, just replacing them if they do not appear to put out the water I need.
It cost me about $50 for the pieces in my garden the first year and just a few buck here or there to maintain it each year. Totally worth the investment!
Set It and Forget It
The best part of a drip watering system is putting it on a timer. You can use a timer that attaches to you hose or do what I did and set up a second zone in your yards sprinkler system for the garden.
This is not necessary for a drip watering system, but it makes it even one step easier because I can set it up and forget about it pretty much all summer long!
And if I want to take a week to go on vacation, my garden is watered properly instead of coming home to dead plants.
How to Build a Garden Drip System
Tools & Materials
Recommended Tools:
- PVC cutter
- Scissors
STEP 1- Attach fittings to spigot/hose
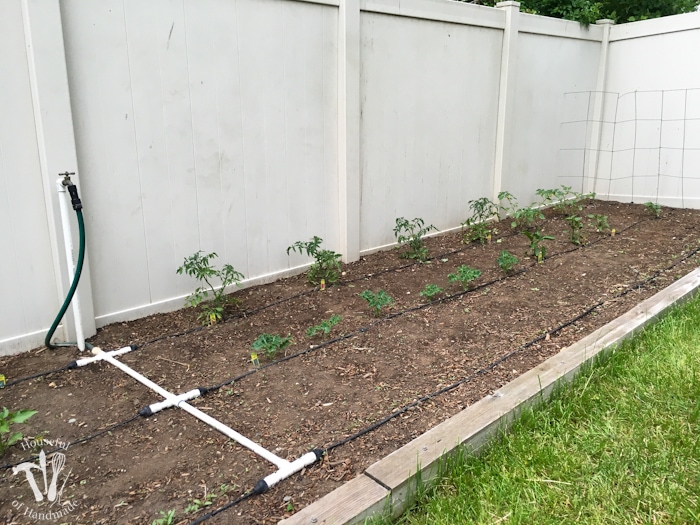
To start, you will need a pressure regulator that you screw right onto your hose. This will reduce the water pressure to 25 psi so it doesn’t blow out your drip system.
Then add a back flow valve so the water will not back flow into your water supply.
I added these directly on the end of my spigot that is coming up in my garden (which is on the sprinkler system).
Or you can add them right at the beginning of the drip system and then you can just attach your hose to them, but if you need your hose without them you can easily remove the hose.

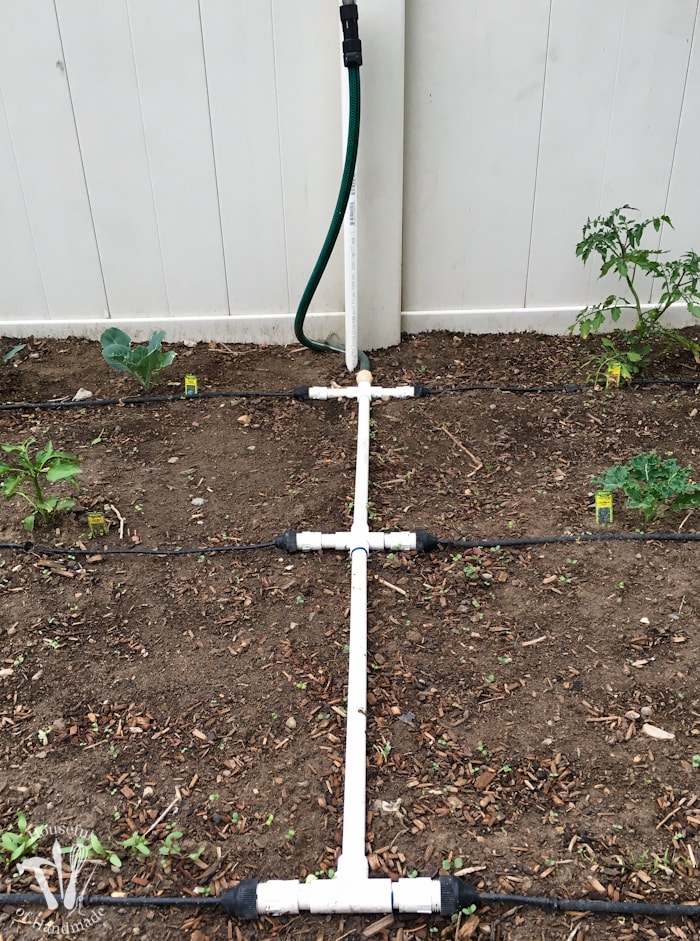
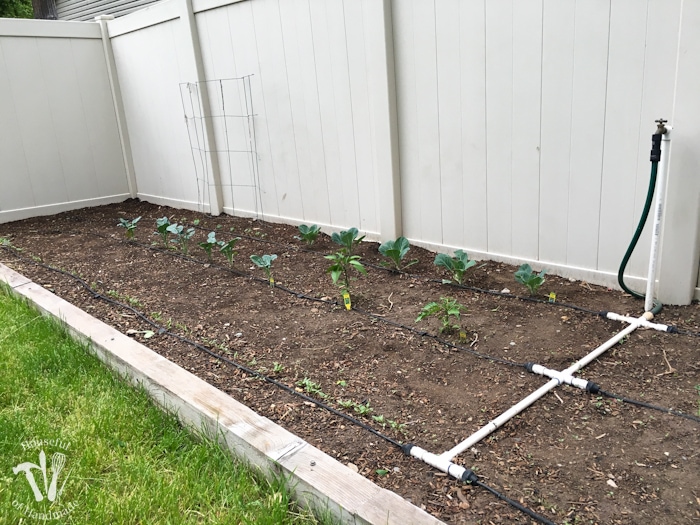
STEP 2- Make Rows from PVC
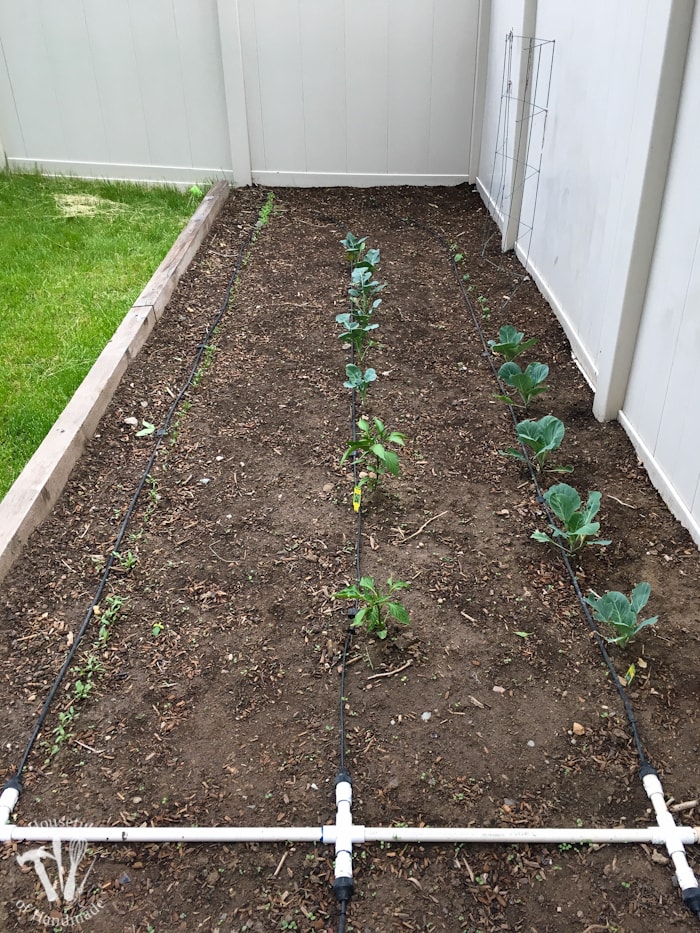
Next I made a little contraption with PVC pipe so that I had a straight line of drip system running down each garden row.
I have 3 rows in the garden, but since my spigot is in the center of my garden, my PVC runs down the center with the 3 rows extending off either side.
I glued it together just like you would the PVC that is in the ground for a sprinkler system.
On each opening, I added a fitting that I could attach a hose to. The back fitting was attached to the hose to the spigot.
On each of the rows I attached a faucet adapter from the drip system accessories that took the PVC to a 1/4″ tubing.
Then I stuck the tubing into the adapter and got to assembling my drip watering system!
STEP 3- Add drippers and hoses
I kept things really easy by using only 2 types of fittings:
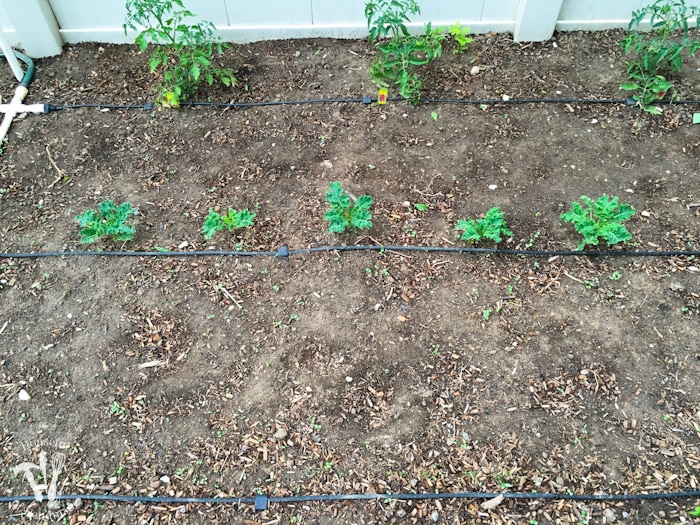
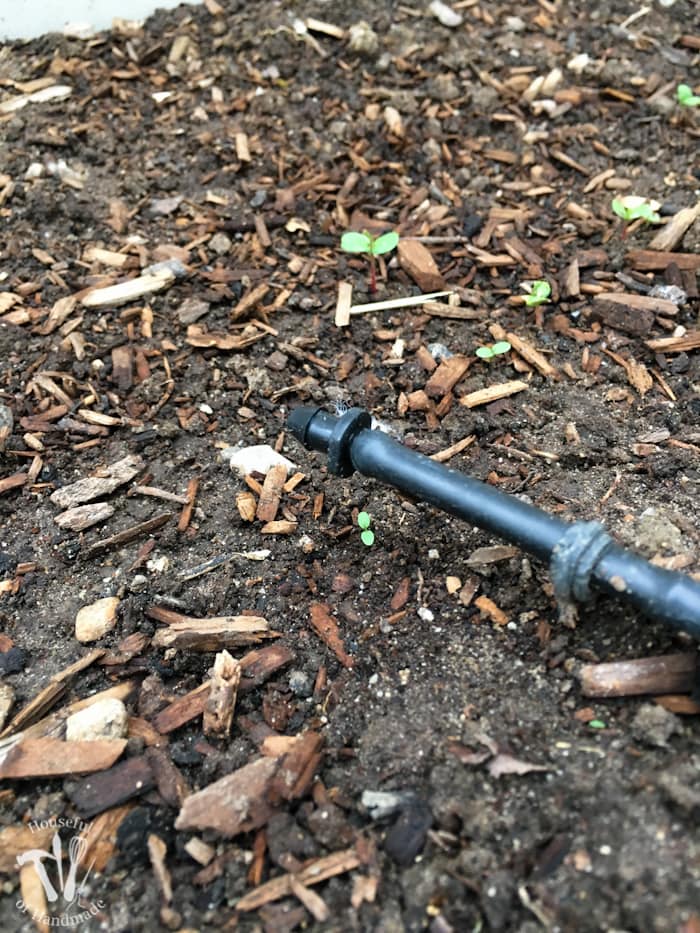
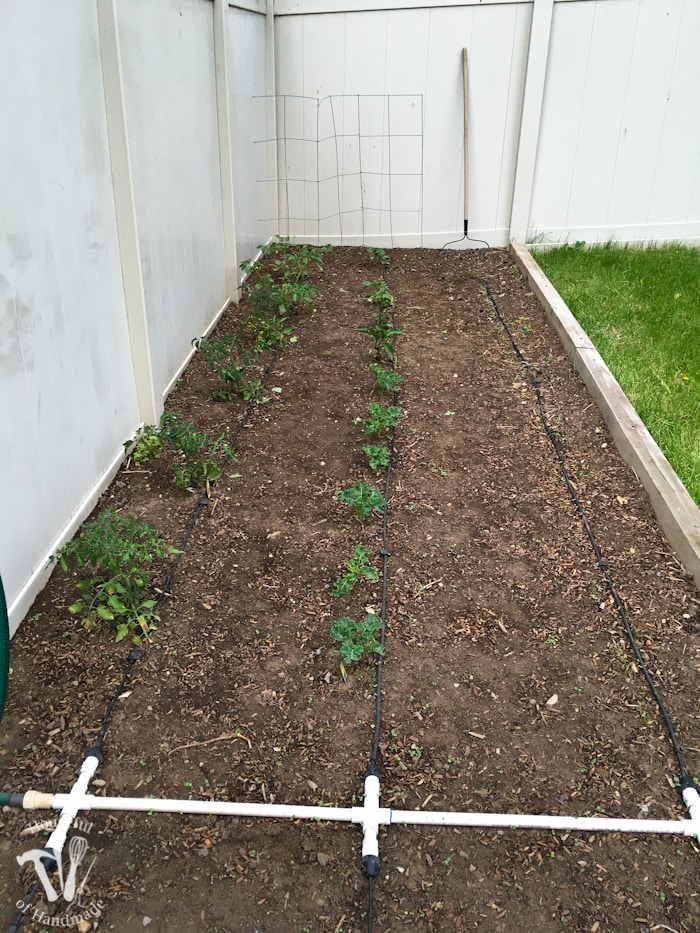
I use the soaker hose to run along all my row vegetables like carrots, beets, lettuces, peas, beans, even my medium plants like broccoli, cabbage and kale.
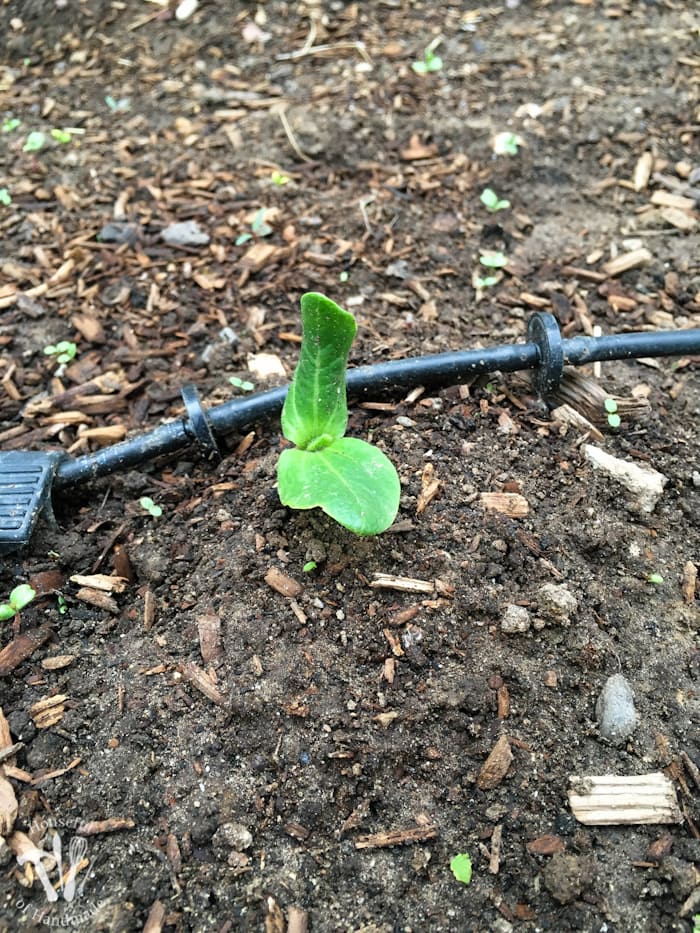
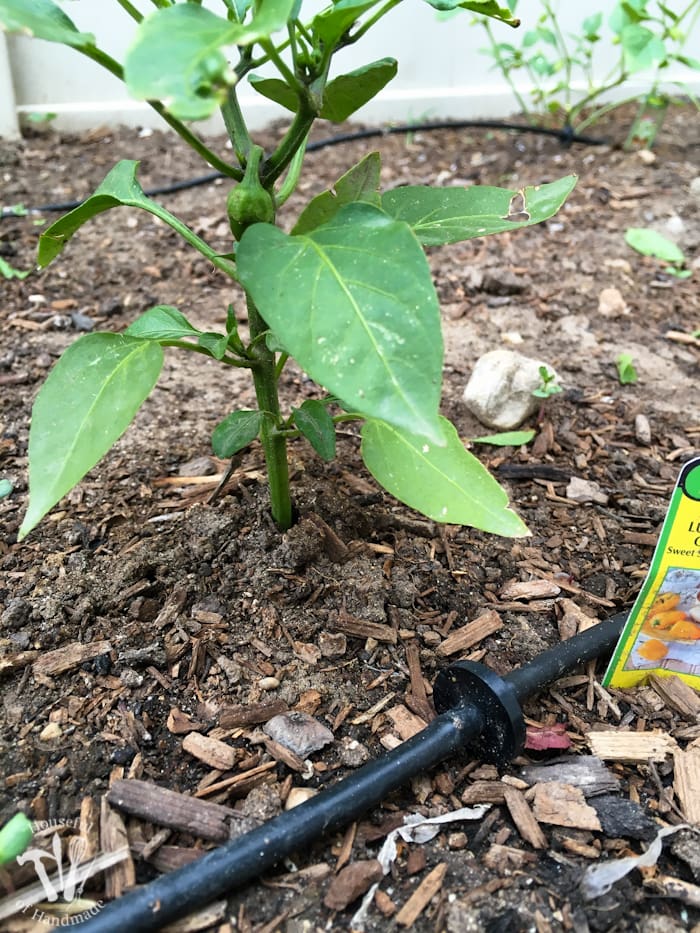
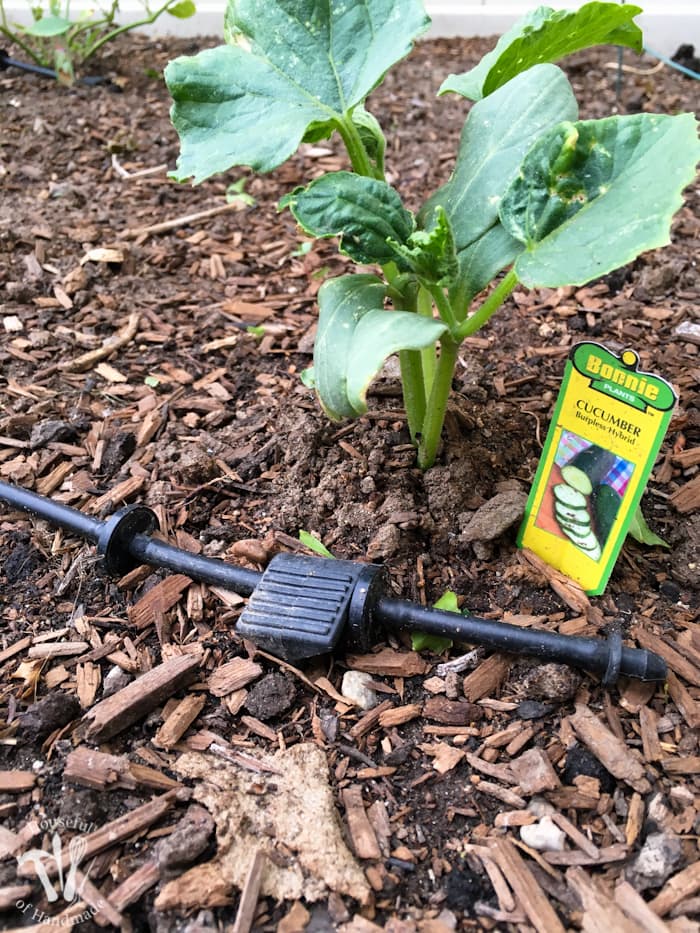
Then I use the inline drippers set into the 1/4″ tubing at the base of my larger plants like tomatoes, tomatillos, peppers, squash and cucumbers.
For really large plants like cucumber and squash plants, I put two inline drippers about 3 inches apart so they land on either side of the plant.
These plants can get big and they like a lot of water in the summer heat. The extra dripper keeps my plants happier in our dry heat.
It’s okay if you have row plants that need the soaker hose and larger plants needing inline dripper in the same row.
You can easily connect the soaker hose to the 1/4″ tubing by using a barbed connector.
Just push the tubing/hose onto either side of the connector and it stays put forever (seriously, they are a huge pain to get apart again, believe me, I have tried).
Then at the end of each row you will plug up the open hose with a goof plug.
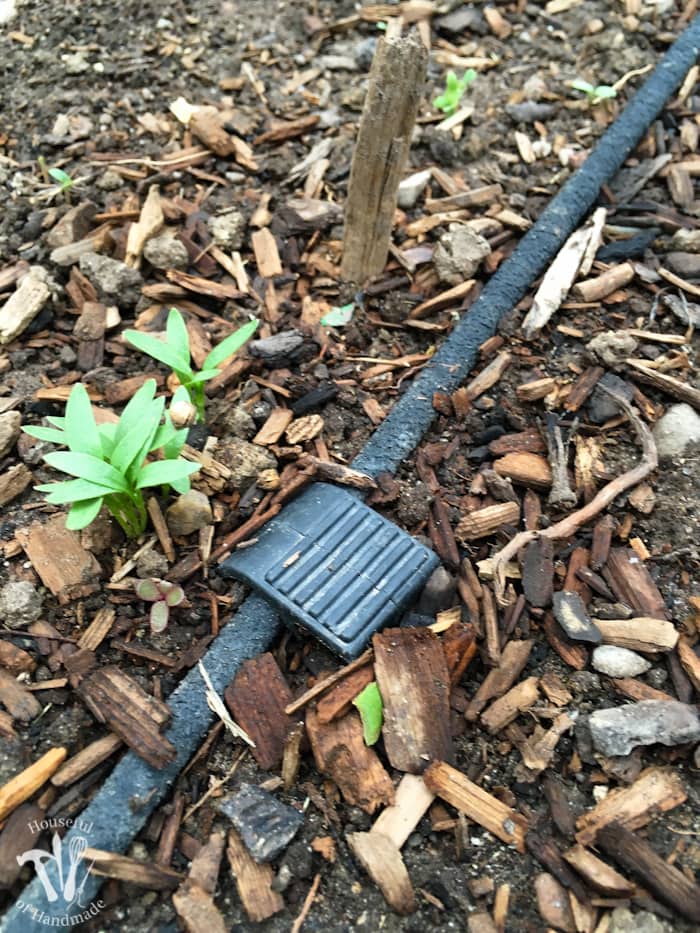
STEP 4- Stake down the hose
Finally, stake everything down so the system stays where it’s suppose to.
I have found I prefer the larger stakes over the cheaper little ones that clip to the 1/4″ tubing.
The little ones come out way too easily. Even though they cost a lot more upfront, you will reuse these every year.
STEP 5- Test the System
Once you set all the pieces in place, you can turn on your hose to test it out!
Because I reuse things every year, I double check that everything is watering how it should be.
I have found the soaker hose usually needs to be replaced after 2-3 years and occasionally I will have an inline dripper that will not be dripping any water or very little because it got plugged up.
I will replace anything that is not working and then sit back and sip a nice cold drink while the new drip system does all the hard work for me!
During the summers I usually water my garden for about 75 minutes 2-3 times a week. The hotter weeks I need 3 times and the cooler weeks I can get away with twice a week.
Watch your plants, if they seem stressed add another watering to keep them healthy all summer.
But it seriously takes the guesswork out of watering my garden because I know all the plants are getting the water they need.
If you don’t have a timer or sprinkler system, you can still easily turn on your hose, set a timer on your phone, then come back when everything is watered beautifully and turn it off.
Way better than having to move hoses and sprinklers around all day!
Happy gardening!
