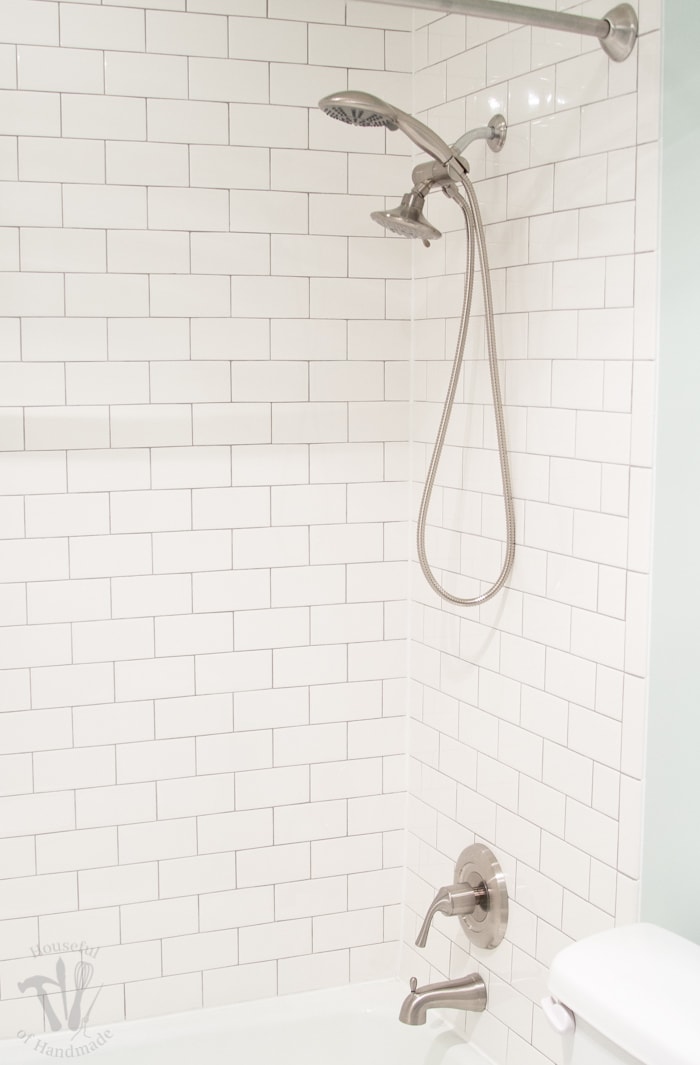
Last week after figuring out the tiling and grout, I was so excited to add my tub and shower fixtures and use the new shower! Even though the rest of the bathroom isn’t done, I was determined to start the completed shower.
So on Friday I took my daughter to Home Depot to pick out our new tub & shower fixtures. I found a nice gentleman in the plumbing isle to assist and told him I needed a new bath faucet. He asked me what valve I had? I looked at him like a dear in the headlights!
This post may contain affiliate links. As an Amazon Associate I earn from qualifying purchases. Click here to read my full disclosure policy.
Thankfully that very patient Home Depot employee explained to me what I wish I had known before we sealed up the wall! For any of you reading who know more about home improvement or plumbing, please do not judge me.
As I have said before, I am figuring this out as I go, and sometimes I am learning things too late. But if you have never attempted a DIY bathroom remodel, please read the rest of this post before you spend a week putting up the most perfect subway tile ever!
Inside the wall of your shower there is a valve. It sits squarely behind the trim piece and the handle that turns the water on. The valve is what controls how the hot and cold water come together and has the pipe that breaks off to the shower head.
I have seen this valve many times, then I closed up the wall with new cement board and covered it with beautiful tile. What I did not know… the valve is specific to the brand and even the model of the tub/shower trim.
Apparently, you need to pick out your trim kit first. Then plumb the new valve into the shower wall. Then close it all up and add your tile. Holy crap! What have I done?
That really nice man at the Home Depot told me that if I got a good picture of the valve stem sticking out of my wall, he could maybe help me find a new handle to operate it. There was a glimmer of hope for me so my daughter and I ran home and I took lots of photos, from every angle, from up close, and even a few from the other bathroom that had the same valve and the original handle still on it. Then armed with hope, we hurried back to get our fixtures.
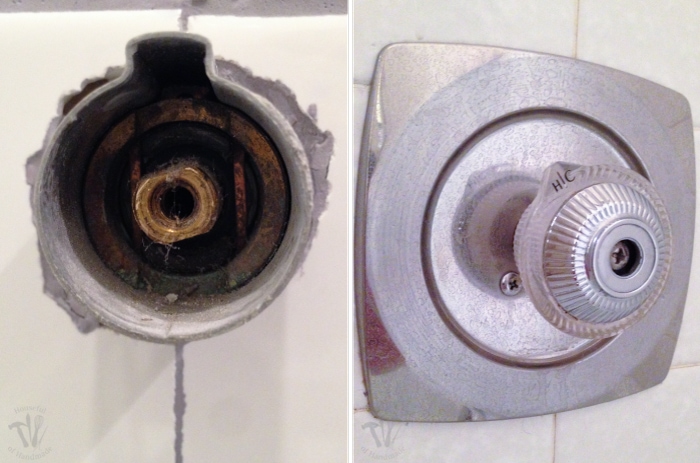
Our new favorite plumbing helper told me I took excellent photos (blogger skill I guess) and we looked at the back of everything we could to try to find something that would work for my valve so I didn’t have to rip out the brand new tile!
I really did not want to have to do that! Apparently they use to have a “universal” set that could work with a variety of valves with different attachments but it was not a good seller and they had discontinued it. We were striking out left and right. He recommended a specialty plumbing place that may be able to help but was unable to find something for me.
We went home devastated! My husband was out of town all weekend on a work trip and I had my heart set on a relaxing Sunday bath in my new shower. I unfortunately had other adulting I had to do while my son was at school so I couldn’t run around town to every plumbing store hoping for a miracle.
Instead, I spent every spare minute I had on the internet trying to learn what I could about bathtub/shower valves and trims.
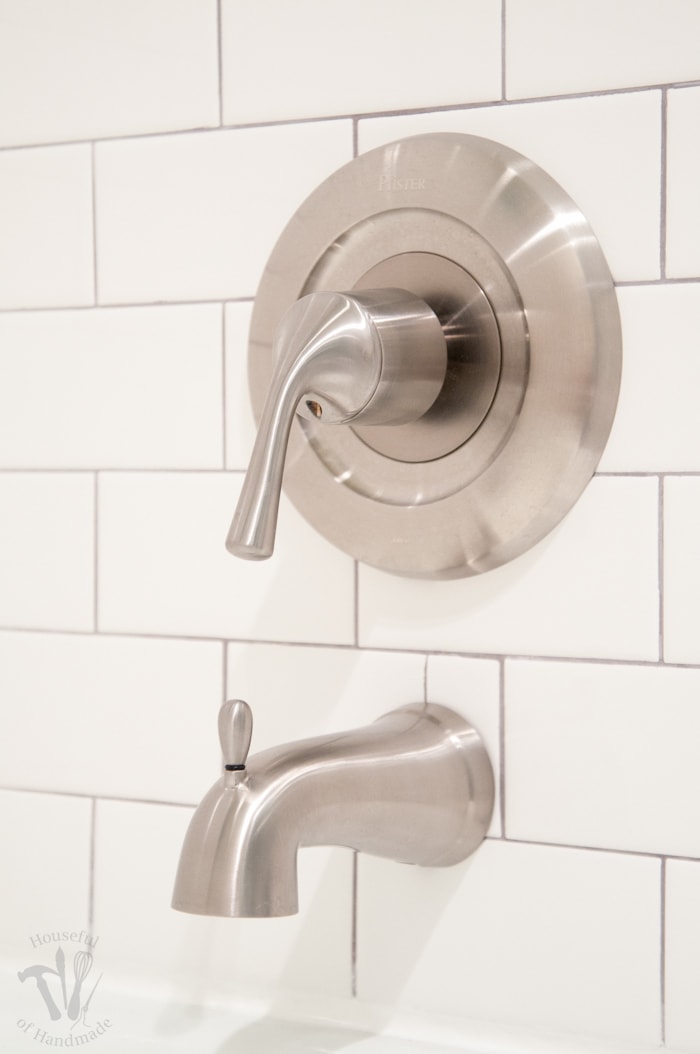
Eventually, I came across this Price Pfister Universal Tub & Shower Trim Kit and it said it would fit a lot of different valves. I clicked through to their website where they had the best pictures of the different valves that would work with it.
And low and behold, there was a picture of the Moen Moentrol valve that looked exactly like the valve stem in our shower. I was hopeful and hurried up and ordered the brushed nickel finish with overnight shipping (I was determined to get that Sunday bath in).
The trim kit arrived on Friday afternoon and I was eager to see if it would work. Now the story is far from over, I had another 24 hours of gut wrenching “Crap this bathroom is never going to happen!”, but I must start this story with another disclaimer.
At this point I guess I was just assuming something else was going to go wrong and I ended up with one of the most blonde moments of my life. Please be kind as you read this and just remember that I am not a plumber (if that isn’t glaringly obvious already).
I opened the kit and everything was fitting together perfectly. I really wanted to make sure everything was working so I was eager to turn the water on. I turned the handle all the way to the left… nothing happened.
I turned it all the way to the right… nothing happened. I pulled the trim pieces back off and grabbed a pair of pliers to turn the valve piece with to see if I could get some water. Nothing I did turned the water on. At one point I was pressing my ear to the wall just hoping to hear the sound of water to know that it was actually still plumbed to my beautiful shower!
At this point I decided I needed to step away, feed my kids, and spend some time away from what I was now referring to as the “Bathtub from Hell”. I swear I have never encountered so many disasters in a row on any other DIY project. After I got the kids in bed I went back to the internet and started searching.
I was trying to figure out if there was a supply line on/off somewhere. But everything I read said the toilet had one, the sinks had one, but the valve in the shower acted like an on/off switch so they were rarely installed. I texted my husband to see if he remembered turning something off when he added pipe to raise the shower head height. He did not recall anything!
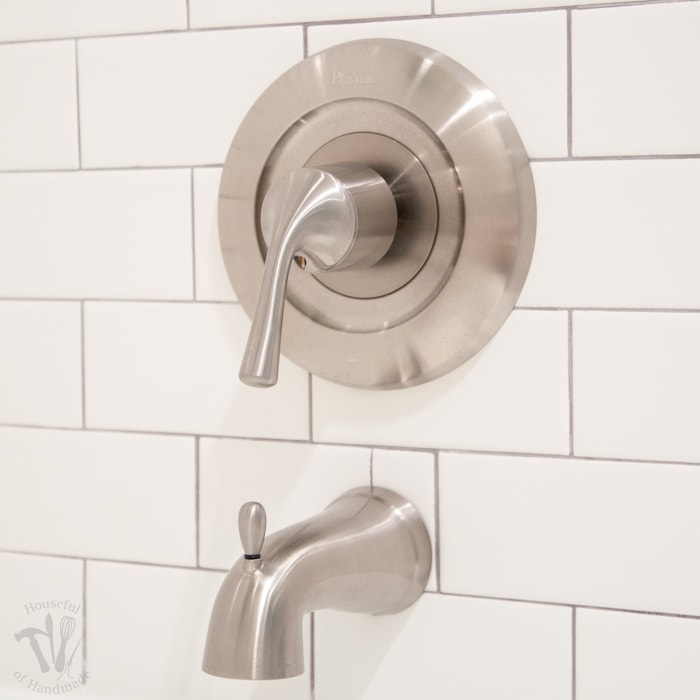
I even went as far as chipping a few inched of tile off around the valve so I could look inside everything better. The trim piece has a seal to close up the area around the valve and you really don’t need a tiny opening (I guess that is so that you can access the valve for repairs and such). I couldn’t figure anything out! So I went to bed frustrated and worried.
The next day I tried to ignore the bathroom. We went and played at a friends house all morning, then did a couple errands, and when we got home and the kids were ready to just chill, I wandered back into the bathroom to see if by some miracle I could figure things out! I could not. I tried twisting the valve stem back and forth, I did some more research, I may have even cried a little.
Then after dinner I went into our other bathroom to get the kids bathed before bed and grabbed the old out-dated handle and pulled! Oh my word! It hit me, the valve doesn’t turn on just by twisting it, you have to pull! I quickly screwed the handle off that bathtub and ran it into the master bath.
I screwed it into my valve stem and pulled… and there was water! I turned it to the left and it got hot and then to the right and it got cold. Hallelujah, I had water! Everything was working.
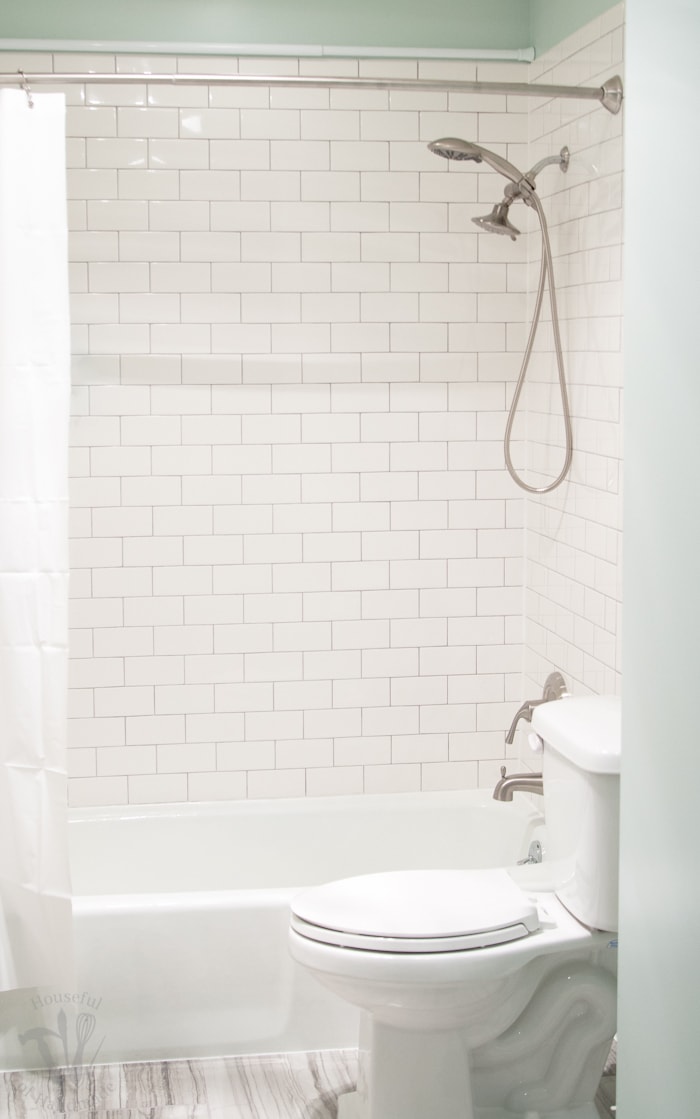
So after putting the kids bathroom back together and getting them happily tucked into bed. I put the pretty new Universal Trim Kit in my master bathroom shower and pulled the handle. Yep! I had stressed out for 24 hours because I forgot that you had to pull to turn on the water (see I told you it was the blondest moment of my life so far).
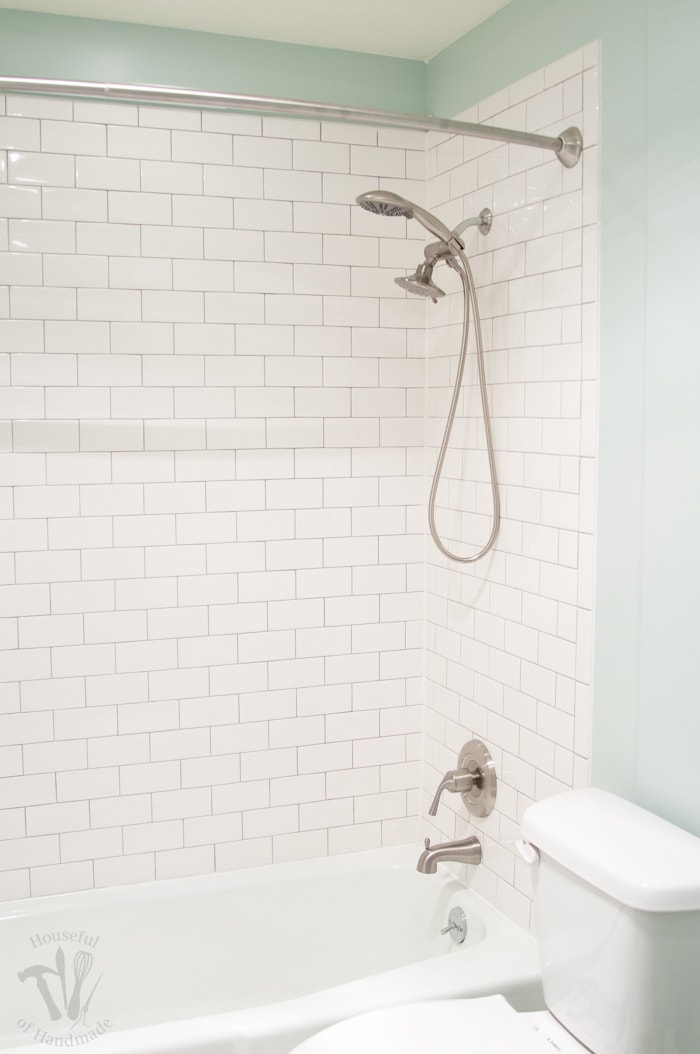
I had to hurry and text my husband with a picture of our working tub/shower. I was so excited I almost just filled the tub and had my celebratory bath right then and there (but it was pretty grimy and needed a really good cleaning first.
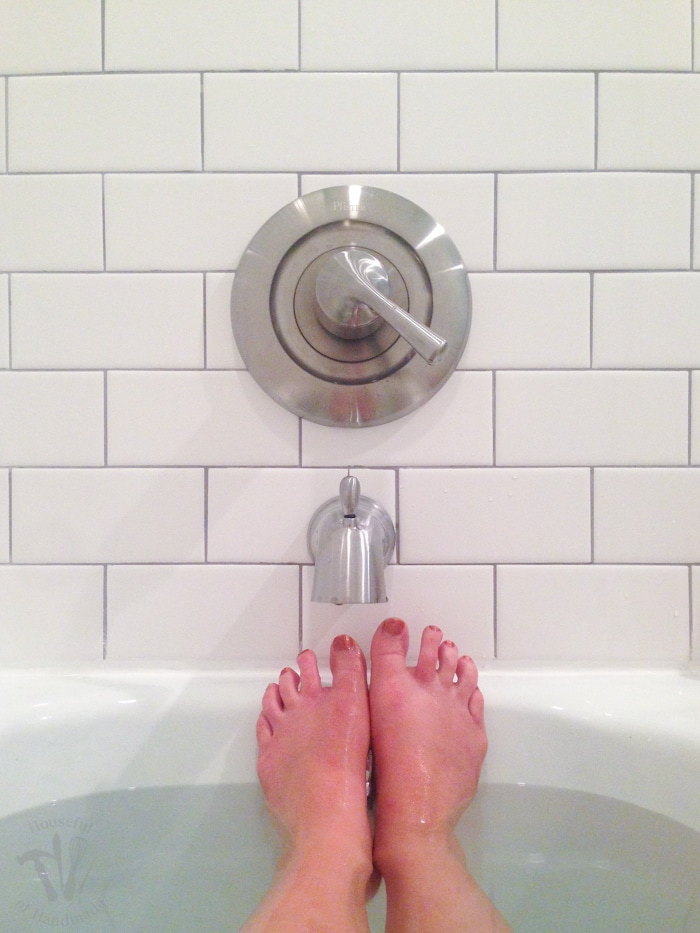
Luckily for me, the rest of the fixtures went on super easy, the tub faucet is just pushed onto the copper pipe and then secured with a set screw. The shower head is easily screwed onto the threaded pipe in the wall. And after a really good scrubbing, I was able to get my long awaited Sunday bath in my fantastic new shower!
Then to really fancy up our new shower I bought this awesome double shower head and we are loving it! Lots of spray options without extra plumbing (cause the last thing I need is another way to screw up this bathroom).
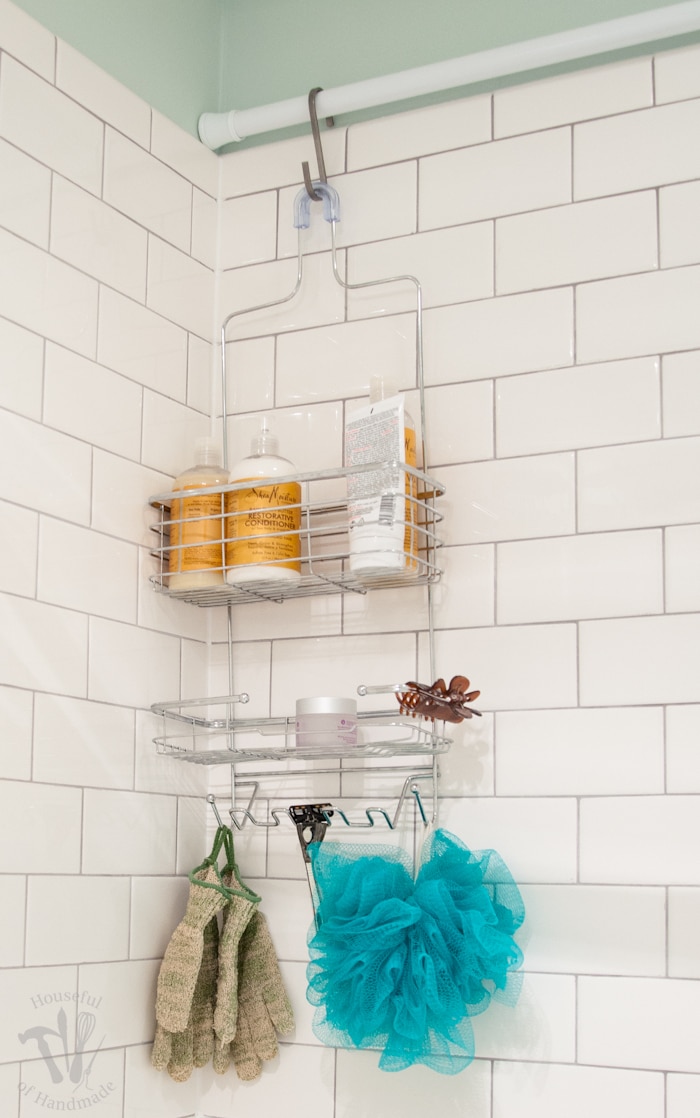
To hold all of our shower stuff, we prefer using a shower caddy on a tension rod at the back of the shower. It keeps all the stuff away from the water so it doesn’t get in the way. And I have had too many of the tension corner caddies fall on me during a relaxing bath for me to want another one of those.
So the moral of this story, maybe it’s a good idea to look at all the steps of the process before you start so you don’t end up realizing you missed something very important! Thankfully it worked out for me this time, but you better believe I am going to be more careful in the future.
I told my husband I am going to be a bathroom remodeling expert since I am making all the mistakes on this first one. And sadly, we have a second bathroom remodel that is going to have to be done before the end of the year.
But until then, I am going to just enjoy this week’s success and smile at my beautiful new shower that actually works!

