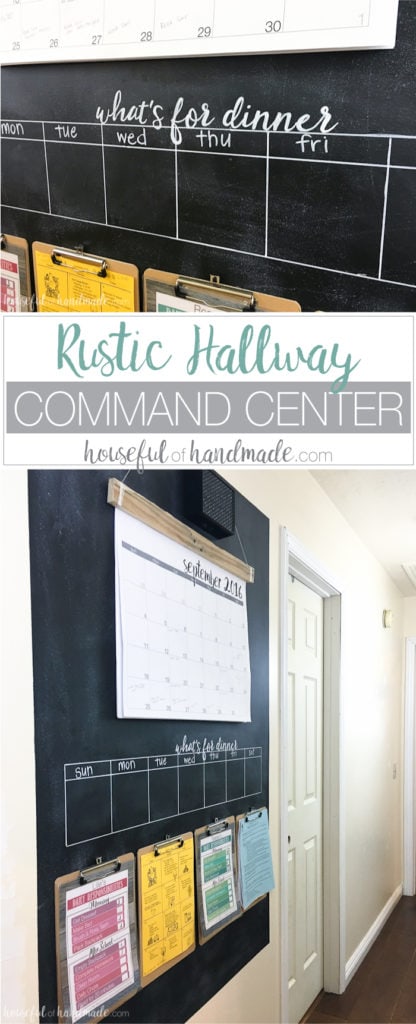
Make a DIY rustic hallway command center with just a few supplies.
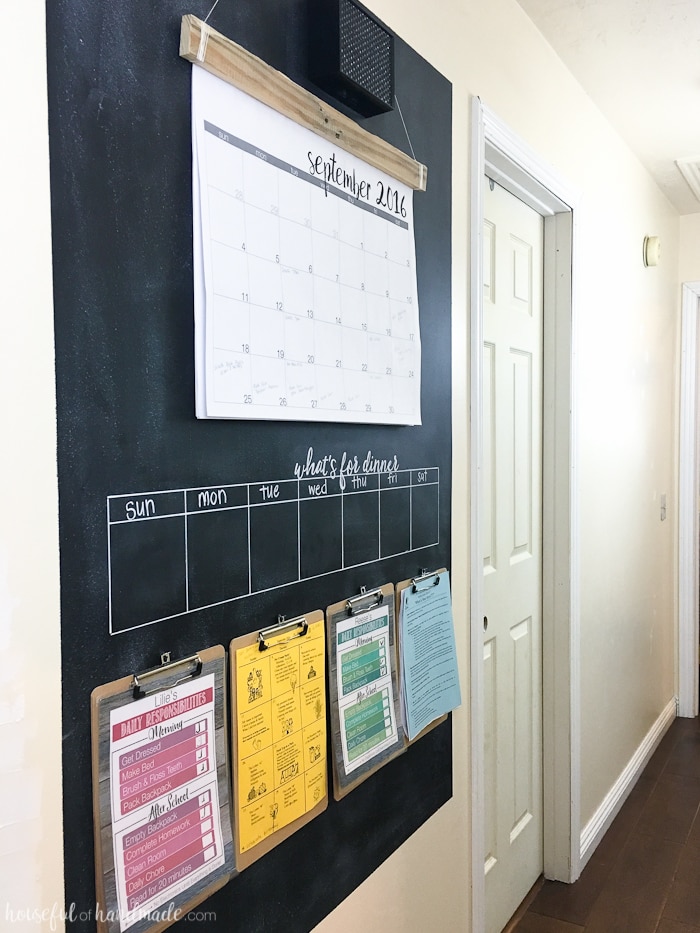
I’m so excited to share our new rustic hallway command center. I really should have completed this project long ago because having a command center has changed my life! Okay, maybe that’s little dramatic, but having a go to place for all the kids papers from school and activities, a giant calendar to keep us organized, and a menu board all in the center of our home is something I can’t believe I’ve lived without. It really is a nice feeling to be organized and ready to take on the new school year.
This post may contain affiliate links. As an Amazon Associate I earn from qualifying purchases. Click here to read my full disclosure policy.
When I trying to figure out where we could fit a command center in our home I almost didn’t bother making one since I didn’t feel like we had a good spot. I considered putting it on the wall in our dining room, but that would have meant no coffee station and a girl has her priorities.
But then one day, I realized I had a large blank wall in our hallway that is right off our kitchen so it was perfect for a command center. The idea stuck and over the next year I was planning it out in my head, but was too busy working on other projects so it kept getting pushed aside.
This year when the kids started school I couldn’t wait any longer. Our fridge was a mess of papers and as the days went on we just kept getting busier. So I took a break from my other projects to get our family organized! I’m hoping that getting us organized will help me have more time to get the rest of the projects done so it was a worthwhile detour.
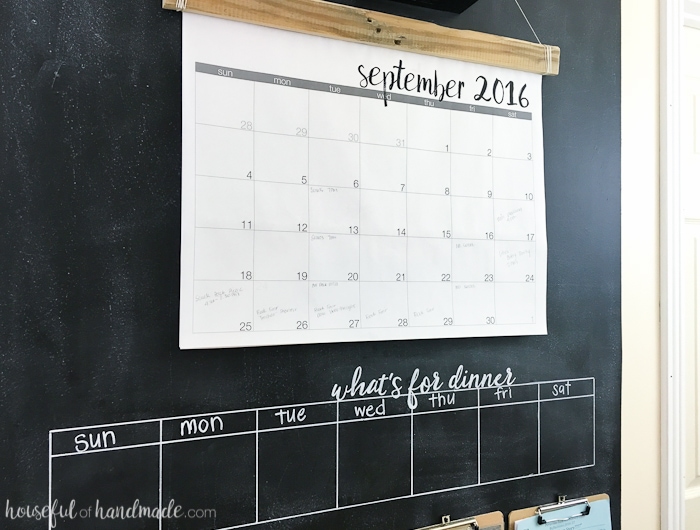
The base of our command center is a giant chalkboard. I love the rustic look of the chalkboard and being able to write notes and things on it is a huge bonus. I am still planning on adding a frame around the chalkboard, but first I need to add a fresh coat of paint to the rest of the hallway and life happened so it isn’t done yet.
This post contains some affiliate links for your convenience. Click here to read my full disclosure policy.
How to Make a Rustic Hallway Command Center
Supplies:
- Chalkboard paint
- Foam paint roller
- Giant wall calendar
- Clipboards
- Daily chore charts
- We use these ones during the school year and these ones during the summer
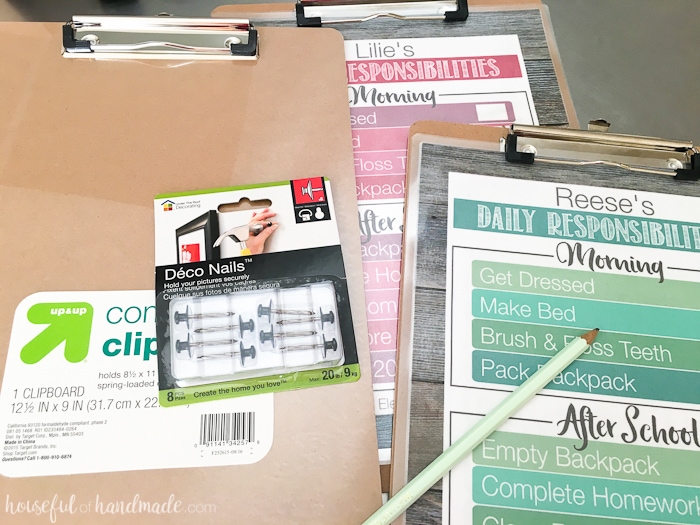
- Decorative picture hanging nails
- Chalkboard markers
- Chalk
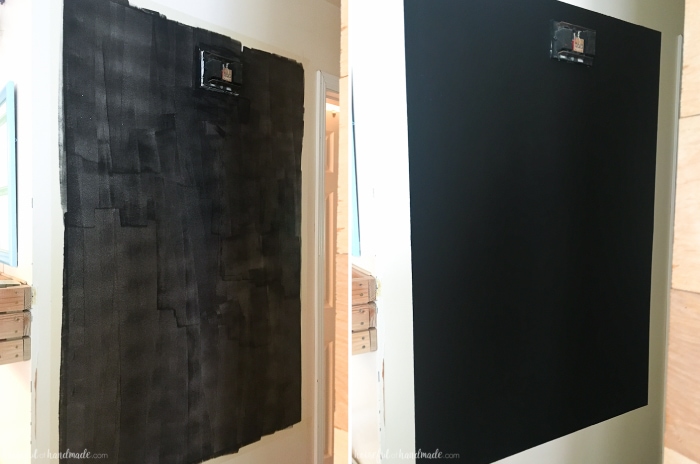
Start by taping out a giant square in your hallway that will be the final size of your command center. Take into account everything that needs to be able to go inside the command center. Then using a foam roller, paint at least 3 coats of your chalkboard paint. After the first coat I was worried, it looked super awful and streaky, but after 3 coats it looked like a beautiful chalkboard.
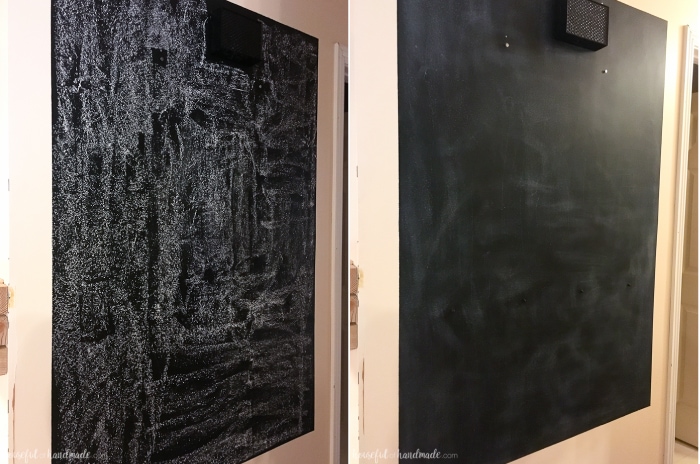
After your chalkboard is dry, it needs to be primed so it’s ready for use. Grab a large piece of white chalk and rub it all over the chalkboard. Then wipe it off. Now you are ready to make your new rustic hallway command center work for your family.
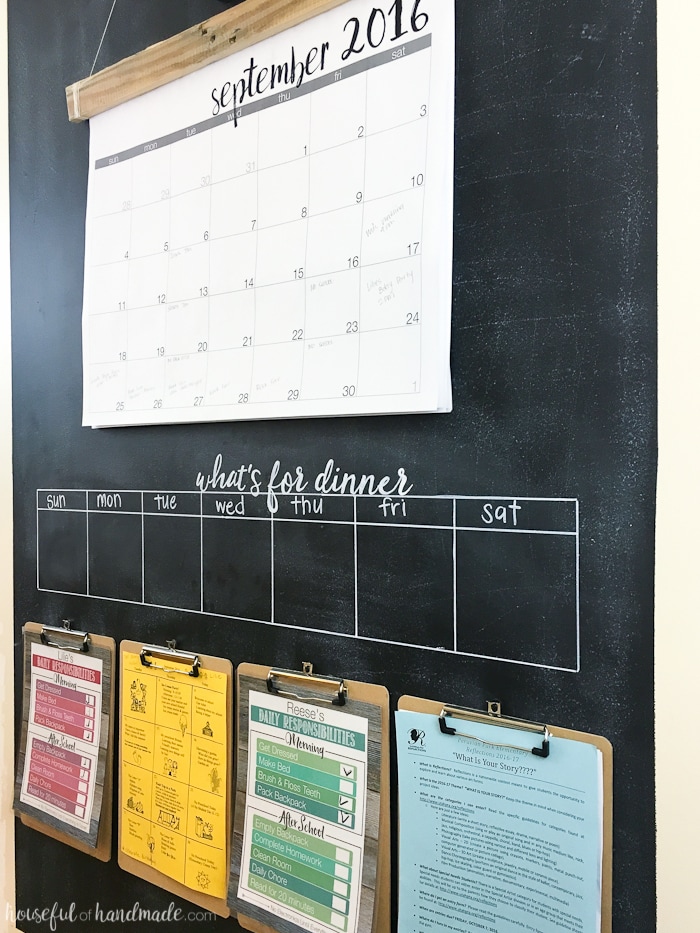
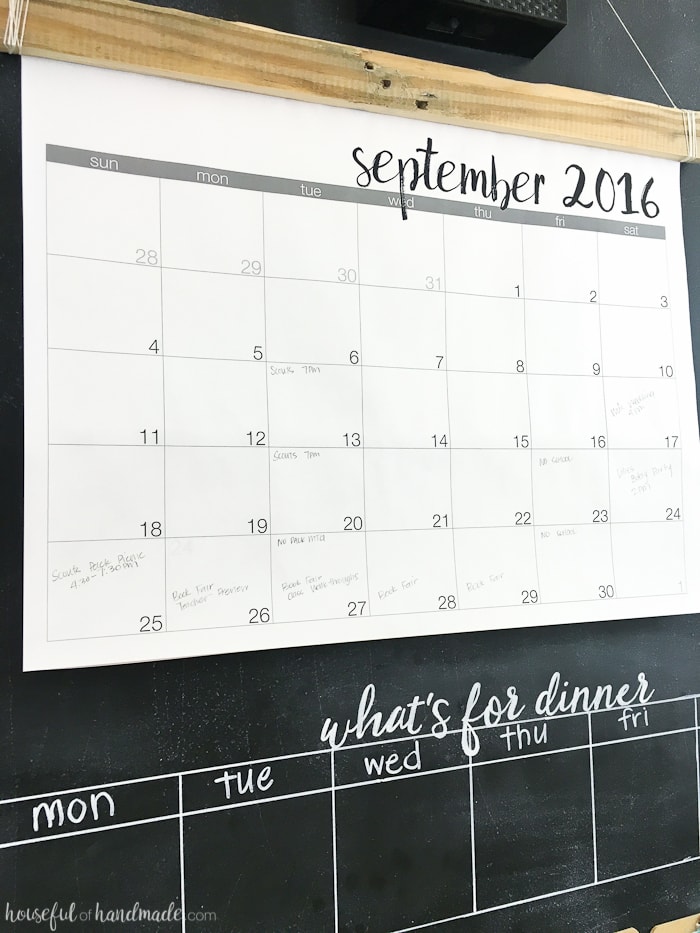
At the top of the chalkboard add a giant wall calendar. I DIYed the one in our command center and we love it! It’s super big and adds some more rustic flair. See how I made it here and get the free printable calendar files.
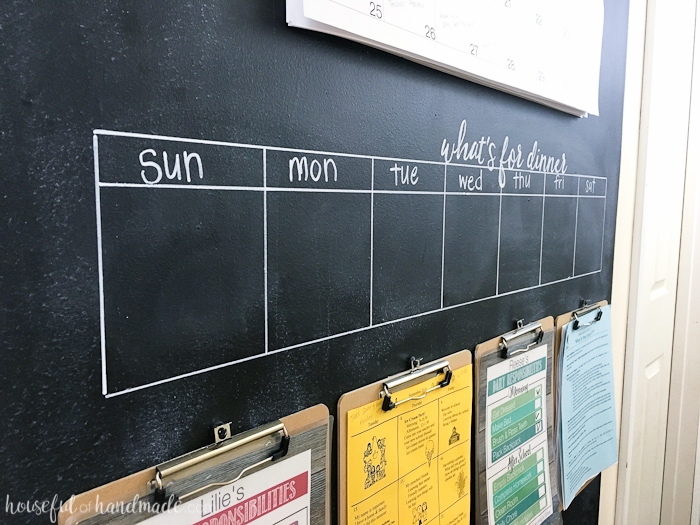
To make the weekly menu plan, measure out 7 squares on your chalkboard. You can easily mark things out where you want it in chalk (yeah for chalkboards). When you are happy with the final design and spacing, draw your lines with a chalkboard marker.
The chalkboard markers do not wipe off with a dry eraser so you can reuse the menu board, but if you change your mind in the future, it can be removed with a wet cloth.
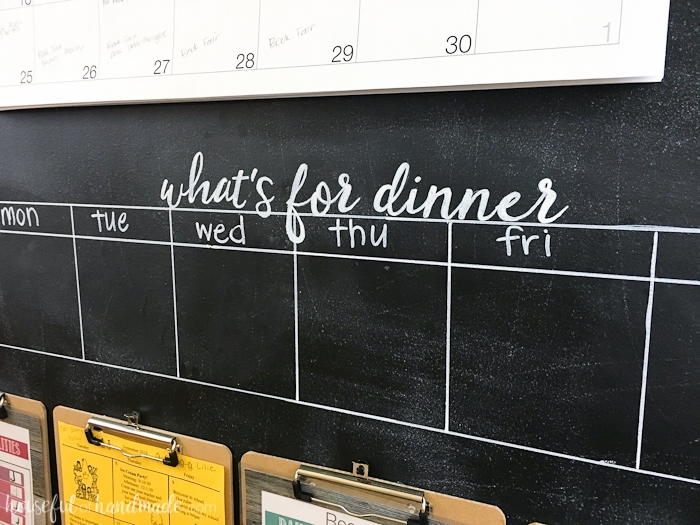
To add the “What’s for dinner” above the menu board, I used this tutorial from from Jenny at Refresh Living to make sure my letters were beautifully written.
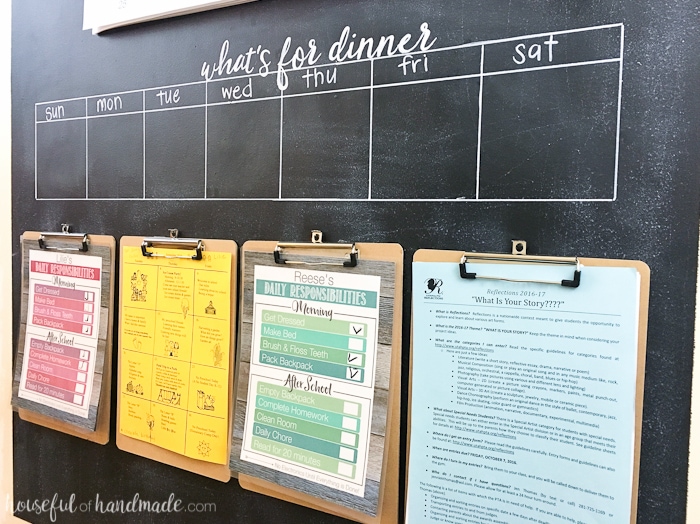
At the bottom of the command center, hang your clipboards with the decorative nails. I love the black ones I found because they completely disappear into the chalkboard.
For our command center, we are using 2 clipboards per kid. On one clipboard we have their daily chore charts and the other one is for important papers that the kids bring home (like school calendars, activity notes, and events).

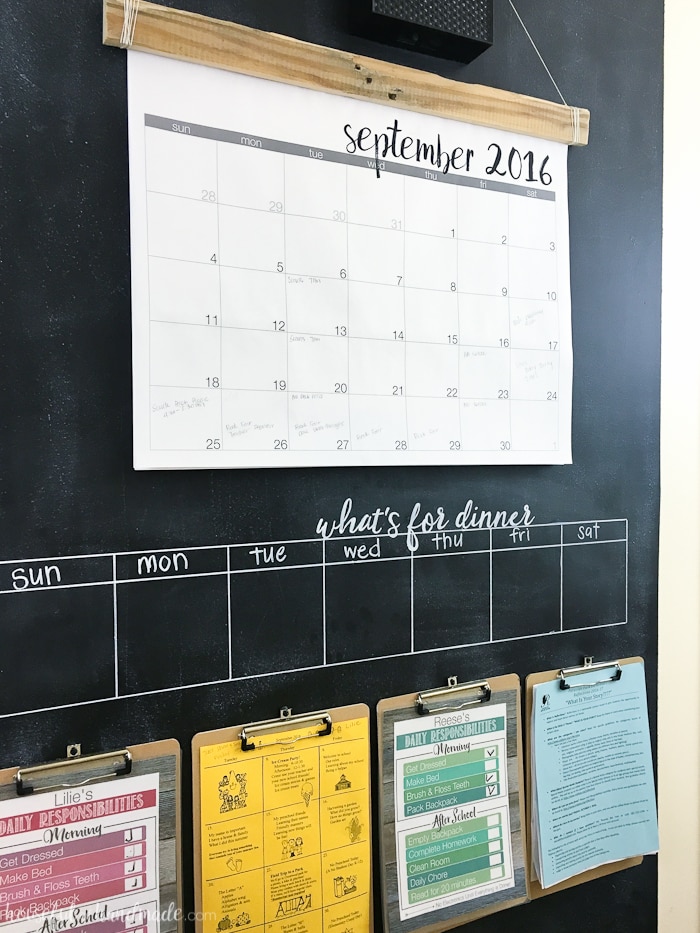
Now you are ready to use your new rustic hallway command center! Enjoy having a happy and organized family, I know we are.

