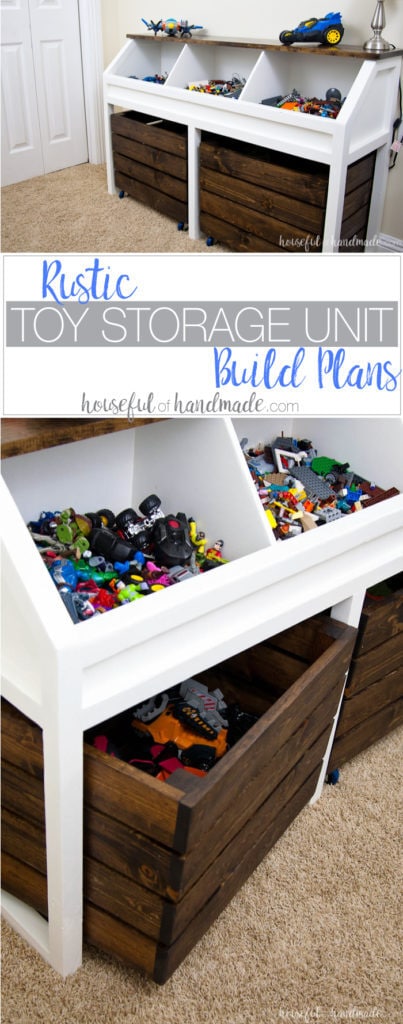
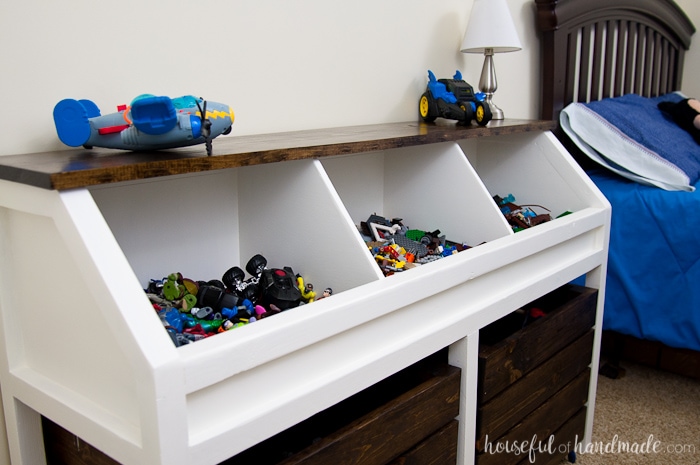
Build this rustic toy storage unit for the perfect place to store all your kid’s toys.
One thing I always think about as Christmas gets closer, how can we possibly add more toys to our house without driving me crazy? Please tell me I am not the only one. So this year I partnered with Kreg Tools and their project plan site, buildsomething.com, to build the perfect toy storage solution.
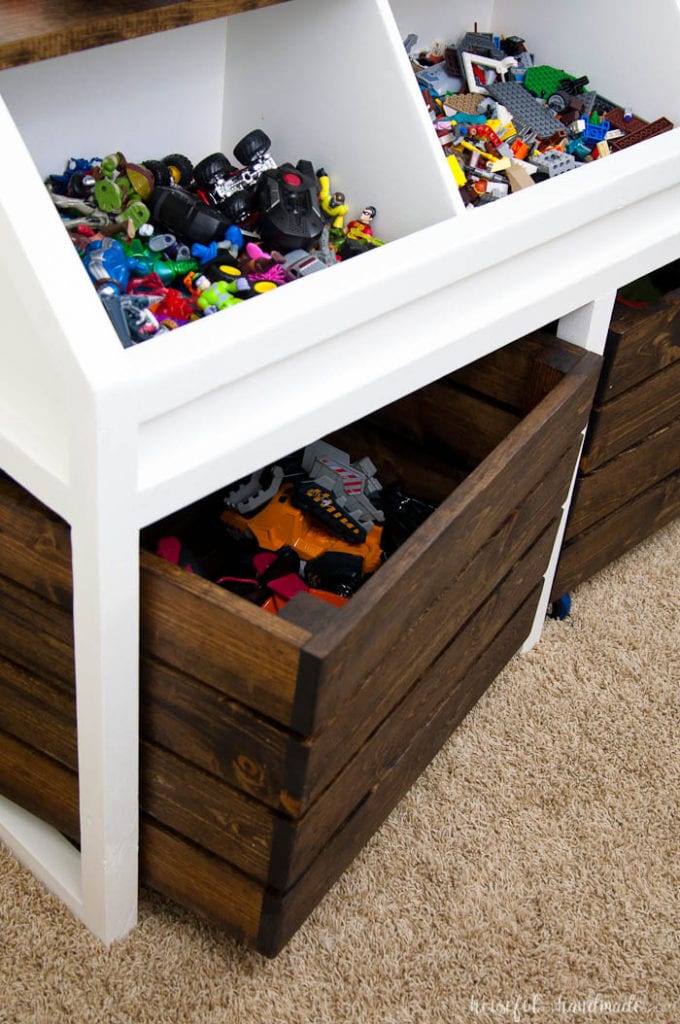
The thought of more toys to fight my kids to pick up makes me crazy. So this year we are trying to get things organized before adding more to the mess. I started with my son’s room. His toy organization was non-existent so I made him this rustic toy storage unit and am sharing the build plans with you.
My son is starting to get older and so his toys are getting smaller. Sometimes I miss the days of large, easy to pick up wood blocks, but instead our house if full of Legos.
This post may contain affiliate links. As an Amazon Associate I earn from qualifying purchases. Click here to read my full disclosure policy.
Everyone that has stepped on Legos with bare feet or heard the plink-plink-plink of those darn things getting sucked into the vacuum again, knows how hard it is to keep the Legos contained. If they weren’t such a great toy, I think we all would have boycotted Legos many years ago.
Instead we just need to find a way to contain them.
We have tried organizing them in plastic bins, I have even tried to keep them separated so they are easier to find what you want. That just didn’t work for us.
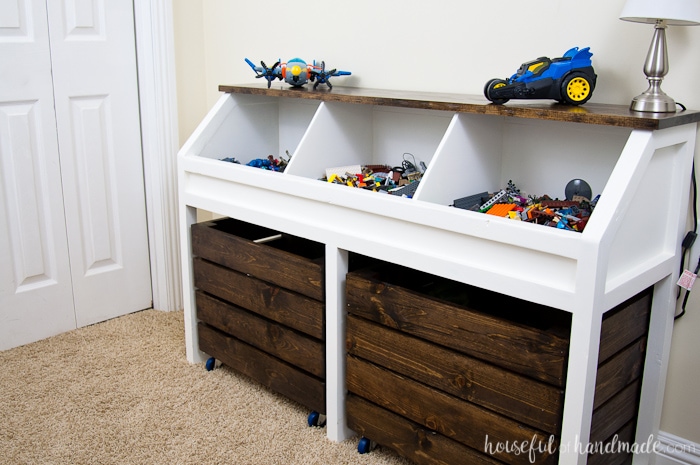
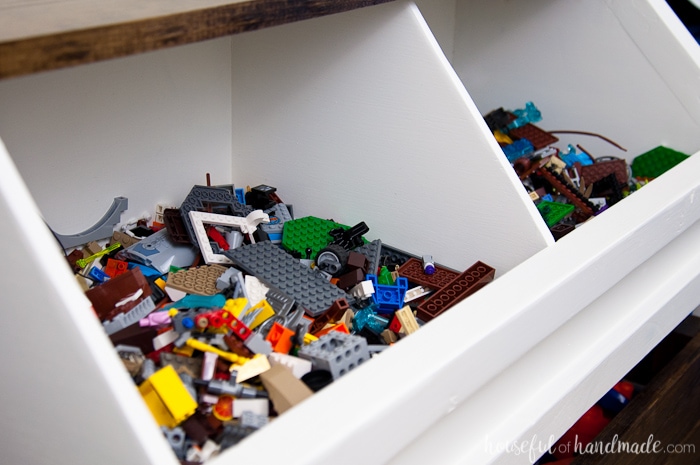
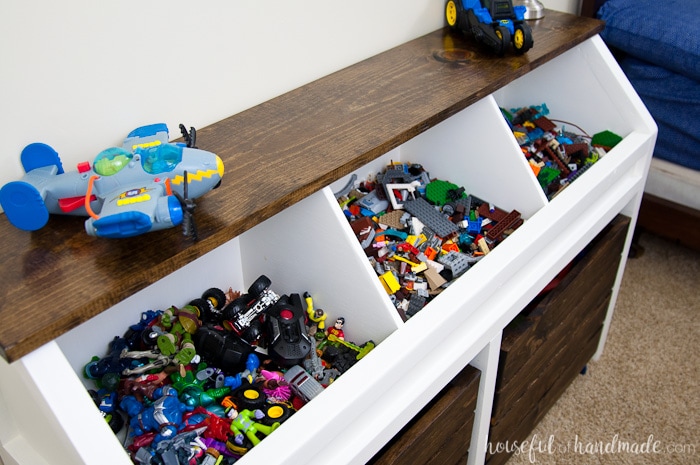
We found a few large bins to hold all the little Legos, that are open and easy to toss the Legos into as we clean up, works best for us. The open bins at a comfortable standing height also make it easier to dig through and play with.
That was the starting point for the build plans for this rustic toy storage unit.
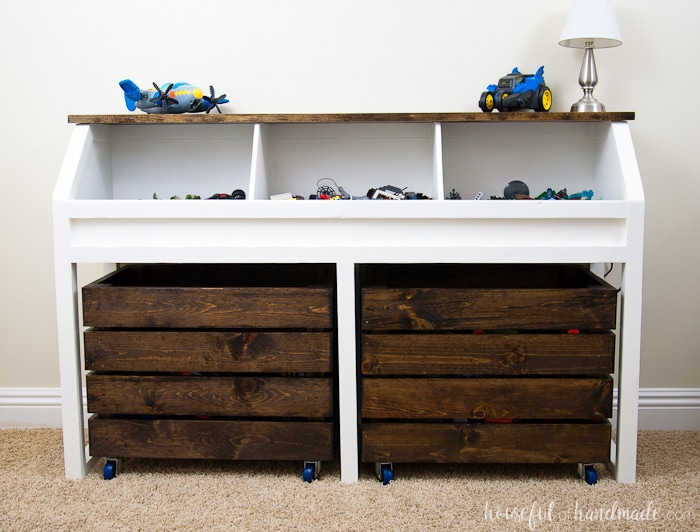
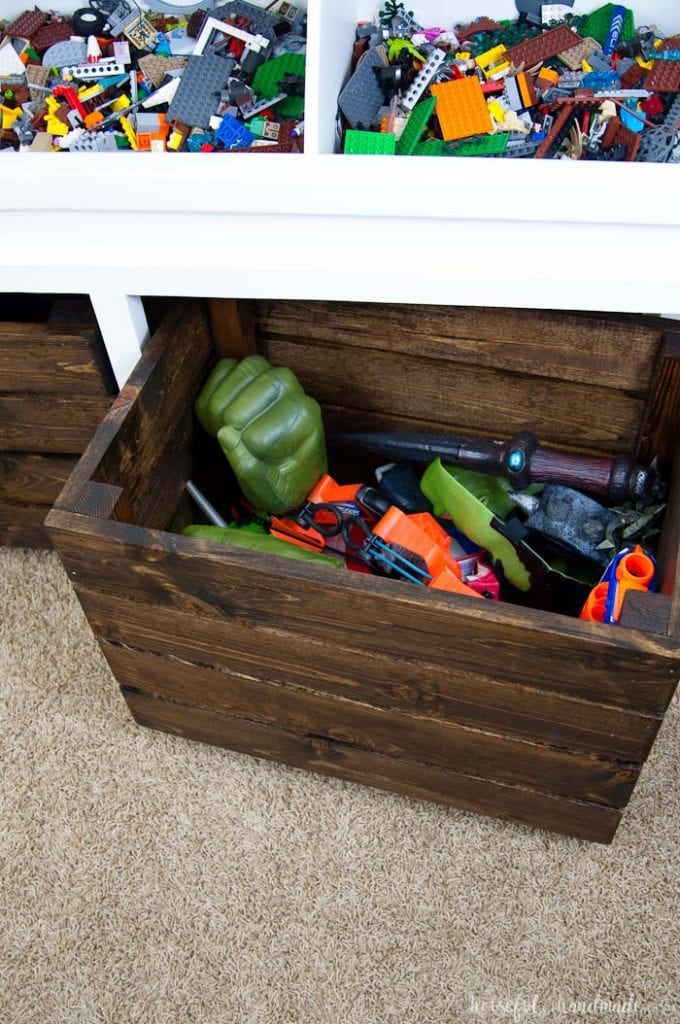
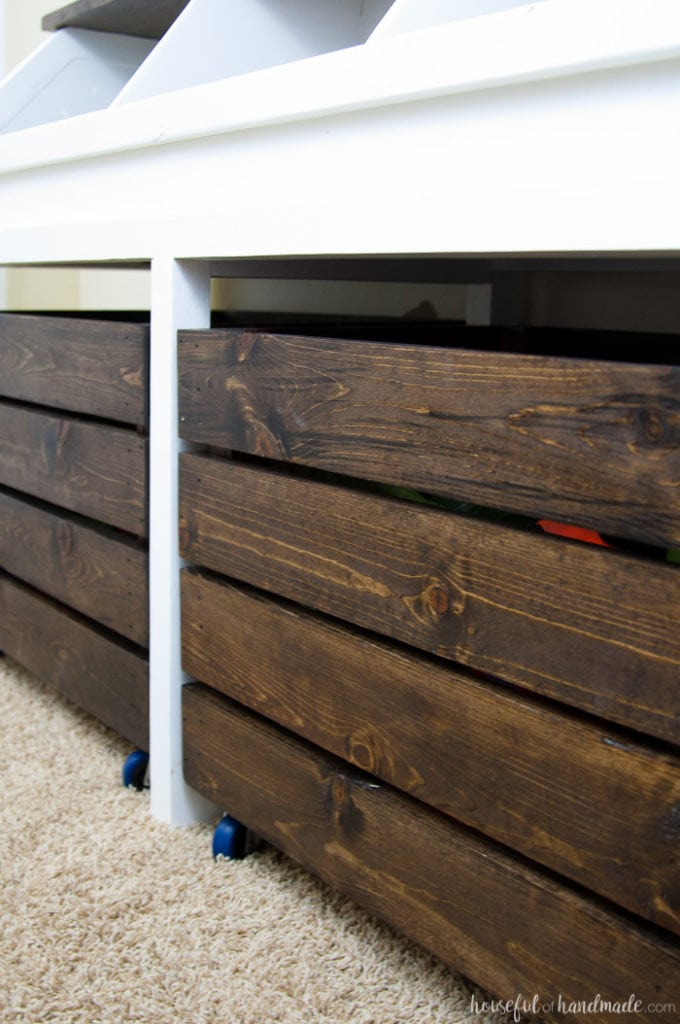
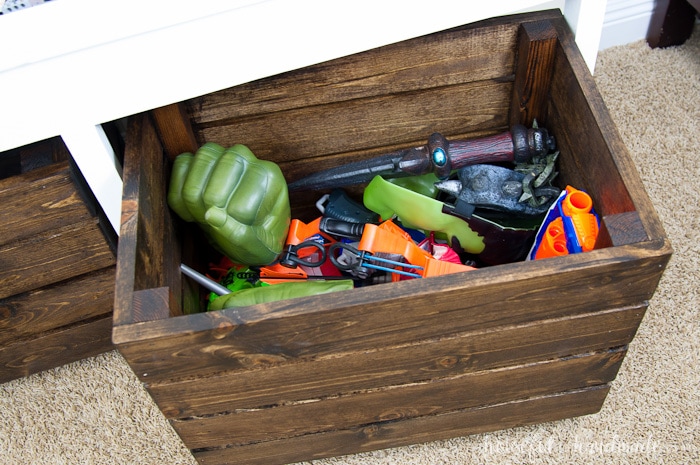
Now that the Legos were taken care of, we needed to address the rest of my son’s toys. We also had bins of action figures, cars, and assorted super hero paraphernalia and weaponry. So I also created large rolling bins to help corral all these toys too.
He loves that the bins can be rolled around to where he is playing. I love that he can easily throw the toys back in the rolling bins and when they are pushed under the storage unit everything looks so neat and clean.
Our rustic toy storage unit is also the perfect organization console to grow with my son. It will hold all his toys now, but as he grows, we can use these bins to hold whatever he decides to entertain himself with.
The storage console is not juvenile looking, heck it doesn’t even look like a toy storage unit. The top shelf on the console can hold his creations, as well as a lamp and alarm clock.
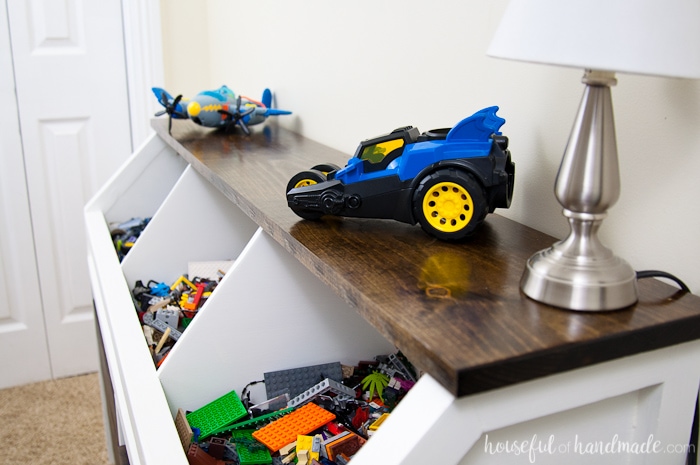
I stained the console top and bins so they matched the industrial wall-mounted desk I built for him a couple months ago. The dark stain is very forgiving when the kids beat up the furniture too (sadly, I have to plan for my kids to beat up everything).
And the white console helps brighten up what could end up being a dark basement boy’s room. It also makes it easier to find the little Legos in the bins.
My son is super happy with his new toy storage console. He’s already been playing with his Legos and action figures much more because they are easy to find.
And there is even some room for growing, since it is almost Christmas.
Toy Console Build Plans
If you are ready to build your own rustic toy storage unit, you can find the free build plans over at Kreg Tool’s new DIY project plan site BuildSomething. Click here for the free build plans for this console.
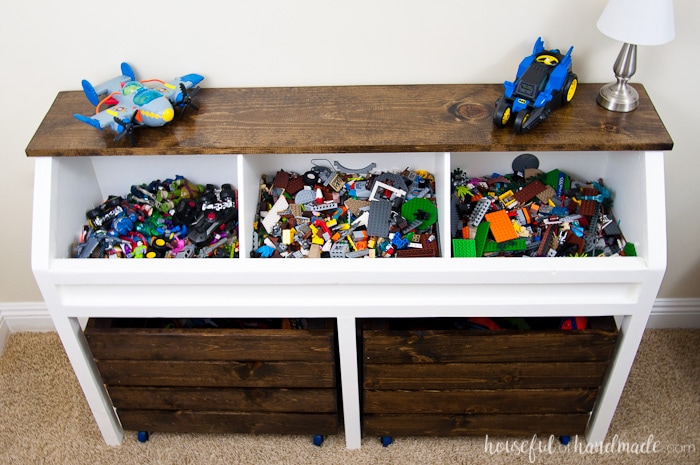
Doesn’t everything just look so clean and organized? It’s like an early Christmas present for me. Now if my son can keep everything clean and organized it will also be a Christmas miracle 🙂
UPDATE: We have now moved this toy storage unit to Texas. It has help up soo well! The only challenge is my now 11 year old tends to pile books and papers on the shelf.
It made moving pretty easy too, we just plastic wrapped the top with the Legos in it, and wrapped the rolling baskets too.

This post is sponsored by Kreg Tools and their DIY project plan site BuildSomething. All opinions are 100% my own. Click here to read my full disclosure policy.
