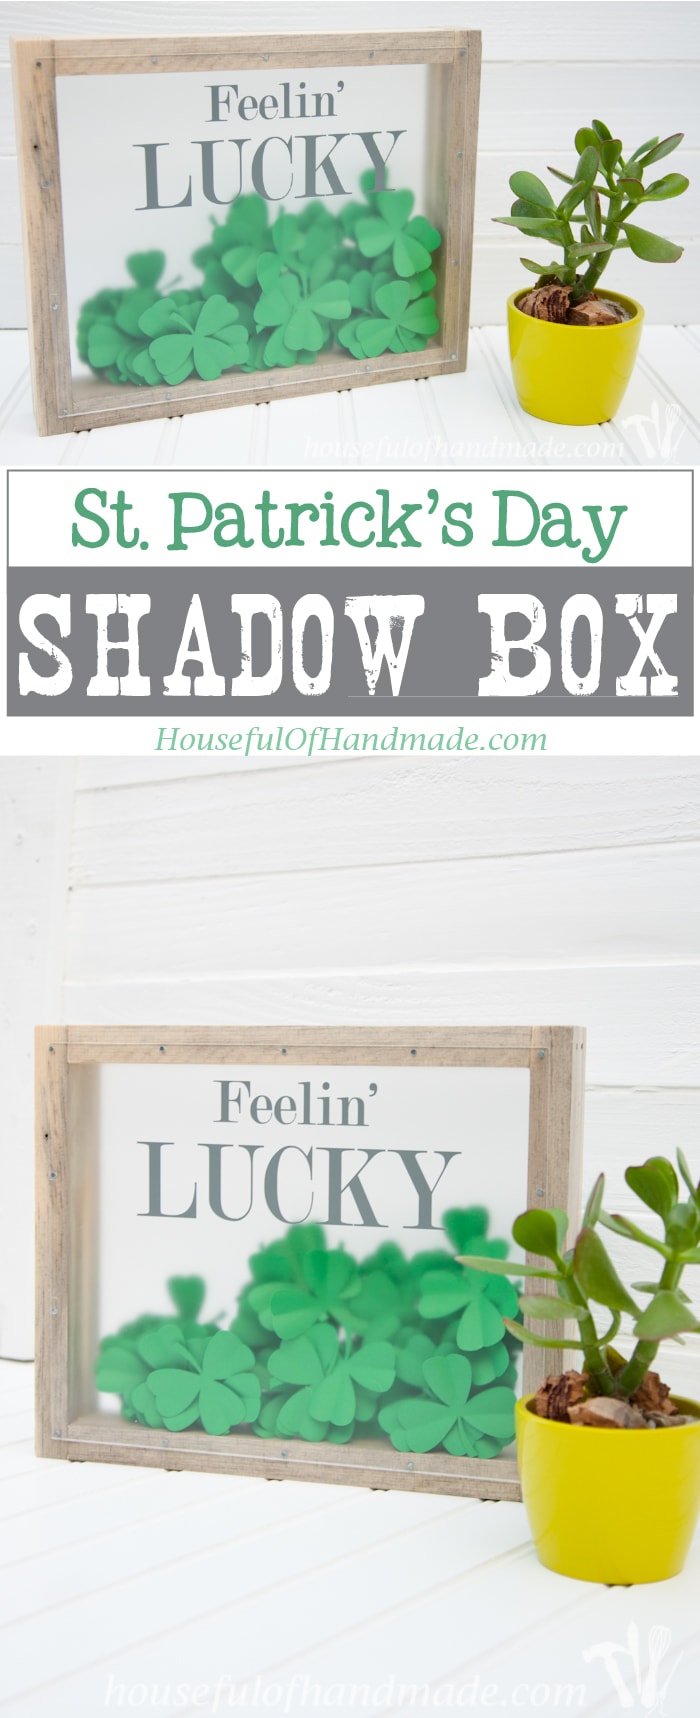
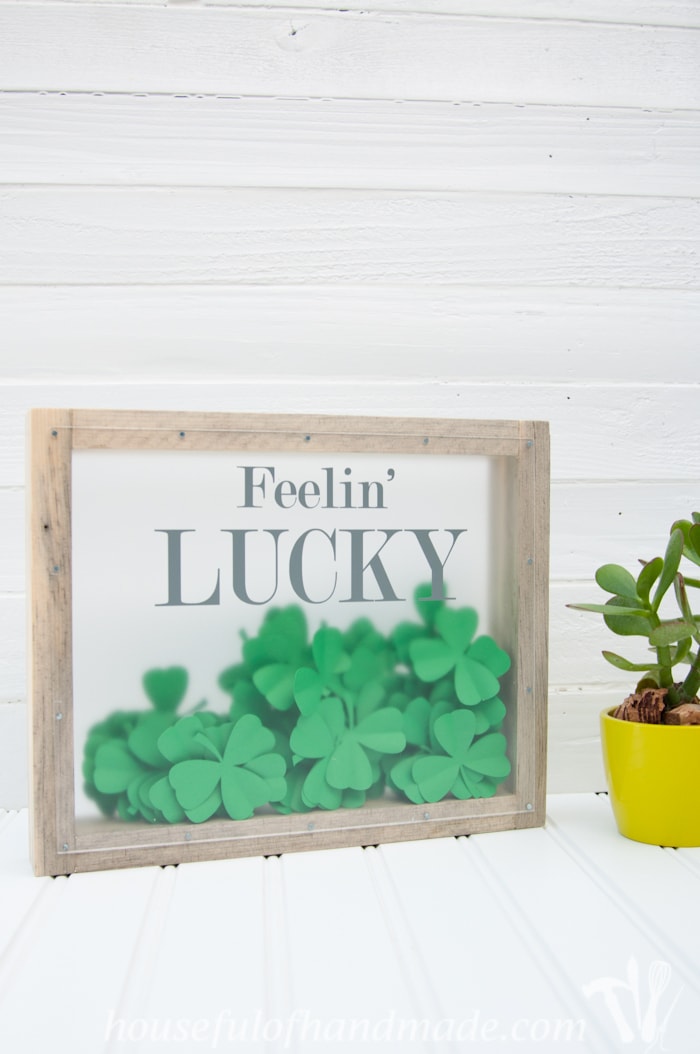
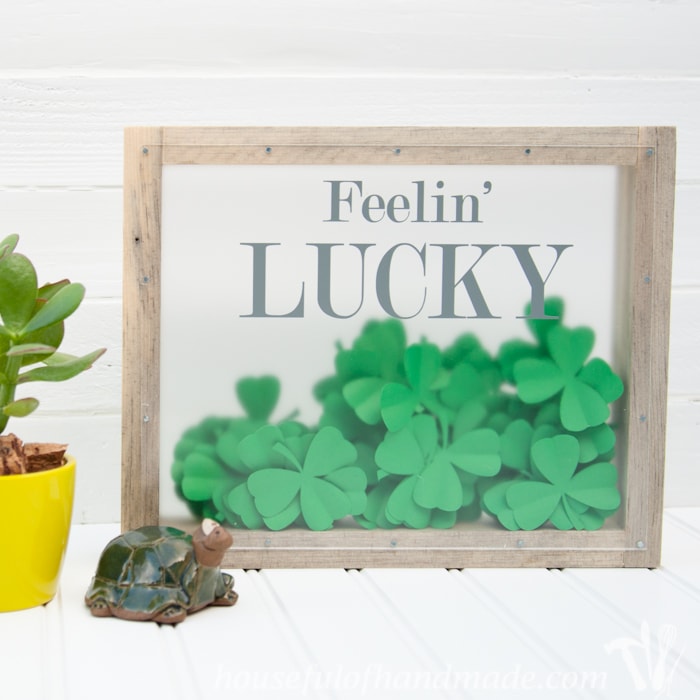
OMG! St. Patrick’s Day is the next holiday, do you know what that means??? Spring is so close! I cannot believe how excited I am for spring. I am so ready for the ground to thaw so I can plant something. But until then, I will have to do some spring decorating to bring the green inside. I am starting my green decorating with this St. Patrick’s Day Shadow Box for the mantle.
This post may contain affiliate links. As an Amazon Associate I earn from qualifying purchases. Click here to read my full disclosure policy.
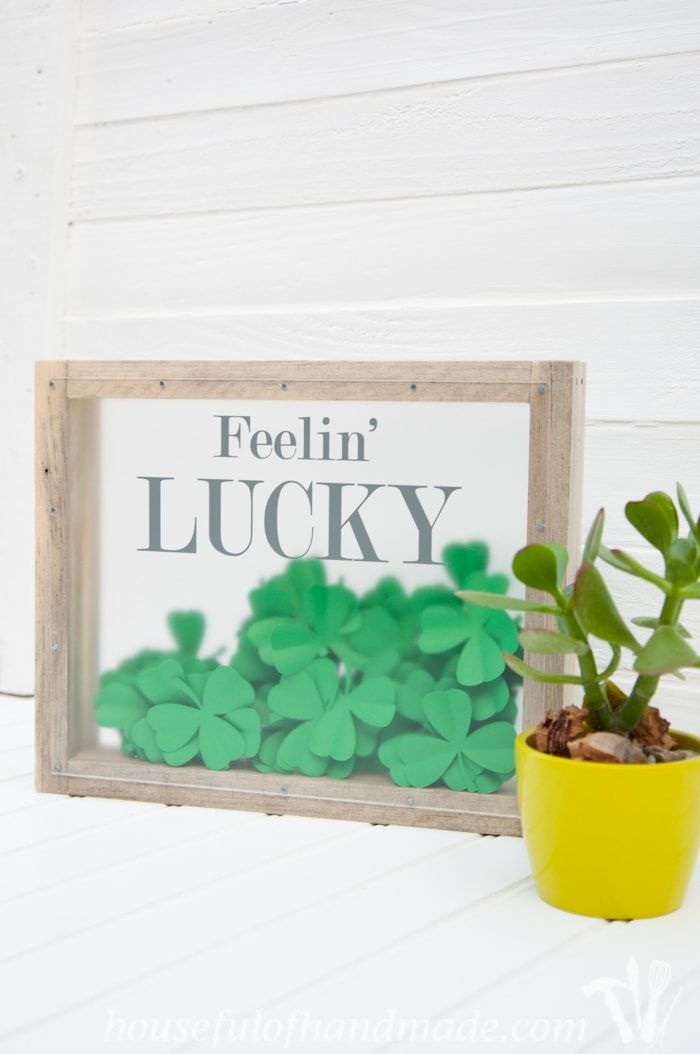
What’s more fun then awesome decorations? Awesome decorations that are also entertainment! I decided to hide one 4 leaf clover in the shadow box full of 3 leaf clovers. Now when we are bored, we try to find the lucky clover. It’s the perfect start to my spring mantle. I can’t wait to make some more spring decor since it’s too cold to go outside and garden.
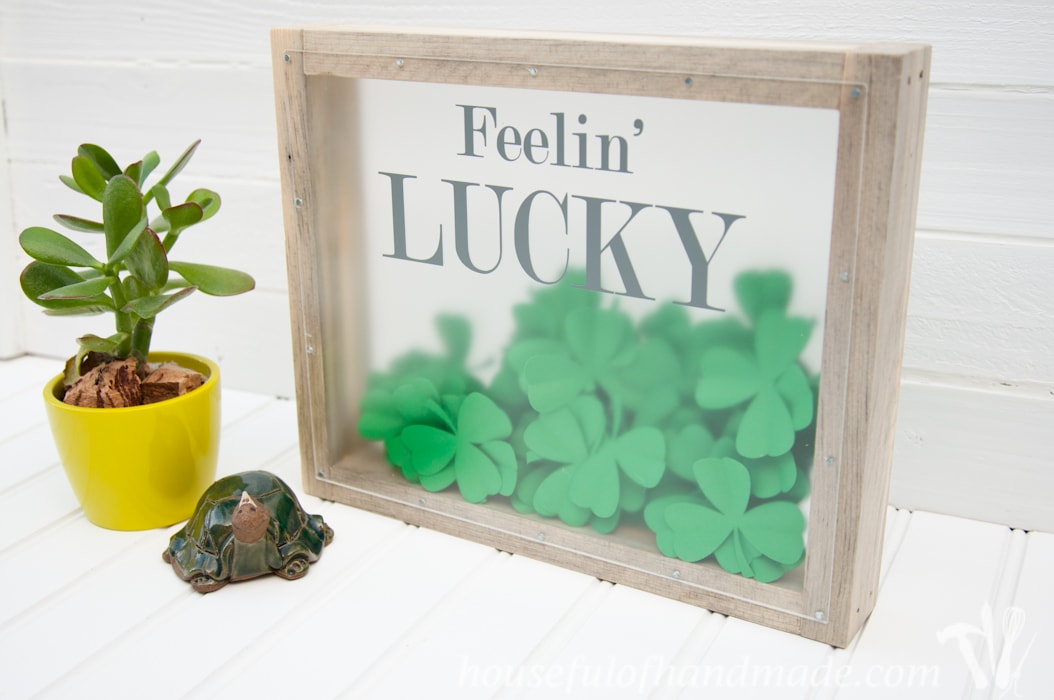
I made this simple shadow box out of a 1×2 and 2 8×10 Polystyrene sheets. It cost me a total of $7.50 since I already had some finishing nails and wood glue on hand. I found a beautiful piece of blue tinted wood for the 1×2 and I love the grayish hues and texture it has. This allowed me to skip the painting step since I wanted to show off the natural wood.
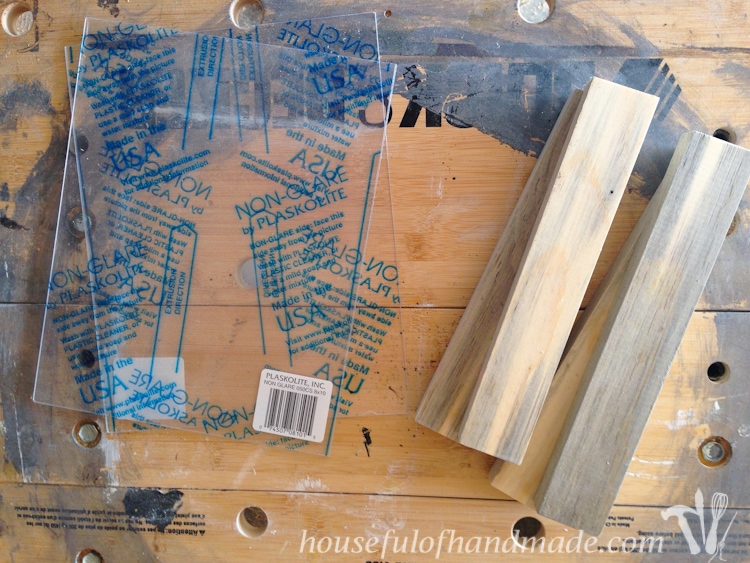
To make the box, I cut 2 pieces of the 1×2 at 9 1/4 inches and 2 pieces at 8 3/4 inches. Then I built a box with the 4 pieces as shown below. I used a little bit of wood glue on the corners and secured them with a finishing nail. The finished dimensions of the box were 10 3/4 x 8 3/4.
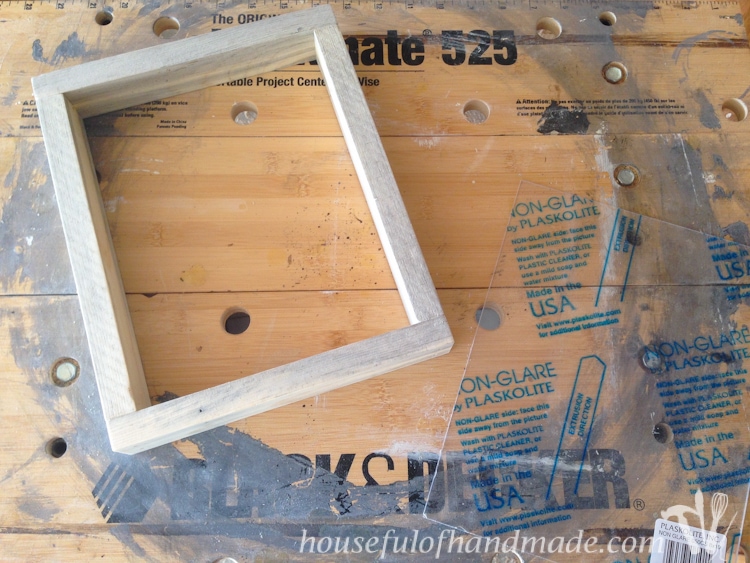
Then I took it inside so I didn’t freeze. It wasn’t feeling like spring on the day I built it, but you know what they say “If you build it, they will come”. Well I’ve been building spring decor and spring is coming 🙂 Okay, enough cheesy movie quotes and back to the shadow box!
I wanted to use little finishing nails to secure the Polystyrene Sheets to the box. But it can crack or chip unless you pre-drill nail holes. I marked the top and sides of the Polystyrene sheets with a dot 1/8 inch in from the edge every 2 1/2 inches. Then I used a 1/16″ drill bit and drilled a tiny hole. The whole time I did this, I left the protective cover on. Then I removed the protective cover from the back of the sheet and just around the edges on the front of the sheet, and centered it on the box. Using my pre-drilled nail holes, I gently tapped in my finishing nails.
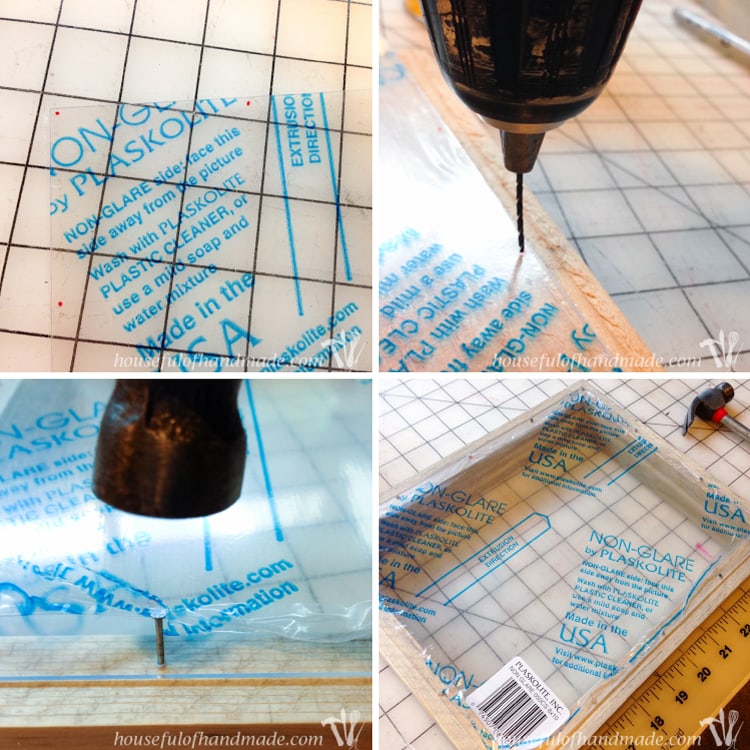
Be careful when you tap in the nails because you can easily break the edges if you hit it too hard. I know, I did it. Oops! Luckily it was on the back of the shadow box so no one will see it.
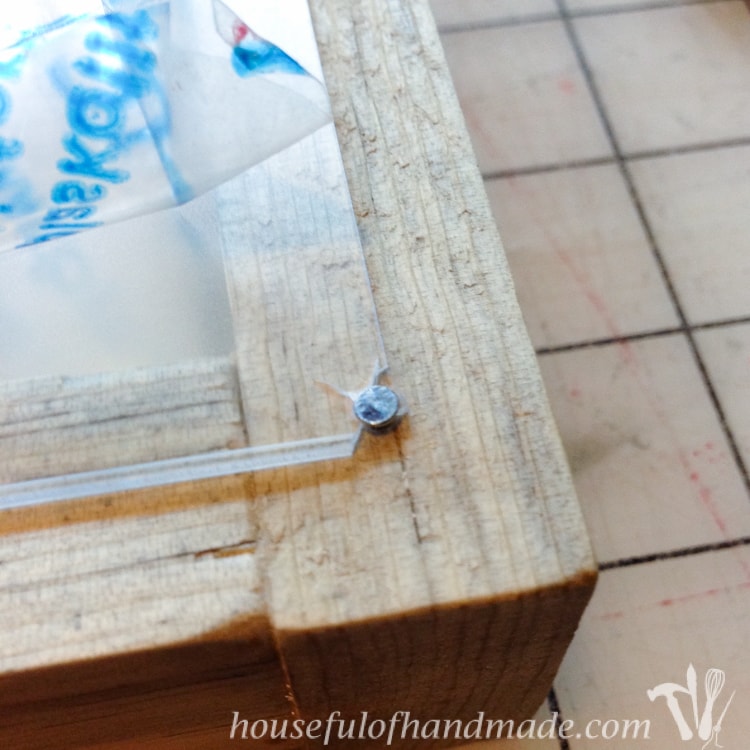
Only attach the back of the shadow box right now. I did pre-drill the nail holes for the top, but left it off so I could fill it up with clovers! I also left the protective coating on the back until I got everything else done so it didn’t get scratched when I nailed the top on.
Then it was time to make clovers. I used my Silhouette cutting machine to cut out 3 pieces of cardstock, each with 17 clovers on it. I of the clovers was a 4 leaf clover and the rest were 3 leaf clovers.
To give them a little dimension, I decided to fold the clovers just a little bit. It was super easy and I got them all folded while watching last weeks episode of Gray’s Anatomy. I used a butter knife to make a little ridge down the center of each leaf, not quite all the way to the center. Then I pinched it together just slightly. I finished the leaves off by rolling the outside edges on a pencil. Nothing too crazy, but the little bit of 3D detail really shows up in the shadow box.

I tossed them all into the open shadow box, then nailed the top cover over them.
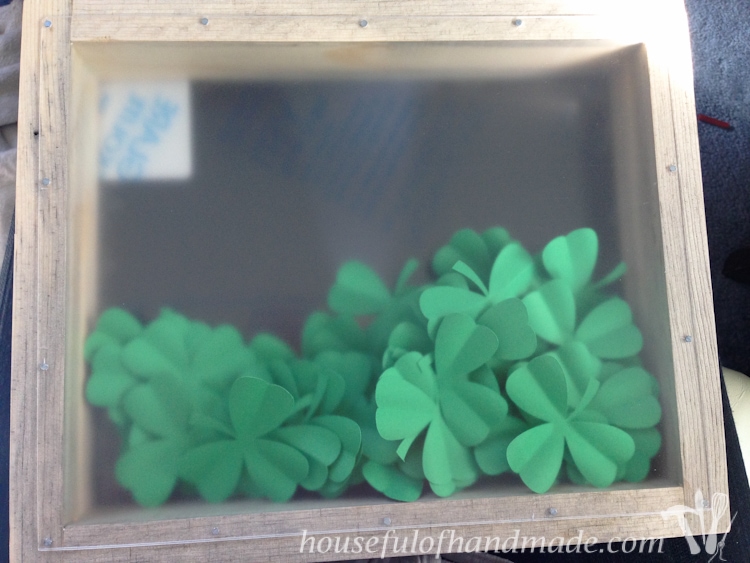
To finish it all off, I added a little bit of gray vinyl to the front. I think the words “Feelin’ Lucky” are the perfect enticement for anyone who wants to try to find the 4 leaf clover! (P.S. My husband still hasn’t found it… yet.)
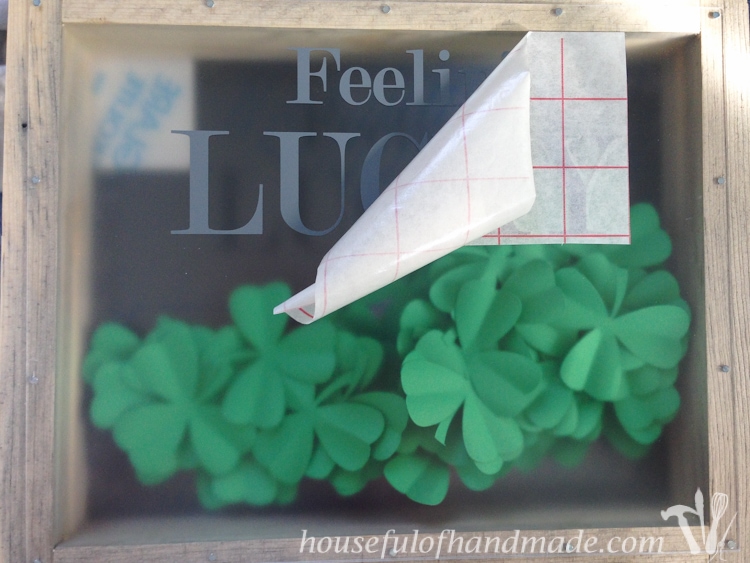
So now I have my very first piece of spring decor for my house. And now that the weather is starting to warm a bit, I am getting a serious case of spring fever. I am going to work on the rest of my spring mantle so I can at least have a little bit of green inside while I am waiting for the outside to catch up!
If you are starting to decorate for spring, check out some of my other DIY decor ideas.
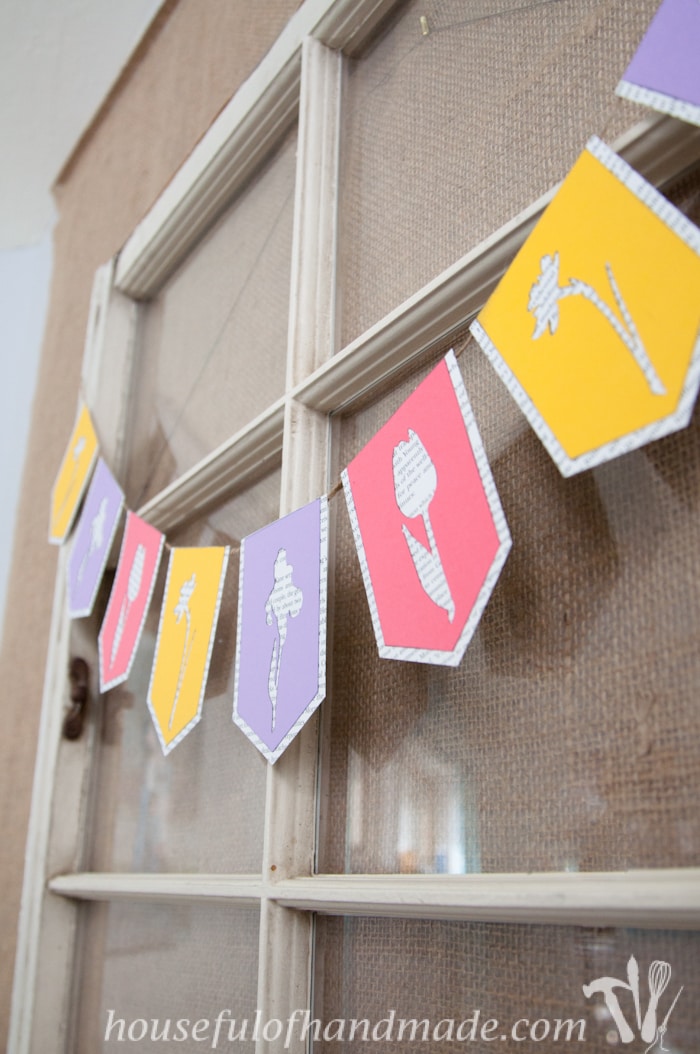
Spring Flower Book Page Banner
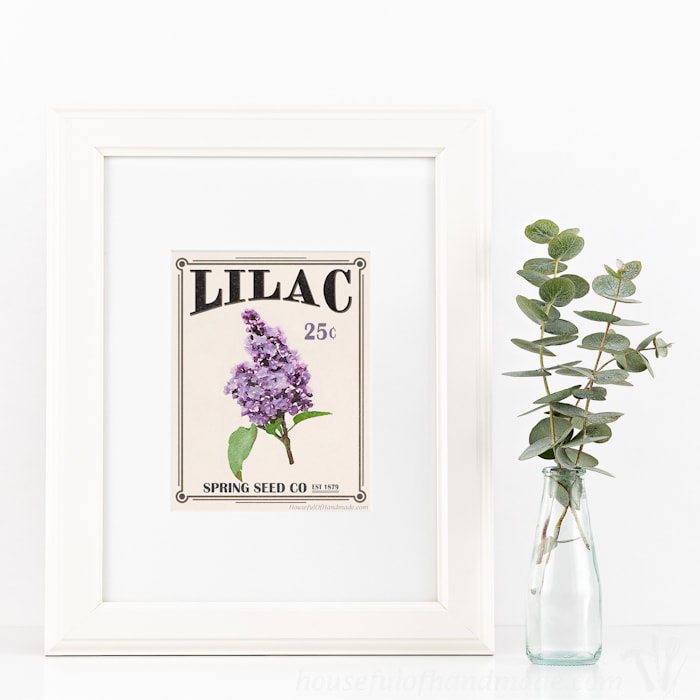
Free Printable Vintage Seed Packet Art

The tutorial for this St. Patrick’s Day Shadow Box was originally shared at Oh My! Creative.
Don’t forget to come back and see all the other spring decorations I am working on!

