Now that the kids are in school, I have time to do some thrifting! Yay! On my last trip to the thrift store, I came across this hand-painted, but so NOT my style, personalized wood sign.
Normally I would walk right past something like this, but the shape of the sign was really great. The sign was more like a wooden plate or a wood charger. I knew I could do amazing things with it, and the $2 price tag was right up my alley.
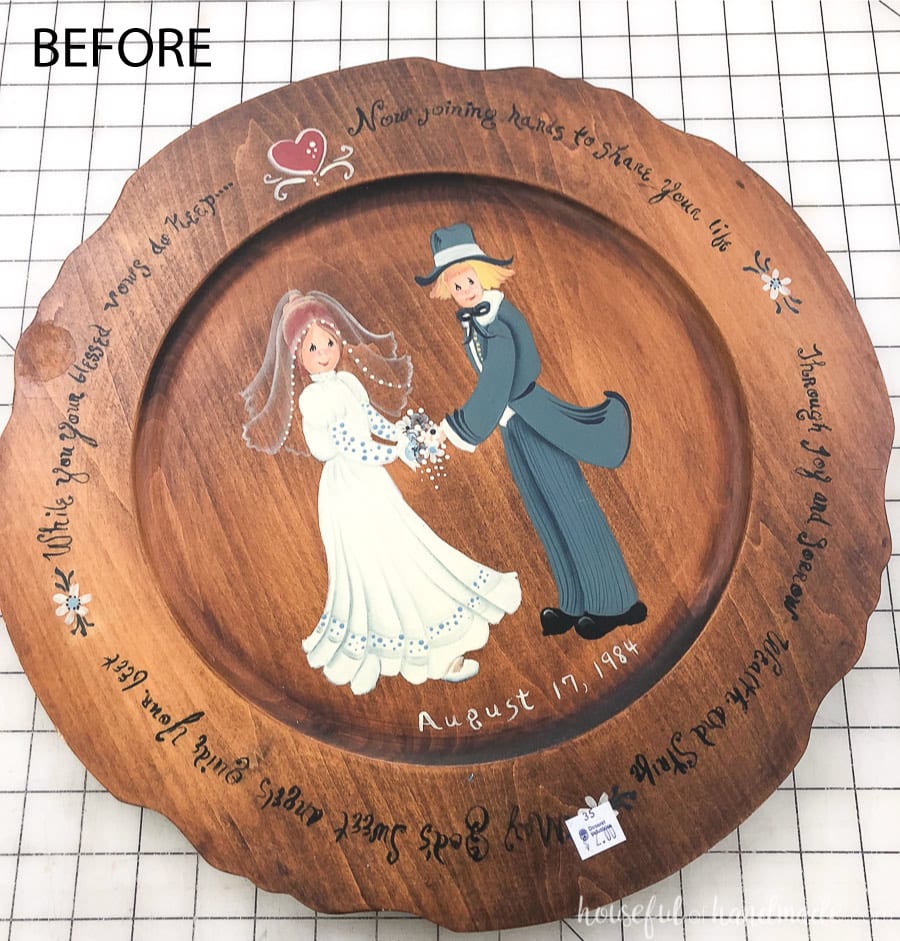
Instead of my go to paint for an easy thrifted makeover, I decided to take this piece down to the bare wood. I really wanted the shape to be the focal point of my upcycled wood sign.
This post may contain affiliate links. As an Amazon Associate I earn from qualifying purchases. Click here to read my full disclosure policy.
And I knew a medium aged stain would look really pretty with it. So I busted out the paint stripper and set to work.
Upcycled Wood Sign to a Tray
I used CitriStrip to cover the entire wood piece. This stuff is great because it really works and you can use it inside because it has low fumes.
I still opened up my window nice and wide. Both to let the smell of the stripper out and the smell of fall come in!

I was a little impatient with the paint stripper the first time and only let it sit about 10 minutes. Please tell me I am not the only one? It’s just so hard waiting on a project (probably why my go-to is paint).
After scraping off the first layer, I added a second and then left the room. I figured if I found something else to do, I could be more patient the second time.
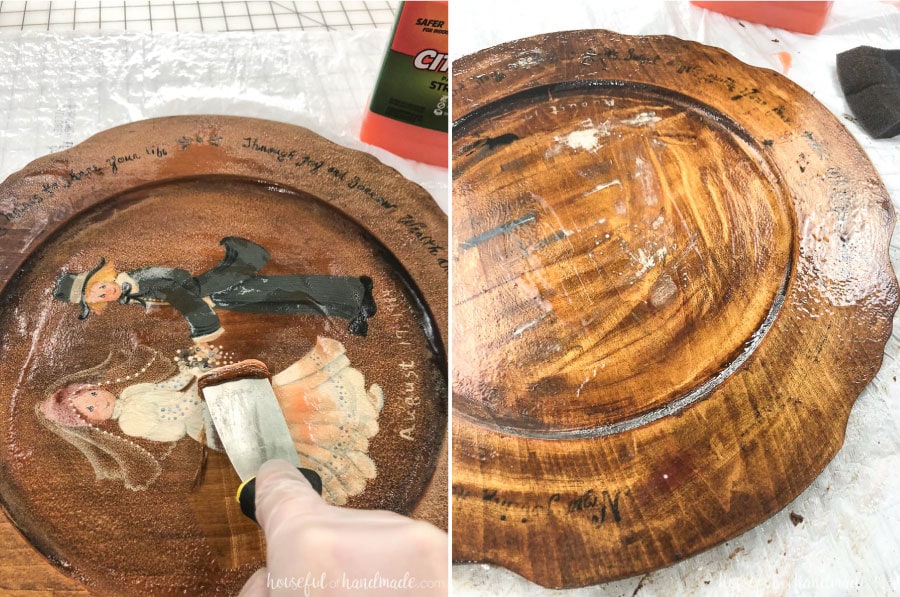
The old wood sign was no match for the CitriStrip and after waiting an hour, the rest of the paint, stain and sealer on my thrift store sign was easy to scrape off.
I didn’t take too much time scraping the detailed edges of my thrifted sign, I knew I was going to add a little paint to them for some fun detail. But I did use the metal scraper to take off any parts lifted by the stripper.
For the inside curve, I used some 0000 steel wool with the CitriStrip on it to remove all the finish.
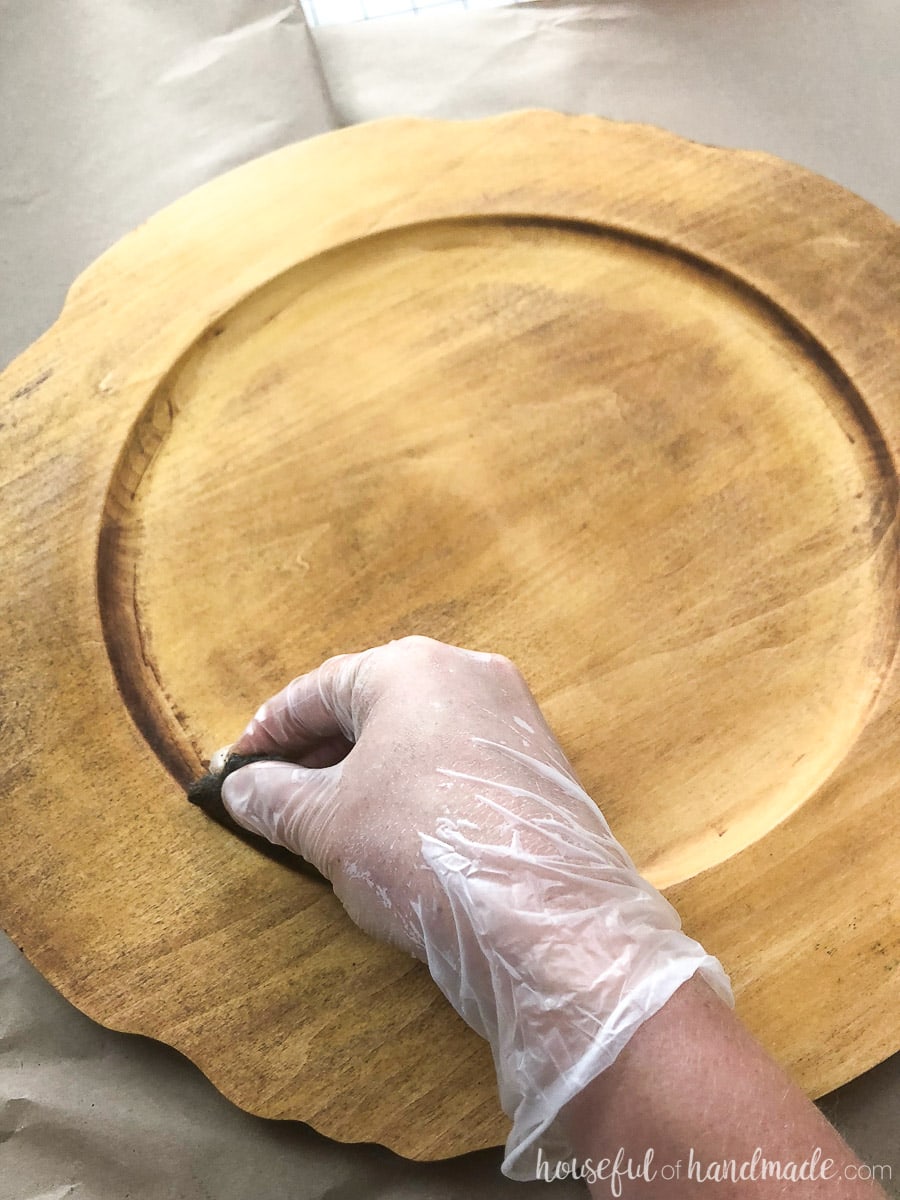
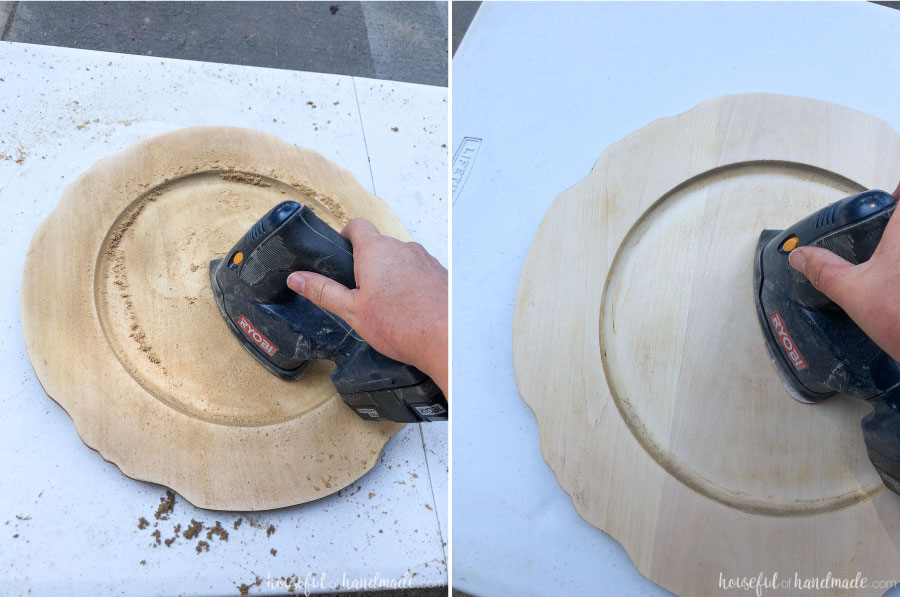
After letting the piece dry, I took the last of the orangey 80s finish off with a sander. And it made the surface of my new tray so smooth.
When sanding, I always end with 220 grit sand paper. It gives a nice smooth surface. Since this piece was very smooth to begin with, I just needed to give it one sanding.
Because of the odd shape of the tray, I used a combination of the our battery powered corner sander and some hand sanding. That allowed me to get into all the different spaces.
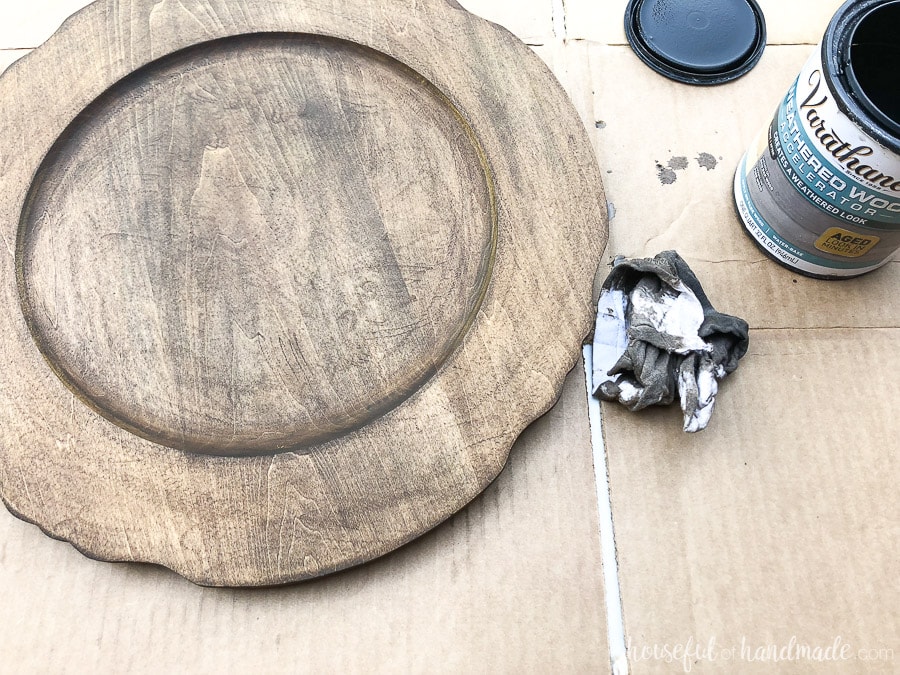
Once sanded it was time to see how the stain would look on the new tray. I am obsessed with the Varathane Aged Wood Accelerator and Weathered Wood Accelerator.
One give a more brown tone to the wood and the other more gray. I didn’t want to pick, so I added both and I love the grayish brown tones it gave me.
Just brush these on with a rag (but make sure to wear gloves because both of these are really good at staining cuticles).
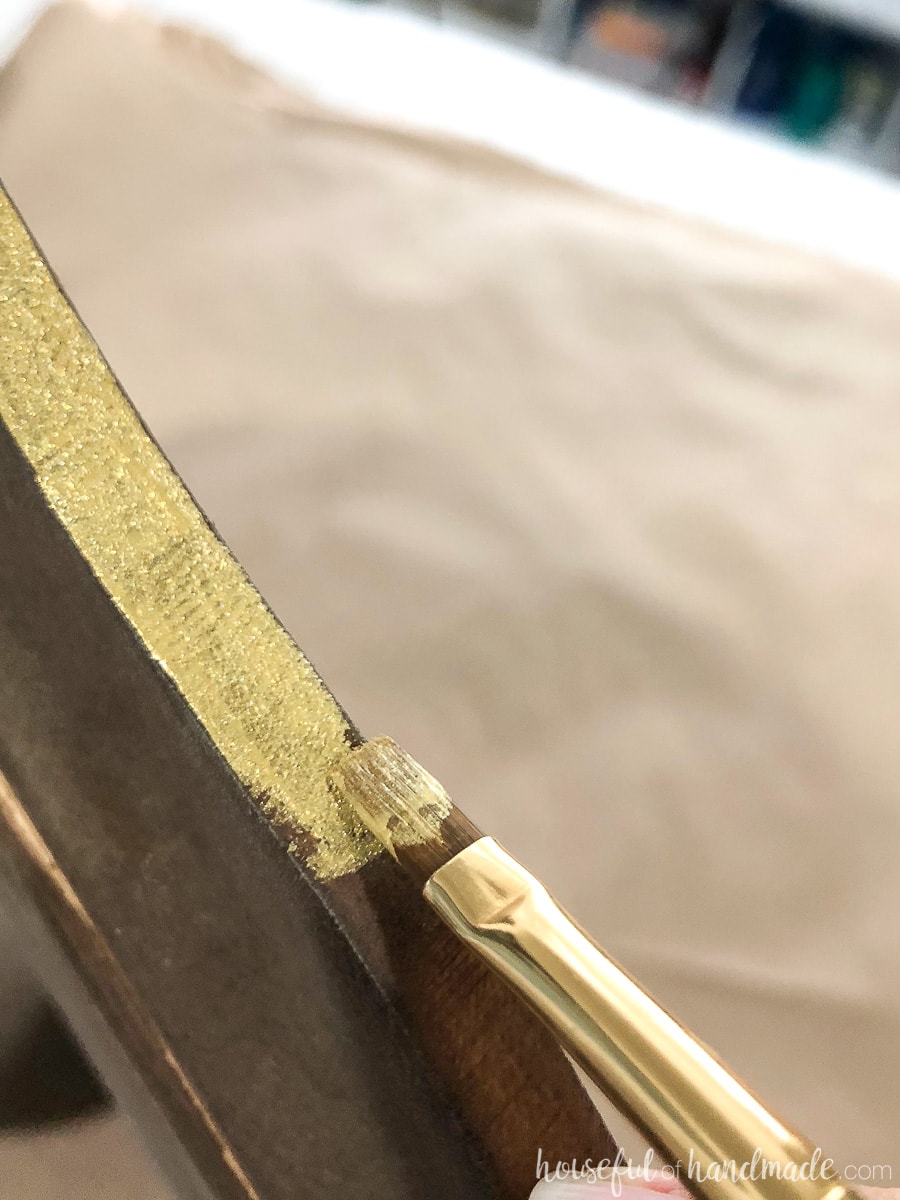
Now it was time for the extra sparkle. I knew from the beginning that I wanted to add some gold to the edge of this thrifted tray to bring out the great shape.
This part took a little patience, but was so worth it. With a small flat paint brush, I carefully painted 2 coats of DecoArts Metallics paint in Bright Brass on the flat edge of the tray.
If my steady hand slipped, I was able to quickly rub off any paint from the top with a damp finger. So even though it took a little time going all around the tray, it was quite easy.
The tray already looked amazing, but I wanted to give it a finish. After removing the high gloss poly finish from the thrifted sign, I knew I wanted something more modern and muted.
So I used wax instead. I coated the entire tray in a coat of Amy Howard Mind Your Own Beeswax to seal the wood and give it a soft, almost aged, look.
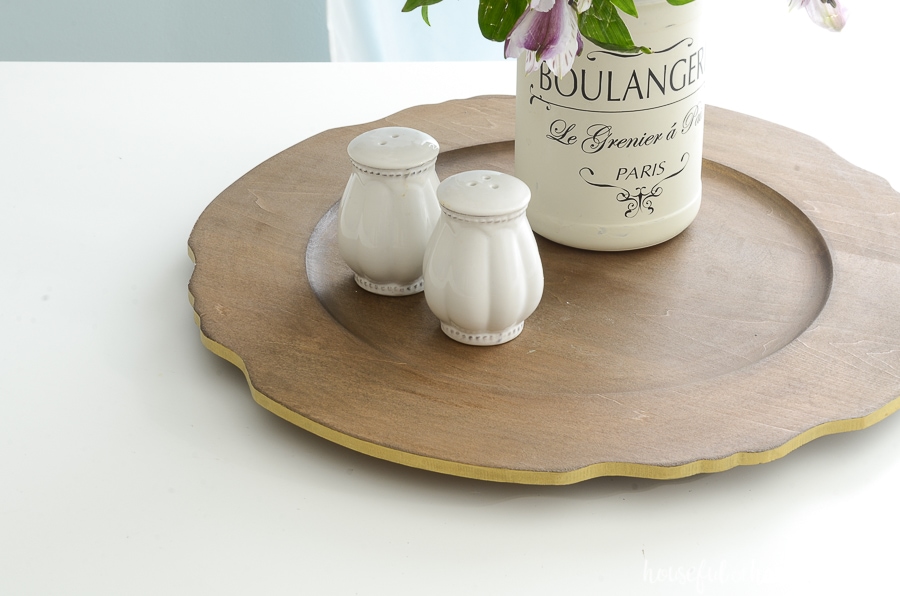
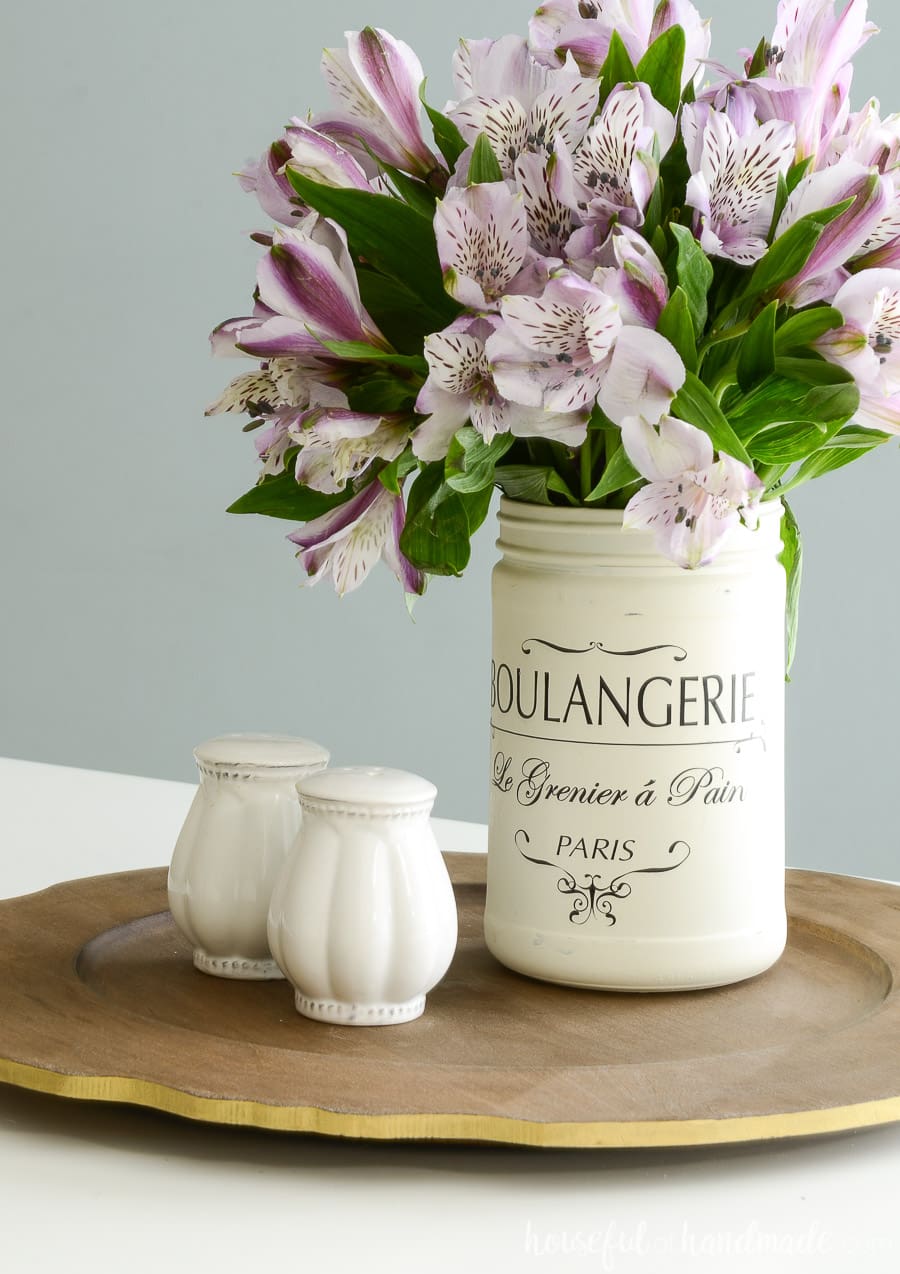
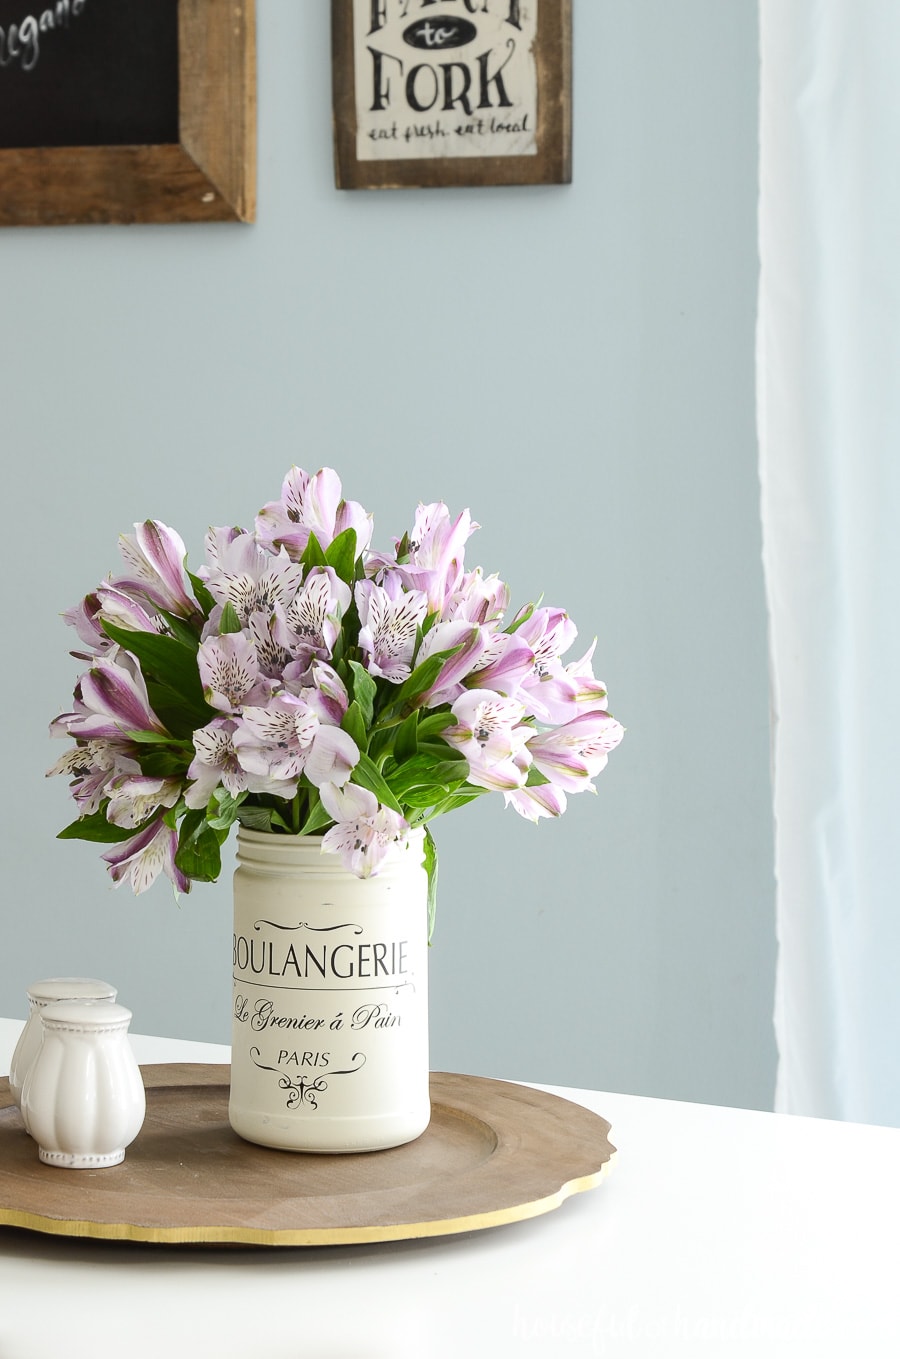
And the new tray is almost unrecognizable from the gaudy 80s decor of the thrift store.
I cant wait to use it in my fall decor this year and know that this simple upcycled wood tray will come in handy in all my decorating. And for a couple dollars and some elbow grease, it was a total budget item as well!
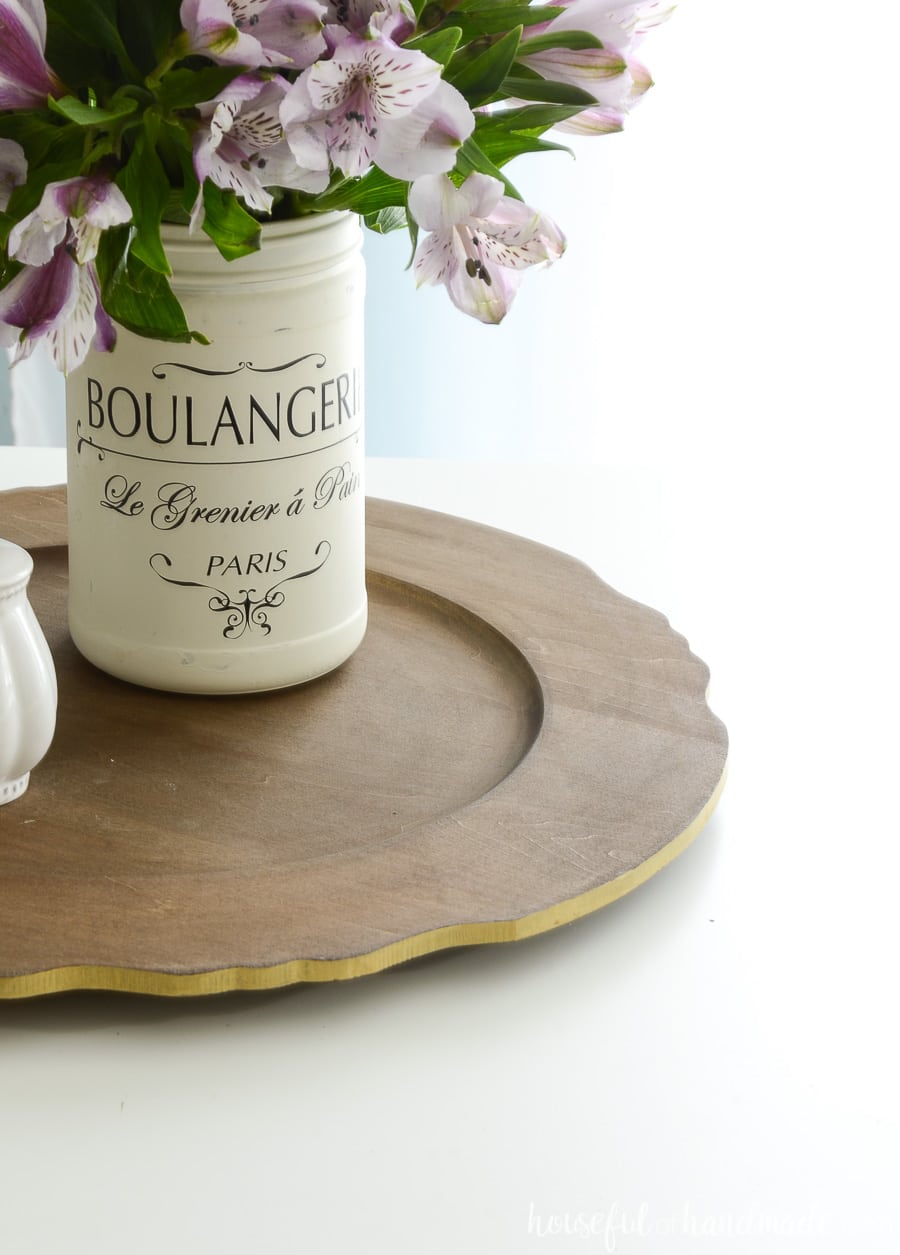
I haven’t decided exactly where I will be using this beautiful new tray yet. But for now, I am loving it with the Farmhouse Kitchen Canister DIY holding the flowers my sweet husband picked up for me at the grocery store yesterday.
Hopefully I have inspired you to look twice at the old 80s art at the thrift store next time. It’s amazing what it can become!