I was sick of tripping over the pile of shoes inside our front door.
Even though we have our mudroom storage lockers with bins for shoe storage, everyone likes to keep their quick-to-slip-on pair closer to the door.
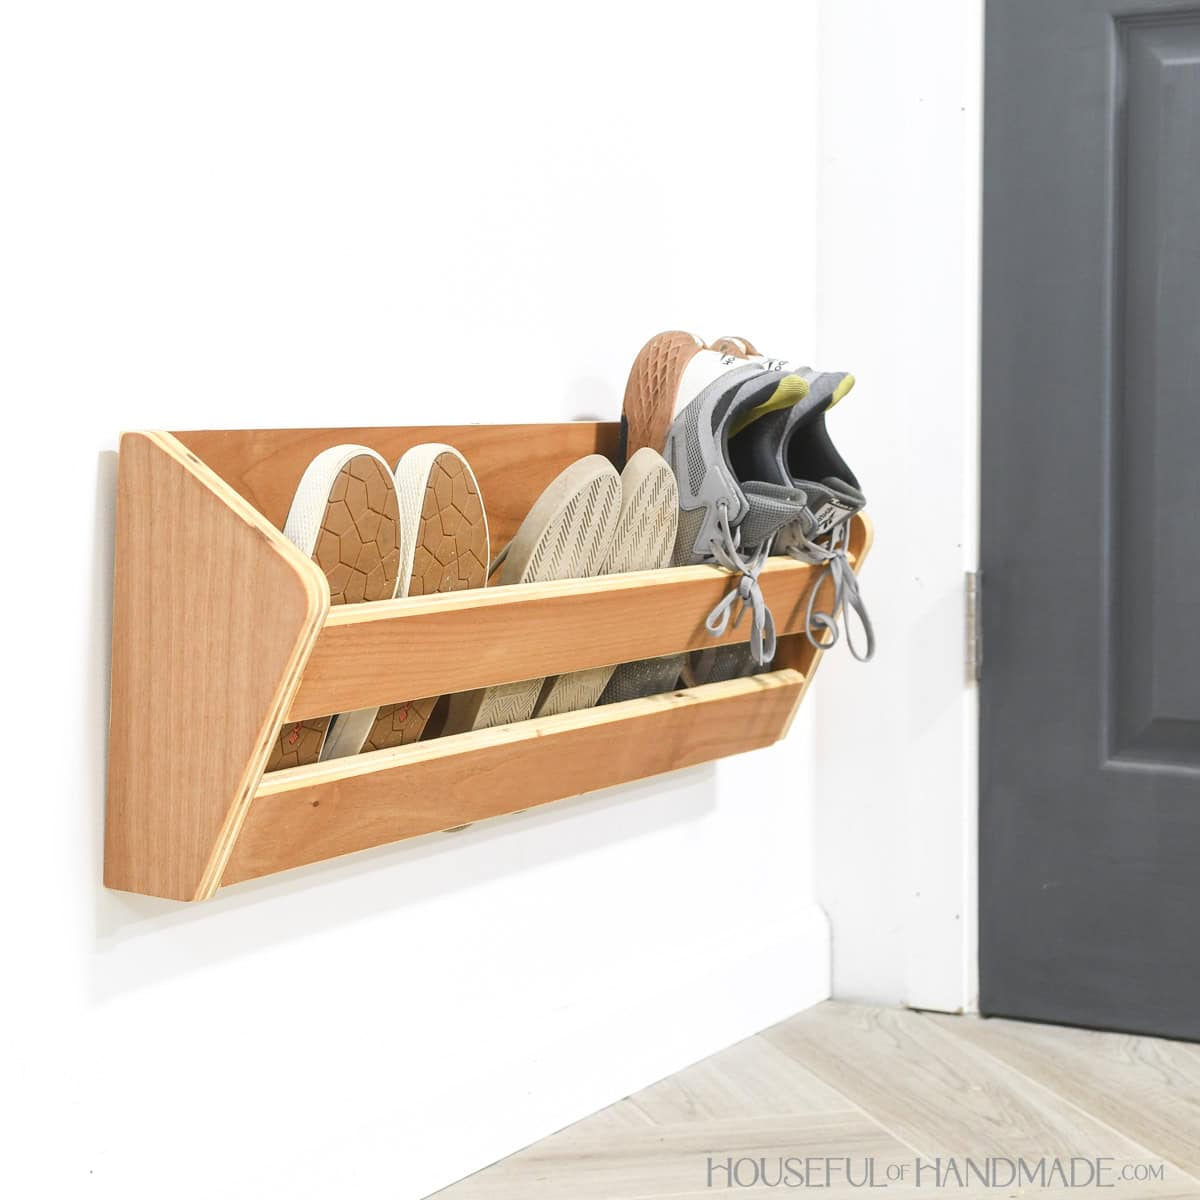
So instead of yelling at everyone to put their shoes in the bucket, I created a simple rack to hold the shoes on the wall.
This post may contain affiliate links. As an Amazon Associate I earn from qualifying purchases. Click here to read my full disclosure policy.
Now it is quick to grab your shoes when making a quick trip outside and just as quick to put them away.
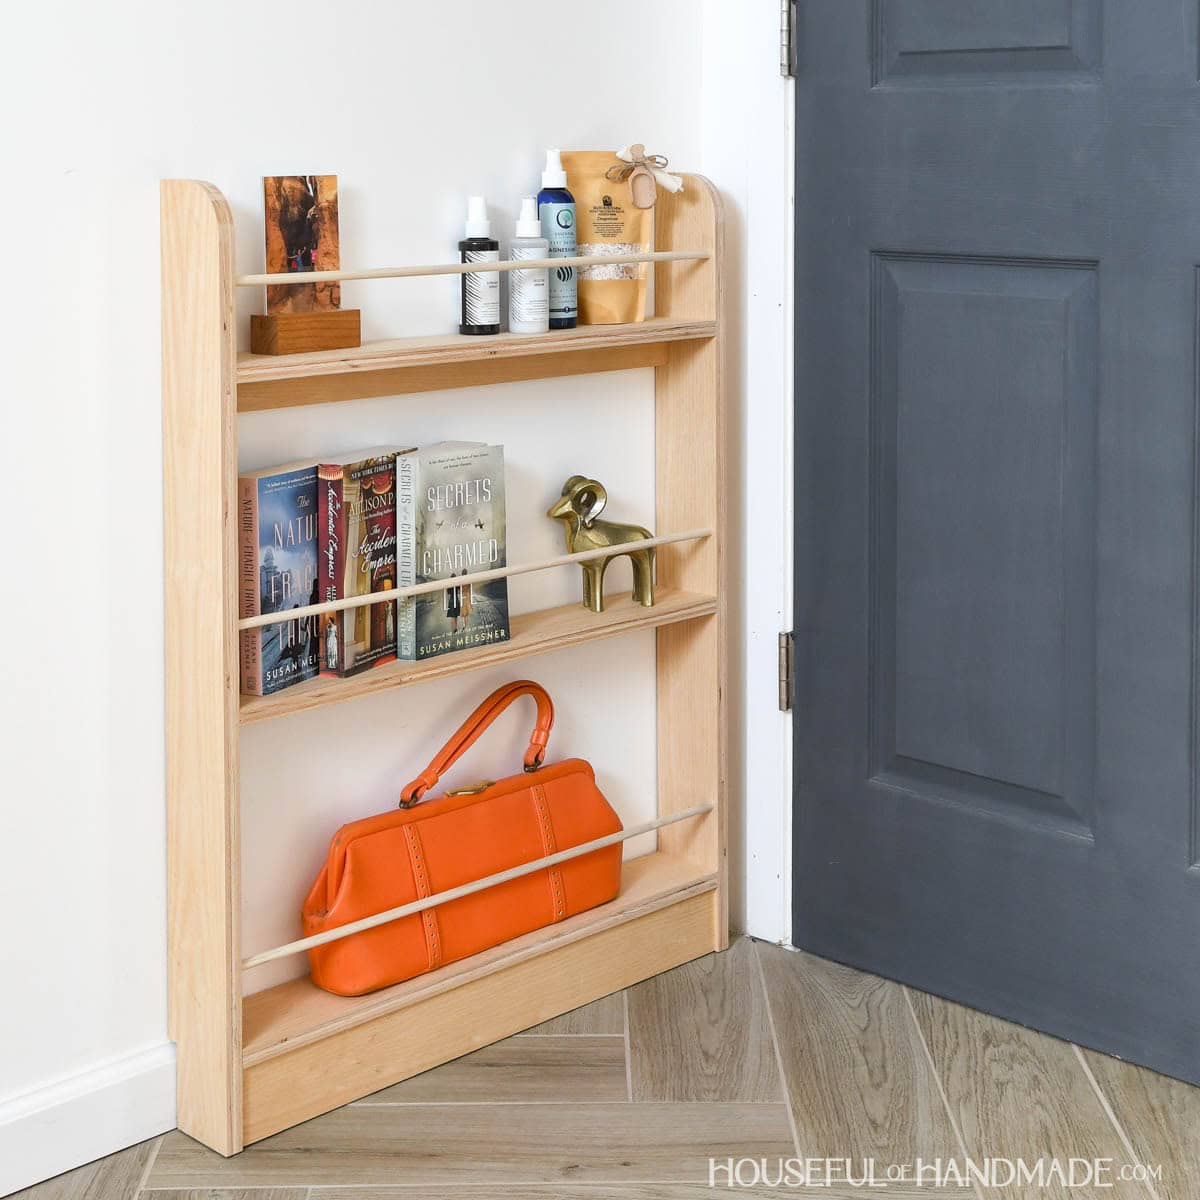
Wood Shoe Storage DIY
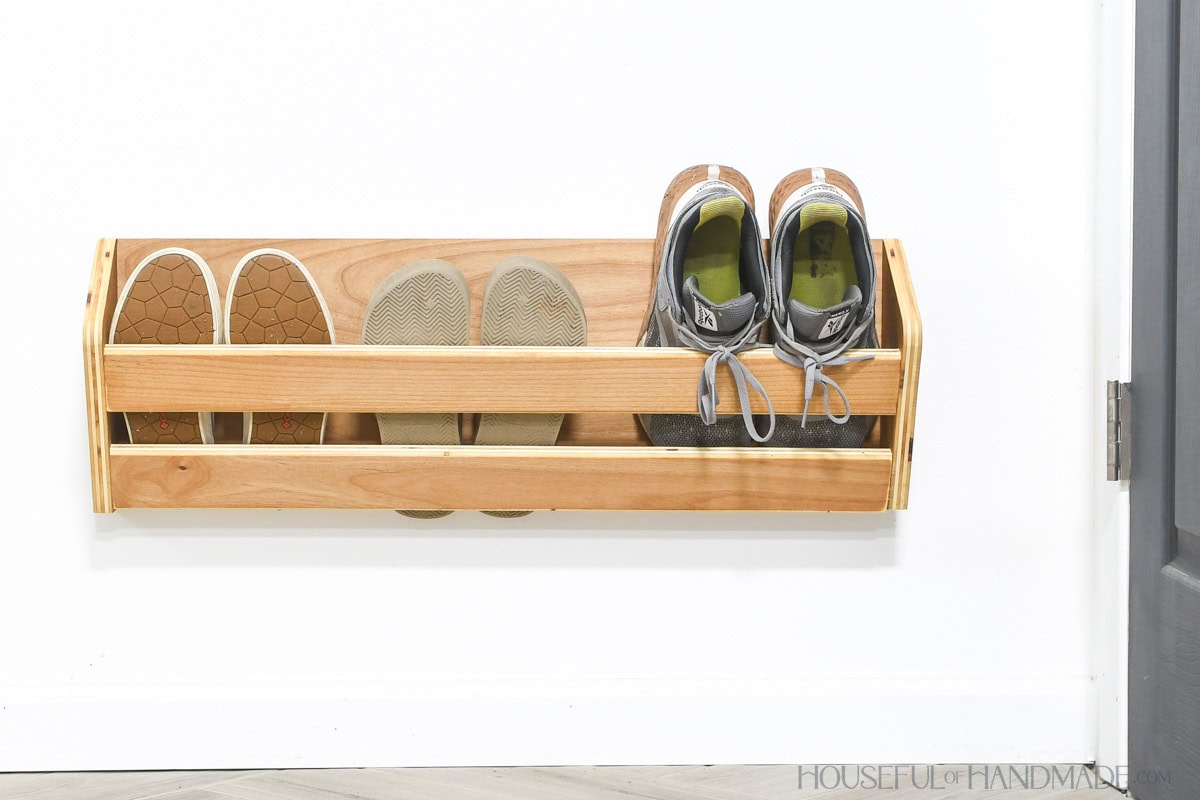
This easy to build shoe storage is perfect for mounting on a wall.
You can use it in a closet for storing shoes. Hang a few of them up the sides of the walls to take advantage of unused space.
Or hang the rack behind the door to keep it hidden but easy to grab as you go in or out!
You can quickly build a your own shoe rack from less than a 1/4 sheet of plywood. Perfect for using the scraps left over from another build.
Or if you do not have plywood scraps, buy a 4×8 sheet and build 4 shoe racks for the ultimate shoe storage area.
And this build is super fast and easy. I great project for a beginner or for a simple build to get you back in the shop.
How to Build a Shoe Storage Rack
Tools & Materials
Recommended Tools:
- Circular saw with guide
- Jig saw
- Dowel jig
- Or you can assemble with a pocket hole jig if you prefer.
- Drill
- Sander
- Multi-mark measuring tool
- Trim router (optional)
Supplies:
- Wood products
- (1) 3/4” plywood, 22” x 30” piece
- 3/8” x 1 1/4” dowel pins
- Wood glue
- (2) D-ring hangers
- (2) Picture hanging hooks
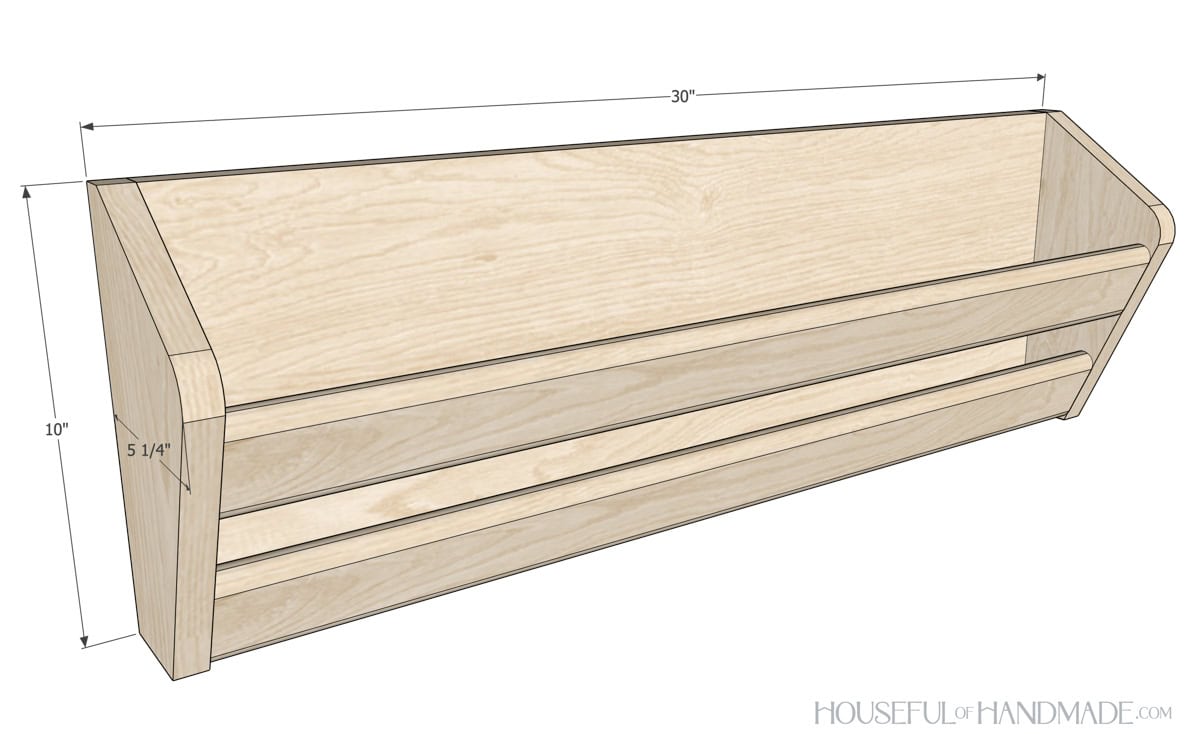
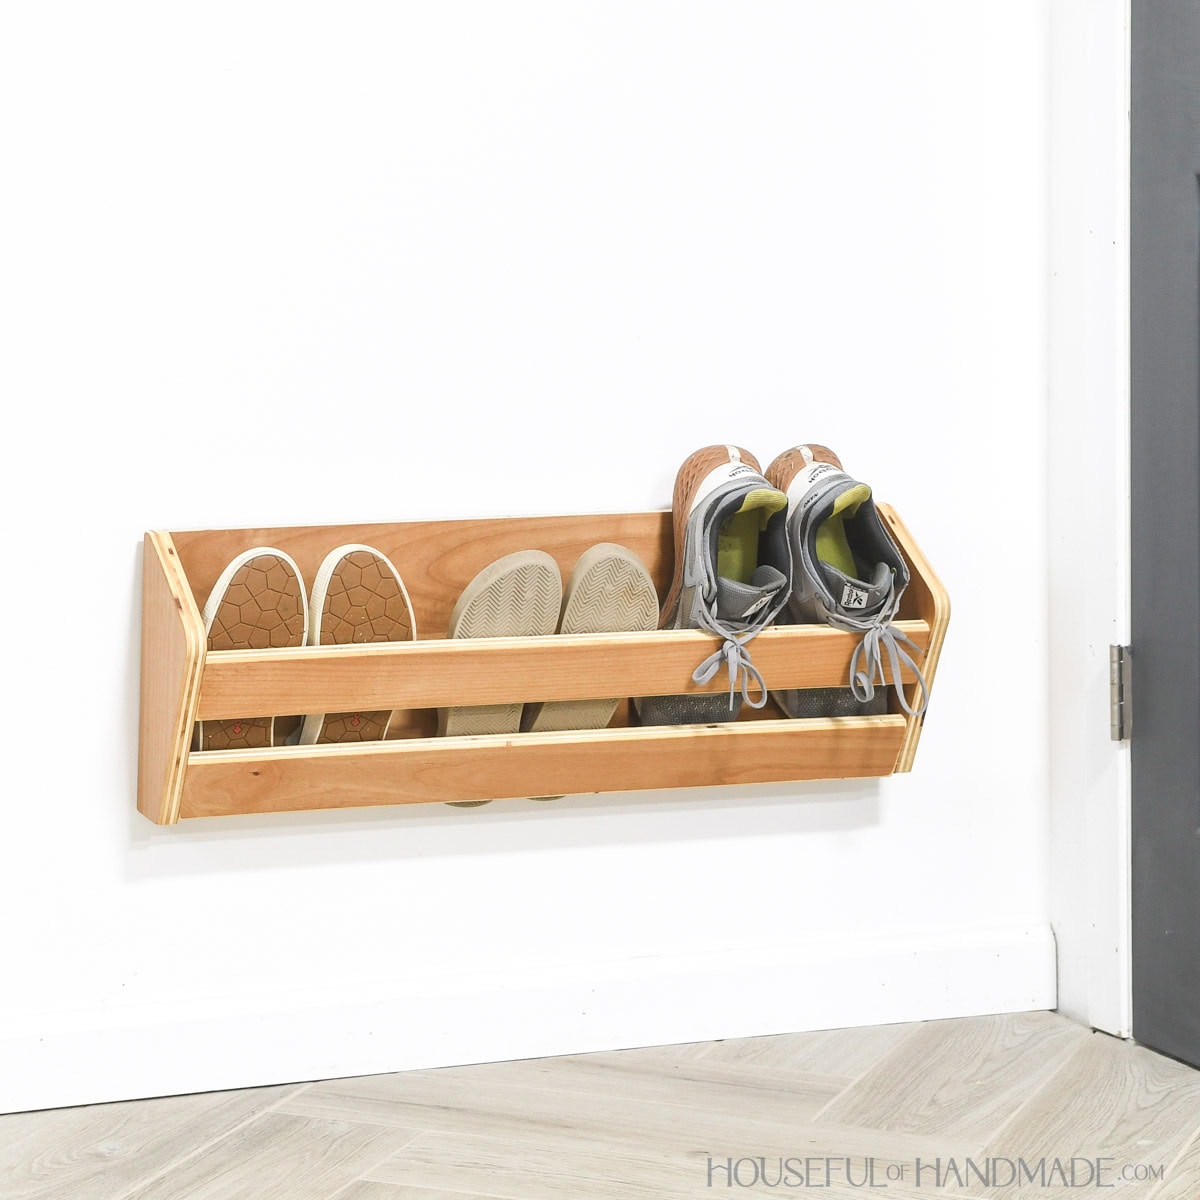
Overall Dimensions
The finished shoe rack is 10″ tall and 30″ wide with room to hold 3 pair of adult sized shoes.
Cut List
Cut out the pieces according to the easy-to-read table in the PDF plans.
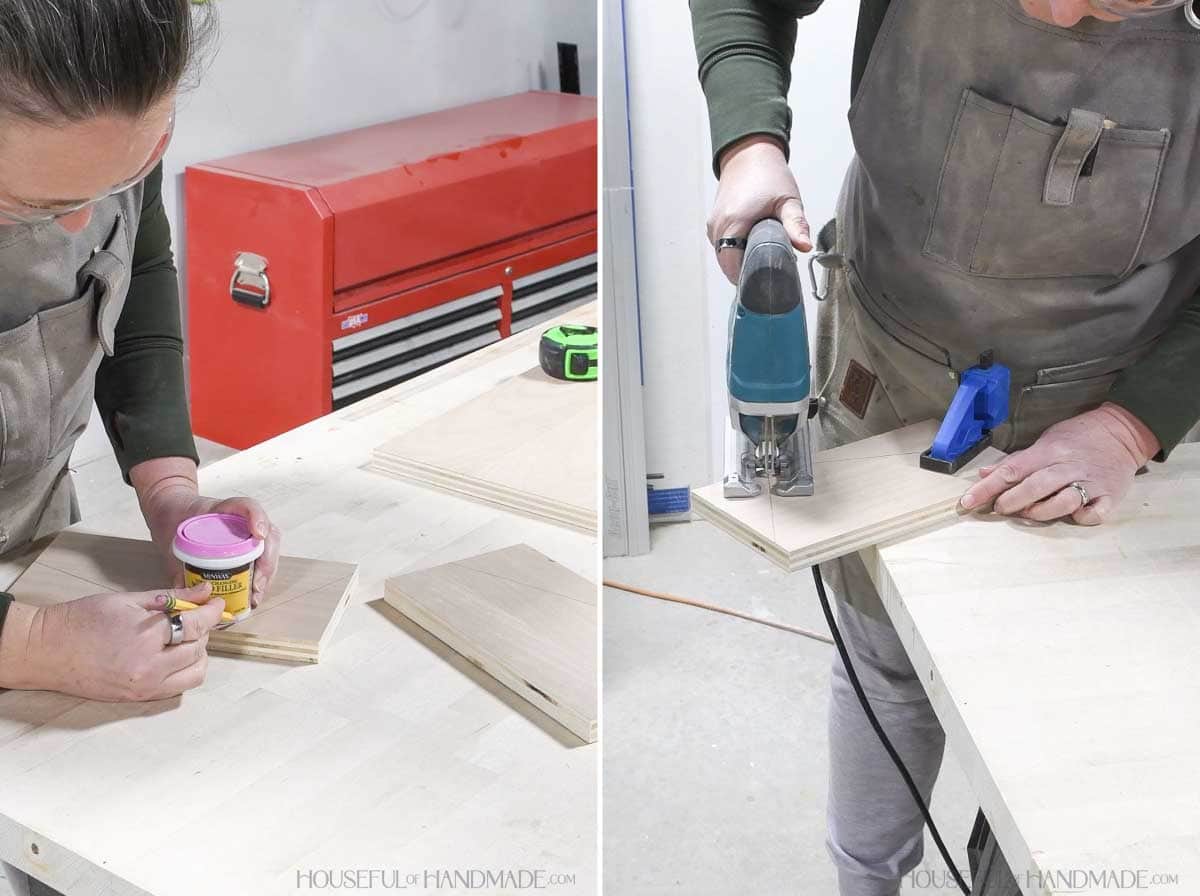
Measure out the design for the sides according to the diagram in the plans. If your plywood has an obvious front and back, make sure to mirror the two pieces.
Use a small cup or lid to draw a curve on the outer point.
Cut out the sides with a jig saw.
STEP 1- Drill for dowel holes
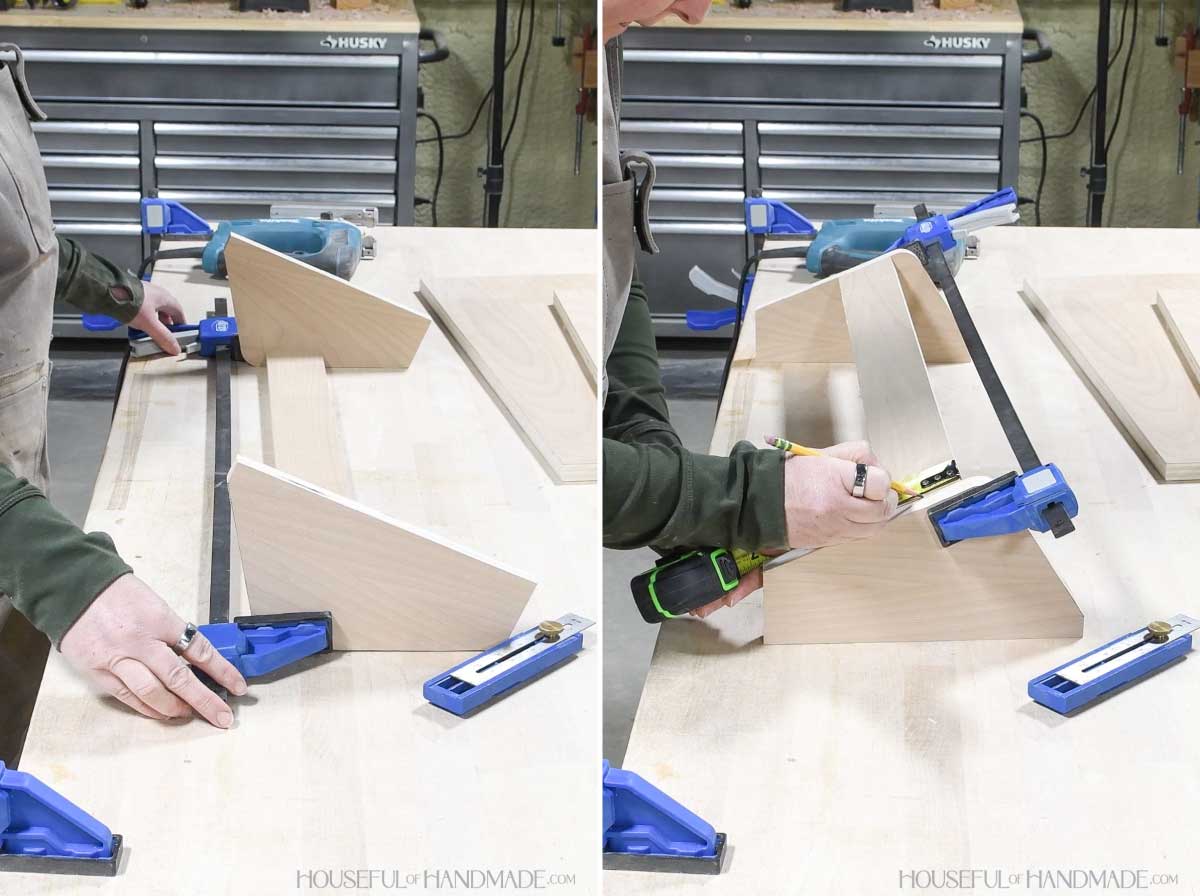
Measure down 1” from the top of the side board. Line up the top front rail with this line. Mark the center of the board on the front of the board and edge of the side.
Line the lower front rail up with the bottom corner of the side. Mark the center of the board on the front and edge of the side.
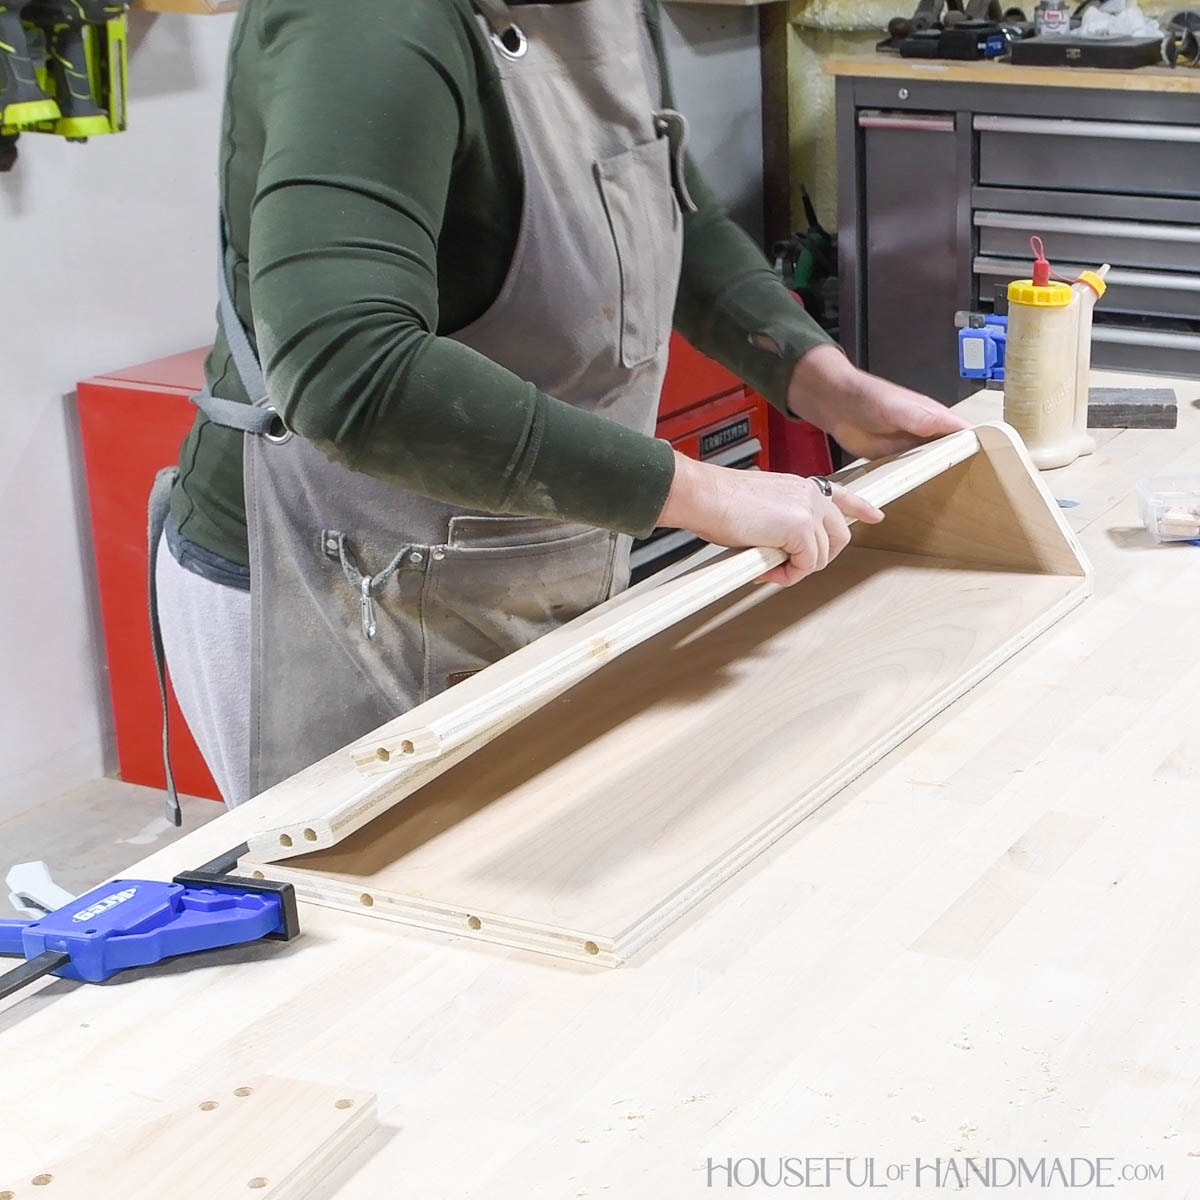
EXPERT TIP:
I found the easiest way to line up the rails on the angled fronts was to lay the pieces front side down flat on my table and clamp the boards. Then I flipped them over and marked the center points.
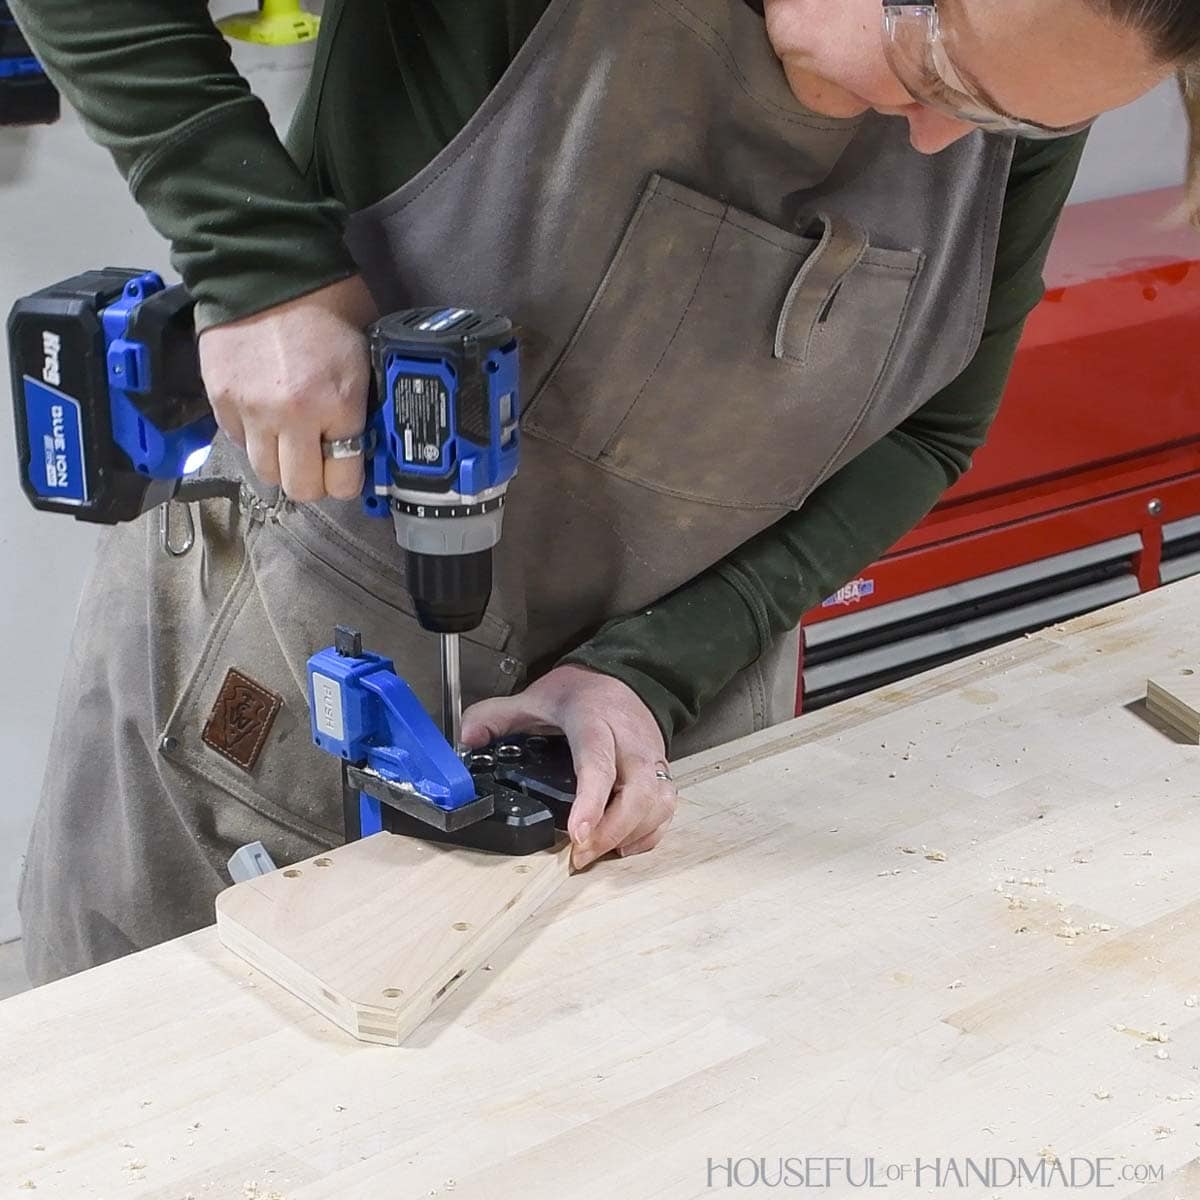
Learn how to use the Kreg Dowel Jig here.
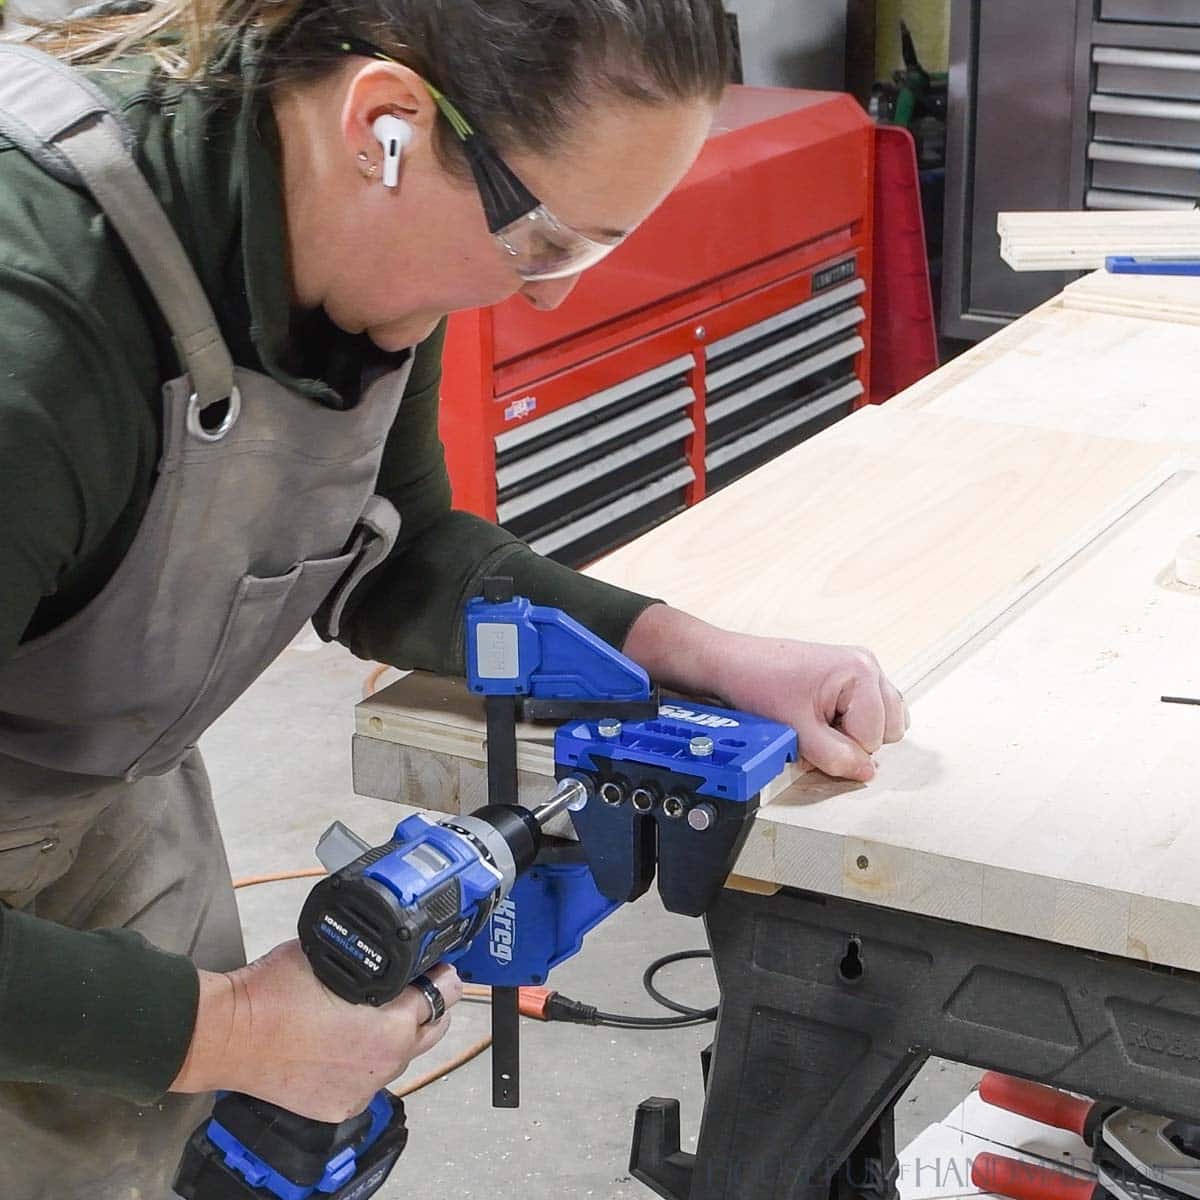
Drill (2) 5/8” deep dowel holes in the side board using the center point to line up your dowel jig.
Measure and mark where you want to drill your dowel holes in the back of the side board. Drill (3-4) 5/8” deep dowel holes along the joint.
Drill (2) 3/4” deep dowel holes in both ends of the rail boards using the center point to line up your dowel jig.
Then drill (3-4) 3/4” deep dowel holes in both ends of the back board to match the dowel holes drilled in the sides.
NOTE:
You can assemble the shoe rack with pocket holes instead of dowels if you prefer. Set your pocket hole jig for 3/4” thick lumber and use 1 1/4” pocket hole screws.
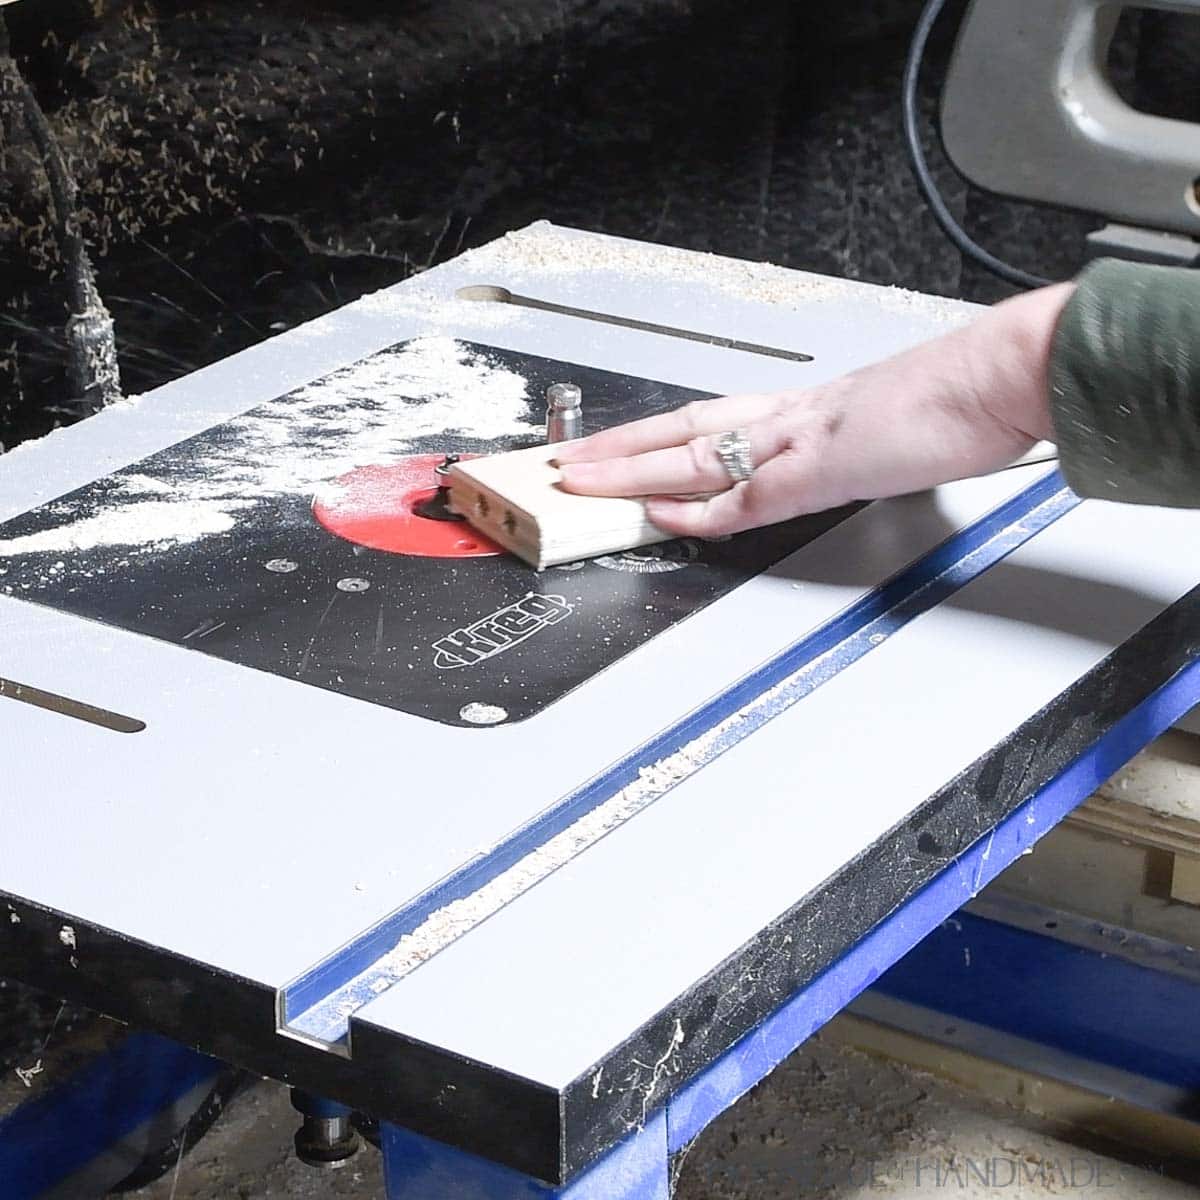
If desired, curve over the edge of the boards with a router.
You want to curve over the edges of the boards after drilling the dowel holes because it is way easier to line up the dowel jig properly with square corners.
STEP 2- Assemble the rack
Dry fit your dowels and adjust as needed.
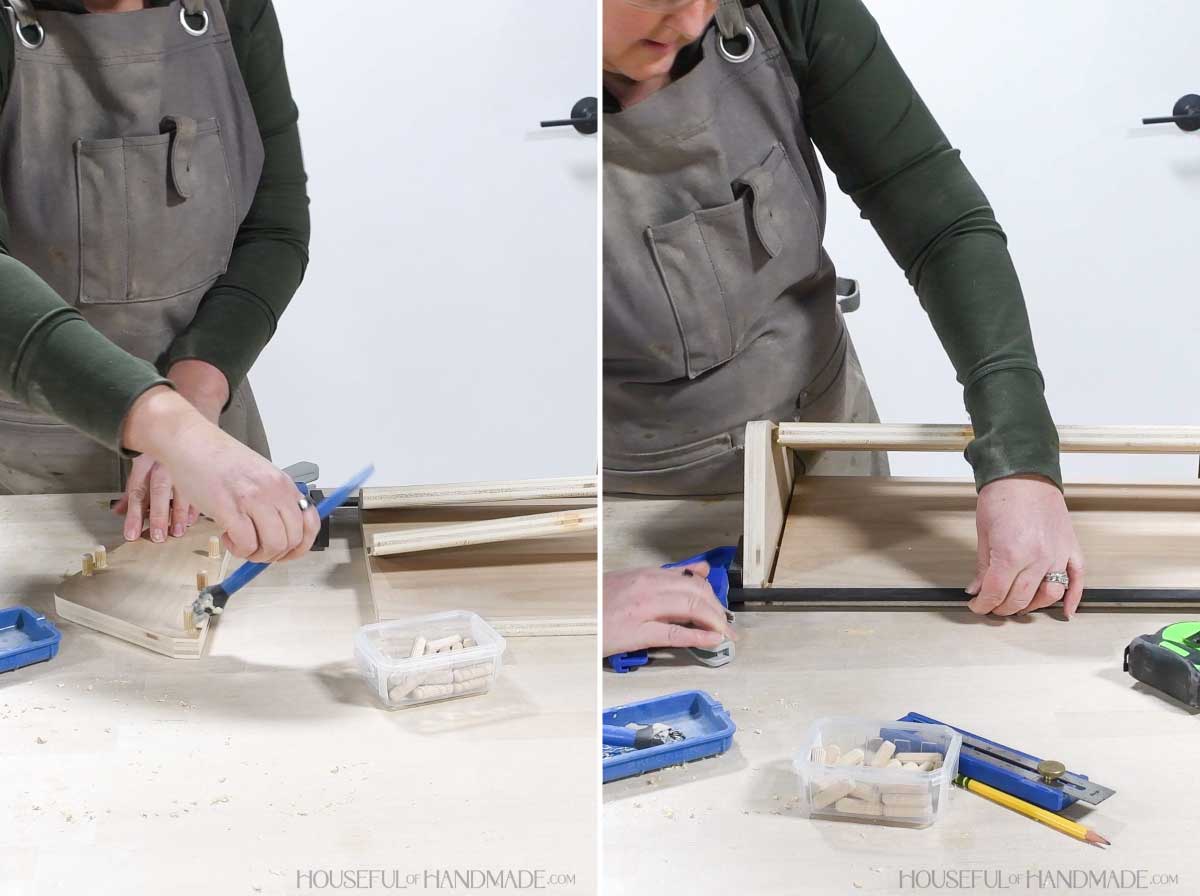
Add glue to the dowel pins and insert into one side board.
Add glue to the edge of the back and front rails. Place them on the dowels and clamp to pull them tight.
Add glue to the dowel pins and insert into the other side board.
Add glue to the open edge of the back and front rails. Carefully align all the dowel holes with the dowel pins in the side and press.
Clamp to pull all the joints tight. Then leave clamped while the glue dries.
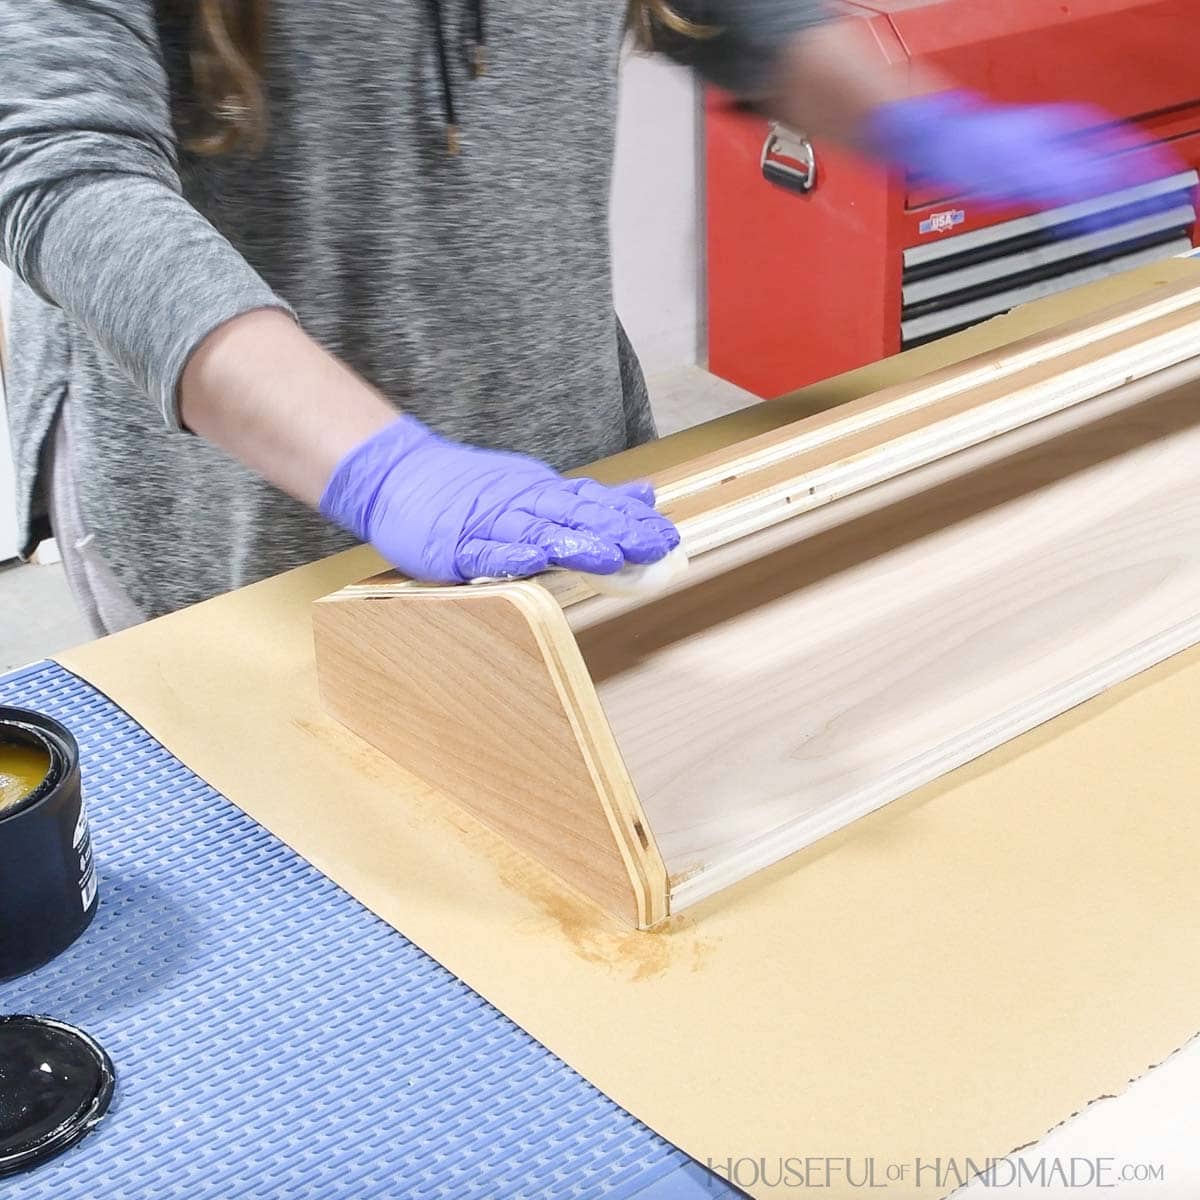
STEP 3- Finish and hang
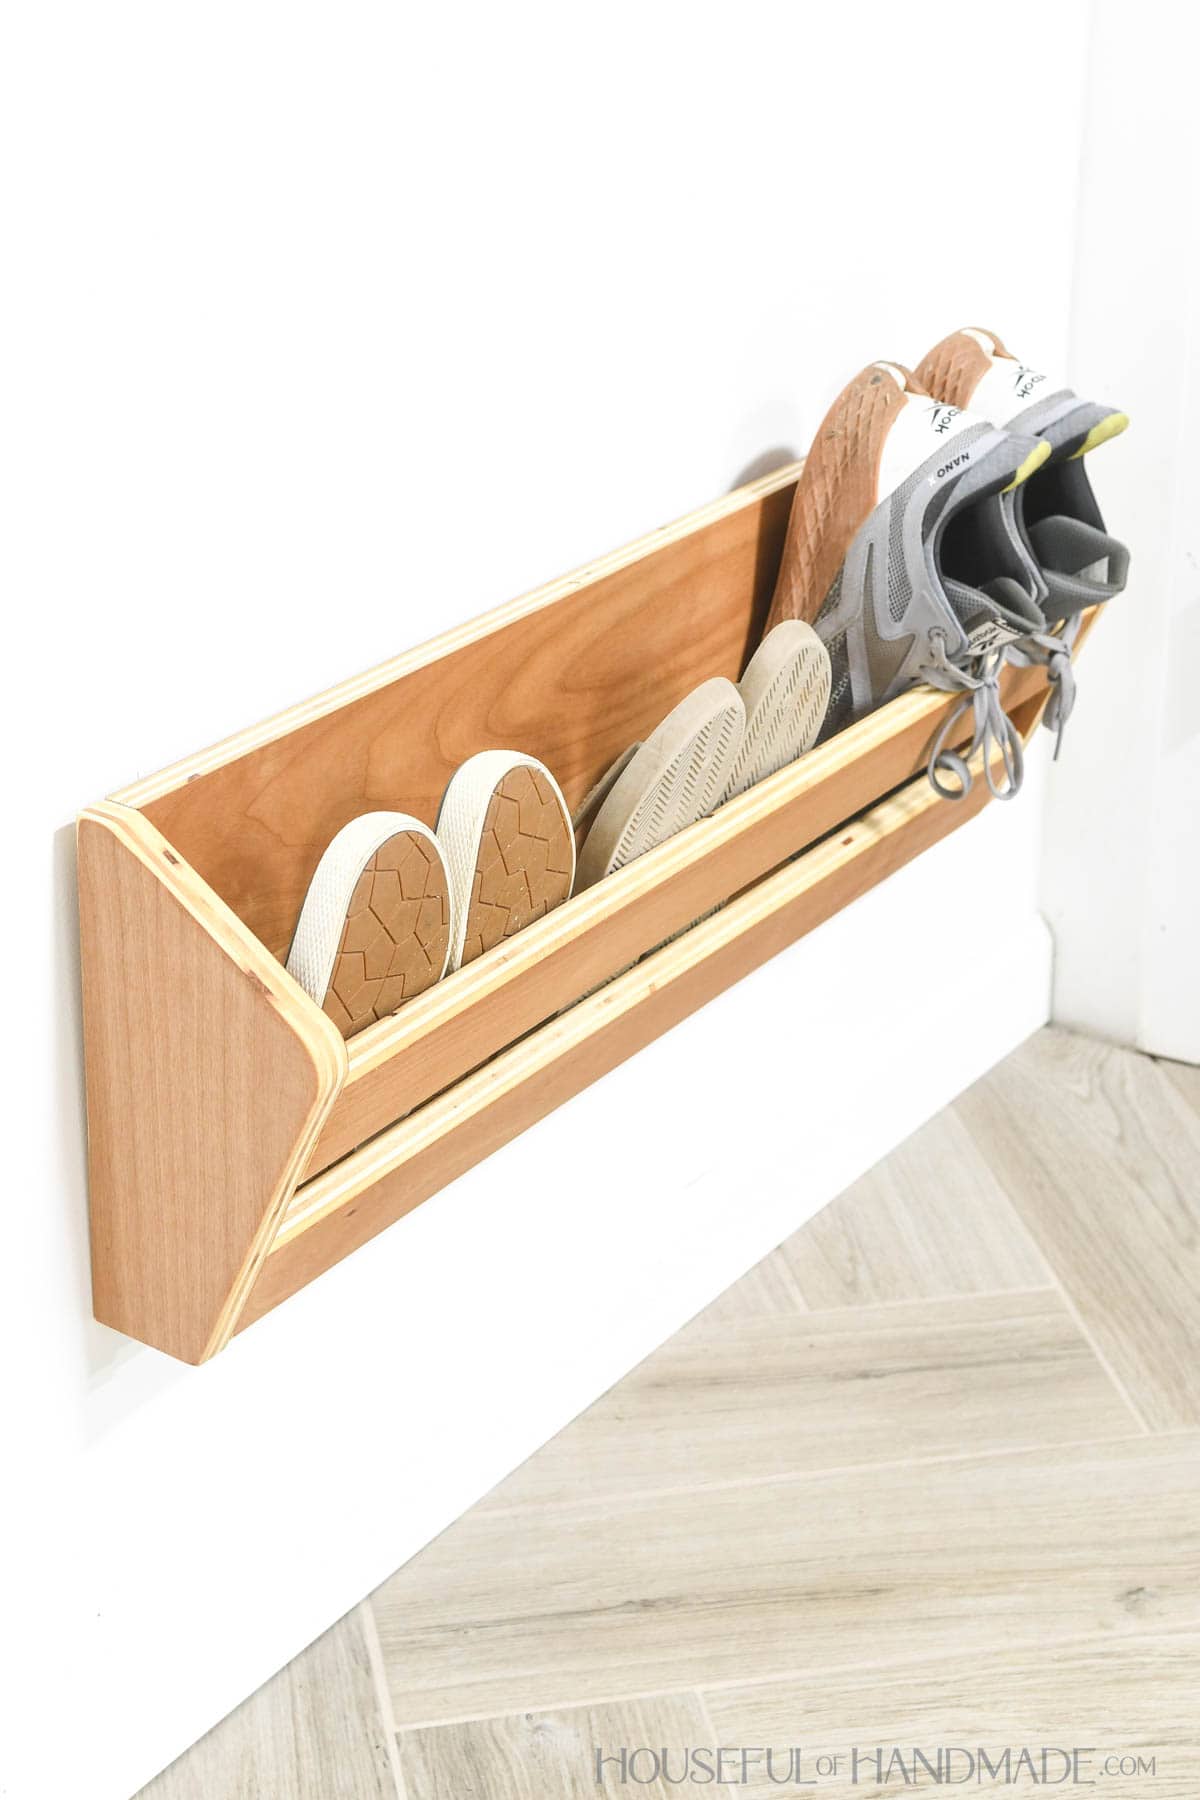
Sand the finished shoe rack. Finish with sealer or paint.
I built my shoe rack with leftover alder plywood from this tall 7 drawer dresser build. Then I sealed the wood with Furniture Butter by Walrus Oil.
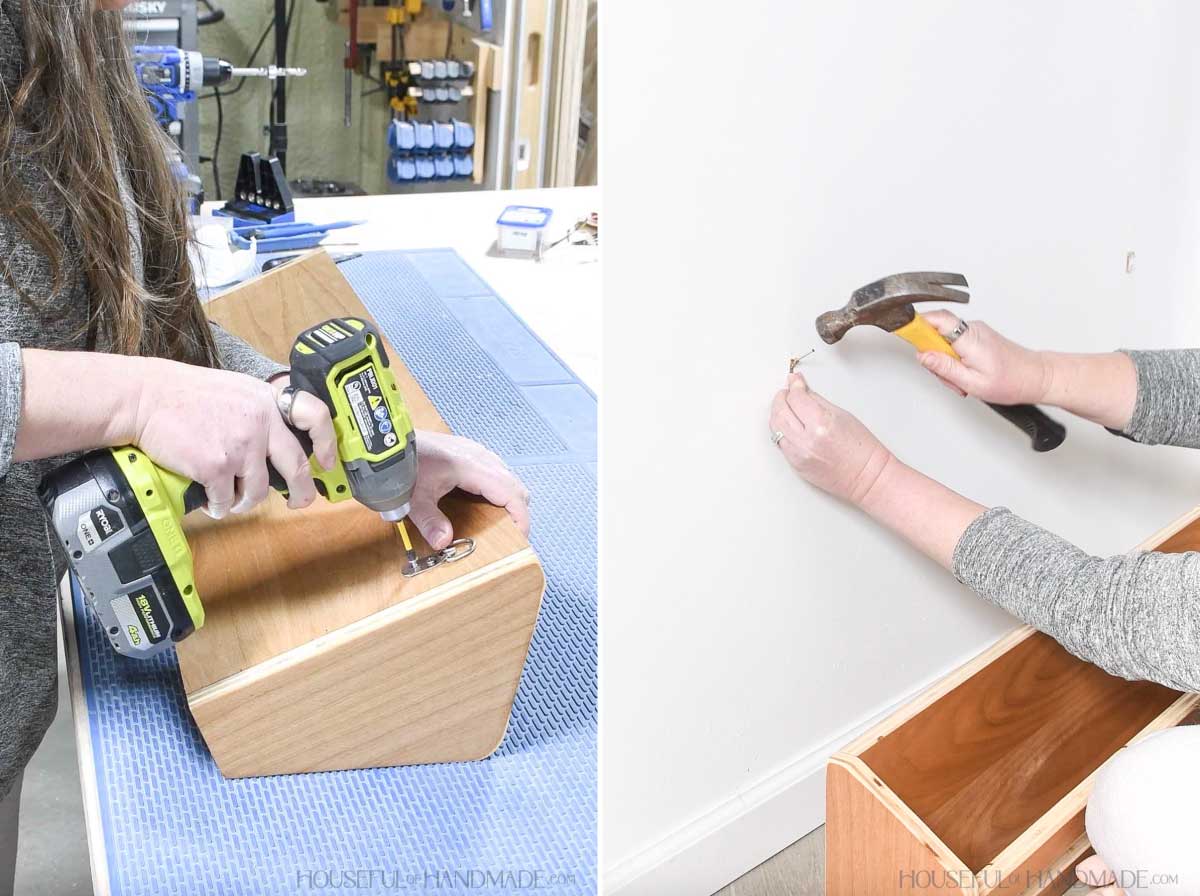
Add (2) D-ring hangers to the back towards the edges.
To hang your shoe rack, hammer (2) picture hanging hooks in the drywall to loop the D-ring hangers over.
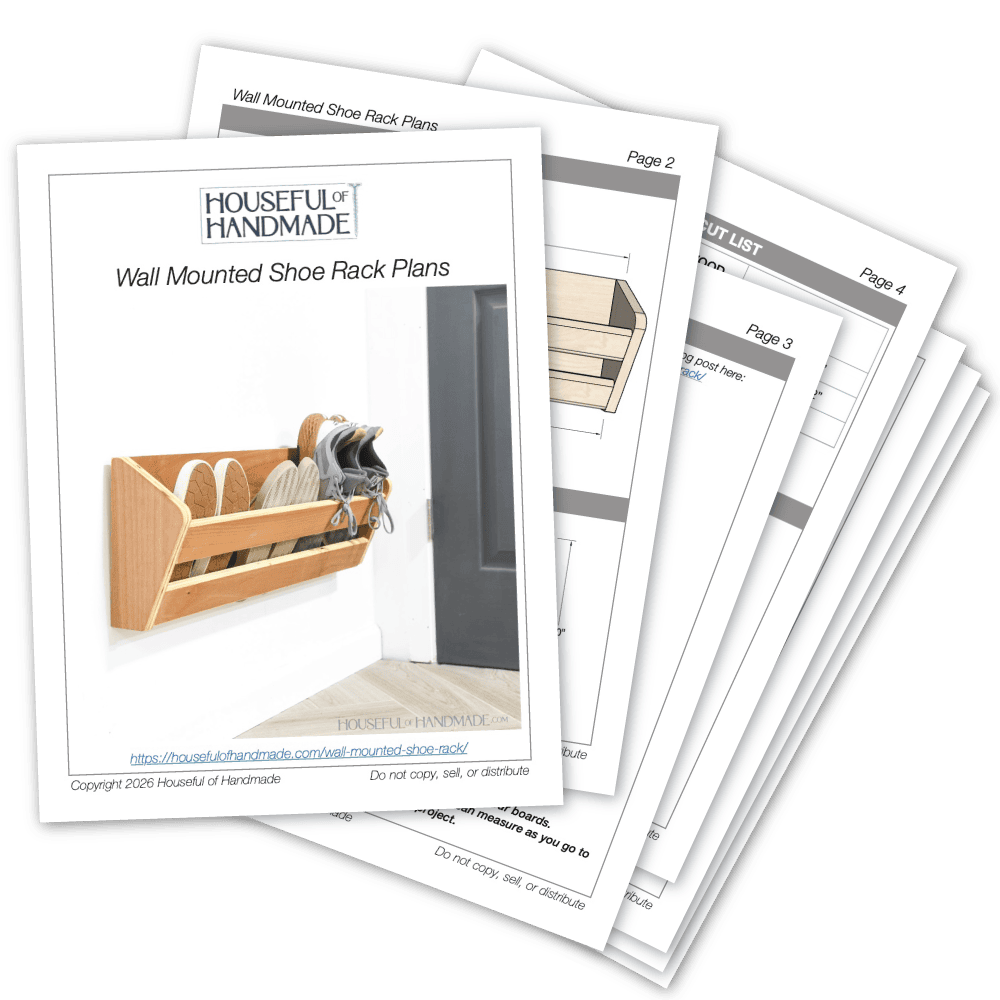
Premium plans include:
- Recommended Tools
- Shopping list
- Easy to read cut list table
- Cut diagrams
- Step-by-step instructions with 3D renderings
- Helpful resources
- BONUS: 3D SketchUp file
You did it!
Now you can place your shoes in the shoe rack and enjoy your clean floor.
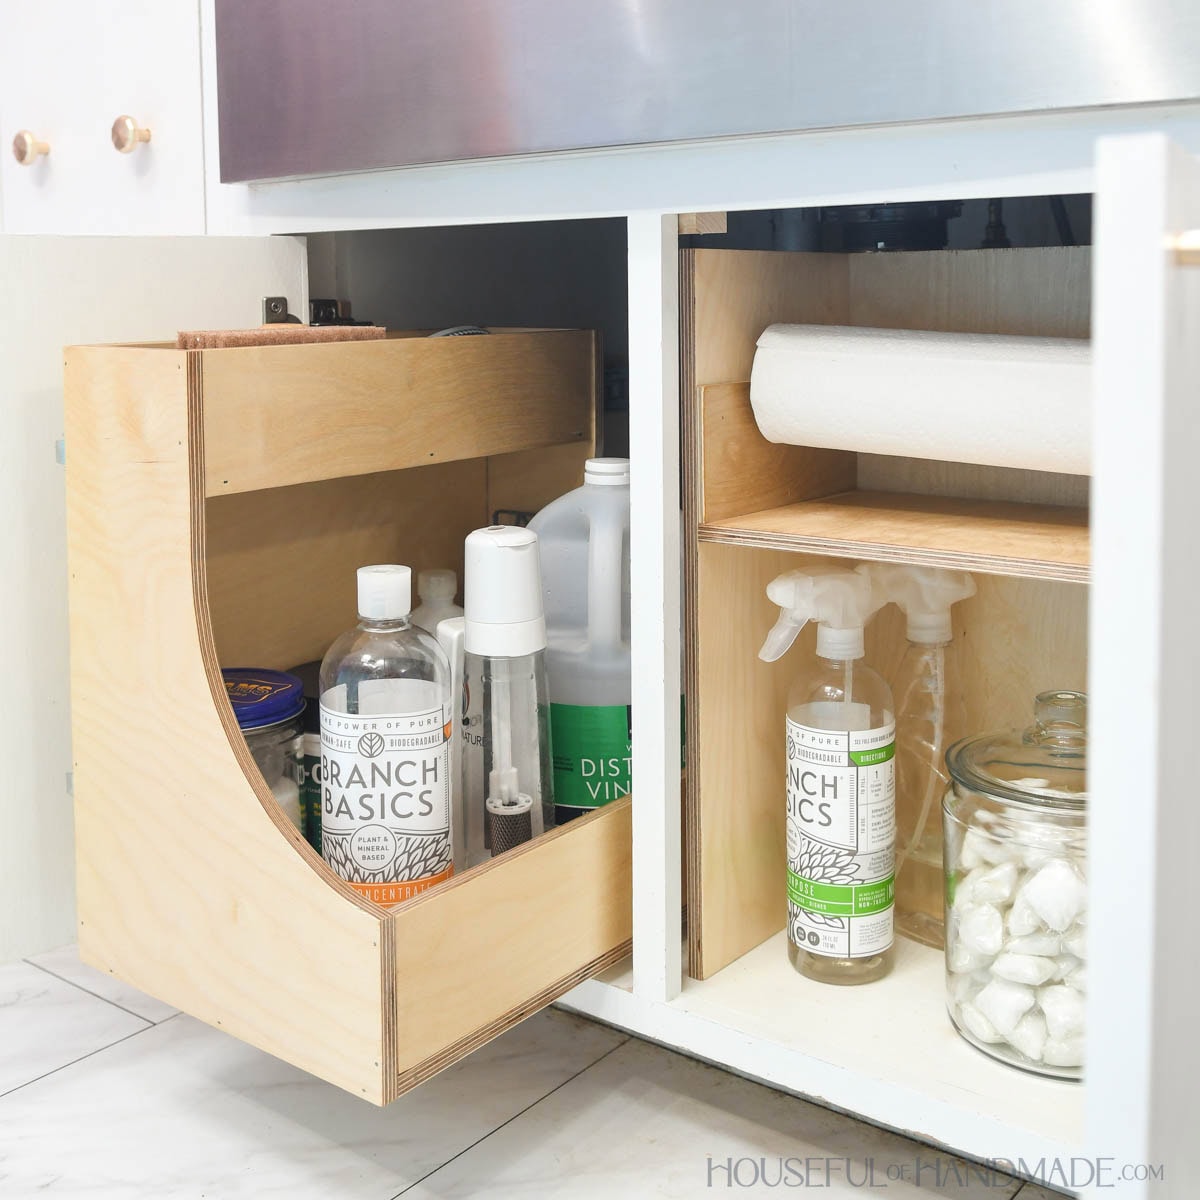
More Scrap Plywood Builds
It's time to clean out the shop and finally use up those stacks of plywood scraps!
Every Tuesday this February my friend Shara from Woodshop Diaries and I have challenged ourselves to build a project completely from scrap plywood.
I'll share each week's new scrap plywood project below so you can use up your scraps too!


Happy building!
