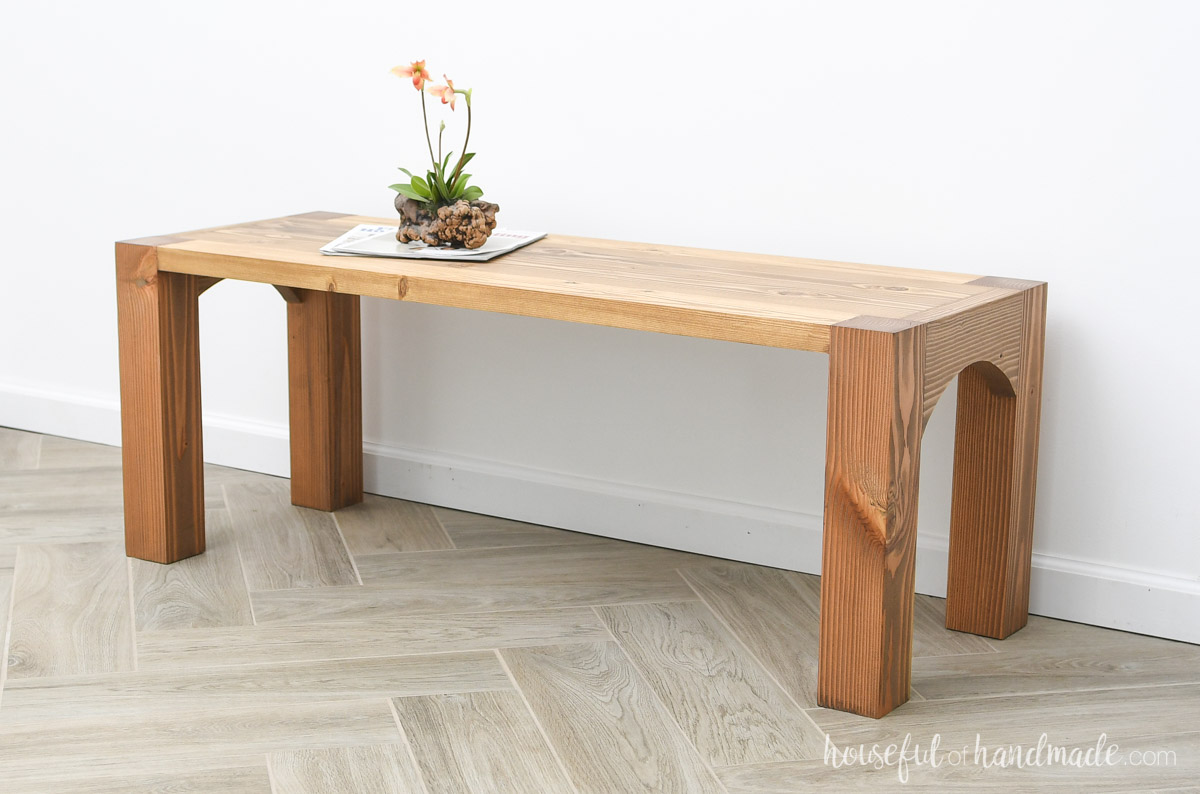
I am obsessed with my new chunky coffee table! I have seen similar coffee tables online in high-end retailers, but they also had high prices.
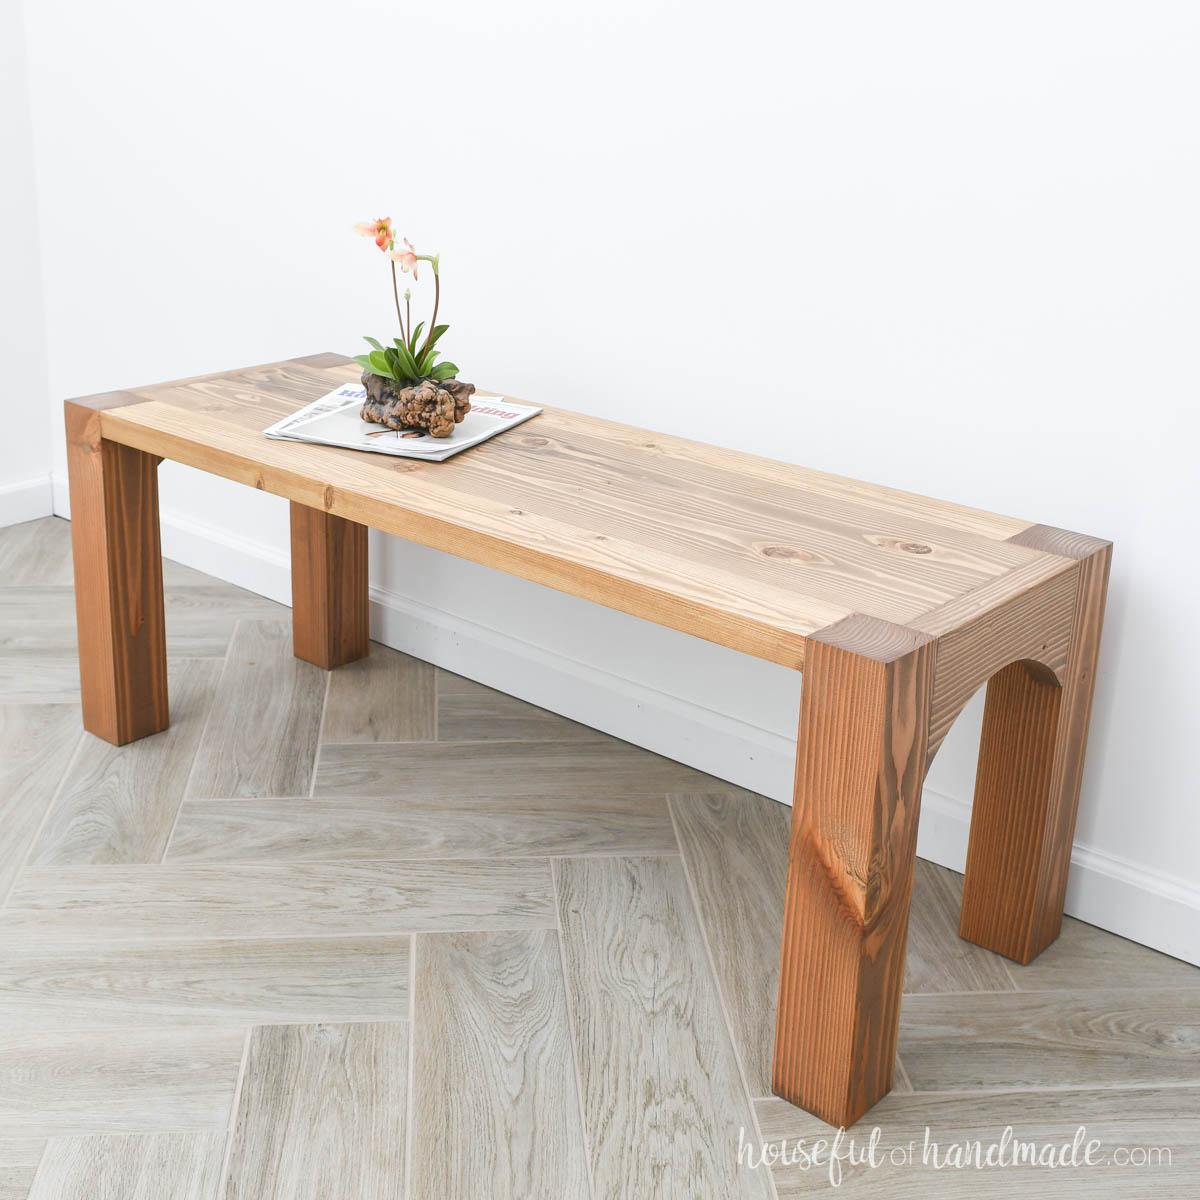
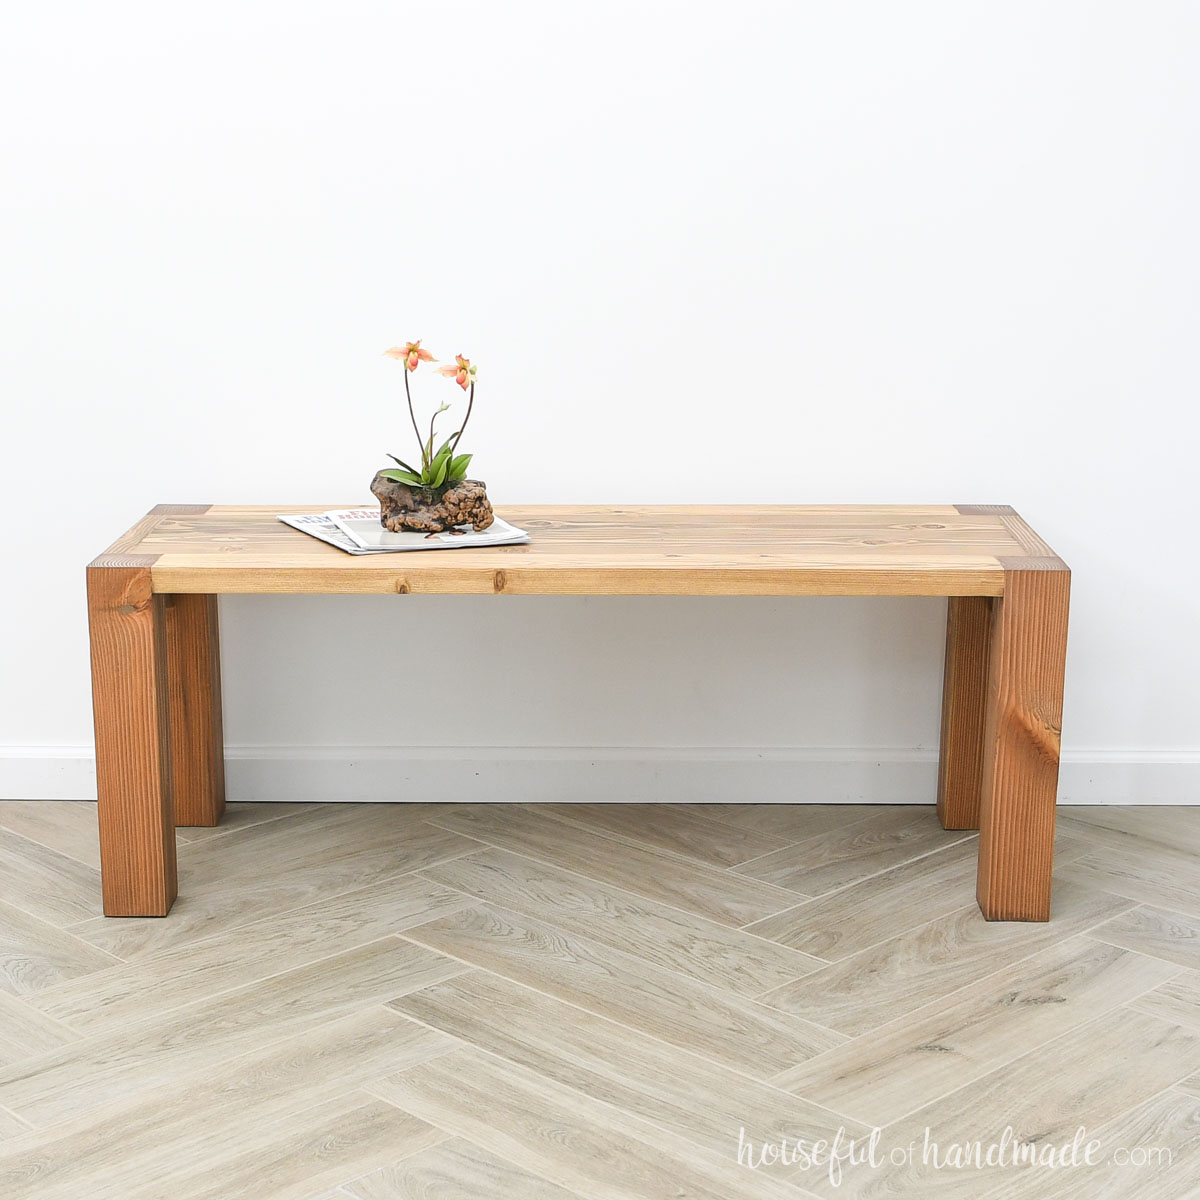
So I made my own version that is budget friendly, but looks amazing. My favorite part is the visible end grain of the legs on the top of the table.
But my second favorite is the arched detail on the sides. It’s such an easy to add feature that levels up this DIY coffee table.
This post may contain affiliate links. As an Amazon Associate I earn from qualifying purchases. Click here to read my full disclosure policy.
Easy to Build Coffee Table
Even with the added features, like the arch and legs visible on the top, this coffee table is super easy to build!
Just take the time to measure and cut things to fit and you will end up with a beautiful new coffee table in just a few hours.
You will be obsessed with hour fun of a build it is you will be excited to know I also have plans for matching side tables and the matching sofa table is coming soon!
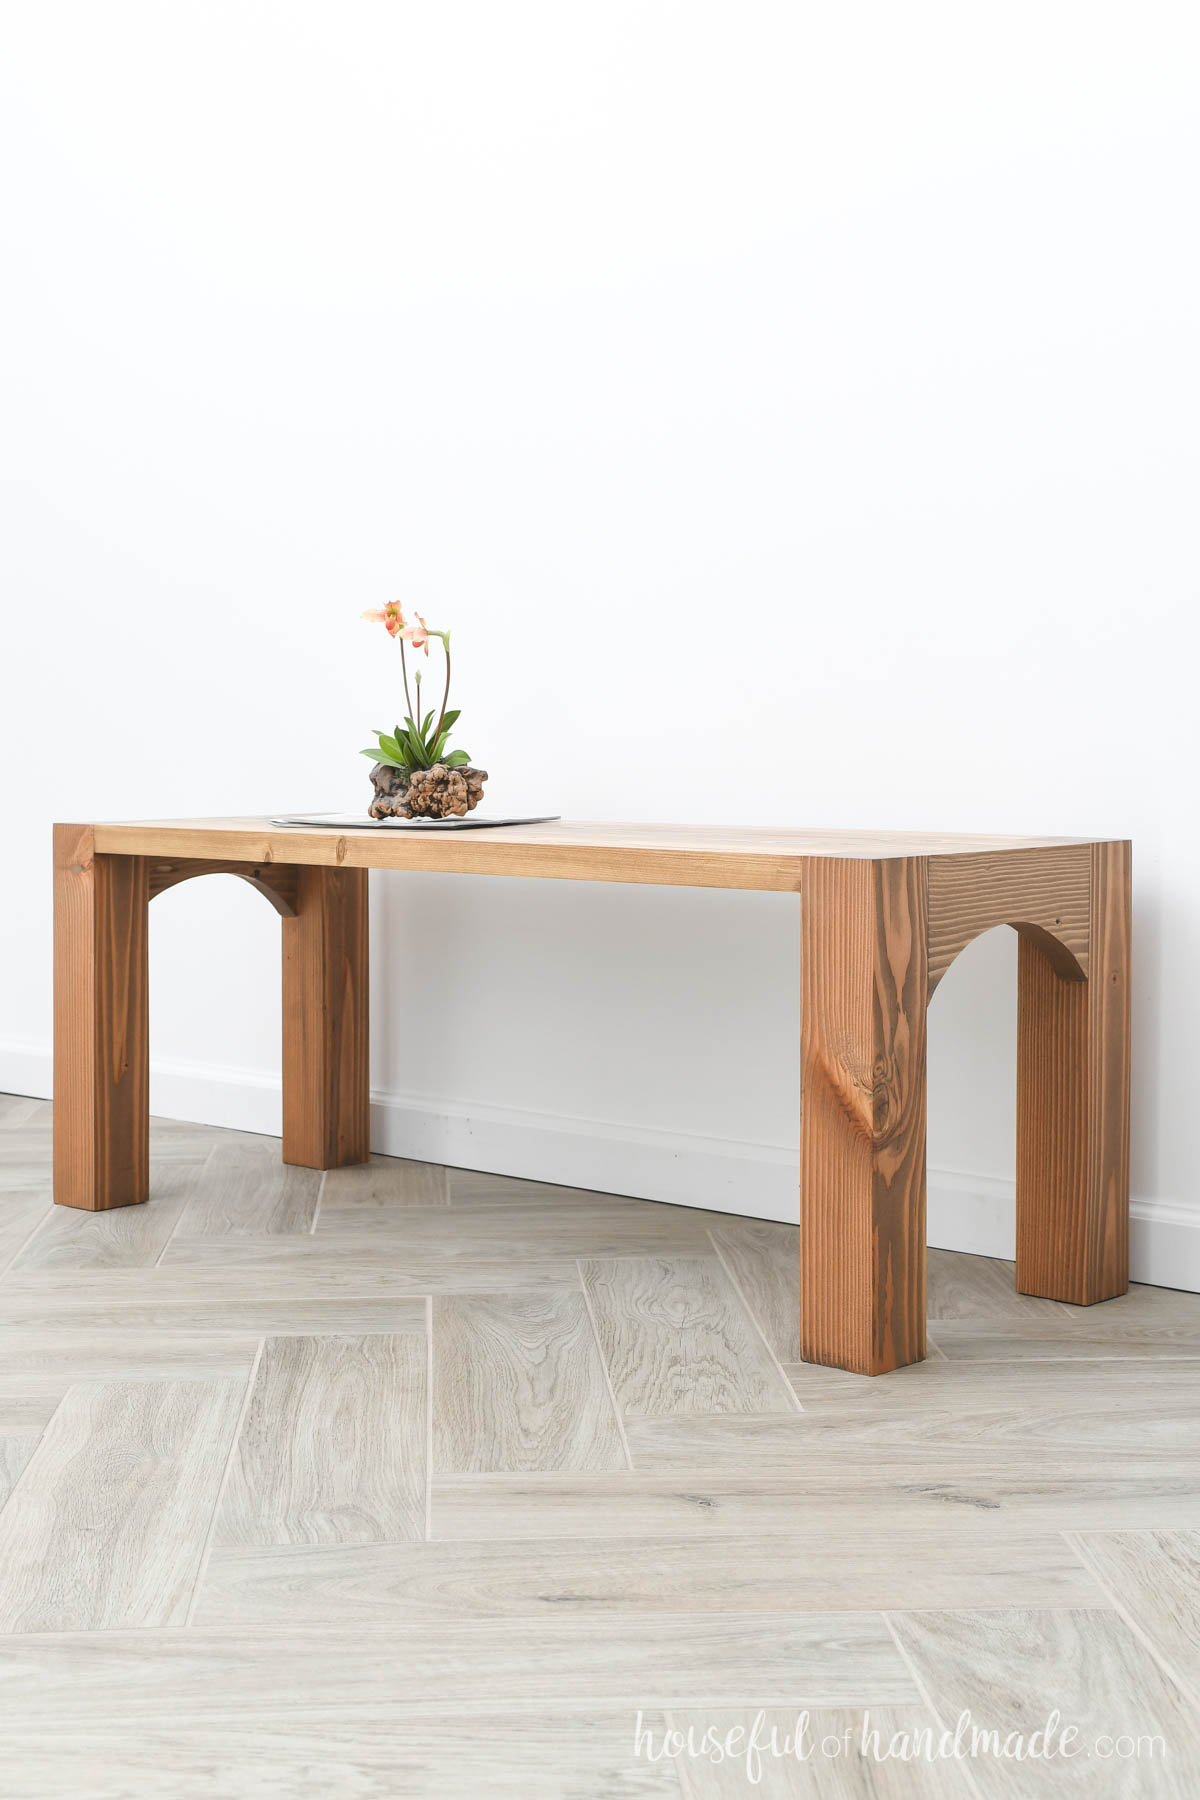
To keep my high-end coffee table budget friendly, I use pine 2×4 and 2×6 boards.
The only 4×4 boards available were fir, but looked similar in color to the 2x boards. That was until they were sanded smooth.
But I don’t mind the slightly reddish color on the chunky legs, it makes the top detail stand out more.
You could also skip buying 4×4 boards and glue two 2×4 boards together to ensure similar grain/wood color. Just make sure to adjust the measurements since the legs would be 1/2″ narrower on one side.
DIY Coffee Tables
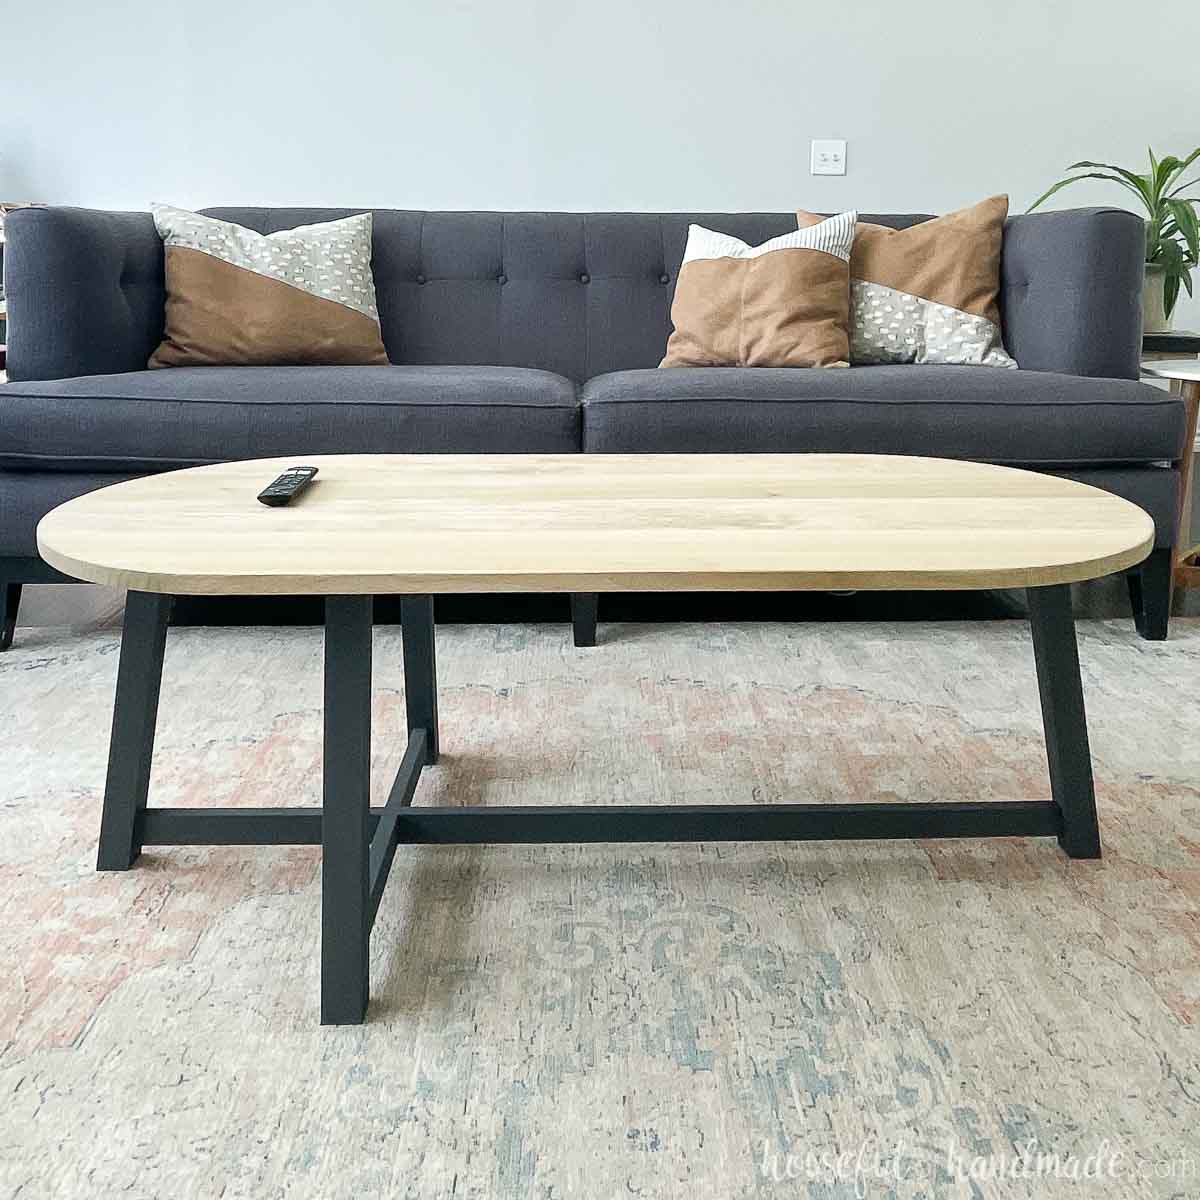
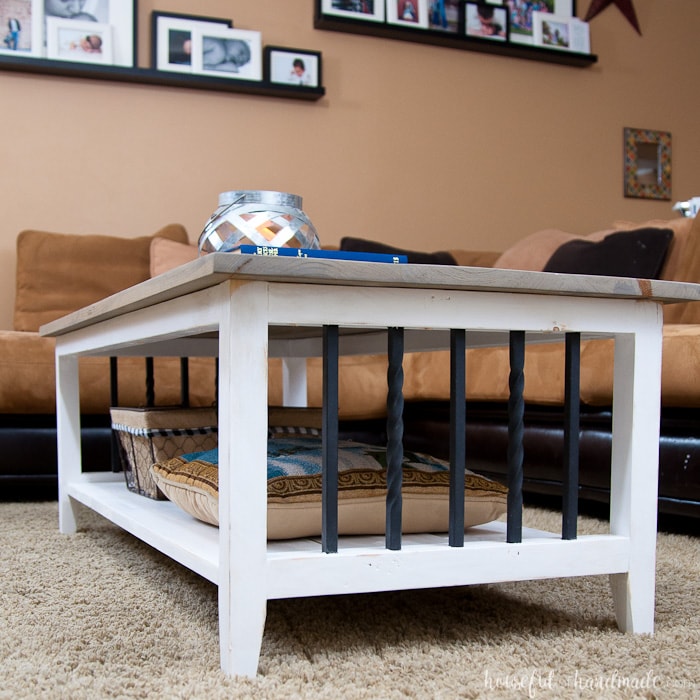
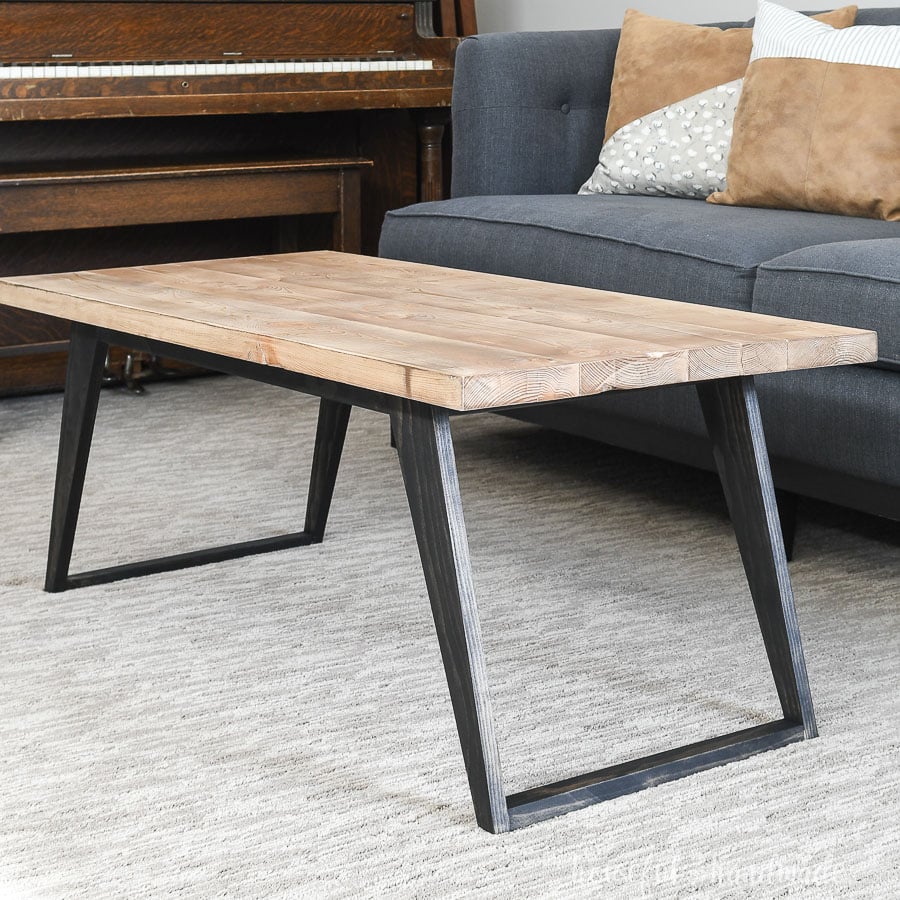
Need more DIY coffee table ideas? Check out these other builds and upcycles.
How to Build a Simple Coffee Table
Tools & Materials
Recommended Tools:
- Miter saw
- I recently upgraded to this larger sliding miter saw (watch for it to go on sale), but all my projects before were built with this inexpensive miter saw that I loved.
- Jig saw
- Pocket hole jig
- Drill
- Impact driver (optional, but I love not having to switch bits with the drill)
- Face clamp
- Sander
Supplies:
- Wood products
- (1) 4×4 board, 8′ long
- (1) 2×4 board, 8′ long
- (1) 2×6 board, 8′ long
- (1) 2×6 board, 2′ long
- 2 1/2″ pocket hole screws
- Wood glue
Overall Dimensions
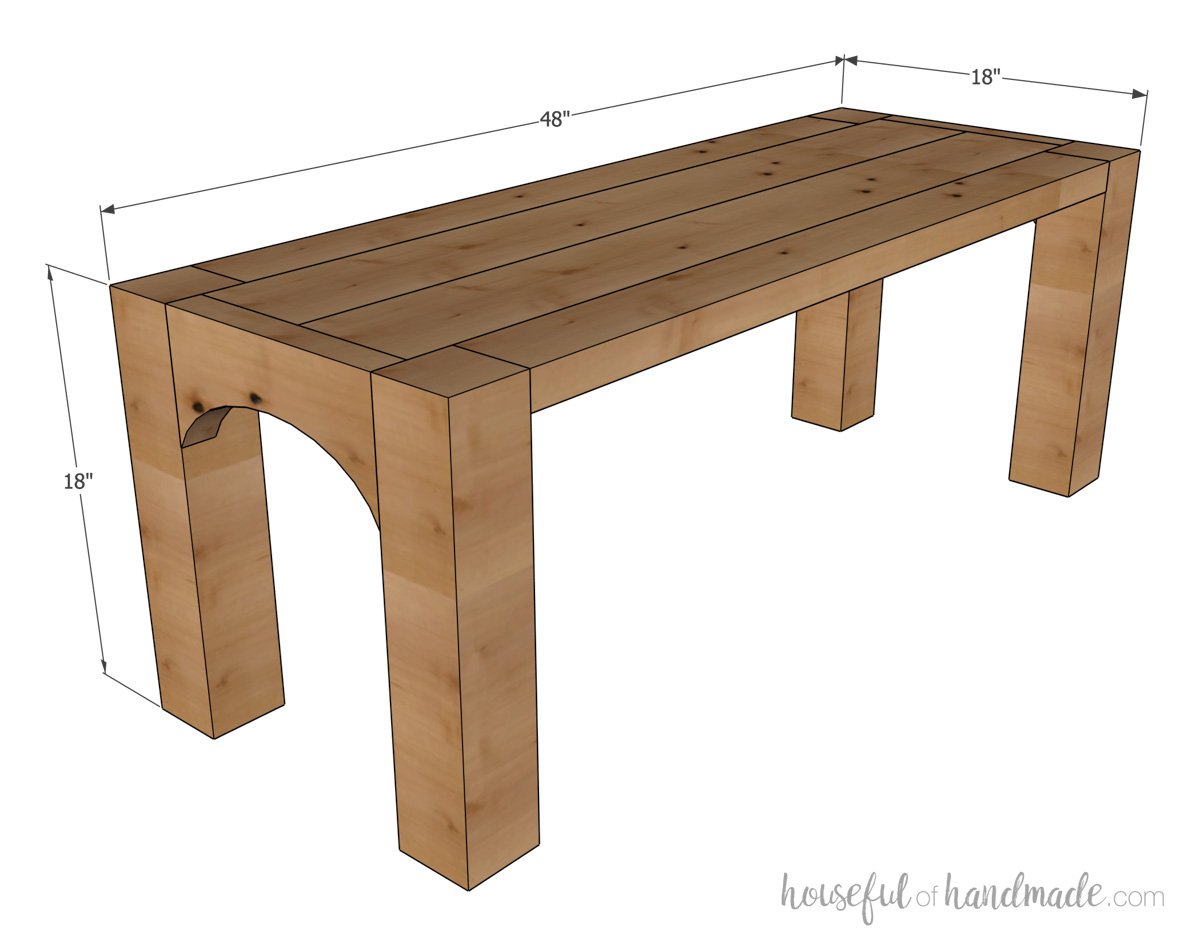
The finished coffee table is 18″ tall by 48″ wide and 18″ deep.
Cut List
Cut out the pieces according to the easy-to-read table in the premium PDF plans.
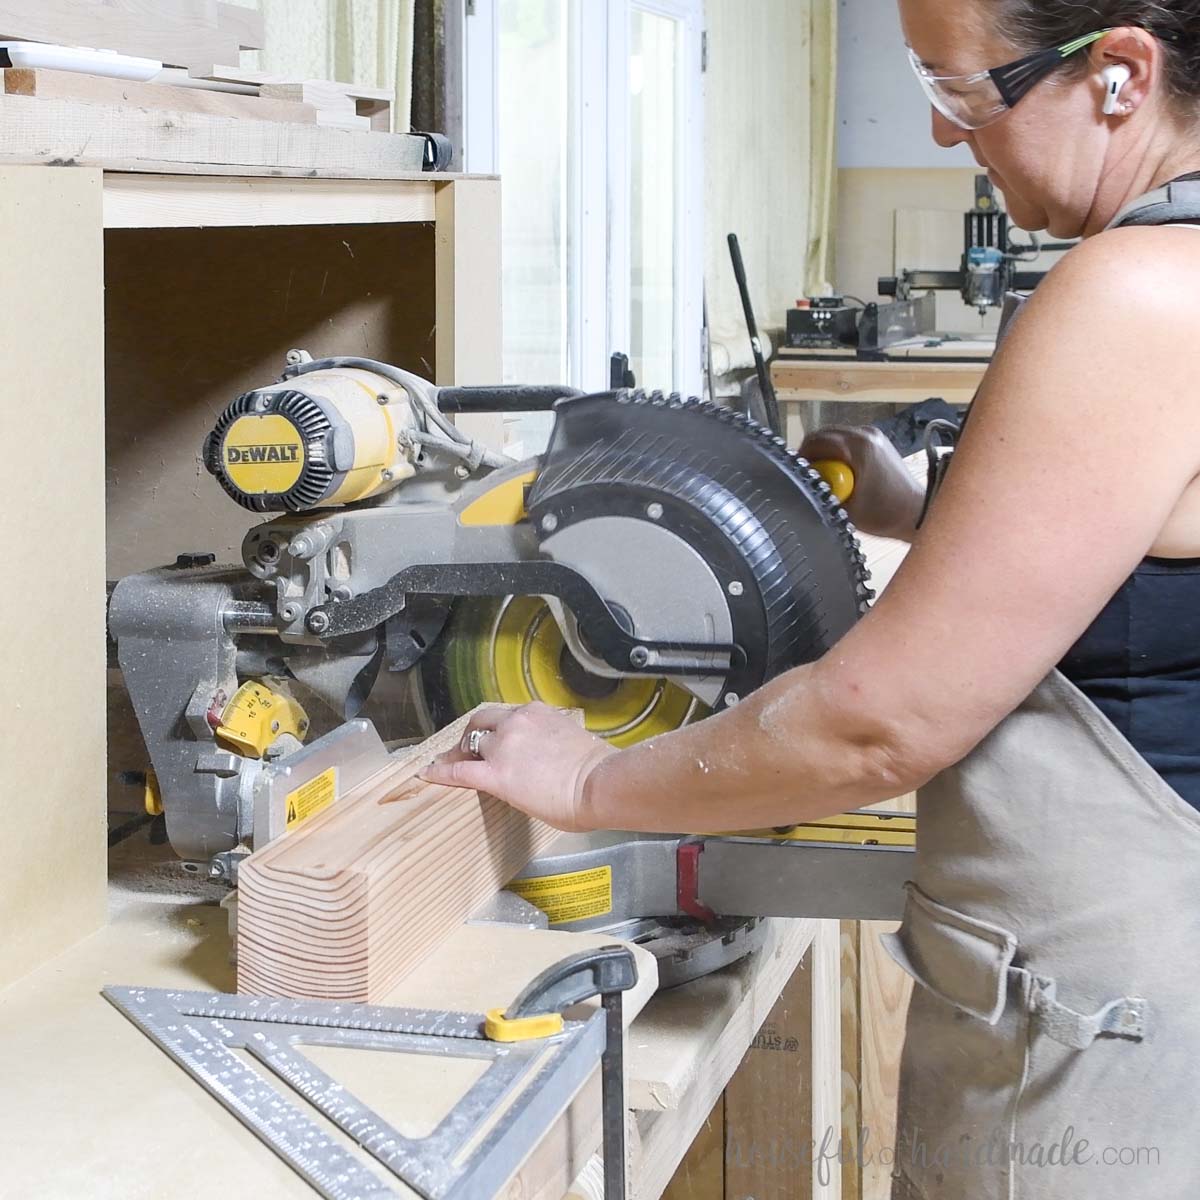
I used my miter saw to cut the boards. But do not cut them all to get started.
You will want to measure to cut, as detailed in the steps below, to get the best fit around the legs so there are no gaps on the top.
STEP 1- Cut the arches
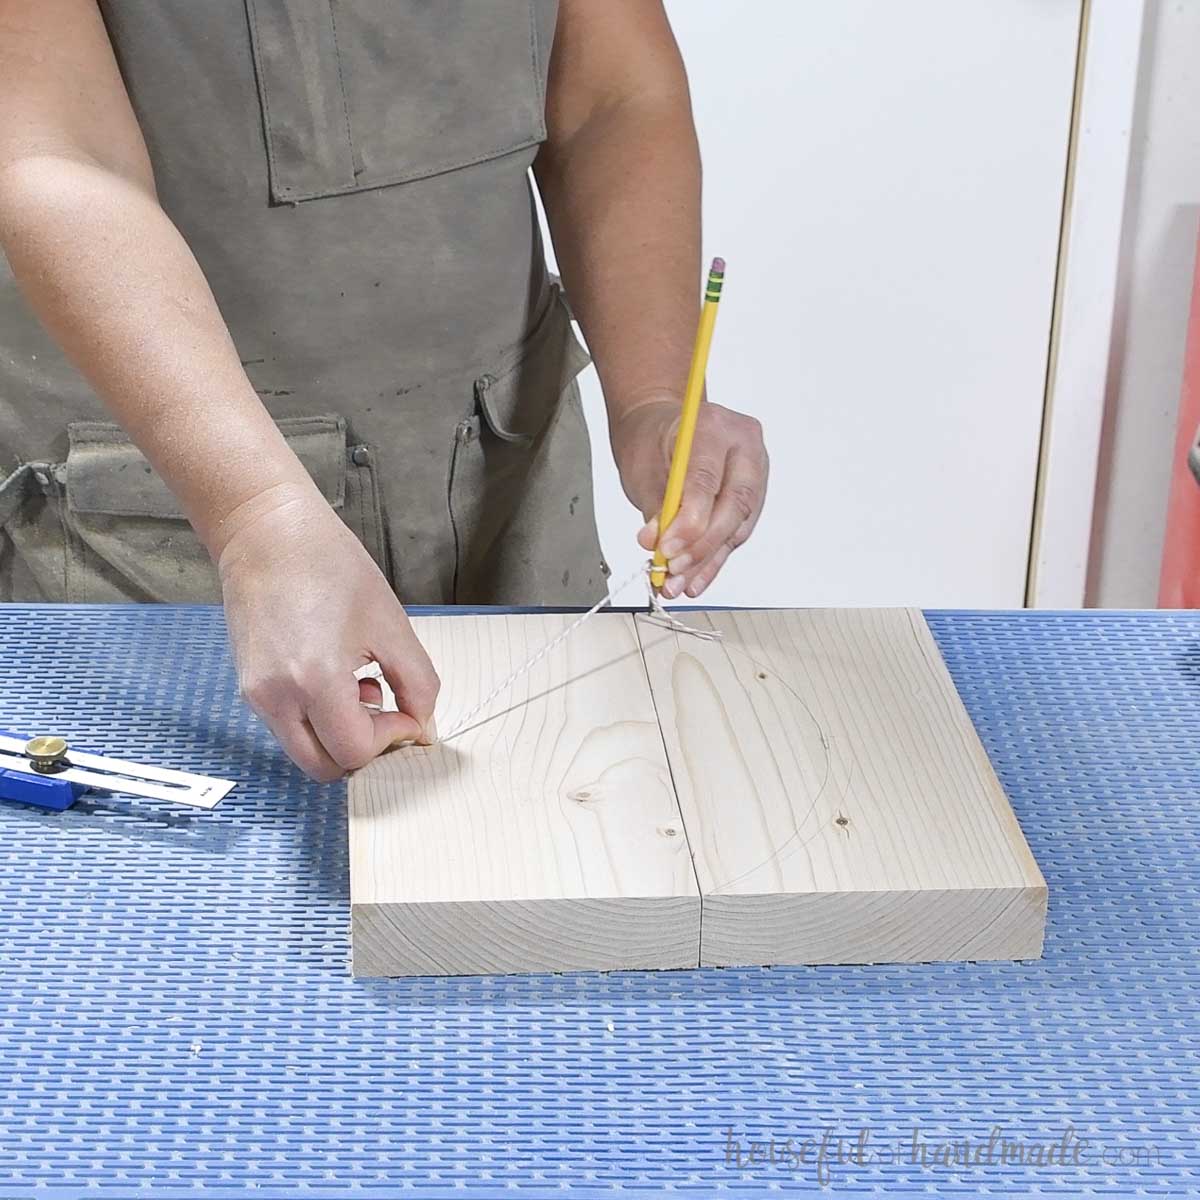
Press the two top center boards together and double check the width. Cut the arched ends to match the actual measurement.
Draw an arch in the lower half of the boards that goes from one side to the other and touches the center line. I used a string tied to a pencil to sketch out my arch.
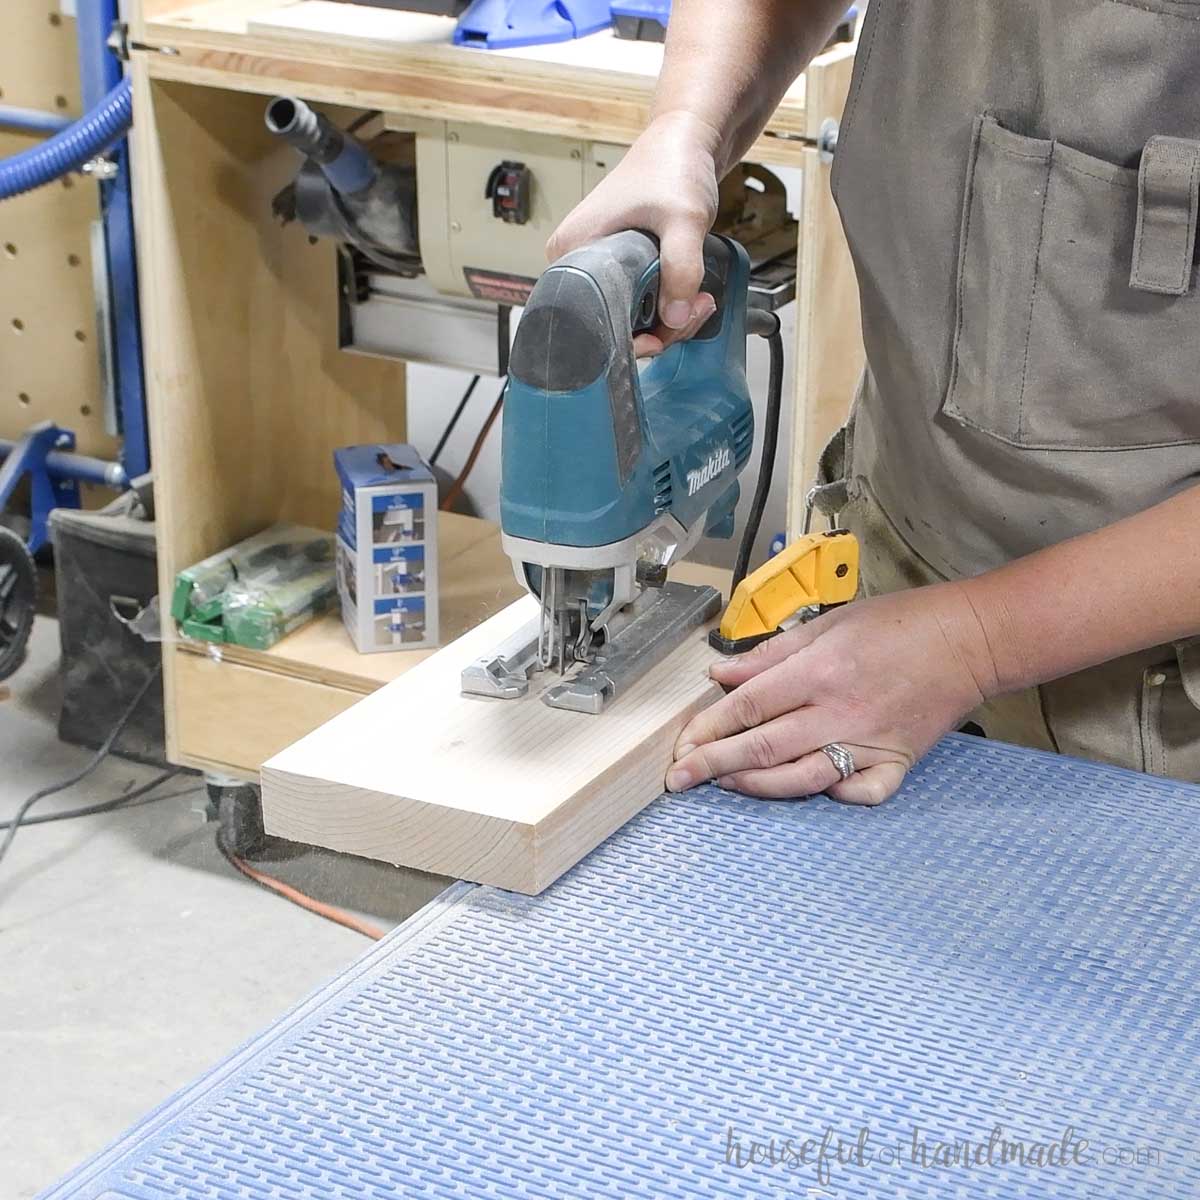
Cut the arch out of both end boards with a jig saw.
STEP 2- Build the sides
Set your pocket hole jig to drill holes in 1 1/2″ thick material.
Drill 2 pocket holes on the ends of the arched boards in the top half.
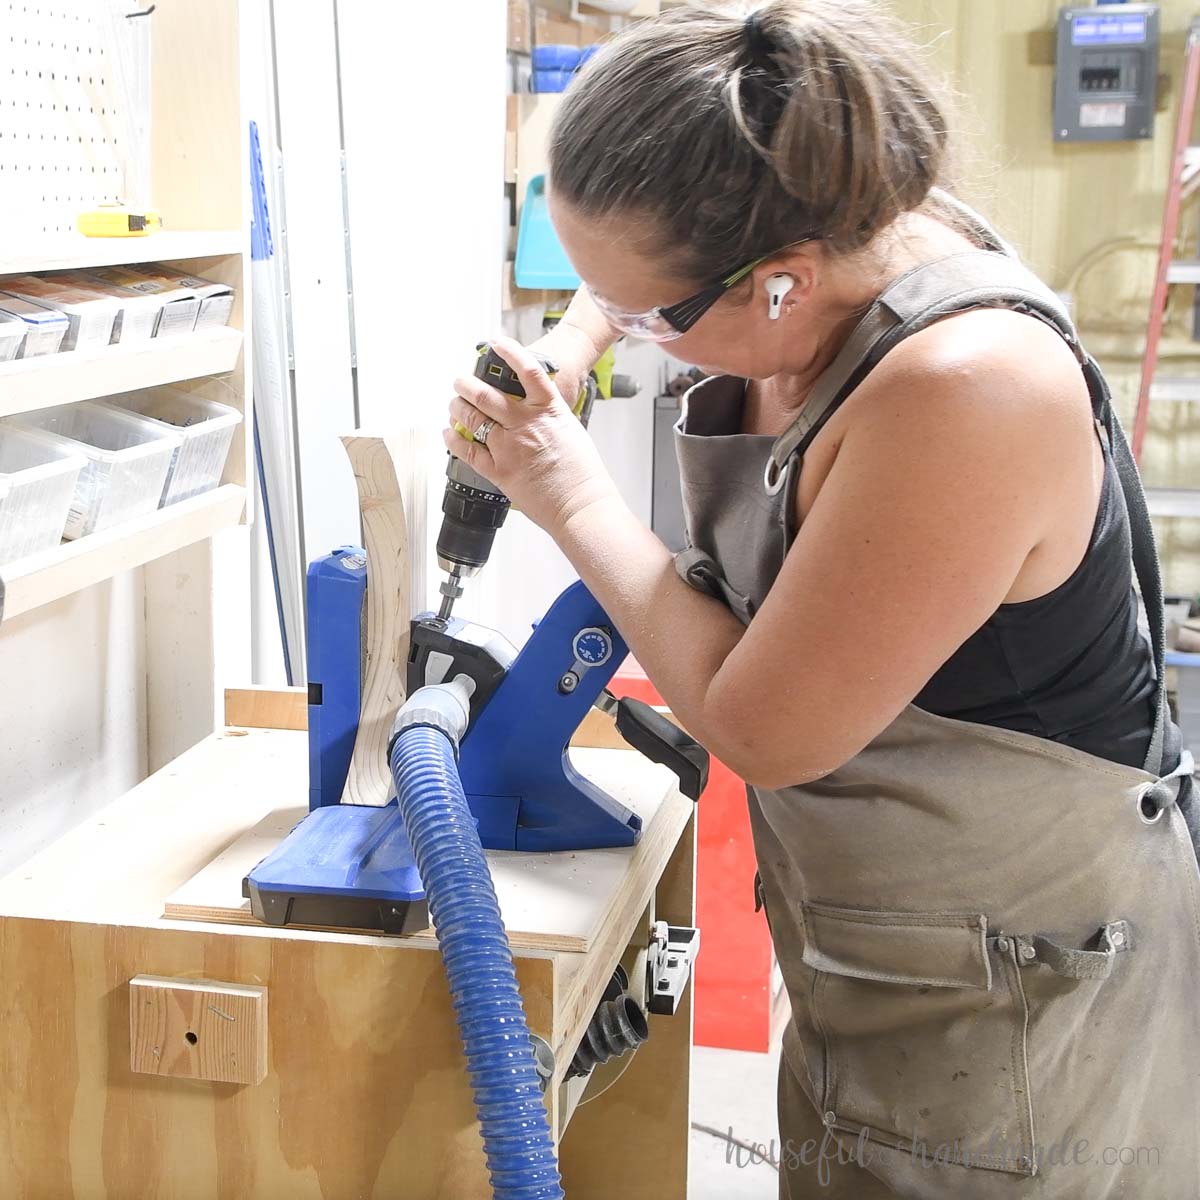
Attach the arched boards between two leg boards so they are flush to the top and the front edge of the boards.
Secure with 2 1/2″ pocket hole screws and wood glue.
Repeat for the second side.
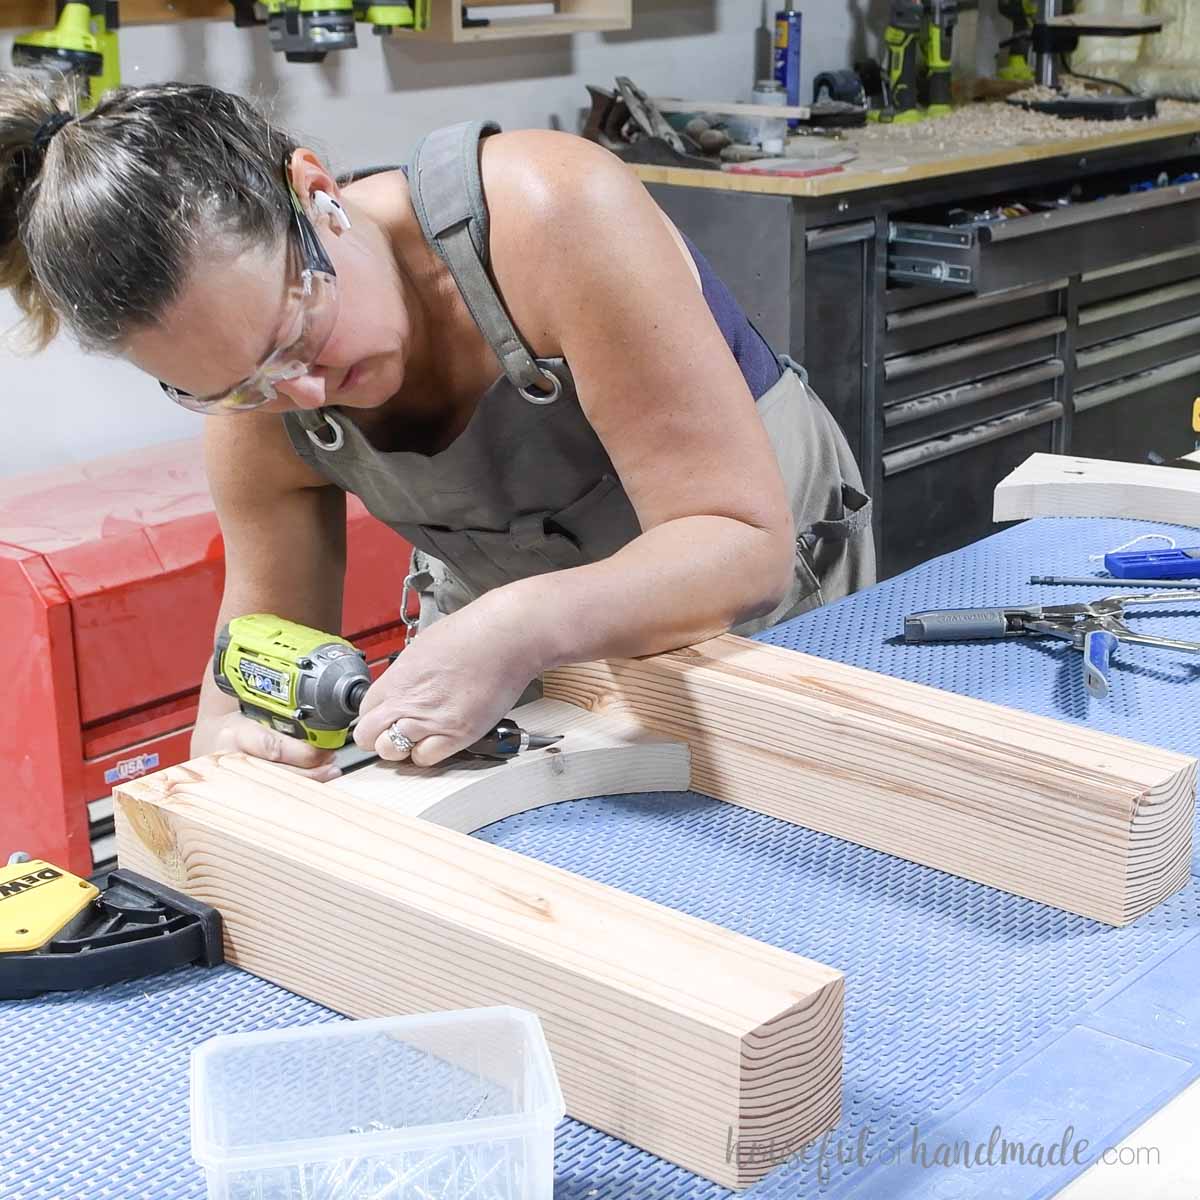
STEP 3- Assemble the top
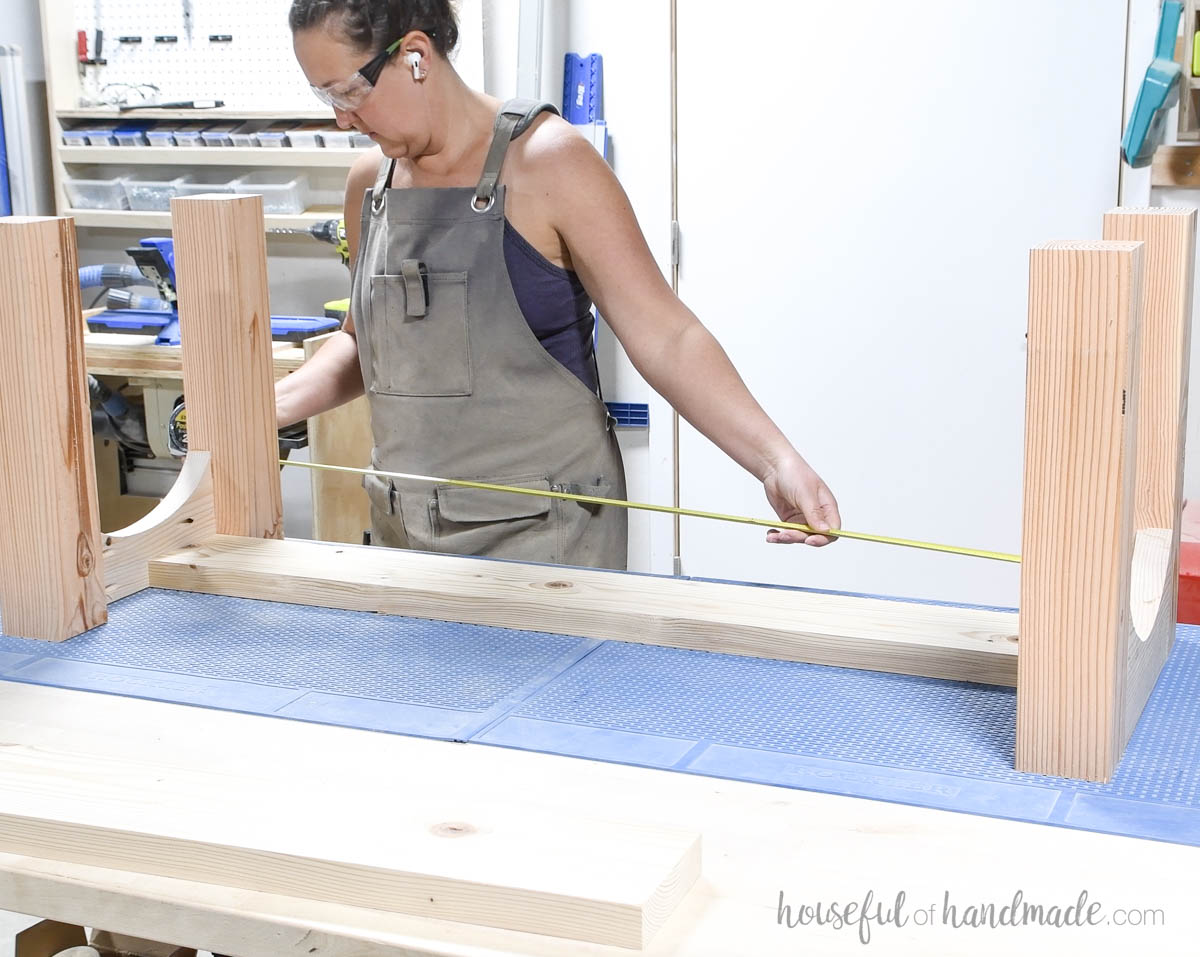
To get the best fit on the top side boards, first place the cut top center boards in between the two legs and clamp firmly together.
Measure the area between the legs and cut your boards to that measurement.
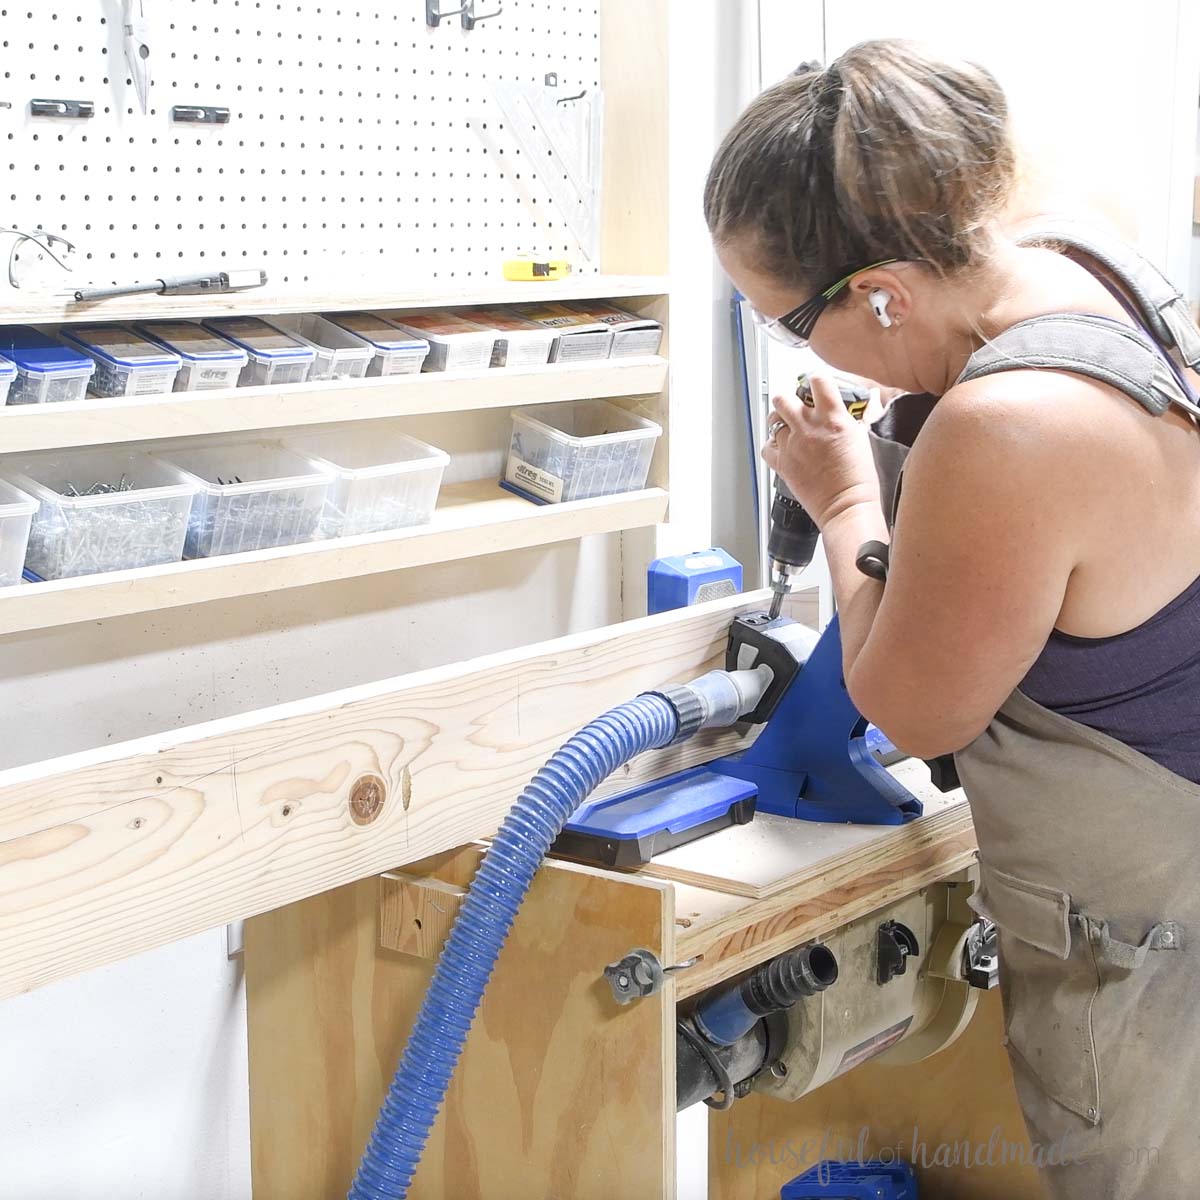
With your pocket hole jig still set for 1 1/2″ thick material, drill pocket holes in the top boards as shown in the diagram in the plans.
You can assemble without pocket holes if you prefer, just glue and clamp everything together until it dries.
Add glue to the seams and attach the boards so they are flat to the top/bottom. Use clamps to keep them flat as you secure with 2 1/2″ pocket hole screws.
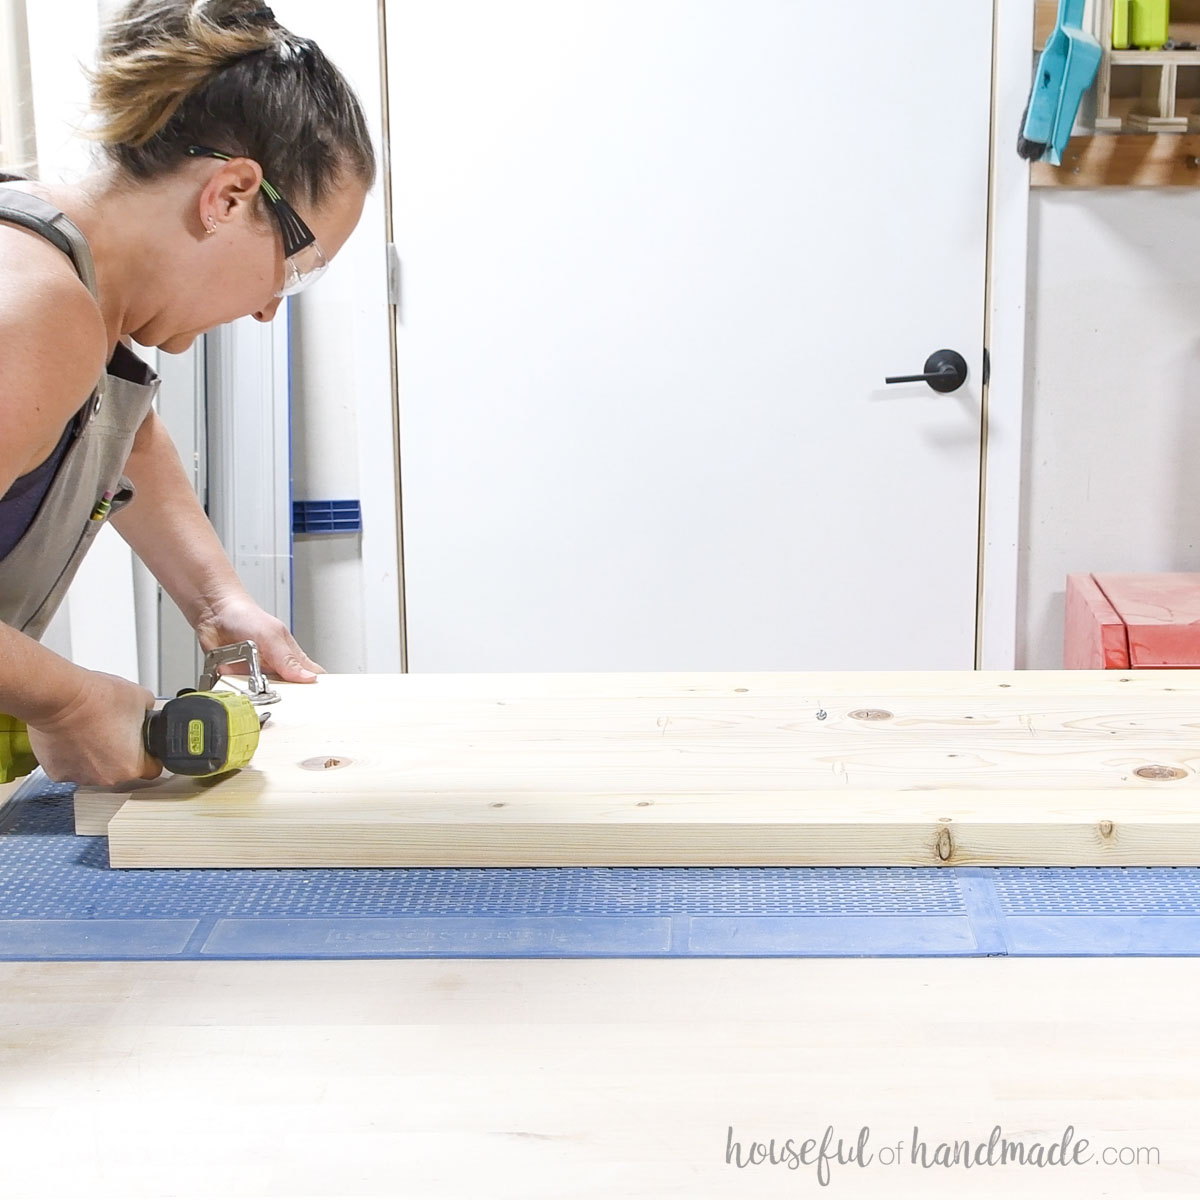
Center the top side boards so they will sit around the legs.
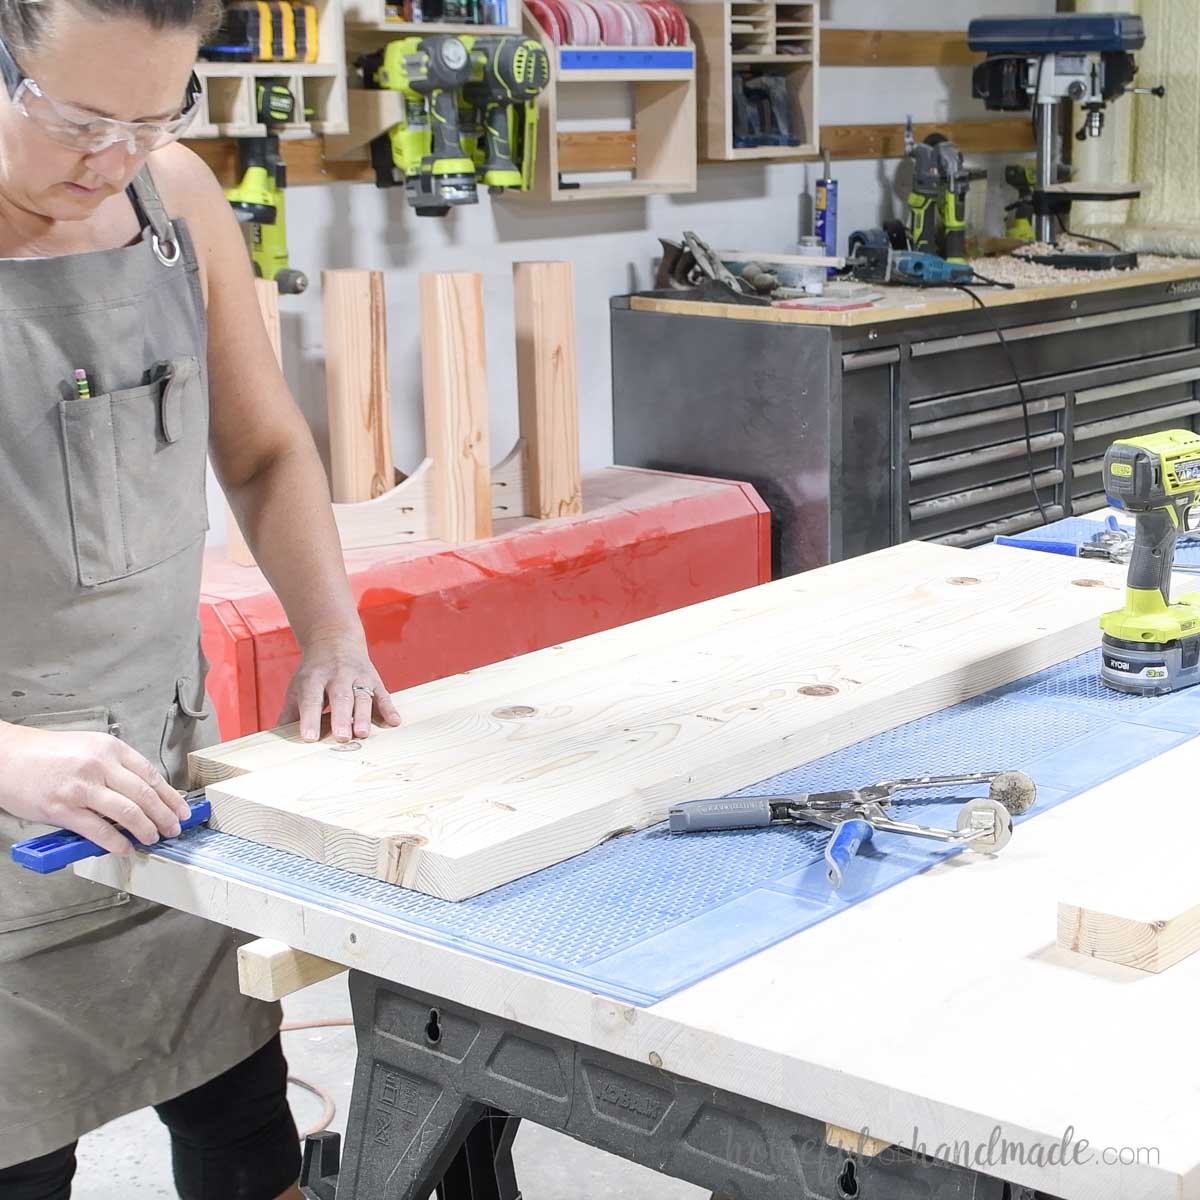
Drill additional pocket holes set for 1 1/2” thick material in the top to attach it to the legs.
Drill 1 hole in the end of each of the top boards as shown in the diagram below.
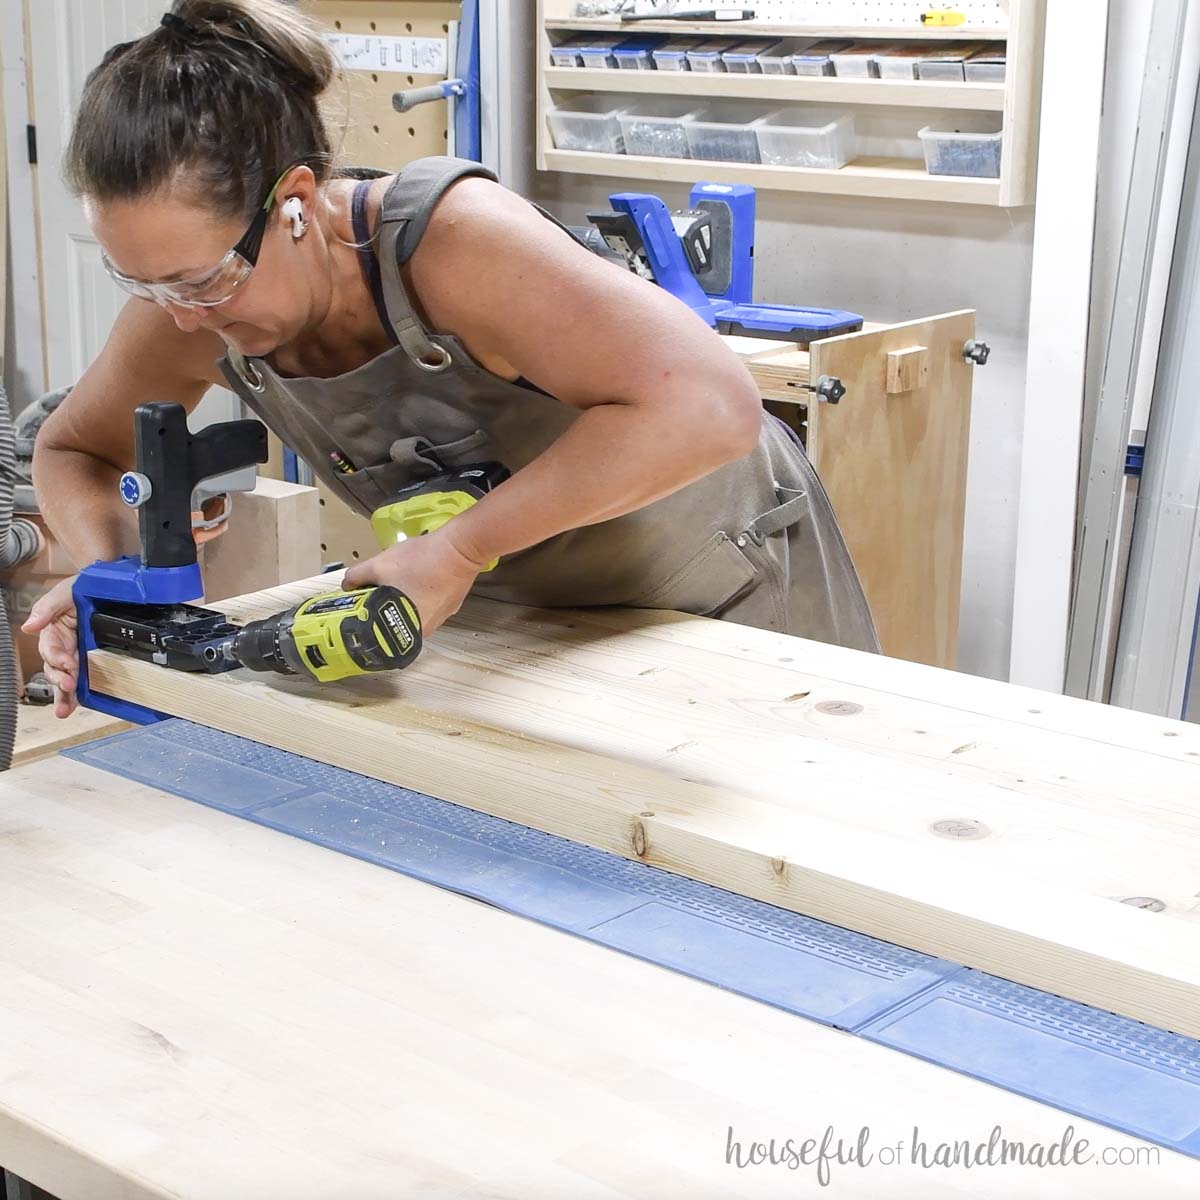
STEP 4- Attach top
Place the top between the legs. If it is tight, use a clamp as a spreader to carefully open the legs so you can slide the top in place.
Secure with wood glue and 2 1/2″ pocket hole screws through the pocket holes drilled in the ends of the top boards. Ensure everything is flush on the top.
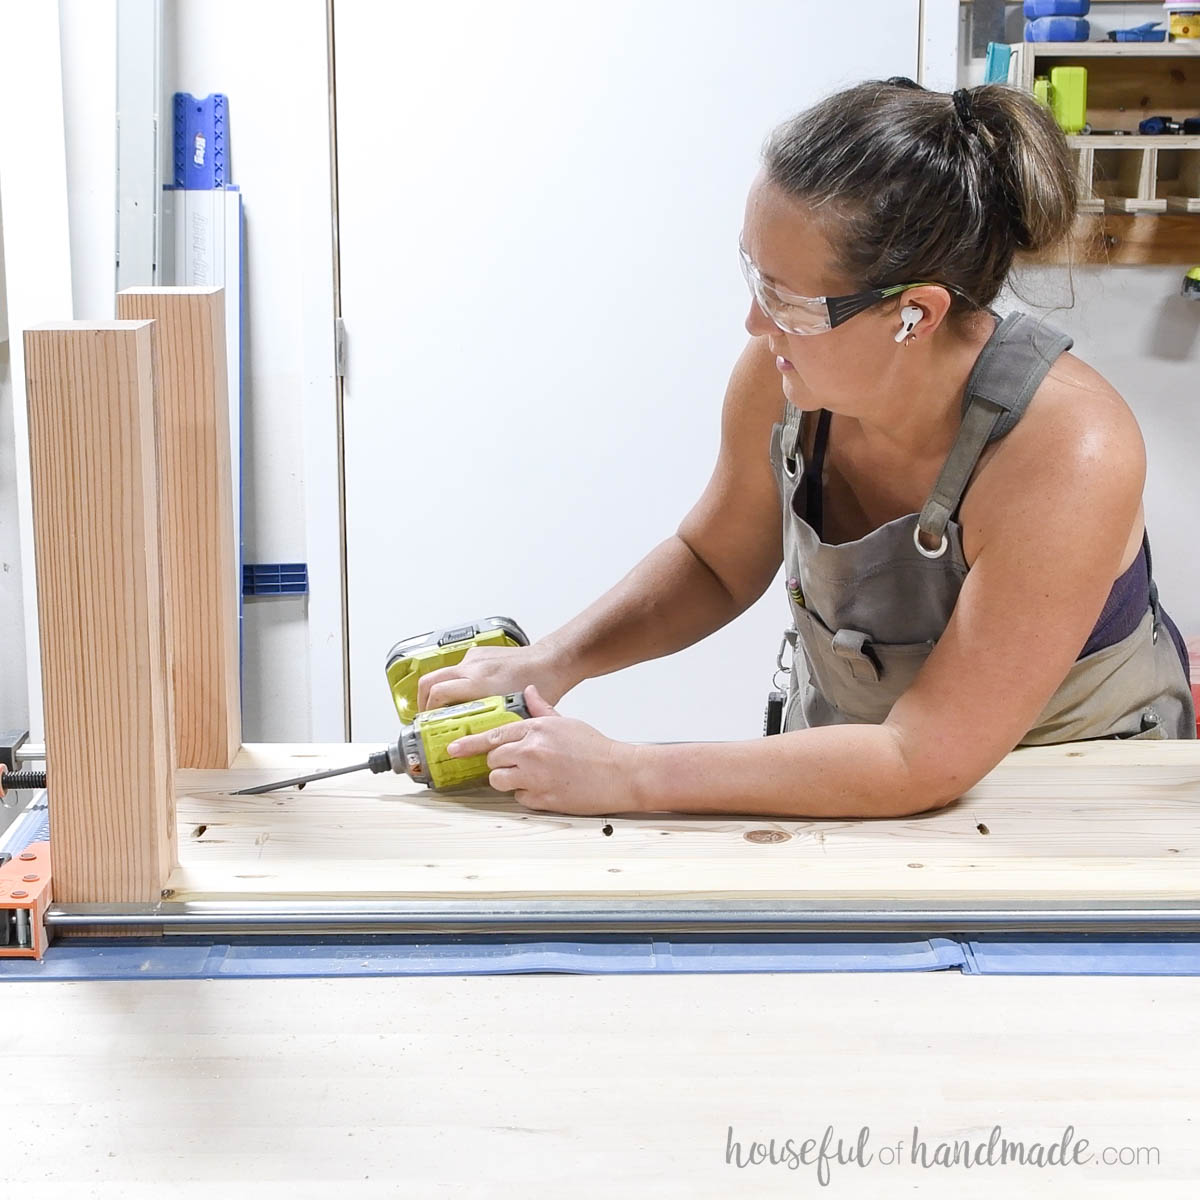
If you end up with small gaps in the top around the legs/arched ends, fill them with stainable wood filler to help them disappear.
Also, fill the pocket holes on the underside of the coffee table if desired.
STEP 5- Finish
Sand and stain or paint new coffee table.
I opted for stain so that the unique grain of the wood, especially the end grain of the legs flush with the top, would be visible.
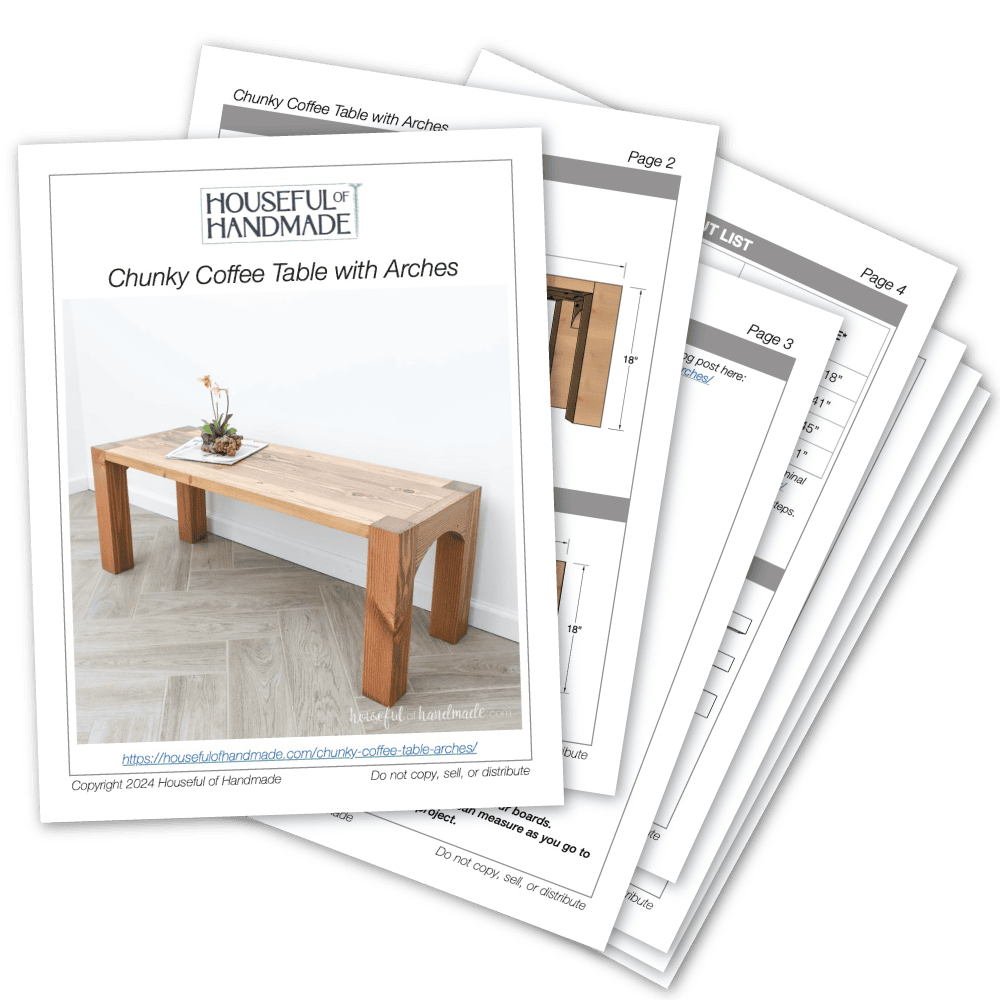
Premium plans include:
- Recommended Tools
- Shopping list
- Easy to read cut list table
- Cut diagrams
- Step-by-step instructions with 3D renderings
- Helpful resources
- BONUS: 3D SketchUp file
You did it!
Now sit back and put your feet up, you deserve it.
Happy building!


