
If you are a plant person, you know how quickly you can run out of room on the floor for all the plants.
I have built plants stands and tall plant shelves, but I still have no where for new ones.
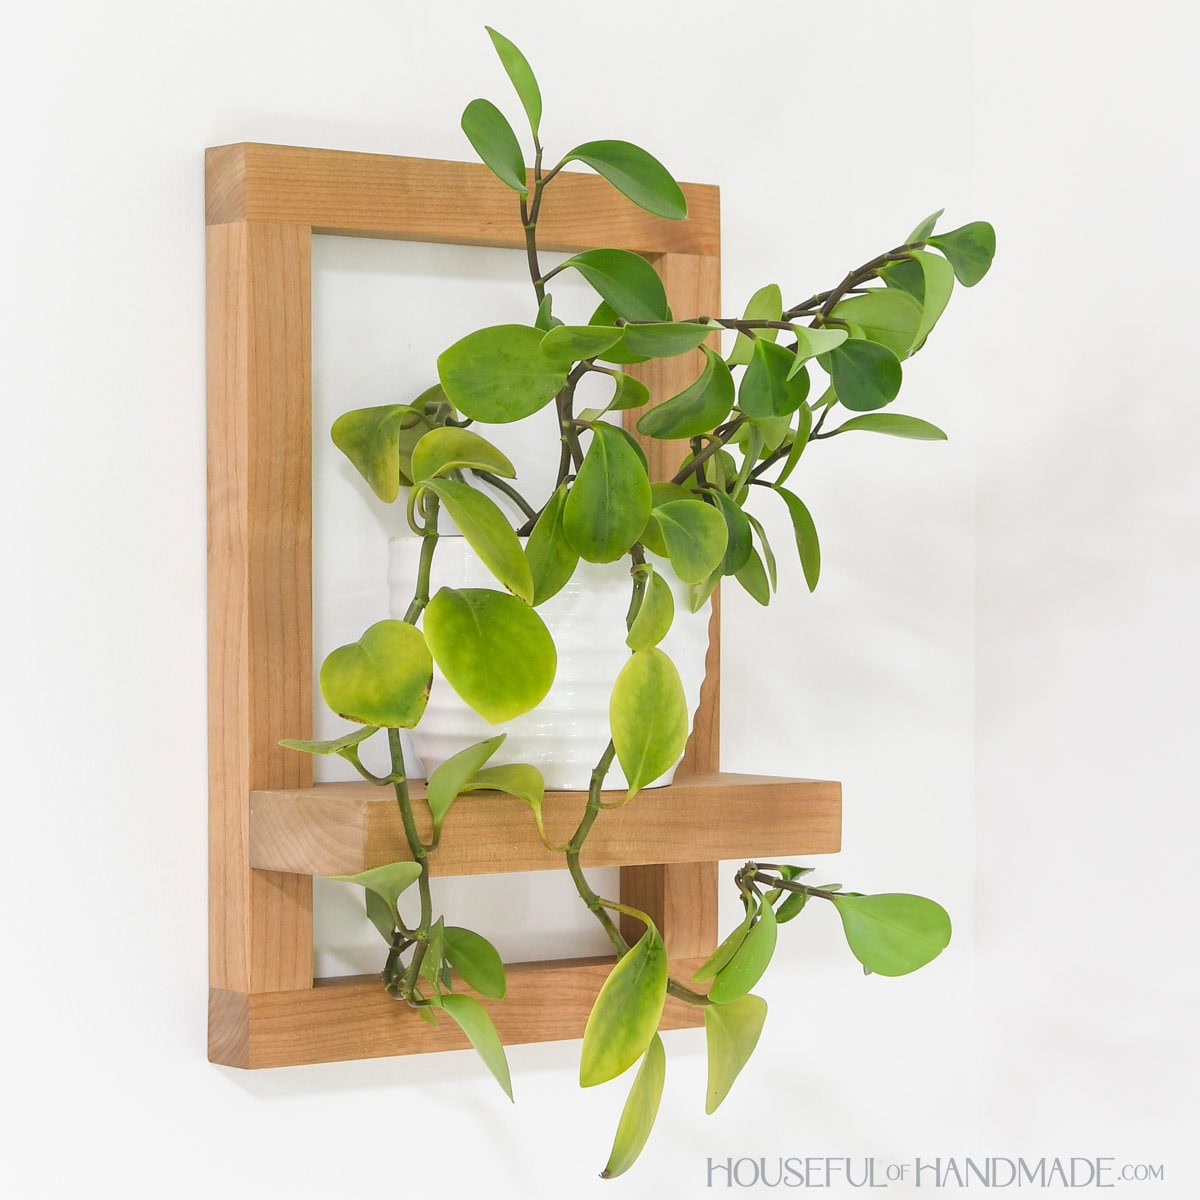
So to make room for more plants, it is time to add them to all the walls too. And what better way to put a plant on the wall, then with a beautiful frame around it.
This post may contain affiliate links. As an Amazon Associate I earn from qualifying purchases. Click here to read my full disclosure policy.
I built this beautiful, and easy, framed plant shelf to make it easy to add plants anywhere you want. And it would be a great DIY gift too!
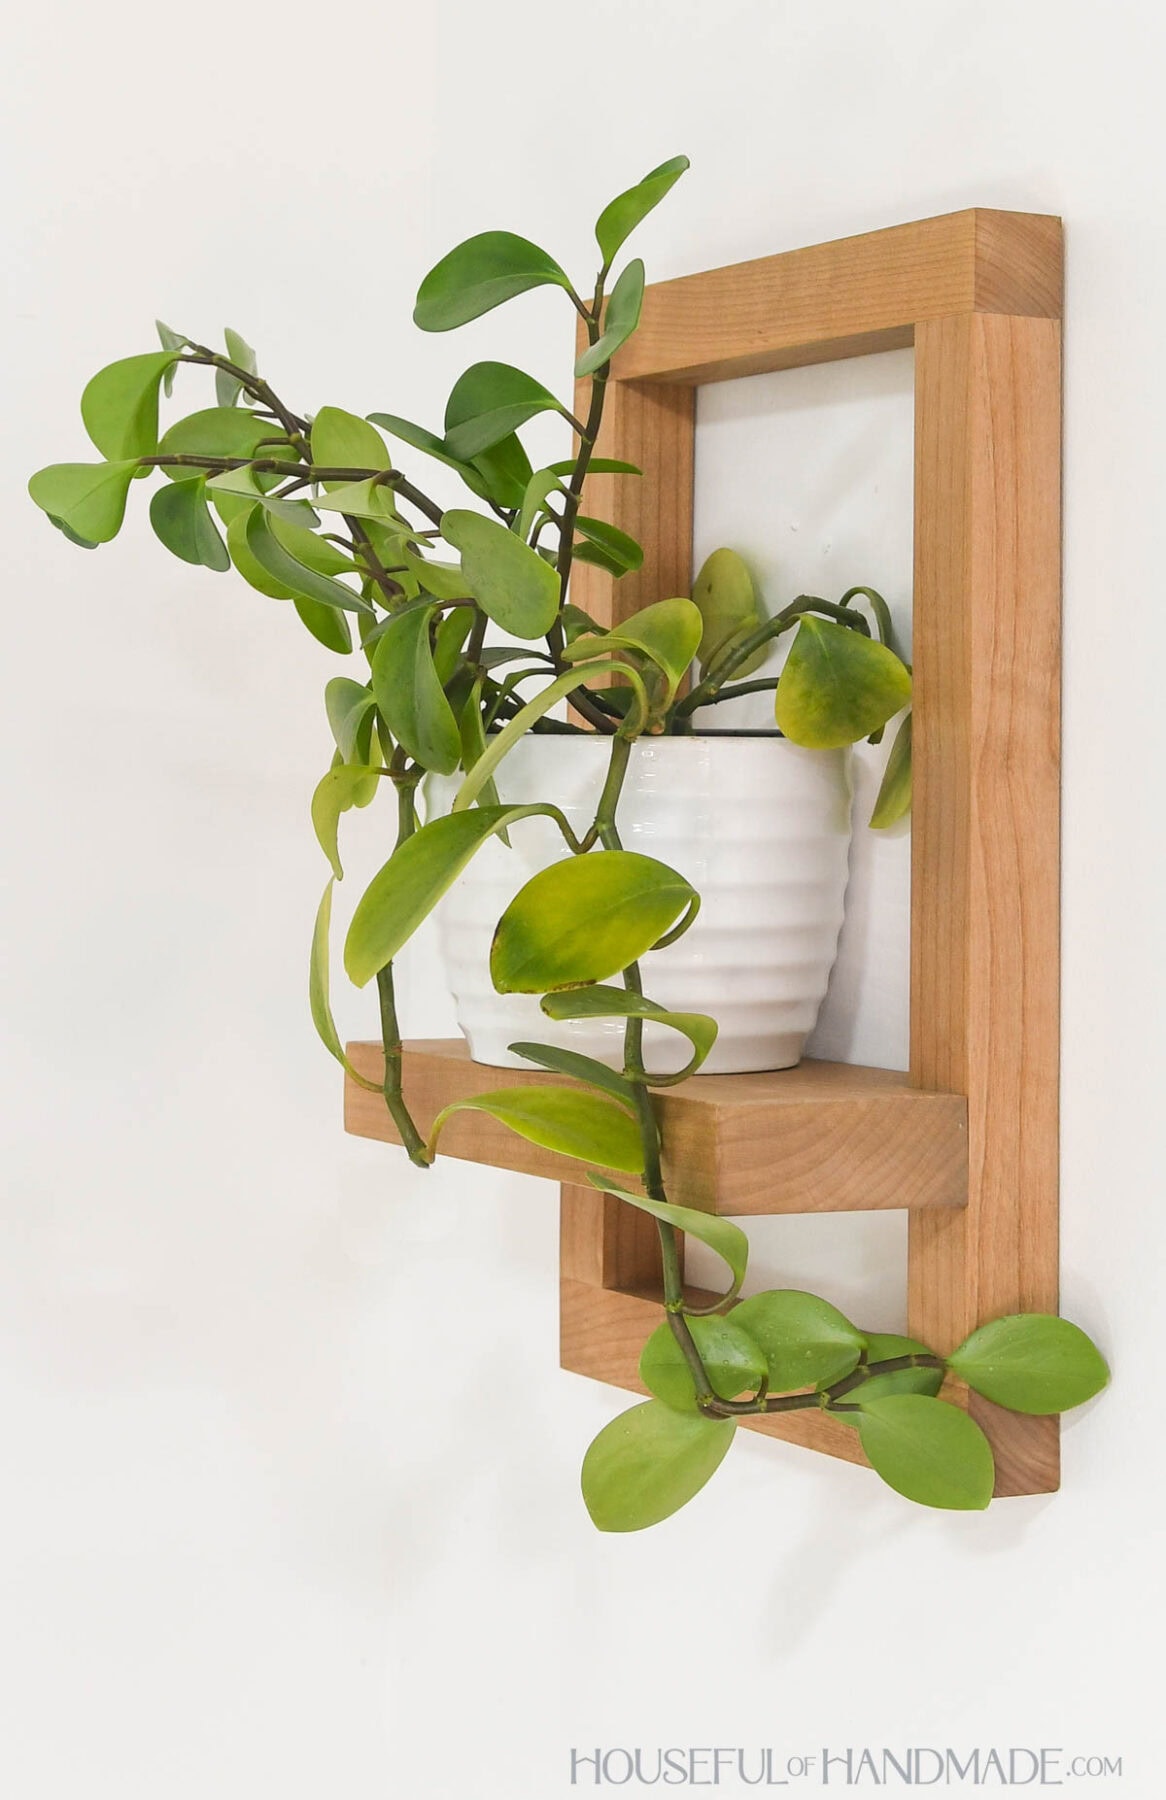
Wall-mounted Plant Shelf
This plant shelf is great because it mounts on the wall, just like a picture frame.
But instead of seeing the smiling faces of your loved ones, you get to smile at your beautiful plants instead.
Now you can easily add plants to any room, even if there is no floor space for them. These would be so great in a hallway, bathroom, entry and more.
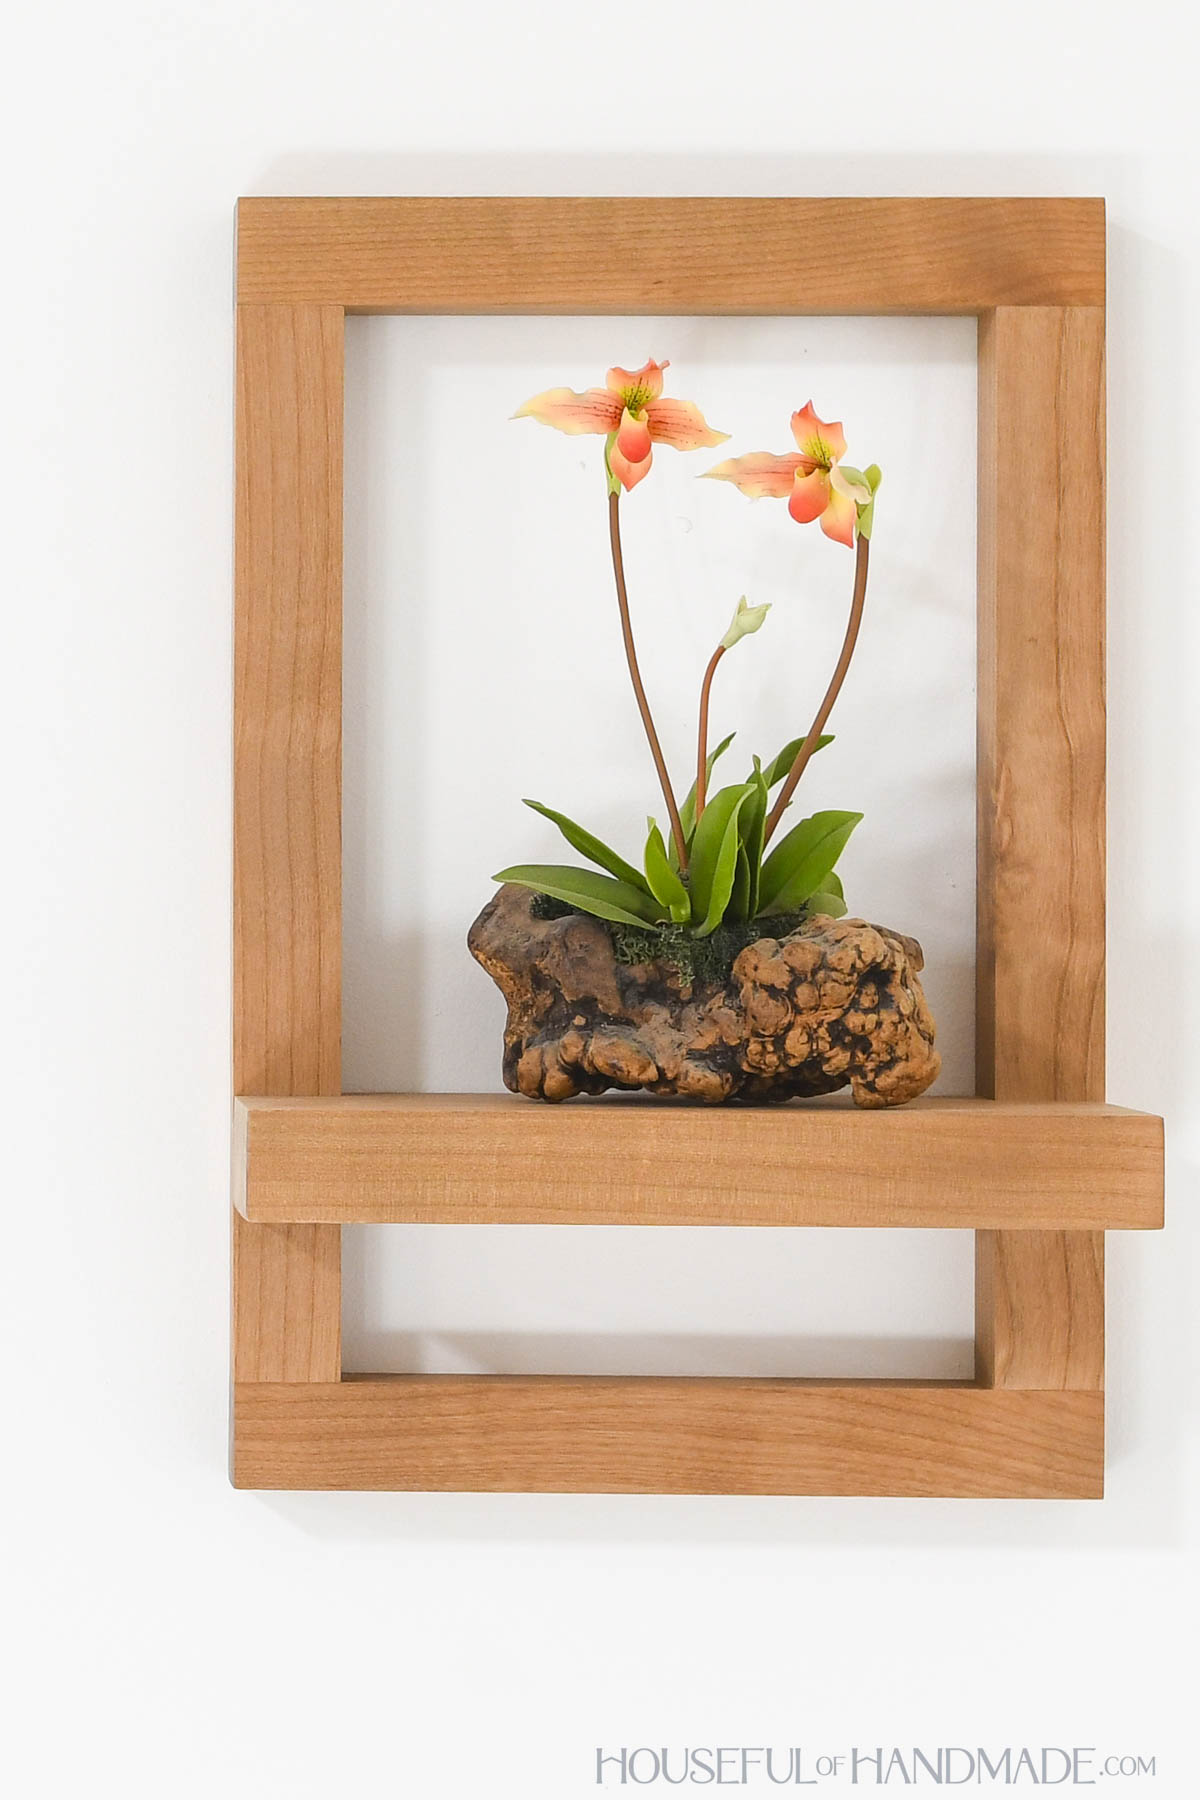
But the best part is how easy they are to build!
With just a few pieces of wood (I made mine completely from scraps), you too can have a beautiful plant shelf or two or three.
Or build them as DIY gifts to give to everyone on your list this year. Propagate some of your favorite plants to add to it for a wonderful budget gift.
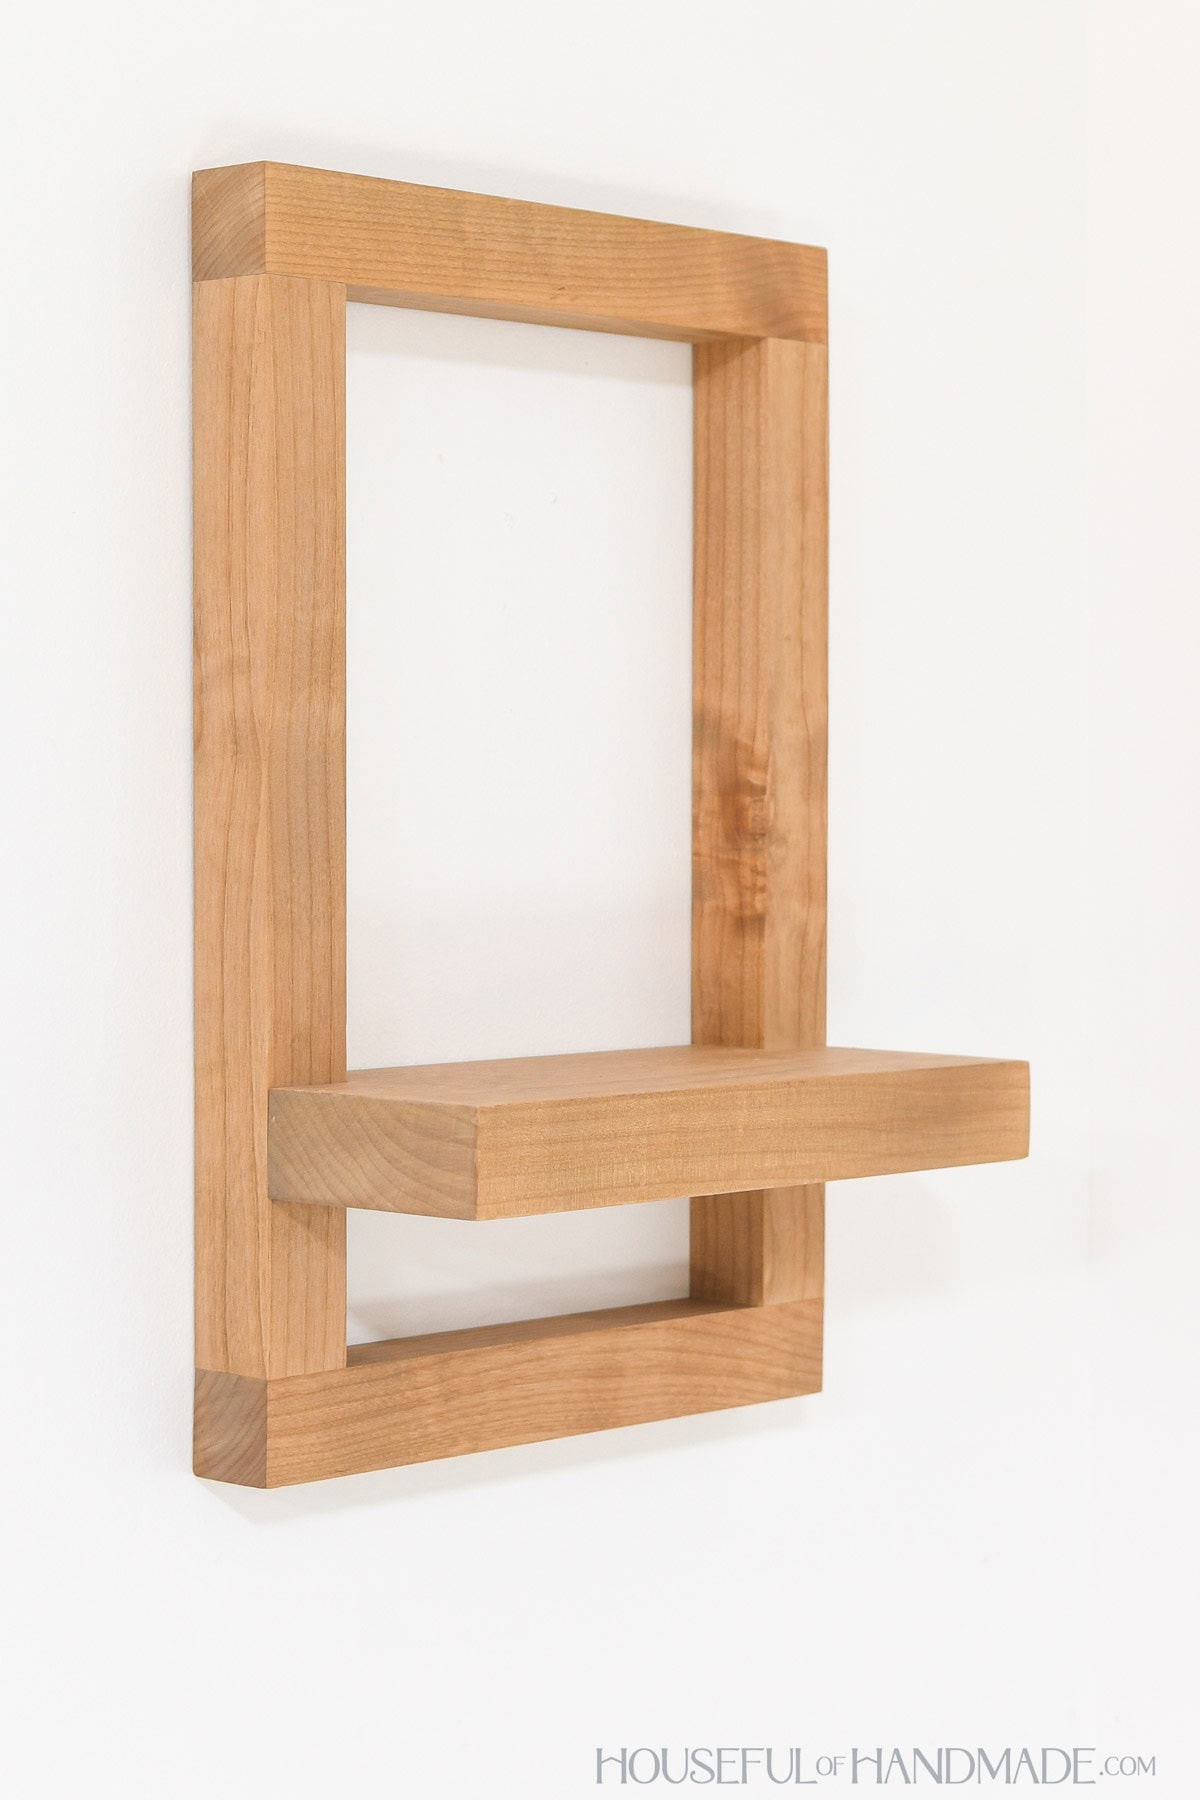
How to Build a Plant Ledge
Tools & Materials
Recommended Tools:
- Miter saw
- I recently upgraded to this sliding miter saw (watch for it to go on sale), but previously used this inexpensive miter saw that I love.
- Jig saw
- Pocket hole jig
- Drill
- Impact driver (optional, but I love not having to switch bits with the drill)
- Speed square
- Multi-mark measuring tool
- Clamps
- Sander
Supplies:
- Wood products
- (1) 2×2 board, 5′ long
- (1) 2×6 board, 1′ long
- 2 1/2″ pocket hole screws
- Wood glue
- Keyhole hangers
Overall Dimensions
The finished shelf is 5 1/2″ deep and the frame is 12″ wide x 18″ tall.
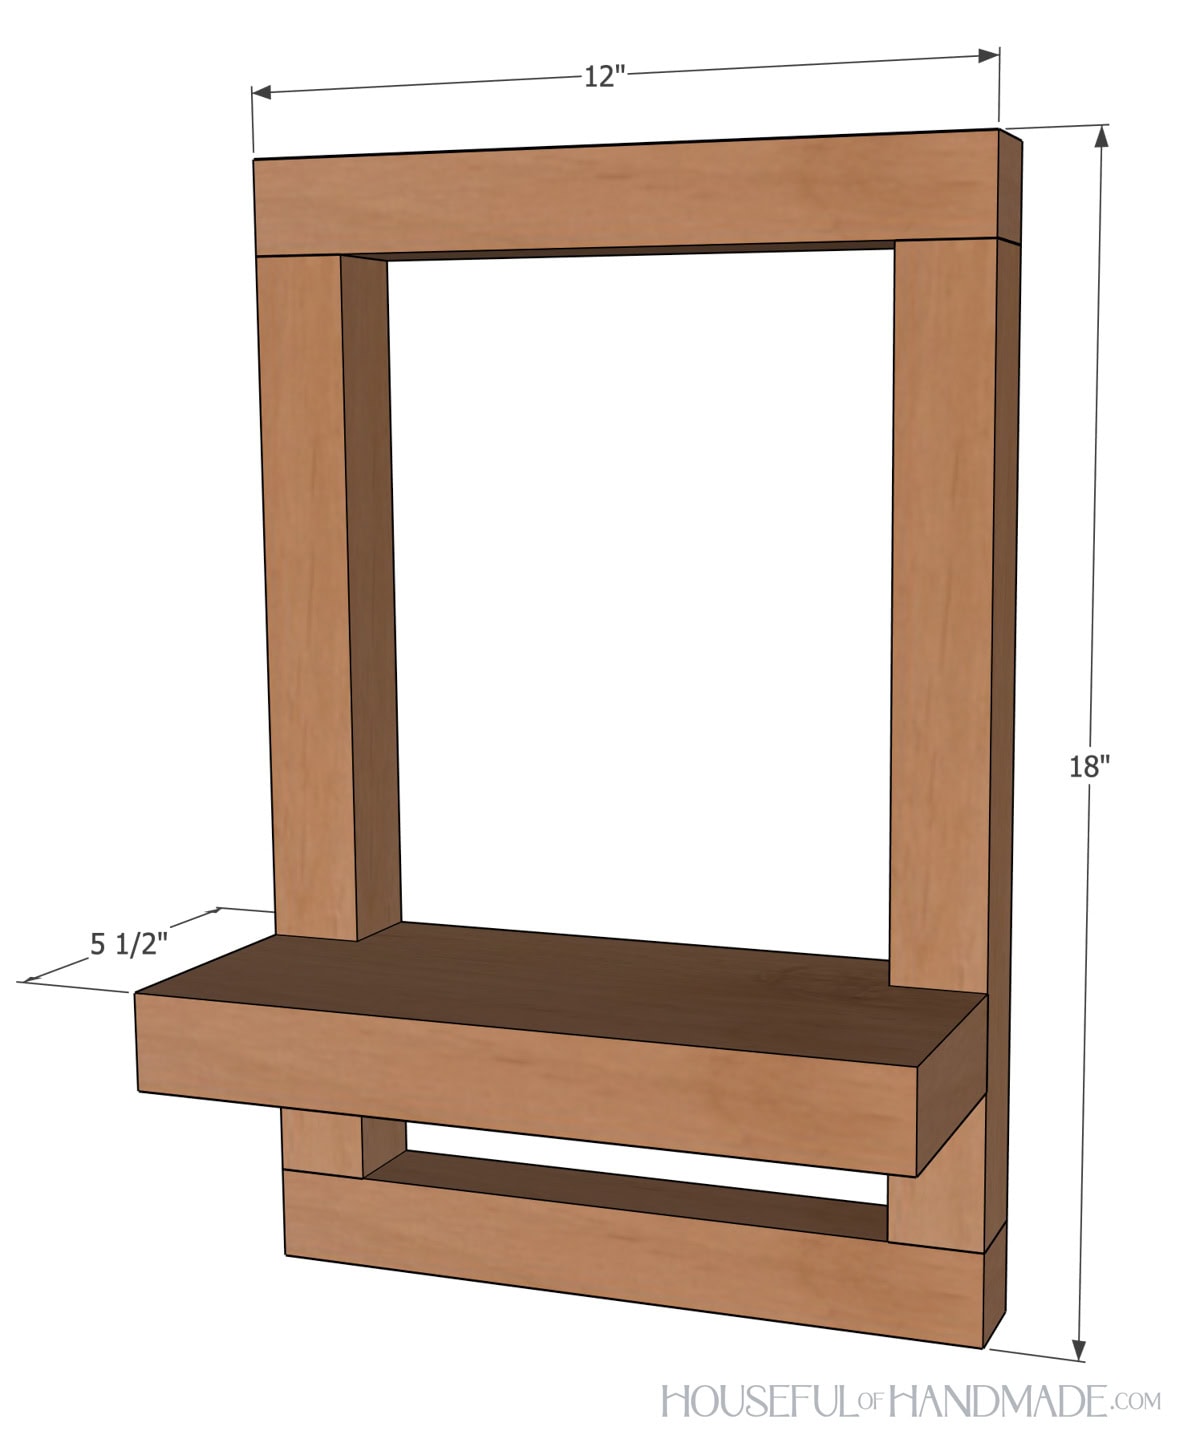
Cut List
Cut out the pieces according to the easy-to-read table in the PDF plans.
STEP 1- Build frame
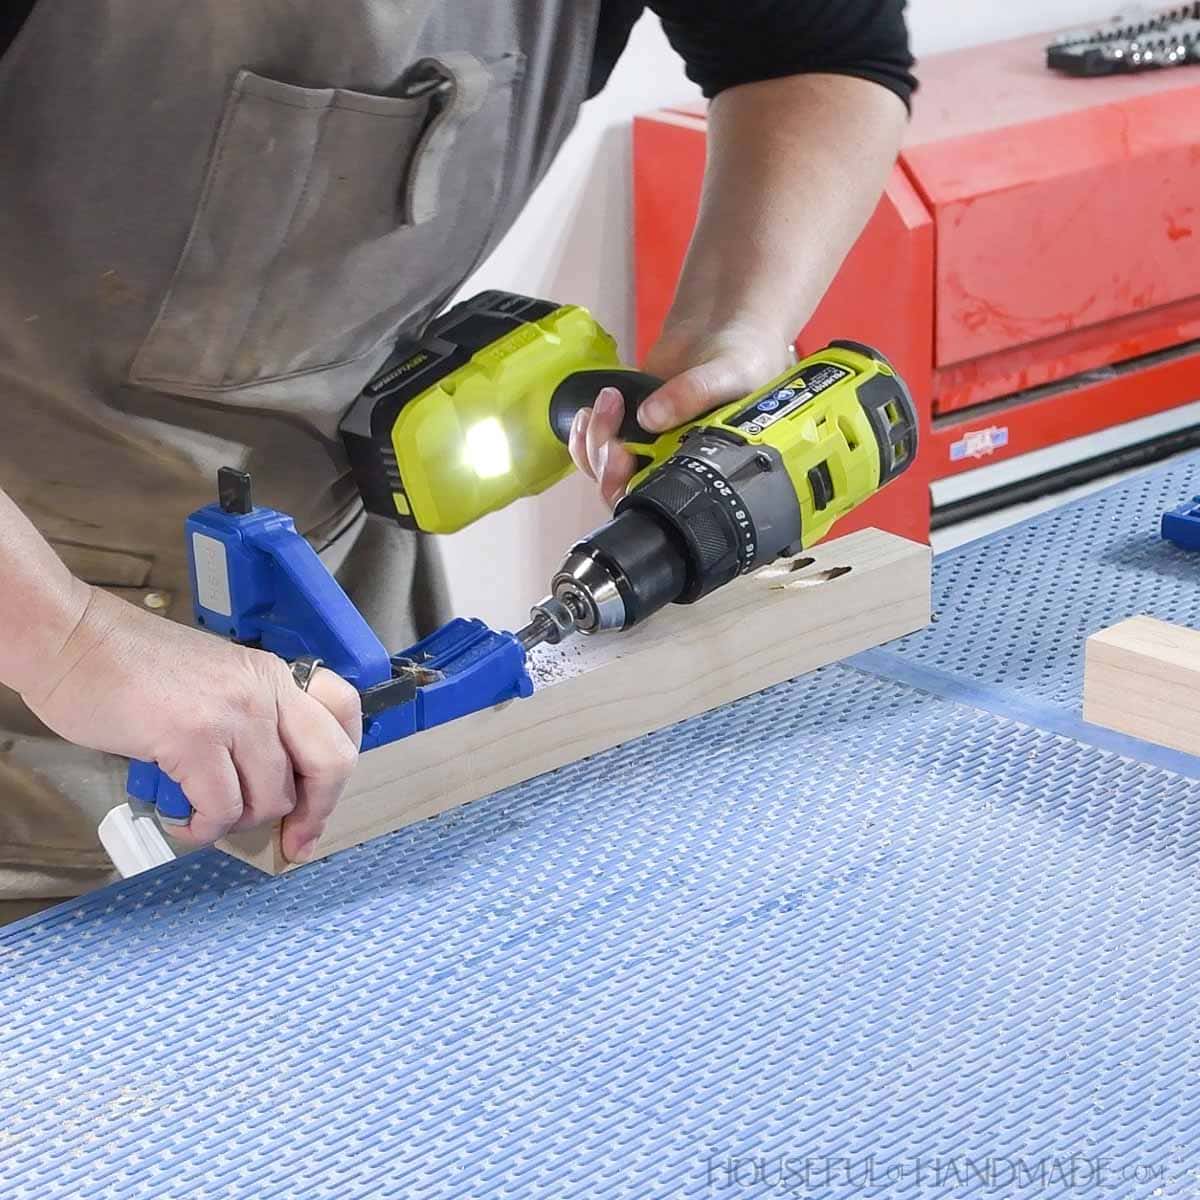
Set the pocket hole jig to drill holes in 1 1/2” thick material.
Drill 2 pockets holes in both ends of the side boards.
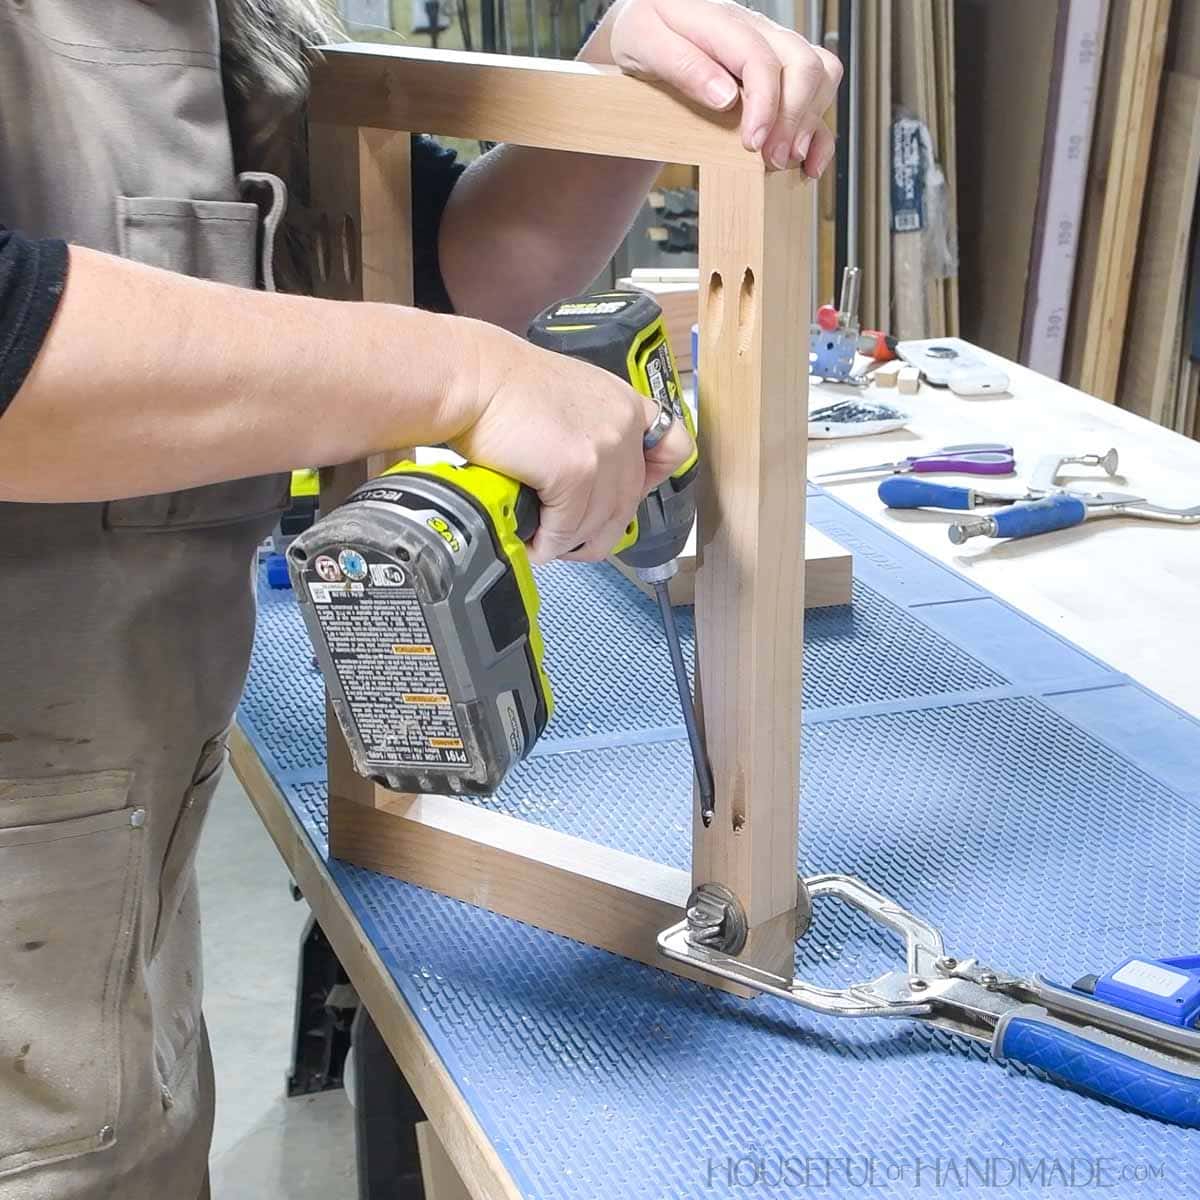
Place the side boards between the top/bottom boards so they are flush at the outside edges.
Secure with wood glue and 2 1/2” pocket hole screws.
STEP 2- Attach shelf
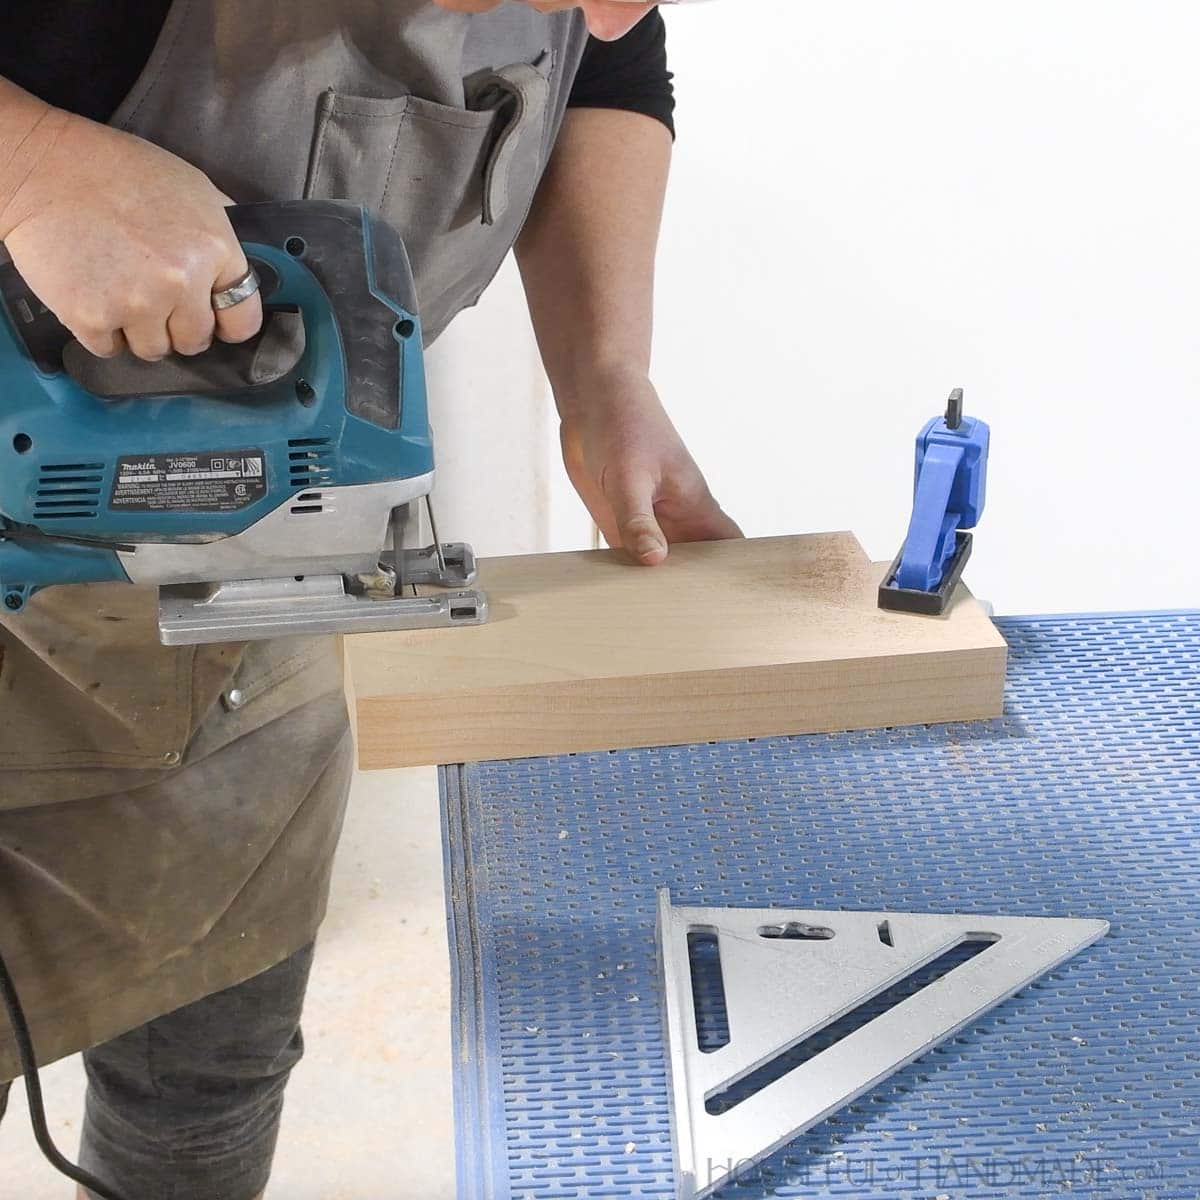
Measure and mark notches to fit the frame in the back corners of the shelf board.
Cut them out with a jig saw. Check to make sure the shelf sits inside the frame and adjust the cuts if needed.
Drill 2 pocket holes on both sides of the back edge of the board. Use the edge of the notch as the end of the board.
EXPERT TIP:
A pocket hole jig that clamps on your workpiece, like the Kreg 320 jig, is needed since the width of the board will not fit in a jig made for standard width boards.
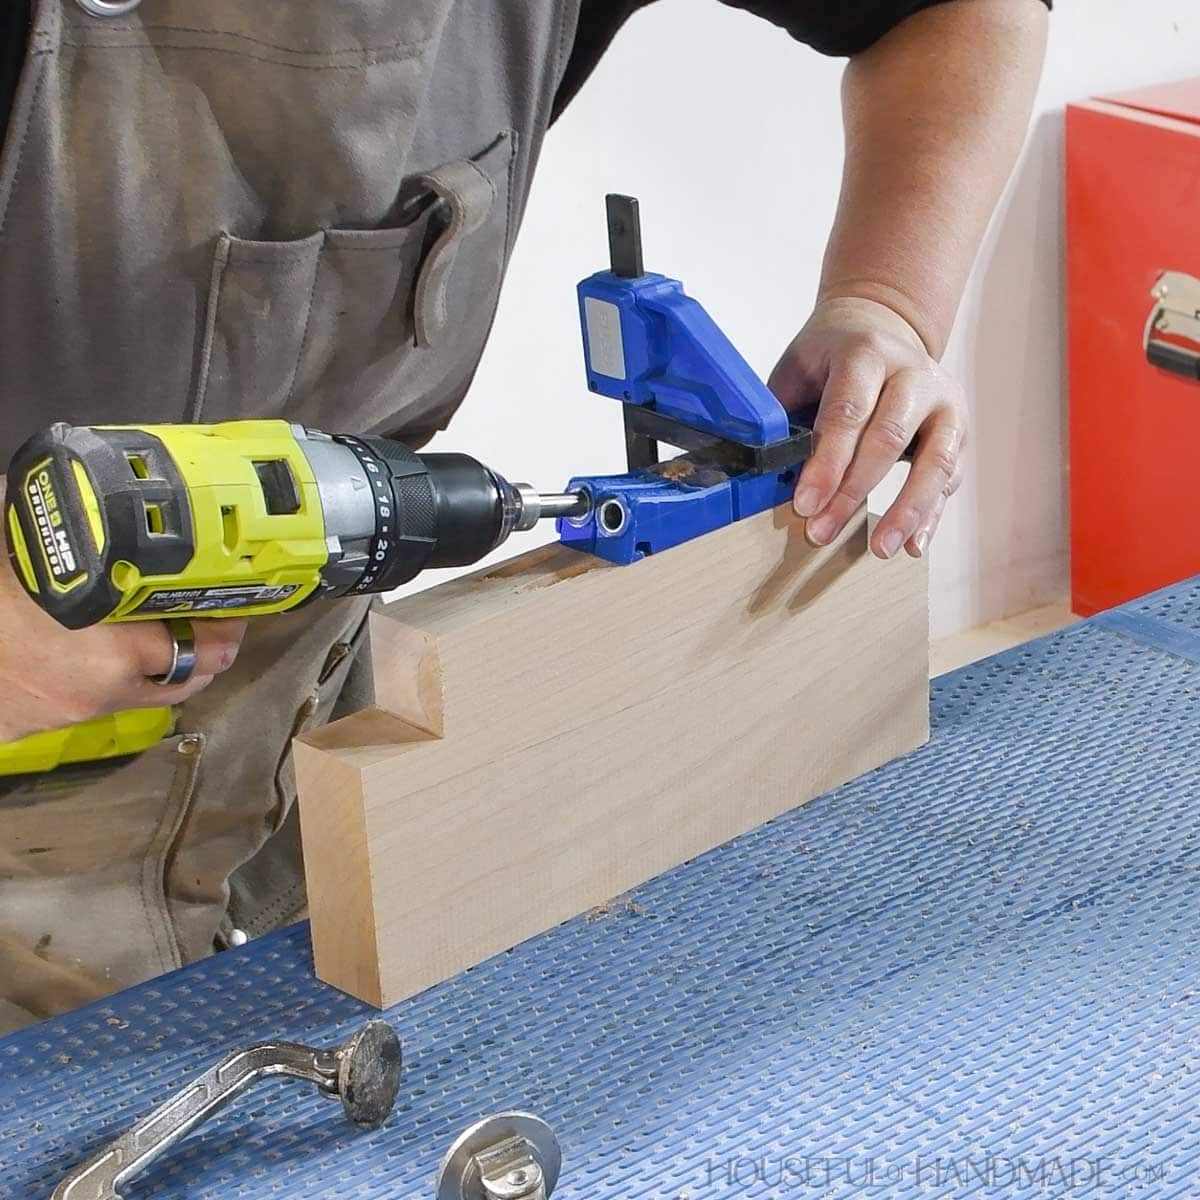
Place the board inside the frame so the notches sit around the frame and the back is flush with the back.
Line the shelf up so it is 4” up from the bottom of the frame. You may need to tap it into place with a hammer if it is a tight fit.
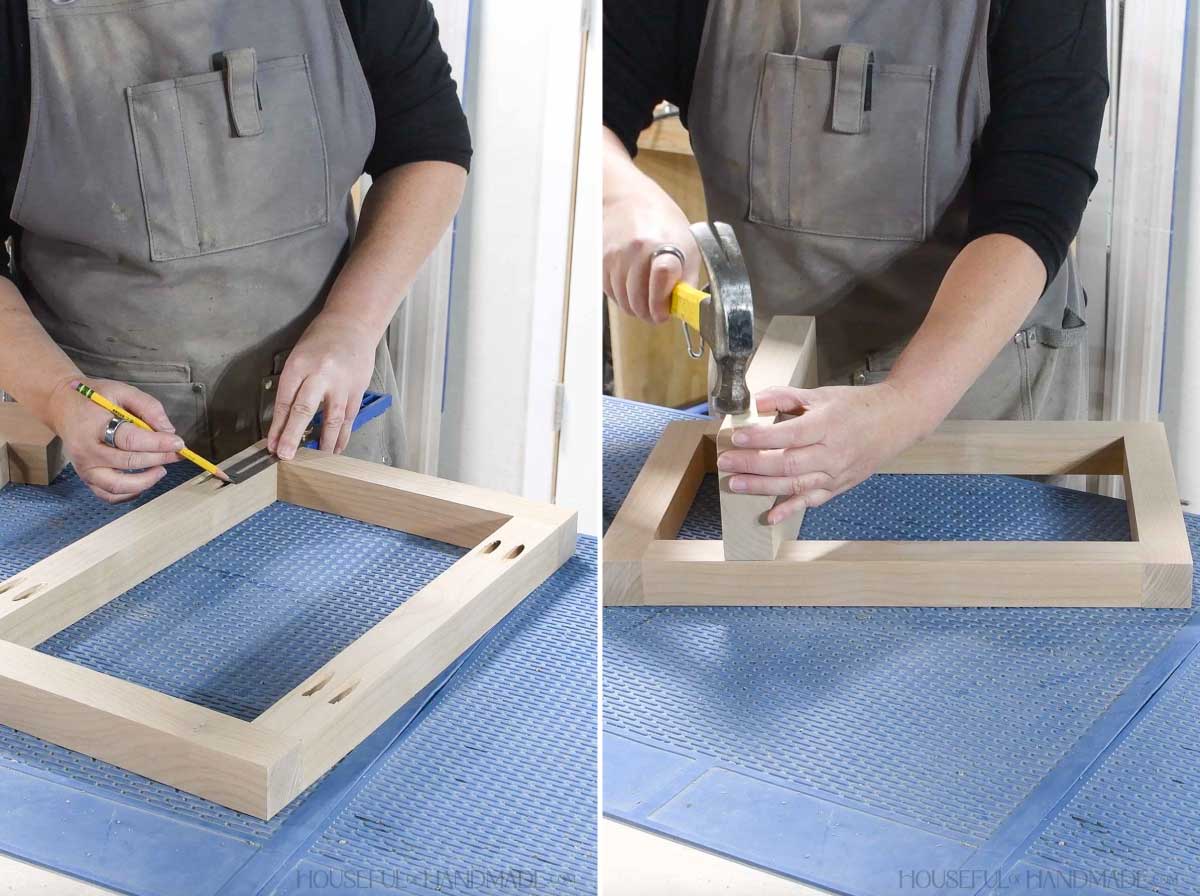
Secure the shelf to the frame with 2 1/2” pocket hole screws.
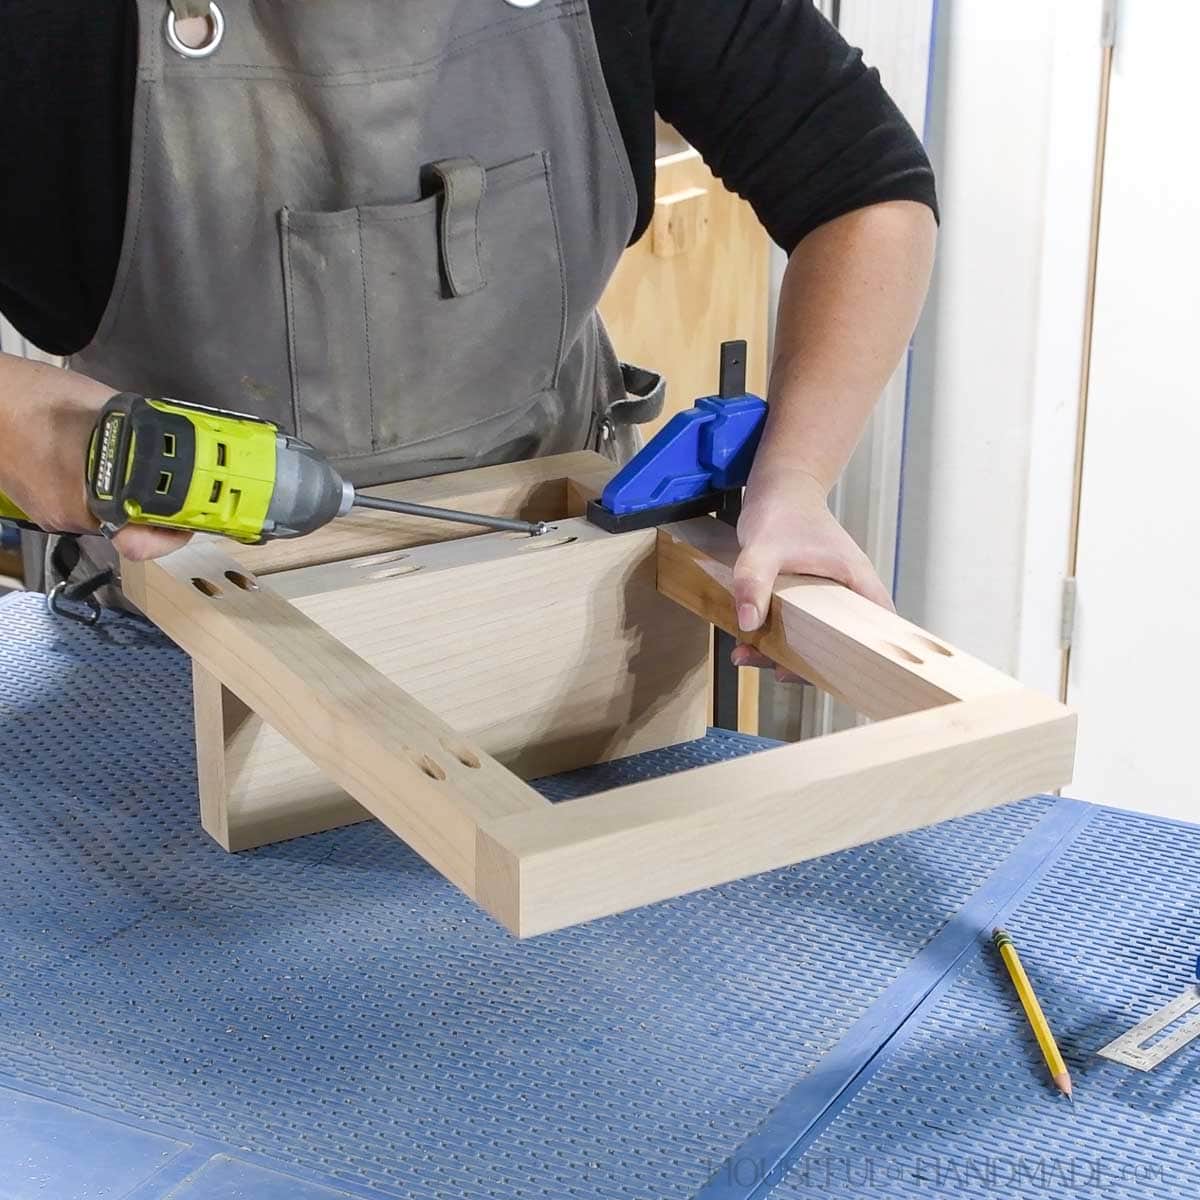
STEP 3- Finish and add hangers
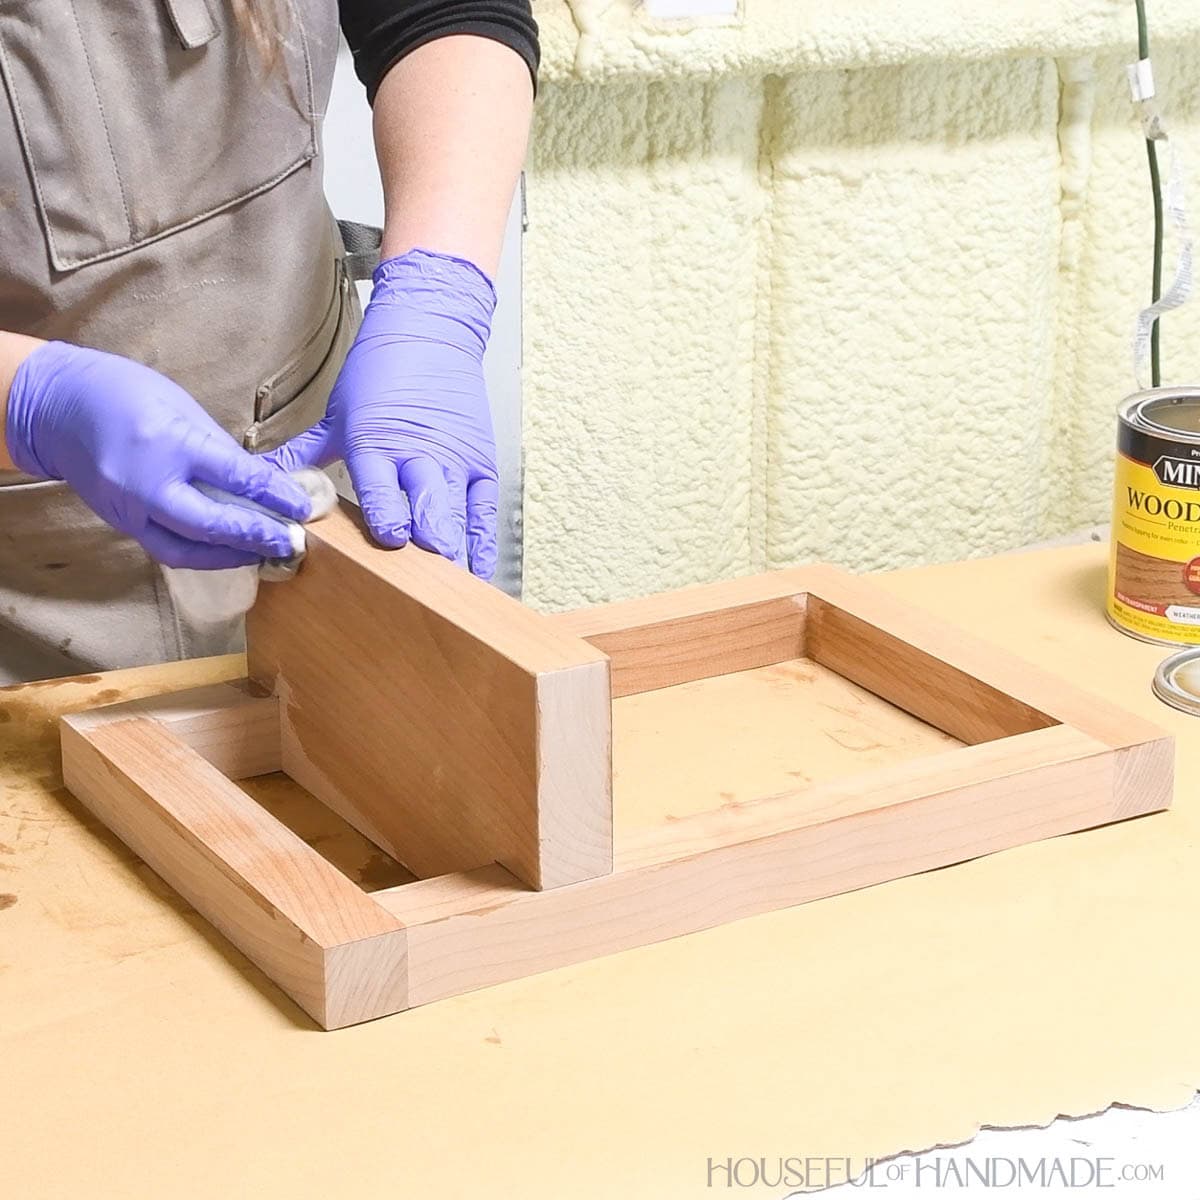
Sand and finish your shelf with your desired paint/stain/sealer.
I built my plant shelf out of alder and stained it with Minwax Weathered Oak for a subtle worn look.
If you have a router, you could add a keyhole with a keyhole bit like I did for these scrap wood curtain rod brackets. Instead I used keyhole brackets to hang mine.
To prevent the frame from tipping forward slightly, clear out a space for the brackets to sit inside the boards using a forstner bit just wider than the bracket and drill a few shallow holes in a row.
Clean up the edges with a chisel. Then drill a smaller and slightly deeper hole behind the bracket for the screw head to fit.
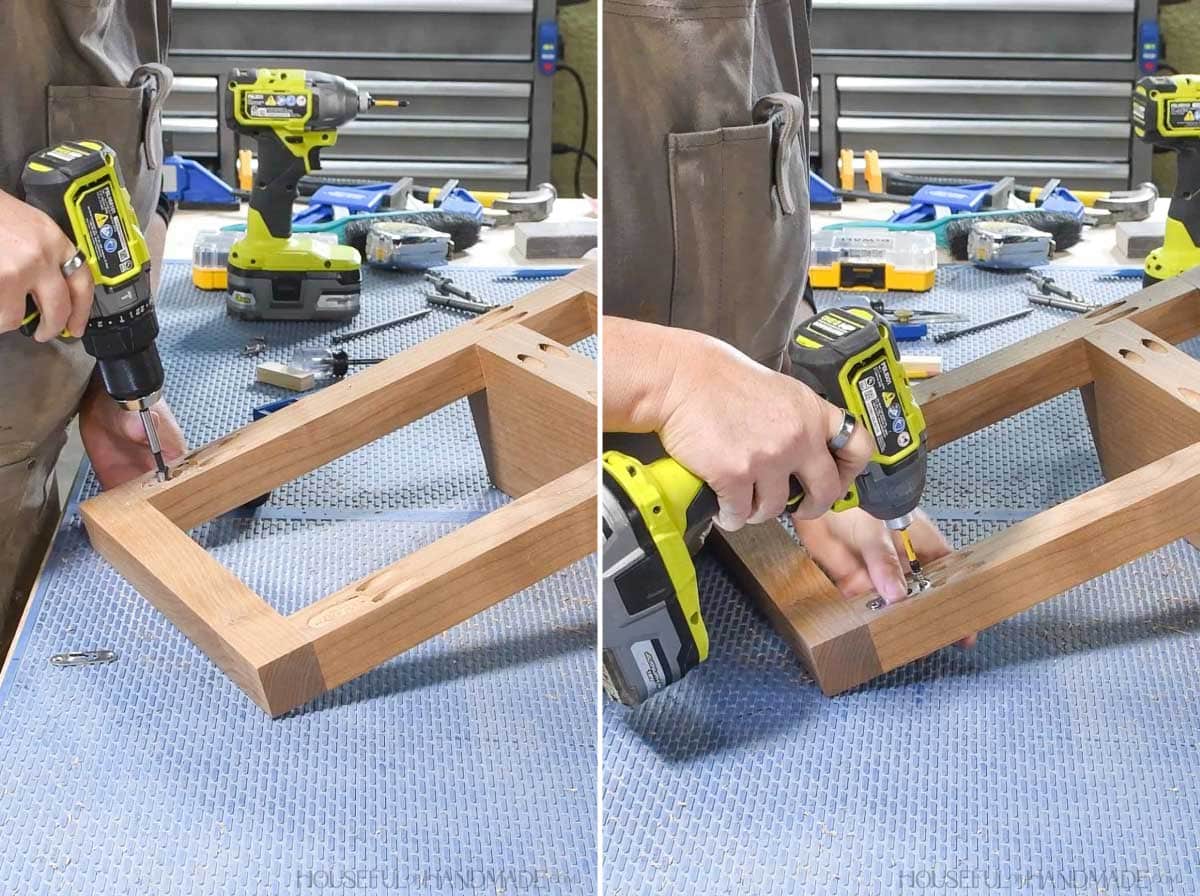
Then pre-drill and attach the brackets with screws.
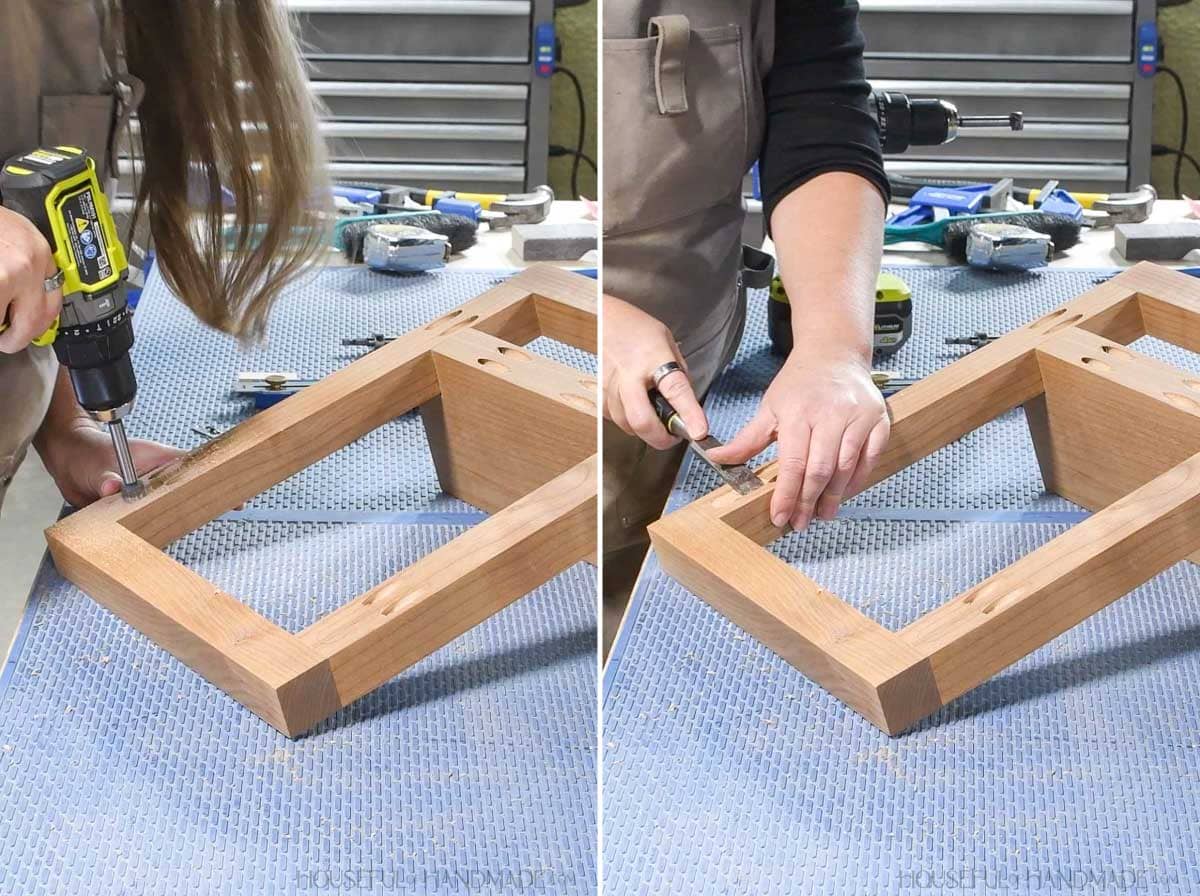
Once I had carved out an area for the bracket, I drilled out an area behind the bracket for the screw head to fit into the bracket easier.
Then pre-drilled holes and attached the brackets with screws.
STEP 4- Hang the shelf
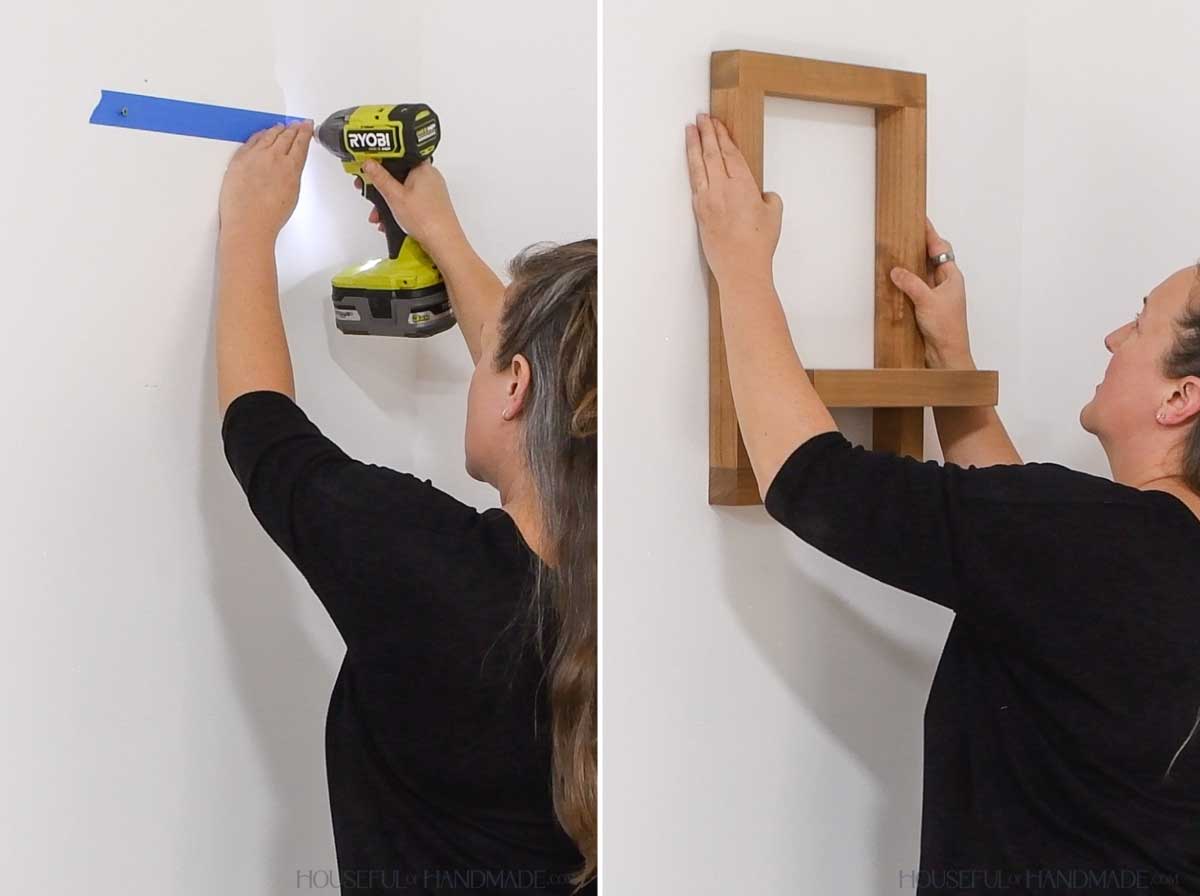
I placed a piece of painters tape on the back of the shelf over the brackets making sure it was level to the top of the frame.
Then I poked a hole where the screws should go, removes the tape and place it on the wall.
Drive 2” long screws into the wall. If you cannot drive the screws into studs, use wall anchors for the weight you need for your plant.
Leave the screws slightly proud. Then slide the frame over it so the screw head slips into the keyhole bracket.
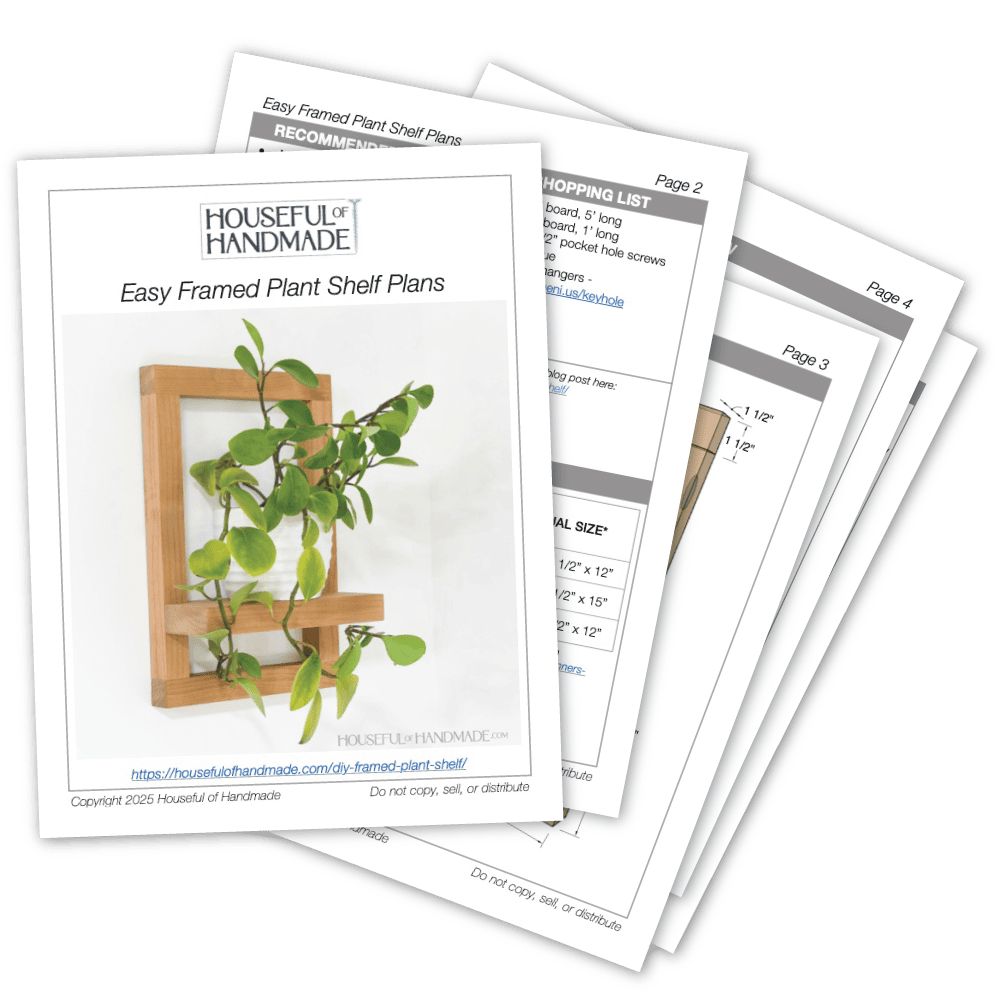
PDF mini plans include:
- Recommended Tools
- Shopping list
- Easy to read cut list table
- X-ray view with measurements
- Step-by-step instructions
- BONUS: 3D SketchUp file
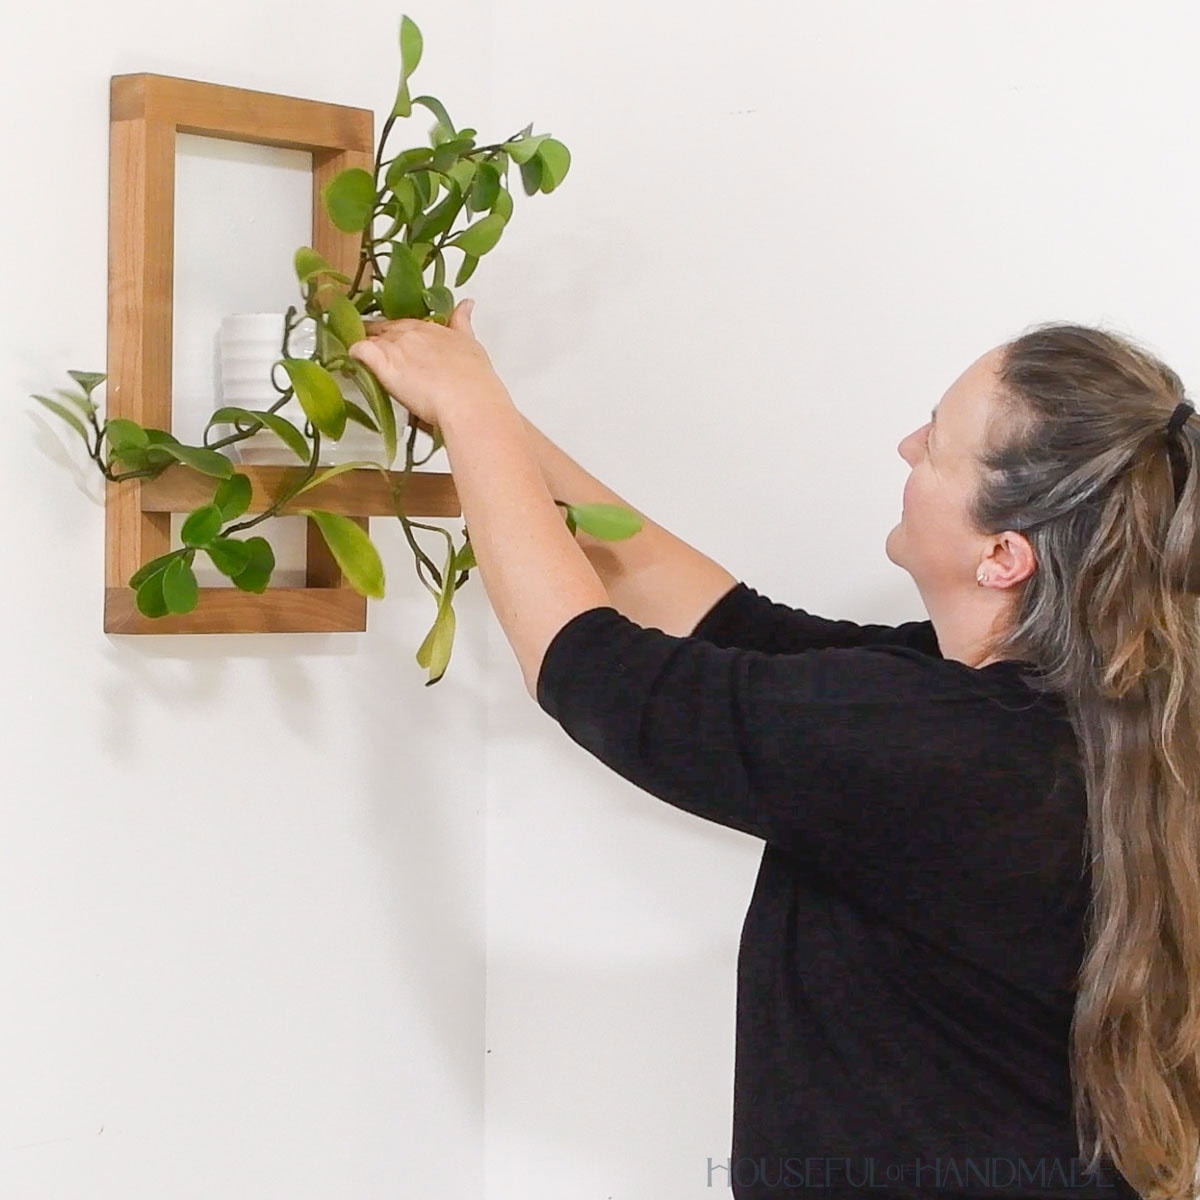
You did it!
Now you can place a plant on your shelf and admire your new decor.
DIY Gift Week- Day 4
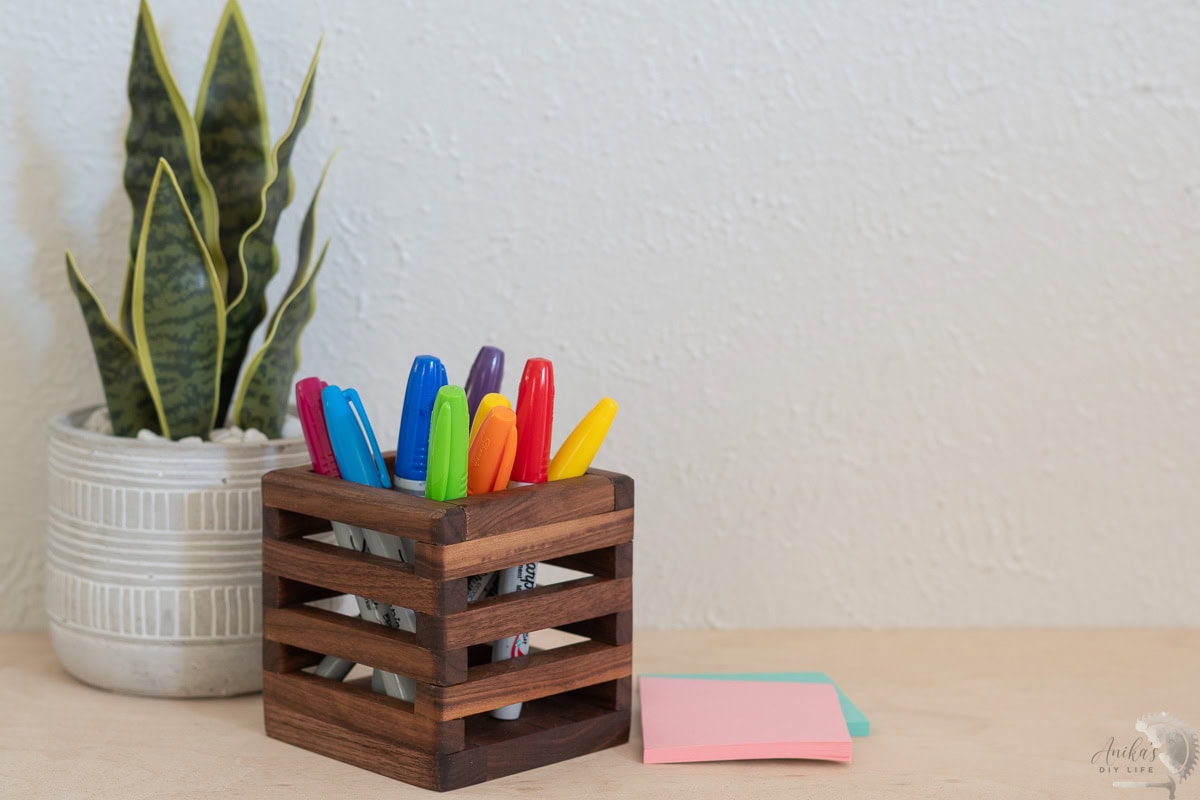
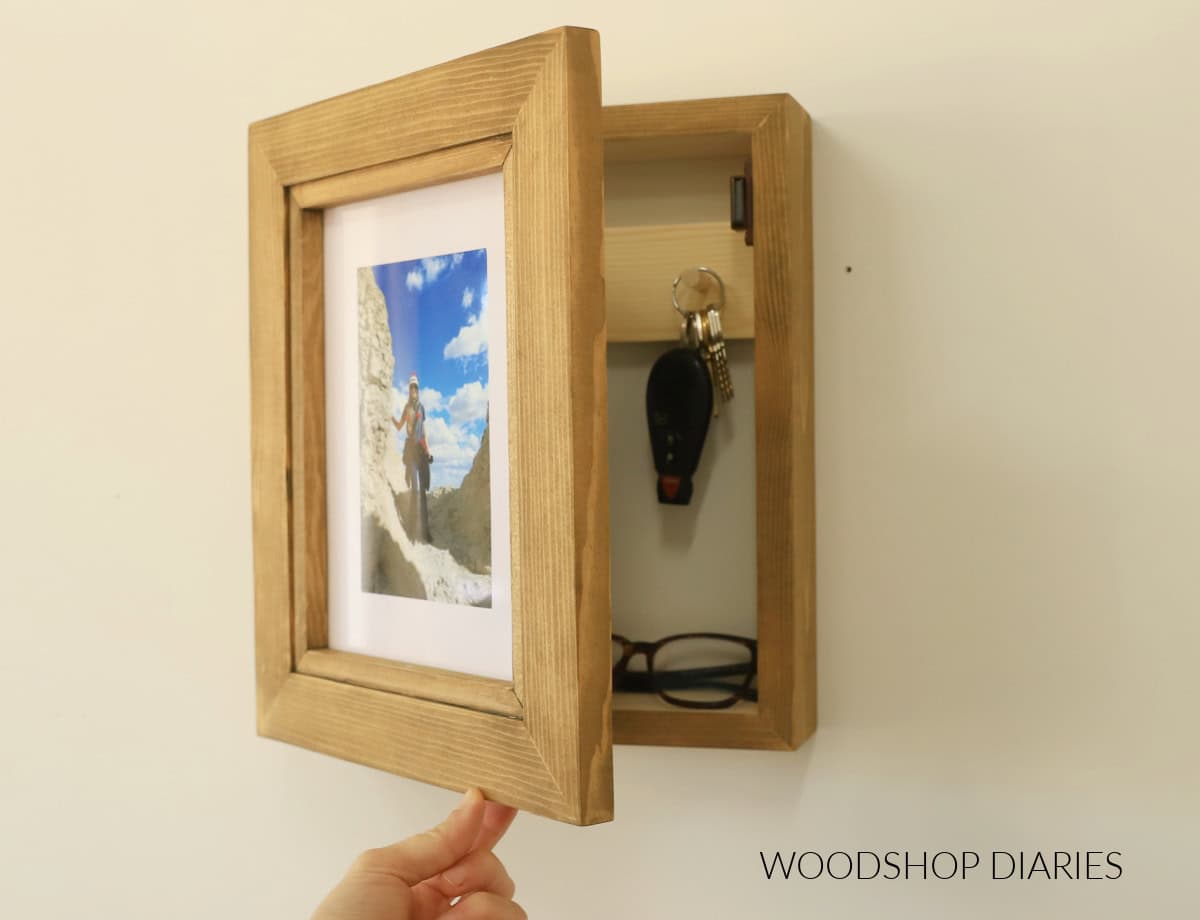
DIY Gift week is almost over but we aren’t done with the ideas! All week I am sharing a new DIY gift along with my friends from WoodShop Diaries and Anika’s DIY Life.
Today we have 3 amazing new DIY gift ideas for you! And make sure to come back all week for even more.
Happy building!