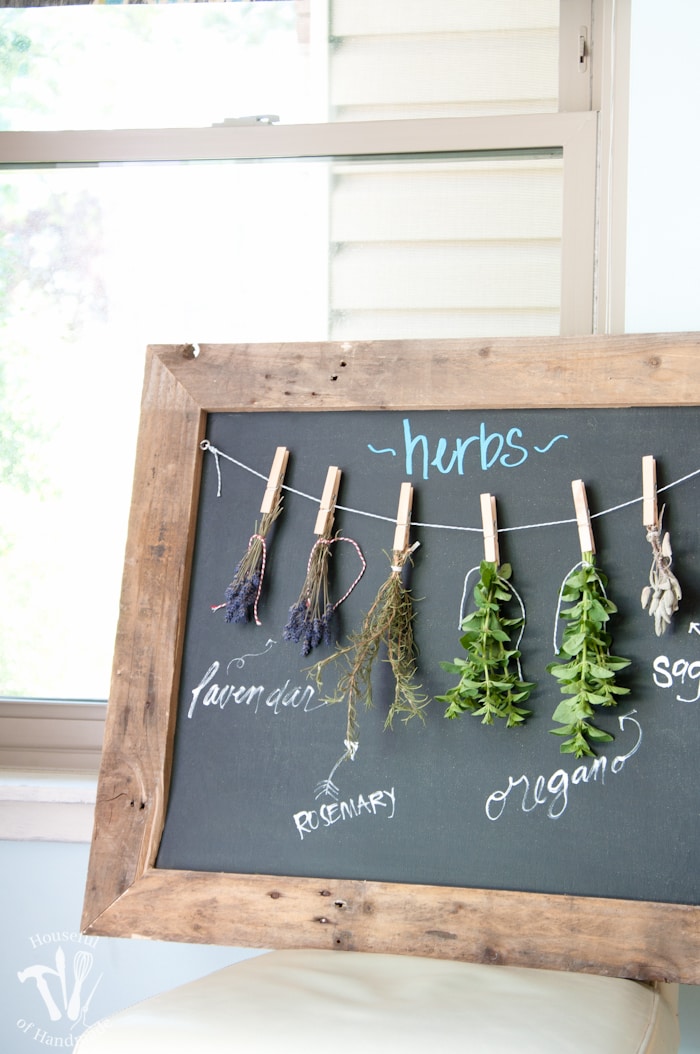
Turn drying herbs into art for your kitchen with this DIY rustic chalkboard herb drying rack.
I was really excited that this year as soon as the weather started warming up, my herbs that I planted last year or the year before just started growing. I did absolutely nothing and I already have lots of fresh herbs to start cooking with. I even found little tiny dill plants in my flower garden that apparently are growing from seeds that fell when my dill plant went to seed last year. I’m a huge fan of perennials so I don’t have to think about planting every year, and putting my herbs in my flower garden has been one of my best decisions yet!
I decided to keep my mint and oregano in large pots because otherwise they take over the garden, but my sage, dill, lavender and thyme are happily growing wild in and among my flowers. And they are doing so well already (especially my oregano which is good cause I use a lot of oregano in cooking) that I needed to find a solution for preserving them.
This post may contain affiliate links. As an Amazon Associate I earn from qualifying purchases. Click here to read my full disclosure policy.

I have a string that I attached to a wall in my kitchen with thumbtacks that I have been using to dry my herbs. It works great, but is far from pretty. This year I wanted to find a pretty solution and I still have an empty wall in my dining room so I decided I would make something to hang there.
I happen to have a few old pallets taking up space in my garage so I decided to make a picture frame with them and then I could still use my hanging method that is working, but instead of thumbtacks on the wall, the string could be strung across a beautiful rustic frame.
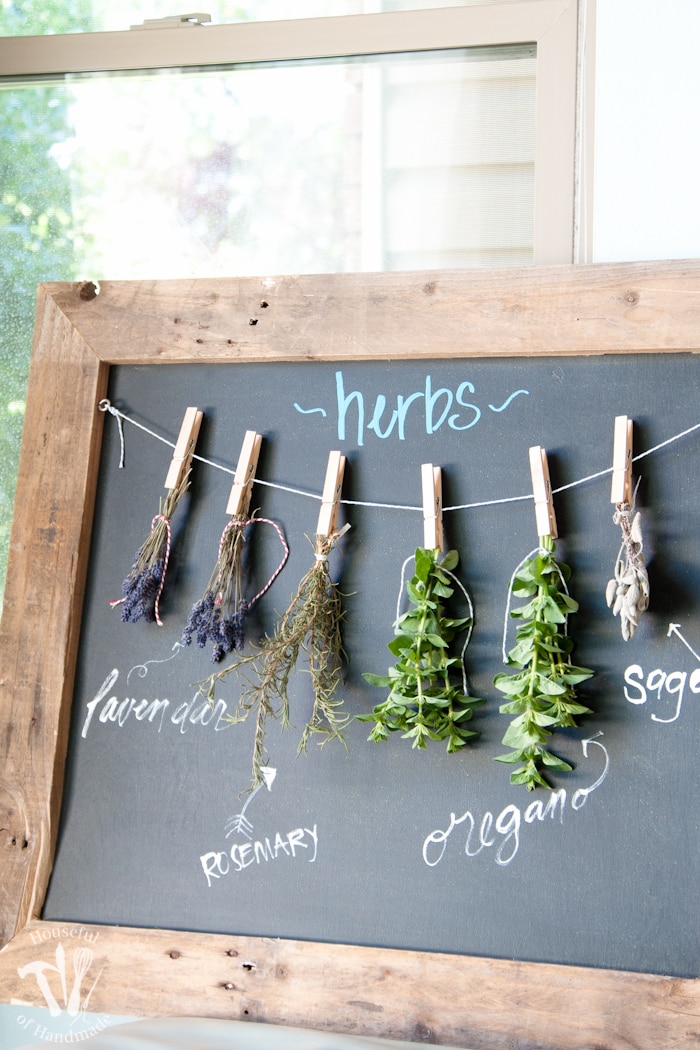
For the back of the picture frame, I thought it would be fun to make it a chalkboard. Then I could write the names of the herbs that I was drying on it to help keep me organized. And the black behind the herbs makes such a pretty background that the drying herbs really become a piece of art. Perfect for my empty dining room wall.
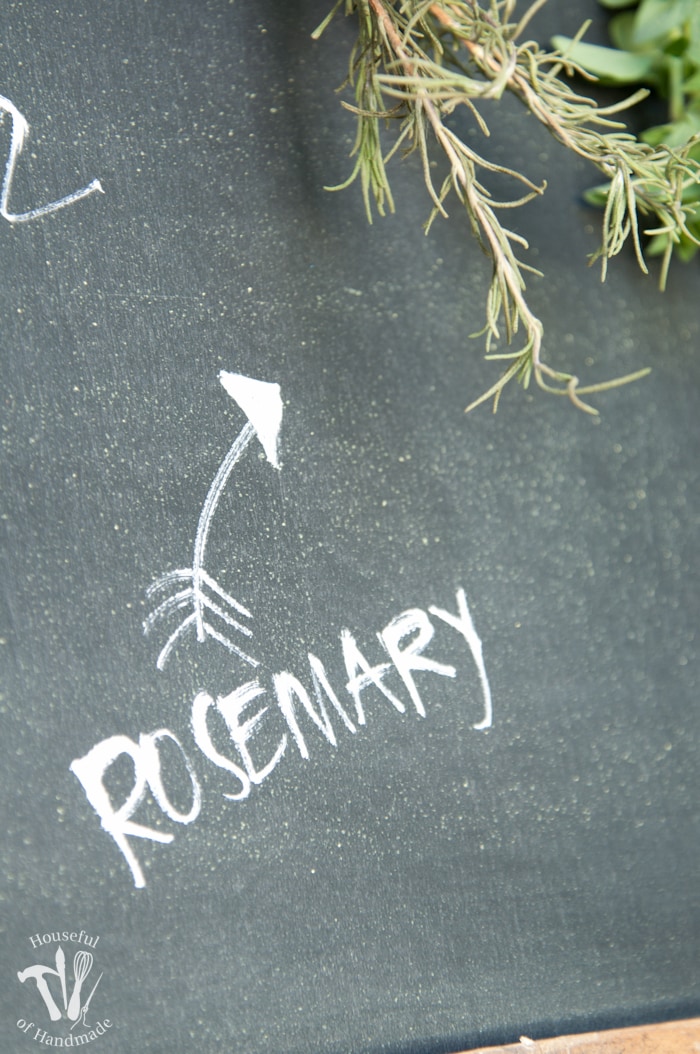
To make my drying rack I started by cutting a 1/4″ plywood board into a 20″ x 24″ piece. Then I coated the top side with 2 coats of chalkboard paint. After the first coat dried, I noticed the surface was a little scratchy, so I took a piece of super fine sand paper and did a quick sanding over the whole top of the chalkboard before I put the second coat on it.
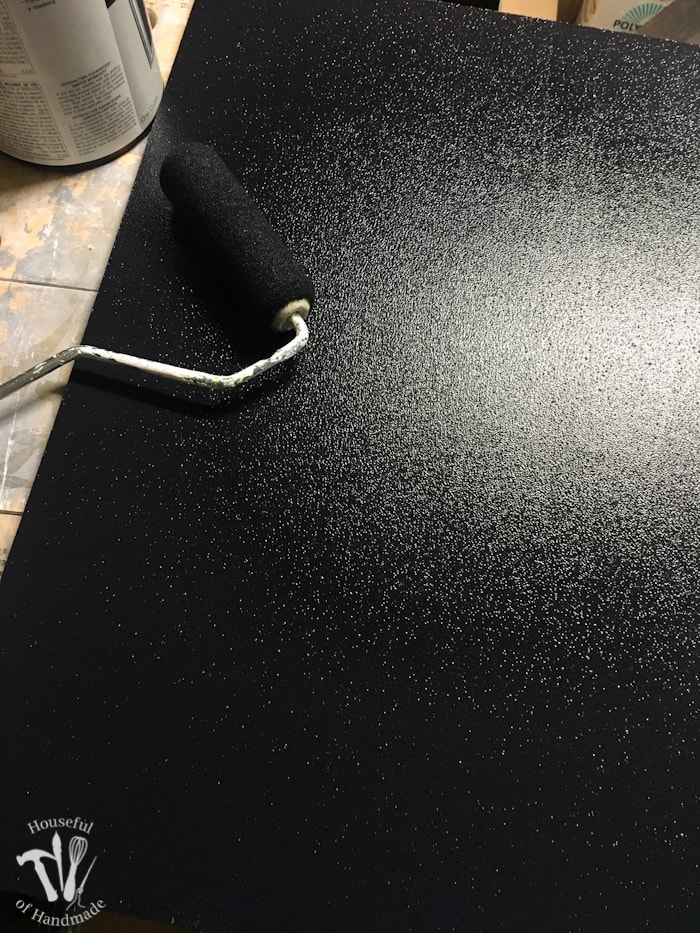
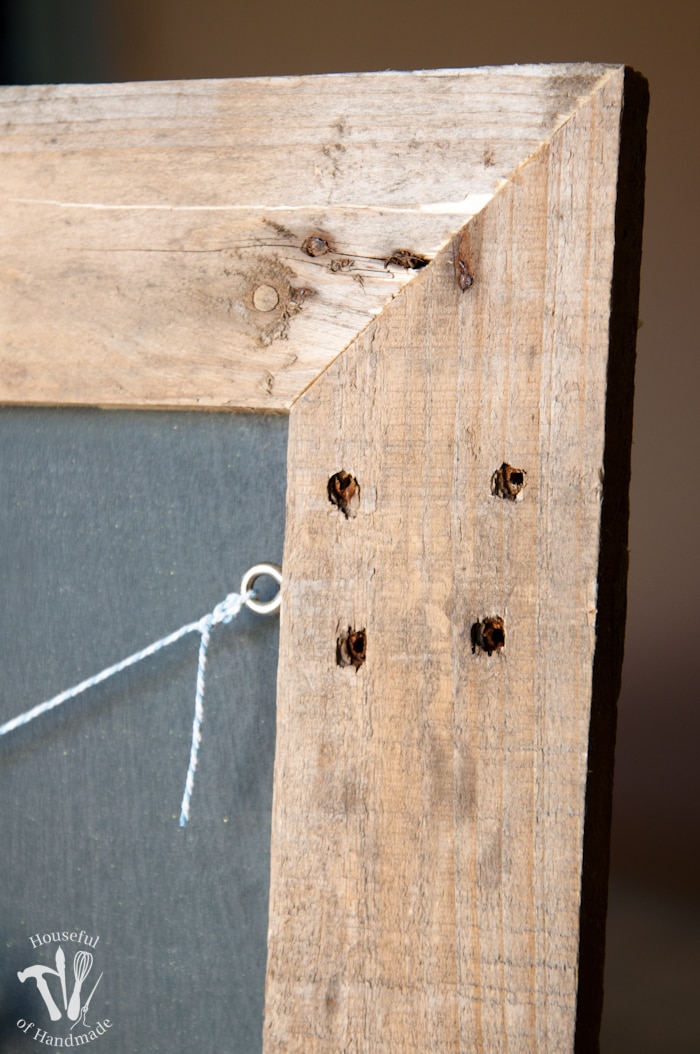
Then I needed to frame it out. I used some boards from an old pallet. I love the rustic look of the worn out wood. So I ripped a few boards off the pallet and set to work.
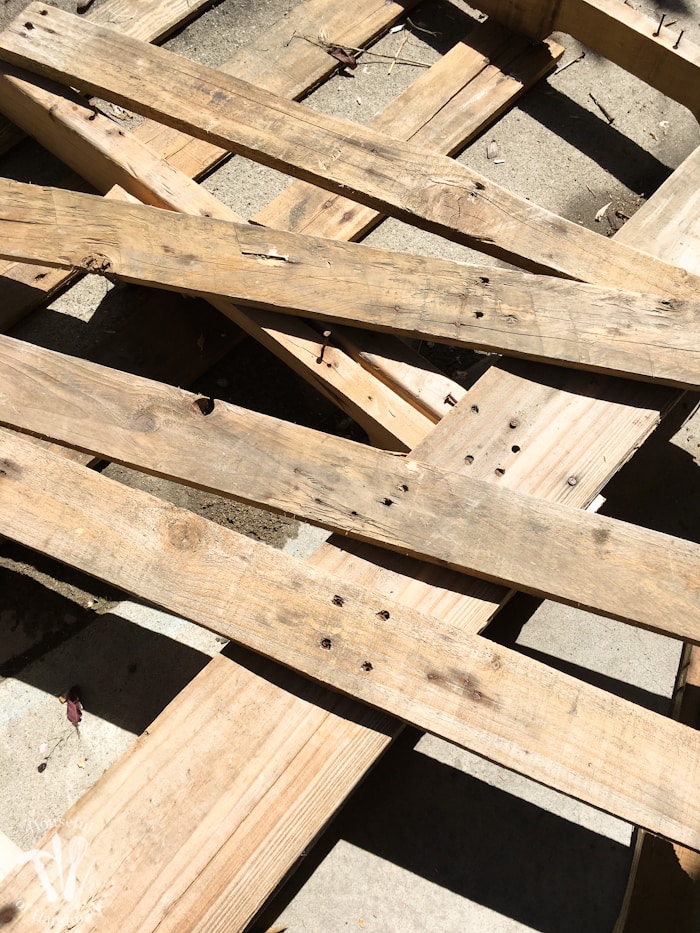
I cut the boards so that both ends were at a 45 degree angle. The inside length of two of the boards was 19″ and two were cut at 23″.
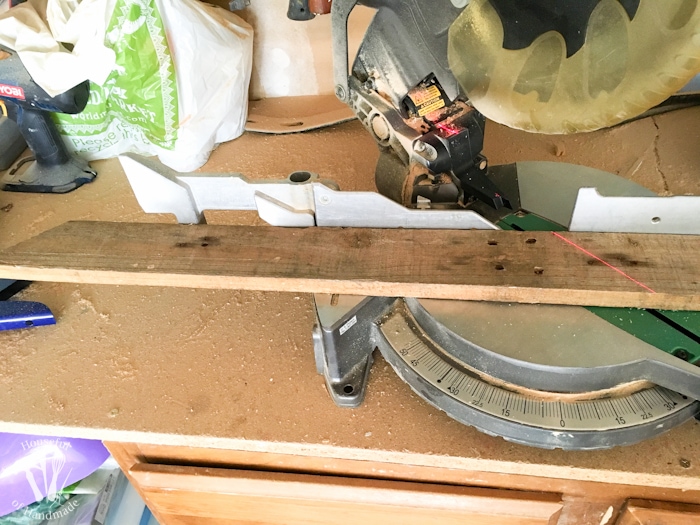
To assemble the frame, I added a bit of wood glue on the cut edges of the wood, then clamped them together.
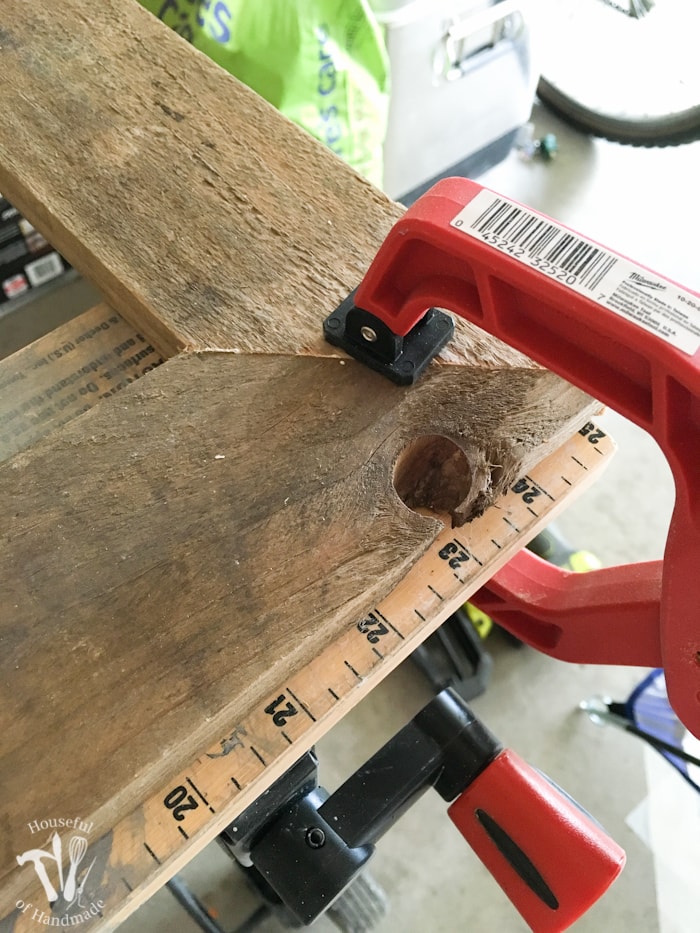
Then I shot a nail into either side of the corner to hold it together temporarily. This will not be super secure but we will fix it in a minute.
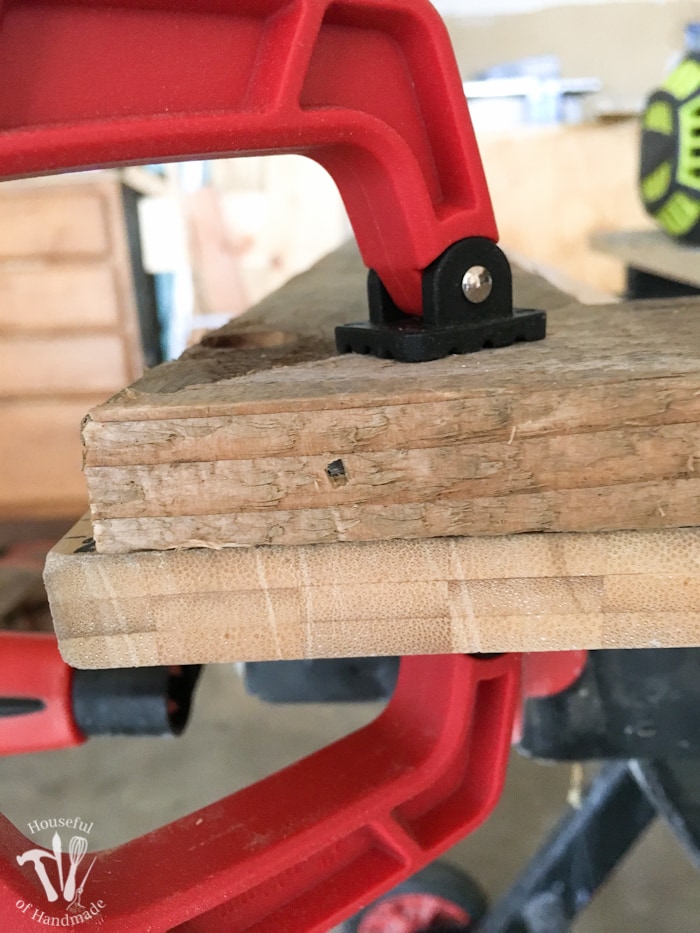
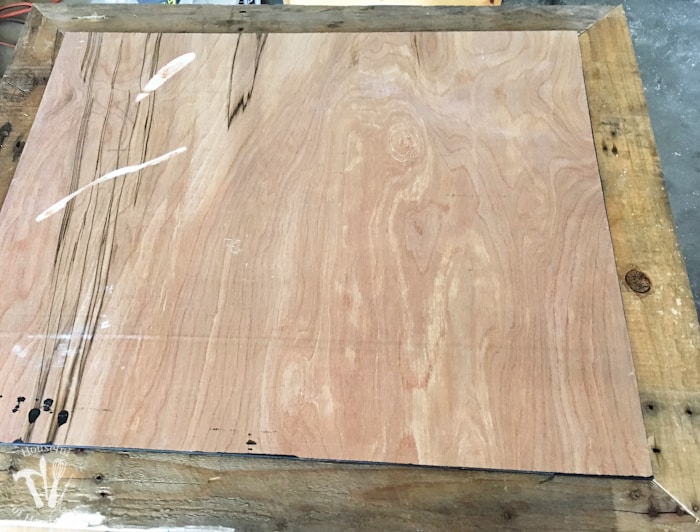
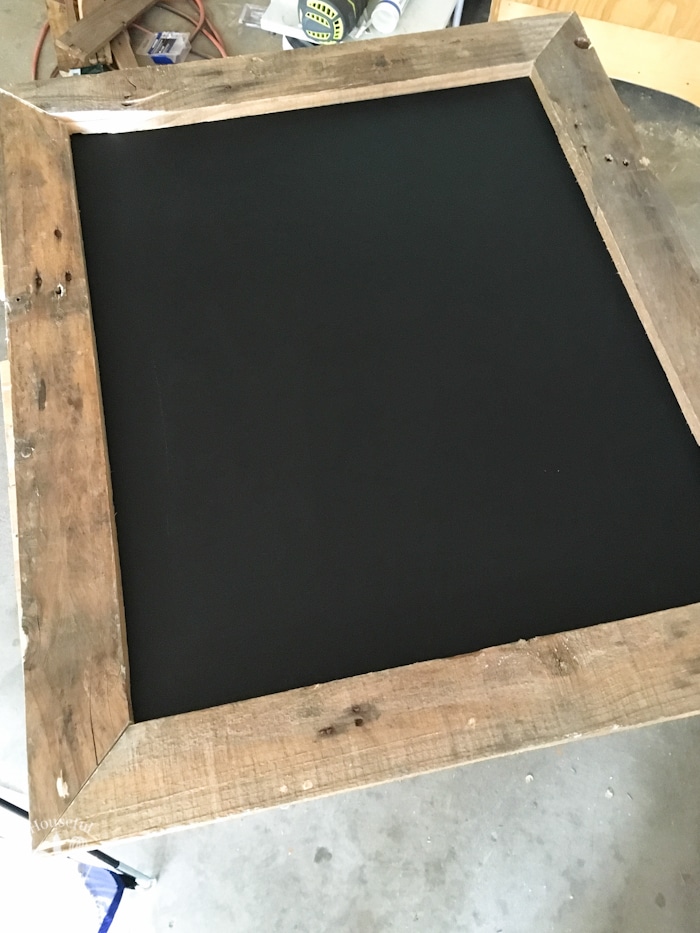
After I got all 4 corners put together, I turned the frame over and centered the chalkboard painted plywood on top of it. The frame opening is 1″ smaller around so you should have 1/2″ overlap all around.
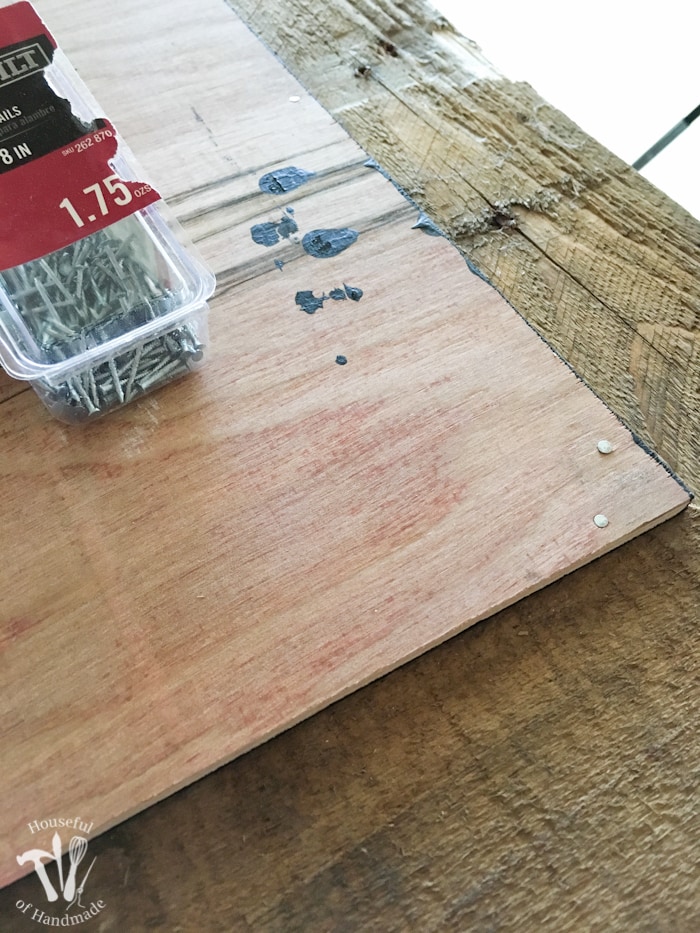
I used 5/8″ finishing nails to secure the chalkboard to the frame. I hammered them all around the perimeter, about 5 per side.
Then I flipped it over and it looked so good! I love when things really look better than you had planned. I rubbed a bit of chalk all over the surface and erased it off to prime the surface. And if you don’t want to use your new rustic chalkboard to dry fresh herbs, you can be finished and just hang and use your chalkboard.
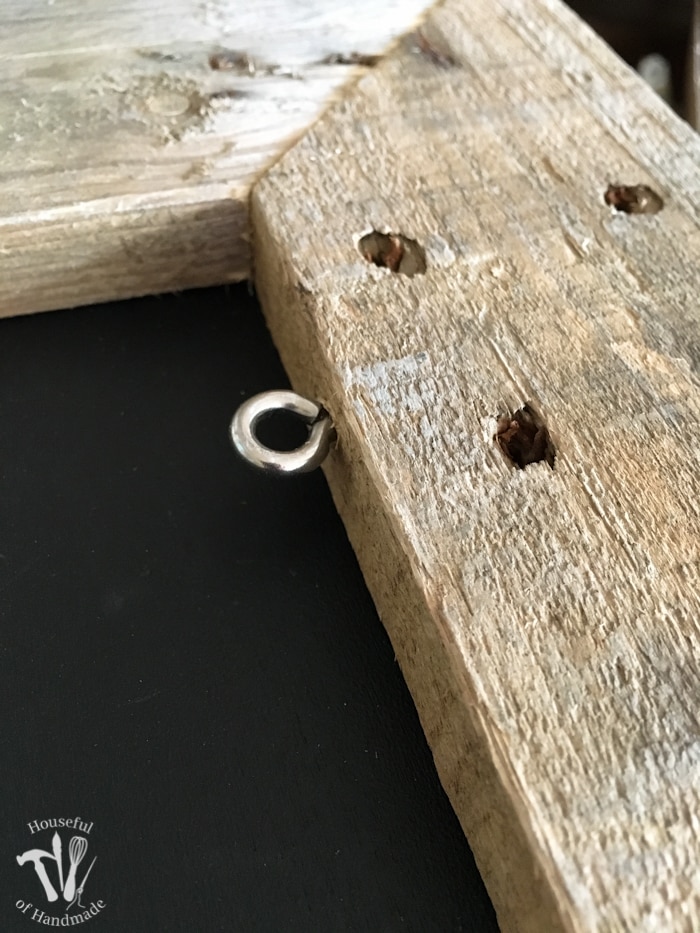
To make the frame perfect for herb preserving, I screwed a couple eye hooks into the frame 1 1/2″ down from the top. The wood was pretty hard, so I predrilled a little hole before I screwed them in.
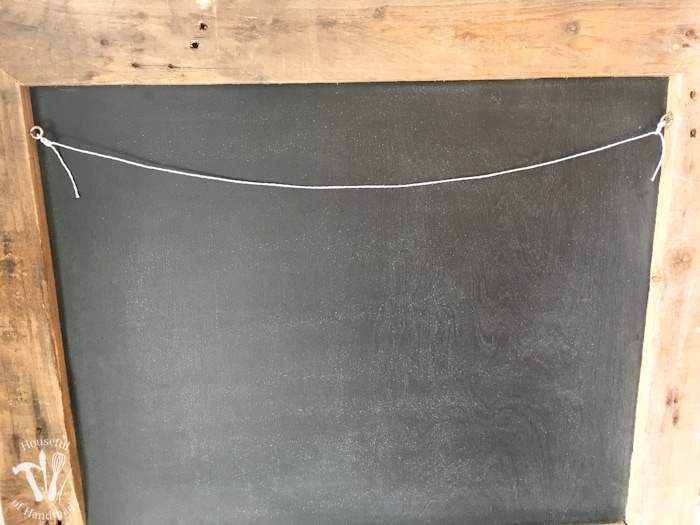
Then I tied a piece of butchers twine to the hooks.
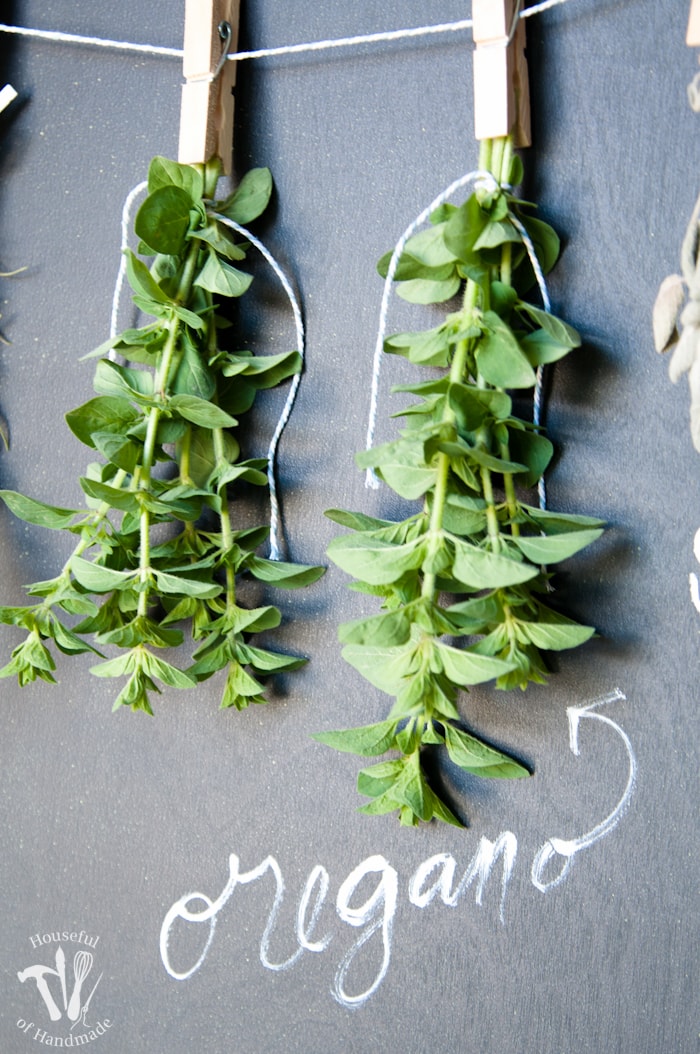
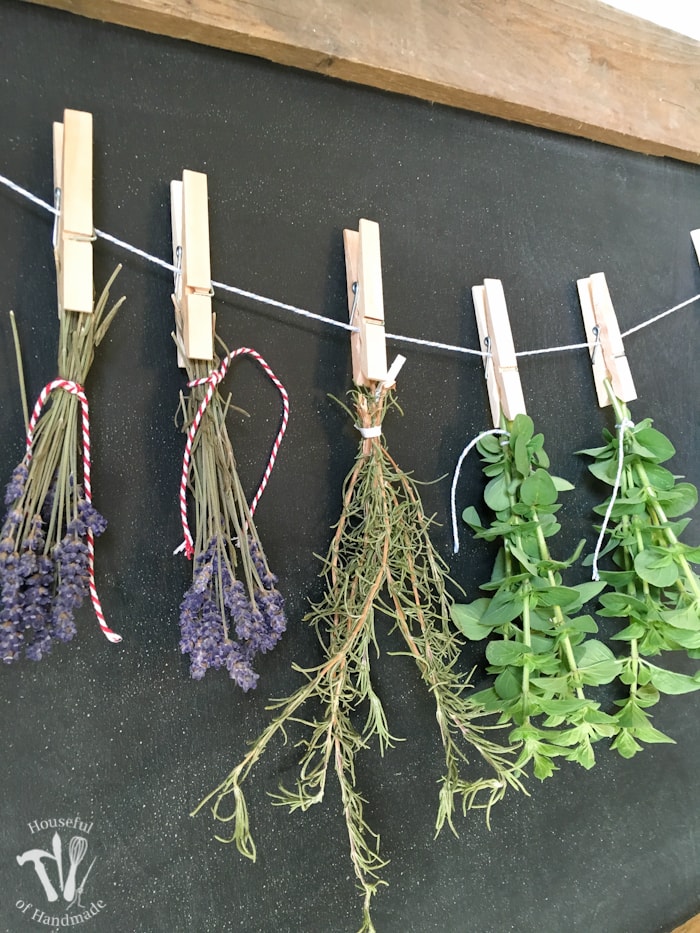
And the fun part, I started hanging herbs! I bundle them up and tie them with a piece of butcher’s twine or a twist tie and used a clothespin to hang them.
I thought I had the hardware I needed to hang my new DIY rustic chalkboard herb drying rack on the wall in my dining room where it will live, but apparently I used them all up. Bummer, I guess another trip to the Home Depot is in order 🙂
But I didn’t want to wait so I grabbed my chalkboard markers and decorated it up and took pictures of it sitting on a chair, and there it will have to live until I can go shopping tomorrow.
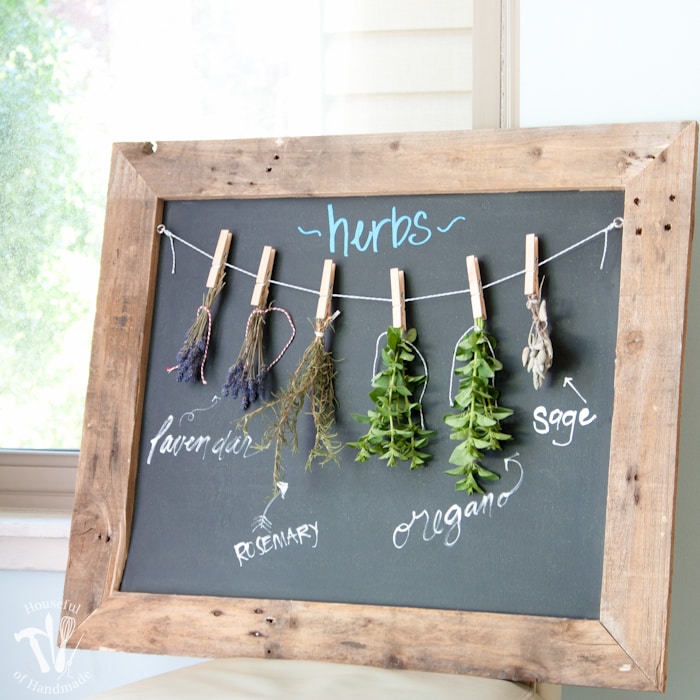
I just love the way the old pallet looks as a frame. So much farmhouse style character!
After my herbs are dried, I can put them in the cupboard to use dried so I will not have to buy them anymore. I am really loving having another way to preserve all the stuff I am learning to grow.
If you love this project, sign up for my newsletter so you never miss a post. And you’ll get access to my library of free downloads full of free printables for decor and other fun projects.
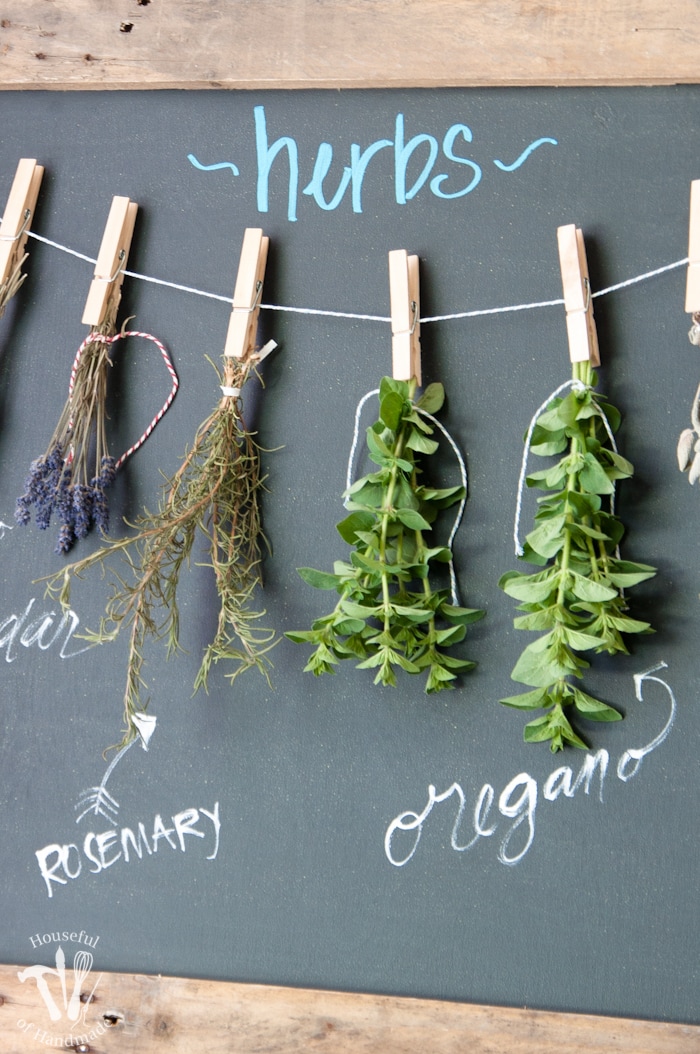
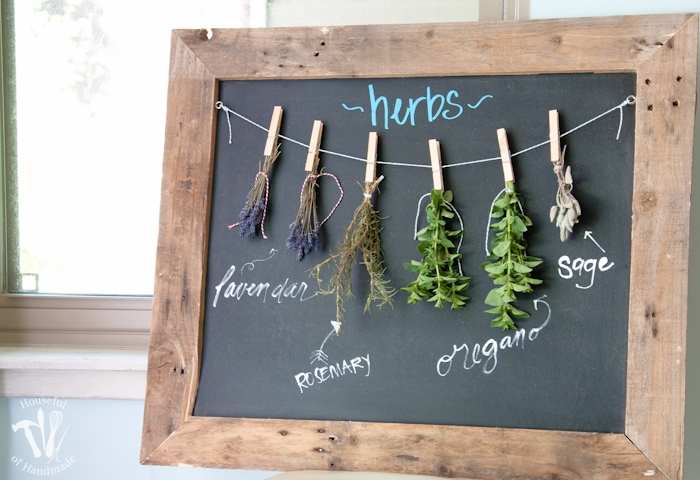
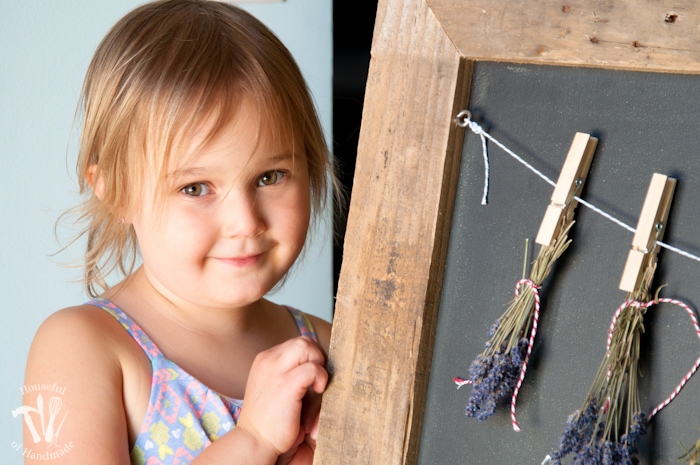
And of course, my sweet daughter had to help me take pictures. She is turning into my little Vanna White. She wants to show off all my projects and then has to see the pictures! Because I am a proud mama, I had to share her pictures too!

What herbs do you love using? Maybe I need to add some more to my garden 🙂


