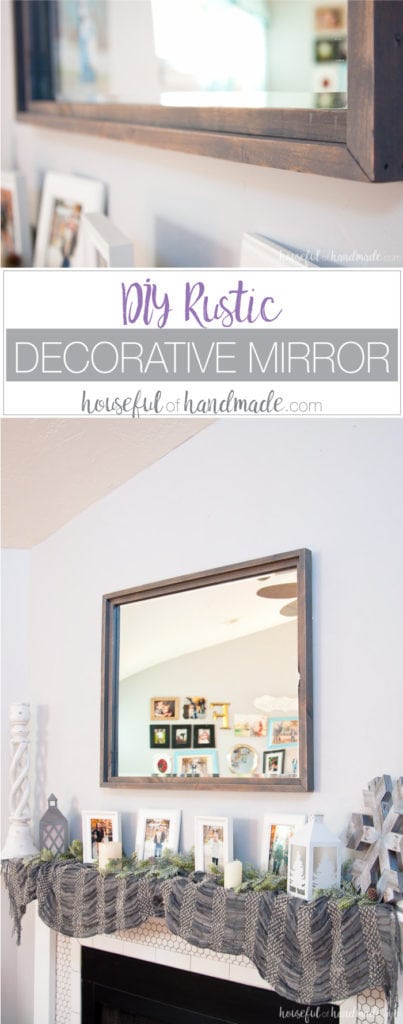
I have been working on my winter mantle this week. It is almost done and I am eager to share the final results with you.
But as I was putting things together. I realized, I have not yet shared this gorgeous DIY rustic mirror that I made so very long ago. I guess I just forgot because I finished it during the Q4 craziness. There were too many seasonal projects that I was eager to share with you apparently this one was missed.
So now that life is a little slower (okay maybe not, but I am pretending), I am excited to share with you this DIY rustic mirror that I made from scraps!
This post may contain affiliate links. As an Amazon Associate I earn from qualifying purchases. Click here to read my full disclosure policy.
If you remember, this summer I turned my boring builder railings in my living room into beautiful rustic wood railings with iron spindles. I love the new railings so much.
After finishing the railings I was left with 10 36″ long pieces of 3/4″ x 1 1/2″ wood that was cut at a 45 degree angle on one side. They were beautiful pieces of knotty alder and I refused to discard these scraps.
So I hung on to them and moved them around as they were in the way while I put my garage wood shop to use over the summer and fall.
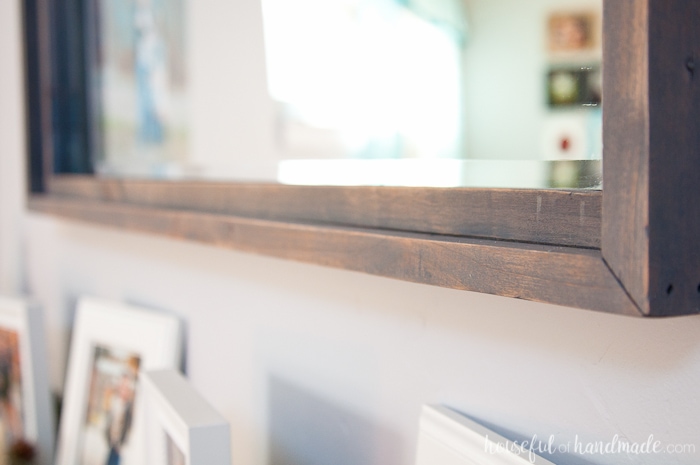
One day when I was moving these scraps again, I started playing around with putting them together at different angles. That 45 degree cut on one side was messing with my head. But then as I placed the cut sides together so the two boards formed a right angle, it hit me…
This would make a beautiful DIY rustic mirror!
I have been wanting a big mirror for over my mantle for a long time. I absolutely love mirrors in decorating but they can be so expensive. I almost ran to the Home Depot to buy a mirror and create the one in my head.
Now I am sure not everyone out there has these exact scraps laying around their house so this mirror may seem like a good idea, but not very practical.
Well, you can recreate exactly what I did by ripping a 1×2 so it has a 45 degree angle on the one side (this is best done with a table saw). Or even better, you can secure a 1×1 on the side of a 1×2 and you will have the same design.
So really, even without a garage full of scraps, you can make this mirror for much less than it would cost to buy a large decorative mirror at the store.
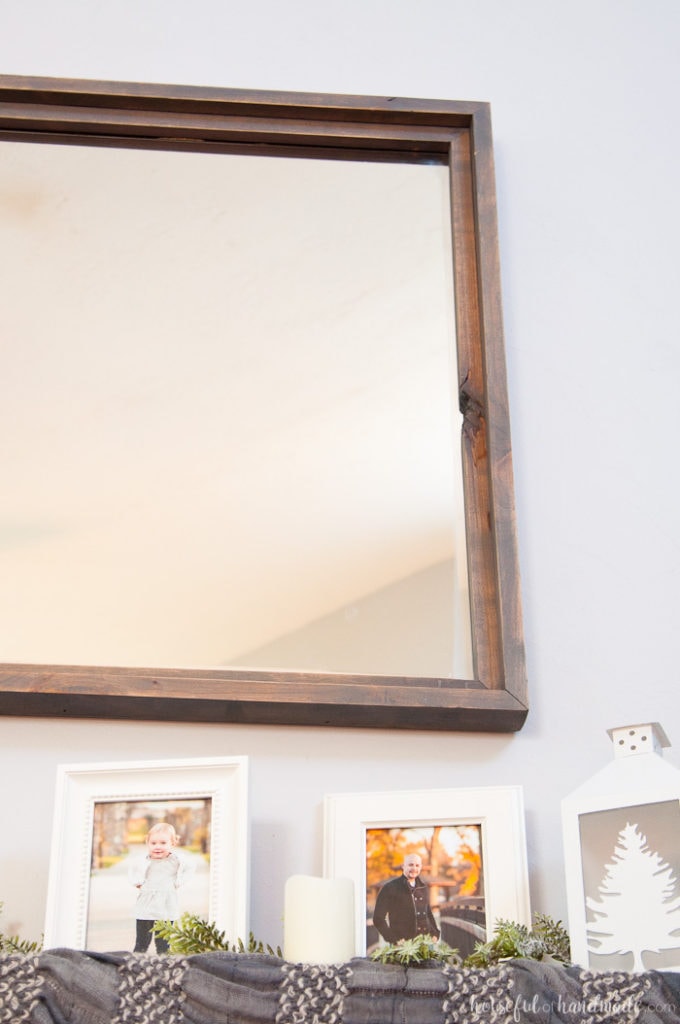
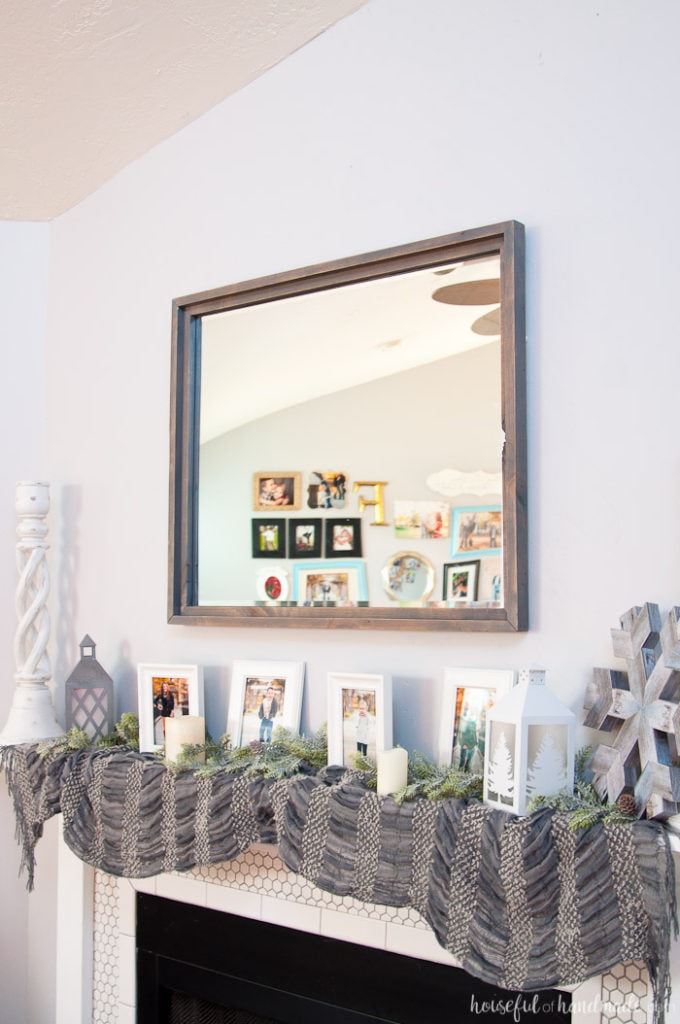
I have been using this DIY rustic mirror over our mantle for a few months now and absolutely love it!
Mirrors are so great at helping add light to a room because they bounce it back at you. It’s also fun to decorate (like I did for our Christmas mantle) and can’t wait to use it for many years.
Just imagine it draped with garlands or pennants or lights. Oh the possibilities!
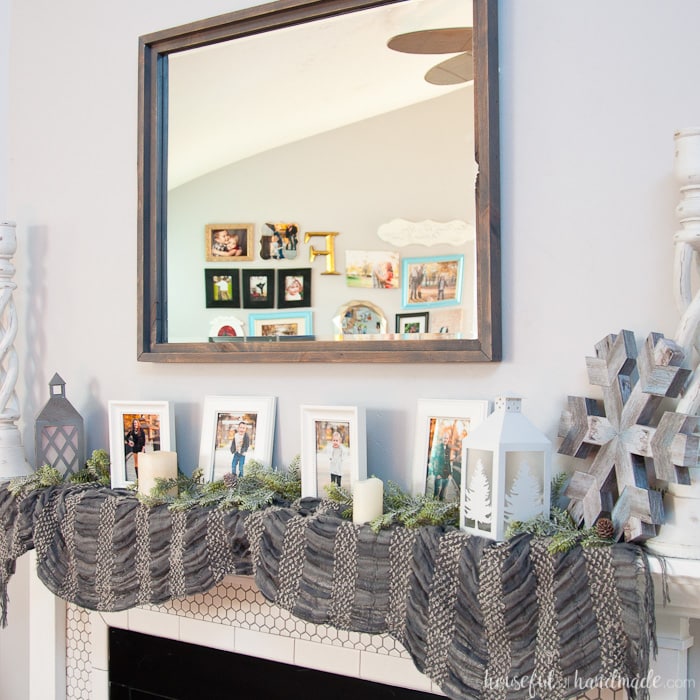
So if you are ready to see how easy it was to make a beautiful (and inexpensive) DIY rustic mirror, keep reading! I can’t wait to show you how I made this mirror from scraps and an inexpensive beveled mirror.
How to Make a DIY Rustic Mirror
Supplies:
- 24″ x 30″ beveled mirror
- 3 8′ 1x2s cut at 45 degree angle on one side
- Or 12′ of 1x2s and 12′ of 1x1s
- 33″ x 27″ piece of 1/4″ plywood
- Wood glue
- Finish nailer and nails
- Kreg jig and pocket hole screws
- Wood stain or paint
- I used Classic Gray by Minwax
- Mirror adhesive
- Frame hanging kit
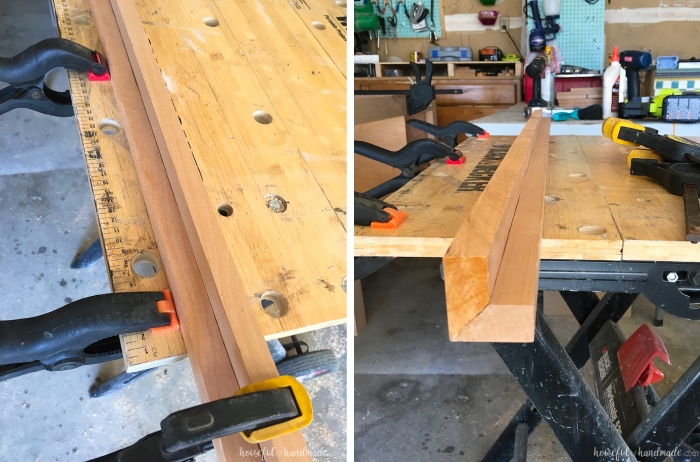
To start you need to put your pieces of wood together to create the L shape. Both the angled wood and non-angled wood pieces will use the same technique. See the diagram below to see how the different pieces are attached.
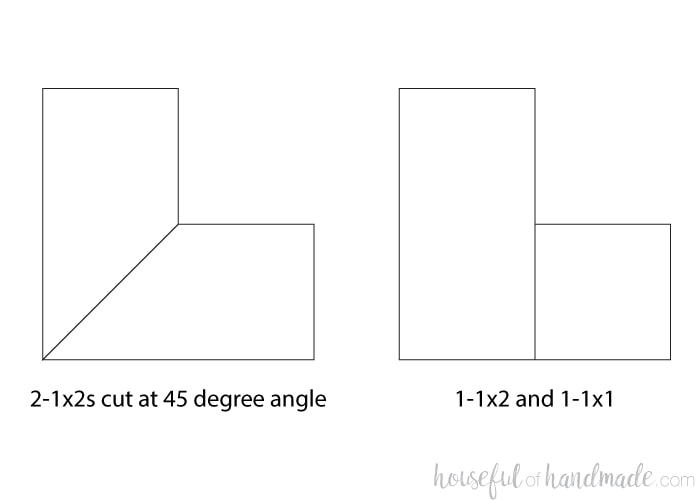
I was working with 36″ pieces and it was easier to attach these smaller pieces than full 8′ boards. If you want to cut the pieces first, but them so you have 4 36″ pieces and 4 28″ pieces. Start by adding wood glue to the full length of the piece where it will be connected to the other piece.
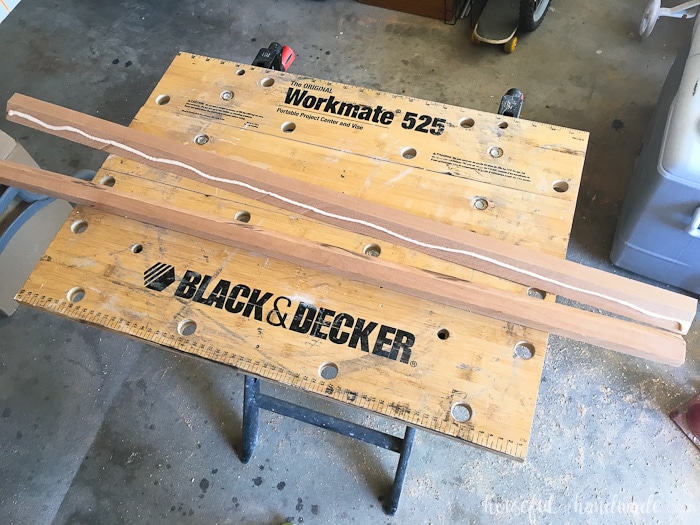
Clamp the pieces together and secure with some finishing nails on the back of the L so it will be hidden on the back of the mirror. The angled boards like to slide a bit when clamped so I used clamps on the table in the front and back of the boards to hold them secure then clamped them together to the table. Let them dry.
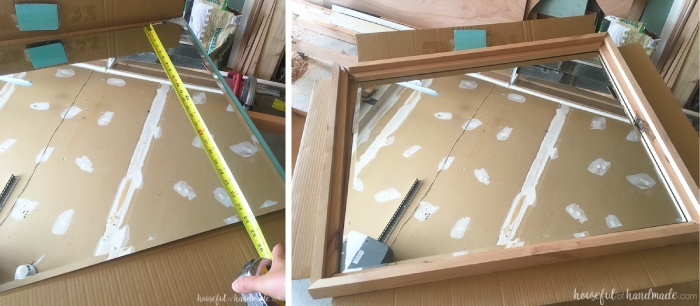
Once all your pieces are dried, you will want to measure your mirror for an exact measurement. Even thought the mirror says it is 24″x30″ doesn’t mean is really is. But your frame pieces so they are angled at each end at 45 degrees to create a mitered corner. The inside dimension of each piece should be the actual dimension of your mirror.
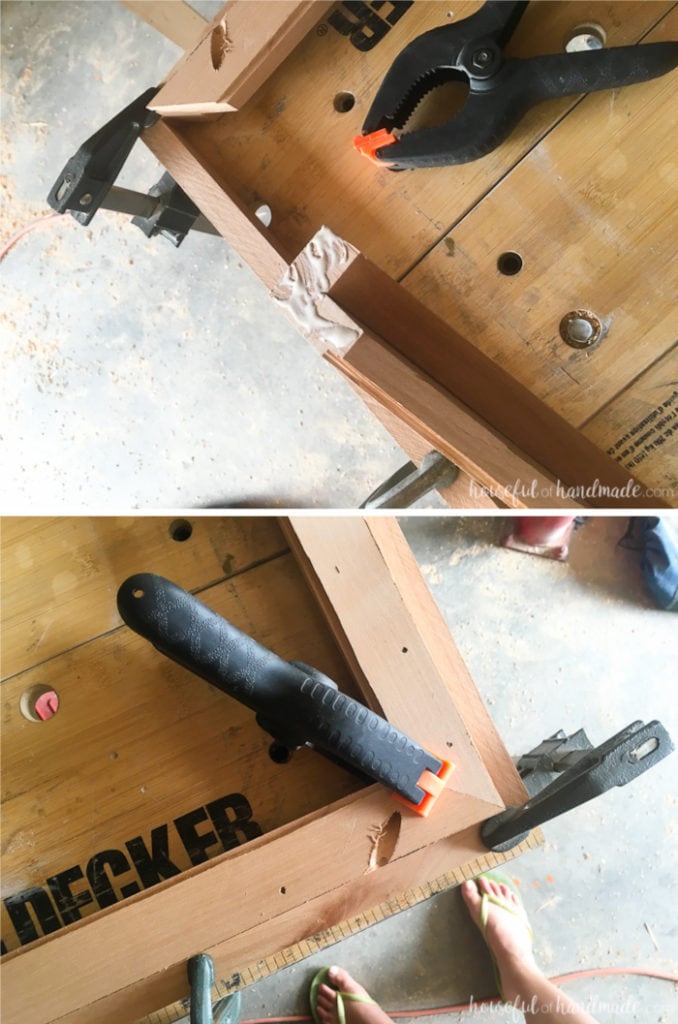
Secure the frame with a pocket hole in each corner. Drill the hole, add wood glue to the board, then attach with a pocket hole screw.
Use the mirror adhesive to glue the mirror to the center of your piece of plywood. Clamp the mirror and allow the glue to dry.
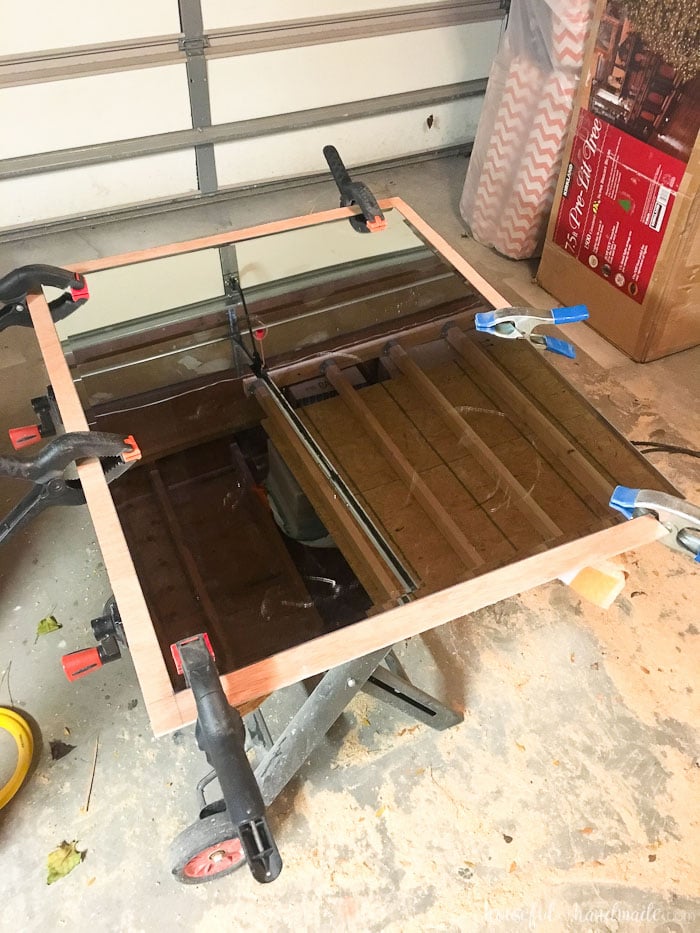
I would recommend finishing your frame before attaching it to your mirror. I stained my frame and then scuffed up the edges just a little bit with a sanding sponge.
Once your frame is finished, lay it over the top of the mirror and center it. Clamp the frame to the mirror/plywood board. Attach it with a few finishing nails in the back being careful to only attach it through the plywood that is around the outside of the mirror or you will shatter your mirror. Then firmly secure it with a few wood screws. (Sorry I apparently forgot to take pictures of this part.)
Follow the instruction on your frame hanging kit to attach the hanging hardware to the back of the mirror. Then hang it on your wall and admire your work!
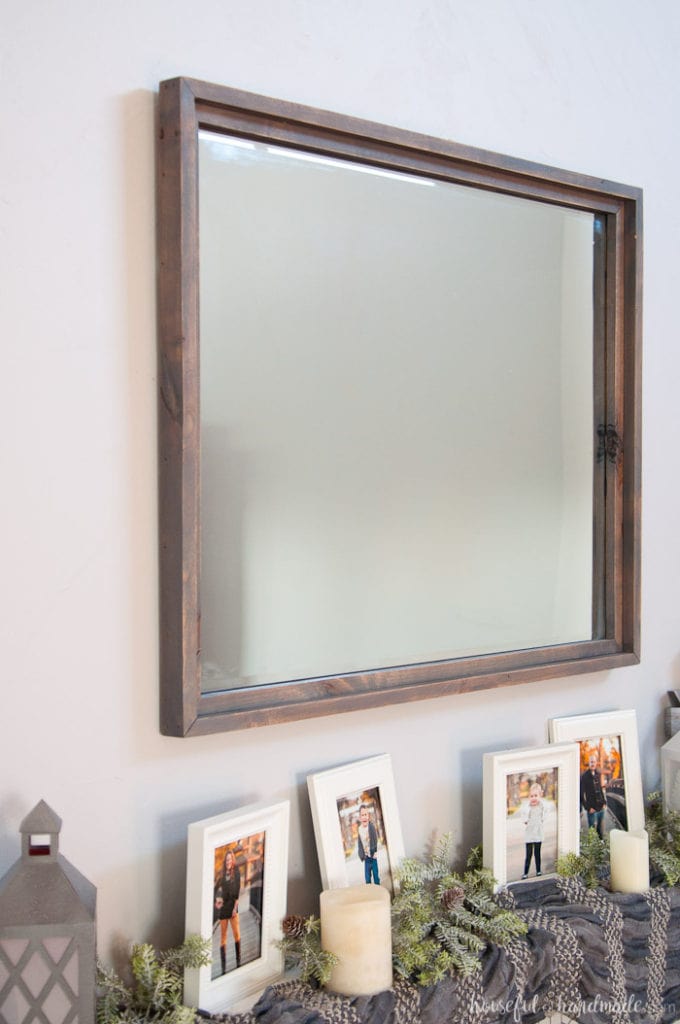
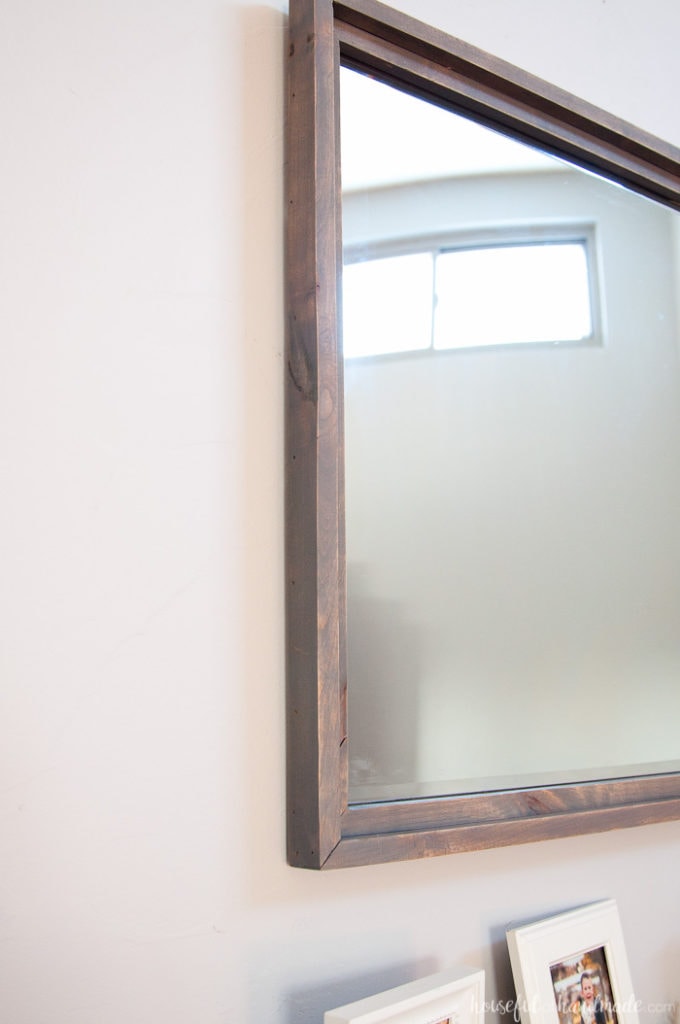
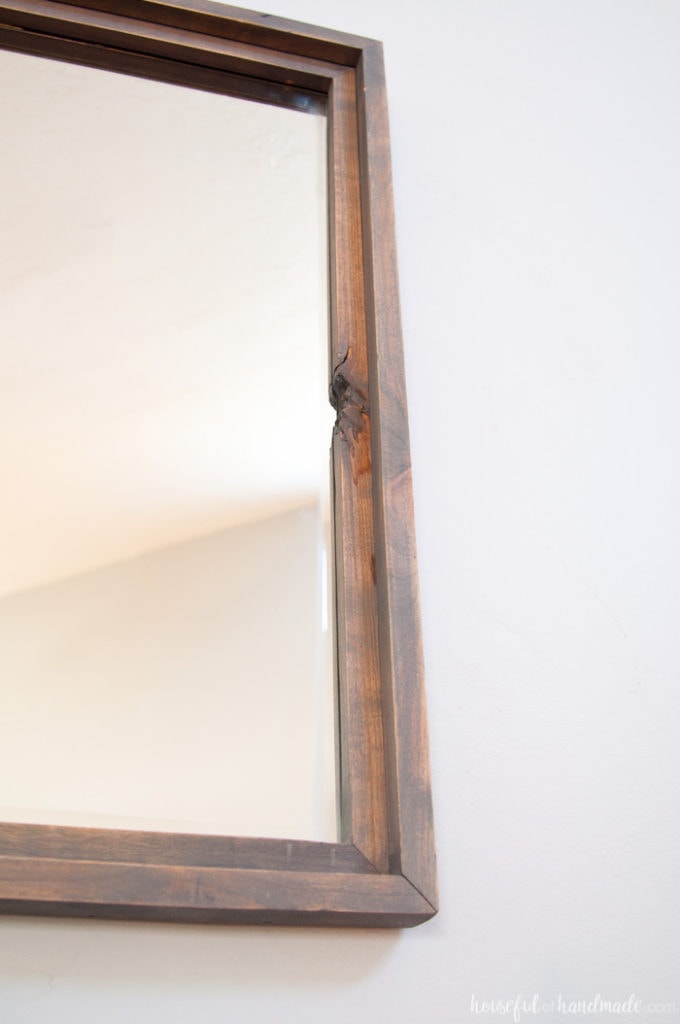
I love the character that the knotty alder gives the mirror’s frame. I even purposely left a large knot in the frame. For some reason I really have an addiction to wood knots. They are just so unique and pretty. And the warm gray that the mirror has from the gray stain on the wood is my favorite. It will work with any decor.
And now I can finish up our winter mantle. This mantle is all about staying cozy during this extra cold winter. Stay tuned for one more fun project, then maybe I’ll be ready for all things spring 🙂

