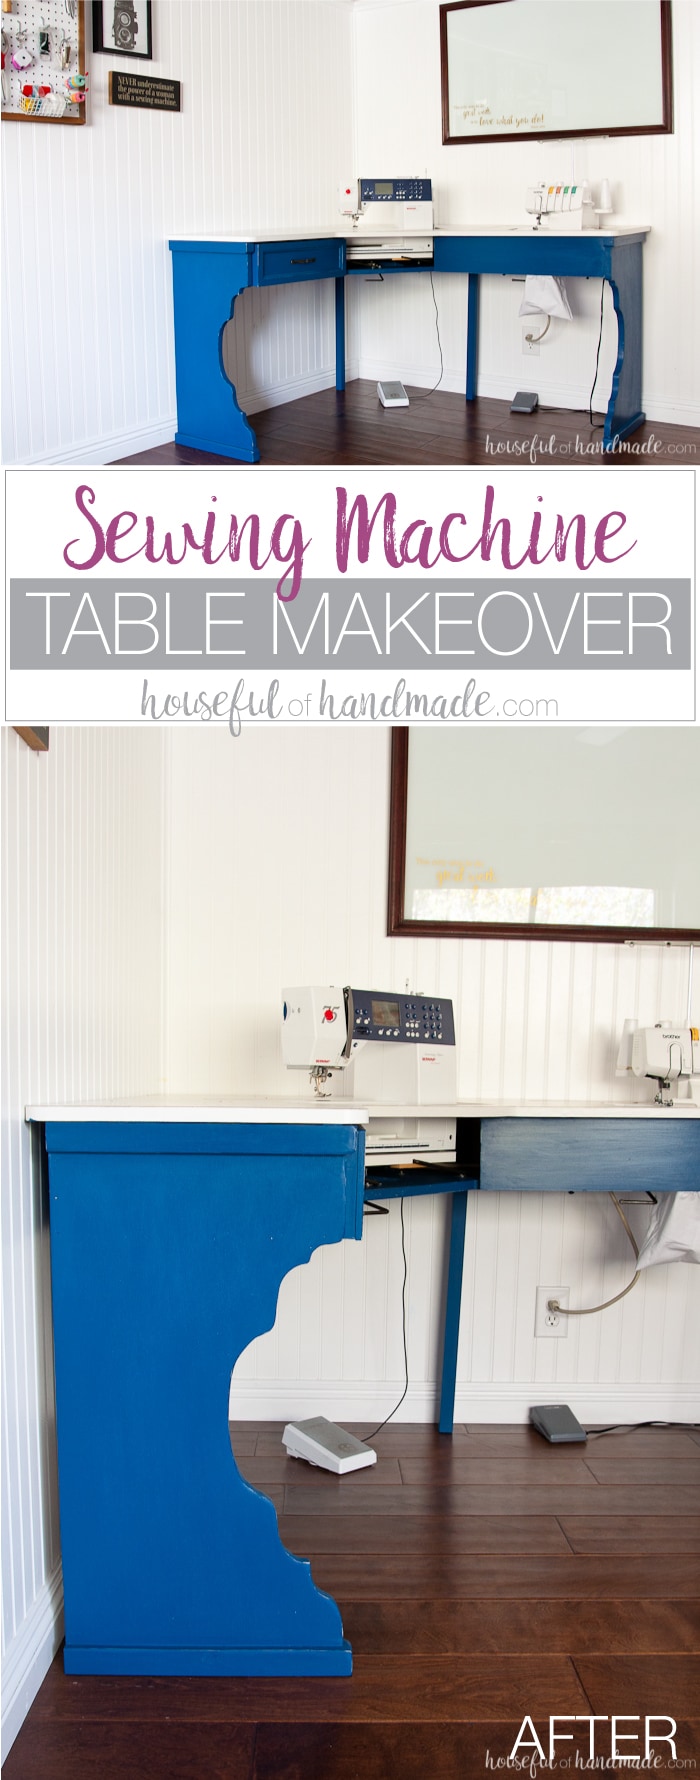
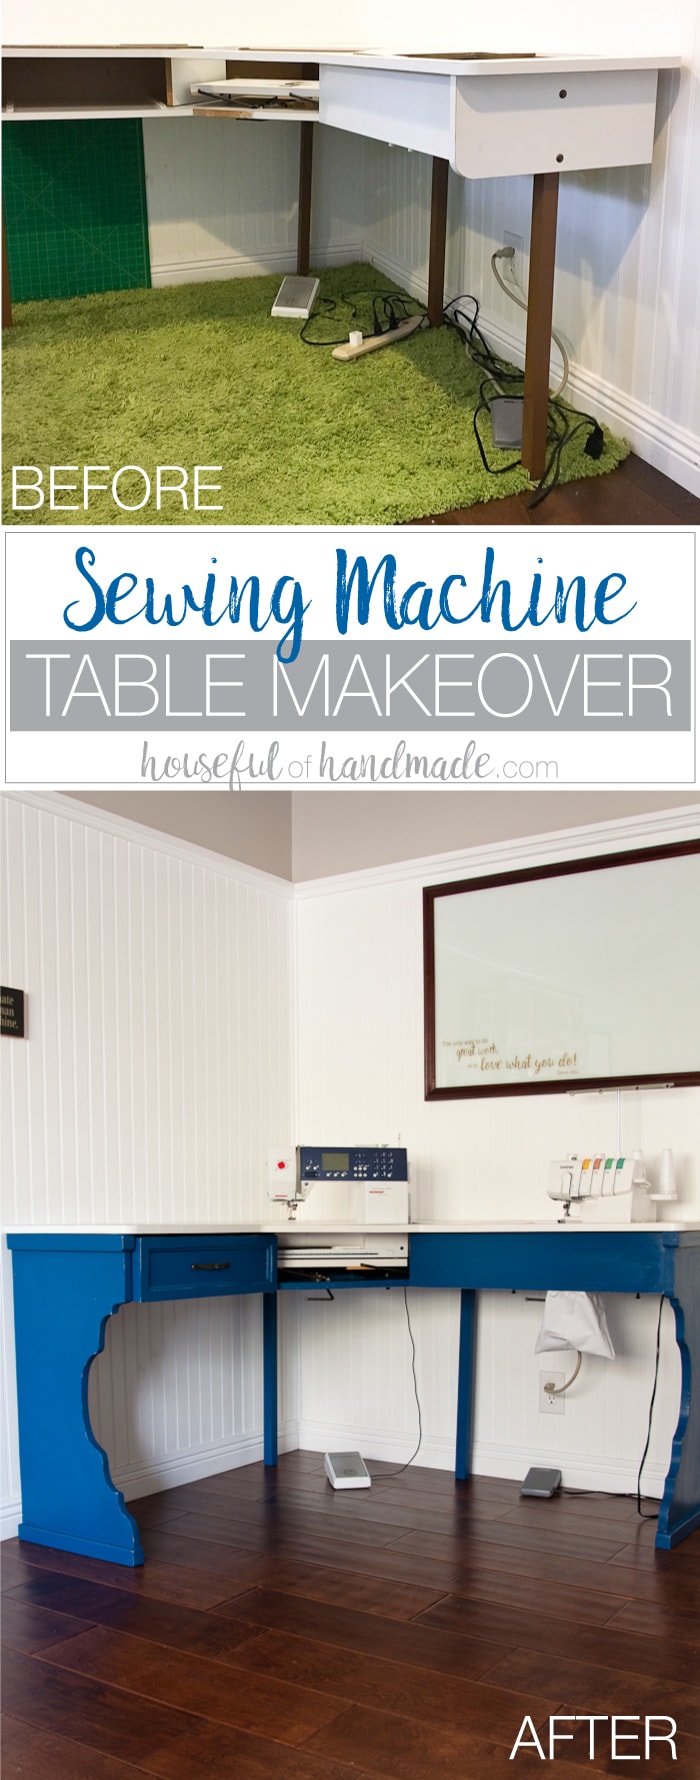
Sadly, I had been afraid of giving current furniture a makeover until now. I was worried it would be hard, so instead I built new (my logic is sometimes odd I know).
But last month I worked on remodeling my entire office & craft room for only $100 with the $100 Room Challenge so I needed to save money and reuse the furniture I already had.
Now I am so excited to try my hand at redoing some other furniture in my house because I absolutely love how my Sewing Machine Table Makeover turned out.
This post may contain affiliate links. As an Amazon Associate I earn from qualifying purchases. Click here to read my full disclosure policy.
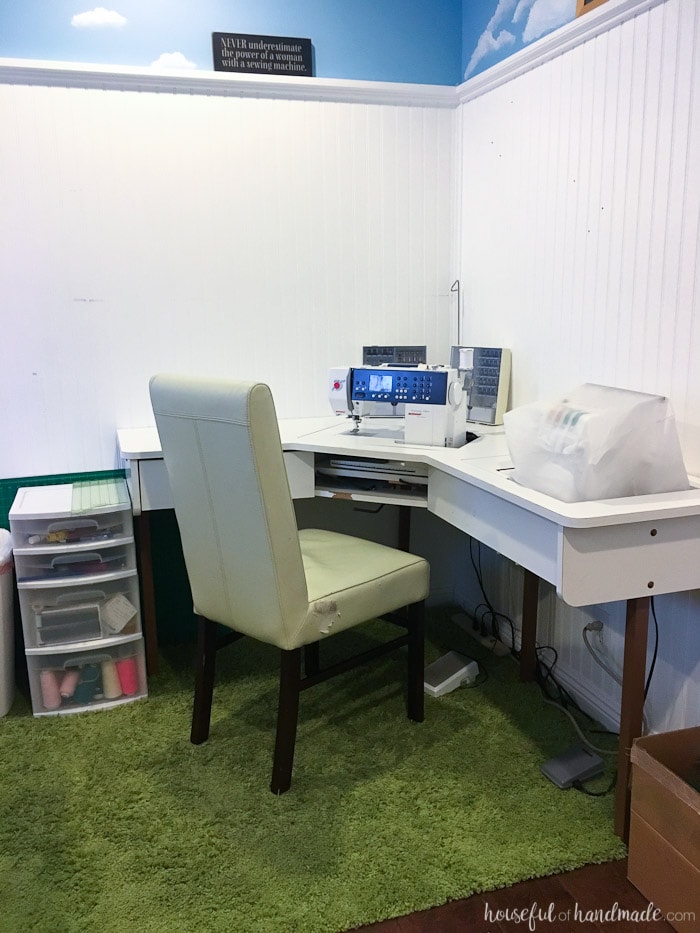
I was lucky enough to be given this sewing machine table from my mom a few years back. She bought it over 25 years ago. I remember learning to sew at this table.
And I love that it has a place for my sewing machine and my serger. What I didn’t love was that the desk was super utilitarian and not pretty at all.
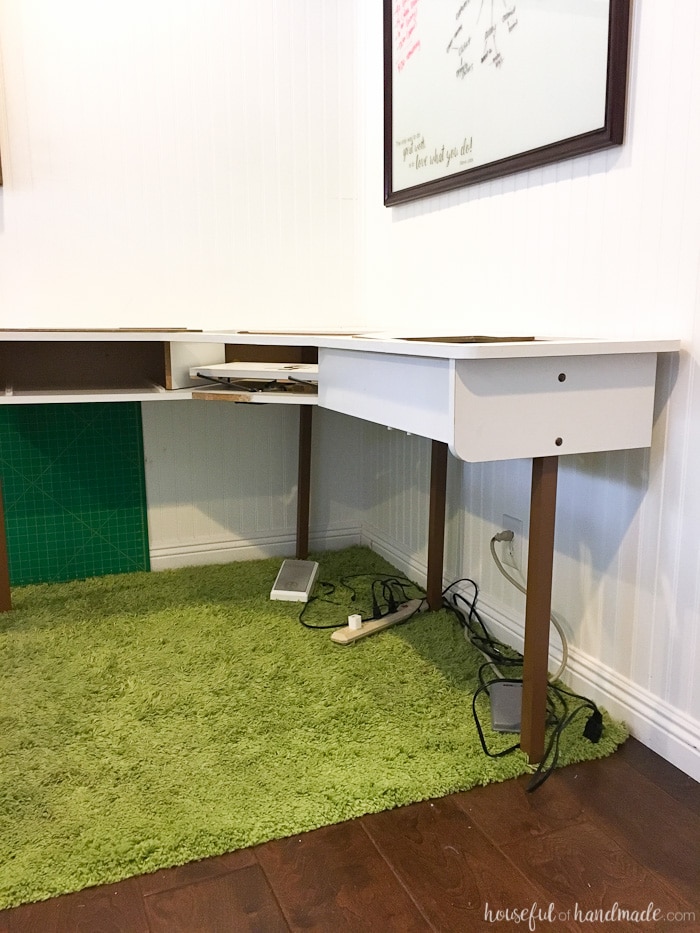
The thing I hated the most about the sewing machine table was the legs!
Seriously, it looked like they designed the table then realized they forgot to add legs. So they hurried and stuck the ugliest posts on the ends and the back to hold it up.
It was sturdy enough, but if one of those ugly brown posts was loose or on uneven ground, it got really wobbly. I knew the only way to make the sewing machine table better was to replace those legs.
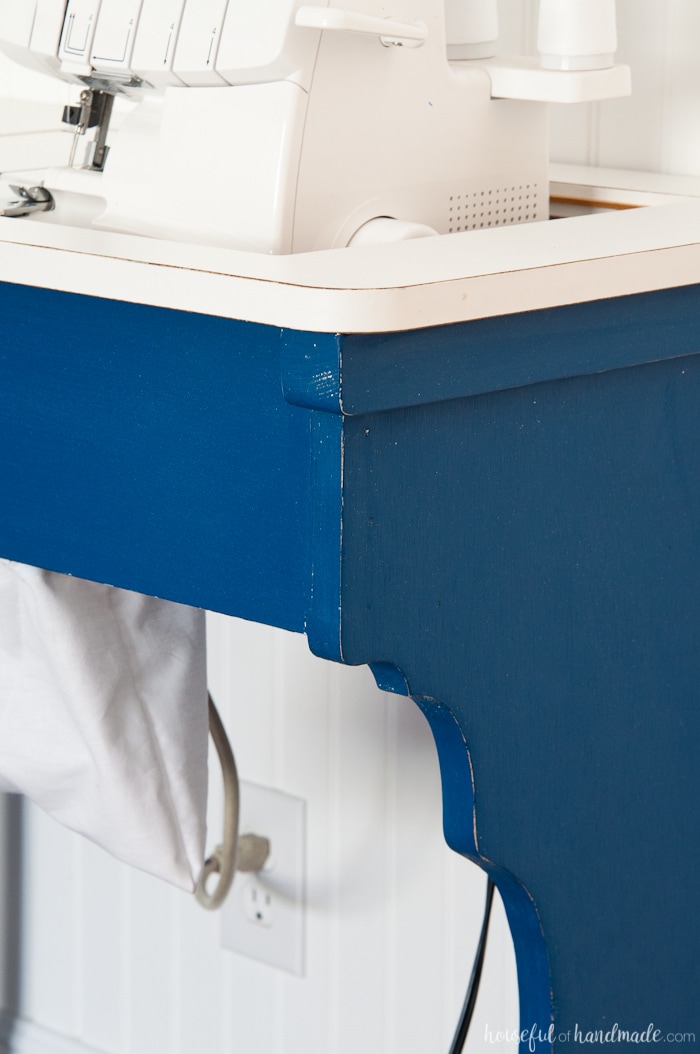
I wanted to make the utilitarian sewing machine table look like a beautiful piece of furniture. I needed to add legs that were as far from the boring brown posts as possible.
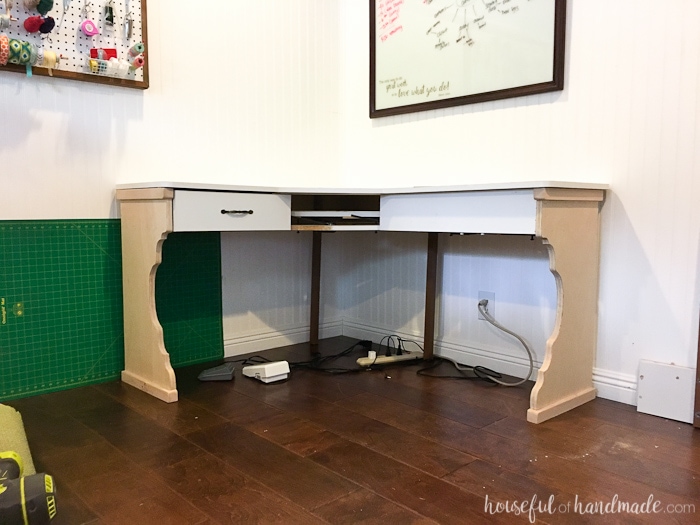
Instead of making regular desk or table legs, I decided to make legs that would cover the entire sides of the table for a truly remarkable sewing machine table makeover.
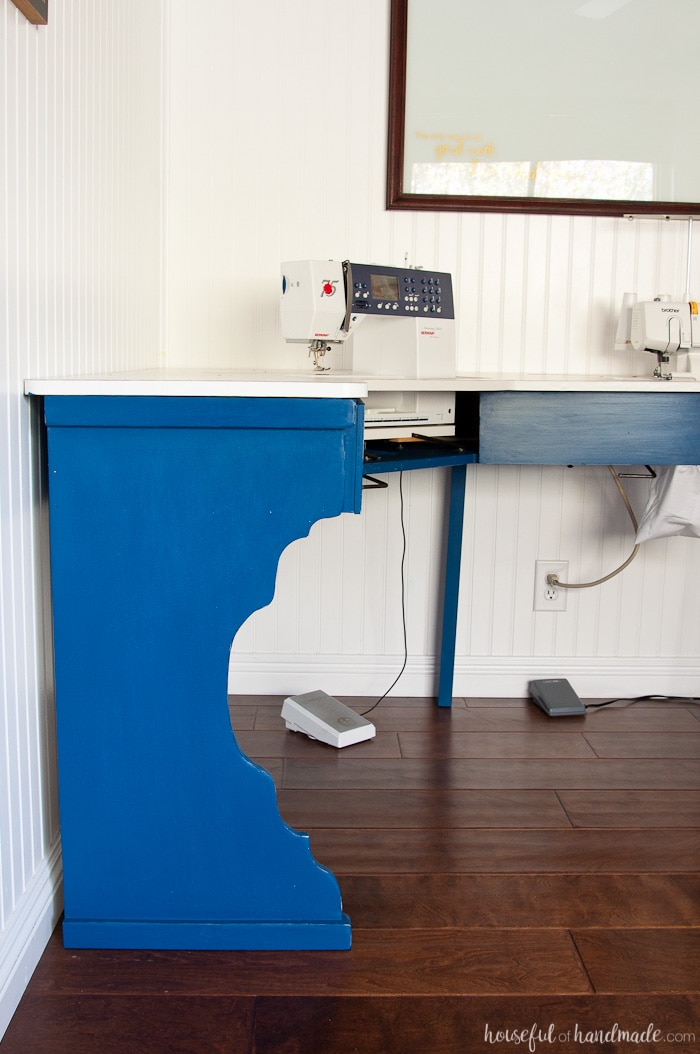
And since I was redoing my entire room for only $100, I needed to be really smart about how I spent my money for this sewing machine table makeover. I bought a piece of 1/2″ plywood to build my closet desk area, but only used part of it.
To save money on wood, I decided to use the rest of the plywood to make the legs. I also bought 1 2×2 board for $2 and ended up with the perfect farmhouse style legs for a total transformation from the posts that were there before.
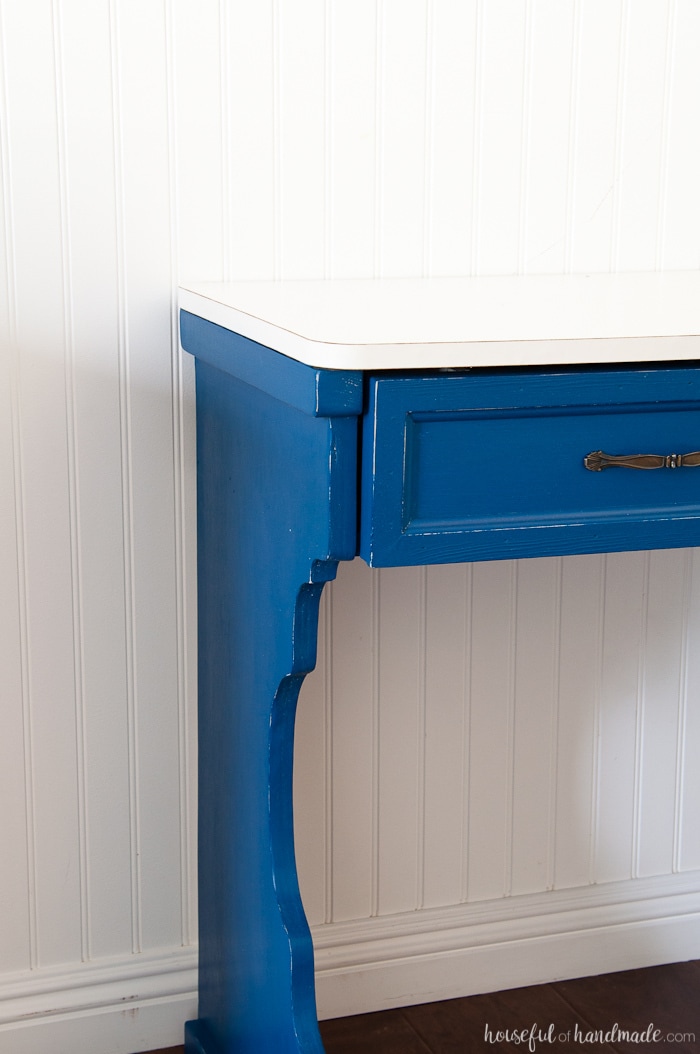
I also transformed the drawer from boring box to high-style with $5 worth of trim. After $10 of paint, this truly is a transformed piece of furniture.
Hopefully it will last another 25 years and my kids will have memories of learning to sew on the same table I did (even though it’s a lot prettier now).
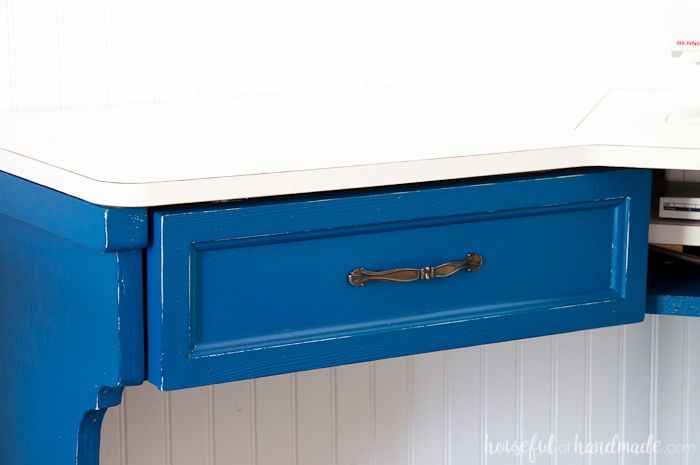
If you have any type of table or desk that needs a makeover, you can use the same idea I did for these beautiful table legs. They were easy to make with a few basic tools. But I cannot believe how amazing they look, and my sewing machine table looks like a million bucks now!
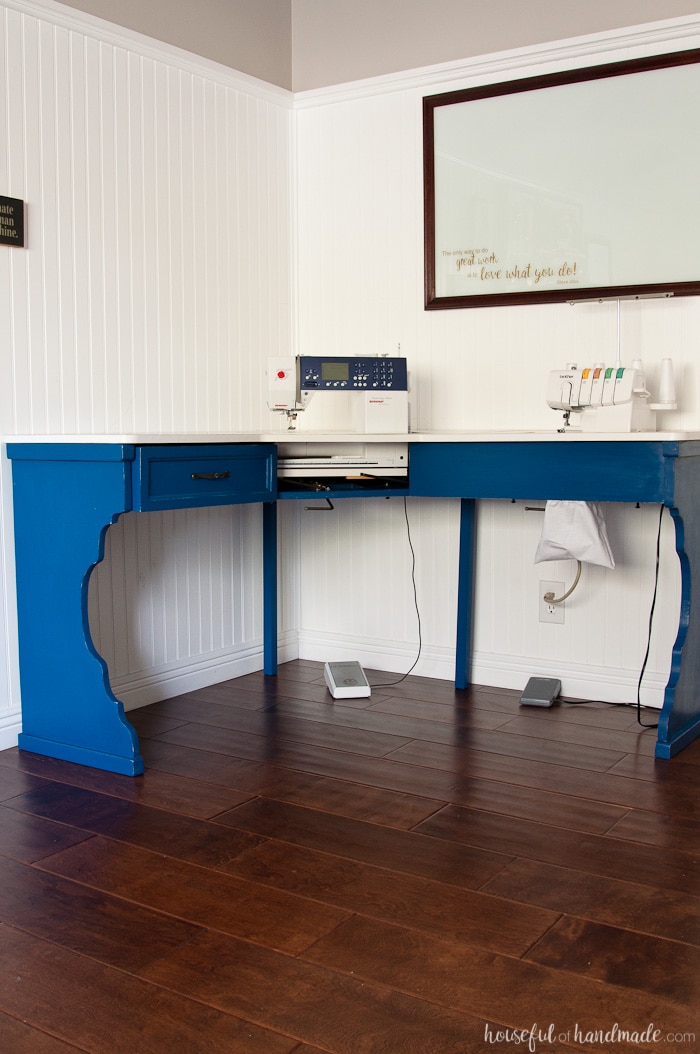
Sewing Machine Table Makeover Tutorial
Supplies
- Sewing machine table
- This type of legs would work on any table or desk that will be up against the wall. Use your imagination and makeover all your ugly furniture!
- 1/2″ plywood
- 2×2 board
- Wood glue
- Clamps
- Saw
- I used a table saw to cut down the plywood and a miter saw to cut down the 2×2 board. You can also do this with a circular saw.
- Jig saw
- Kreg jig
- 1 1/4″ pocket hole screws
- 16 gauge nail gun with 2″ finishing nails
- Chalk paint
- I used homemade chalk paint. Mix 4 tbsp Plaster of Paris with 2 Tbsp water until smooth then mix it into about 2 cups latex paint. It will get thicker as you paint so mix smaller batches and paint without distractions.
- Clear finishing wax
Start by making a template for your legs. The sides need to be able to cover the top part of the sewing machine table. Measure the length you need the legs and the size you need the top of the legs. Using some paper taped together to be the size needed, draw out the design of you legs. Remove 1 1/2 inches from the top and bottom of the leg for the 2×2 board supports.
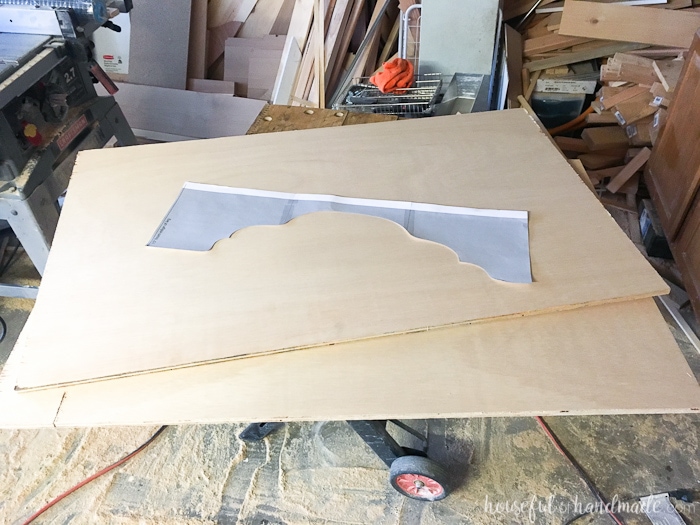
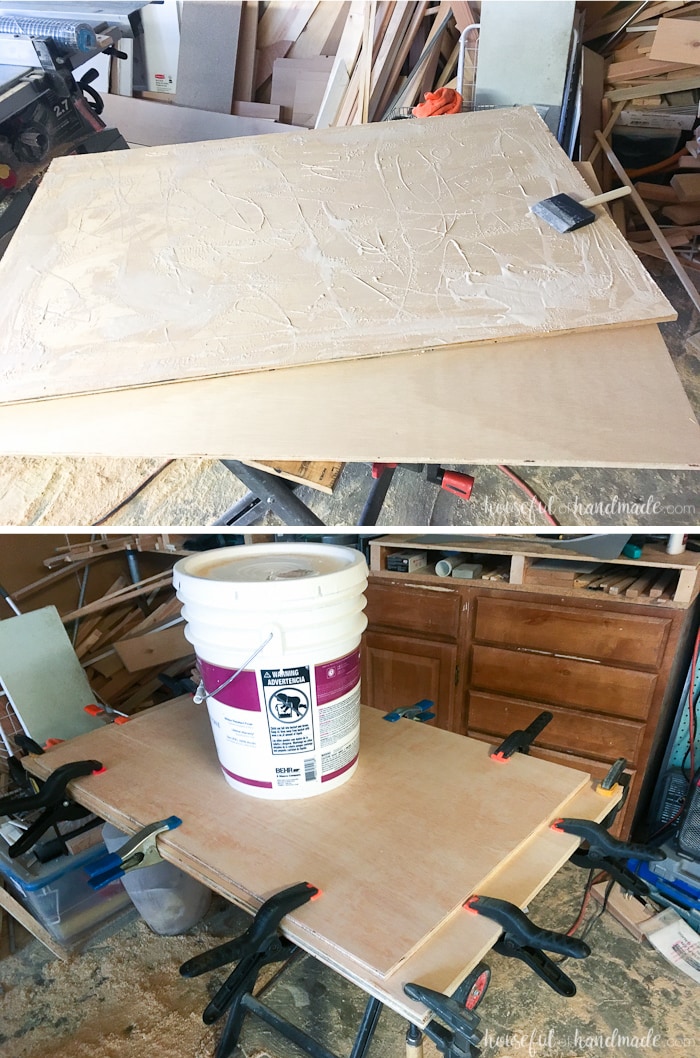
Cut 2 pieces of plywood big enough to fit 2 table legs on. Spread wood glue all over the back of one piece of plywood. Place it on top of the other piece of plywood and clamp them together. I placed a scrap piece of plywood on top of it all and added some weight (in the form of 5 gallons of paint) to help with the clamps. Let the glue dry overnight.
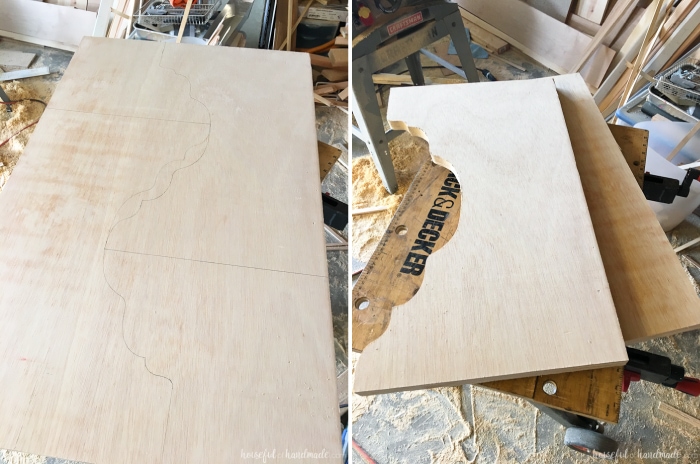
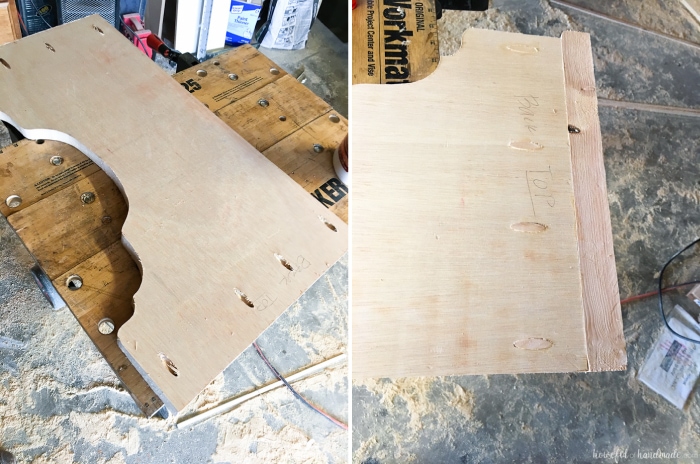
Trim the sides of the plywood if needed so you have even edges. Trace the leg template on the plywood twice (so you have two legs). Then cut the legs out with a jig saw. I used a scroll blade to help the jig saw cut the curves easily.
Set the Kreg jig for a wood width of 1″. Add pocket holes to the top and bottom of the inside of the legs. Cut 2 pieces of the 2×2 board 1″ longer then the top/bottom of the legs. Attach the 2×2 boards to the top and bottom of the legs with the pocket hole screws. Fill the holes with plugs if desired.
Sand everything really well. Remove the legs on one side of the sewing machine table. Mine was held together with wooden dowels so the easiest way to cleanly remove it was to saw up the joint on the side with a thin hand-held saw blade and cut the dowels in half. Then using wood glue and a nail gun with finishing nails, secure the new leg to the side of the table.
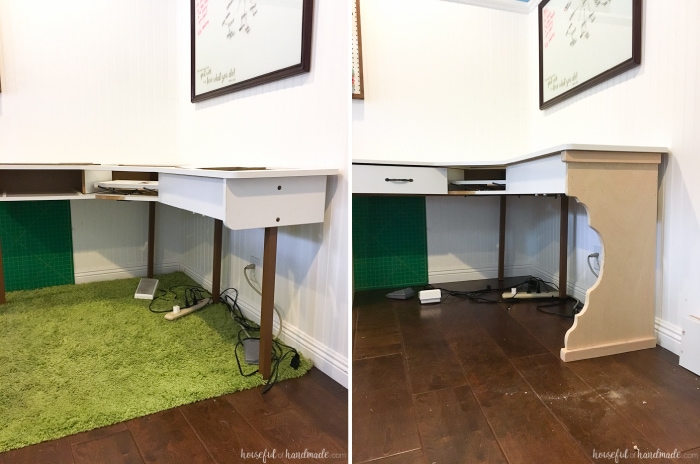
Repeat on the other side. I did one side at a time so the table was able to stay balanced while I replaced the legs. I left the post legs in the back (and once painted, they look so much better).
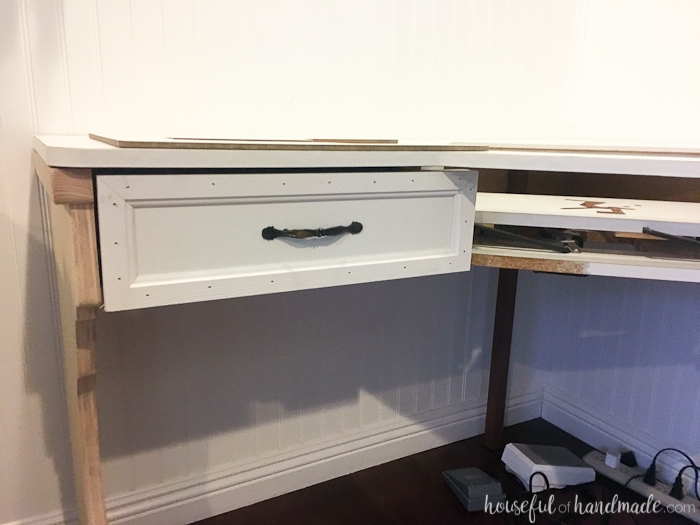
After getting the new legs on my sewing machine table makeover, the drawer looked very boring. Using $5 of decorative trim, I was able to trim out the drawer to make all the difference. Cut the trim at a 45 degree angle on each end and secure with wood glue and finishing nails.
Fill any nail holes with wood filler (or skip this step if you like a more rustic look). Using chalk paint, paint the table and new legs. The chalk paint was great because it stuck to the melamine finish on the table without sanding and priming. The first layer of chalk paint will look very streaky, but don’t worry, the second coat fixes it all.
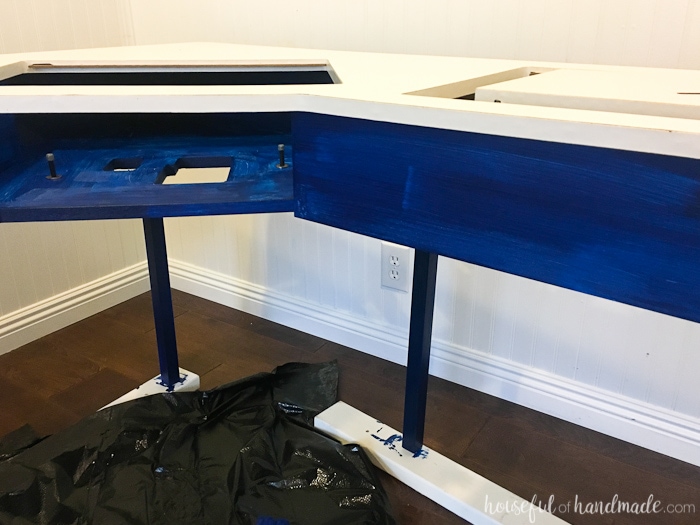
After getting the first coat of paint on my table, I decided I hated the color. It was too bright and bold of a navy and I wanted a more rustic, muted navy. Since I didn’t have the budget to buy new paint, I added a bit of black paint and gray paint into the navy that I had left over from other rooms until I had the perfect color. Then I painted the second coat. The second coat gave me a perfectly even finish.
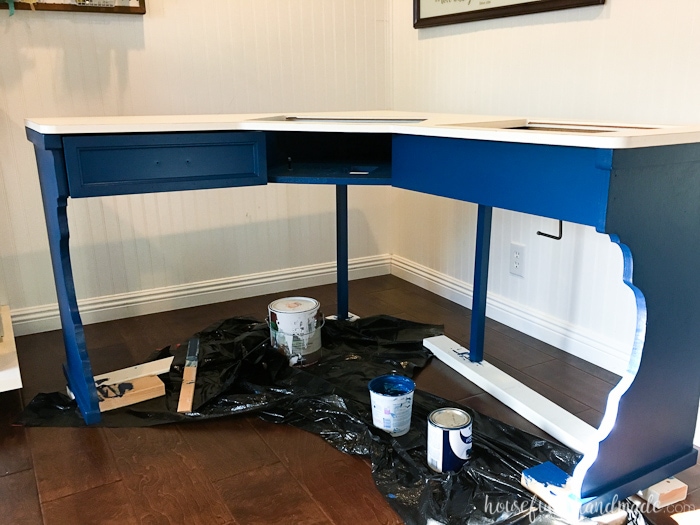
To give my sewing machine table a bit more rustic, farmhouse charm, I sanded the edges of the legs and drawer trim a bit. I love that the slightly worn edges really bring out the details.
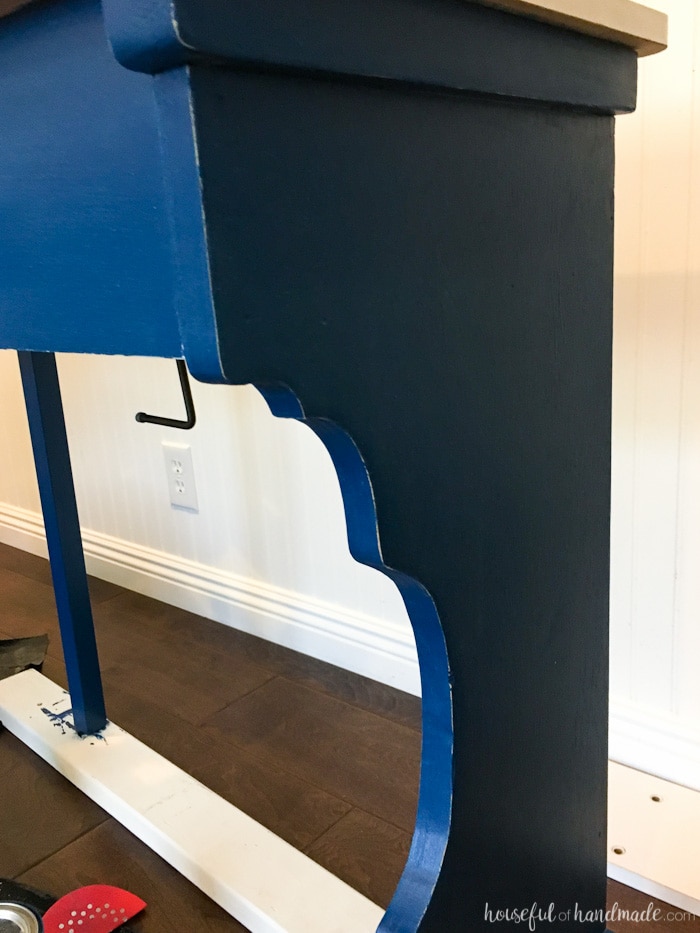
To protect the paint finish, I used a clear furniture wax. It gave the perfect hand buffed look to the entire piece. And now looks like a beautiful piece of furniture instead of a utilitarian sewing desk.
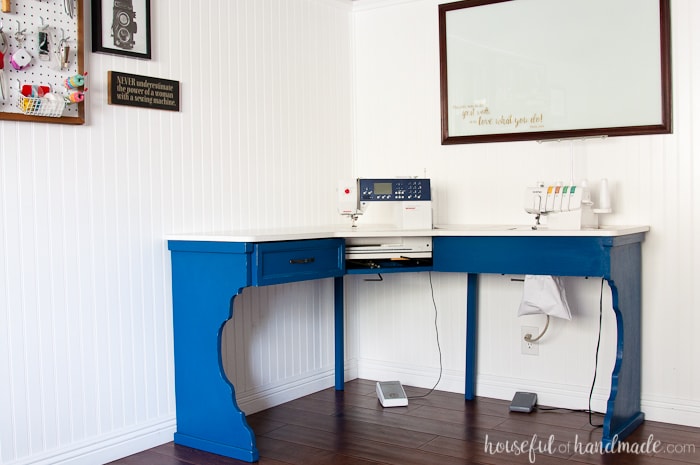
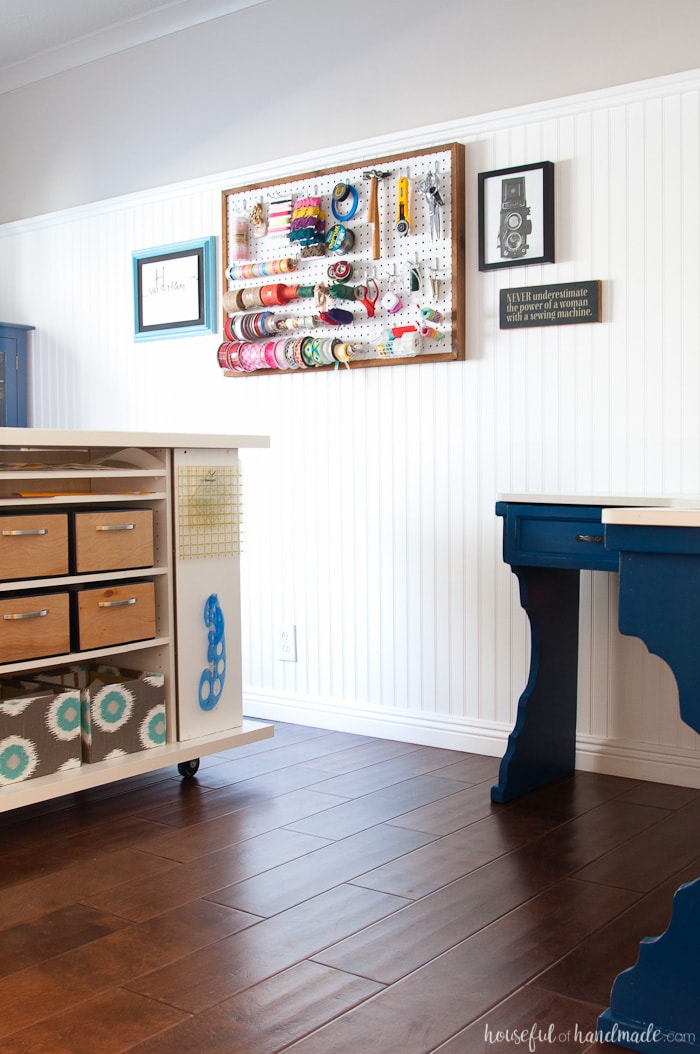
And make sure to check out the entire office & craft room makeover here. I truly cannot believe how amazing it looks now, and I only spent $100 to do it!
Now I am combing the house looking at all the furniture destined for the thrift store to see if I can make it something I love too!

