Glass cabinet doors really elevate the look of your cabinets.
Whether you are adding glass doors to a kitchen wall cabinet, to built-ins around your TV, or to DIY furniture, you will be so excited to know they are an easy DIY project you can tackle!
You can make your cabinet doors easily, and with minimal tools, using simple pocket hole joinery. Or if you want cabinet doors with no visible joinery, you can build them with a router.
This post may contain affiliate links. As an Amazon Associate I earn from qualifying purchases. Click here to read my full disclosure policy.
Either way you build your DIY cabinet doors, you can easily add a glass panel insert to them. I will show you how below!

Glass vs. Plexiglass for Cabinet Doors
You can make glass cabinet doors with either glass or plexiglass.
Plain clear glass is a more economical choice and it looks timeless. However, glass is breakable. Luckily, this method for creating glass panel doors makes the glass easy to replace if broken.
You can use other types of glass like frosted or seeded glass for your door panels. These will be more expensive than plain glass, but add a lot of style.

If you want a non-breakable option, plexiglass (or acrylic) is a great choice.
Plexiglass is easy to work with and will not break. However, it is more expensive that simple glass.
Also, plexiglass is more prone scratching that glass.
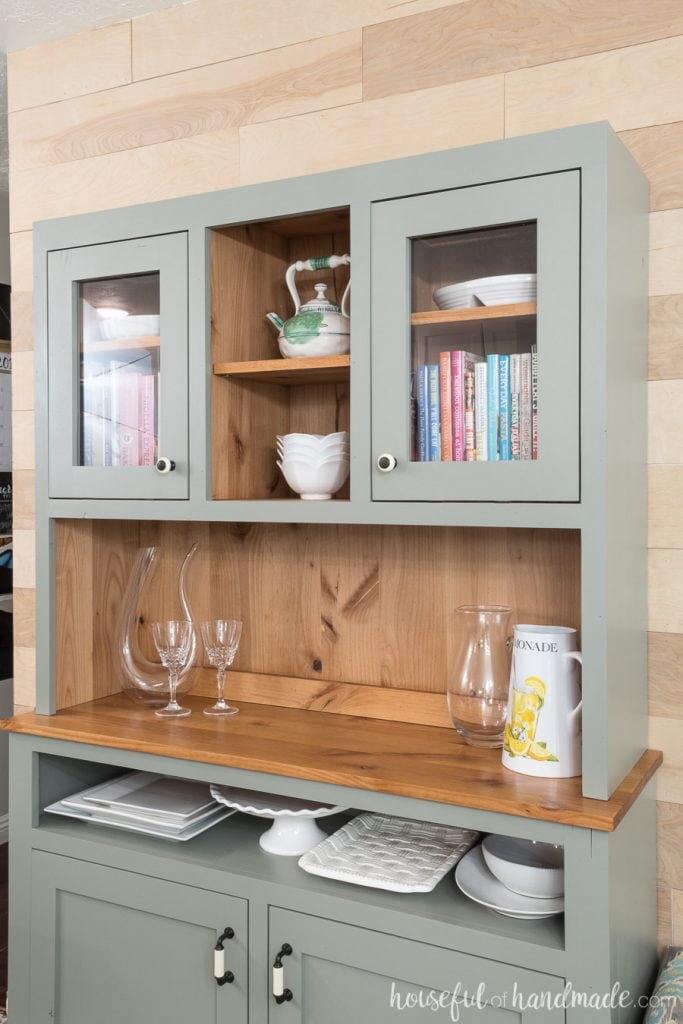
I used plexiglass to add glass to my dining room hutch build and they survived our move half-way across the US.
How to cut glass for doors?
The easiest way to have glass cut for your cabinet doors is to have it done for you at your local home improvement store.
It was fast and easy for me to get all 4 panels for my display cabinet glass doors cut to the exact measurement needed.
Plus they taped the edges and wrapped it nicely for me to transport them home safely.
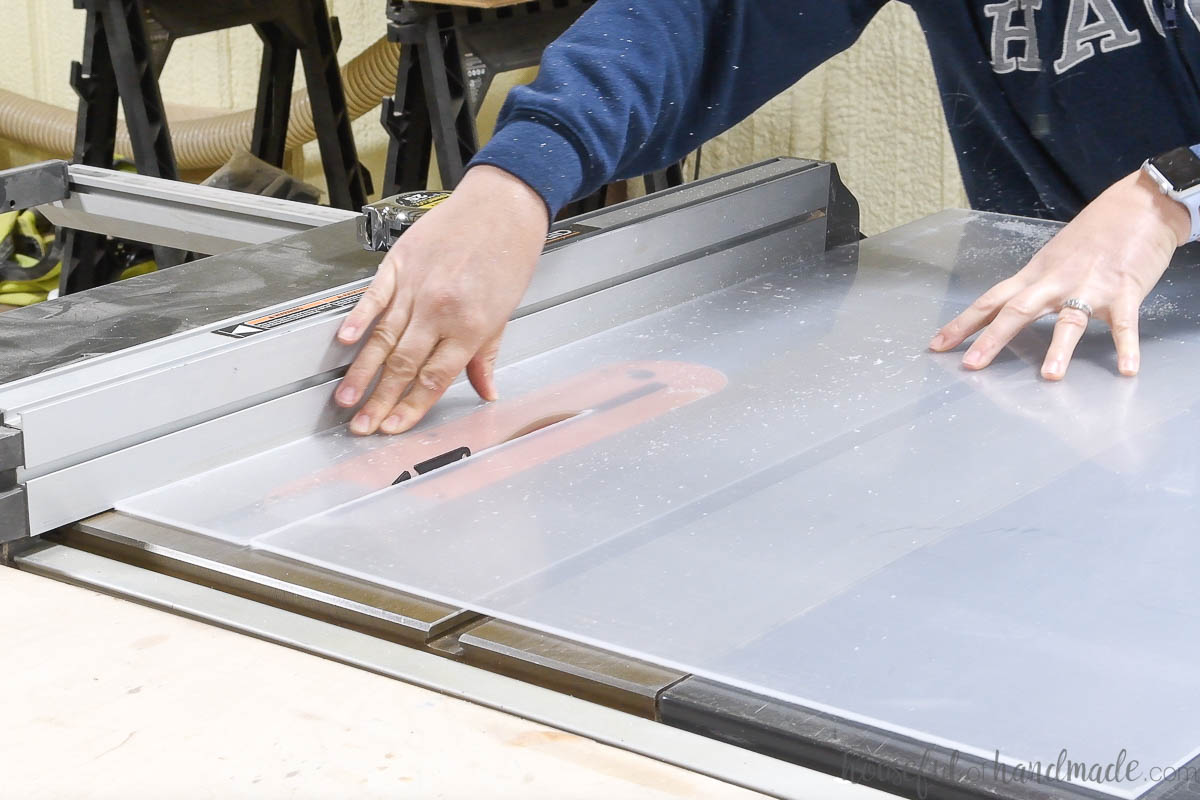
If you are using plexiglass for your door panels, you can cut it easily at home.
Score it about 10 times with a sharp utility knife up against a straight edge or ruler. Leave the plastic coating to protect it from scratches. Then snap it along the line.
Or I prefer to cut plexiglass or acrylic with my table saw or circular saw. It cuts with normal woodworking blades. Just do not go slow or you will melt it and create a gummy mess. Acrylic will melt less than plexi.
How to Make DIY Glass Cabinet Doors
Tools & Materials
Recommended Tools:
- Miter saw
- I recently upgraded to this larger sliding miter saw (watch for it to go on sale), but all my projects before were built with this inexpensive miter saw that I loved.
- Circular saw with guide track
- Pocket hole jig or router with router table
- Drill
- Impact driver (optional, but I love not having to switch bits with the drill)
- Face clamp
- Trim router
- Sander
- Caulk gun
Supplies:
- Wood products
- 1x boards for your door frame
- Glass or plexiglass sheets
- Clear 100% silicone caulk
- Optional: 1 1/4″ pocket hole screws
STEP 1- Build your cabinet doors
You can build your cabinet doors anyway you want! Check out these 3 easy ways to build DIY cabinet doors.
Use whatever size 1x boards you want to build your doors. Thicker boards will results in a thicker door frame.
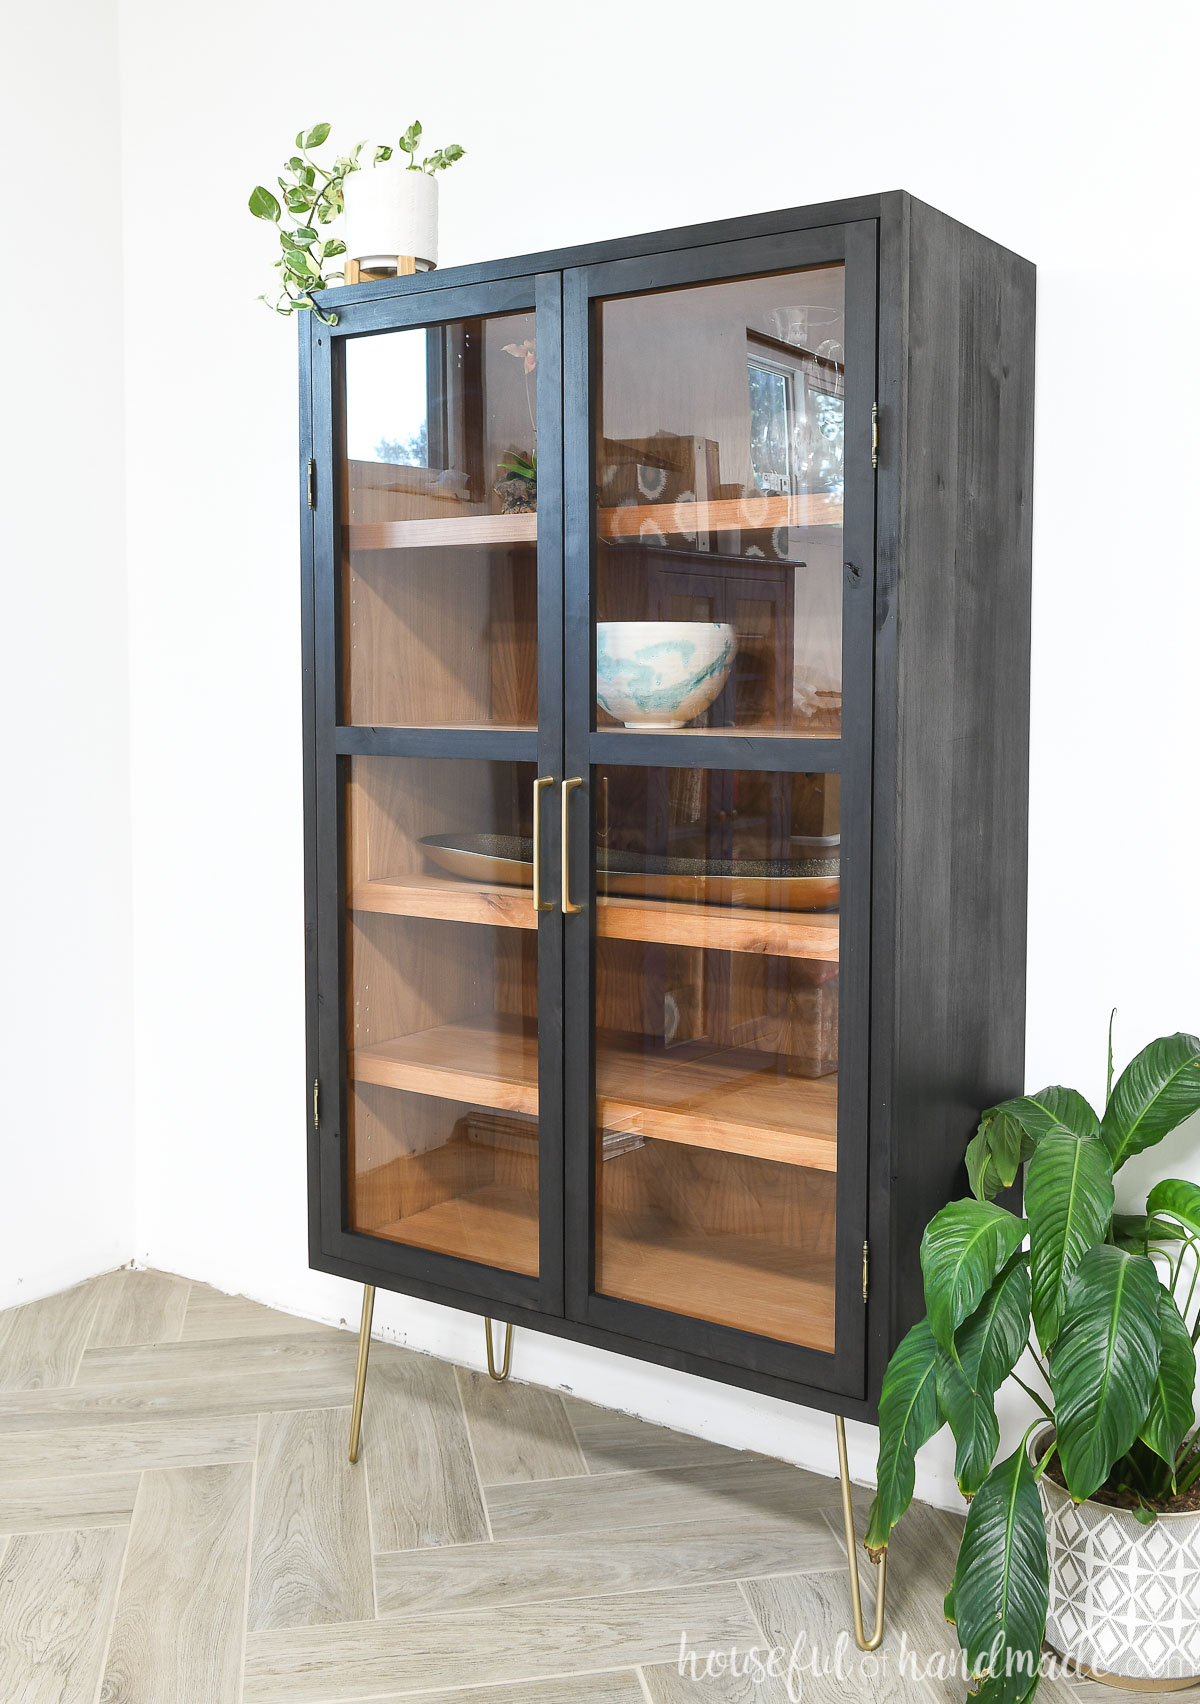
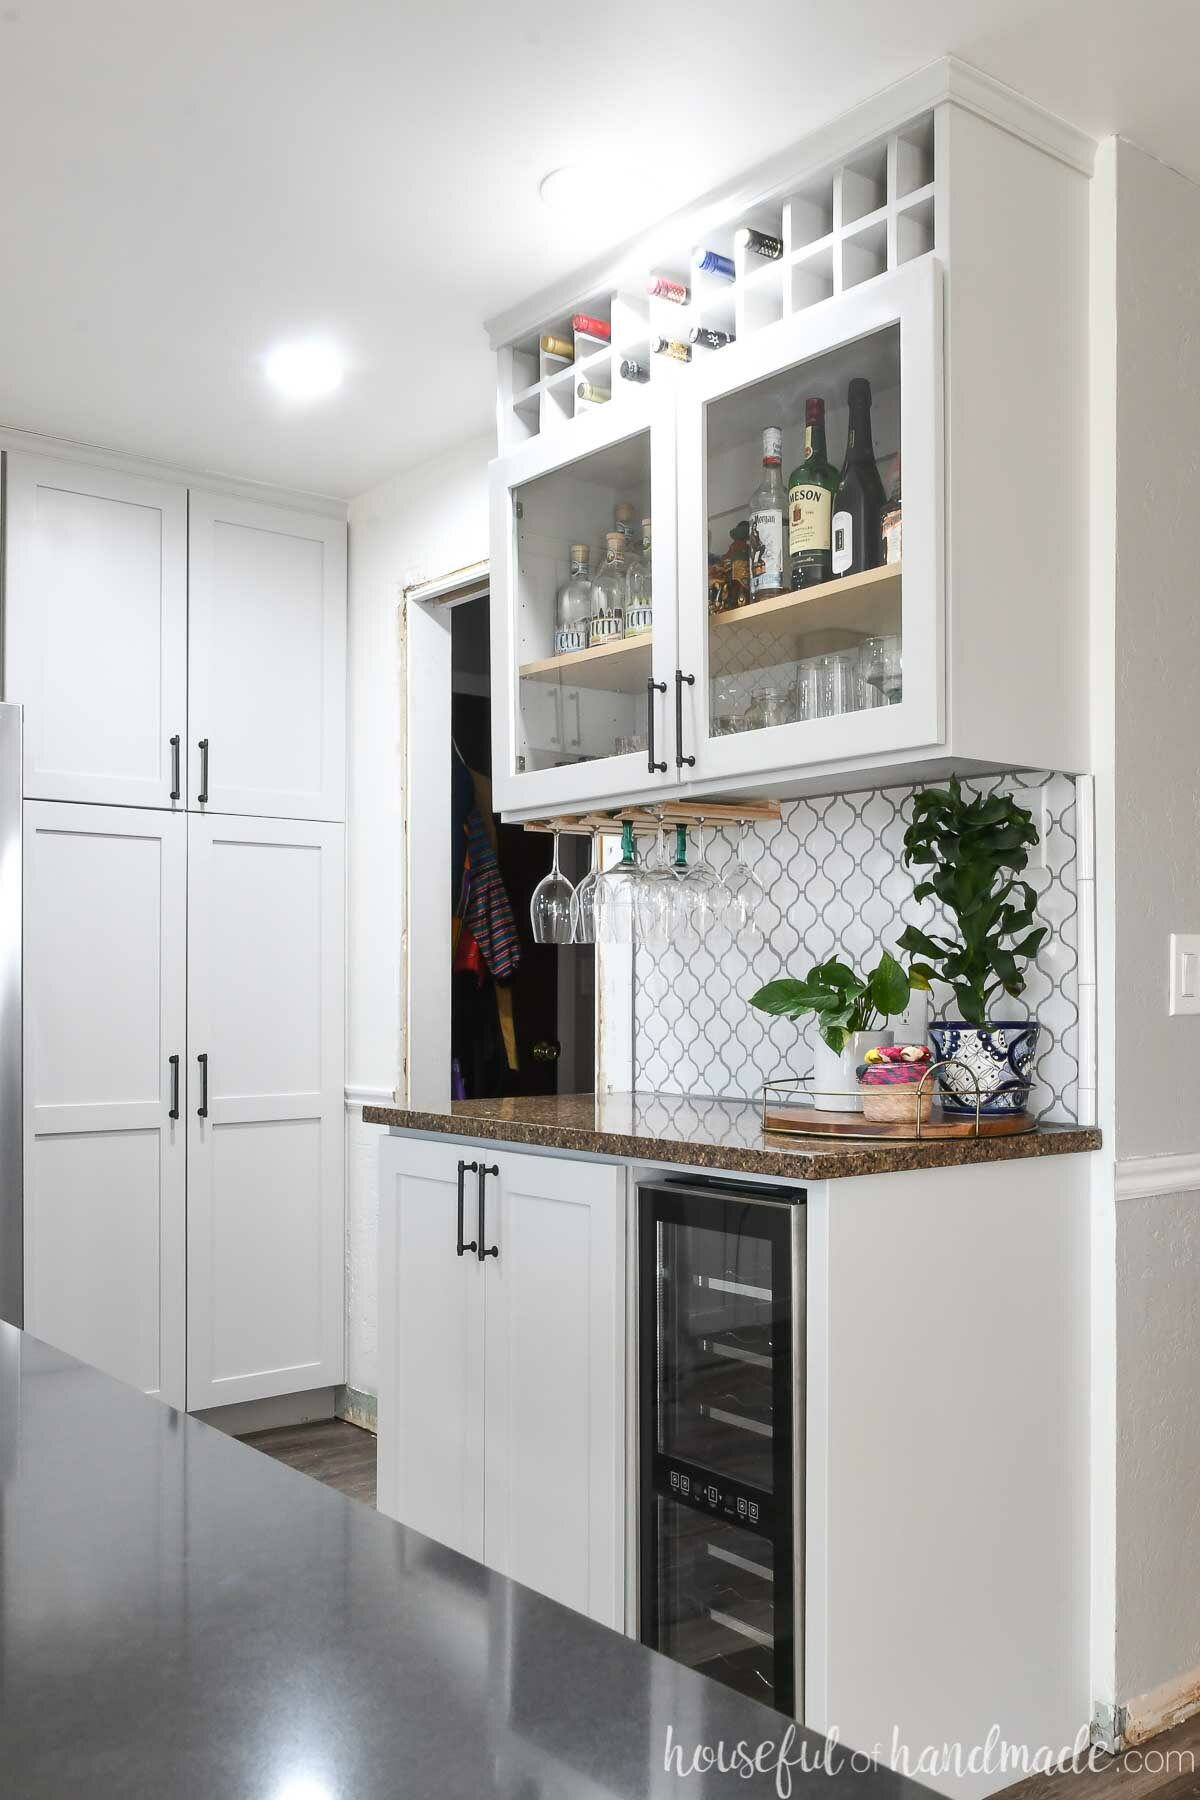
For kitchen cabinet doors, I typically use 1×3 boards for a 2 1/2″ wide frame. For more modern doors (like on this modern display cabinet), I like to use 1×2 boards for a 1 1/2″ thin frame and more glass.
Learn what size you need to build you cabinet doors here.
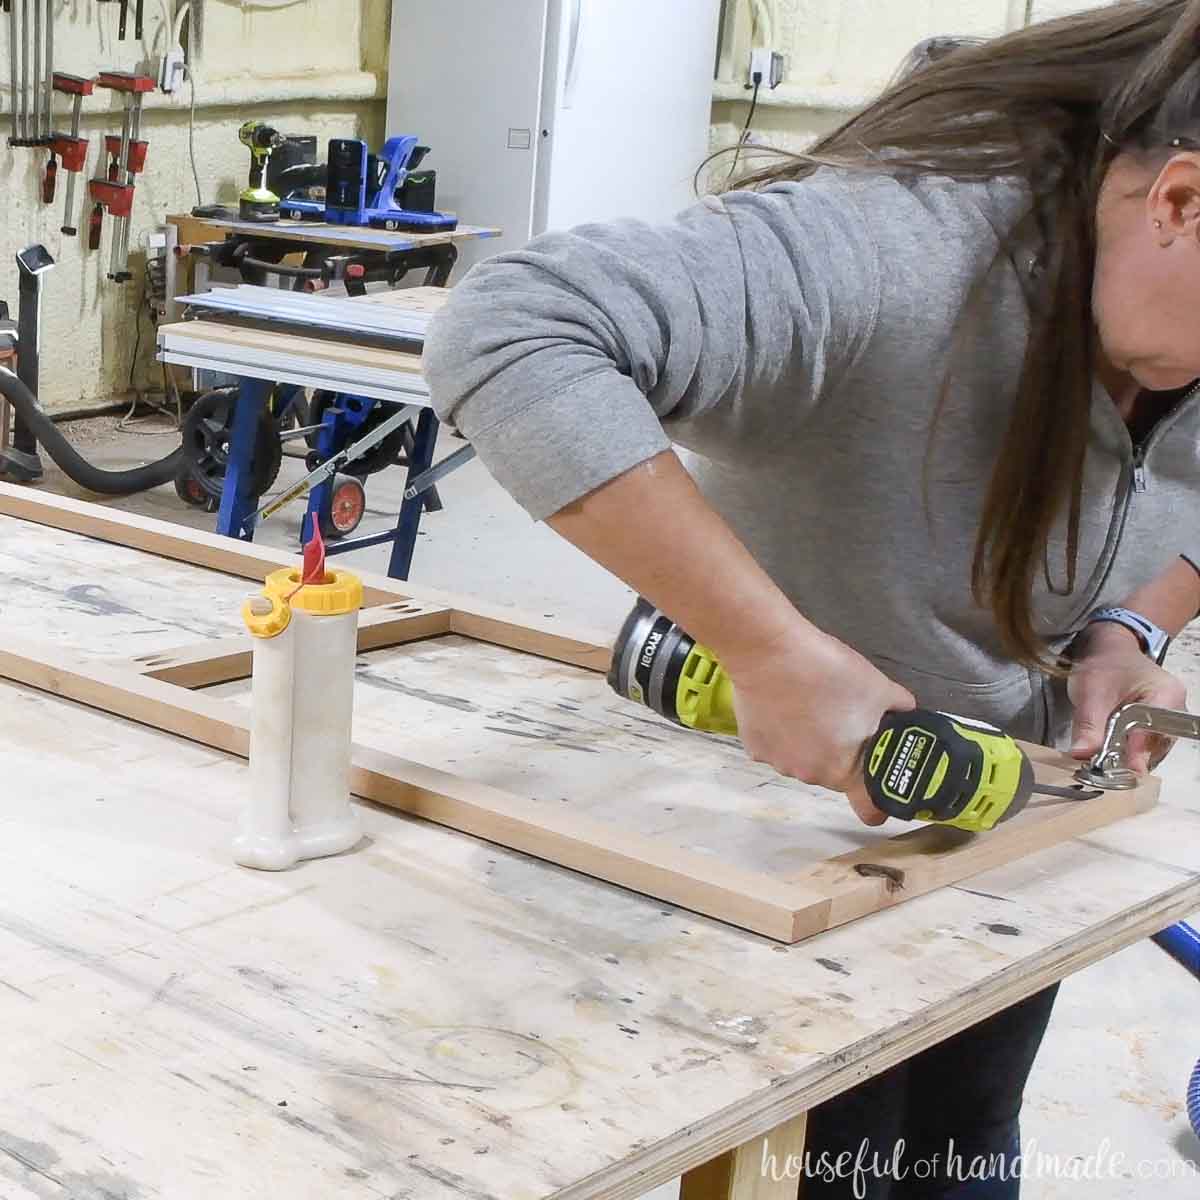
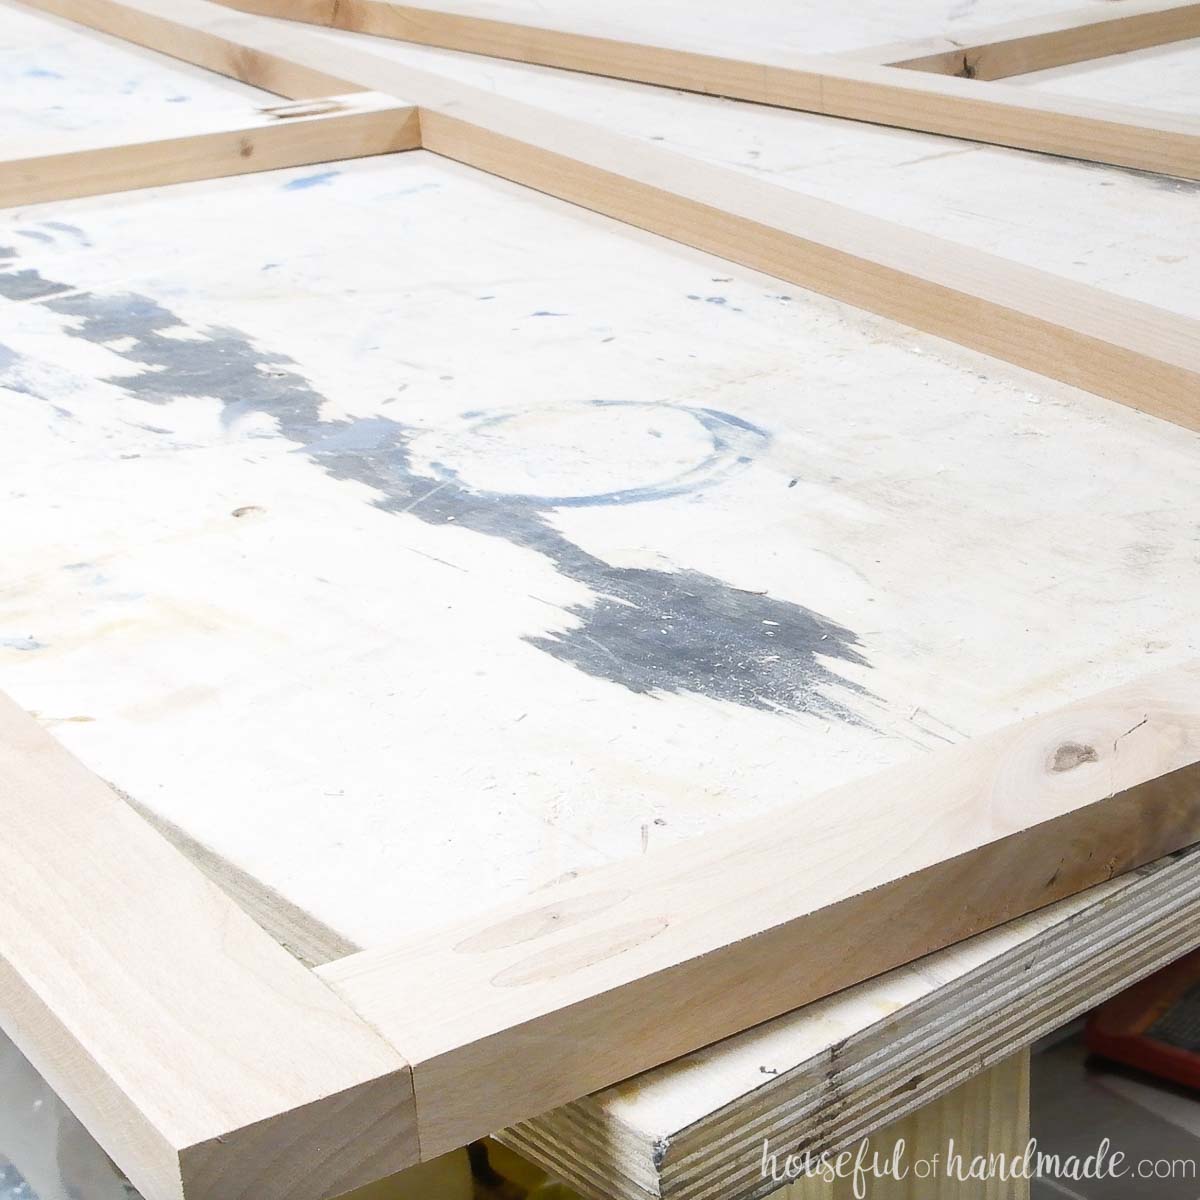
For doors built with pocket holes
If you are building your cabinet doors with pocket holes, there is no need to router the groove prior to assembly. Just build the frame with your rails and stiles.
Be careful that your pocket holes are not in the inside of the door where you will router the groove later on. Set them away from the inside 3/8″.
EXPERT TIP:
To get straight and professional looking cabinet doors, make sure all the corners are joined at 90 degree angles. This can be as easy as clamping the pieces to a square while you secure the corners.
For a cleaner inside to your cabinet doors, add plugs to fill the pocket holes. Then sand them smooth before moving on.
For routed cabinet doors
Cabinet doors build with special router bits are held together completely with wood glue. This means there are no visible screw holes.
A router with a router table is required to make this type of cabinet door. It is a more traditional style.
To make a routed door with a glass panel, route the rails and stiles the same you would for a wood panel. Then assemble the door frame without a panel inside.
Can I convert solid cabinet doors to glass inserts?
Yes you can! You can easily change your wood cabinet doors to glass door by adding glass panels. It is a great way to update the look of your kitchen.
To do that, remove the cabinet doors from the cabinets. Remove hardware and set it aside.
Then remove the wood panel from the inside of the door. Usually the panel is secured inside the cabinet rails and stiles in a groove.
Use a router to remove the back part of the door frame over the panel the same way I router the groove for the glass in Step 2. Also, see how to keep the router straight in the steps below.
Then you can remove the panel and move onto Step 3 to instal the glass panel.
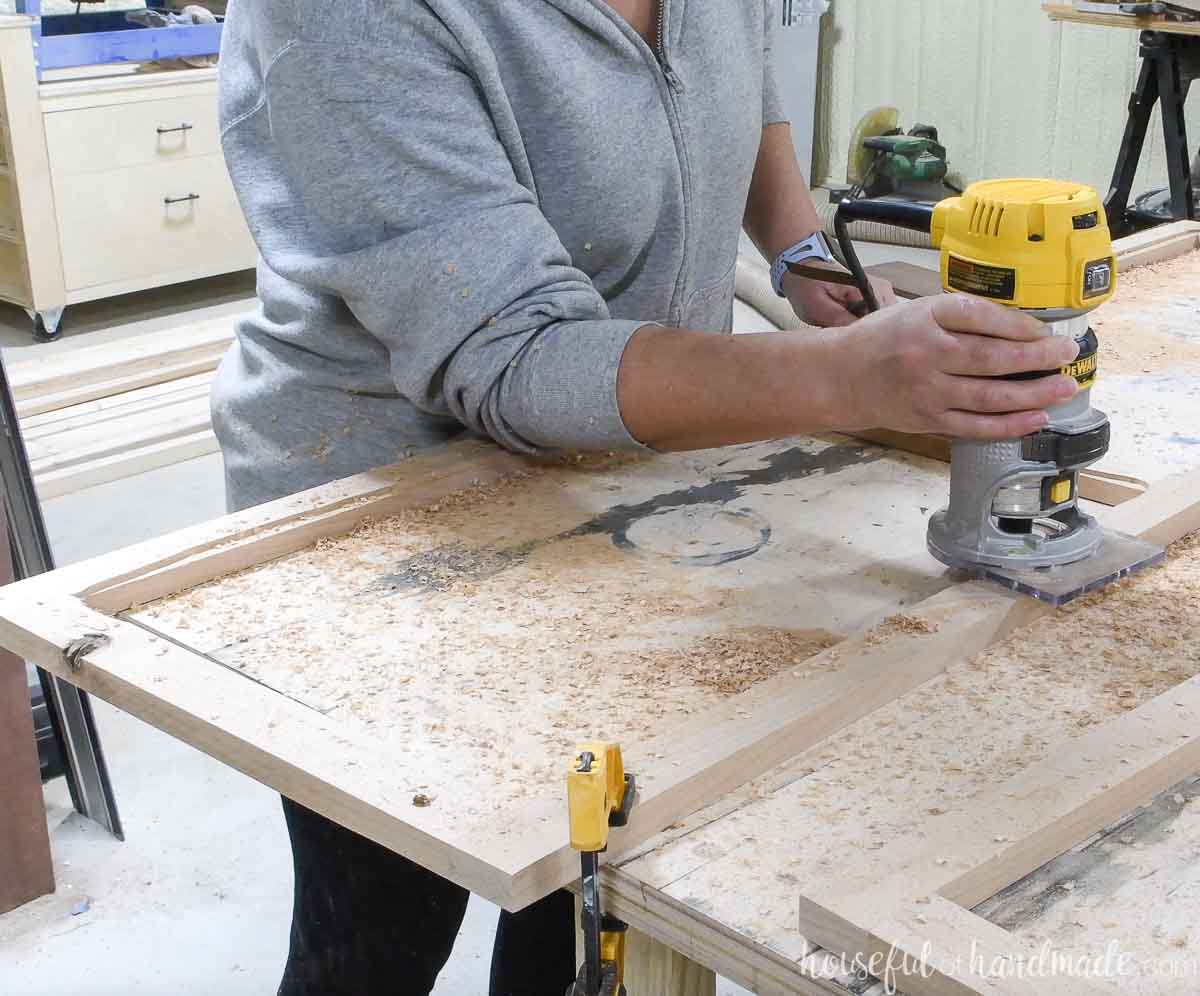
STEP 2- Router a groove for the glass
Once your doors are assembled and dry, you will need to router a 3/8″ wide groove in the back to set the glass panel into.
If you have a rabbeting router bit (a groove bit with a ball-bearing on the bottom), you can easily router a groove without any additional set-up on a non-routed door.
Set your router bit to carve a groove slightly deeper than your glass. Then router the groove around the inside of your door frame.
The ball-bearing will run along the inside of your rails and stiles and keep your groove straight.
If you have a routed cabinet door, you cannot use a ball-bearing bit because there is already a groove where the panel should be. The ball-bearing has nowhere to run along.
Instead, you can use a 3/8′ straight router bit with an easy corner guide to get a perfect groove.
Set your trim router, with your straight bit installed, up against the inside of your door frame. Measure the distance between the edge of the router plate and the outside of the door. Delete 3/8″ (the depth of the groove you want).
Mark this new measurement all around the outside perimeter of your door frame.

Clamp a straight edge to the line. I prefer to use a straight edge that has a corner like a framing square. This way I don’t accidentally go past the line at the end.
If you do not have a framing square, you could always make your own L shaped edge by attaching two scrap piece of 1×2 together.
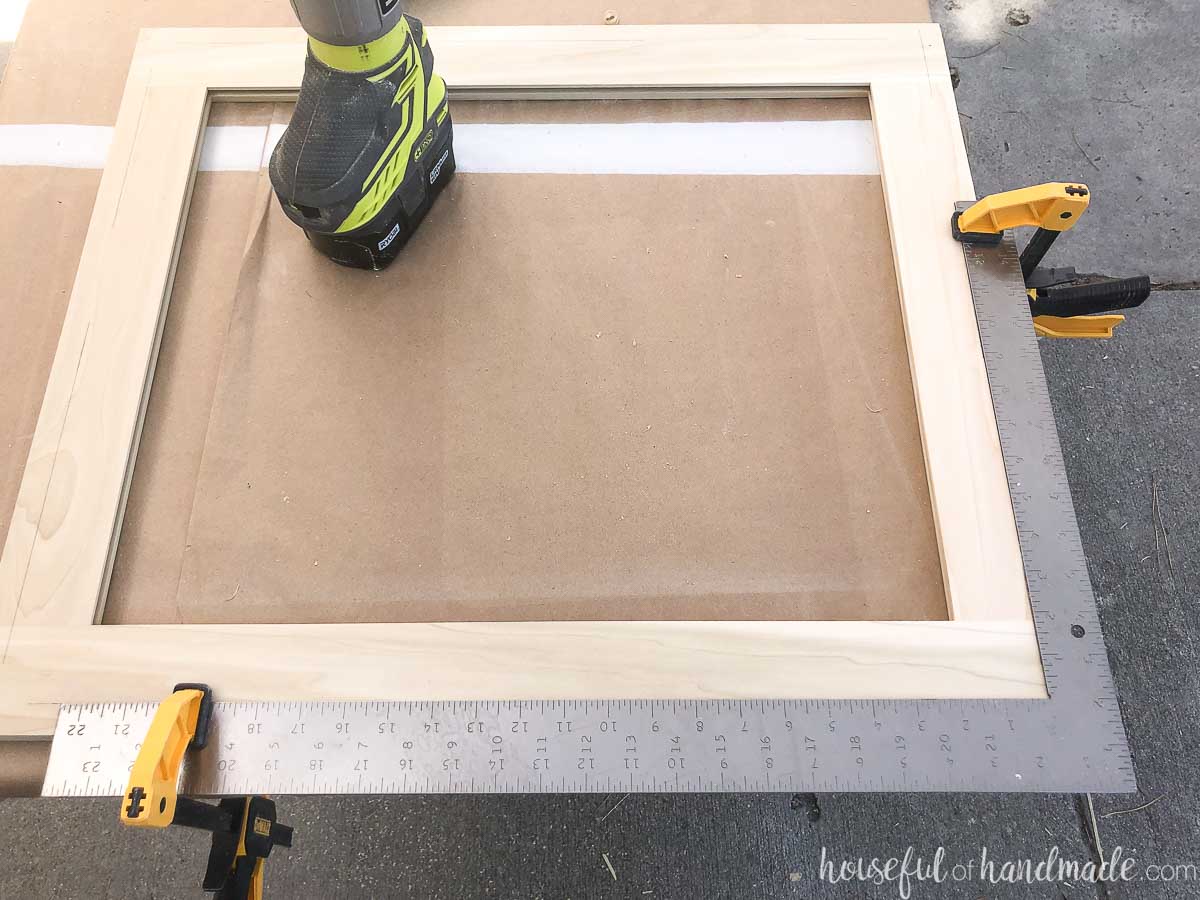
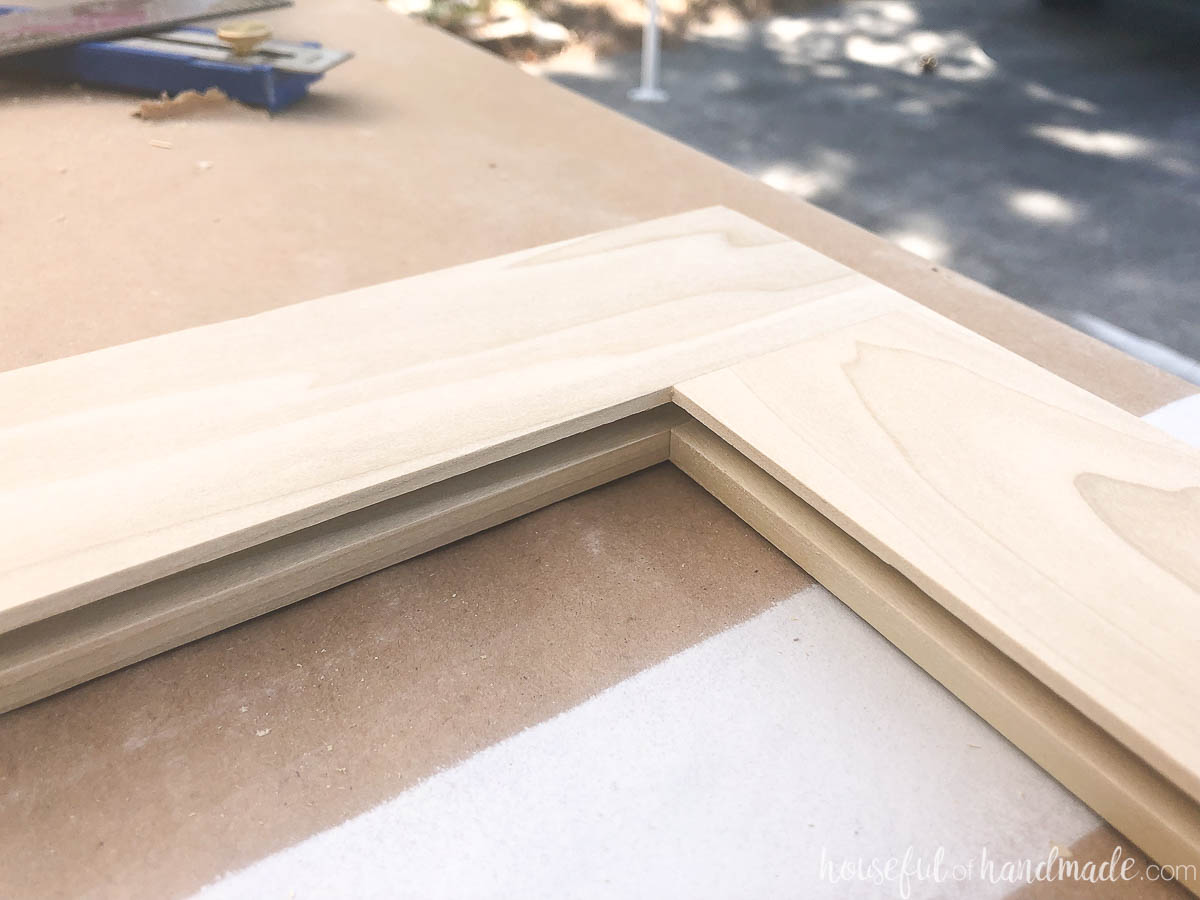
Router the groove from all around the inside perimeter.
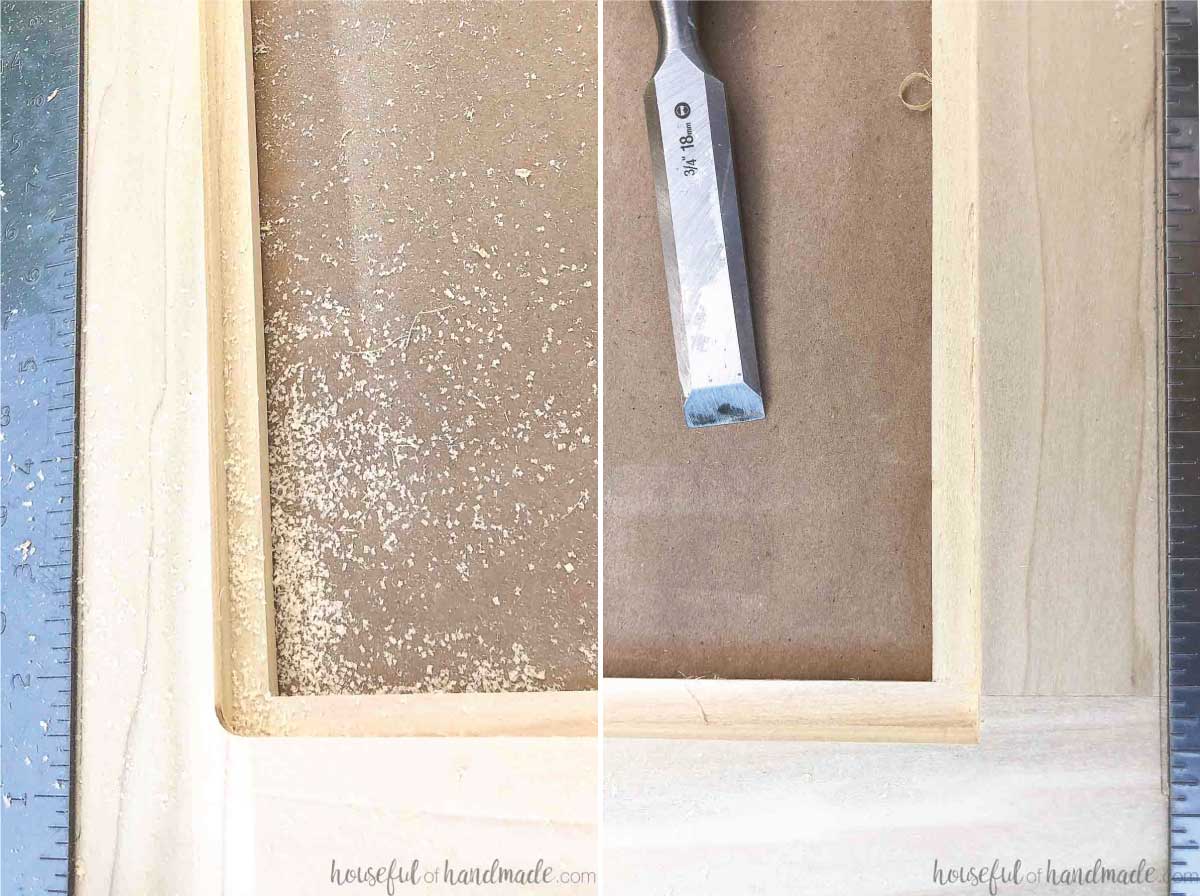
You will need to move your straight edge around each corner to get a clean routed line.
The router will leave the corners of your groove curved, but they need to be square to fit the glass panel.
Square up the corners of your routed groove with a chisel.
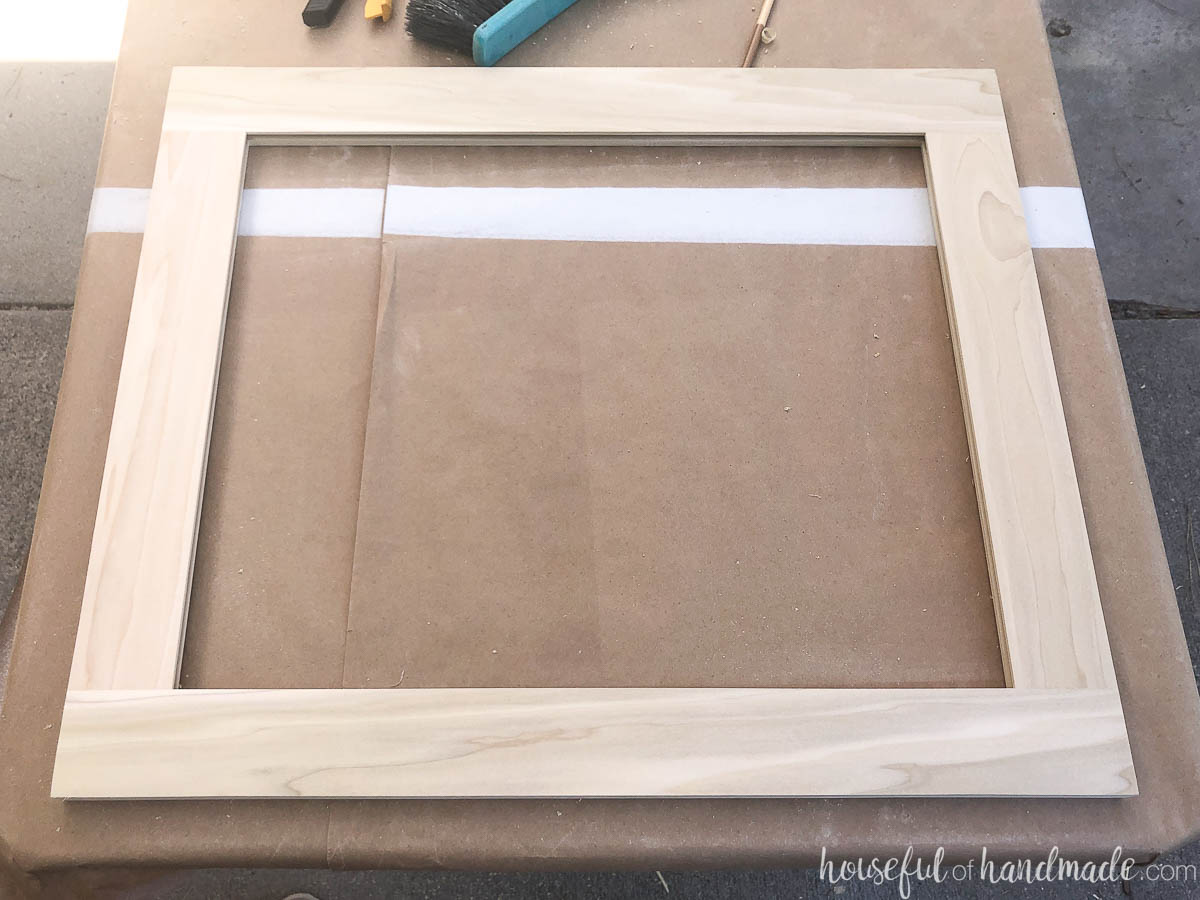
STEP 3- Sand and finish your doors
I recommend sanding and painting/staining your doors before installing the glass panels. This way the groove where the glass is will be the same color as the door around it.
And it means no taping off when finishing doors later!
Make sure your door frames are completely dry before adding the glass.
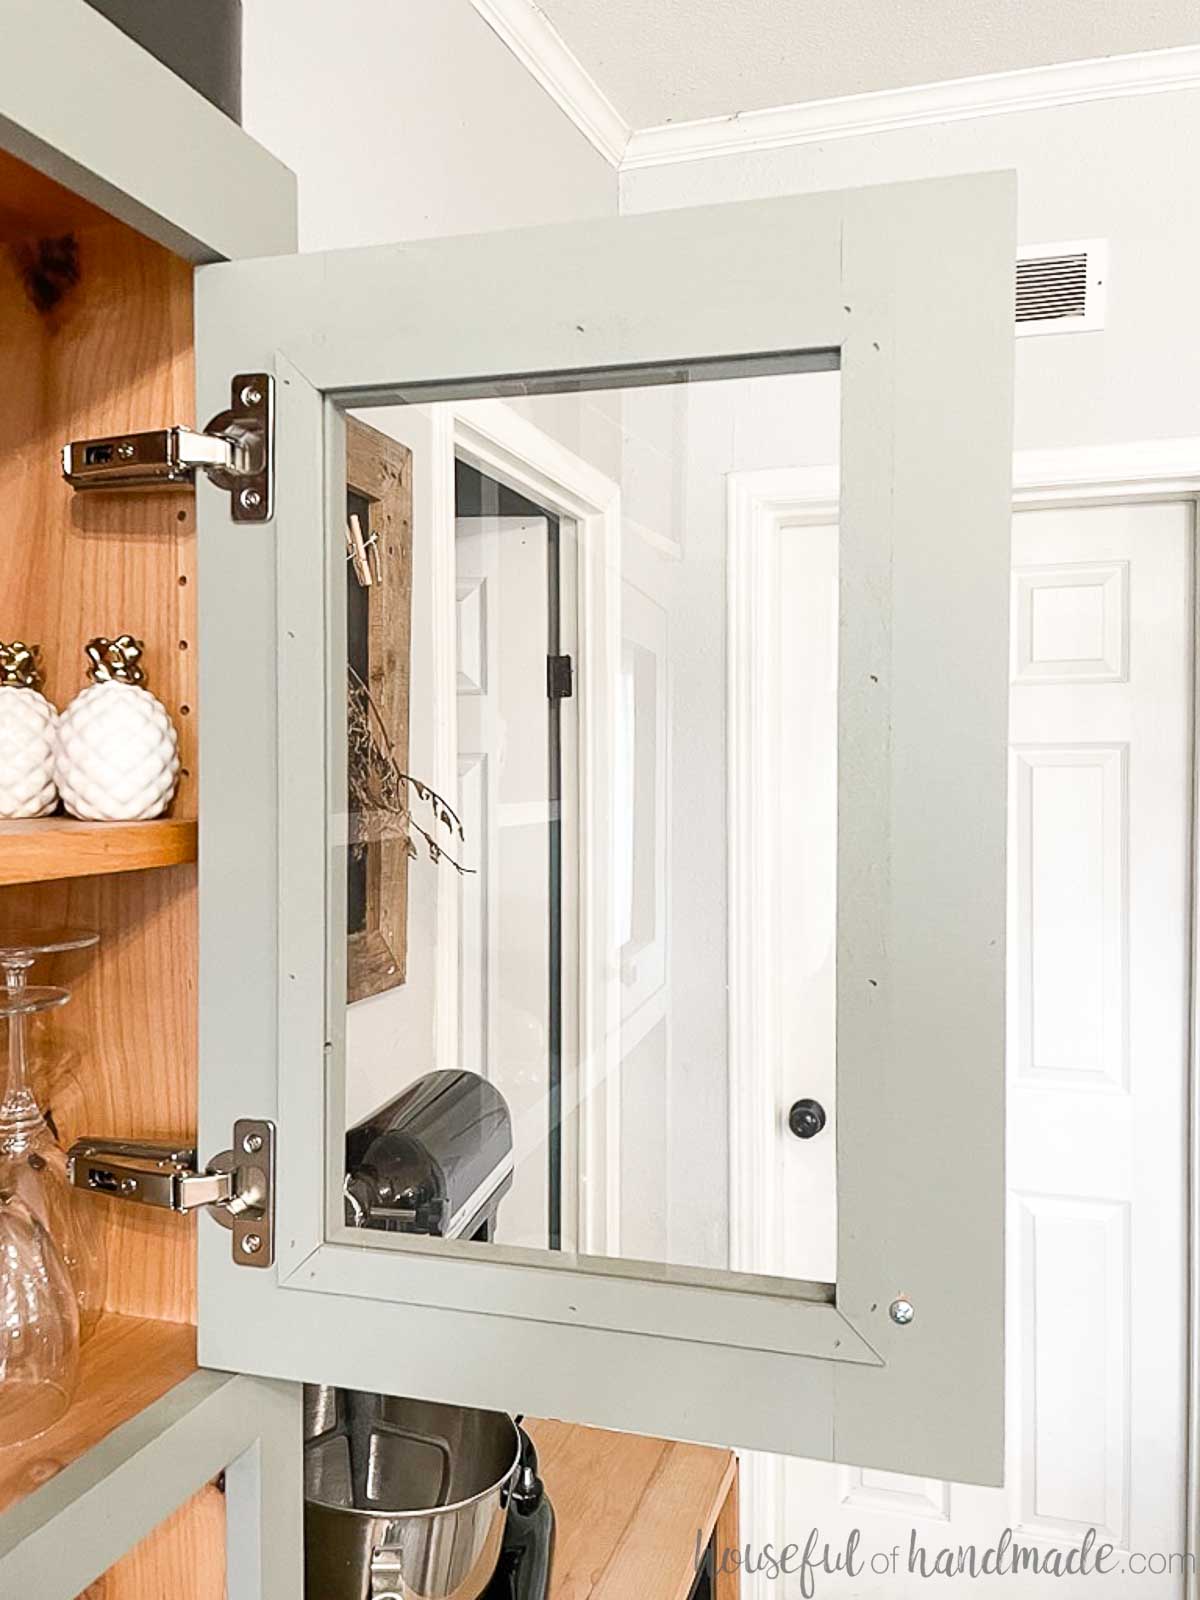
STEP 4- Install glass panel
Cut your glass to fit the groove in your door minus 1/8″-3/16″. This allows a small gap between the glass and the door all around.
Using clear 100% silicone caulk, add a small bead on the bottom of the groove where you glass will go. Don’t add too much, you do not want it to squeeze out to the front.
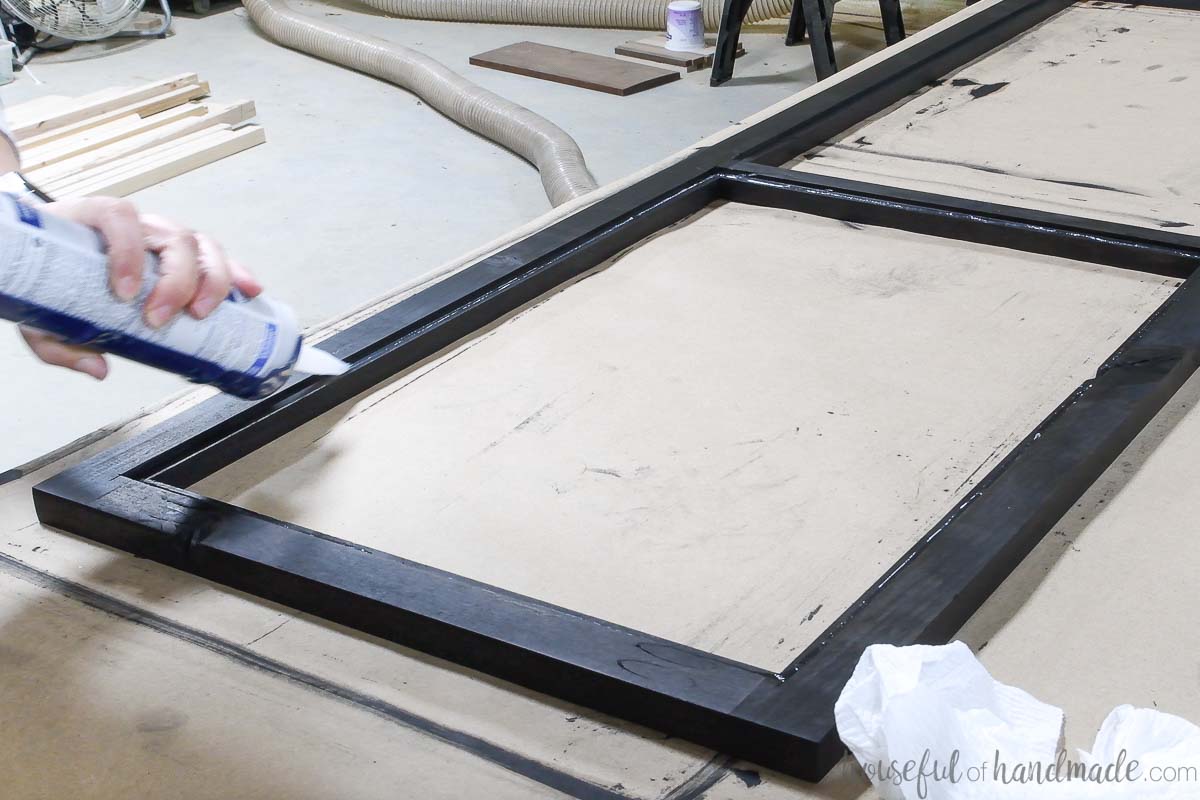
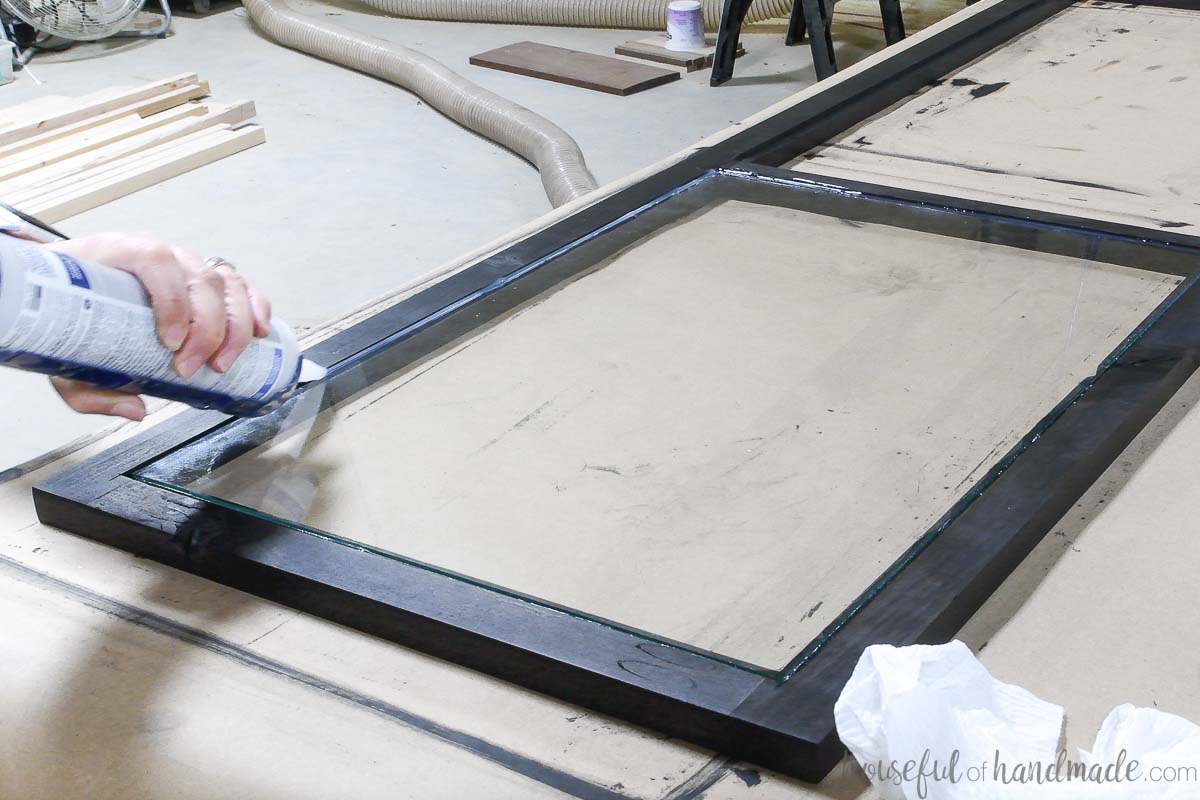
Carefully set the glass in the groove on the silicone. Center it so you have a small gap around the edges.
Use the silicone to fill in the gap around the edges. Smooth it with your finger.
Let the silicone dry completely.
If you want to hide the edge of the glass on the inside of the door, add 1/4″ x 3/4″ strips of trim to cover the groove. Attach with 5/8″ brad nails.
This trim will have to be removed to replace broken glass so do not over attach it.
STEP 5- Hang your new doors
Now you can hang your new doors. Learn what hinges to use to hang your cabinet doors here.
Then sit back and admire your work. And maybe even enjoy a good drink… you deserve it!
Happy building!
