If you like to bake your own bread, and have kids or a husband, you will understand my frustration. No one can slice the bread straight!
But not anymore… now I can alway have perfectly sliced bread with this beautiful wood bread slicer.
This compact slicer has 3 different guides on the side for precise sliced bread every time.
This post may contain affiliate links. As an Amazon Associate I earn from qualifying purchases. Click here to read my full disclosure policy.
And it would make a wonderful gift for that sourdough baker in your life. It is the first of 5 DIY gift idea I am sharing this week as part of DIY Gift Week.
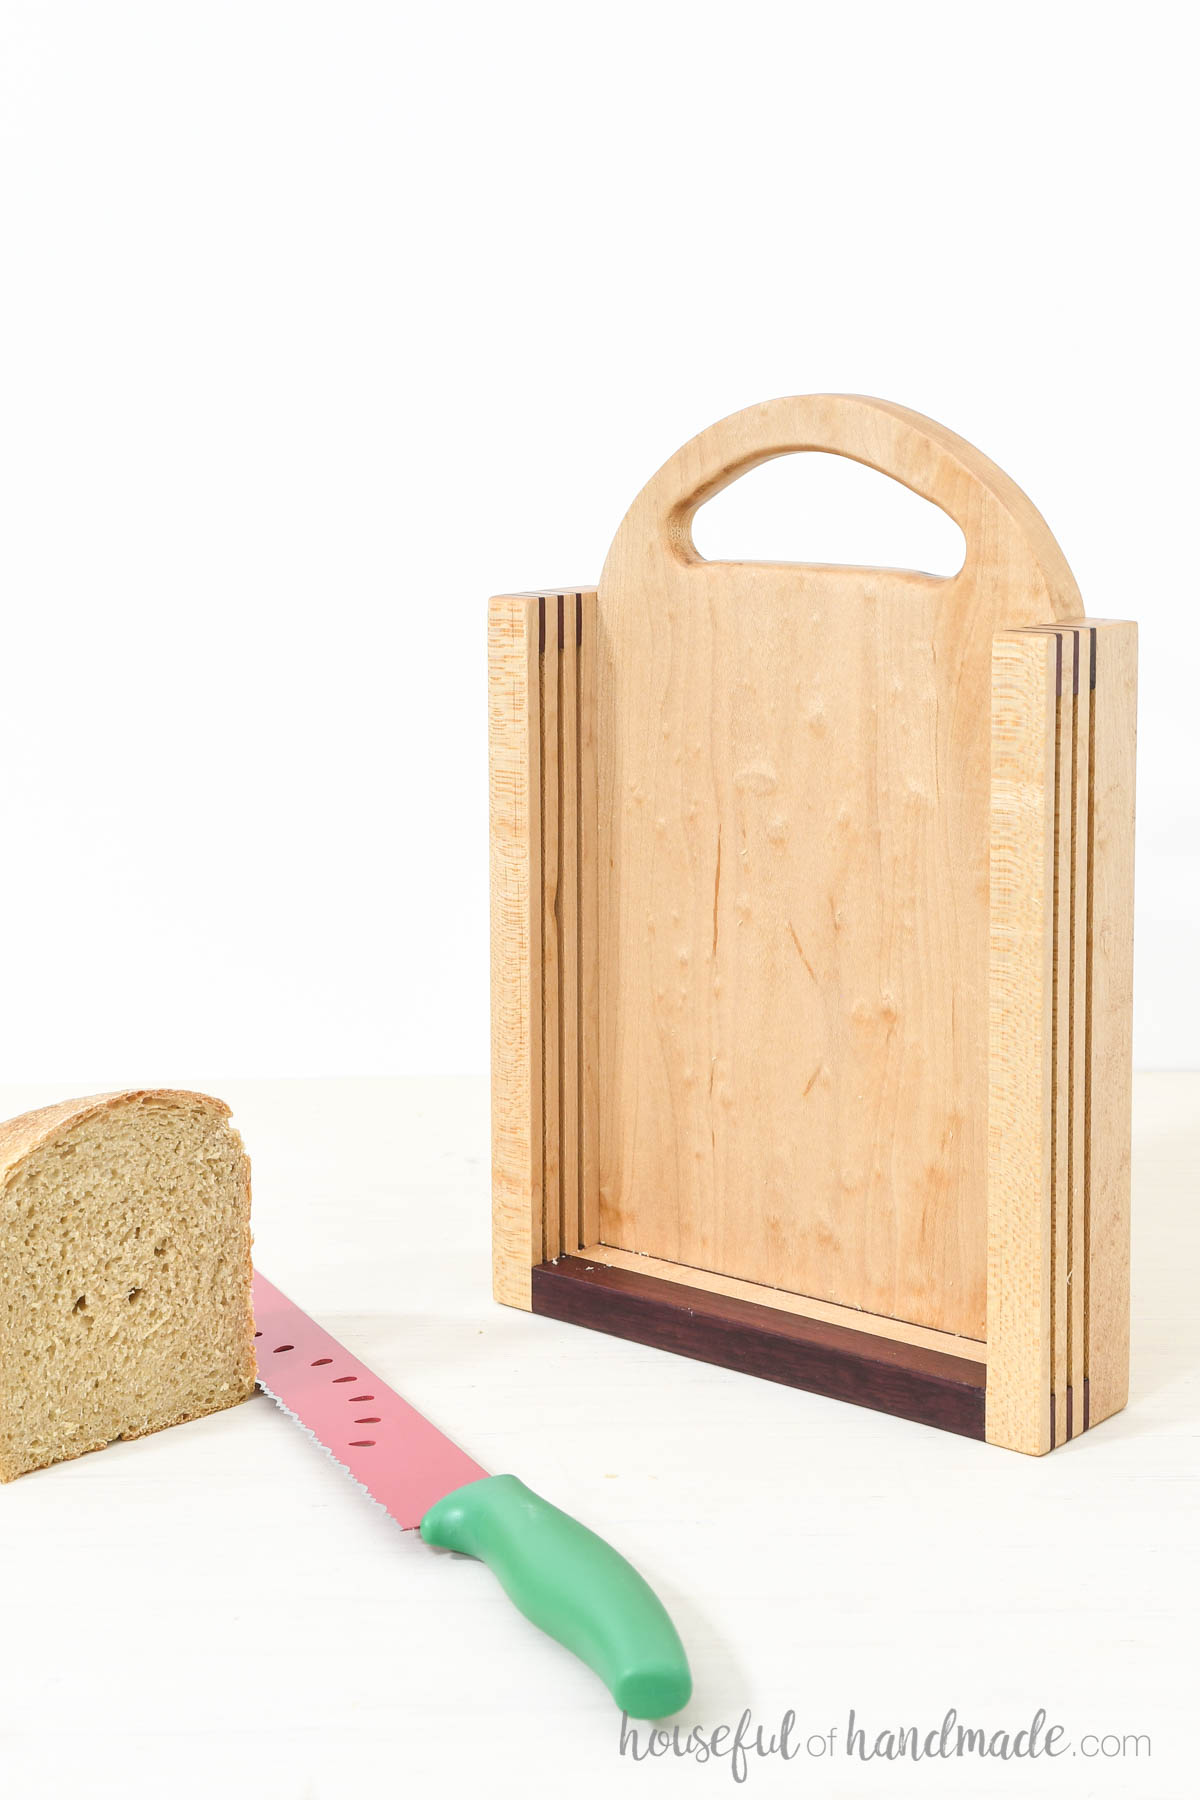
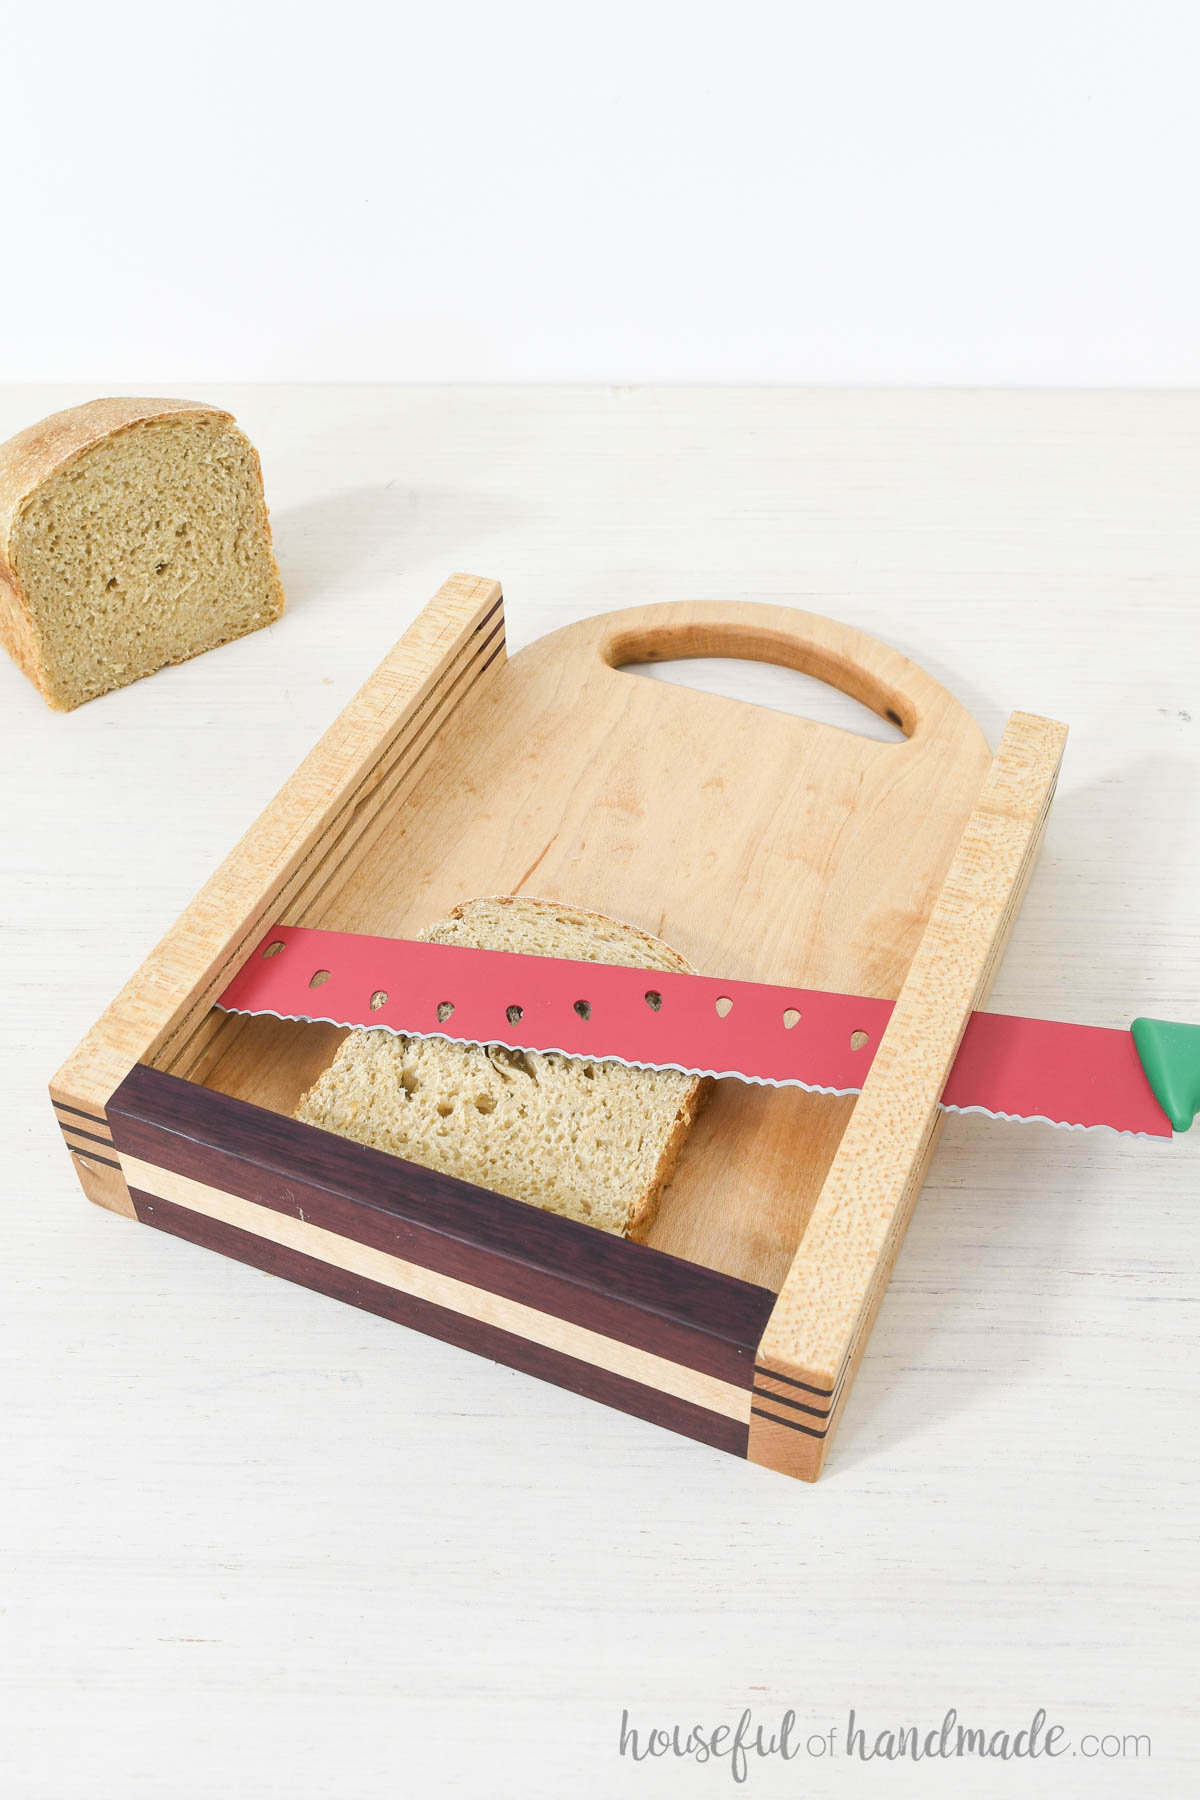
This wood bread slicer is simple. It has sides that guide the knife as you cut and a back to hold the bread firmly.
The smallest guide gives you perfect sandwich slice, the middle is a thicker slice for Texas toast or French toast.
And the largest guide is perfect for slicing bagels or buns.
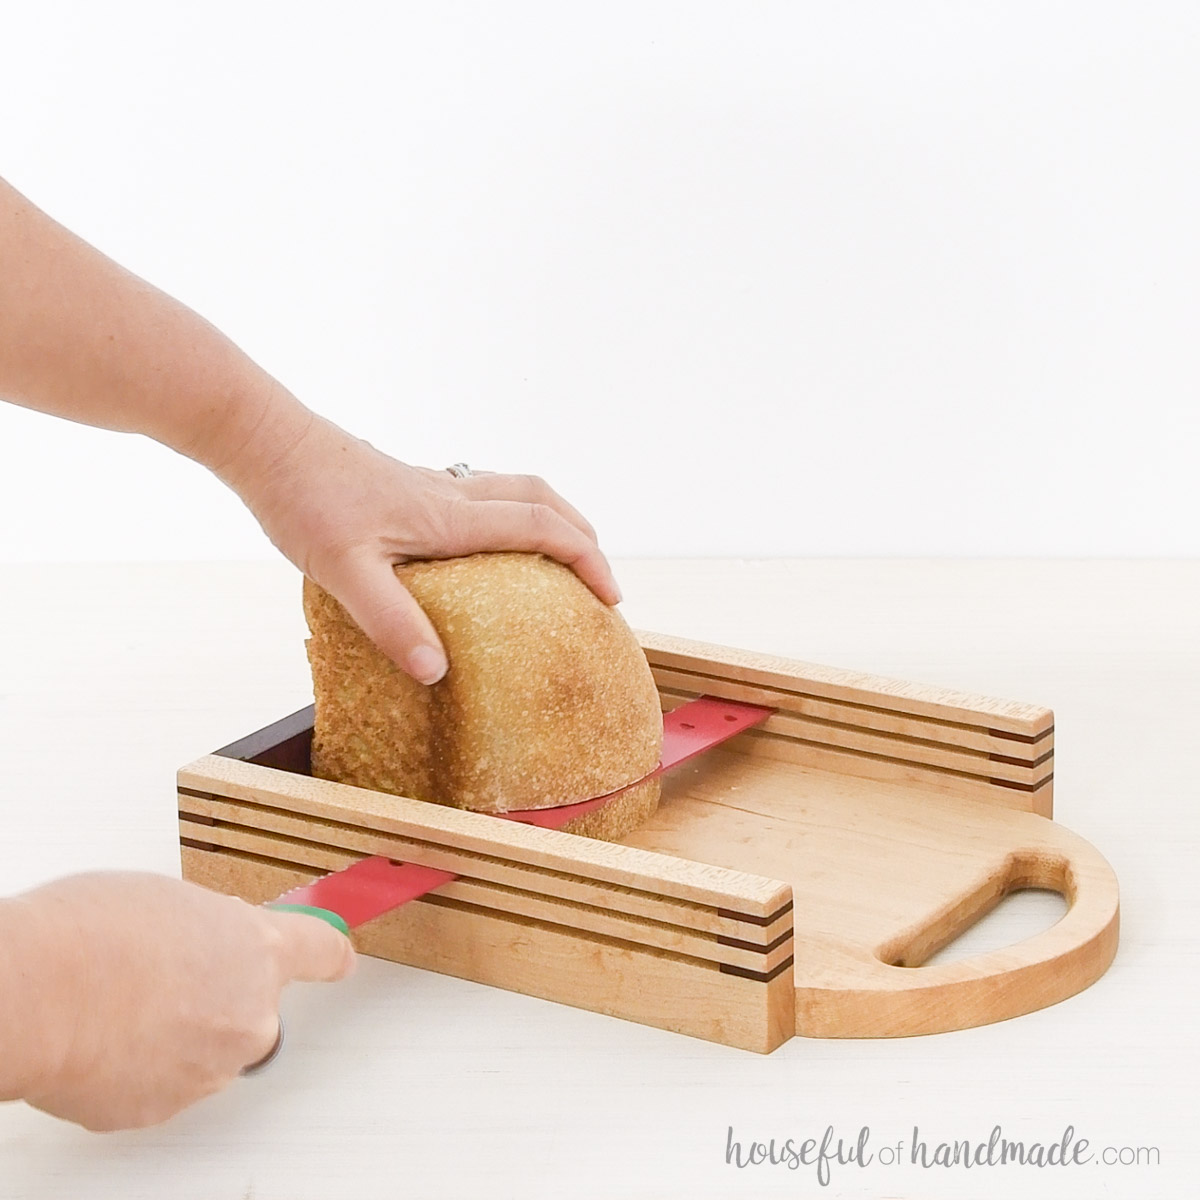
You can cut any type of bread in it. Here you can see me cutting a sourdough sandwich loaf into the perfect slices.
Lay the cut end of the bread flat on the cutting base, then slide the knife through the guides and slice.
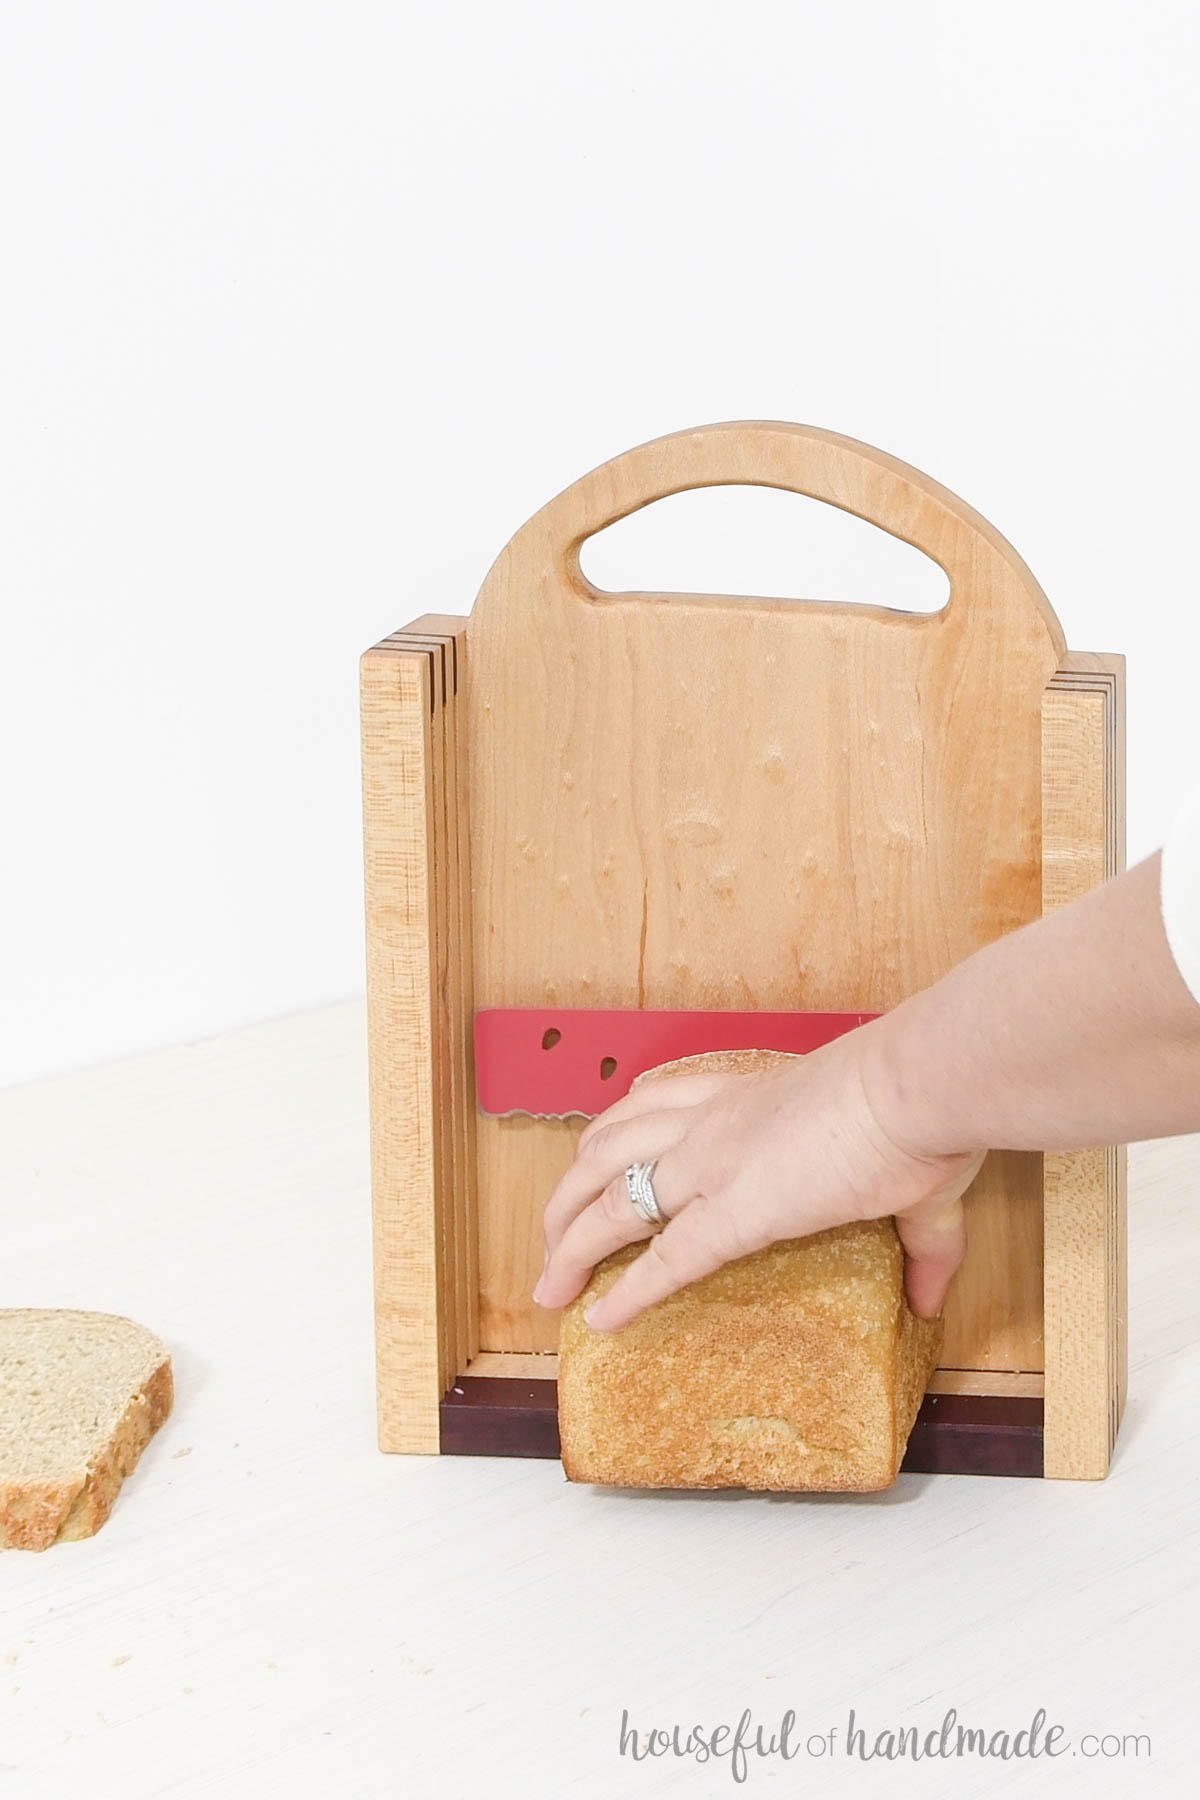
You can even turn the bread slicer so it sits on the back and cut vertically.
More Useful DIY Kitchen Gifts
Today is the first day of DIY Gift Week! For the next 5 days, I am sharing a new gift you can DIY along with my friends from WoodShop Diaries and Anika’s DIY Life, for a total of 15 new gift ideas.
Today, we are each sharing a gift perfect for the chef in your life or to use as a DIY housewarming gift.
How to Build a Bread Slicer
Tools & Materials
Recommended Tools:
- Miter saw
- I recently upgraded to this larger sliding miter saw (watch for it to go on sale), but all my projects before were built with this inexpensive miter saw that I loved.
- Table saw
- Jig saw
- Drill
- Clamps
- Trim router
- Sander
Supplies:
- Wood products
- 3/4″ hardwood for base, back and lower sides
- 1/4″ strips for side guides
- 1/8″ strips for spacers
- Wood glue
- Painters tape
- Food safe sealer or cutting board oil
STEP 1- Build the side guides
The side has a stack of thin boards on top with 1/8″ spacers between them to create a cutting guide for slicing the bread.
The bottom piece on the side needs to be equal to the thickness of the base board plus the thickness you want the smallest slice.
My bottom was 3/4″ and I wanted the thinnest cut to be 3/8″ so my first piece was 1 1/8″.
Then I cut a bunch of 1/4″ strips and and 1/8″ strip. I used a contrasting wood for the 1/8″ spacers for a fun look.
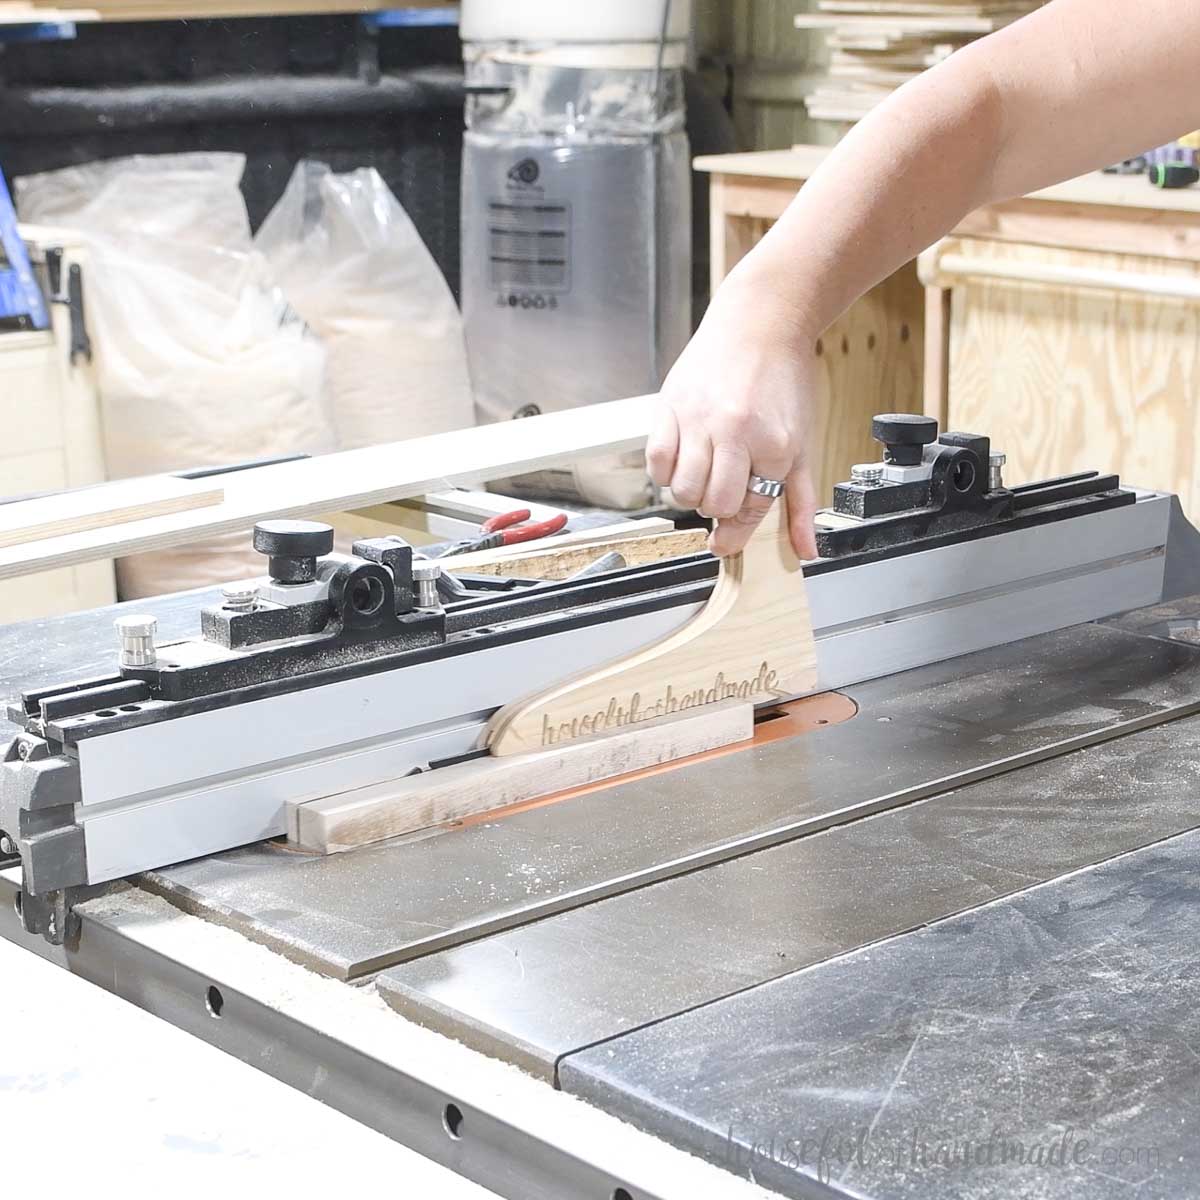
Then I cut the 1/8″ strip into 3/4″ long pieces to create the spacers.
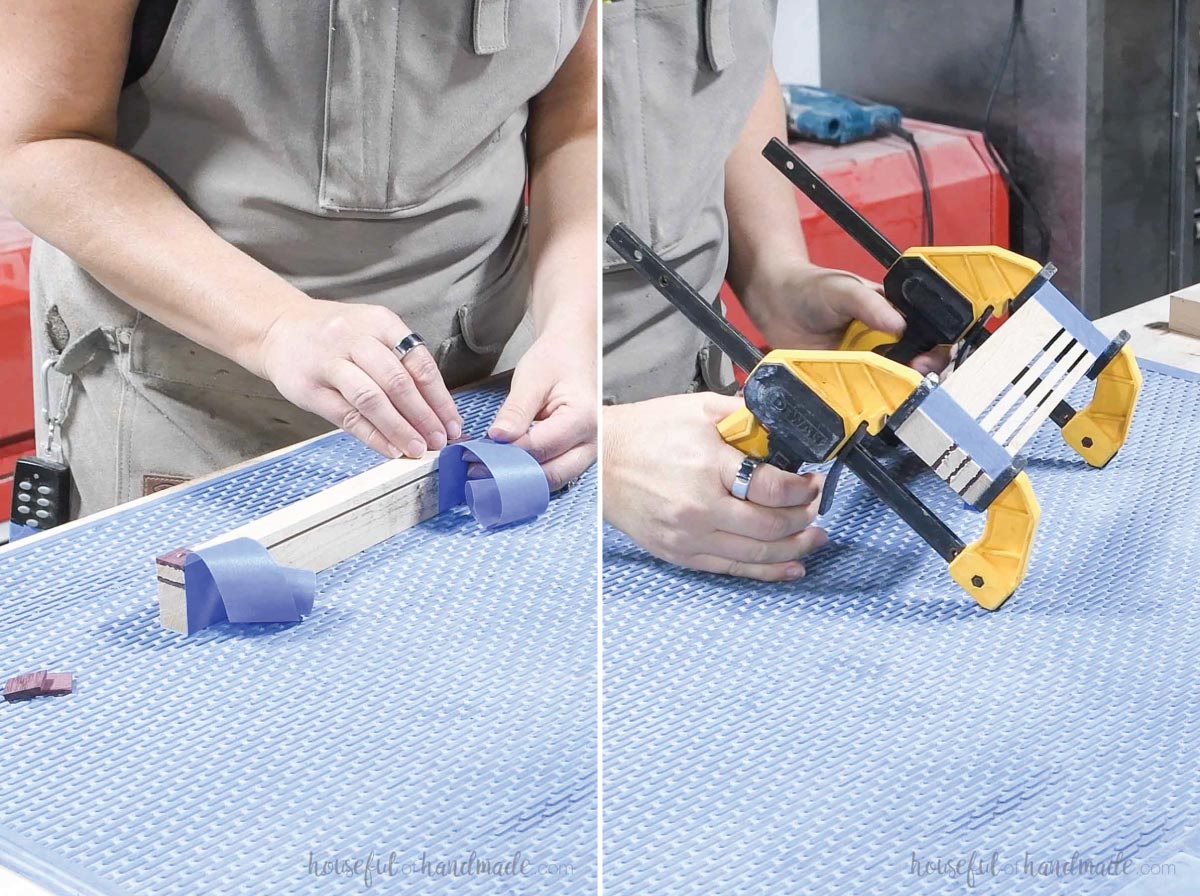
I glued the sides together with the larger bottom piece first, then a set of spacers, then a 1/4″ piece. And repeated the spacers and 1/4″ piece for as many slicing thicknesses as I wanted.
The spacers are flush with the front and back of the sides.
I used painters tape to hold everything in place while I glued and stacked it. Then clamped it together to dry.
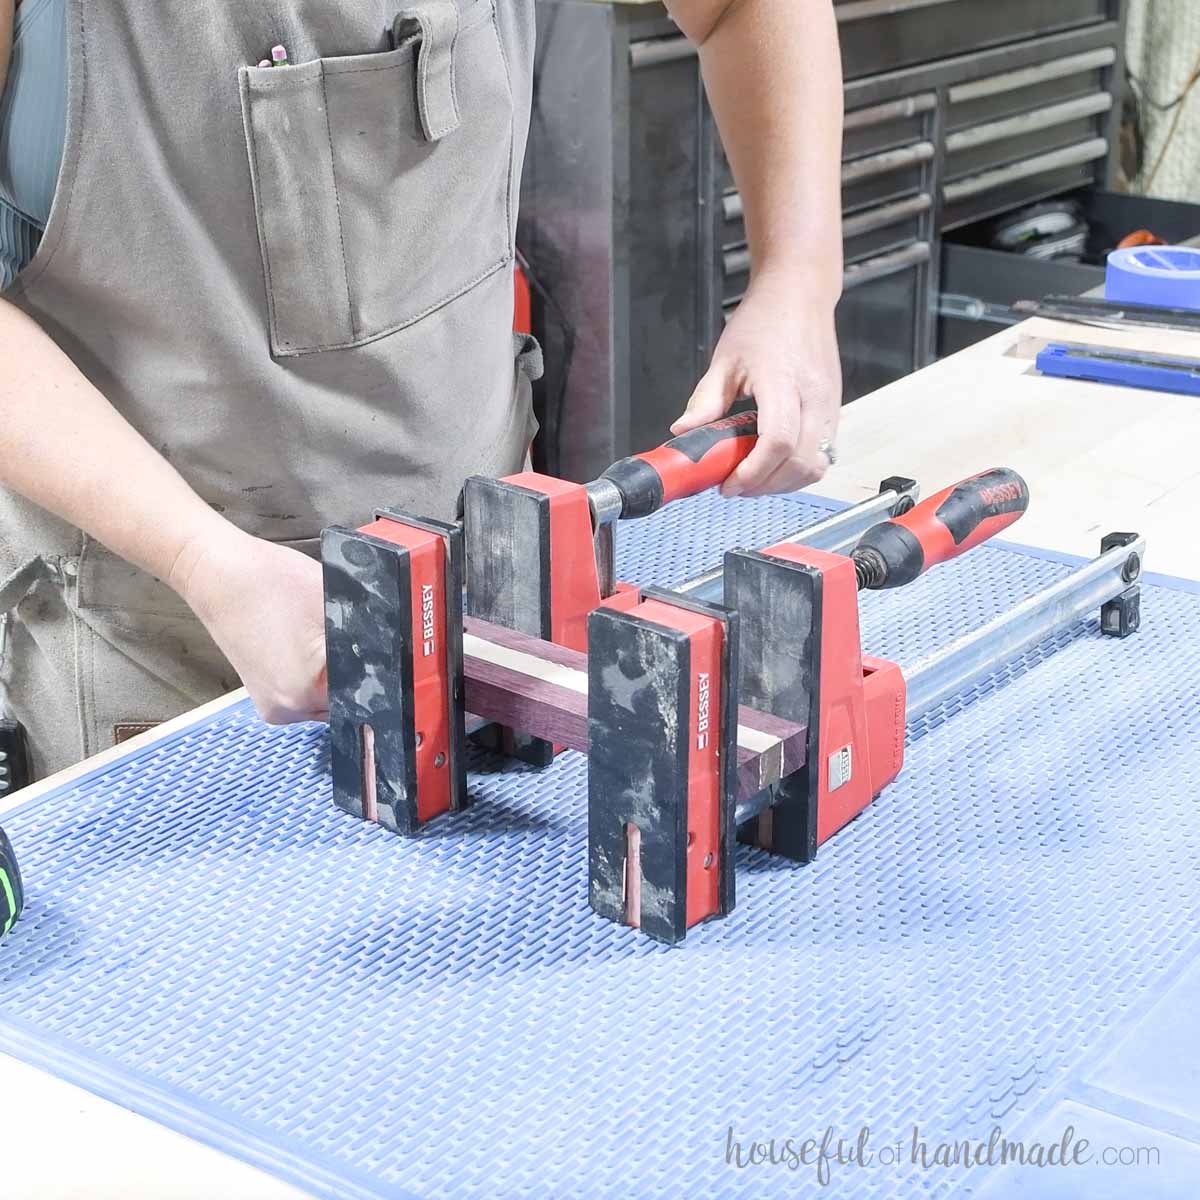
The back piece needs to be the same height as the finished sides and the same width as the base.
I used a couple scraps of the base and spacer wood that I glued together to get the right height. This is not necessary but it turned out pretty.
STEP 2- Cut the base
The bottom of the slicer needs to be wide enough to fit your bread in. I made mine 7 1/4″ wide so it will work for loaves and boules.
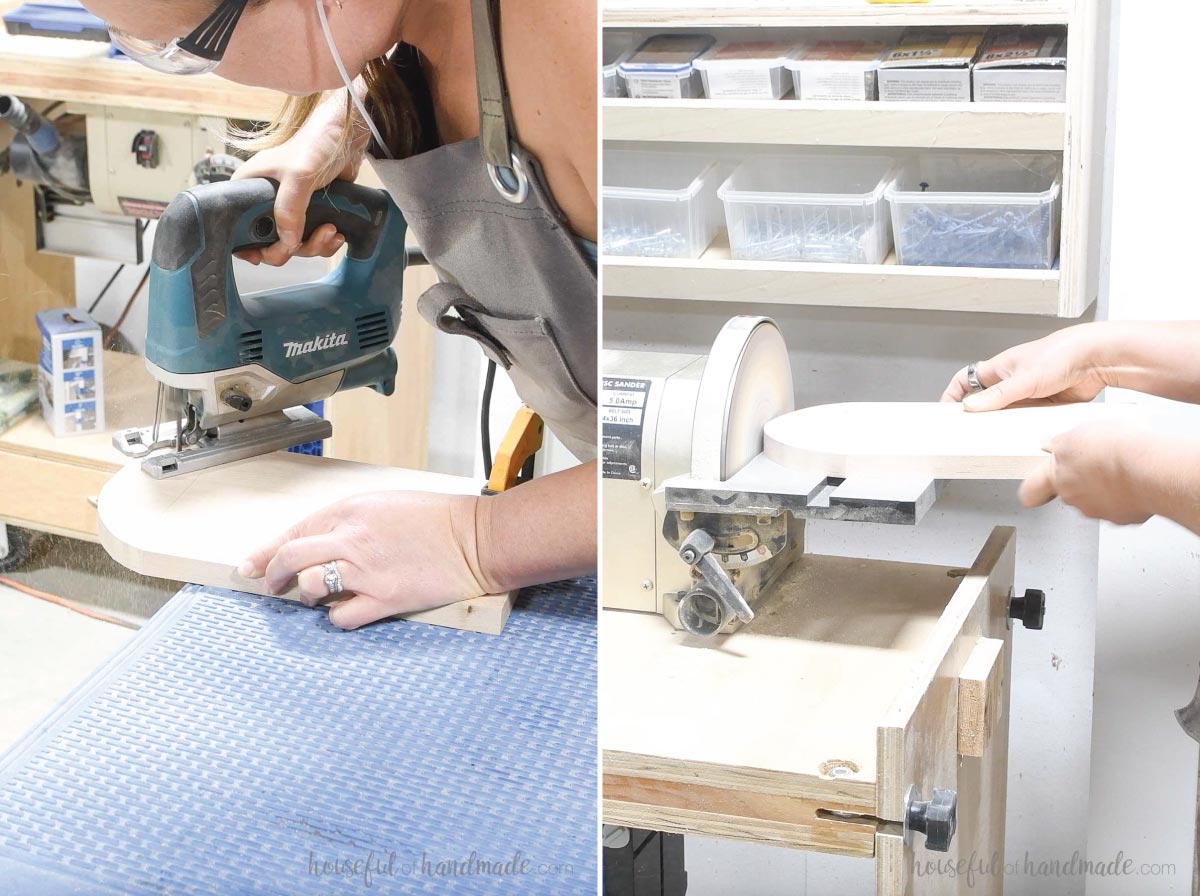
Cut the board to the desired size. Then draw a curve on the top where it is longer than the sides.
Cut the curve out with a jig saw then sand it smooth.
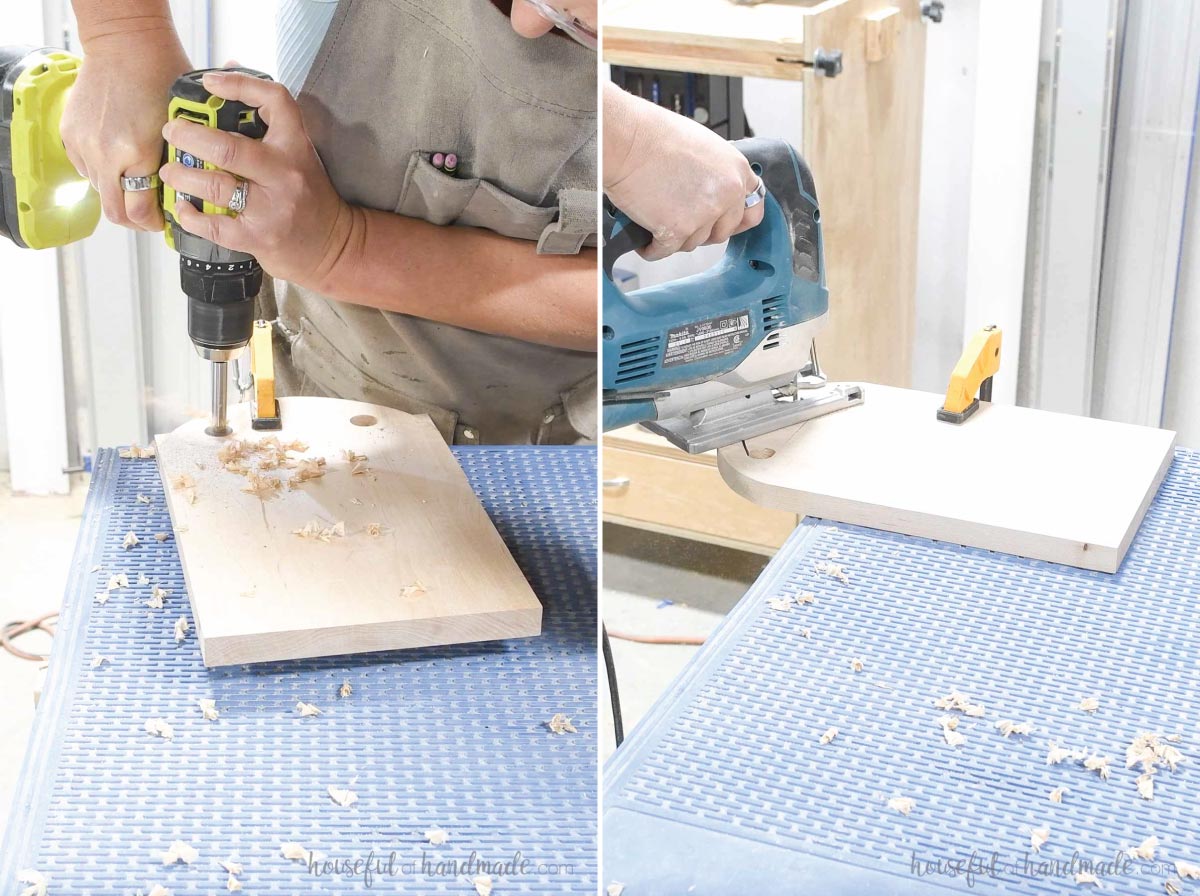
To add a handle, I drilled a couple 1″ holes about 3/4″ in from both sides in the curve.
Then I cut between the holes. The lower part was straight across and the upper part followed the curve.
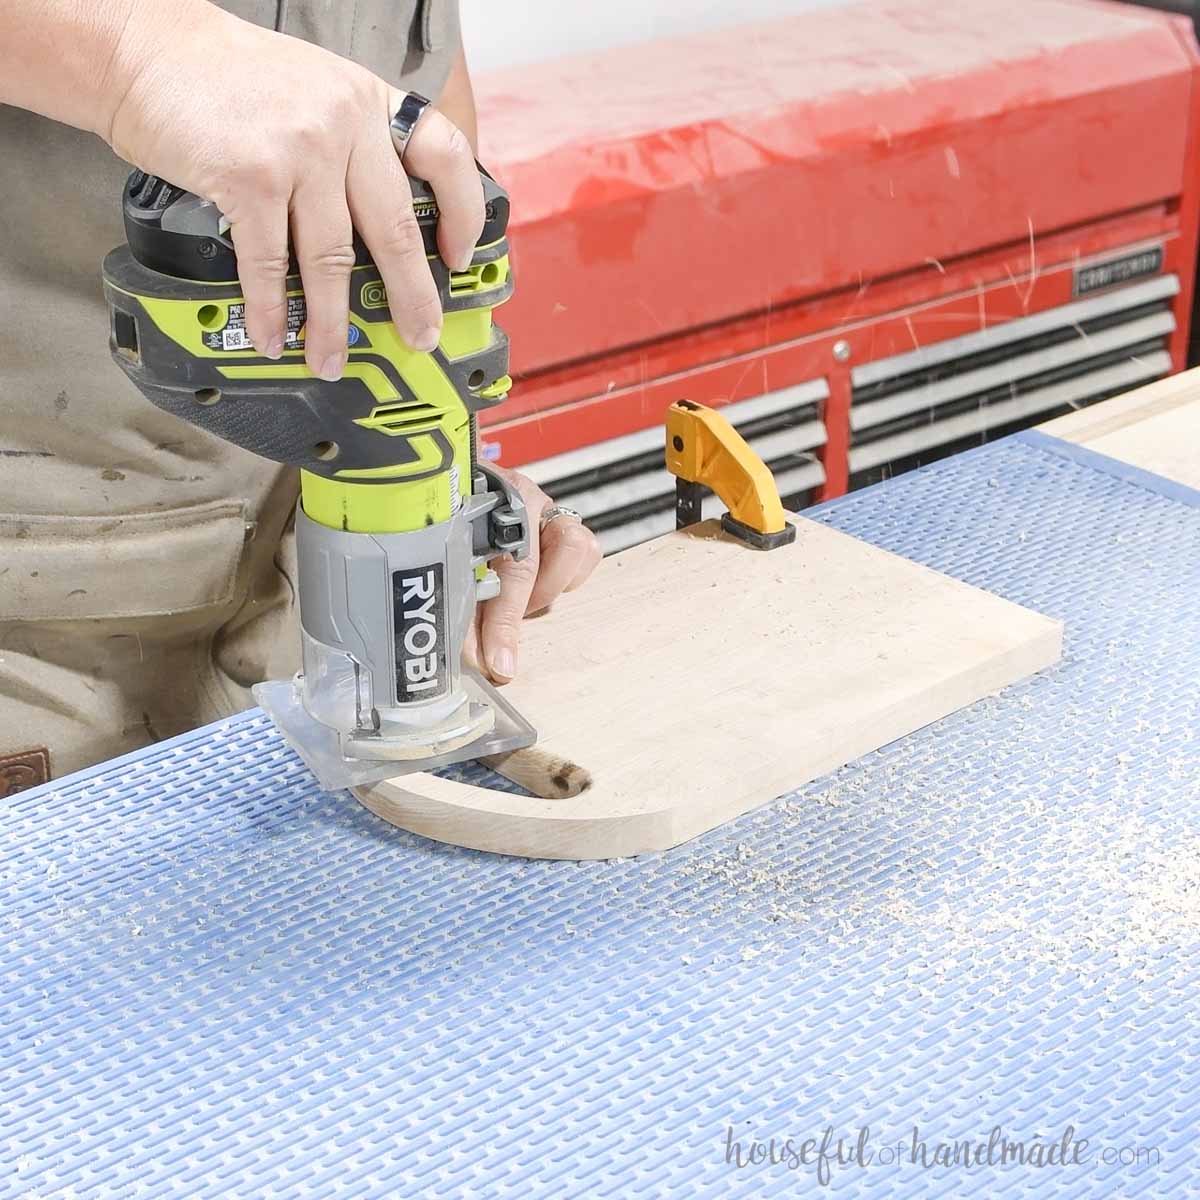
I added a round over to the inside of the handle to make it more comfortable to carry.
This was easy to do with my trim router.
STEP 3- Attach the back and sides
Before glueing the pieces together, it’s a good idea to sand them first.
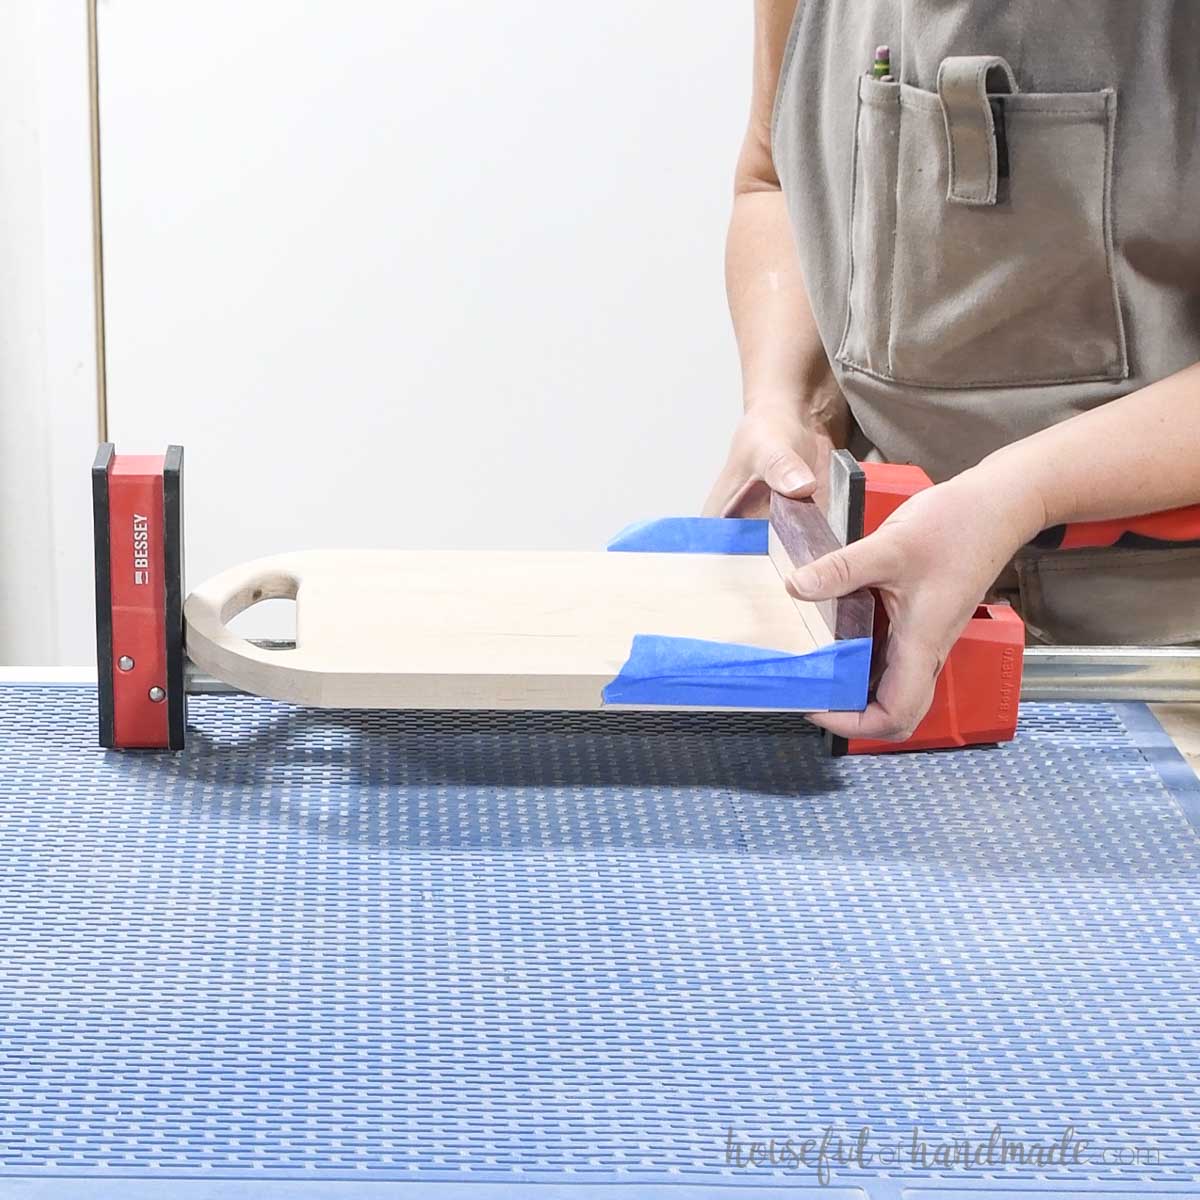
Then add glue to the end of the base and attach the back. It should be flush on the bottom and the sides.
I used the painters tape to hold it in place then clamped the center. I couldn’t use clamps on the sides because of the curve.
Once the back was dry, it was time to add the sides.
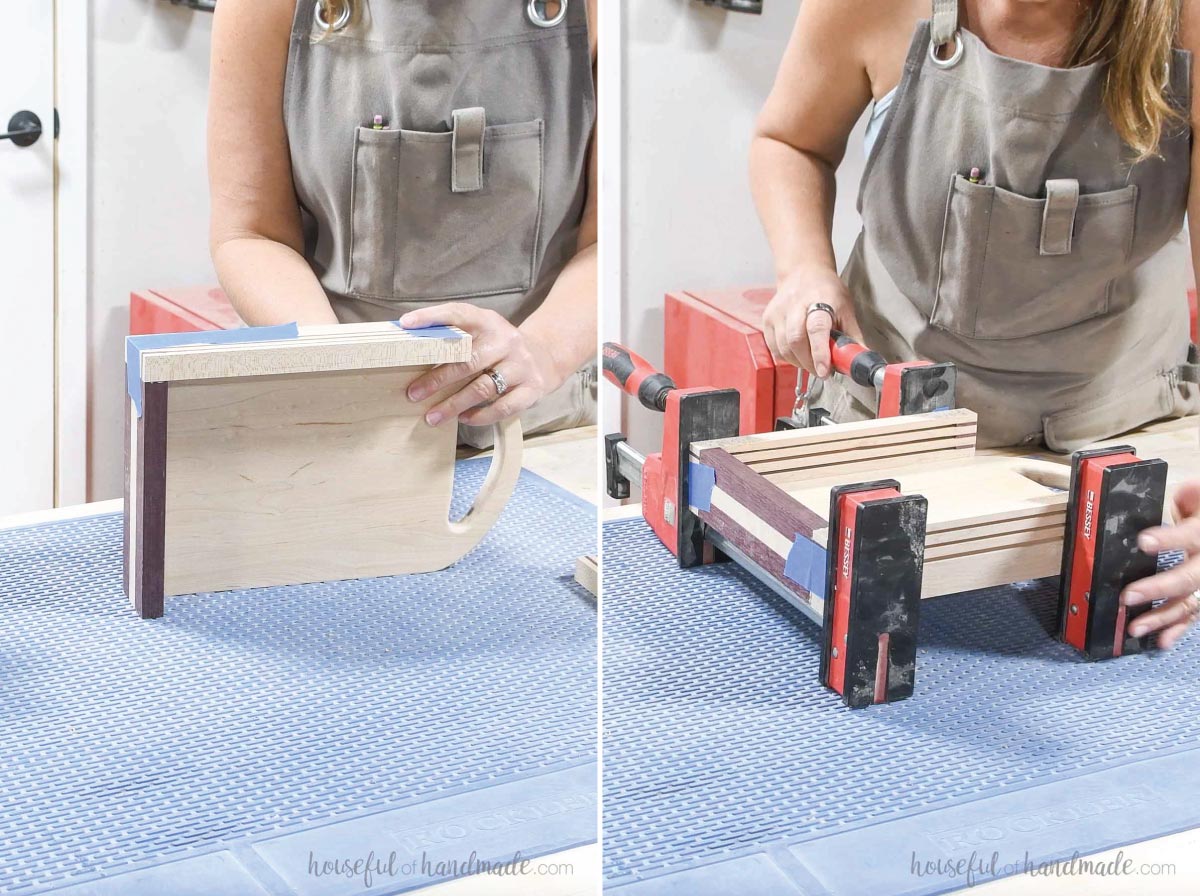
Add glue to the side of the bottom and back pieces. Then line up the sides so they are flush to the back and bottom.
Again, I used tape to hold them in place. Then clamped them until the glue dried.
STEP 4- Finish
Use a chisel to remove the glue squeeze out. Then touch up any sanding.
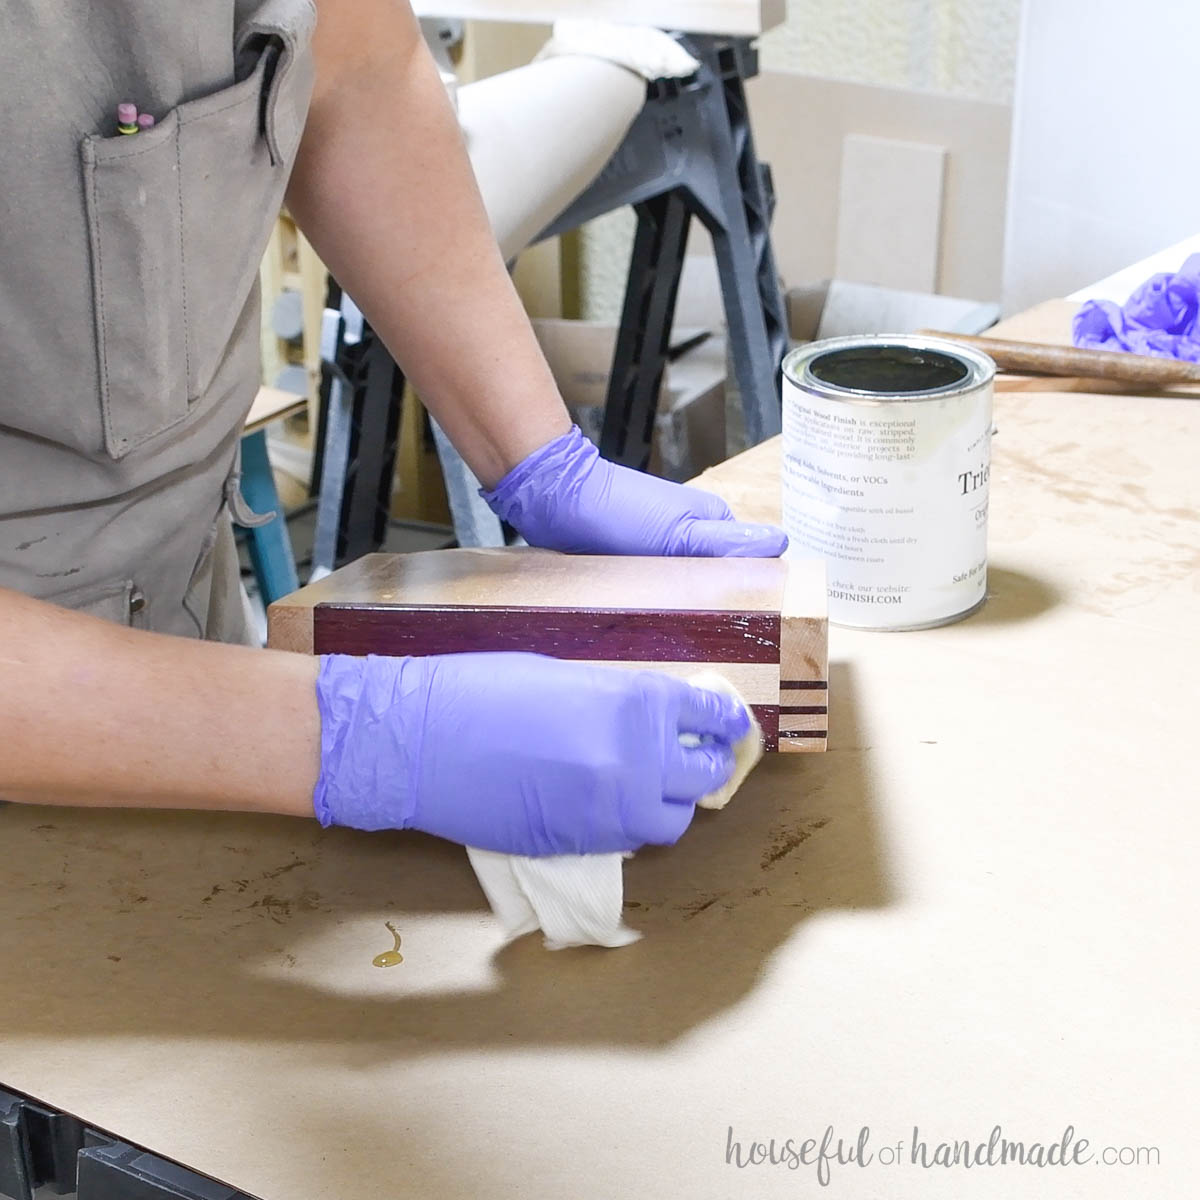
To finish the bread slicer, seal the entire thing with a food safe sealer. A cutting board sealer is a good option.
And it’s all done!
Now I never have to worry about the kids leaving my bread loaf crooked. And I can always have perfect slices for my sandwiches!
Happy building!


