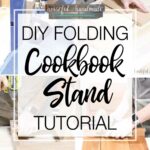

I love cooking from my collection of cookbooks. But I hate fighting to keep the pages from closing, especially when my hands are messy.
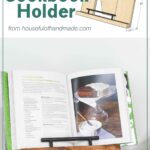
This cookbook holder solved all my cooking woes!
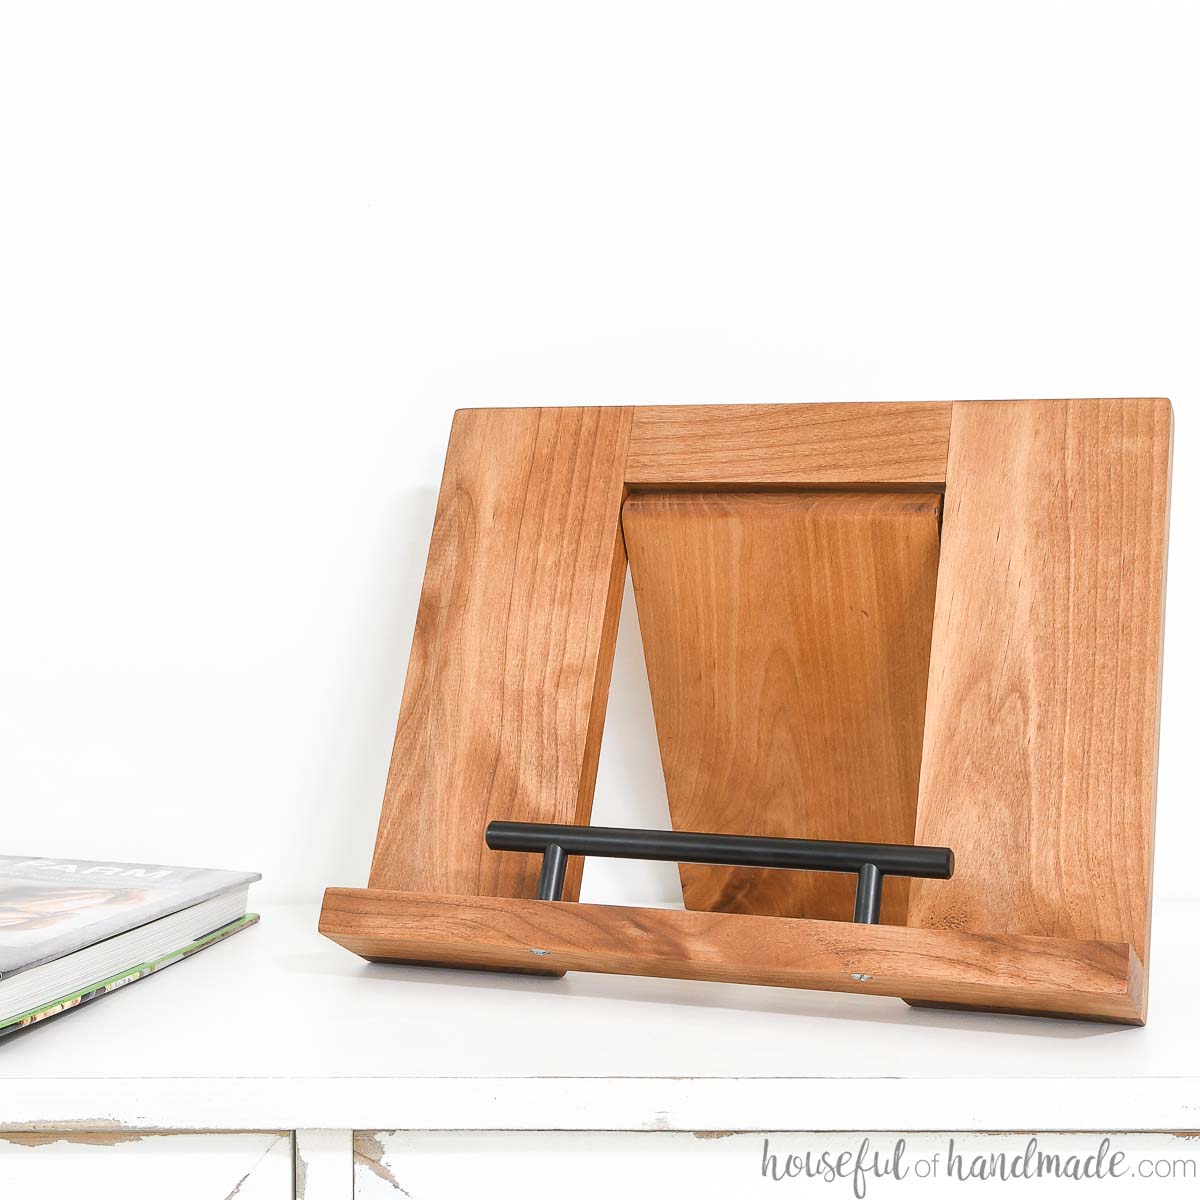
It holds open the recipe book to the perfect page. And keeps it there while you cook. Then the back folds flat when not in use to store it out of the way!
This post may contain affiliate links. As an Amazon Associate I earn from qualifying purchases. Click here to read my full disclosure policy.
And you can use it to hold you tablet if you are cooking from online recipes too. So useful!
Quick & Easy Build
One of my favorite things about this cookbook holder is that it is so fun and easy to make!
It takes just a few pieces of lumber, all less than 13″. If you have an overflowing scrap pile, you can probably find all the pieces you need to make one.
Then in just an afternoon, you can be ready to start cooking with your new recipe book stand!
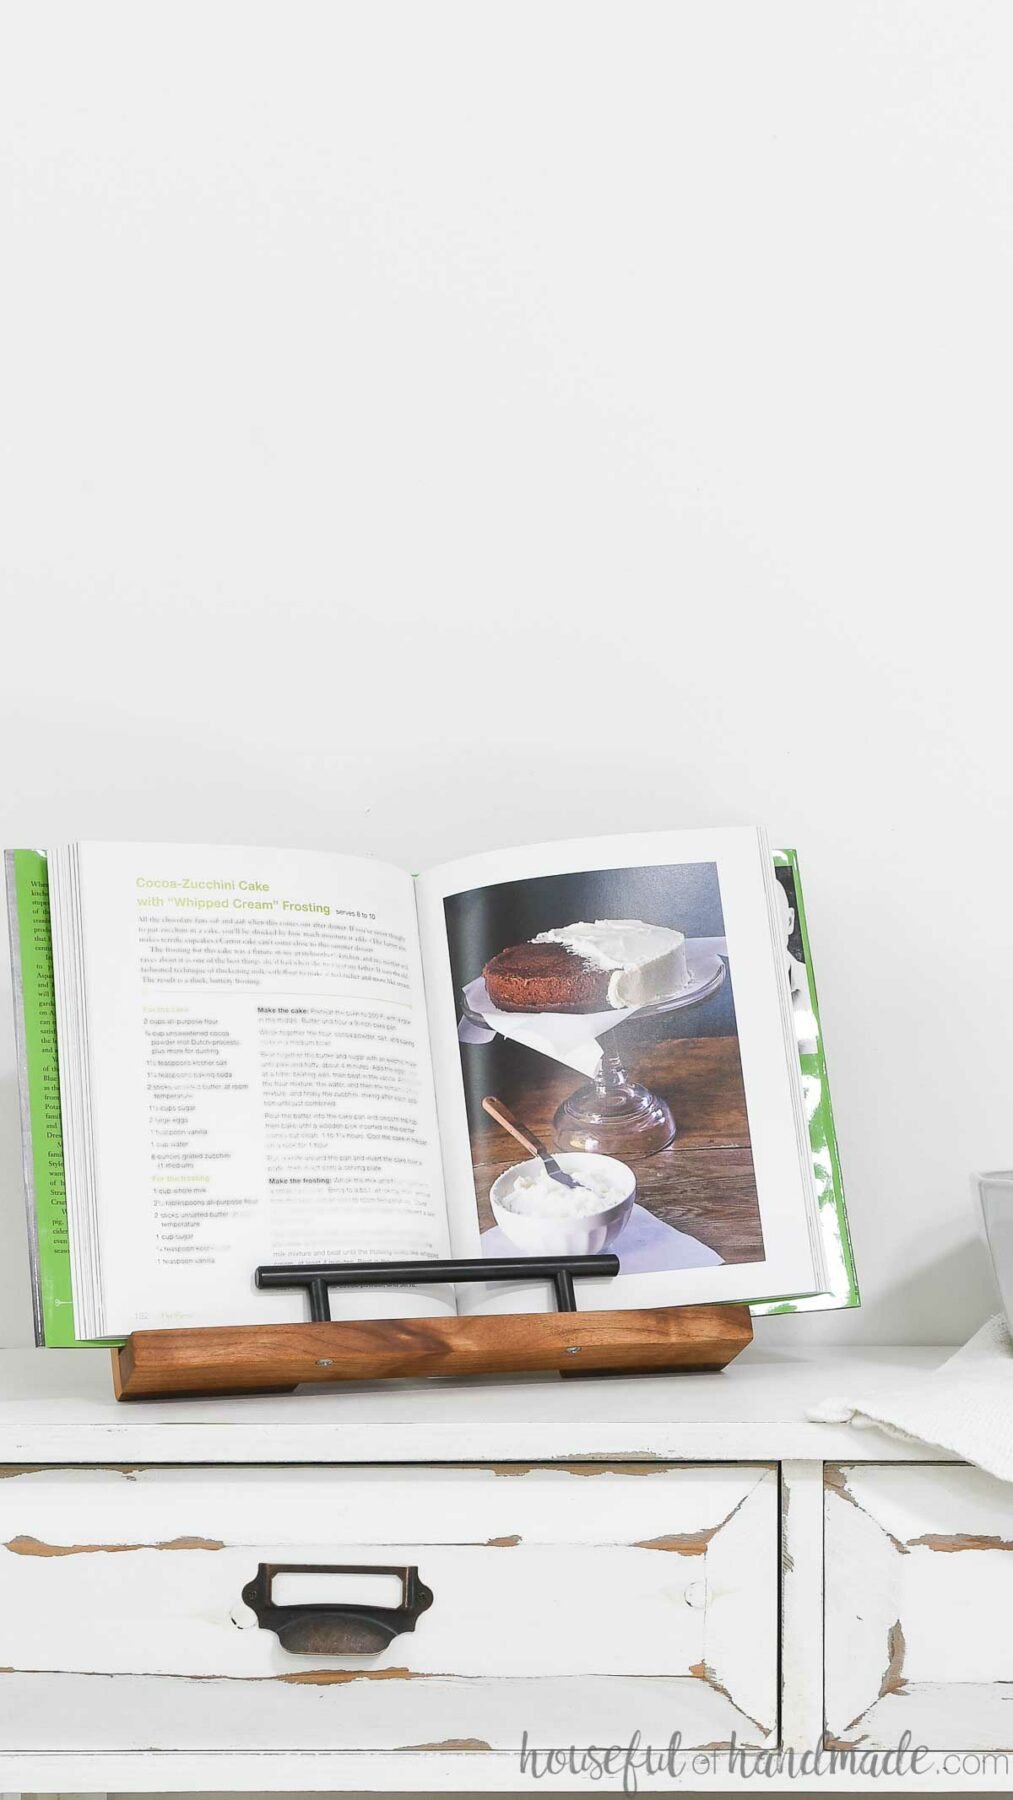
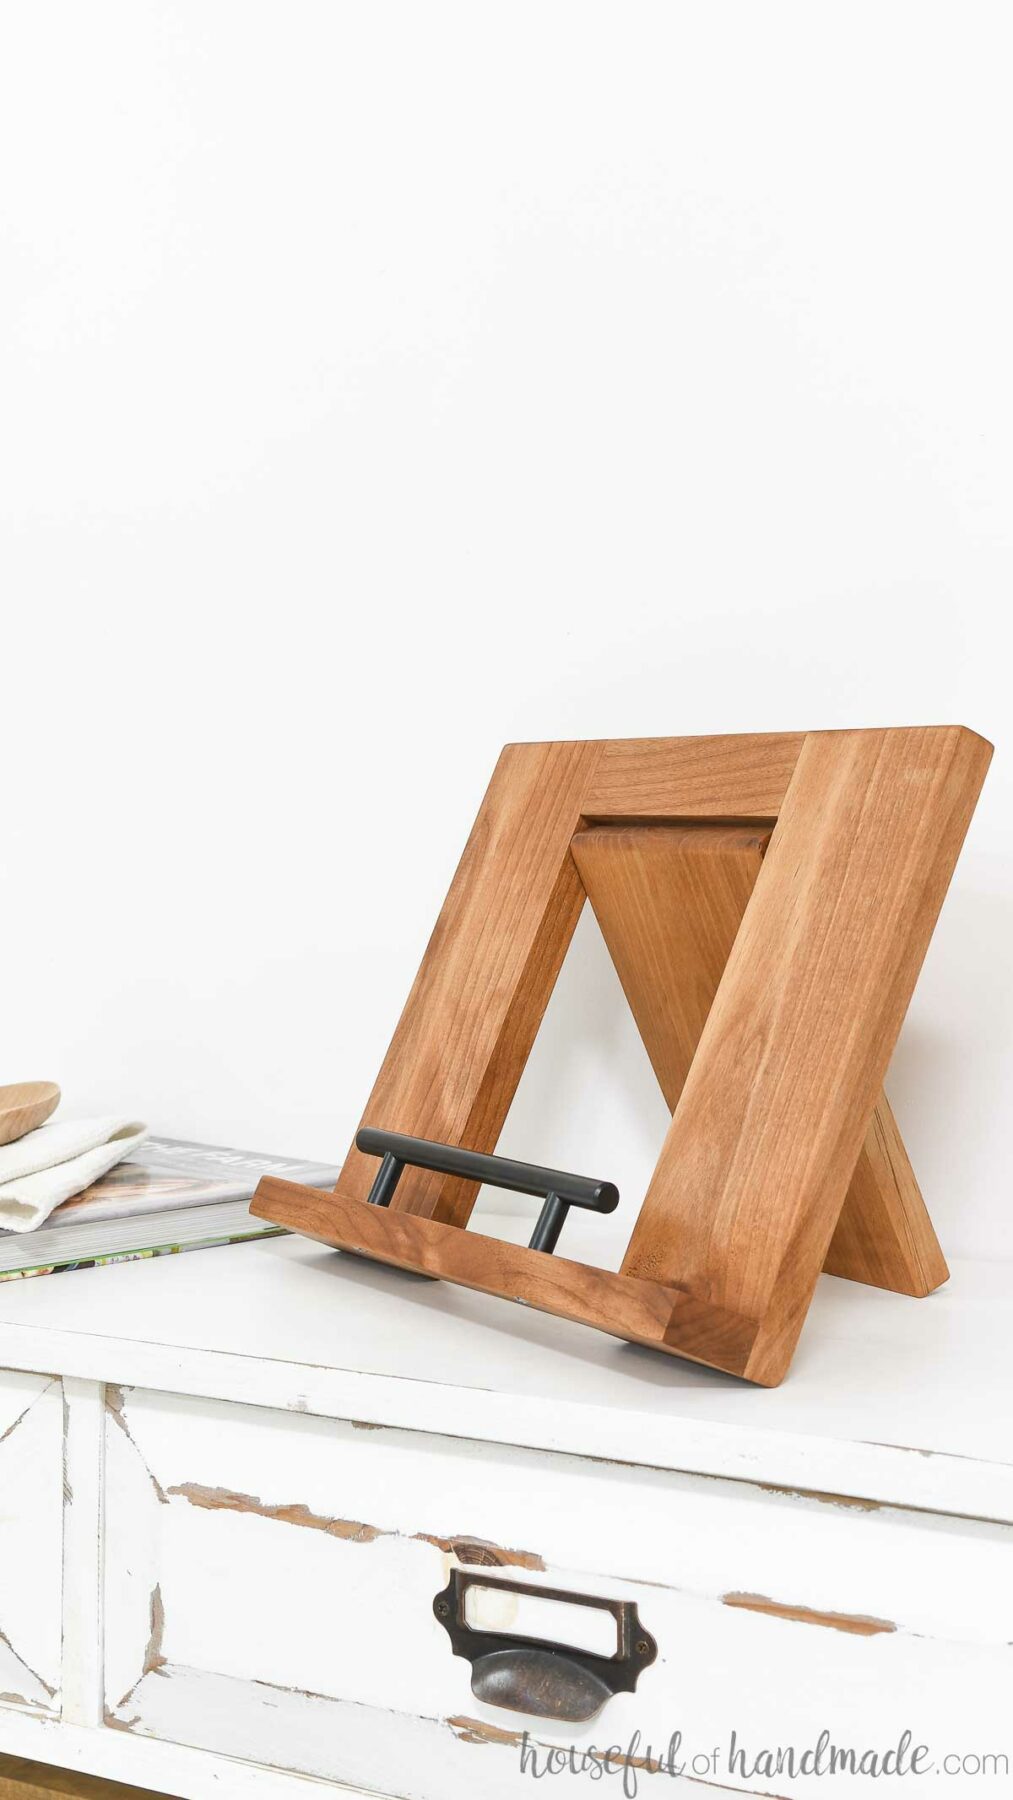
To keep the front of the cookbooks open while in the stand, it needed a ledge.
On this DIY cookbook stand I built for a gift, I used a piece of plexiglass. It was easy to attach, but you cannot buy just a tiny piece so you have to cut it.
This time I wanted something even easier.
So I used a bar drawer pull as a ledge! It was as easy as drilling two holes and screwing in the screws from the bottom.
And it does not get in the way of reading your recipe. I love when you can simplify something and make it better!
How to Make a Cookbook Holder
Tools & Materials
Recommended Tools:
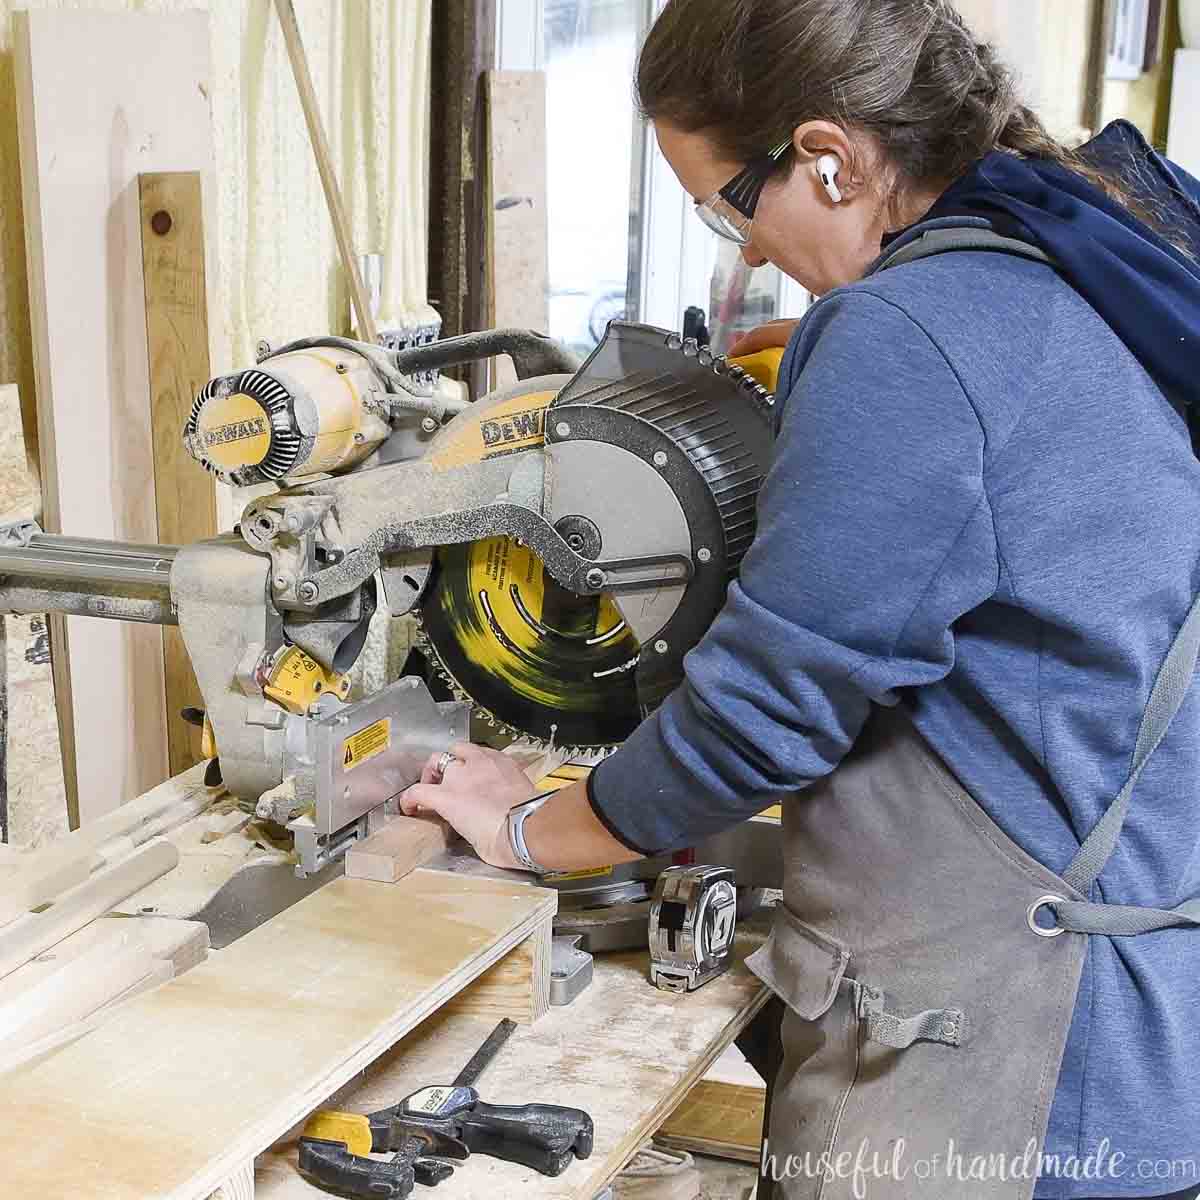
- Miter saw
- I recently upgraded to this larger sliding miter saw (watch for it to go on sale), but all my projects before were built with this inexpensive miter saw that I loved.
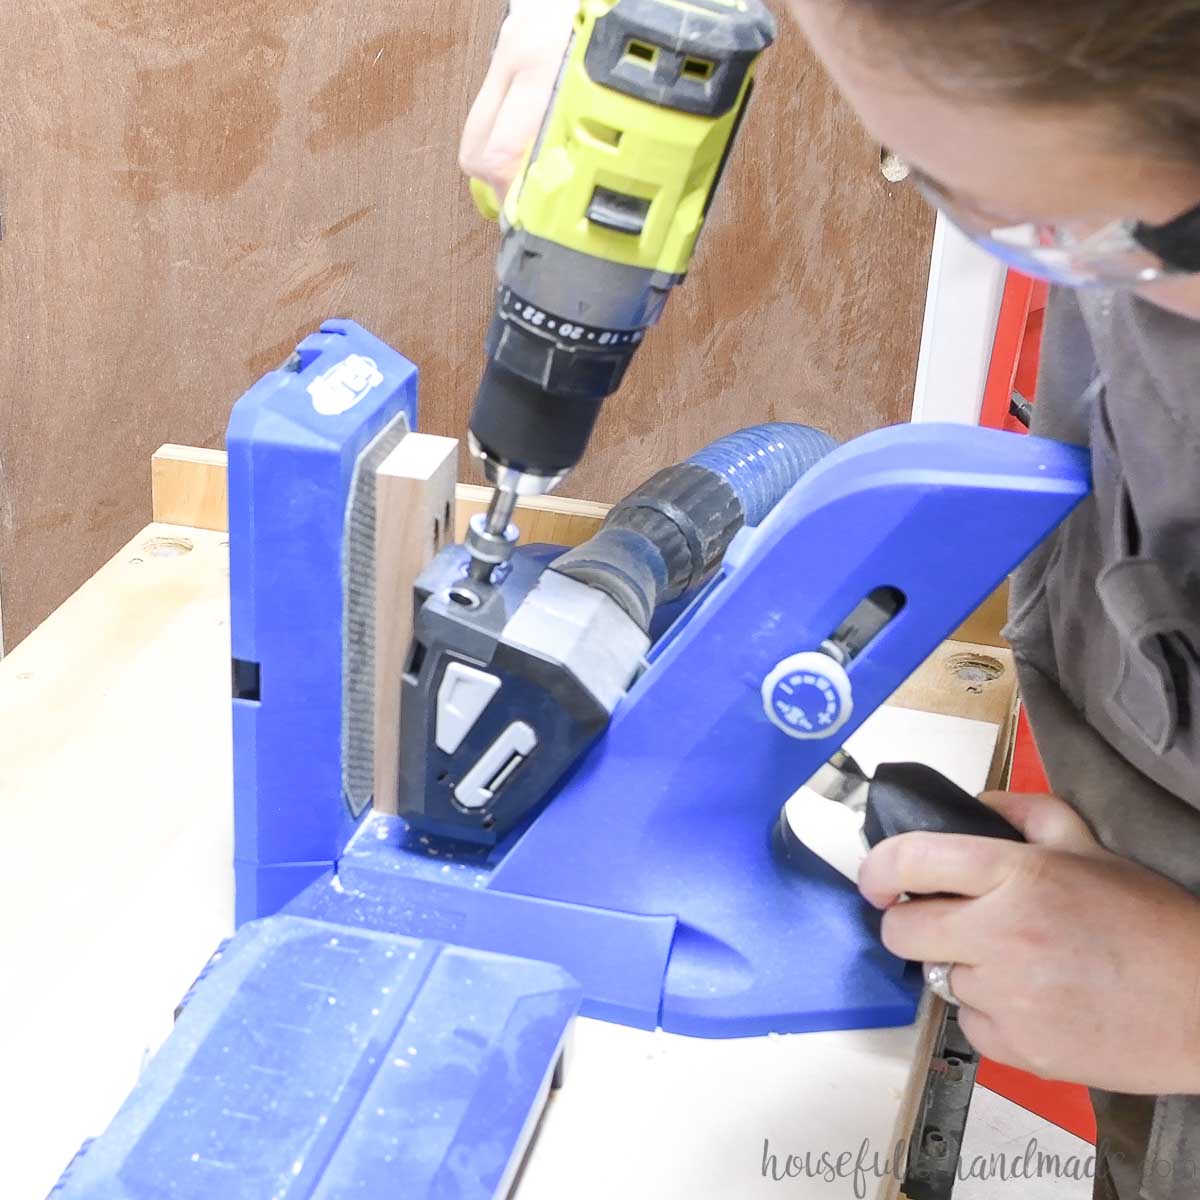
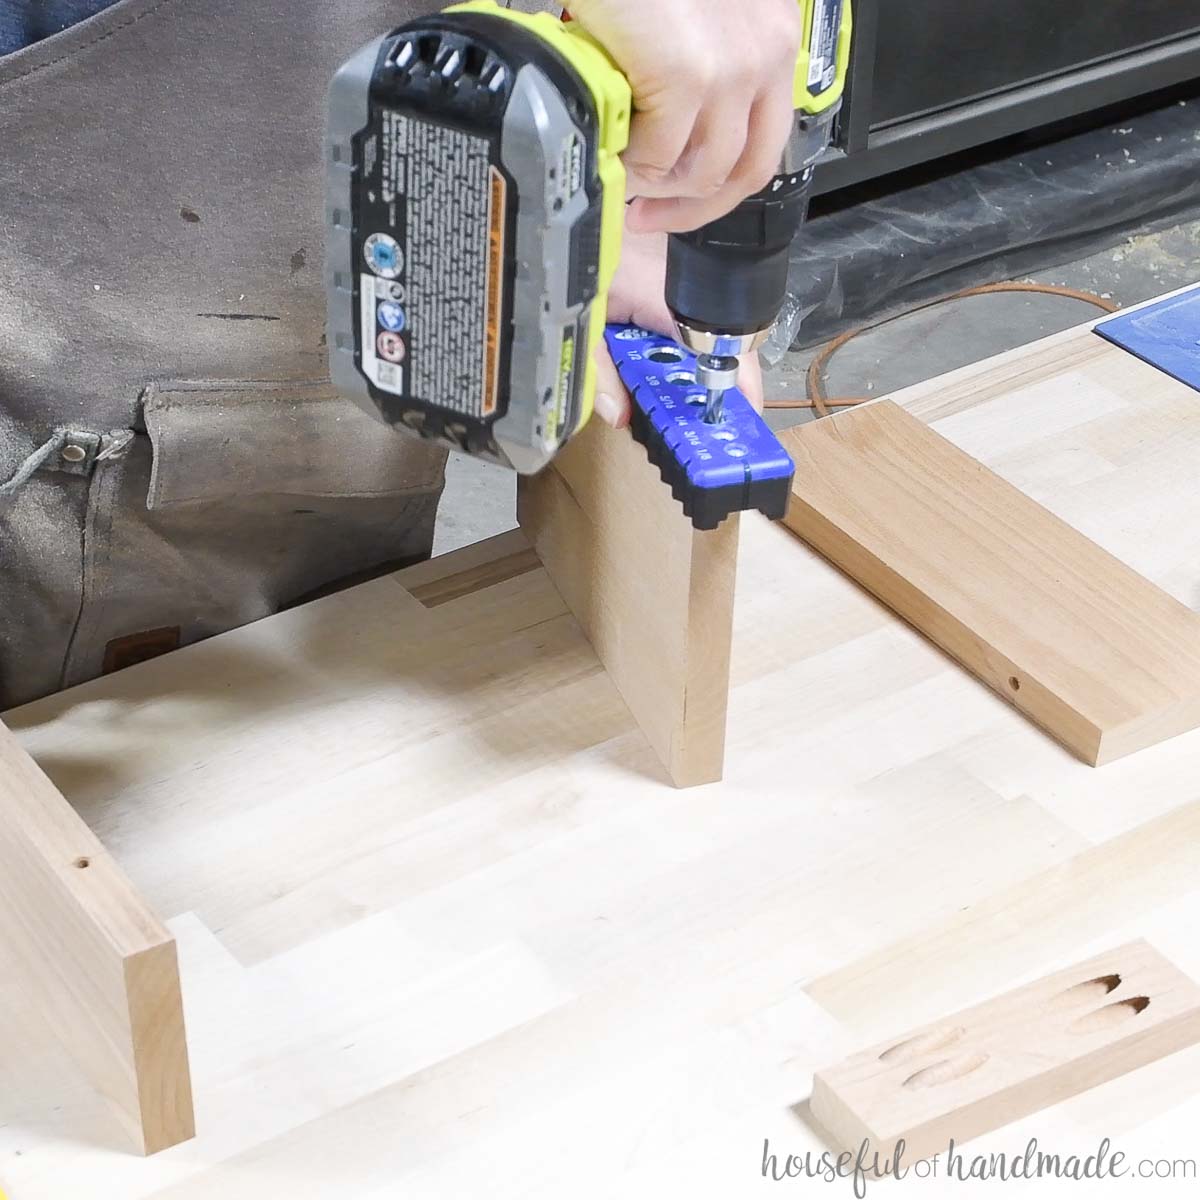
- Pocket hole jig
- Drill
- Impact driver (optional, but I love not having to switch bits with the drill)
- Drilling guide
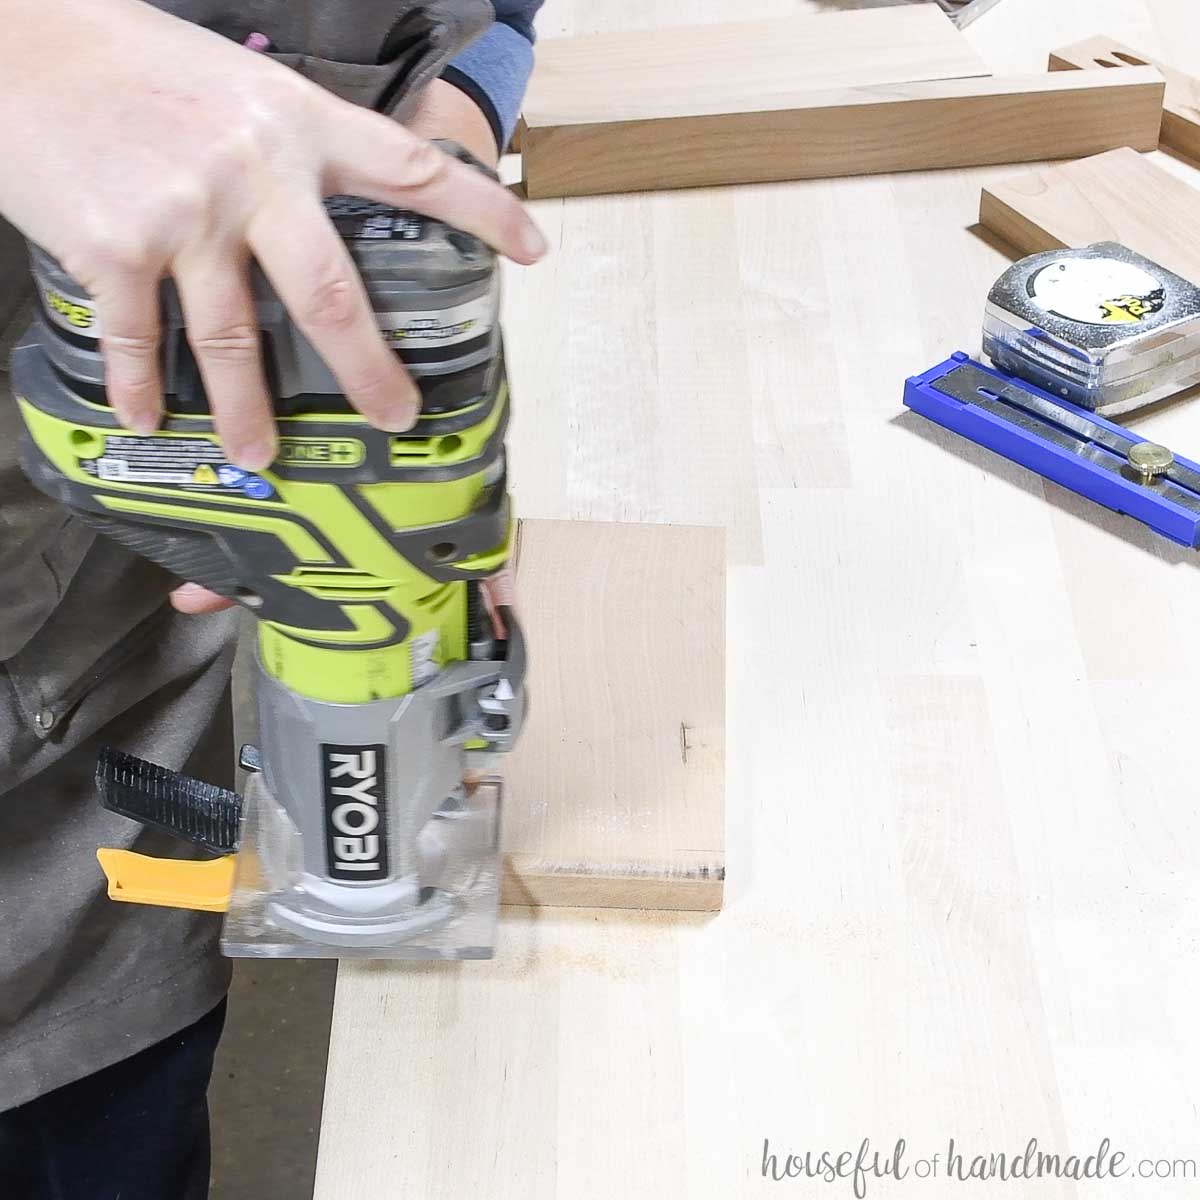
- Trim router
- This is optional, you could round over the areas needed with your sander, but a router is faster.
- Sander
Supplies:
- Wood products-
- (1) 2′ long 1×4 board
- (1) 2′ long 1×2 board
- (1) 1′ long 1×6 board
- 1 1/4″ pocket hole screws
- Dowel shelf pins
- Bar drawer pull
- Ribbon
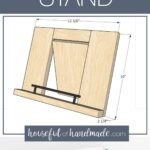
Overall Dimensions:
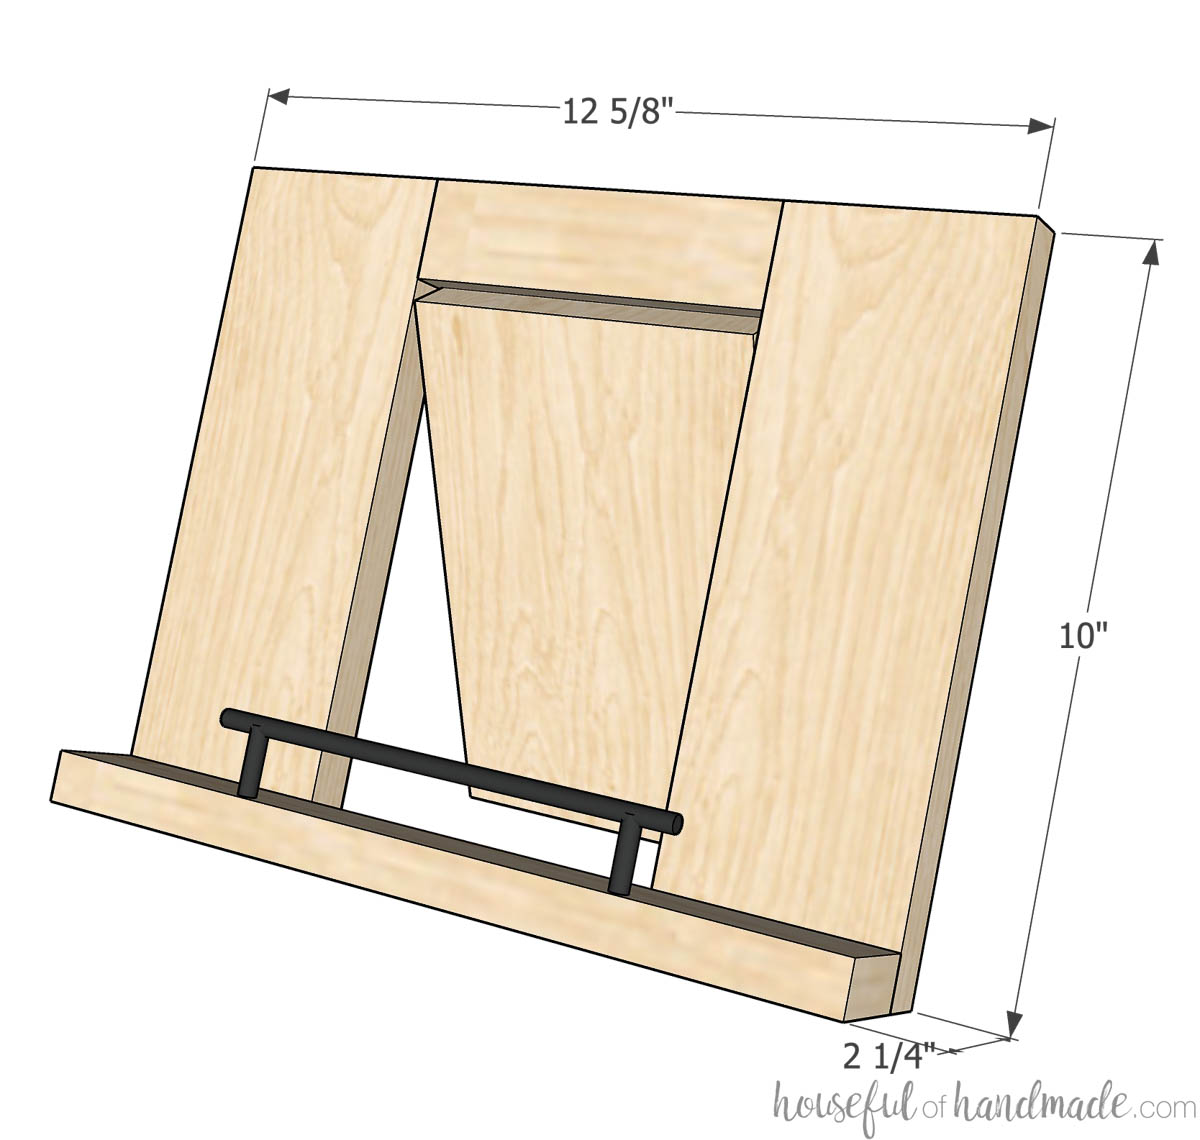
The finished cookbook stand is just over 12 1/2″ wide and 10″ tall. When folded, it is 2 1/4″ deep.
Cut List
Cut out the pieces according to the easy-to-read table in the PDF plans.
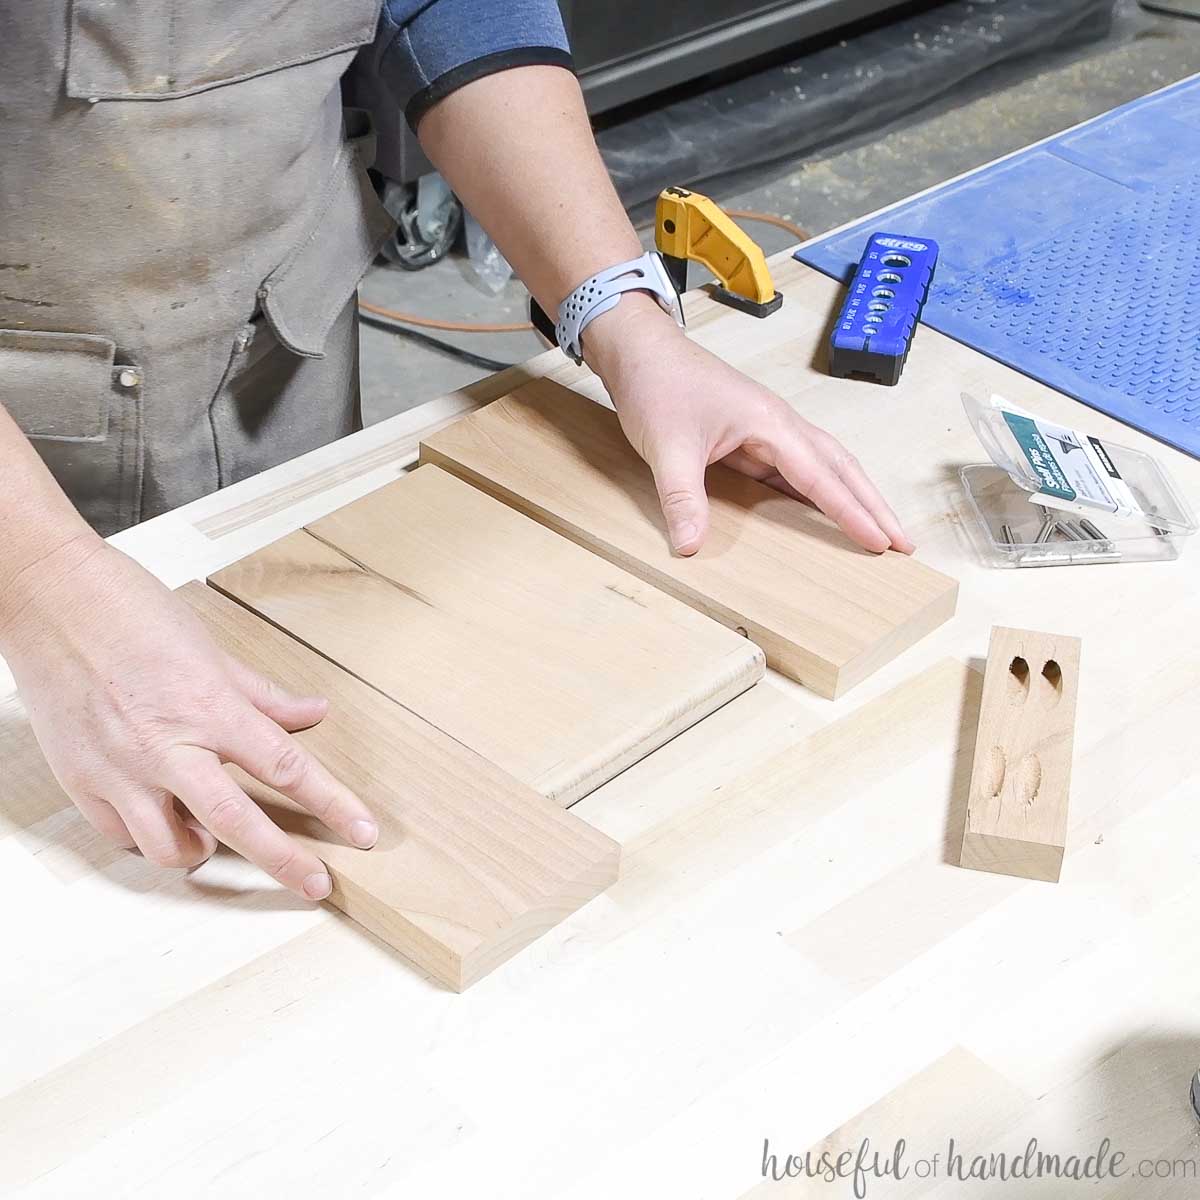
STEP 1- Prepare the pieces
Measure the width of your 1×6. It should be around 5 1/2″. Cut a piece 1/8″ larger than its width out of the 1×2 board.
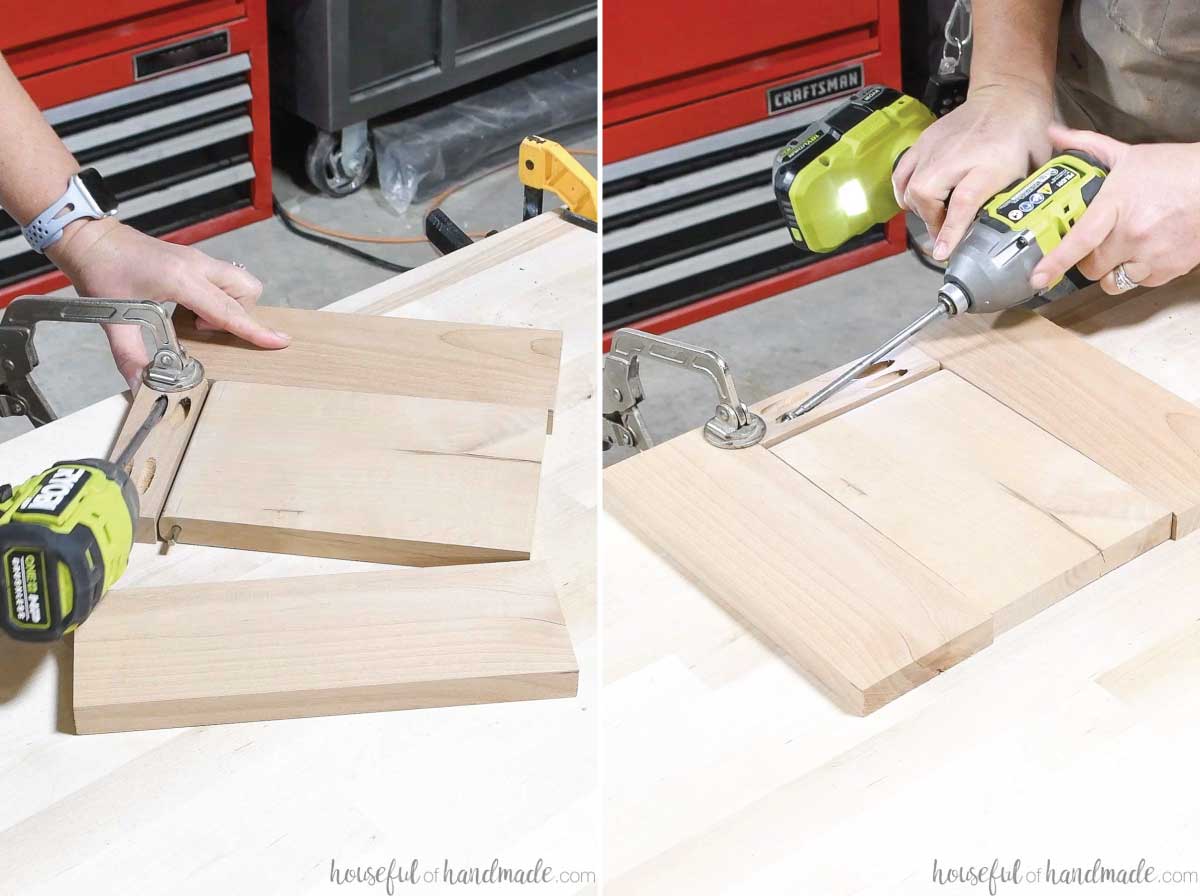
Drill pocket holes set for 3/4″ thick material in both ends of the small 1×2 piece. This will be the top of the cookbook holder.
You could also use wood dowels if you prefer to attach the two pieces together. This would eliminate being able to see the pocket holes on the back.
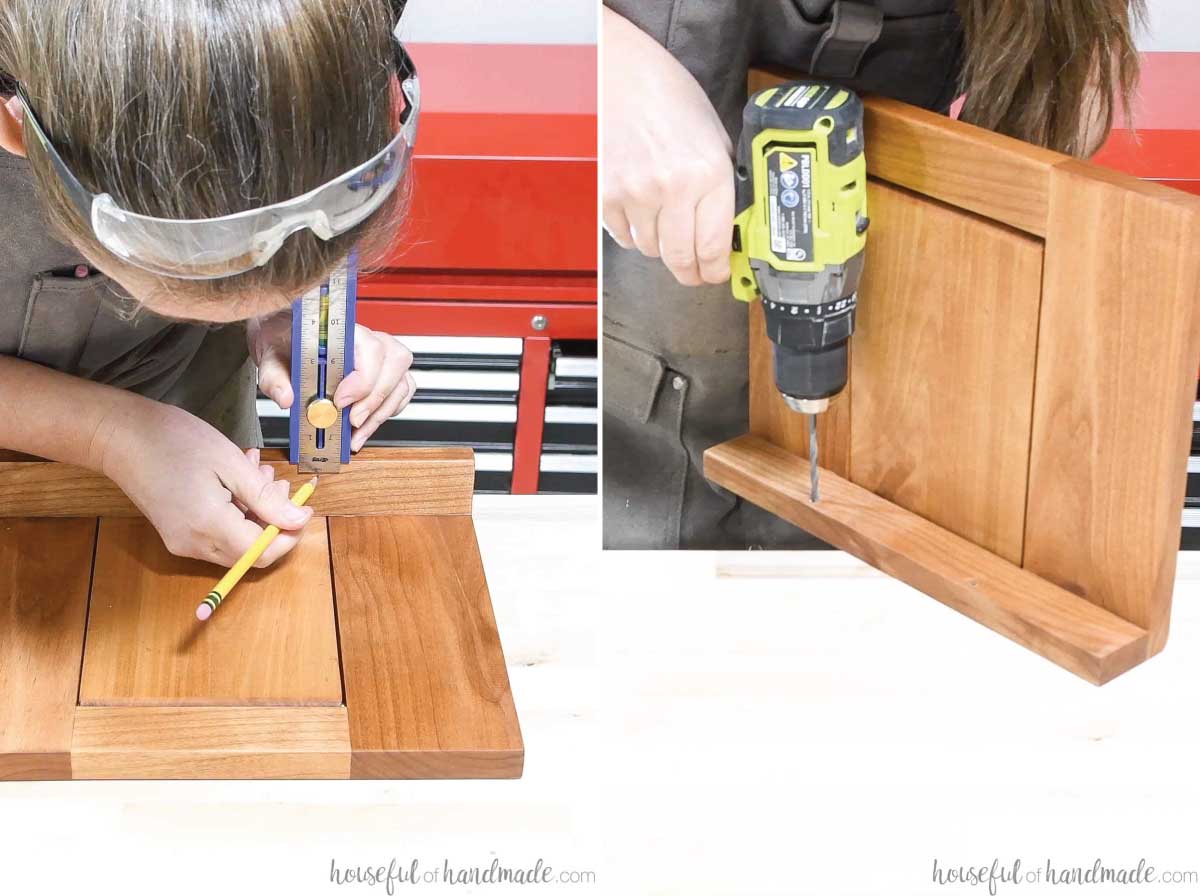
On the 10″ side pieces, measure 2″ down from the top and make a mark.
On the 8 1/4″ back piece, measure 3/8″ down on the sides and make a mark.
Drill a hole centered on the side at these marks the same size as your shelf pins (most are either 5mm or 1/4″).
Since mine was 5mm, I used the shelf pin bit that came with this shelf pin jig. And then I used a drilling guide to keep the holes straight.
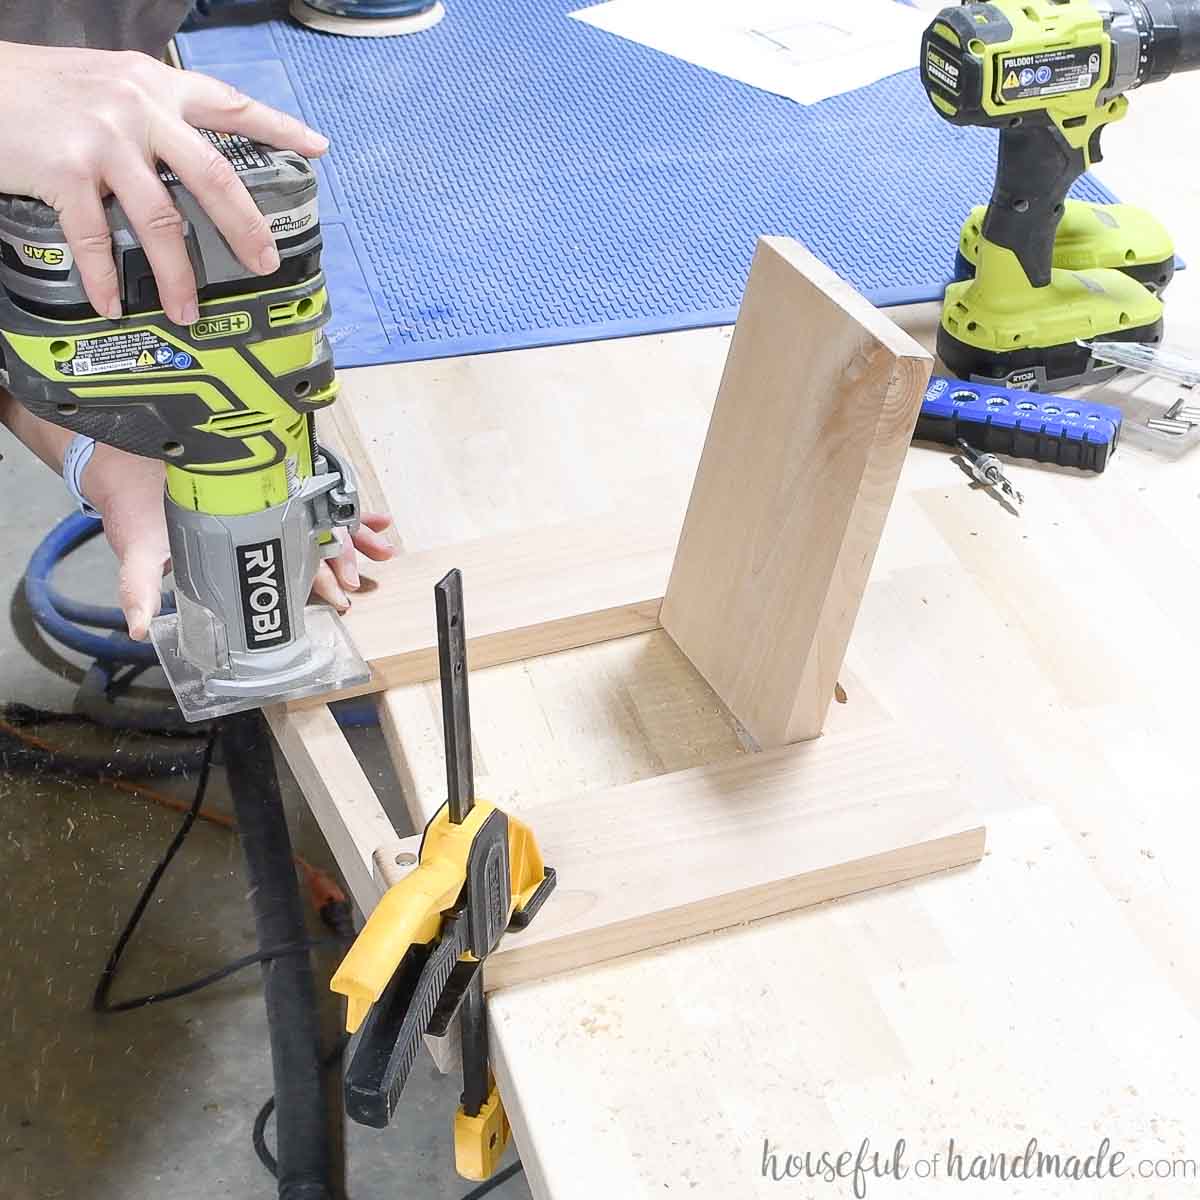
Round over both top edges of the center board. This is necessary to allow the center board to pivot.
You can do this with a simple trim router and a round over bit. Or you can do this with a sander.
STEP 2- Assemble the stand
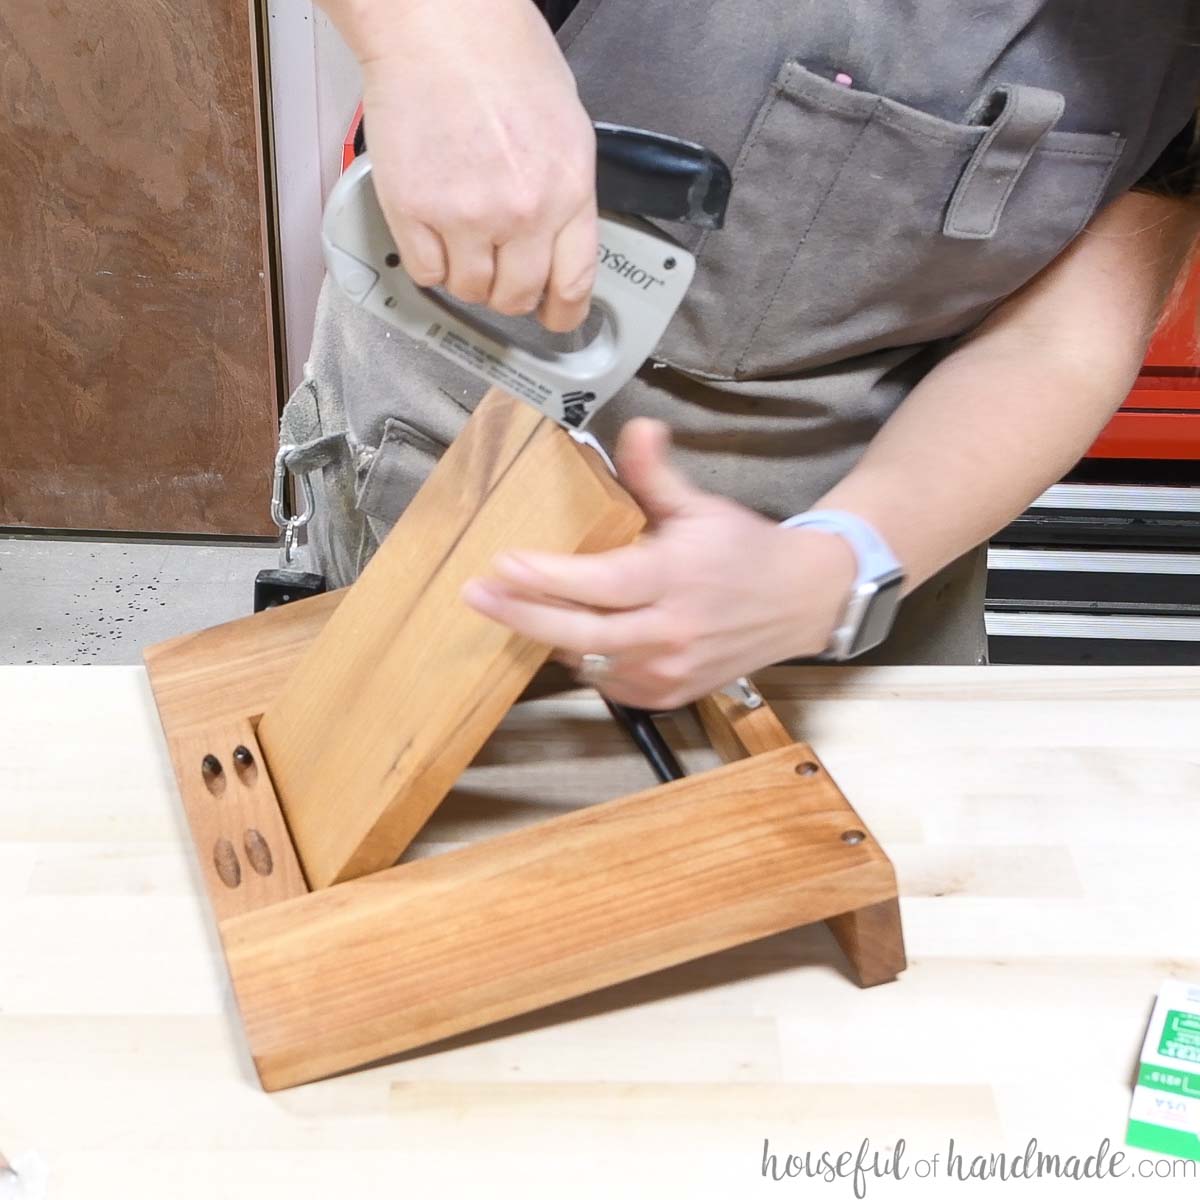
Place the dowel shelf pins in the holes with the center piece between the sides.
Add the top piece with the pocket holes between the two sides.
Attach it to the side boards with wood glue and pocket hole screws.
Make sure the center board is attached in between with the shelf pins before adding the second side. This will close it in.
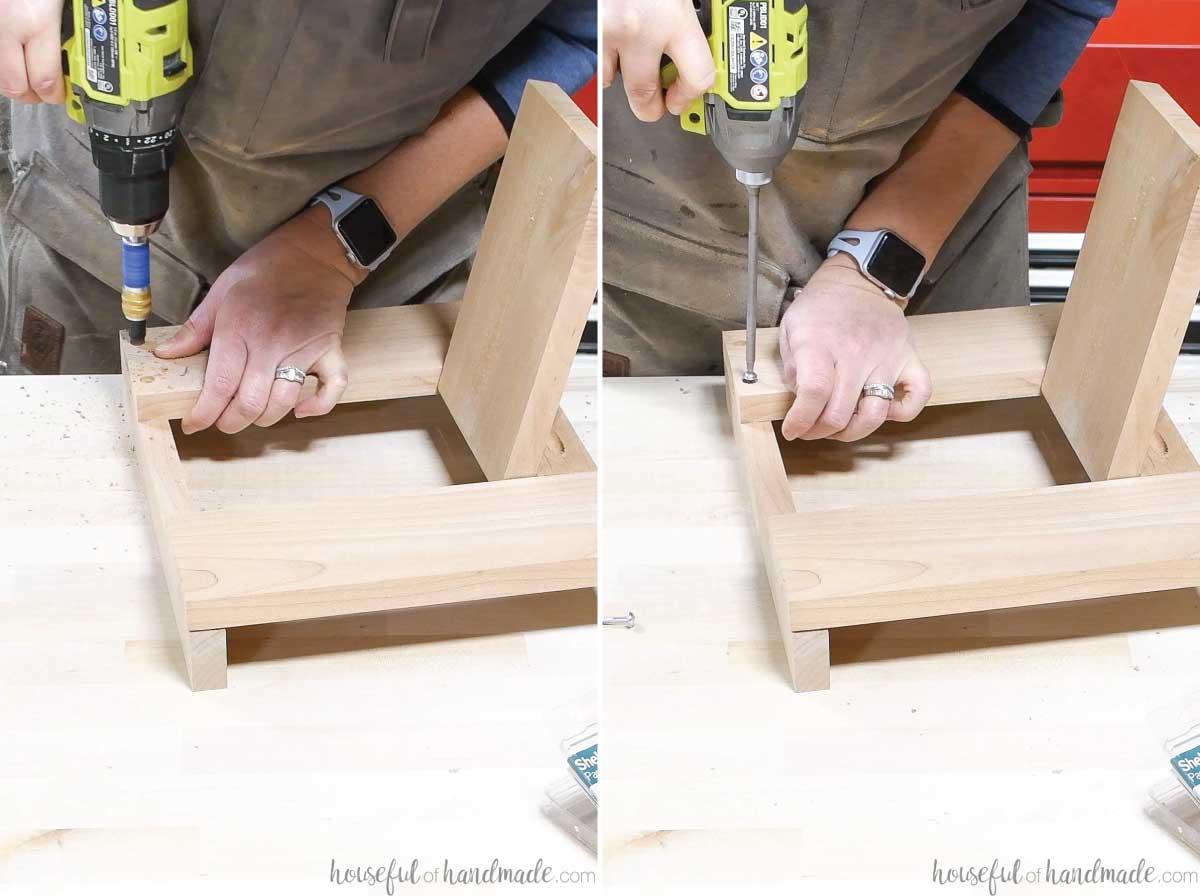
Measure the exact width of your cookbook holder. Cut a piece that size from the remaining 1×2 board.
Attach it to the front of the side boards. Drill holes to counter sink the screws into the back.
Secure with 1 1/4″ screws and wood glue.
If desired, round over the bottom edge of the back of your cookbook holder.
This makes it so that it is not leaning back on a sharp point when you open the stand.
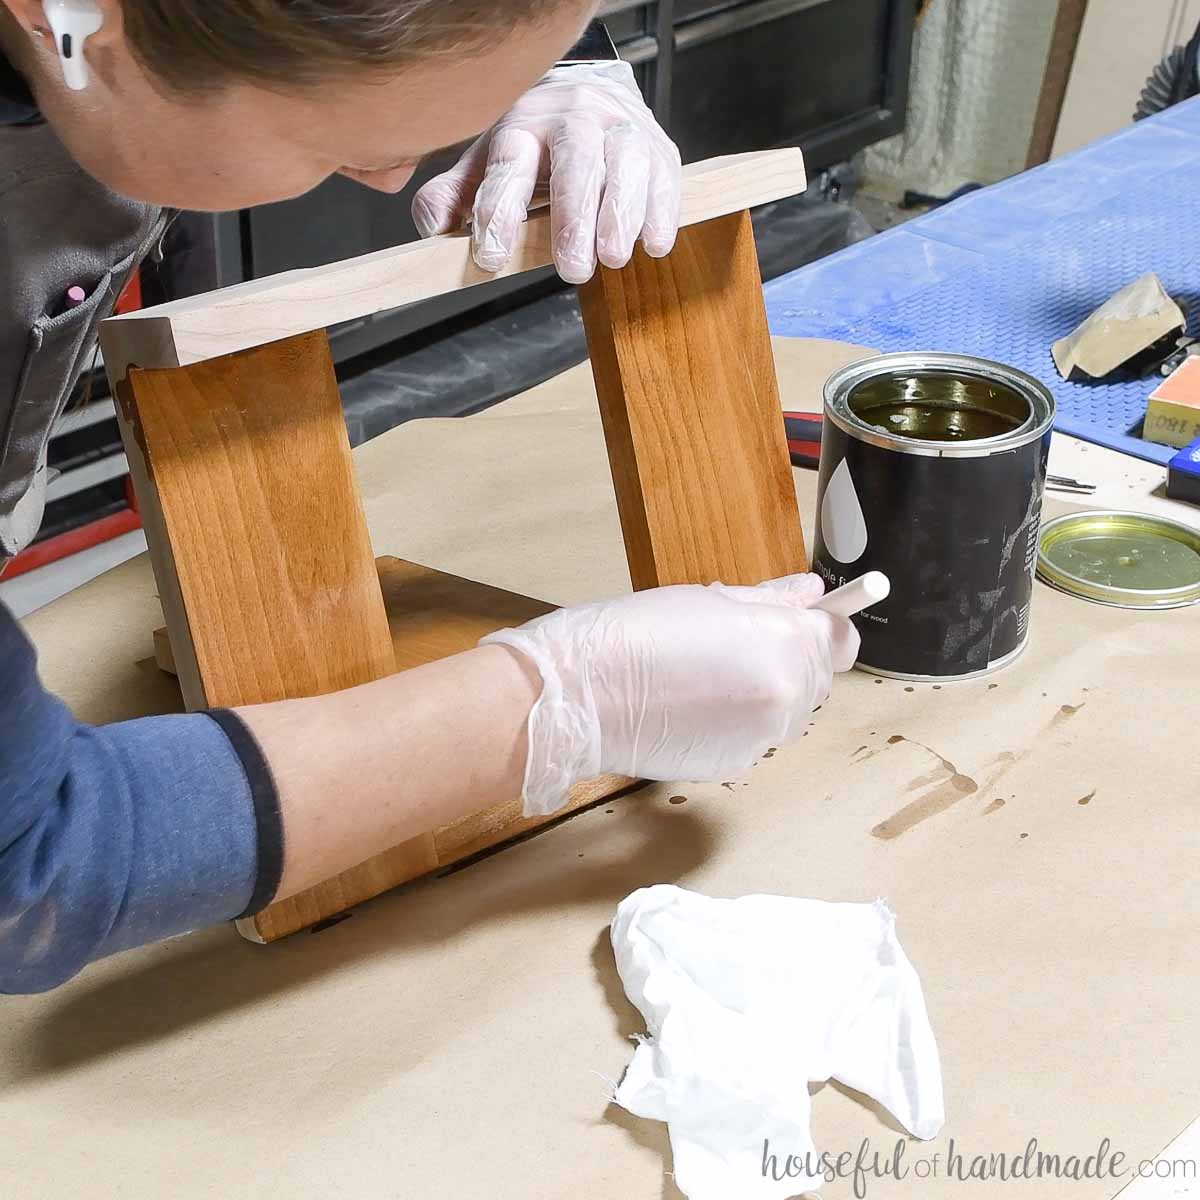
STEP 3- Finish
Sand and seal your cookbook stand.
I used Simple Finish and it really brought out the beauty in the alder wood.
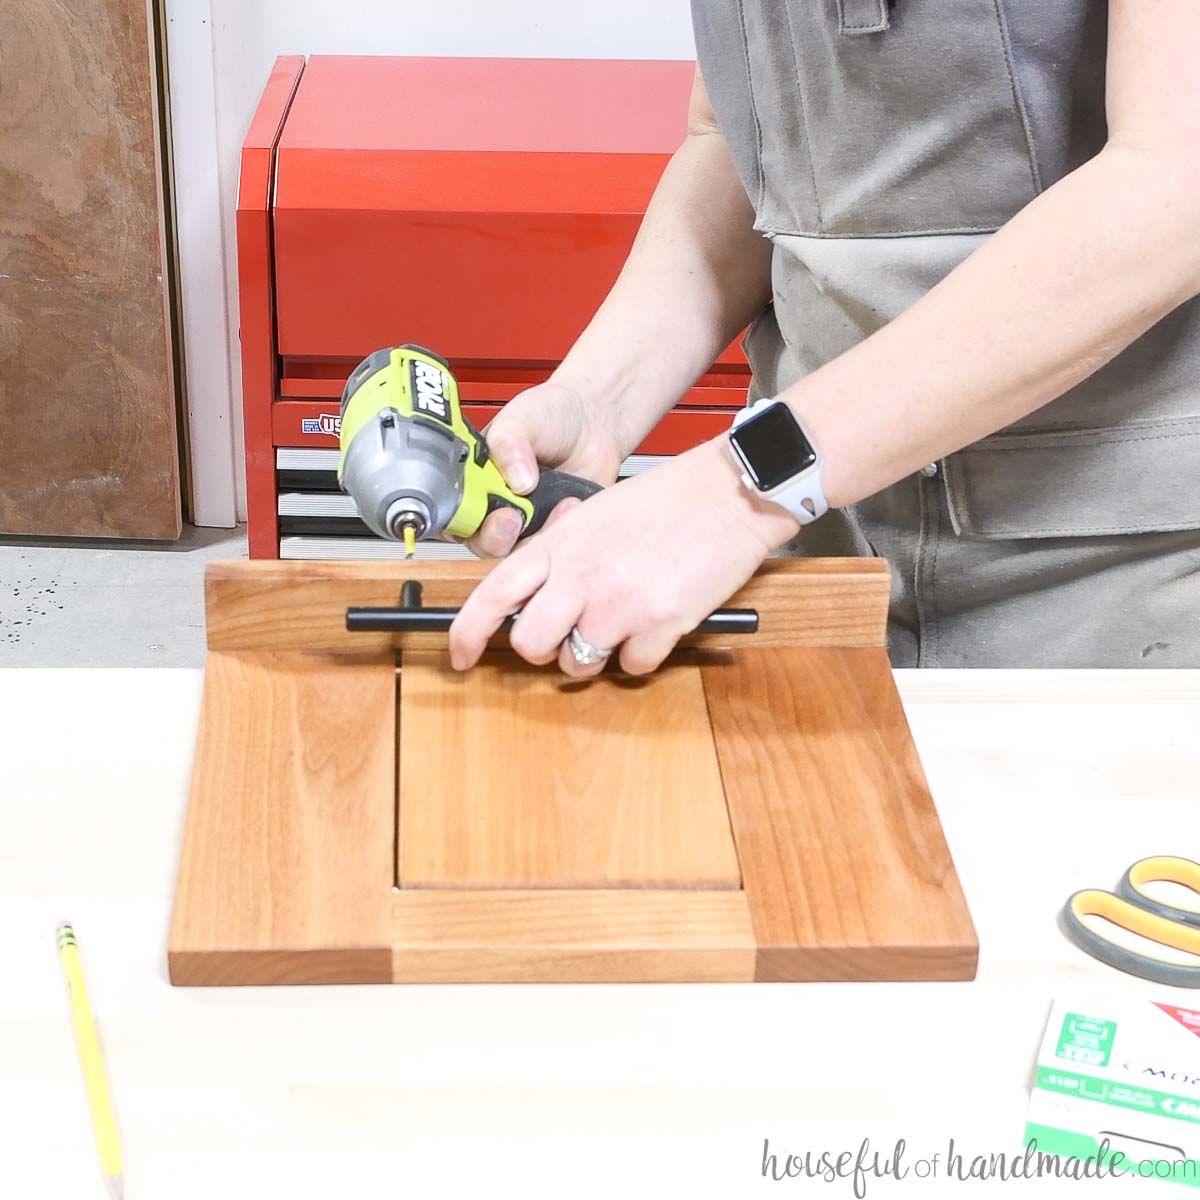
Once your finish is dry, measure and mark out where the screws for the drawer pull will go.
Center it on the front ledge and mark the center of the drill 1/4″ back from the front edge. This will put the pull right at the front.
Drill holes for your drawer pull screws.
Then attach the drawer pulls with screws through the bottom of the ledge into the holes in the handle.
Cut a piece of ribbon 8″ long.
Roll over the cut edge and staple it to the center on the bottom of the back center piece. Then roll the other edge and staple it to the center back of the ledge.
The ribbon will keep the cookbook holder from falling all the way open when in use.
Now you can get to cooking!
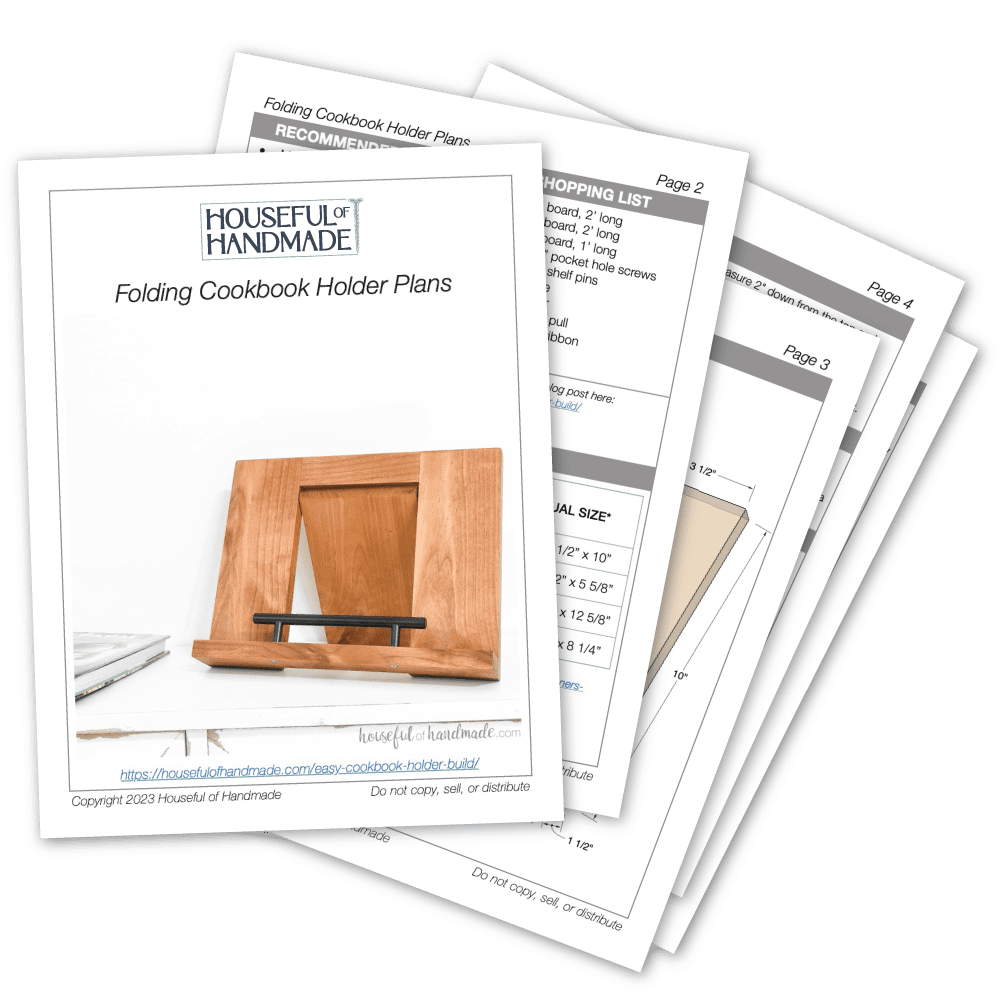
PDF mini plans include:
- Recommended Tools
- Shopping list
- Easy to read cut list table
- X-ray view with measurements
- Step-by-step instructions
- BONUS: 3D SketchUp file
I love that the drawer pull holds the pages of the recipe book open and the stand holds it right where I need it.
Then I can fold it flat and tuck it away with my cookbooks until the next time I need it!

Easy DIY gift ideas
This cookbook holder makes a great DIY gift for anyone on your list that loves to cook.
This week my friend Shara, from Woodshop Diaries, and I are sharing easy DIY gift ideas every day! That is 10 new handmade gifts you can use for anyone on your list.
Check out all the new ideas below or check out these 75+ handmade gift ideas. I will be adding new posts as we share throughout the week.


Happy building!
