Having the basement remodel done (or at least done to a point that I can relax a bit) is making me eager to get our whole house organized!
I hated having everything from the basement stuffed into the corners of every room while we were working. Now that we can spread back out into the whole house, my goal is to find a place for everything.
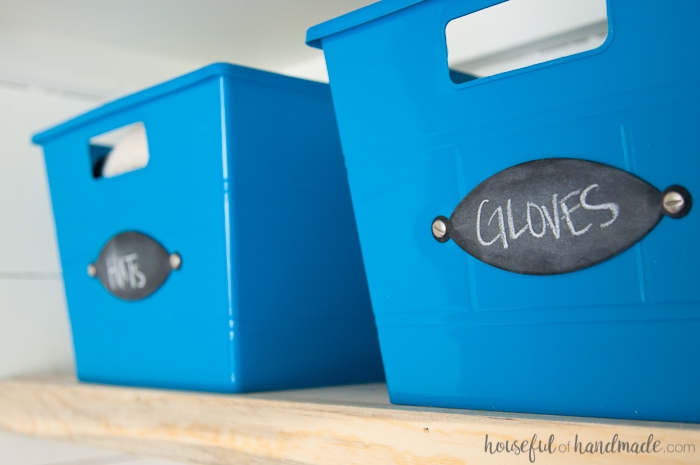
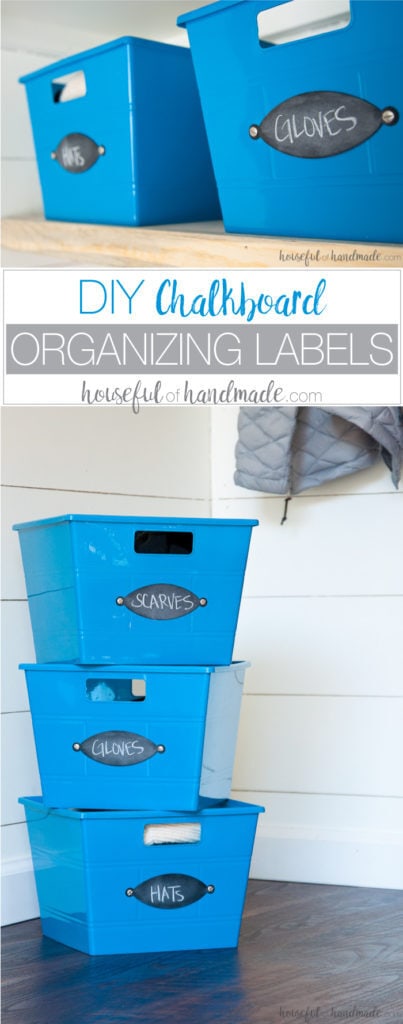
And to make sure that everything finds it’s way back to it’s place after being used, I am putting these DIY chalkboard organizing labels on all our boxes and bins.
This post may contain affiliate links. As an Amazon Associate I earn from qualifying purchases. Click here to read my full disclosure policy.
This post was sponsored by Spellbinders, however, all opinions and reviews are 100% honest. Click here to read my full disclosure policy.
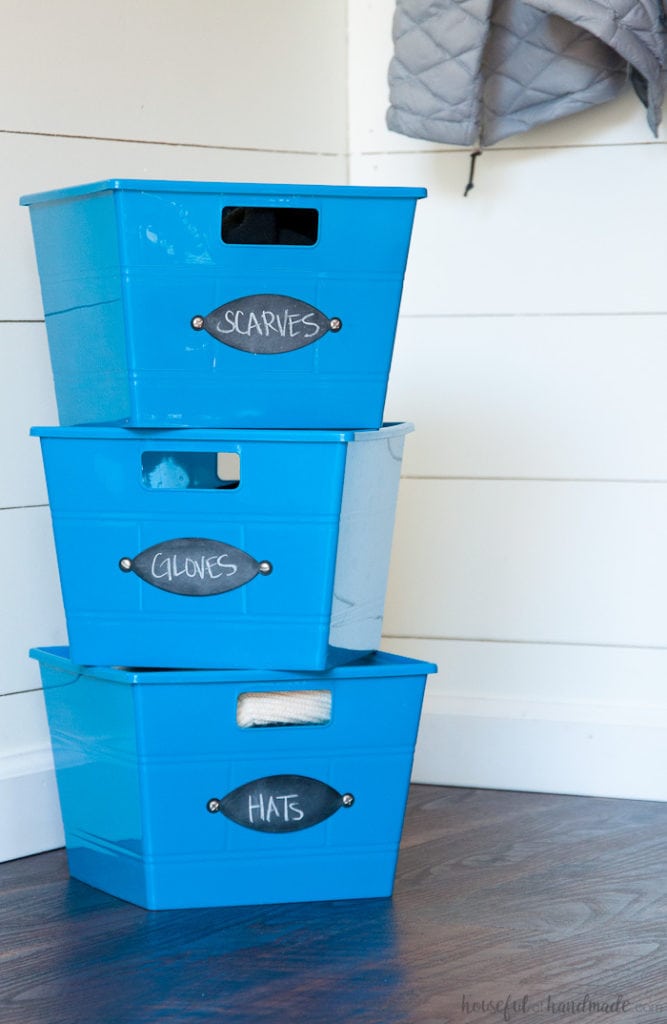
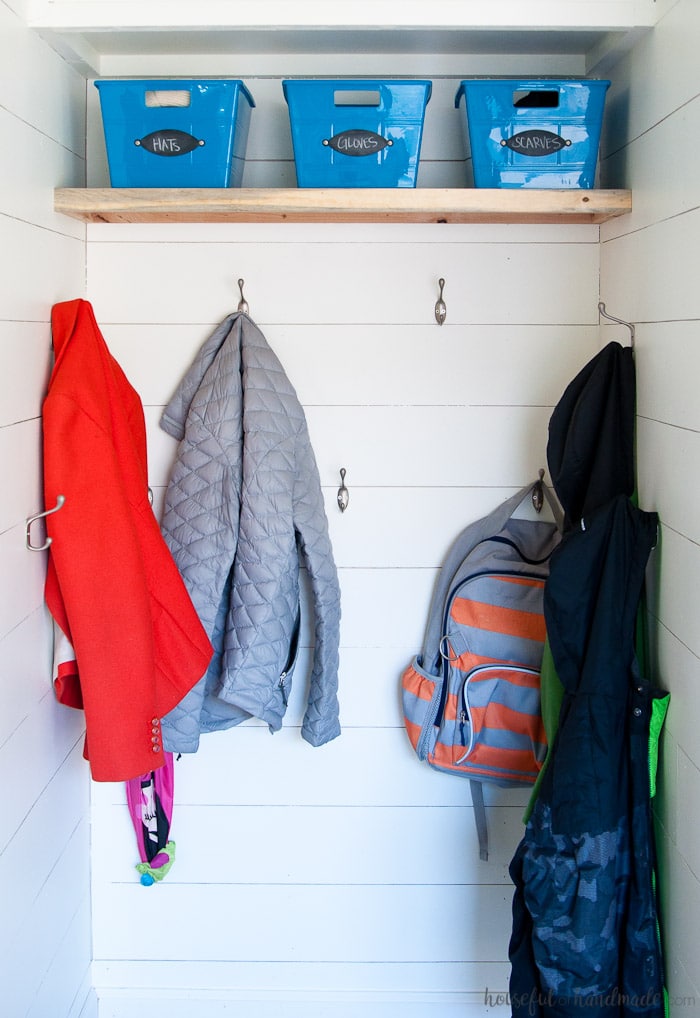
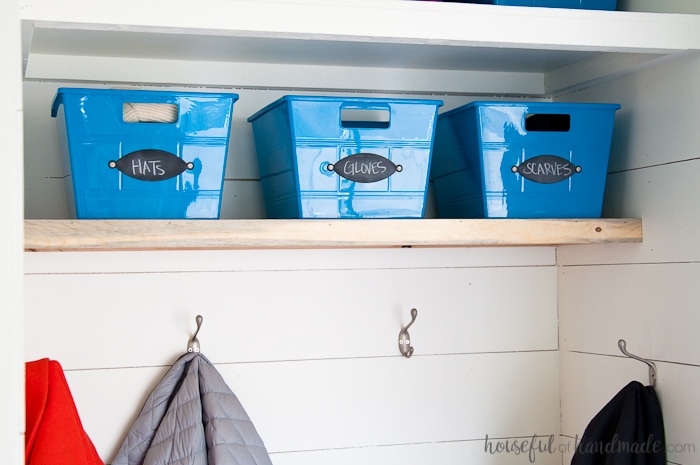
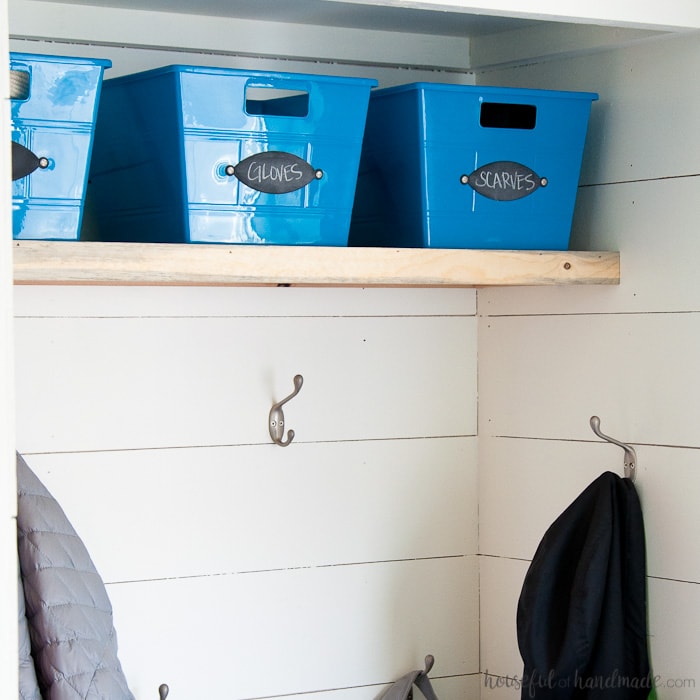
I am a huge fan of bins to hold all the stuff that comes with life. As the winter was setting in, I grabbed some new bins for our entryway to hold all our hats, gloves and scarves.
We tend to have a lot of those laying around the house since we have 4 people who like to stay warm in the snow.
But sadly, the bins were a mess! The kids did manage to get their winter accessories into the bins at least 50% of the time. However, they were not so good at getting them into the proper bins. I knew it was time to label them!
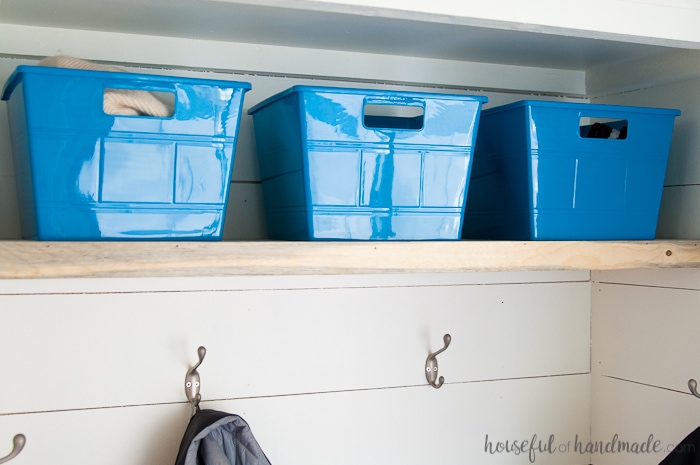
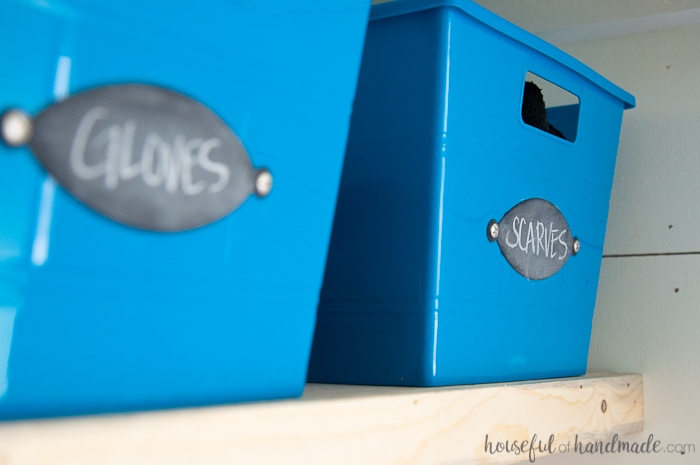
But since we only keep our winter gear out for about 4 months of the year, I wanted a label that could easily be changed.
In the spring, we use our bins for sidewalk chalk and bubbles. And in the summer, they are full of swimming goggles, sunglasses and sunscreen.
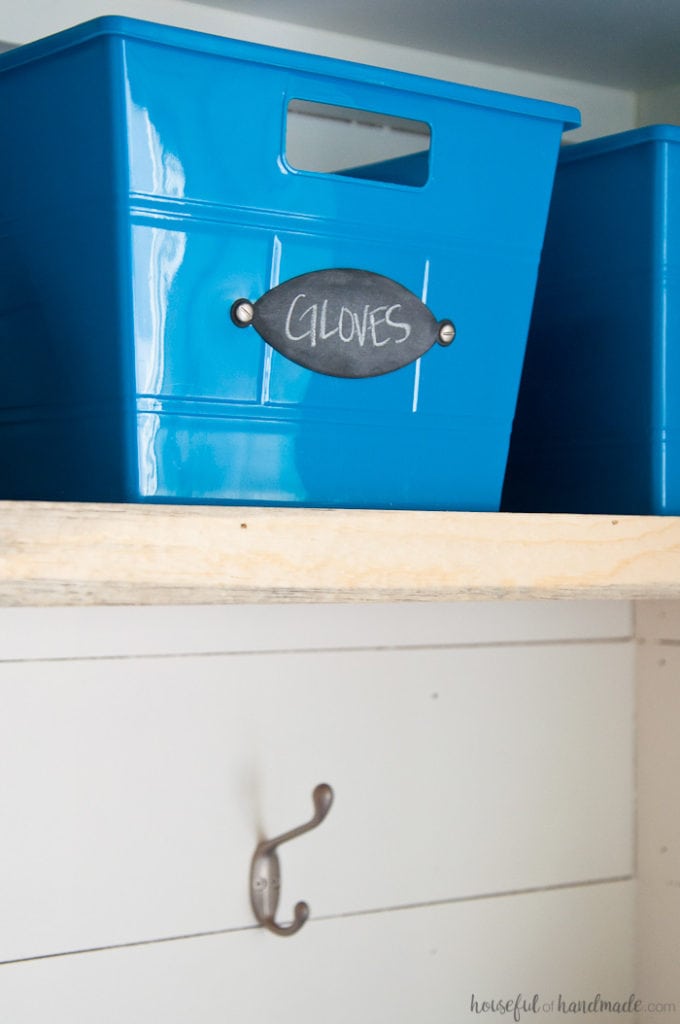
Since I am a huge fan of chalkboards (as you can see here, here, here, and here to name just a few), I knew it would be the perfect way to add an easy organizing label that I could change out as needed.
I grabbed by Spellbinders Platinum 6 die cut machine to make quick work of making labels. I love that the die cutting machine can quickly cut the thick paper and then emboss it to have a beautiful raised edge.
Perfect for the DIY chalkboard organizing labels I needed.
To make my labels, I knew I had the perfect die from Spellbinders: the tiered multiloop bows die.
This die is actually used to make 3D bows. However, I saw the bow loops, with the little notches for the connecting them all together with a brad, as the perfect label for organizing my bins.
I just needed to add a bit of chalkboard so I could change up the labels and I would be in business!
How to Make DIY Chalkboard Organizing Labels
Supplies:
- Spellbinders Platinum 6 machine
- Tiered multiloop bows die
- Coverstock (100lb cardstock)
- Chalkboard spray paint
- Brads
- Look for decorative brads for a little bit of fun
- Chalk
- Storage bins
- The ones I am using in my entryway are from the dollar store. Bonus for super cheap bins!
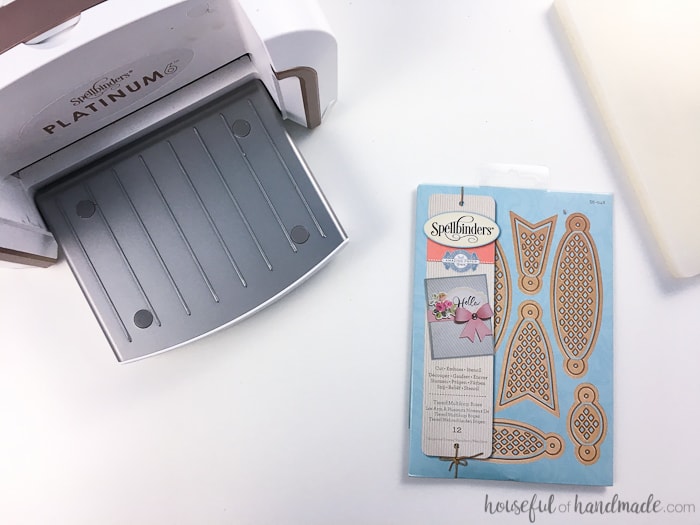
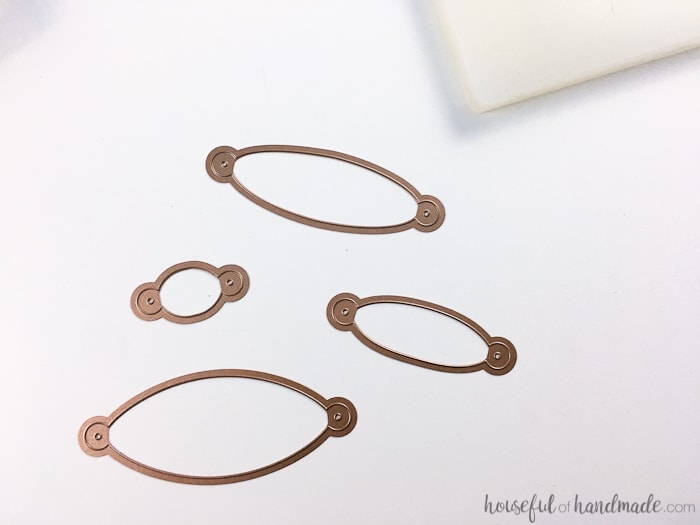
See all the beautiful sized label options you get with this one die! You could make DIY chalkboard organizing labels to organize everything from big to small.
Create a cutting sandwich with the selected die. Start with the platform on the bottom, cutting plate, coverstock, die (facing down), and another cut plate on top. Run it through the machine.
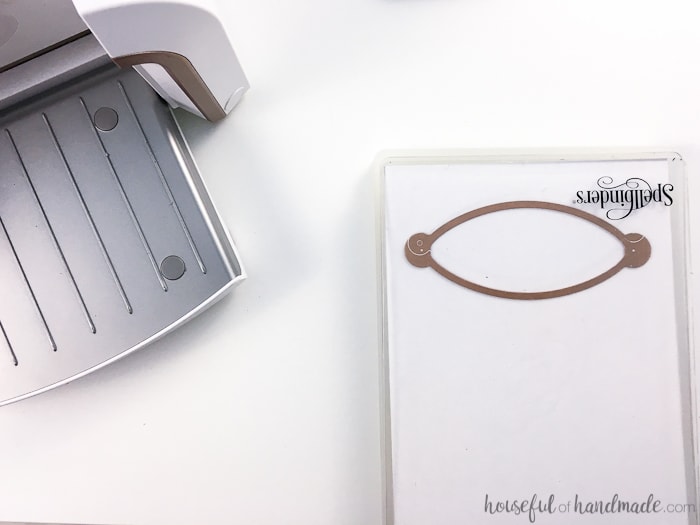
Without pulling the newly cut label from the die, create an embossing sandwich with it. Start with the platform on the bottom, die with the cut paper inside (facing up), embossing mat, and embossing plate on top. Run it through the machine again.
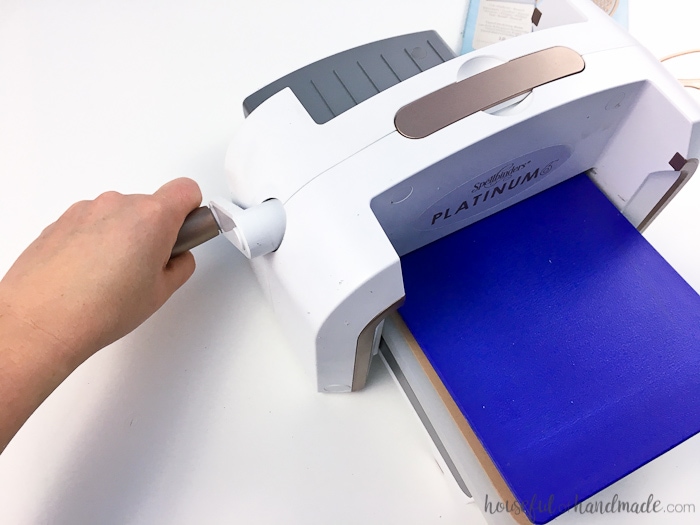
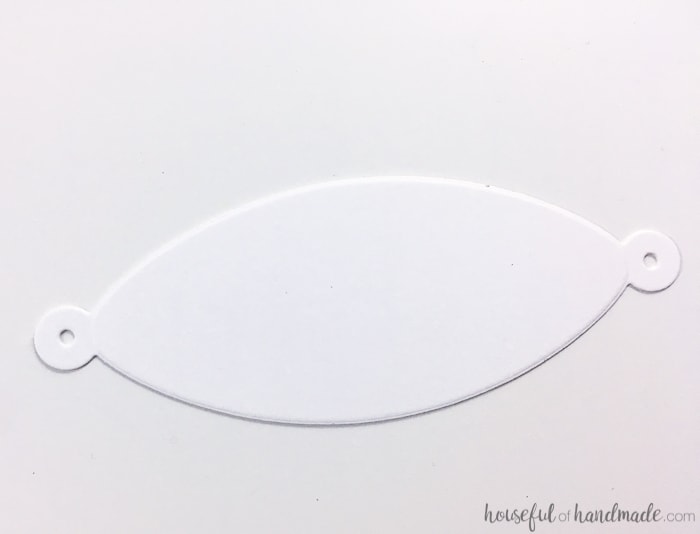
Remove the perfectly cut and embossed label from the die. Repeat for as many organizing labels as you need.
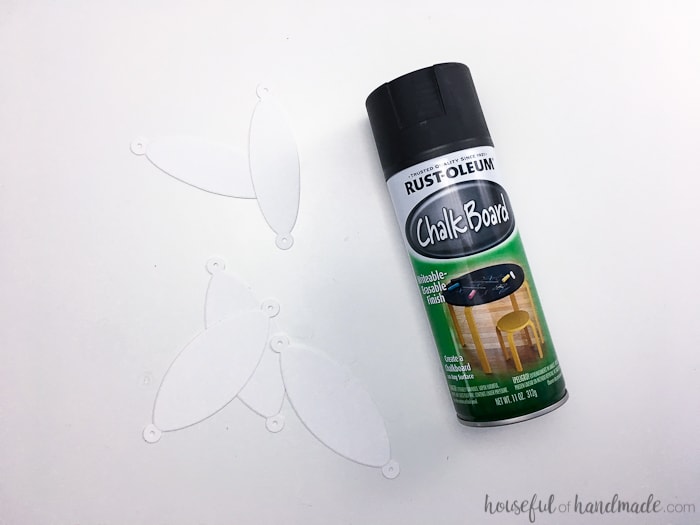
Now it’s time for the chalkboard. I love using spray paint on paper. It is amazing how well the paper responds to it, it doesn’t get curled or wrinkly from the paint.
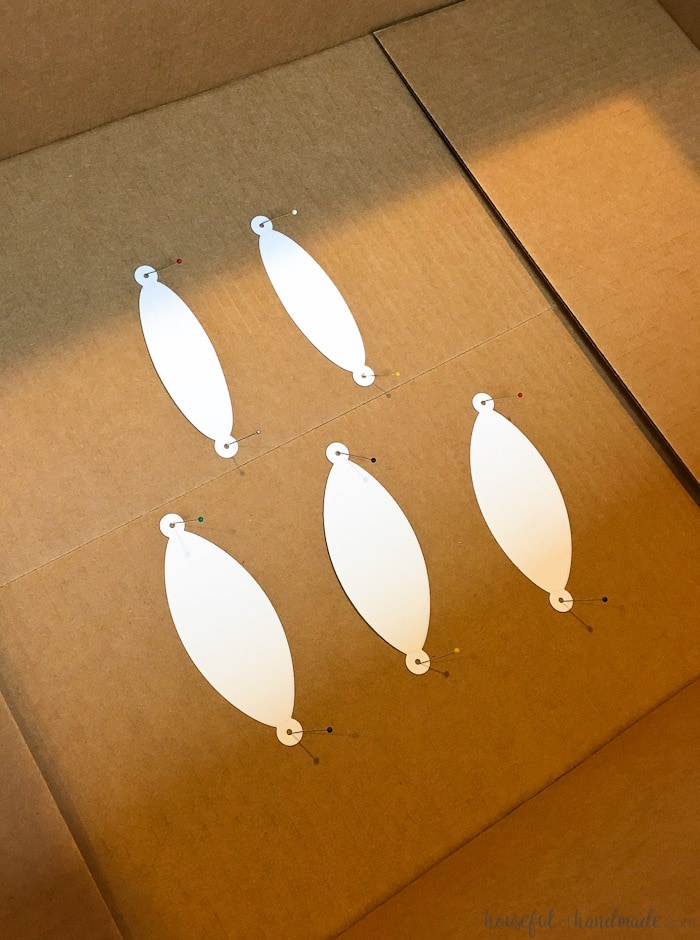
Because you are painting small pieces of paper, the spray paint may push them away like a gust of wind. To solve this problem, place all the labels in the bottom of a box. Use pins through the holes in the sides of the labels to keep them from moving around while painting. The box also keeps the overspray contained. No more ruining your driveway or deck!
The paper is really porous so you will want at least 3 solid coats of paint to create a strong chalkboard coating. Luckily spray paint dries quickly and you only have to wait about 15-20 minutes between coats. Let the final coat dry a bit longer to ensure it is fully dry (I waited about 3-4 hours).
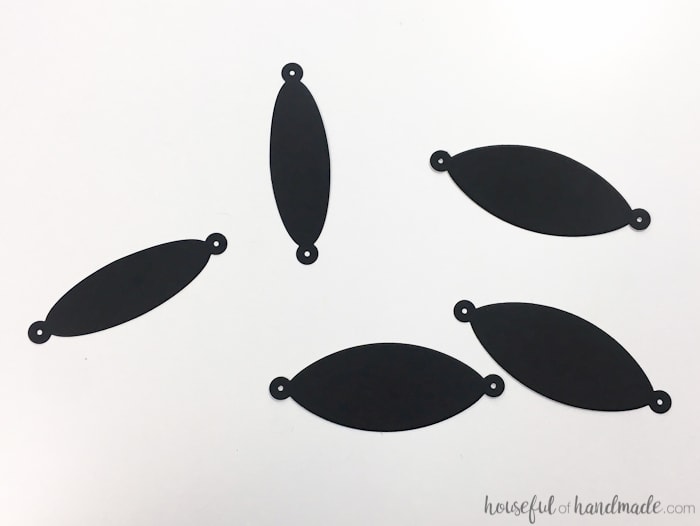
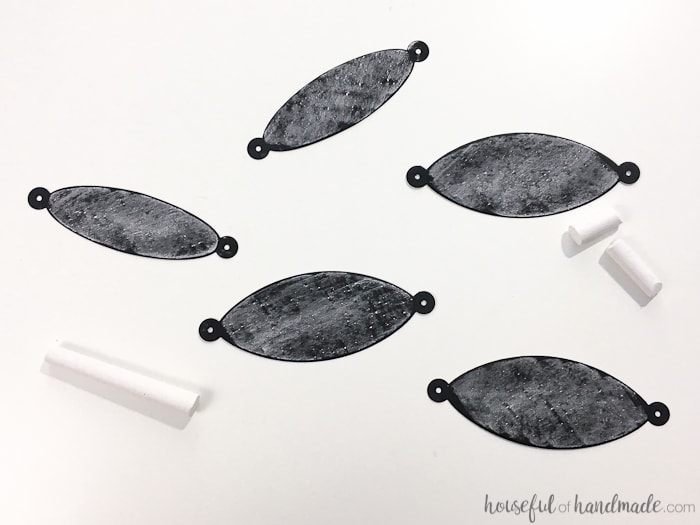
Once they are dry, grab a piece of chalk and prime your cute little DIY chalkboard organizing labels. All you need to do to prime them is to rub the chalk all over the surface.
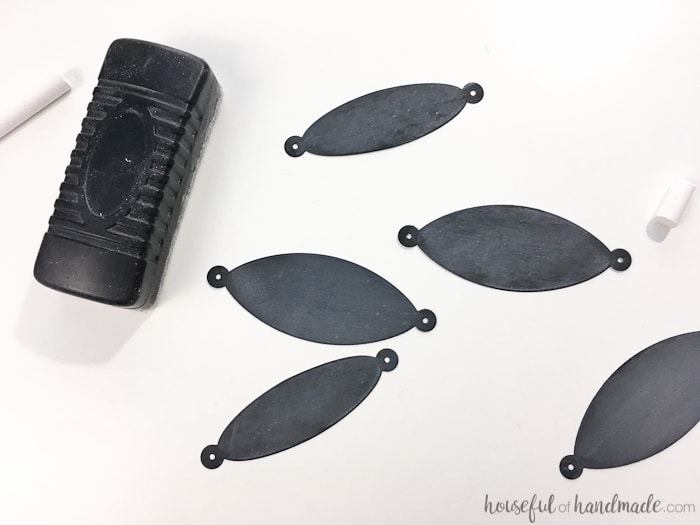
Then erase it off.
Now you are ready to attach them to your bins. My bins are plastic so I was able to use a knife to create a small slit in the bin, then I just inserted the brad through the hole in the side of the label and through the slit. Fold over the tongs on the inside of the bin and your label is ready. If you cannot use a knife to easily cut through your bin, you can also use a drill with a small drill bit to create a hole. Then insert your brad and secure.
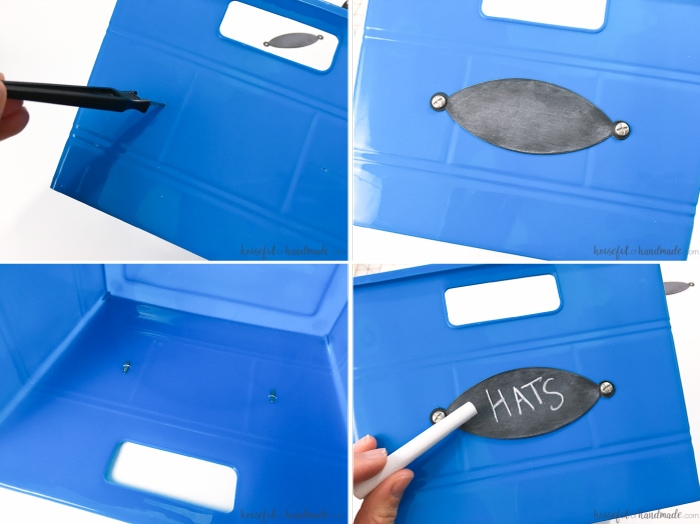
Go ahead and label your bins! It’s so satisfying to have everything so organized. Hopefully this will solve the problem of where to put their gear in the entryway. And as we change things out for each season, I can quickly re-label each bin.
Next month I will be making over my brand new office/craft room for only $100 and you better believe I will be making lots more of these DIY chalkboard organizing labels. Make sure to subscribe to my weekly newsletter so you don’t miss out on any of the amazing, but budget friendly, decorating and organizing ideas.
Time to go organize and DIY some more!


Organizing is even more fun when it’s cute too! #merrymonday
Agreed!
All our hats, gloves and scarves need a good place to go. Thanks for sharing your DIY Chalkboard Organizing Labels at the #HomeMattersParty this week.
I hope this helps! I love having everything put away in their place.
I need these labels for all of our sports equipment! Will put this on the very long crafting To Do.
Thanks Victoria! I hope you get a chance to do some labeling soon 😉
I really need to implement this labeling system for all the totes in my garage!
-Clarissa @ The View From Here
My garage needs lots of labeling too! This would be so easy to do.
Great idea. I am always looking for ways to get organized. Thanks
You’re welcome BonBon! I am always trying to get organized too.
These are so cute, not to mention useful!
Thanks Roxanne! They are super useful, I am slapping them on everything.
Oh now these are too cool! Love the screw head detail. So industrial! And you have to have the nicest “mudroom” I’ve ever seen.
Thank you Corinna! I love the screw head detail too and I am hoping the mudroom will stay so pretty and organized now 😉