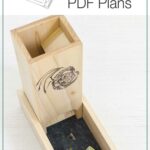
A dice tower might seem silly, but for a game enthusiast, it is a must!
Using a dice tower will prevent people from trying to cheat their roll. And the tray it sits in keeps the dice contained.
So for Christmas this year, I decided to make one for my DnD loving son. It was such a fun project and I know he will get lots of use from it.
This post may contain affiliate links. As an Amazon Associate I earn from qualifying purchases. Click here to read my full disclosure policy.
And this project is the 4th easy DIY gift idea I am sharing for DIY Gift Week. Make sure to check out the others gifts shared below.
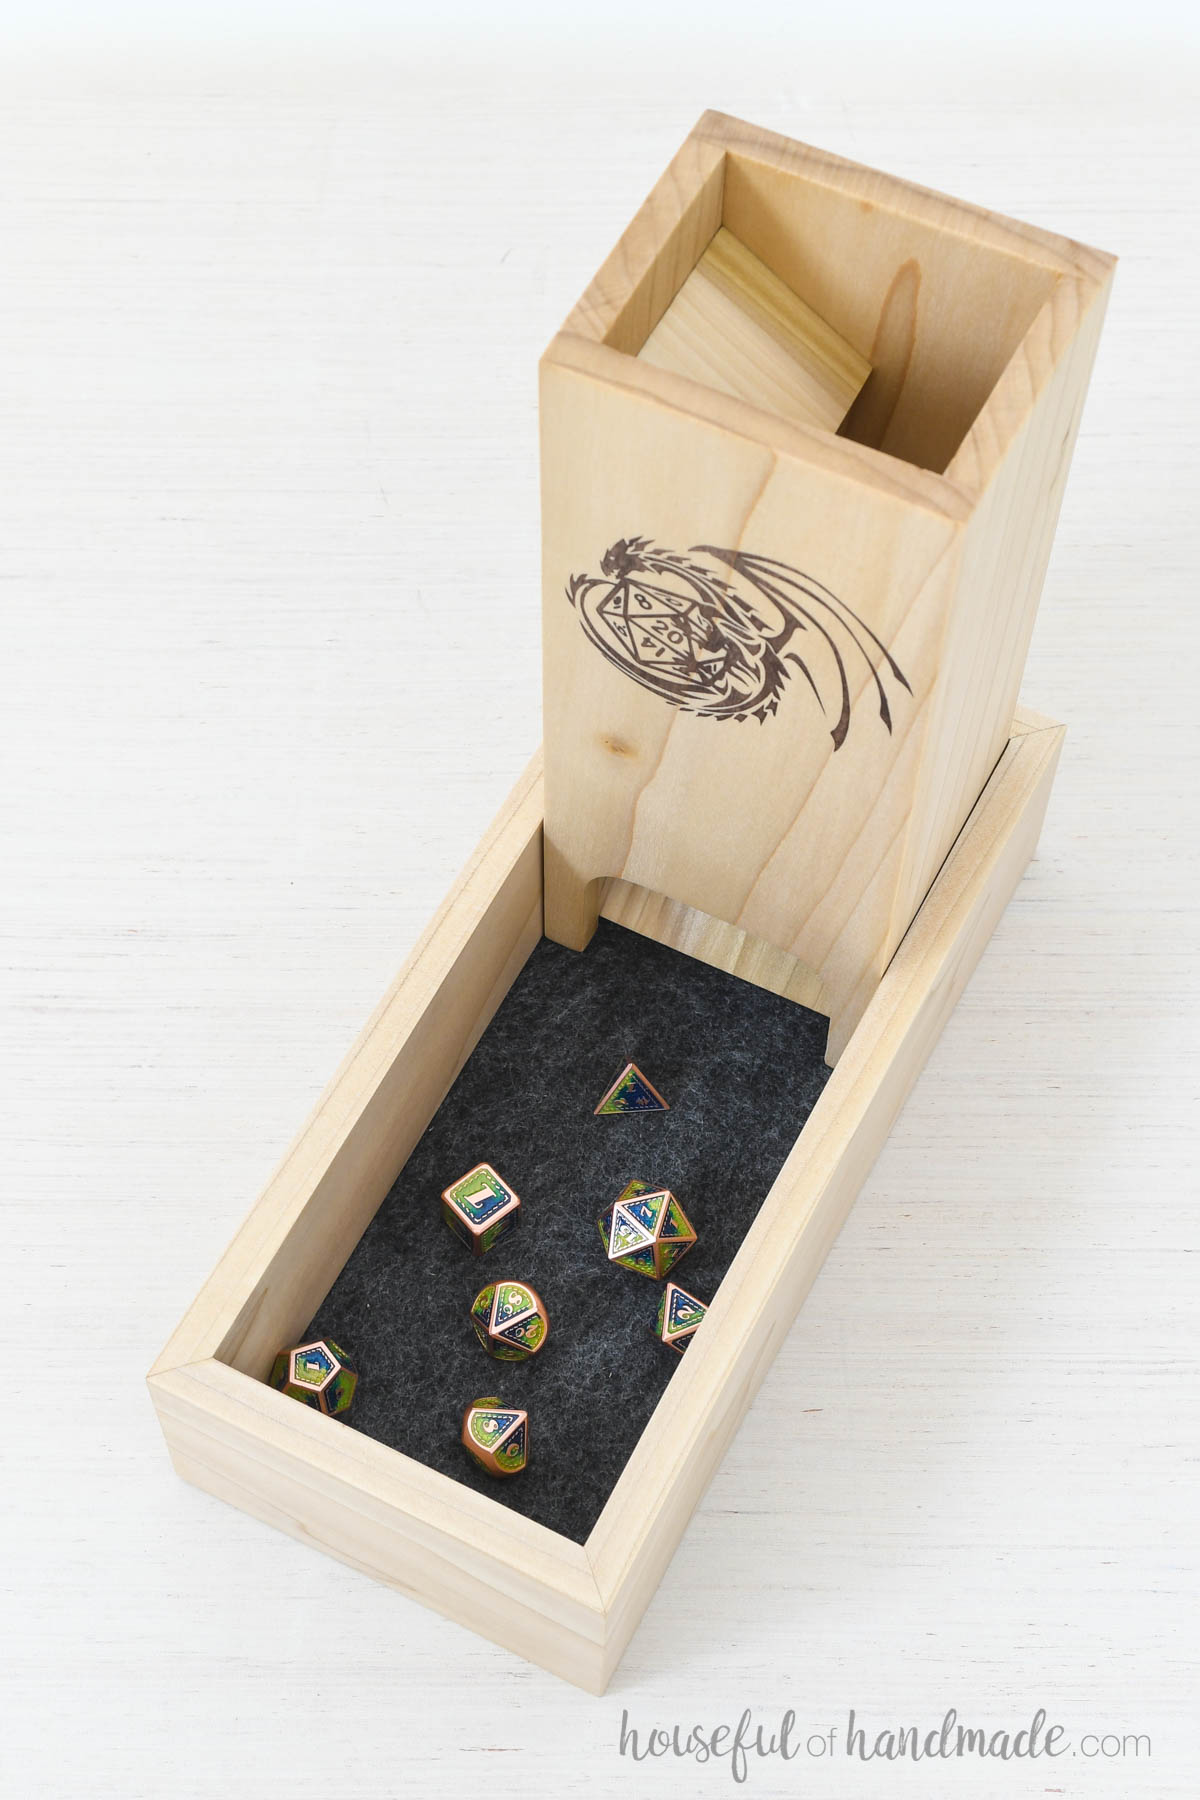
Wooden Dice Tumbler
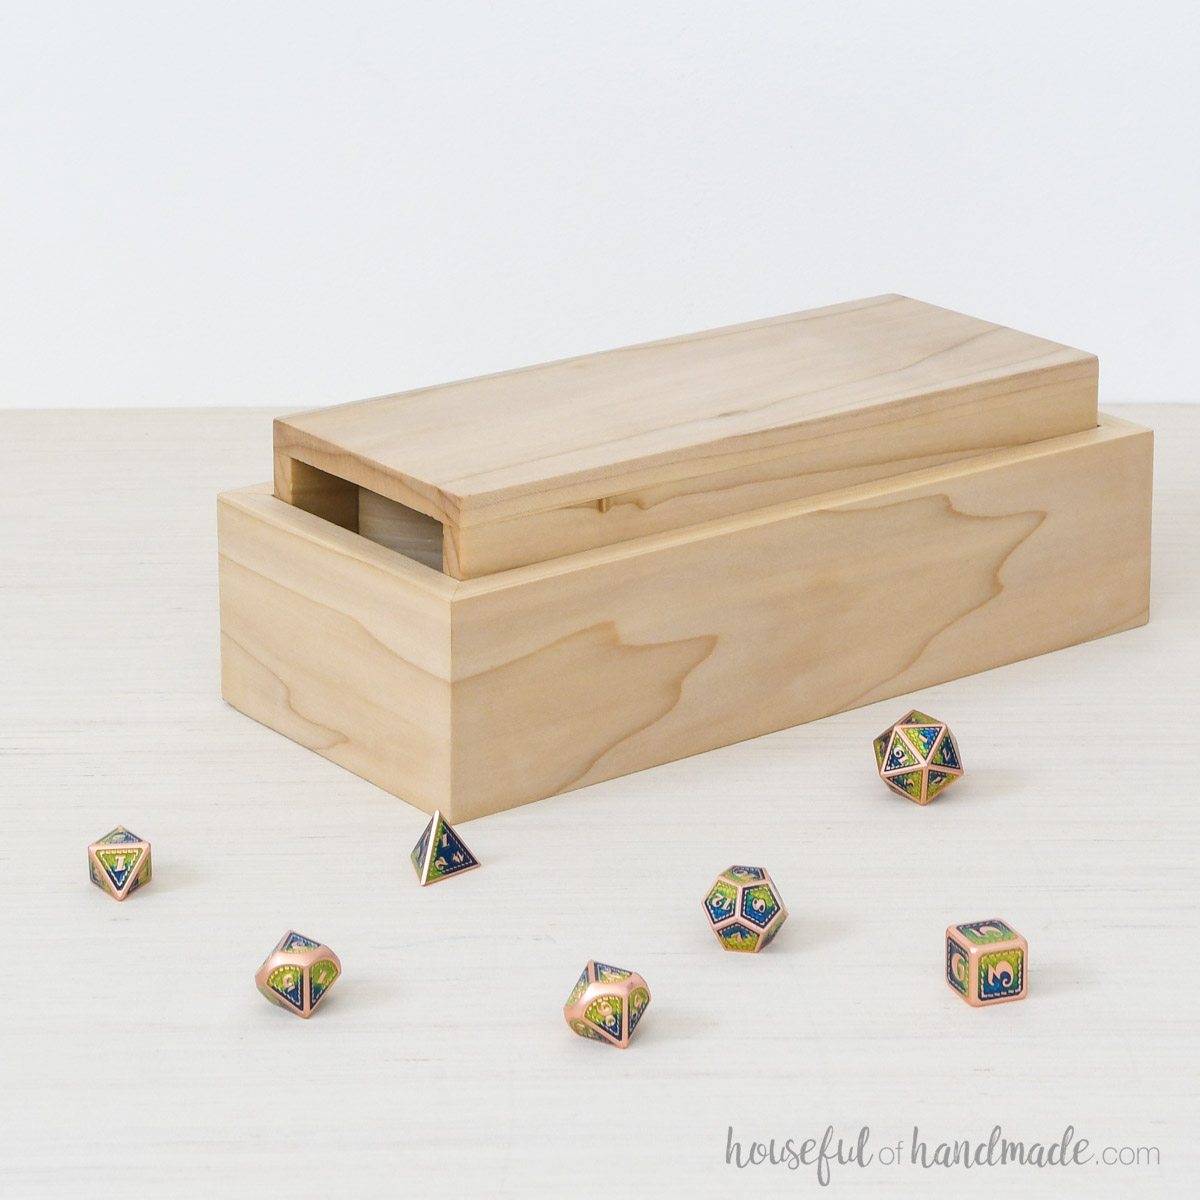
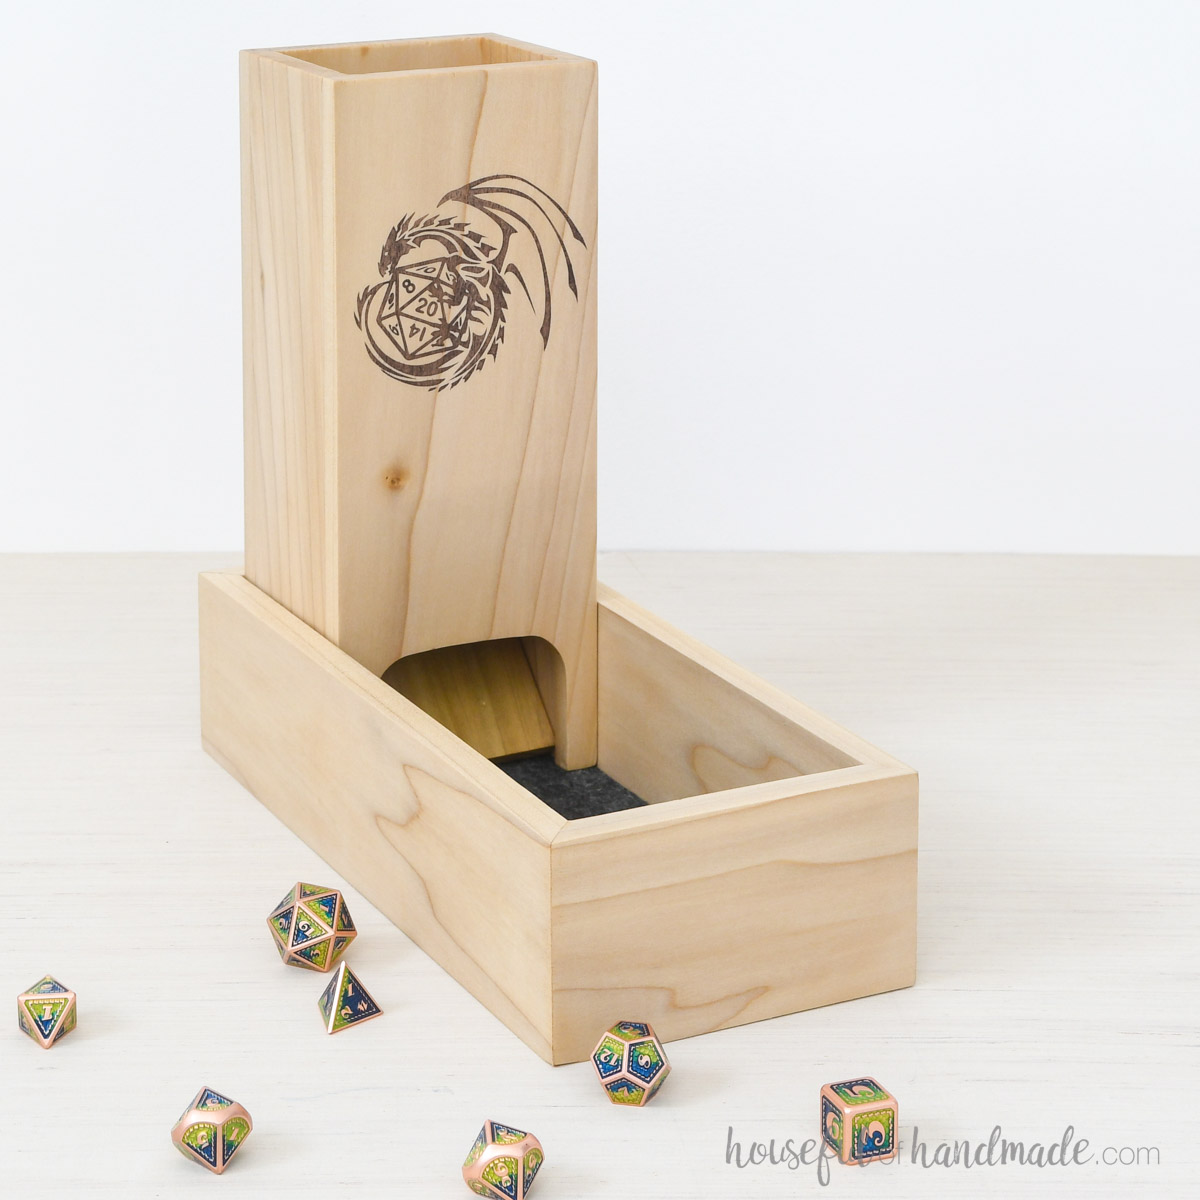
Building a dice tumbler is a fun and easy DIY.
The entire tower was built from 3/8″ thick boards and the tray was built from 1/2″ thick boards.
You can purchase these thinner than standard boards (sometimes called “Project Boards”) at most home improvement stores. Or make them yourself if you have a planer on hand.
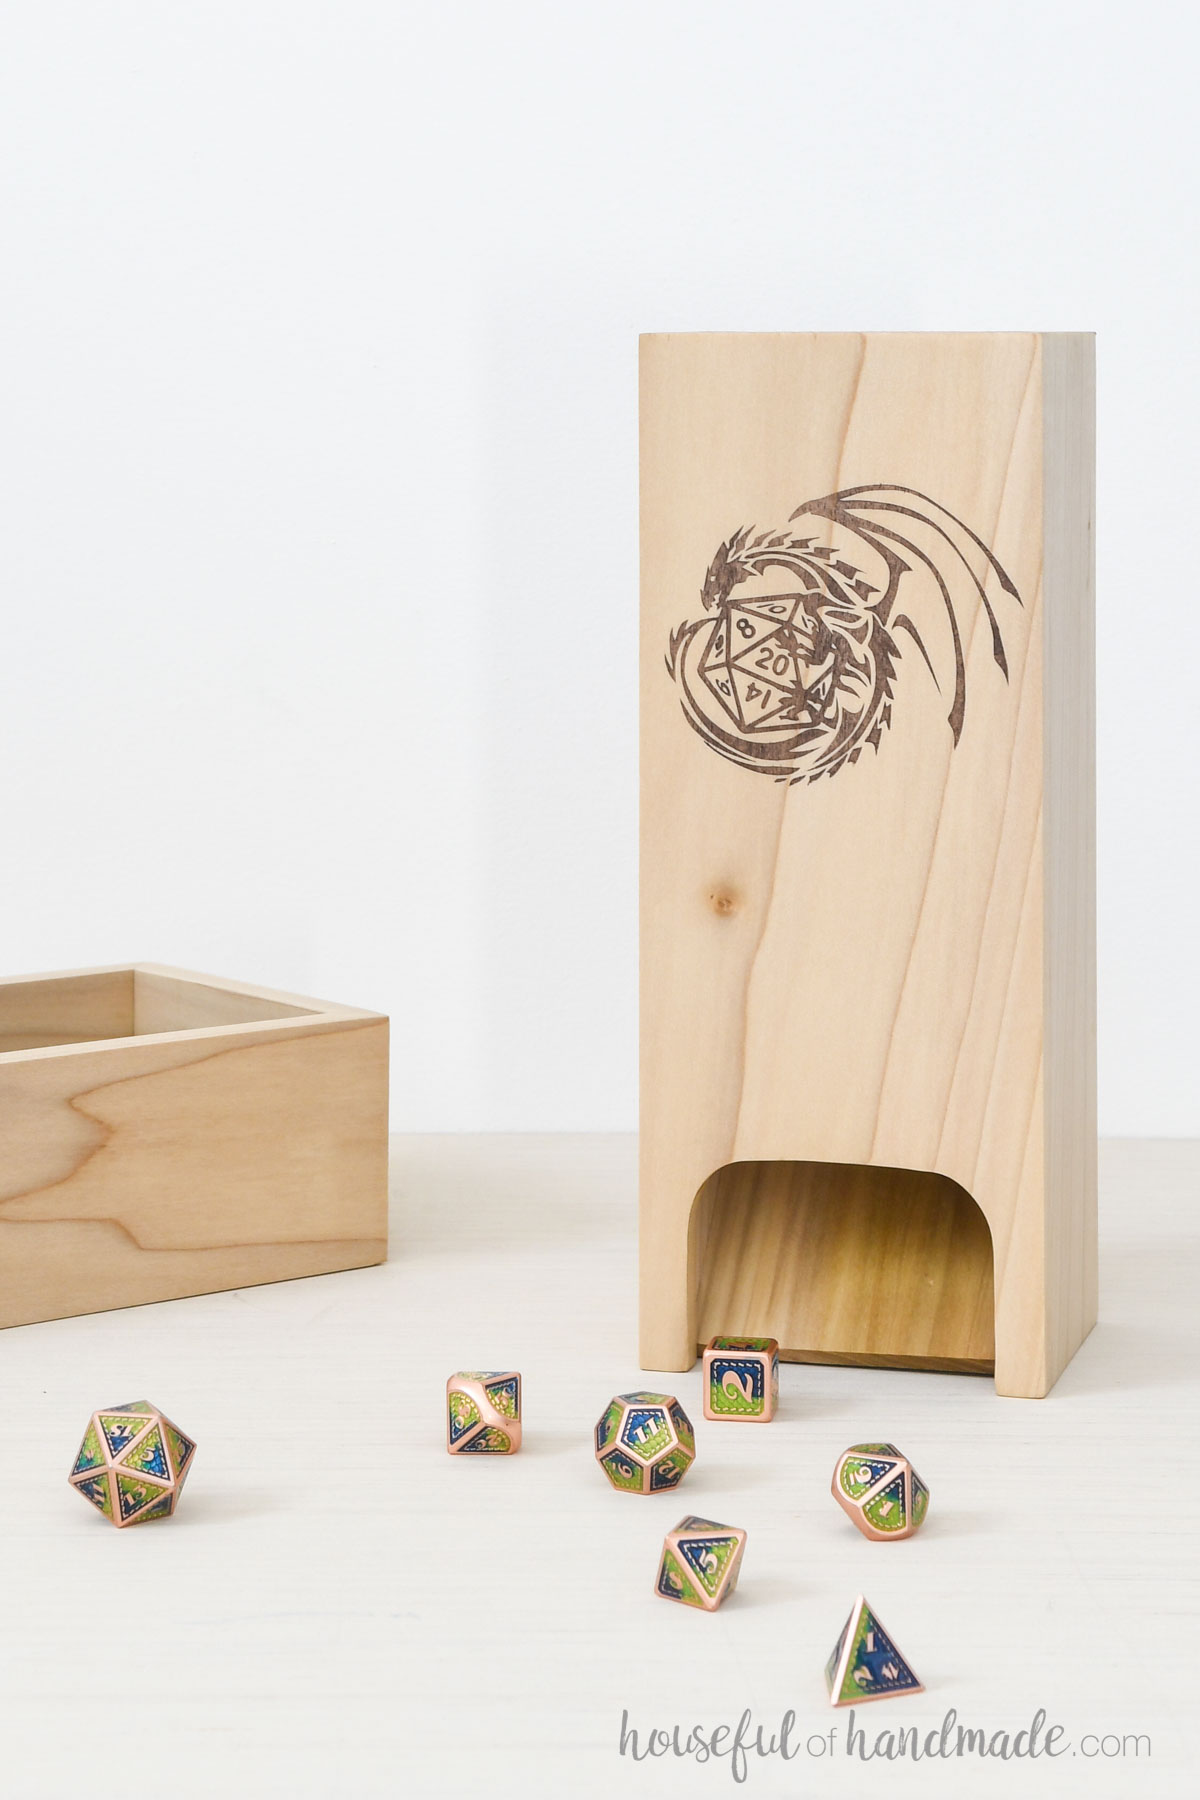
The tray on the bottom of the dice tumbler has 2 uses.
First, when you roll the dice through the tower, it contains them as they exit so they don’t end up all over the table, or on the floor.
Second, the tower can be laid down inside the tray for storage. It will help keep your tumbler nice when not in use.
More Gift Ideas for Teens
For DIY Gift week this week, I am sharing 5 new DIY gift ideas along with my friends from WoodShop Diaries and Anika’s DIY Life. Today we are sharing easy DIY gifts for teens.
It can be hard to find DIY gift ideas for teens. But we have you covered! Check out these great gift options:
How to Build a Dice Tower
Tools & Materials
Recommended Tools:
- Miter saw
- I recently upgraded to this larger sliding miter saw (watch for it to go on sale), but all my projects before were built with this inexpensive miter saw that I loved.
- Table saw
- Jig saw
- Drill
- Multi-mark measuring tool
- Brad nailer
- Sander
Supplies:
- Wood products
- (1) 3/8 x 6 project board, 2′ long
- (1) 3/8 x 3 project board, 3′ long
- (1) 1/2 x 3 project board, 3′ long
- (1) 1/4″ plywood piece, 5″ x 11″
- Wood glue
- Painters tape
- Felt
- Tacky glue
- Optional (to add a design to the front):
- Vinyl cutter (I used a Silhouette Cameo)
- Stencil vinyl with transfer paper
- Water-based wood stain
Overall Dimensions
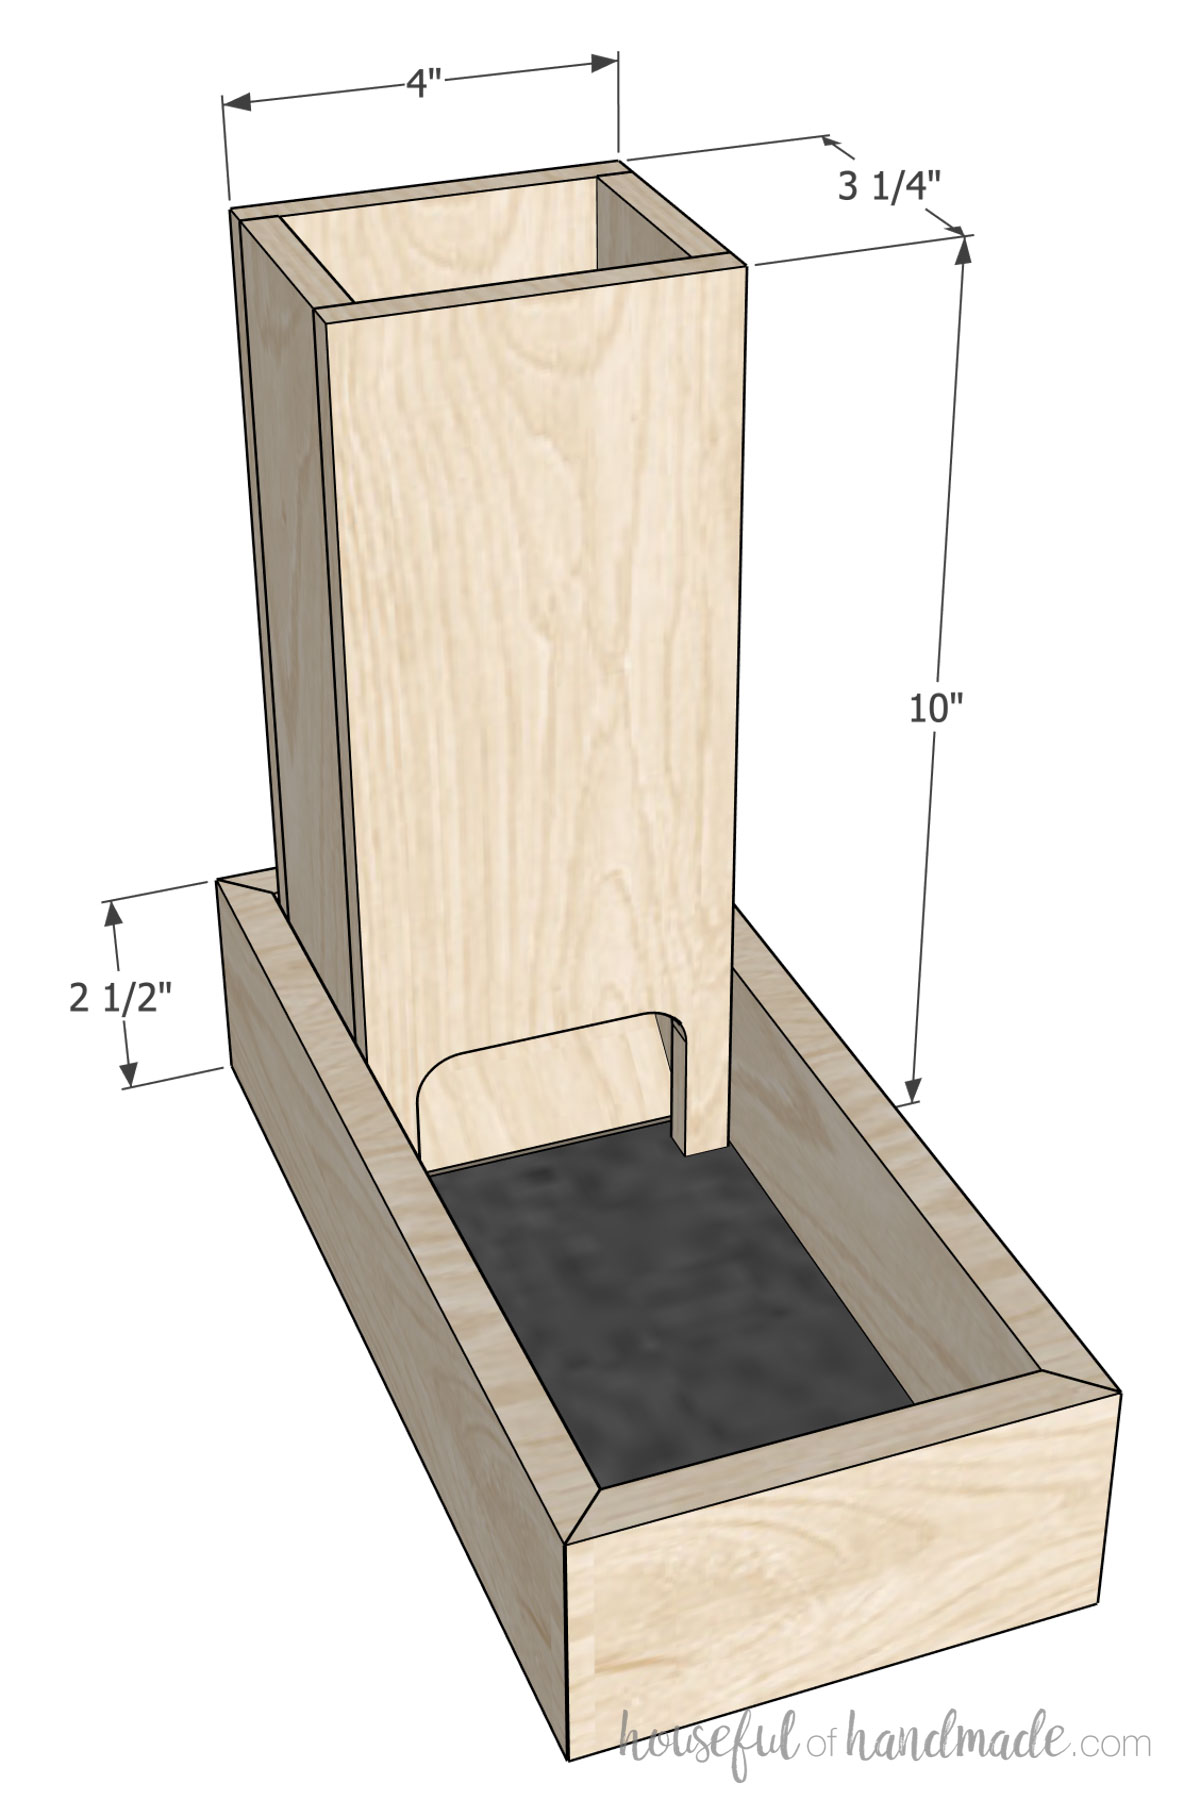
The finished dice tower is 10″ tall by 3 1/4″ deep and 4″ wide. The tower lays flat inside the 2 1/2″ deep tray.
Cut List
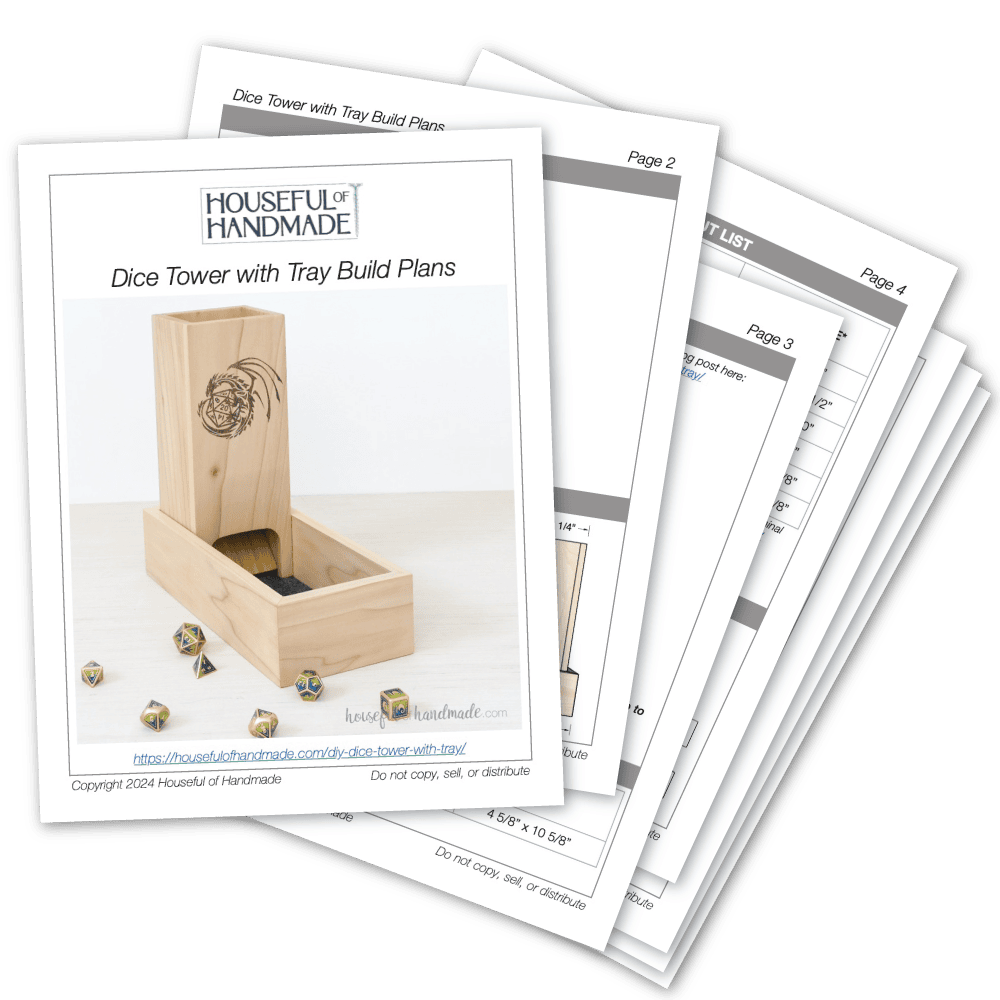
Cut out the pieces according to the easy-to-read table in the premium PDF plans.
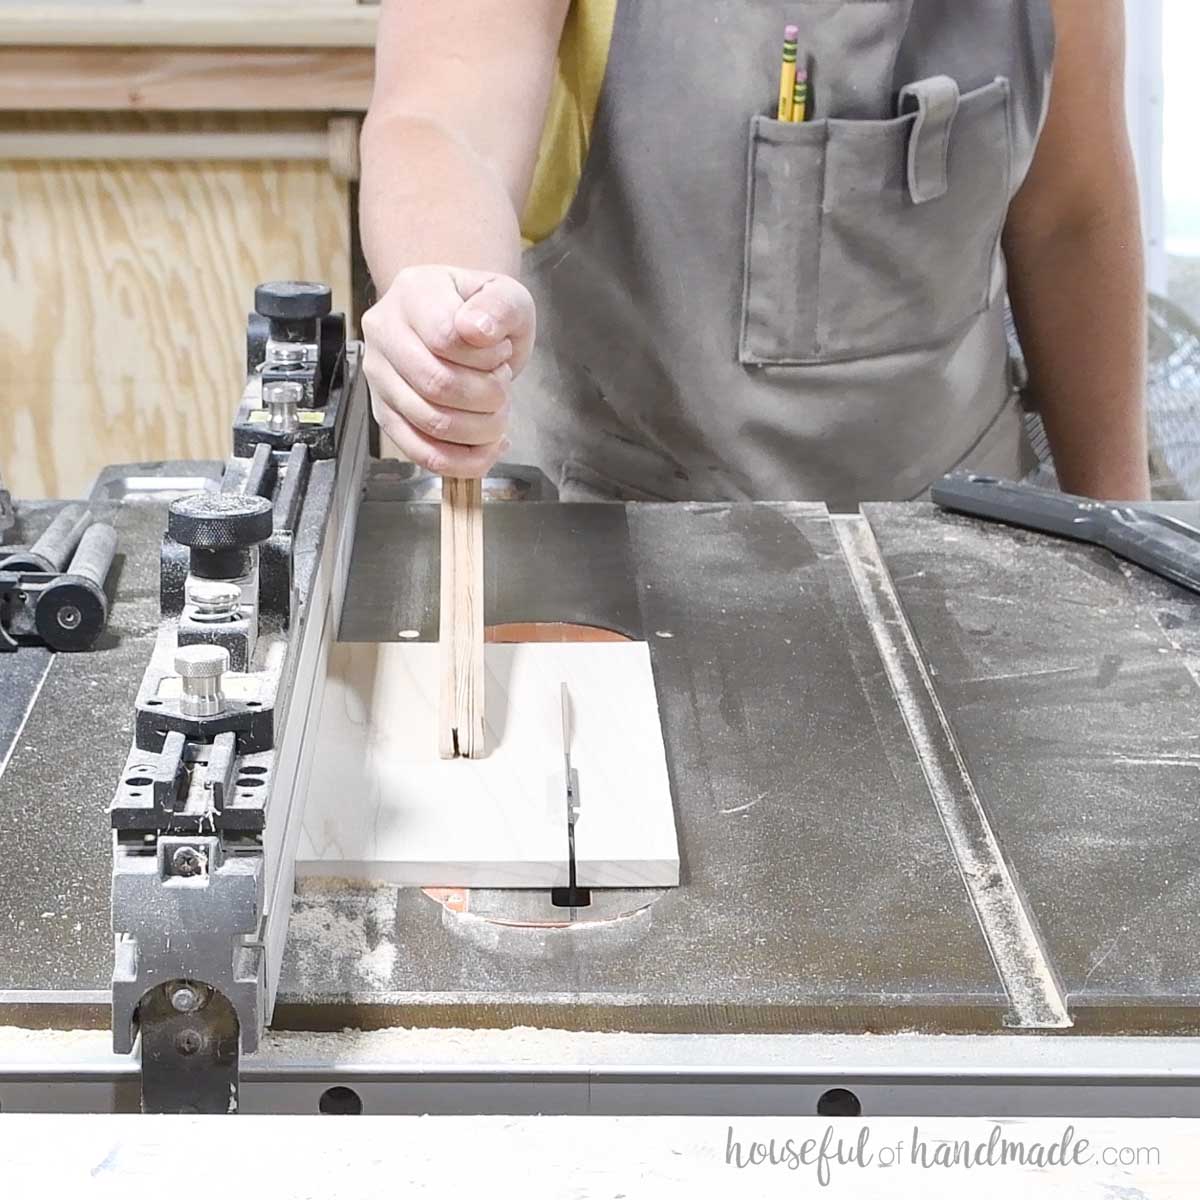
The front and back pieces need to be ripped to width from the 3/8 x 6 board.
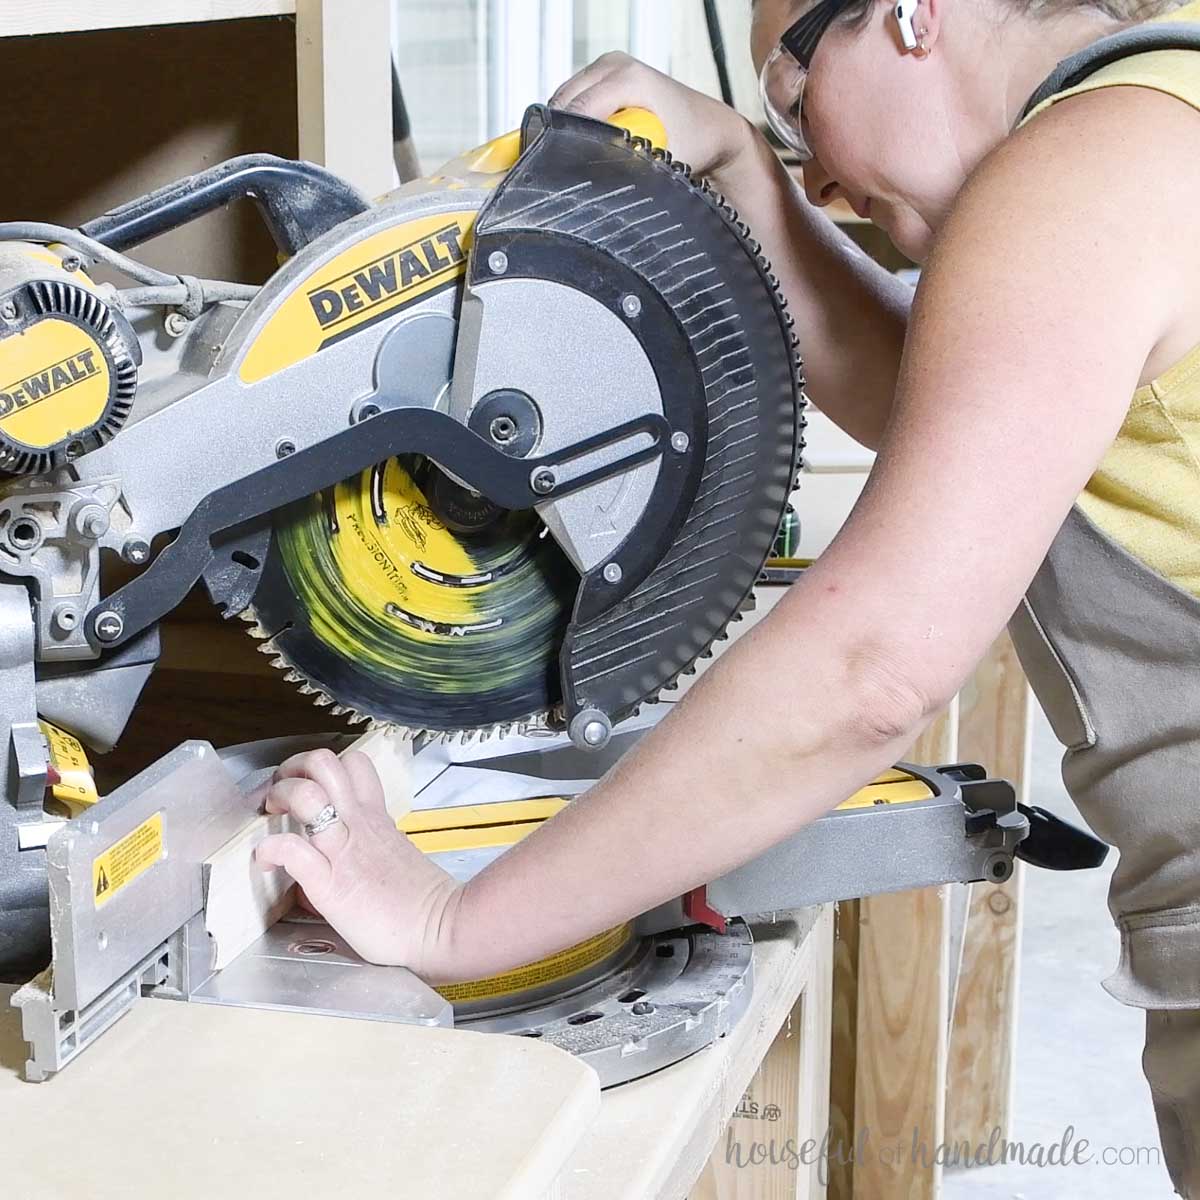
Then I cut the pieces to length on the miter saw.
For the dice ledges and dice chute, one end of each board is cut at an angle.
STEP 1- Build the inside of the tower
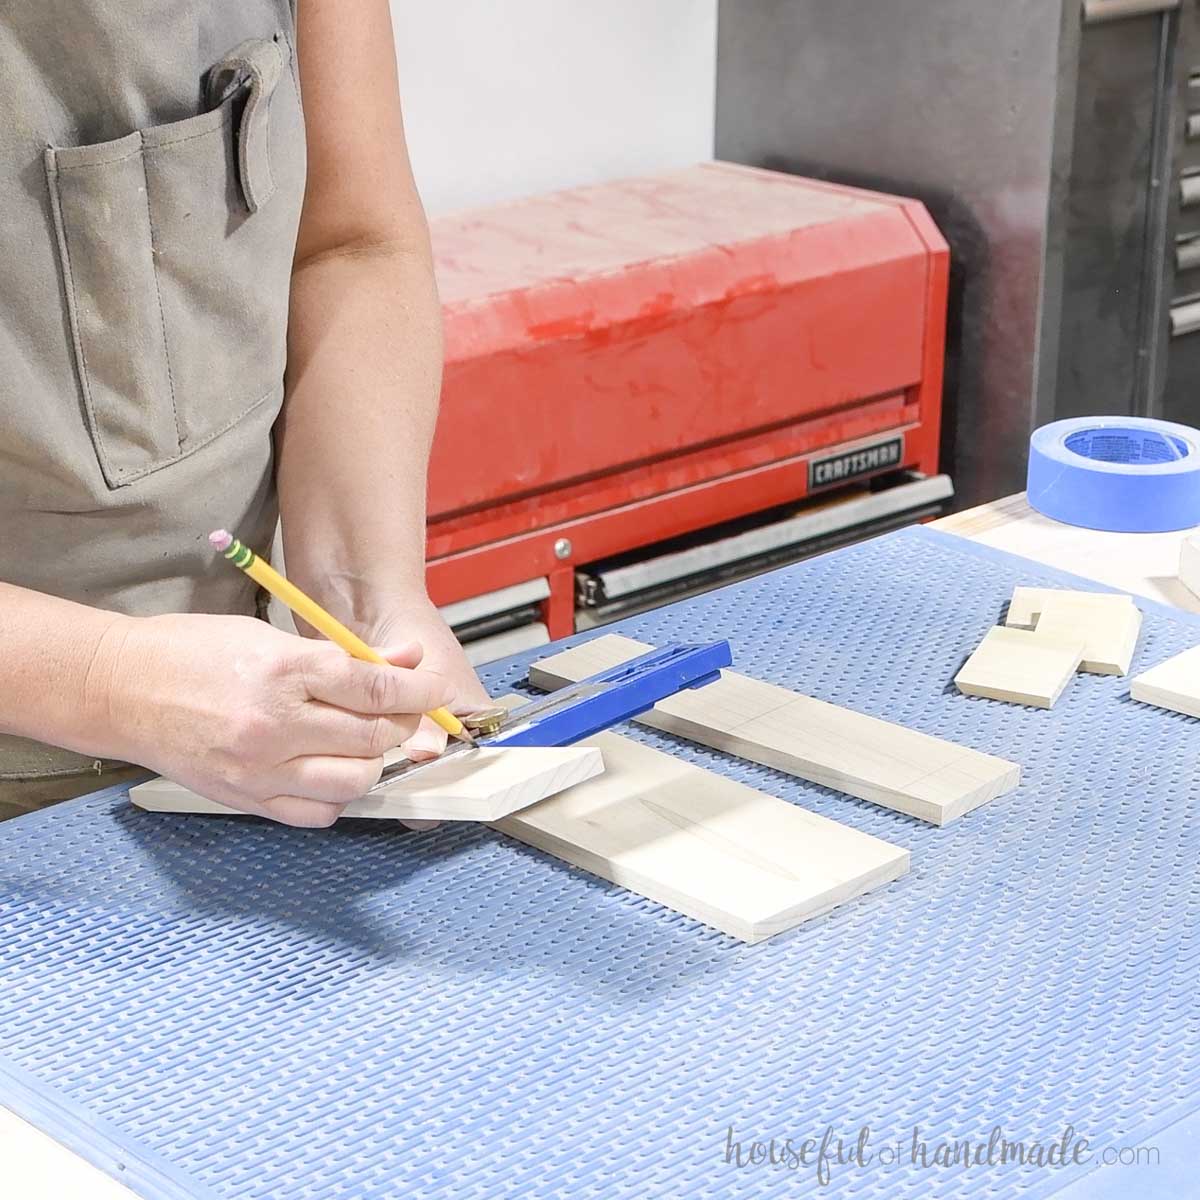
Measure and mark out where the dice ledges will go on the inside of the side pieces.
Add glue to the edges of the back piece and lay the sides on top of it to create a U.
Use blue painters tape as clamps to hold the pieces while the glue dries. Make sure it is flush to the side.
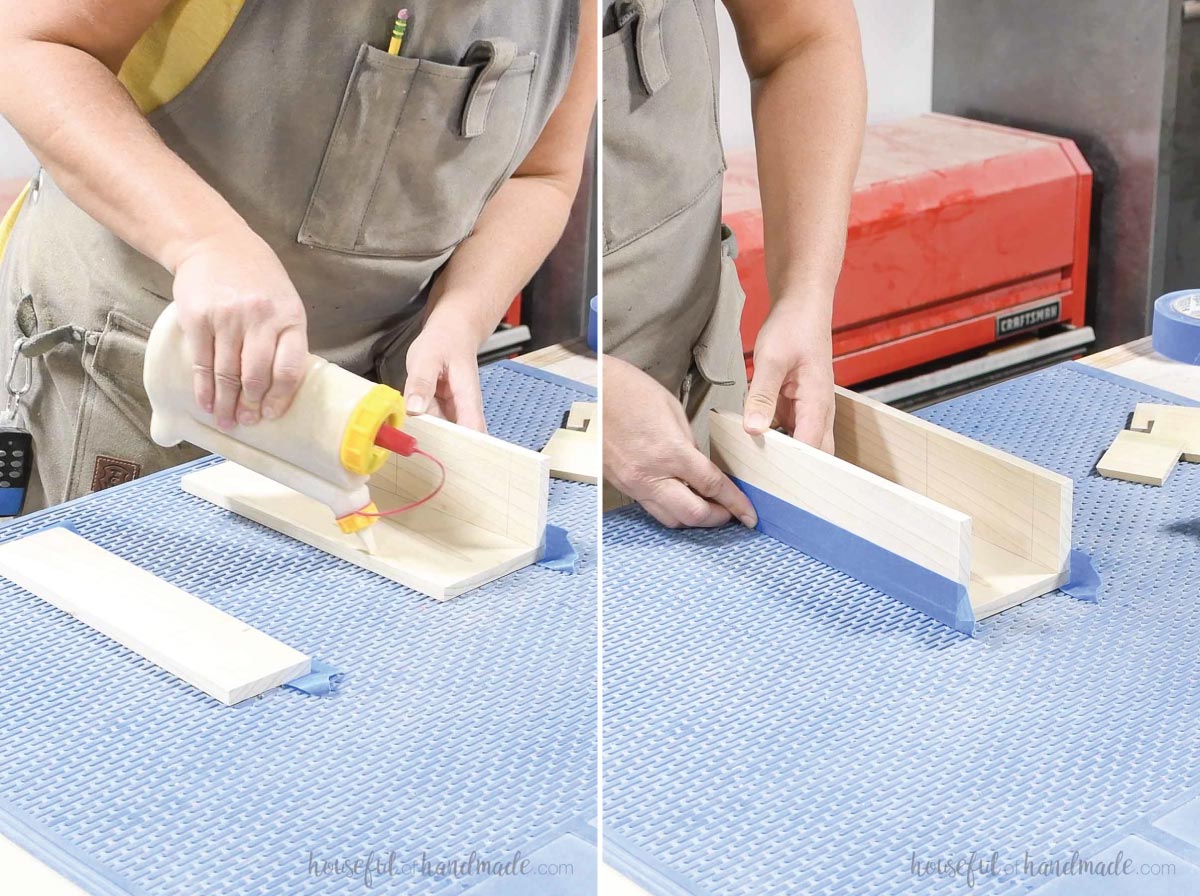
Attach the angled end of the dice ledges to the back and sides with wood glue as shown in the diagram in the plans.
Again, use painters tape to hold them in place while the glue dries.
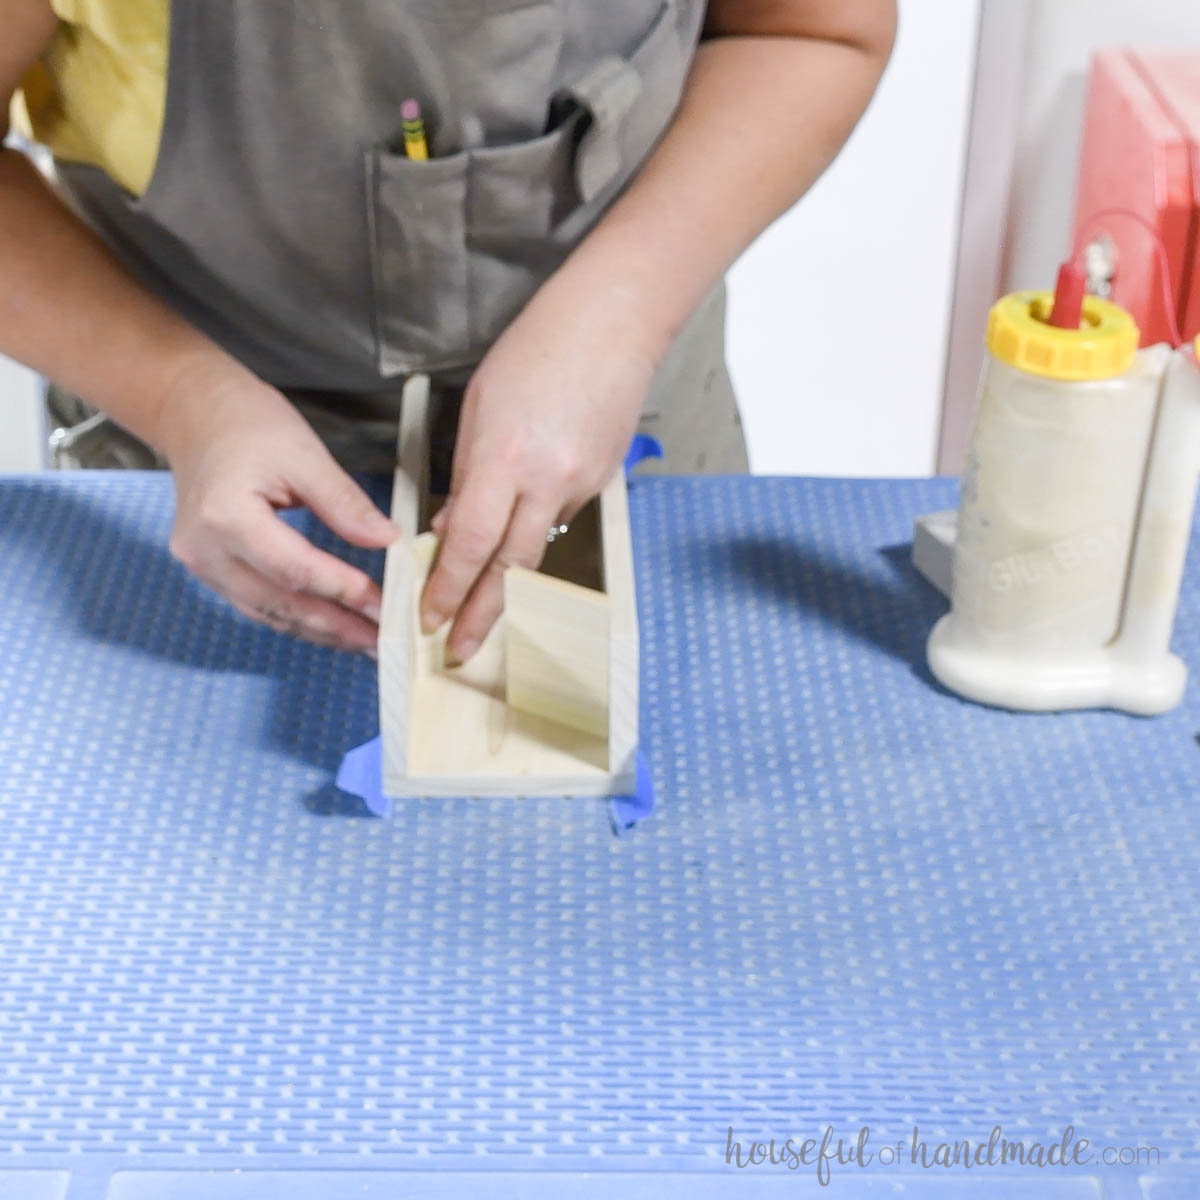
Glue the dice chute inside the tower so the angle is flush to the back and the bottom it flush with the bottom of the sides.
Use tape to hold in place while the glue dries.
STEP 2- Attach the front
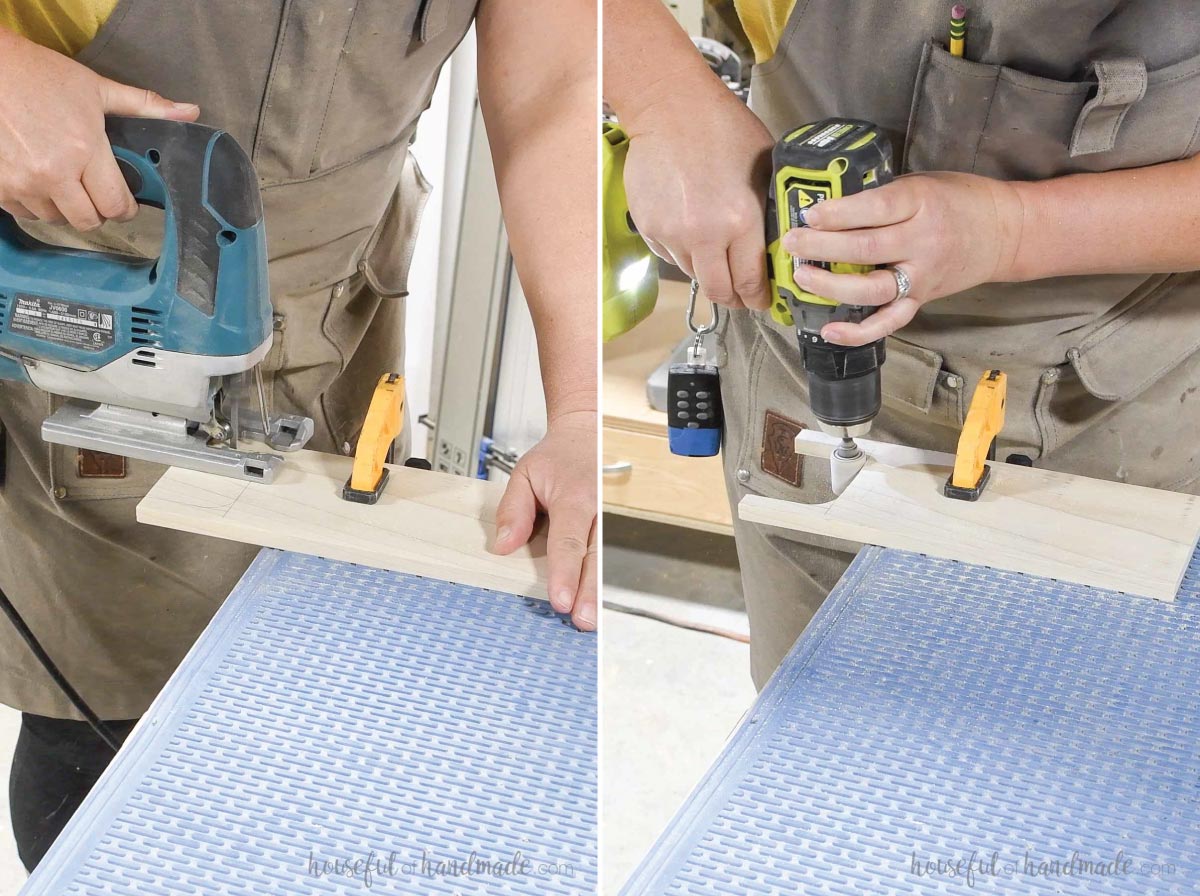
On the front board, draw out the opening for the dice to fall through. I used a small cap to draw the curve in the corners.
Cut it out with a jig saw, then sand it smooth.
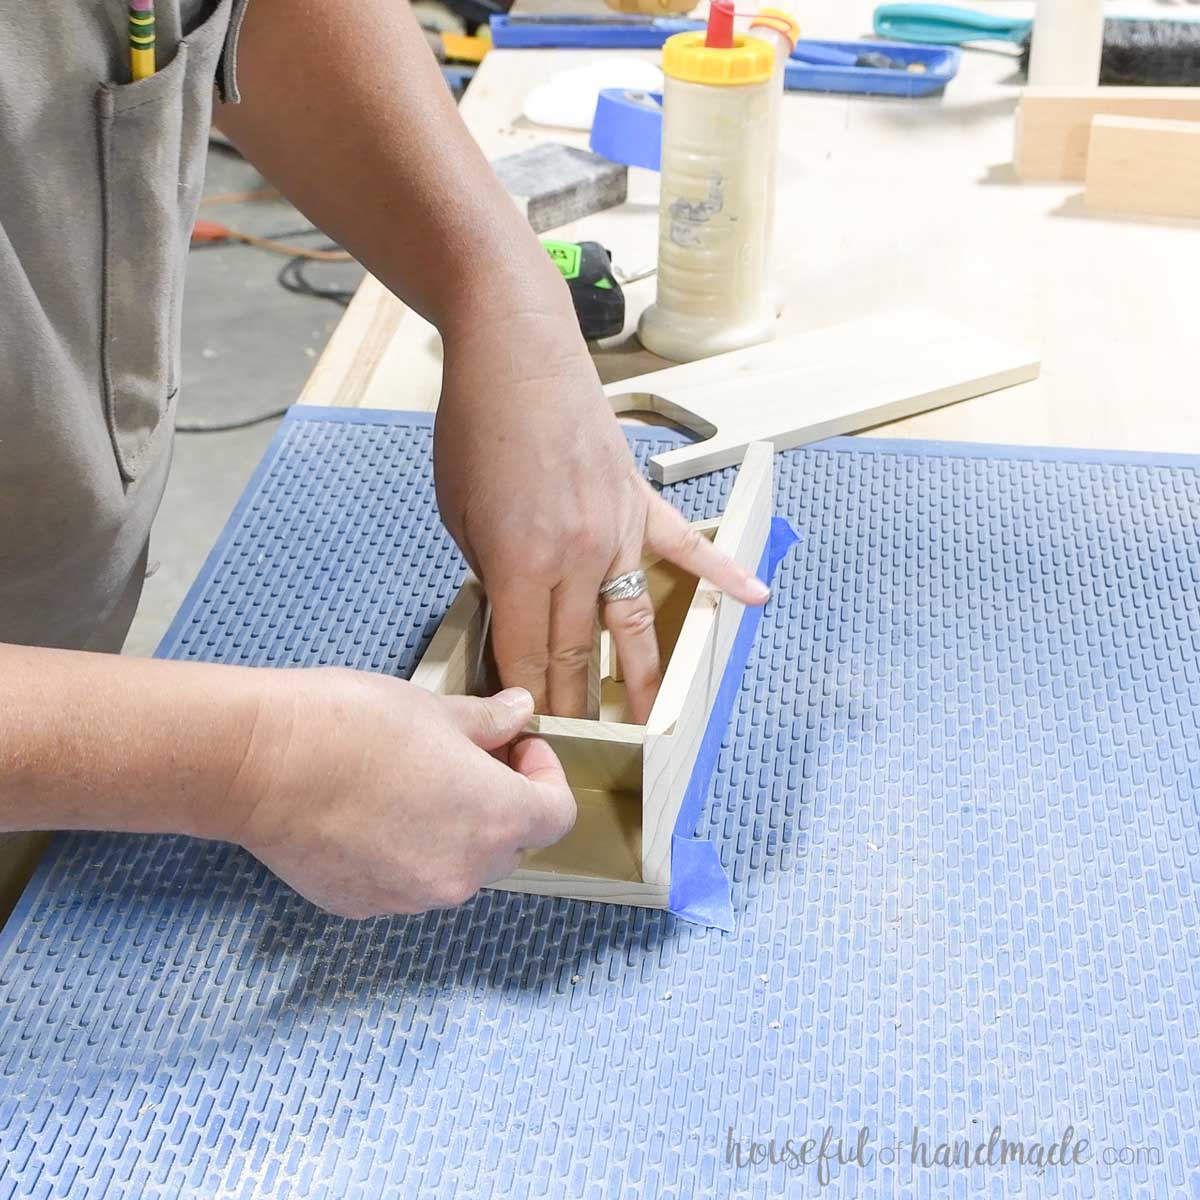
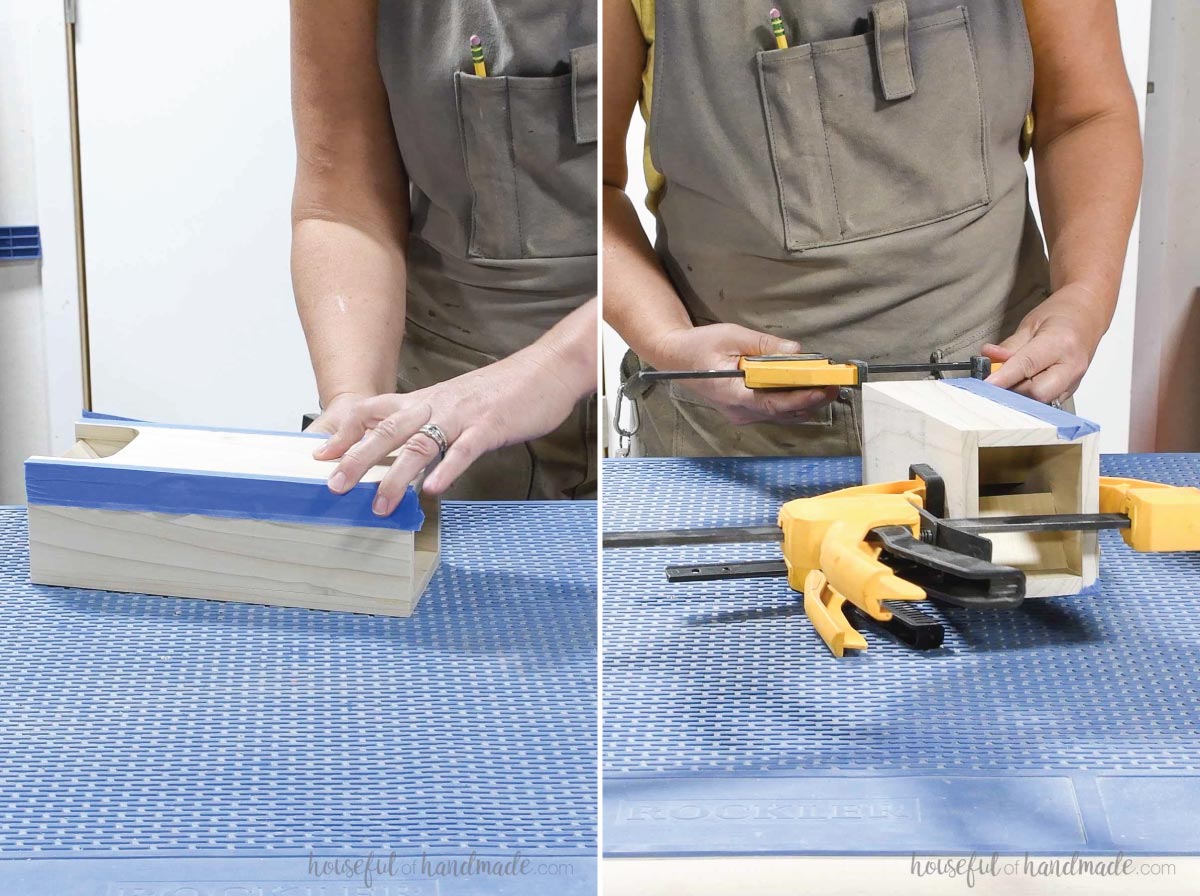
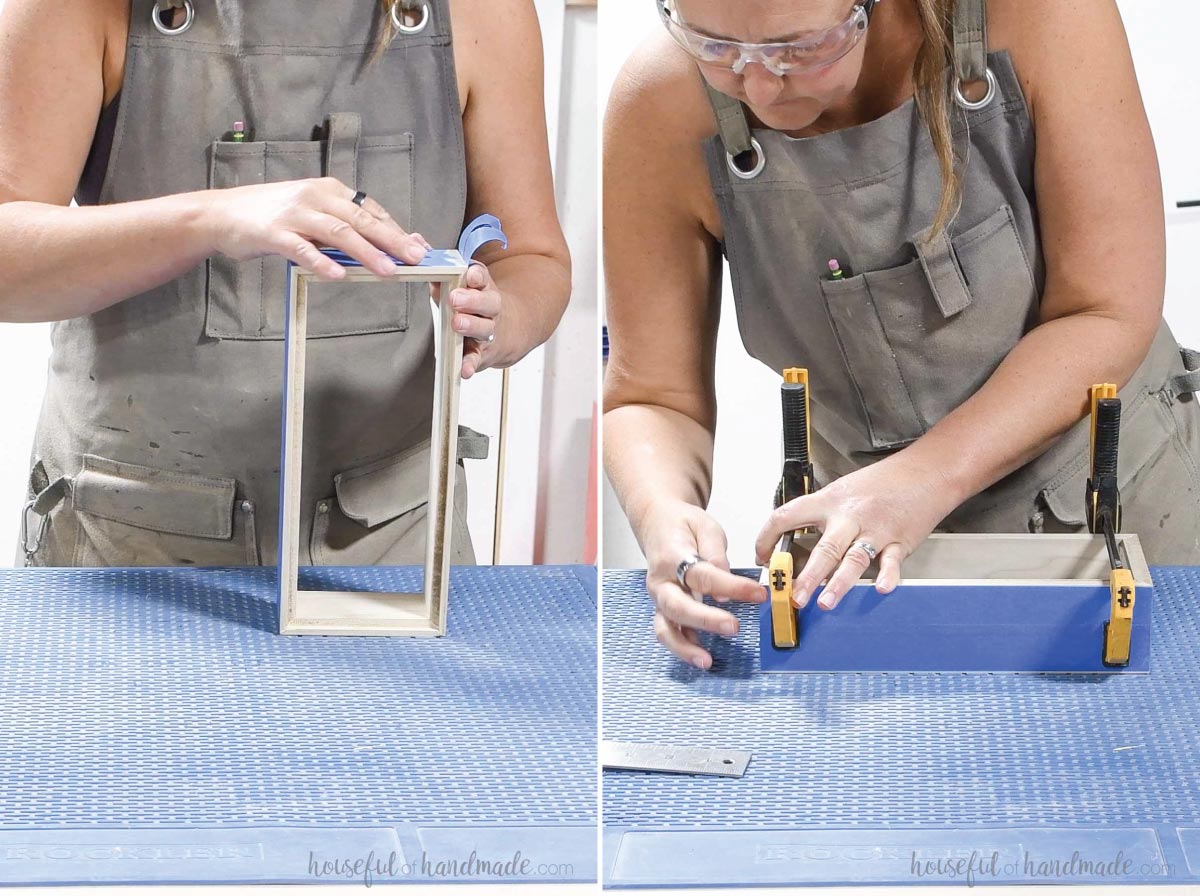
Add glue to the top of the sides and dice ledges. Place the front on and tape in place.

Clamp firmly and allow the glue to dry.
I used the painters tape to hold the boards flush and in place. Then clamped it with a clamp to make sure it was tight.
STEP 3- Build the tray
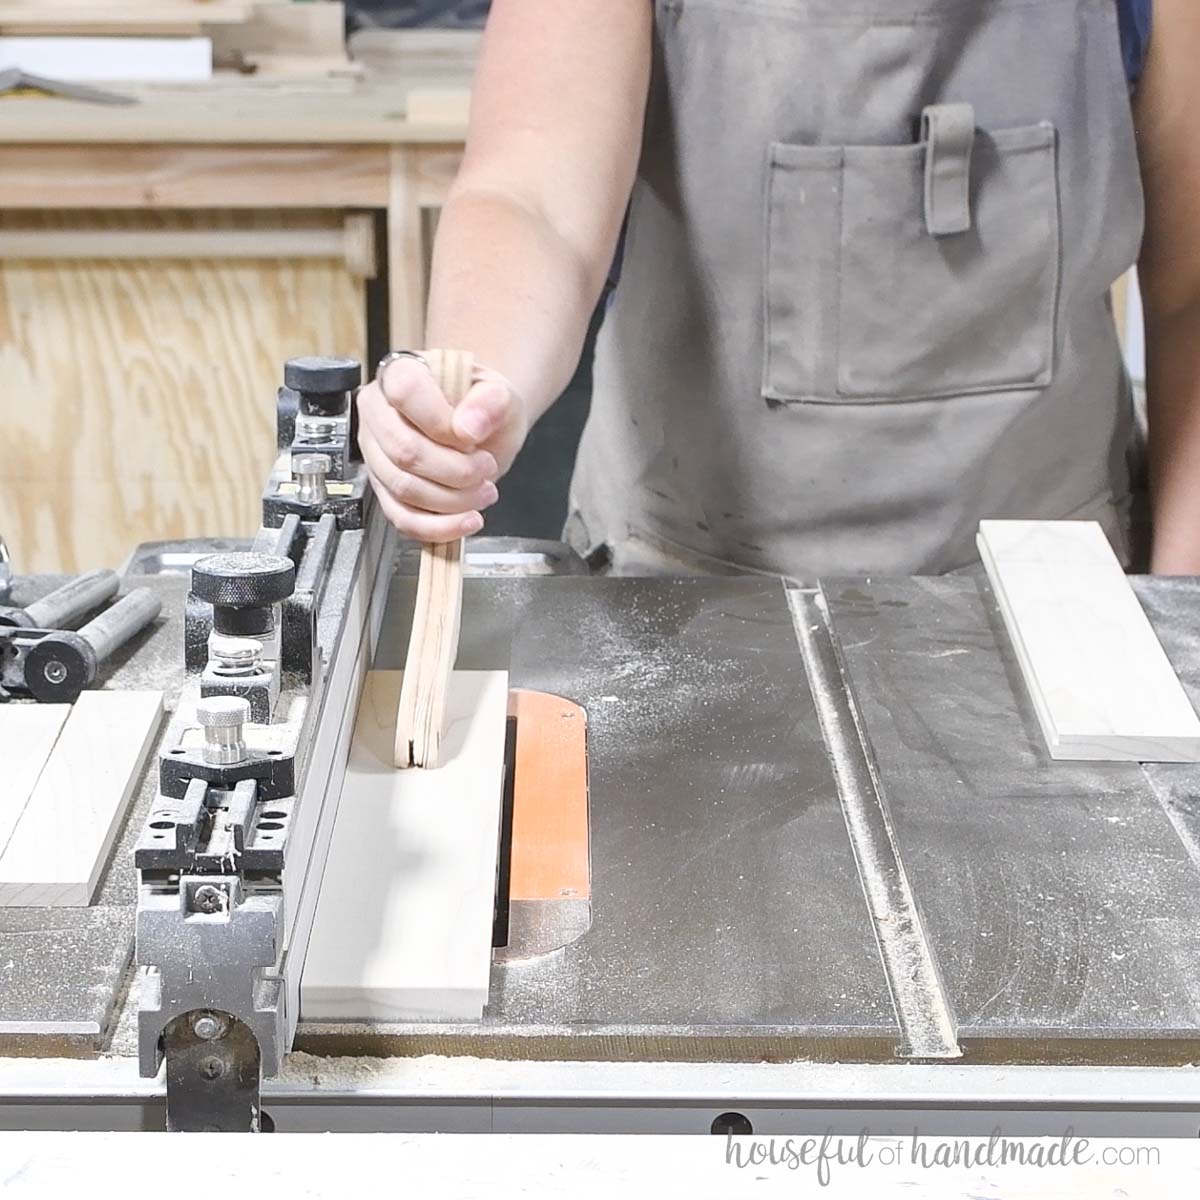
Cut a 1/4” deep groove tall enough for the plywood + felt in the bottom of the 1/2” thick boards.
Then cut the pieces to length with a 45 degree miter in each end as shown below.
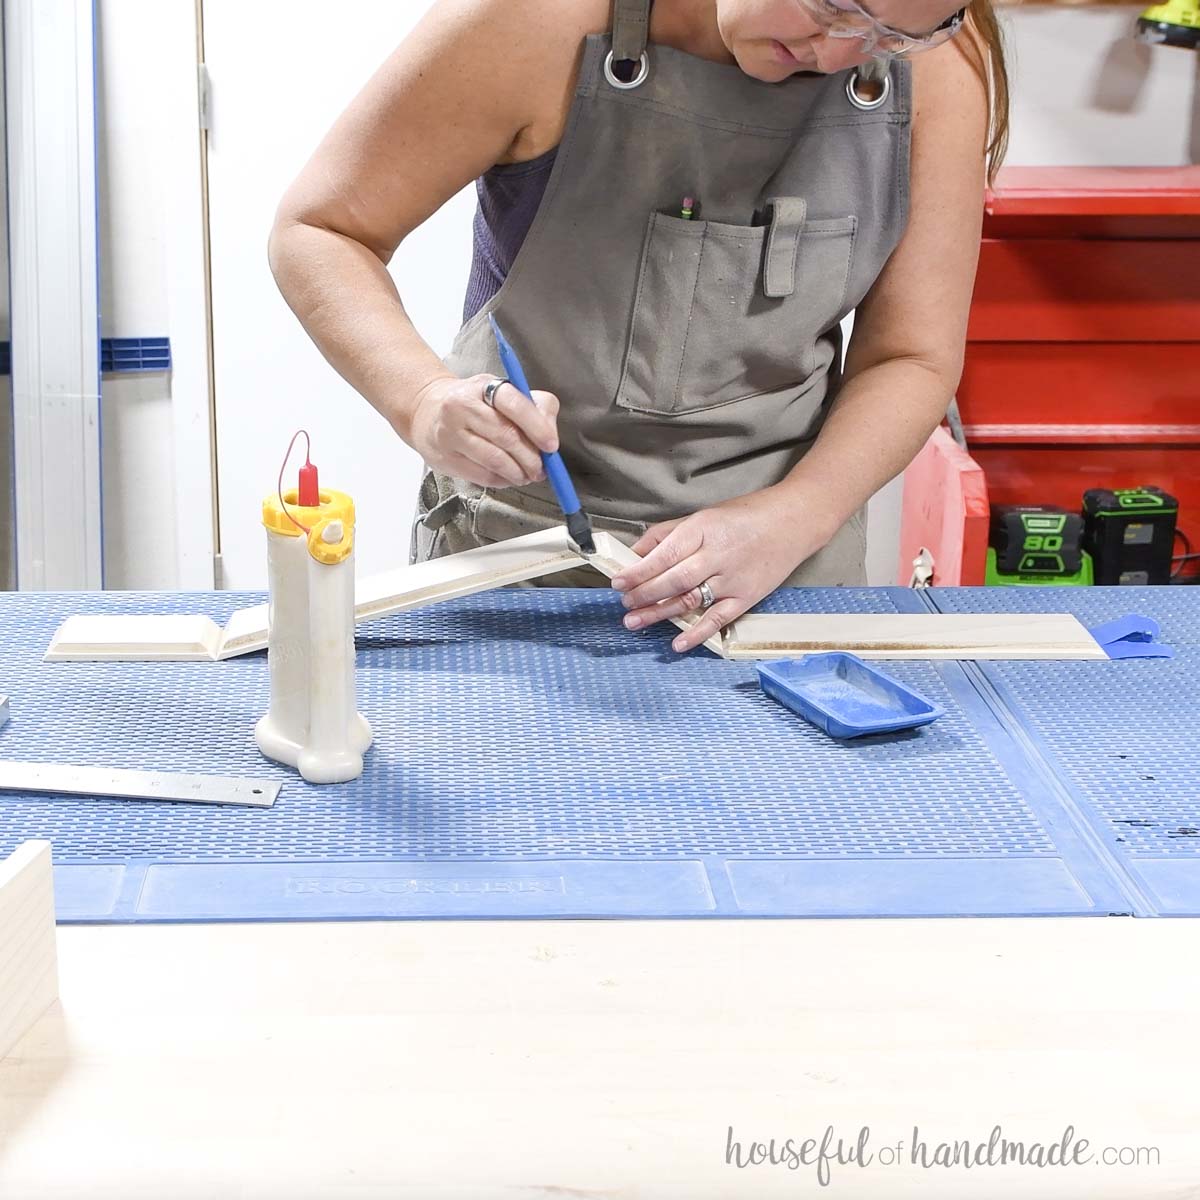
Place long pieces of tape on your workspace and line the pieces up on top of it so they just barely touch in the corners.
Add glue to all the miters. Make sure to add glue to both sides.
Fold the box together using the tape at the seams as hinges. Tape it closed and clamp. Check for square and adjust as needed.
Let the glue dry before removing the clamps and tape.
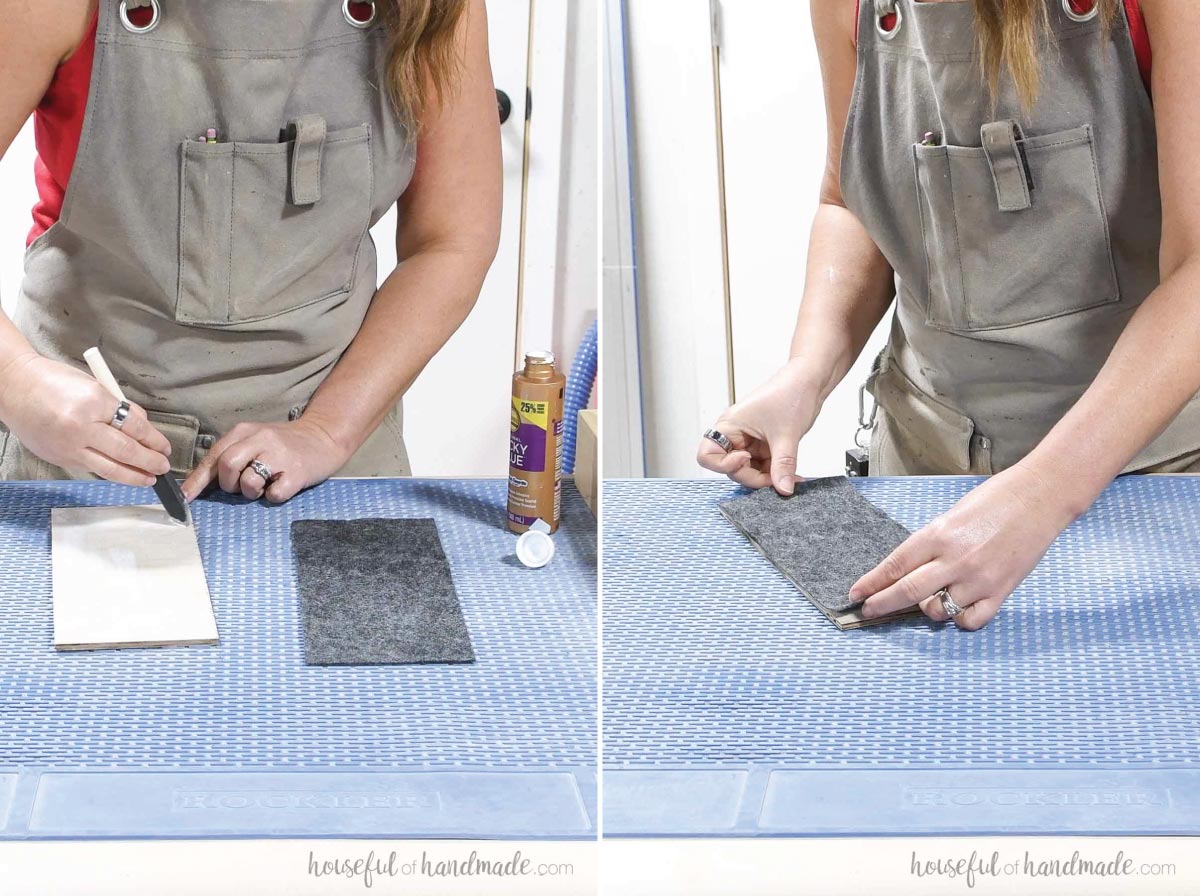
Use tacky glue to adhere the felt to the top of the bottom piece.
Make sure to evenly spread the glue over the entire plywood bottom so the felt stays flat.
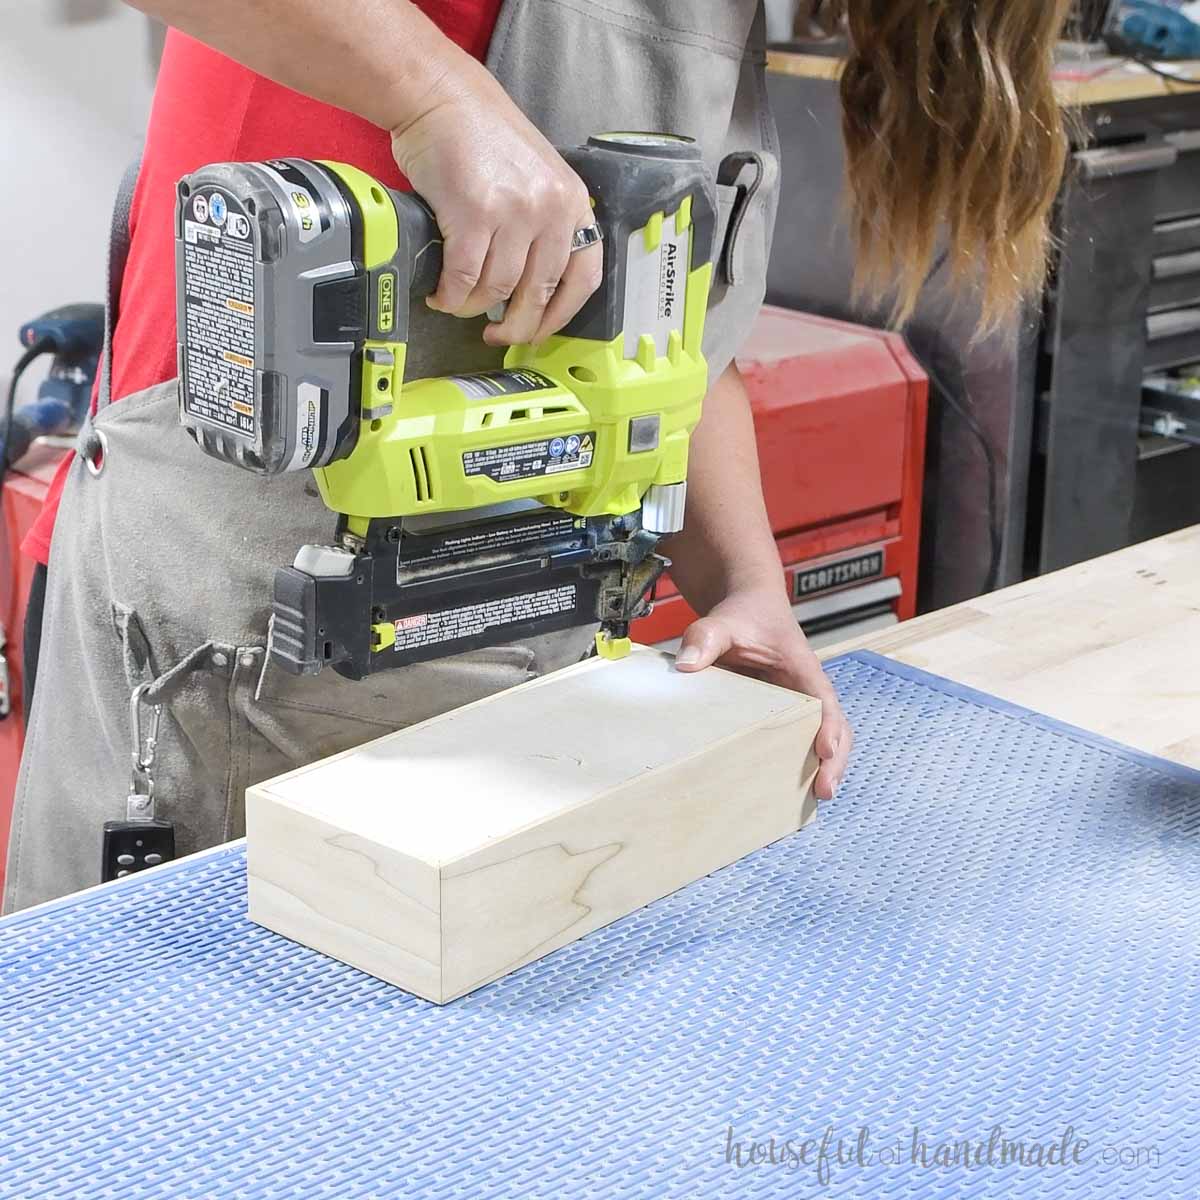
Sand and finish the sides of the tray before attaching the bottom.
Press the bottom firmly inside the groove and secure with 5/8” brad nails.
STEP 5- Decorate and finish
Sand your finished tower.
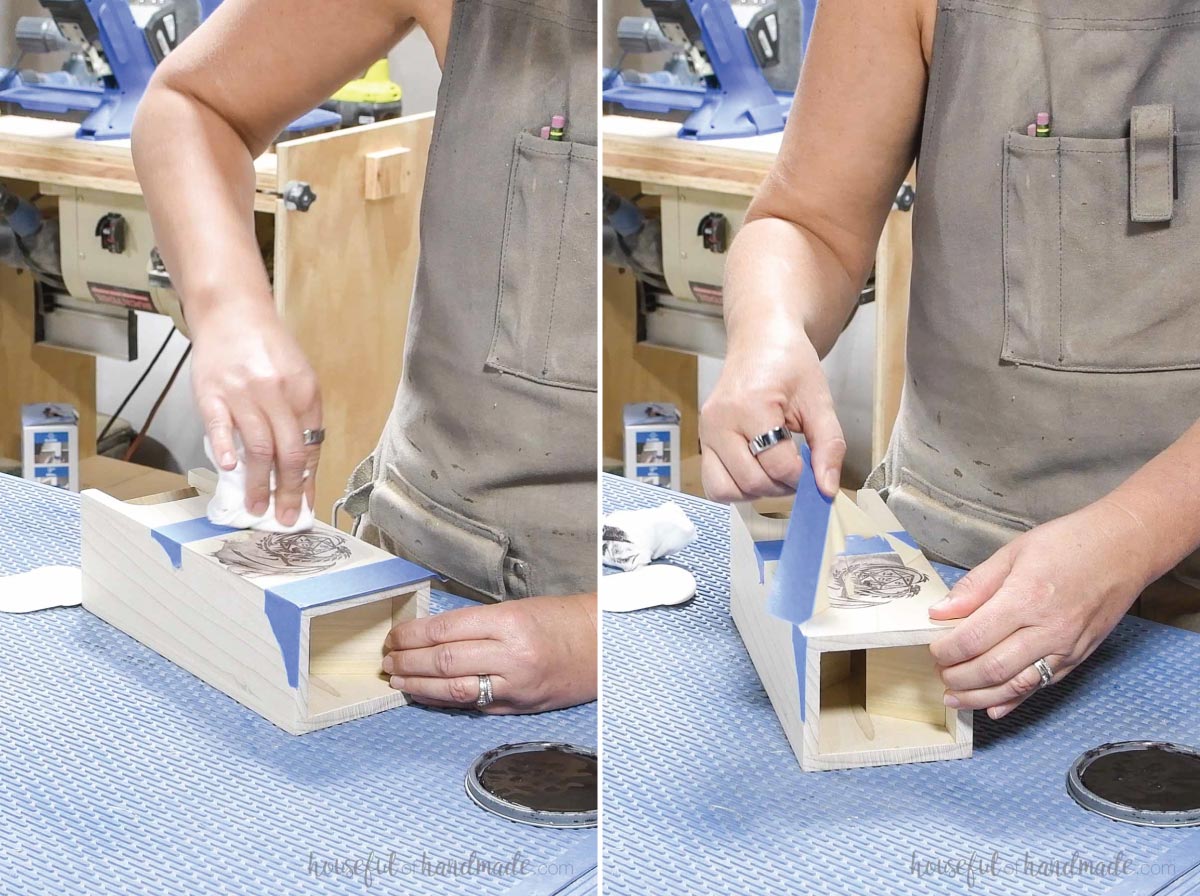
If you want to add a design to the front of your dice tower, you can cut one out of vinyl. Then place the vinyl stencil on the front with transfer paper.
Use a water based wood stain to color the design on the wood. A water-based stain is necessary to prevent the stain from bleeding under the stencil.
Then seal your finished tower,=.
Premium plans include:
- Recommended Tools
- Shopping list
- Easy to read cut list table
- Cut diagrams
- Step-by-step instructions with 3D renderings
- Helpful resources
- BONUS: 3D SketchUp file
You did it!
Now you can set up your new dice tumbler and start playing! I love the sound of the dice as they roll through the tower.
Happy building!


